Articles
How To Make Bathroom Vanity Taller
Modified: October 20, 2024
Learn how to make your bathroom vanity taller with these helpful articles. Transform your space and create a more functional and stylish bathroom.
(Many of the links in this article redirect to a specific reviewed product. Your purchase of these products through affiliate links helps to generate commission for Storables.com, at no extra cost. Learn more)
Introduction
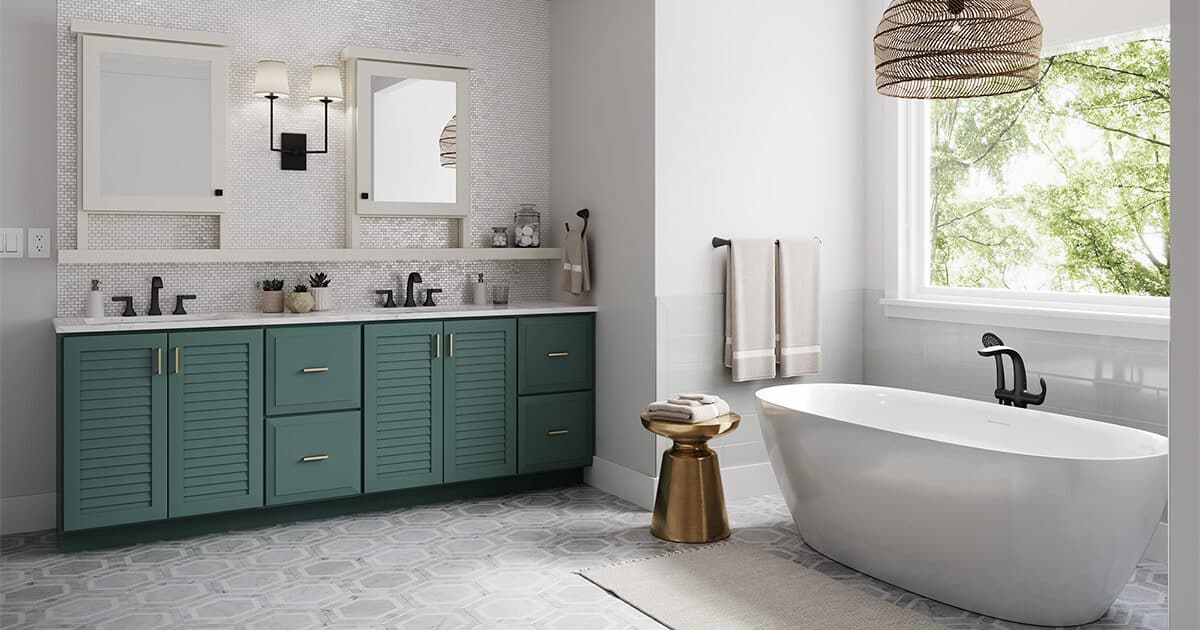
When it comes to bathroom design, one size doesn’t fit all. If you find yourself looking at your bathroom vanity and thinking it could use a little boost, you’re not alone. Many homeowners desire a taller vanity for various reasons, such as improving ergonomics, accommodating a family member’s height, or enhancing the aesthetic appeal of the space. Luckily, there are several methods you can use to make your bathroom vanity taller without having to undergo a complete remodel.
In this article, we will explore different approaches to increase the height of your bathroom vanity and discuss the pros and cons of each method. Whether you prefer a quick and temporary solution or a more permanent modification, there is an option for every preference and budget.
Before diving into the different methods, it’s important to assess the current height of your vanity and determine your desired height. This will help you choose the most suitable approach and ensure that the end result meets your expectations. Remember, the goal is not only to elevate the vanity but also to maintain functionality and aesthetics.
Now, let’s examine the various methods you can employ to make your bathroom vanity taller and transform your bathroom into a more comfortable and visually pleasing space.
Key Takeaways:
- Elevate your bathroom vanity with methods like installing furniture legs, using bed risers, building a custom riser, repurposing furniture, or hiring a professional contractor. Prioritize safety and functionality for a personalized and visually appealing result.
- Consider your specific needs and preferences when choosing a method to increase your bathroom vanity’s height. Whether it’s for ergonomics, aesthetics, or accommodating a family member’s height, there’s a solution for every budget and style.
Read more: How To Make Bathroom Vanity
Assessing the Current Vanity Height
Before you can start making adjustments to your bathroom vanity, it’s crucial to assess the current height. This will help you determine how much taller you want the vanity to be and give you a better understanding of the modifications needed.
Start by measuring the height of your current vanity. Use a tape measure to determine the distance between the floor and the top of the countertop. This measurement will serve as your baseline for determining the increase in height.
Next, consider the specific reasons why you want to make your vanity taller. Is it for yourself or someone in your household who is taller and needs more comfortable access to the sink? Or is it simply to improve the overall aesthetic and style of the bathroom?
Additionally, take into account the overall design and layout of your bathroom. Consider the height of other fixtures in the room, such as mirrors, lighting fixtures, and storage cabinets. It’s important to maintain a sense of balance and proportion in the space to ensure a visually appealing result.
Once you have assessed the current height and identified your desired increase, you can move on to selecting the most suitable method for achieving your goals. Keep in mind that each method comes with its own set of advantages and considerations, so it’s essential to choose the option that best fits your needs and preferences.
Now that you have a clear understanding of the current vanity height and the reasons behind wanting to make it taller, let’s delve into the different methods available to achieve this transformation.
Determining the Desired Height
Once you have assessed the current height of your bathroom vanity, the next step is to determine the desired height you would like to achieve. This will help you visualize the changes you want to make and guide you in selecting the appropriate method for increasing the vanity’s height.
Consider the primary reason behind wanting a taller vanity. Are you looking to improve ergonomics, accommodate a family member’s height, or enhance the aesthetic appeal of the space? Understanding your motivation will help you establish a clear goal for the desired height.
One practical way to determine the desired height is by considering your own height and comfort level. Measure the distance from the floor to your elbow, and use this measurement as a guide. A vanity that is around that height will provide a comfortable and ergonomic experience for most individuals.
Another factor to consider is the height of other fixtures in the bathroom. You want to ensure that the vanity’s height is in proportion with elements like mirrors, cabinets, and lighting fixtures. This will create a cohesive and aesthetically pleasing look in the overall design of the space.
Additionally, think about the functionality of the vanity. Are you looking for more storage space underneath? If so, you may need to increase the height to accommodate larger drawers or shelves.
Remember, it’s important to strike a balance between functionality, aesthetics, and personal preferences when determining the desired height. Take into account your specific needs and the unique characteristics of your bathroom to guide your decision-making process.
By establishing a clear goal for the desired height, you will be better equipped to select the most appropriate method for increasing the height of your bathroom vanity. Now, let’s explore the different methods available to accomplish this transformation.
Choosing the Right Method for Increasing Height
When it comes to increasing the height of your bathroom vanity, there are several methods you can consider. Each method offers different benefits and considerations, so it’s important to choose the one that aligns with your specific needs and preferences.
Here are five popular methods for increasing the height of your bathroom vanity:
- Method 1: Installing Furniture Legs: This method involves adding furniture legs or adjustable feet to the base of the vanity. It provides a simple and affordable solution that can be easily adjusted to the desired height. However, it may not be suitable for vanities with a built-in base or those that require a more significant height increase.
- Method 2: Using Bed Risers or Blocks: Bed risers or blocks can be placed underneath the vanity to elevate its height. These are inexpensive and readily available options that can provide a quick fix. However, they may not offer as much stability or durability compared to other methods.
- Method 3: Building a Custom Riser or Platform: This method involves building a custom riser or platform to raise the height of the vanity. It offers the flexibility to create a customized design that matches your bathroom decor. However, it requires more time, effort, and woodworking skills to accomplish.
- Method 4: Repurposing a Desk or Table: If you’re feeling adventurous, you can repurpose a desk or table by modifying it to fit your bathroom vanity. This allows for a unique and personalized look. However, it requires more advanced DIY skills and may not be suitable for all bathroom layouts.
- Method 5: Hiring a Professional Contractor: If you prefer a more comprehensive and permanent solution, hiring a professional contractor is your best bet. They will be able to assess your specific requirements and provide a tailored solution that meets local building codes. However, this method can be more costly and time-consuming.
As you evaluate these methods, consider factors such as your budget, time constraints, DIY skills, and the overall design aesthetics you wish to achieve. It’s important to choose a method that not only increases the height of your vanity but also provides long-lasting durability and functionality.
Now that you have an overview of the different methods available for increasing the height of your bathroom vanity, let’s explore each method in more detail to help you make an informed decision.
Method 1: Installing Furniture LegsIf you’re looking for a simple and affordable way to increase the height of your bathroom vanity, installing furniture legs is a great option to consider. This method involves adding legs or adjustable feet to the base of the vanity, providing an instant boost in height.
Here are the steps to follow for installing furniture legs:
- Measure and Plan: Begin by measuring the desired height increase for your vanity. Consider the existing height measurement and determine how much taller you want the vanity to be. With these measurements in mind, you can select the appropriate furniture legs or adjustable feet.
- Remove the Vanity: Before installing the furniture legs, remove the vanity from its current position. This will make the installation process easier and more accessible.
- Prepare the Vanity: Turn the vanity upside down to expose the base. Clean the base thoroughly and ensure it is free from any dust or debris. This will help promote a secure and sturdy attachment of the furniture legs.
- Attach the Legs: Position the furniture legs at the corners of the vanity base. Use screws or mounting plates (depending on the type of legs) to attach them securely. Make sure to align the legs properly and ensure they are level to prevent any wobbling or instability.
- Adjust the Height: If using adjustable feet, adjust them to the desired height. This allows you to fine-tune the levelness and height of the vanity, ensuring a comfortable and stable surface.
- Reinstall the Vanity: Once the furniture legs are securely attached, carefully place the vanity back in its original position. Ensure that it sits level and stable on the floor. Make any necessary adjustments to the legs to ensure the desired height is achieved.
- Test for Stability: Give the vanity a gentle shake to test its stability. If any wobbling or instability is detected, adjust the legs or feet until the vanity stands firm.
Installing furniture legs is a straightforward and customizable method for increasing the height of your bathroom vanity. It offers the flexibility to adjust the height according to your preference and can be easily reversed or modified if needed.
However, it’s worth noting that this method may not be suitable for vanities with a built-in base or those that require a substantial height increase. Additionally, ensure that the selected furniture legs are durable and can withstand the moisture and humidity typically found in a bathroom environment.
Now that you are familiar with the process of installing furniture legs, let’s move on to exploring the next method: using bed risers or blocks to elevate the height of your bathroom vanity.
Read more: How To Make A Vanity Around A Pedestal Sink
Method 2: Using Bed Risers or Blocks
If you’re looking for a quick and inexpensive way to raise the height of your bathroom vanity, using bed risers or blocks is a viable option. These items can provide an instant elevation, allowing you to achieve the desired height without the need for complex installations or modifications.
Here’s a step-by-step guide to using bed risers or blocks:
- Measure and Plan: Start by measuring the desired height increase you want for your vanity. This will help you determine the correct size and quantity of bed risers or blocks to purchase.
- Remove the Vanity: Before placing the bed risers or blocks, remove the vanity from its current position. This will make it easier to work with and ensure a secure fit.
- Prepare the Surface: Clean the floor underneath the vanity and ensure it is free from any dirt or debris. This will provide a stable and level foundation for the bed risers or blocks.
- Position the Bed Risers or Blocks: Place the bed risers or blocks underneath each leg or corner of the vanity. Ensure they are positioned evenly and aligned with the legs to maintain stability.
- Test for Stability: Gently shake the vanity to test its stability. If it wobbles or feels unstable, readjust the placement of the bed risers or blocks until it stands firm. Make sure all legs have proper support and are in contact with the risers or blocks.
- Reinstall the Vanity: Once you are satisfied with the stability and height of the vanity, carefully place it back in its original position. Double-check that it sits level on the bed risers or blocks.
Using bed risers or blocks is an affordable and temporary solution to increase the height of your bathroom vanity. They can be easily adjusted or removed if needed, making them a flexible option. However, keep in mind that bed risers or blocks may not offer as much stability or durability as other methods, especially if your vanity is heavy or if you require a significant height increase.
Before selecting bed risers or blocks, it’s important to ensure that they can support the weight of your vanity and withstand the moisture and humidity typically found in a bathroom environment. Consider purchasing risers or blocks made specifically for bathroom use, as they are designed to withstand these conditions.
Now that you have a better understanding of using bed risers or blocks to elevate the height of your bathroom vanity, let’s explore the next method: building a custom riser or platform.
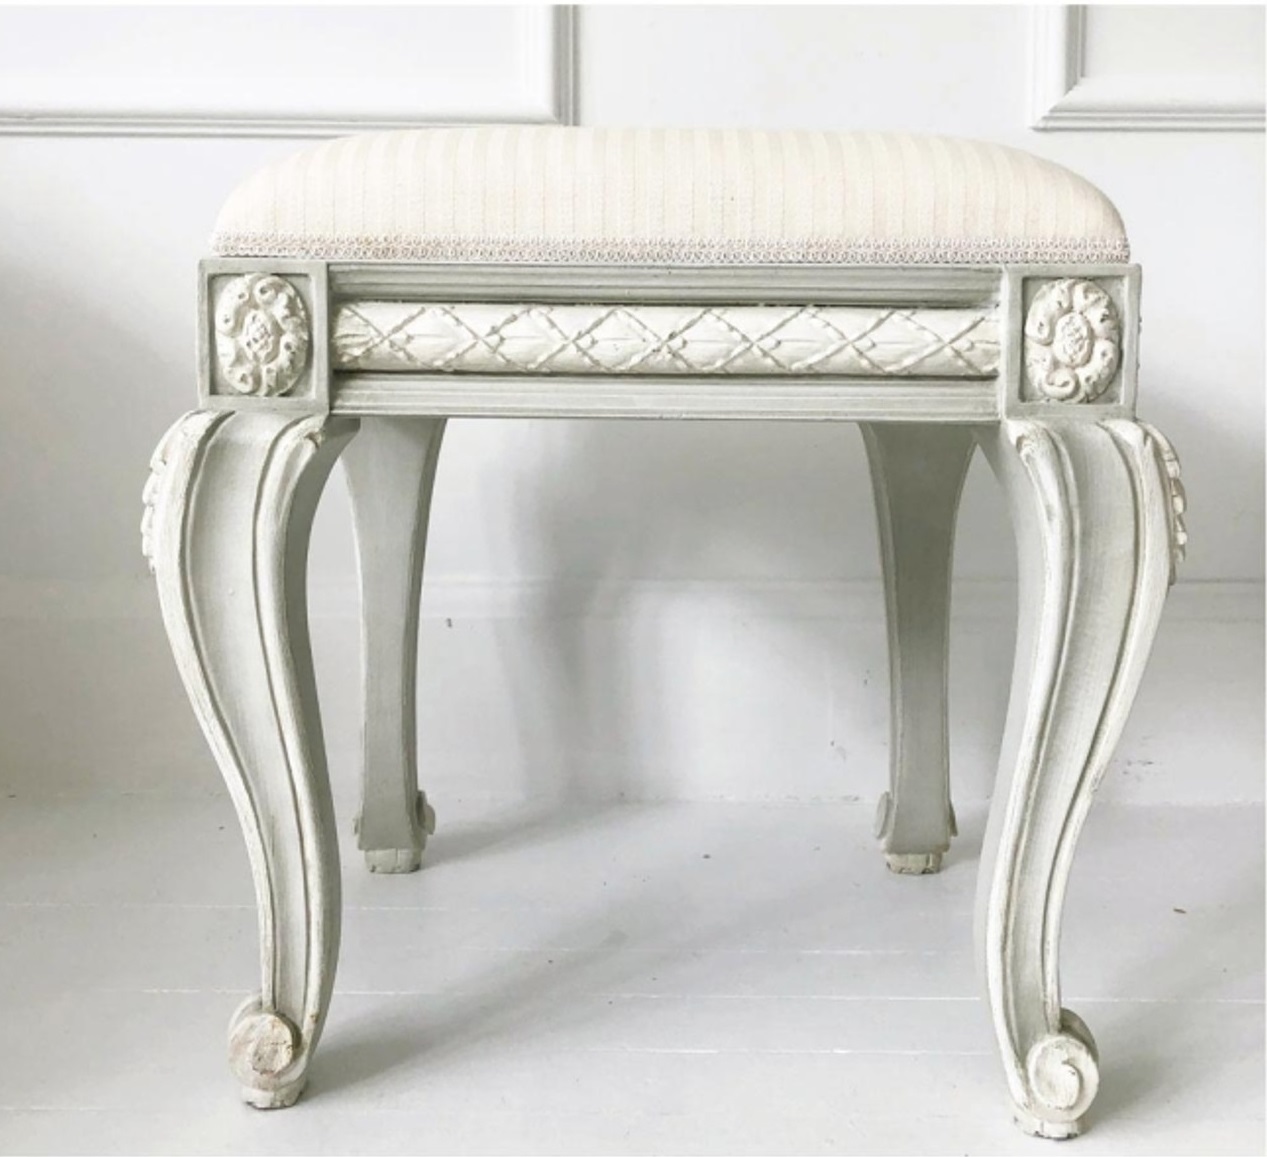
Consider adding furniture risers or adjustable leg extenders to the bottom of the bathroom vanity to increase its height. This simple solution can provide the extra height needed for a more comfortable and functional vanity.
Method 3: Building a Custom Riser or Platform
If you’re seeking a more customizable and permanent solution for increasing the height of your bathroom vanity, building a custom riser or platform is a great option. This method allows you to create a tailored design that complements your bathroom decor while achieving the desired height.
Here’s a step-by-step guide to building a custom riser or platform:
- Measure and Plan: Start by measuring the desired height increase for your vanity. Consider the existing height measurement and determine how much taller you want the vanity to be. With these measurements in mind, you can plan the design and dimensions of the custom riser or platform.
- Gather Materials and Tools: Collect the necessary materials for building the riser or platform, such as wood boards, screws, nails, a saw, and a drill. Ensure that your selected materials can withstand the moisture and humidity typically found in a bathroom.
- Construct the Base: Cut the wood boards to the desired dimensions for the base of the riser or platform. Assemble them using screws or nails to create a sturdy foundation. Make sure to leave space for the vanity legs to sit securely on the base.
- Build the Walls: Cut additional wood boards to create the walls of the riser or platform. Attach them to the base using screws or nails, forming a rectangular or square shape that will elevate the vanity. Make sure the walls are securely fastened and level.
- Add Stability and Support: Consider adding additional support to the riser or platform, such as additional braces or crossbeams. This will ensure the structure is stable and can bear the weight of the vanity.
- Sand and Finish: Once the custom riser or platform is constructed, sand it down to create a smooth surface. Apply a waterproof sealant or paint to protect the wood from moisture and enhance its appearance.
- Install the Vanity: With the custom riser or platform completed, carefully place the vanity on top, ensuring it sits level and stable. Make any necessary adjustments to ensure the desired height is achieved.
- Secure and Finish: Screw or attach the vanity to the custom riser or platform to secure it in place. Double-check the stability and make any final adjustments before using the vanity.
Building a custom riser or platform offers the flexibility to create a design that matches your bathroom’s aesthetic and accommodates your specific needs. However, this method requires woodworking skills and tools, as well as extra time and effort to complete. It is important to ensure that the materials used are suitable for a moist bathroom environment and can withstand the weight of the vanity.
By following these steps and constructing a custom riser or platform, you can achieve a unique and personalized solution for increasing the height of your bathroom vanity. Now, let’s explore the next method: repurposing a desk or table.
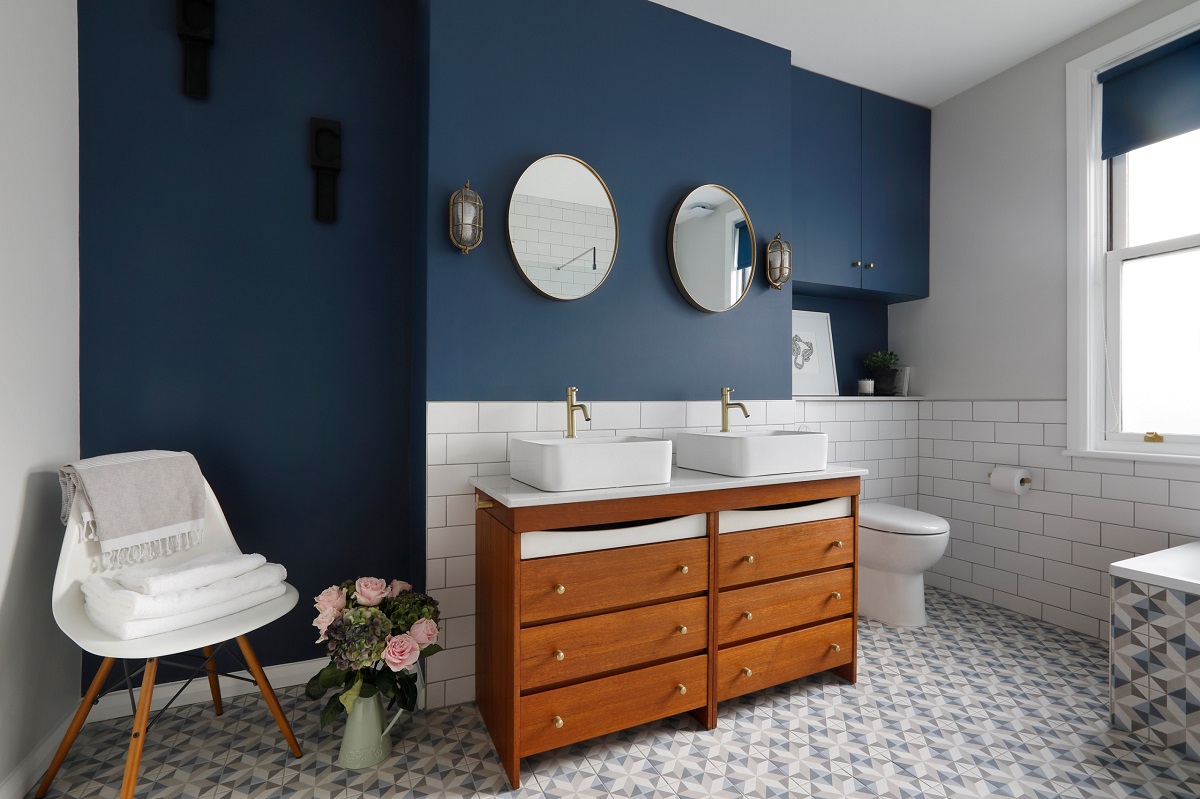
Method 4: Repurposing a Desk or Table
If you’re feeling creative and adventurous, repurposing a desk or table can be an excellent method for increasing the height of your bathroom vanity. This approach allows you to transform a piece of furniture into a unique and customized vanity that suits your style and desired height.
Here’s a step-by-step guide to repurposing a desk or table:
- Select the Right Piece: Look for a desk or table that fits the dimensions and style you desire for your new vanity. Consider the height and stability of the furniture piece, as well as its compatibility with your bathroom decor.
- Measure and Plan: Measure the desired height increase for your vanity and determine any additional modifications needed. Consider the existing structure of the desk or table and how it can be adapted to support a bathroom sink and countertop.
- Make Necessary Modifications: If needed, make any modifications to the desk or table to accommodate plumbing fixtures and sinks. This may involve cutting holes in the tabletop or reinforcing the structure to handle the added weight.
- Refinish or Paint: Sand down the desk or table to create a smooth surface for refinishing. Apply a waterproof sealant or paint to protect the furniture from moisture and enhance its appearance. This step allows you to customize the look to match your bathroom decor.
- Add a Sink and Countertop: Install a bathroom sink and countertop onto the repurposed desk or table. Ensure that the plumbing is properly connected and that the sink and countertop are securely attached to the furniture piece.
- Test for Stability: Shake the repurposed vanity lightly to test its stability and ensure that it can handle daily use and the weight of the sink and countertop. Make any necessary adjustments to reinforce the structure.
- Install in Bathroom: Carefully transport and install the repurposed vanity in its designated space in the bathroom. Make any final adjustments to ensure it sits level and secure on the floor.
Repurposing a desk or table allows for a unique and personalized vanity that can become a focal point in your bathroom. However, it’s essential to have the necessary DIY skills, tools, and creativity to complete this project successfully. Additionally, ensure that the desk or table and any modifications made are suitable for a moist bathroom environment.
By following these steps and repurposing a desk or table, you can create a one-of-a-kind bathroom vanity that not only increases the height but also adds personality and style to your bathroom space. Now, let’s explore the final method: hiring a professional contractor.
Method 5: Hiring a Professional Contractor
If you’re seeking a comprehensive and professionally executed solution for increasing the height of your bathroom vanity, hiring a professional contractor is the way to go. This method ensures expertise, precision, and adherence to local building codes, resulting in a high-quality and durable outcome.
Here’s a breakdown of the process involved when hiring a professional contractor:
- Consultation and Planning: Schedule a consultation with a reputable contractor who specializes in bathroom remodeling. Discuss your goals and desired height increase for the vanity. The contractor will assess the existing vanity and provide recommendations based on your preferences and budget.
- Design and Measurements: Work with the contractor to finalize the design and measurements of the new vanity. Consider the materials, finishes, and any additional features you want to incorporate.
- Obtain Necessary Permits: Depending on the extent of the project, your contractor will take care of obtaining any necessary permits required by local building codes. This ensures that the work is done safely and in compliance with regulations.
- Demolition and Preparation: The contractor will carefully remove the existing vanity, making way for the construction of the new, taller vanity. The area will be prepared to ensure a smooth installation process.
- Construction and Installation: The contractor will construct and install the new vanity according to the agreed-upon design. This may involve building a custom base or platform, incorporating furniture legs, or utilizing other methods to achieve the desired height increase.
- Finishing Touches: The contractor will complete the vanity by installing the sink, countertop, plumbing fixtures, and any additional features such as drawers or shelving. They will ensure everything is properly connected, functional, and visually appealing.
- Final Inspection and Cleanup: The contractor will conduct a final inspection to ensure that the vanity meets your expectations and fulfills all necessary safety requirements. They will also clean up the work area, leaving your bathroom clean and ready to use.
Hiring a professional contractor takes the guesswork out of increasing the height of your bathroom vanity. Their expertise and experience ensure a seamless process, from design and construction to the final installation. Additionally, a professional contractor will guarantee the durability, functionality, and aesthetic appeal of the finished product.
While this method offers numerous benefits, it’s important to note that hiring a professional contractor may involve a higher investment compared to other methods. However, the peace of mind and quality results it provides make it a worthwhile option for those seeking a long-lasting and professionally executed solution.
With the expertise of a professional contractor, you can confidently embark on increasing the height of your bathroom vanity and transform your bathroom into a more functional and visually appealing space.
Now that we’ve explored all the methods, it’s essential to consider safety considerations and precautions when undertaking any modifications to your bathroom vanity.
Read more: How To Make Concrete Vanity Top
Safety Considerations and Precautions
When making any modifications to your bathroom vanity, it’s important to prioritize safety and take necessary precautions. Here are some key considerations to keep in mind:
- Electrical and Plumbing: If your vanity modifications involve any changes to electrical or plumbing components, it’s crucial to hire a licensed professional to handle these aspects. Working with electricity and plumbing without the necessary knowledge can be dangerous and lead to costly mistakes.
- Waterproofing: Ensure that any materials used for your vanity modifications, such as wood or sealants, are waterproof and can withstand the moisture and humidity in a bathroom. This will help prevent damage, mold, and deterioration over time.
- Stability and Support: Whether you’re installing furniture legs, using bed risers, building a custom riser or platform, or repurposing furniture, it’s essential to ensure that the vanity is stable and well-supported. This will prevent tipping, wobbling, and potential accidents in the future.
- Weight Capacity: Consider the weight capacity of any modifications you make. Ensure that the vanity, additional components, and modifications can support the weight of the sink, countertop, and any items stored within the vanity. This will prevent sagging or structural damage over time.
- Proper Installation: Follow the manufacturer’s instructions or consult with professionals to ensure proper installation of any components, such as furniture legs, bed risers, or plumbing fixtures. This will ensure that they are securely attached and function as intended.
- ADA Compliance: If you are making modifications to accommodate individuals with specific accessibility needs, consider adhering to the guidelines set by the Americans with Disabilities Act (ADA). This includes factors such as proper height and clearance for wheelchair users.
- Permits and Codes: Depending on the extent of your modifications, you may need to obtain permits and adhere to local building codes. Consult with a professional or check with your local municipality to ensure compliance with regulations to avoid any legal issues.
By taking these safety considerations and precautions into account, you can minimize risks and ensure a safe environment within your bathroom. It’s always best to consult with professionals, such as contractors or specialists, when dealing with complex modifications or components that involve electrical or plumbing work.
Now that you’re aware of the safety considerations, let’s conclude our discussion on making your bathroom vanity taller.
Conclusion
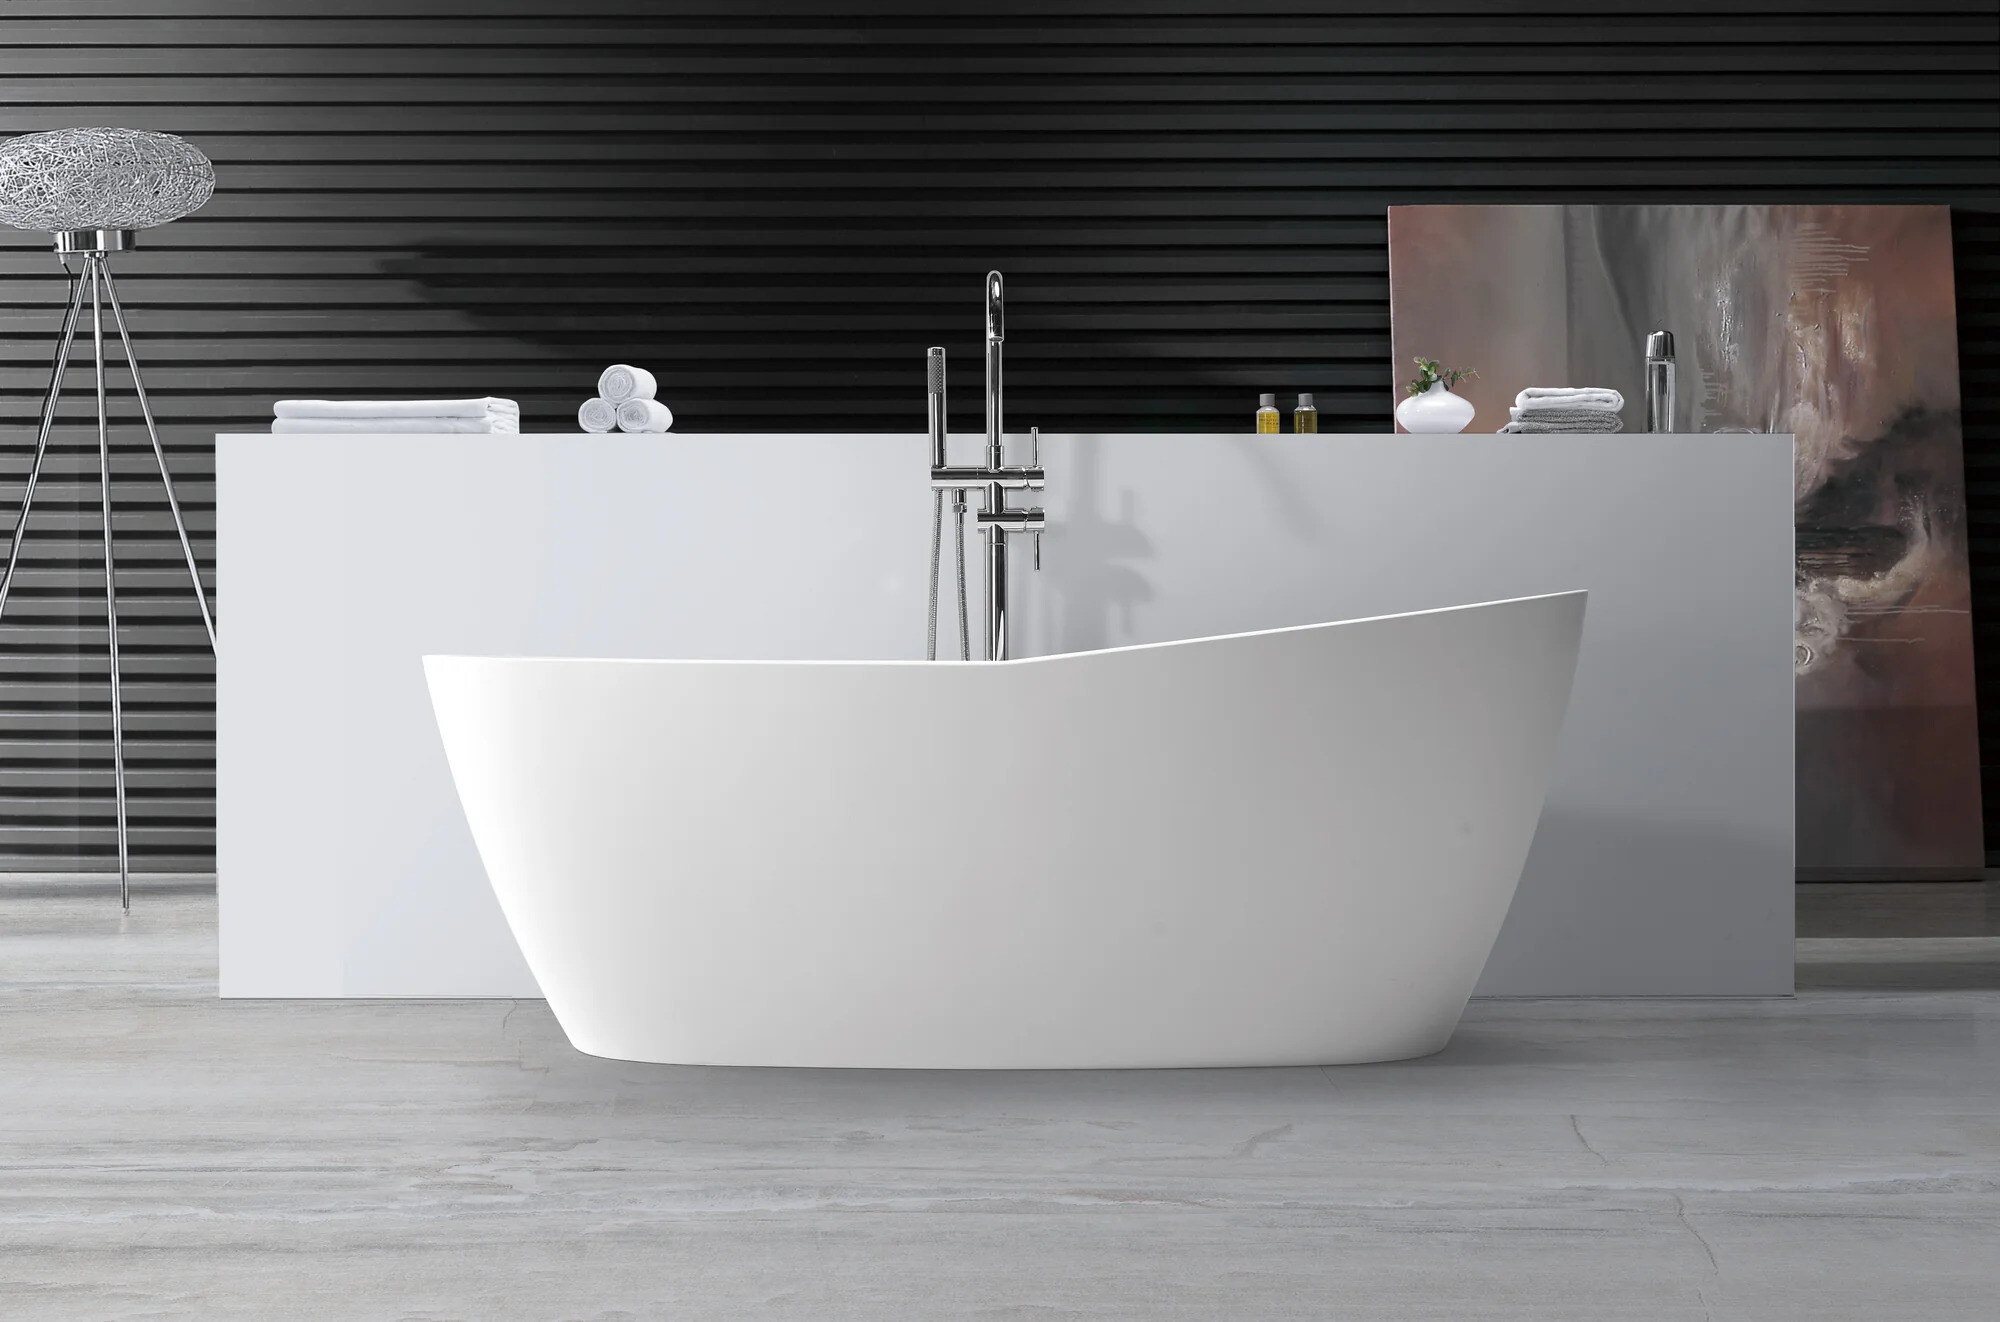
Increasing the height of your bathroom vanity can have a significant impact on both the functionality and aesthetics of your bathroom space. Whether you’re looking to improve ergonomics, accommodate a taller family member, or enhance the overall design, there are several methods available to achieve your desired results.
By assessing the current vanity height and determining your desired height increase, you can accurately evaluate which method will work best for your needs. Installing furniture legs, using bed risers or blocks, building a custom riser or platform, repurposing a desk or table, or hiring a professional contractor all offer different advantages and considerations.
It’s important to prioritize safety throughout the process of modifying your bathroom vanity. Consider electrical and plumbing factors, ensure waterproofing, prioritize stability and support, and adhere to weight capacity guidelines.
Remember, each method has its own pros and cons, budget considerations, and level of expertise required. Choose the method that aligns with your preferences, resources, and desired outcome. Consulting with professionals, such as contractors or specialists, can provide additional guidance and ensure the job is done correctly.
Ultimately, the goal is to create a bathroom vanity that not only meets your practical needs but also reflects your personal style and enhances the overall look of your bathroom. With careful planning, proper execution, and attention to safety, you can achieve a taller vanity that elevates your bathroom’s functionality and aesthetic appeal.
So, why wait? Start envisioning your ideal bathroom vanity height and explore the methods that will help you bring that vision to life. Take the first steps towards transforming your bathroom into a more comfortable and visually stunning space. Your revamped bathroom vanity awaits!
Frequently Asked Questions about How To Make Bathroom Vanity Taller
Was this page helpful?
At Storables.com, we guarantee accurate and reliable information. Our content, validated by Expert Board Contributors, is crafted following stringent Editorial Policies. We're committed to providing you with well-researched, expert-backed insights for all your informational needs.


0 thoughts on “How To Make Bathroom Vanity Taller”