Articles
How To Change Blade On Ryobi Multi Tool
Modified: February 23, 2024
Learn how to change the blade on your Ryobi multi-tool with our step-by-step guide. Find articles and tips to help you complete this task easily and efficiently.
(Many of the links in this article redirect to a specific reviewed product. Your purchase of these products through affiliate links helps to generate commission for Storables.com, at no extra cost. Learn more)
Introduction
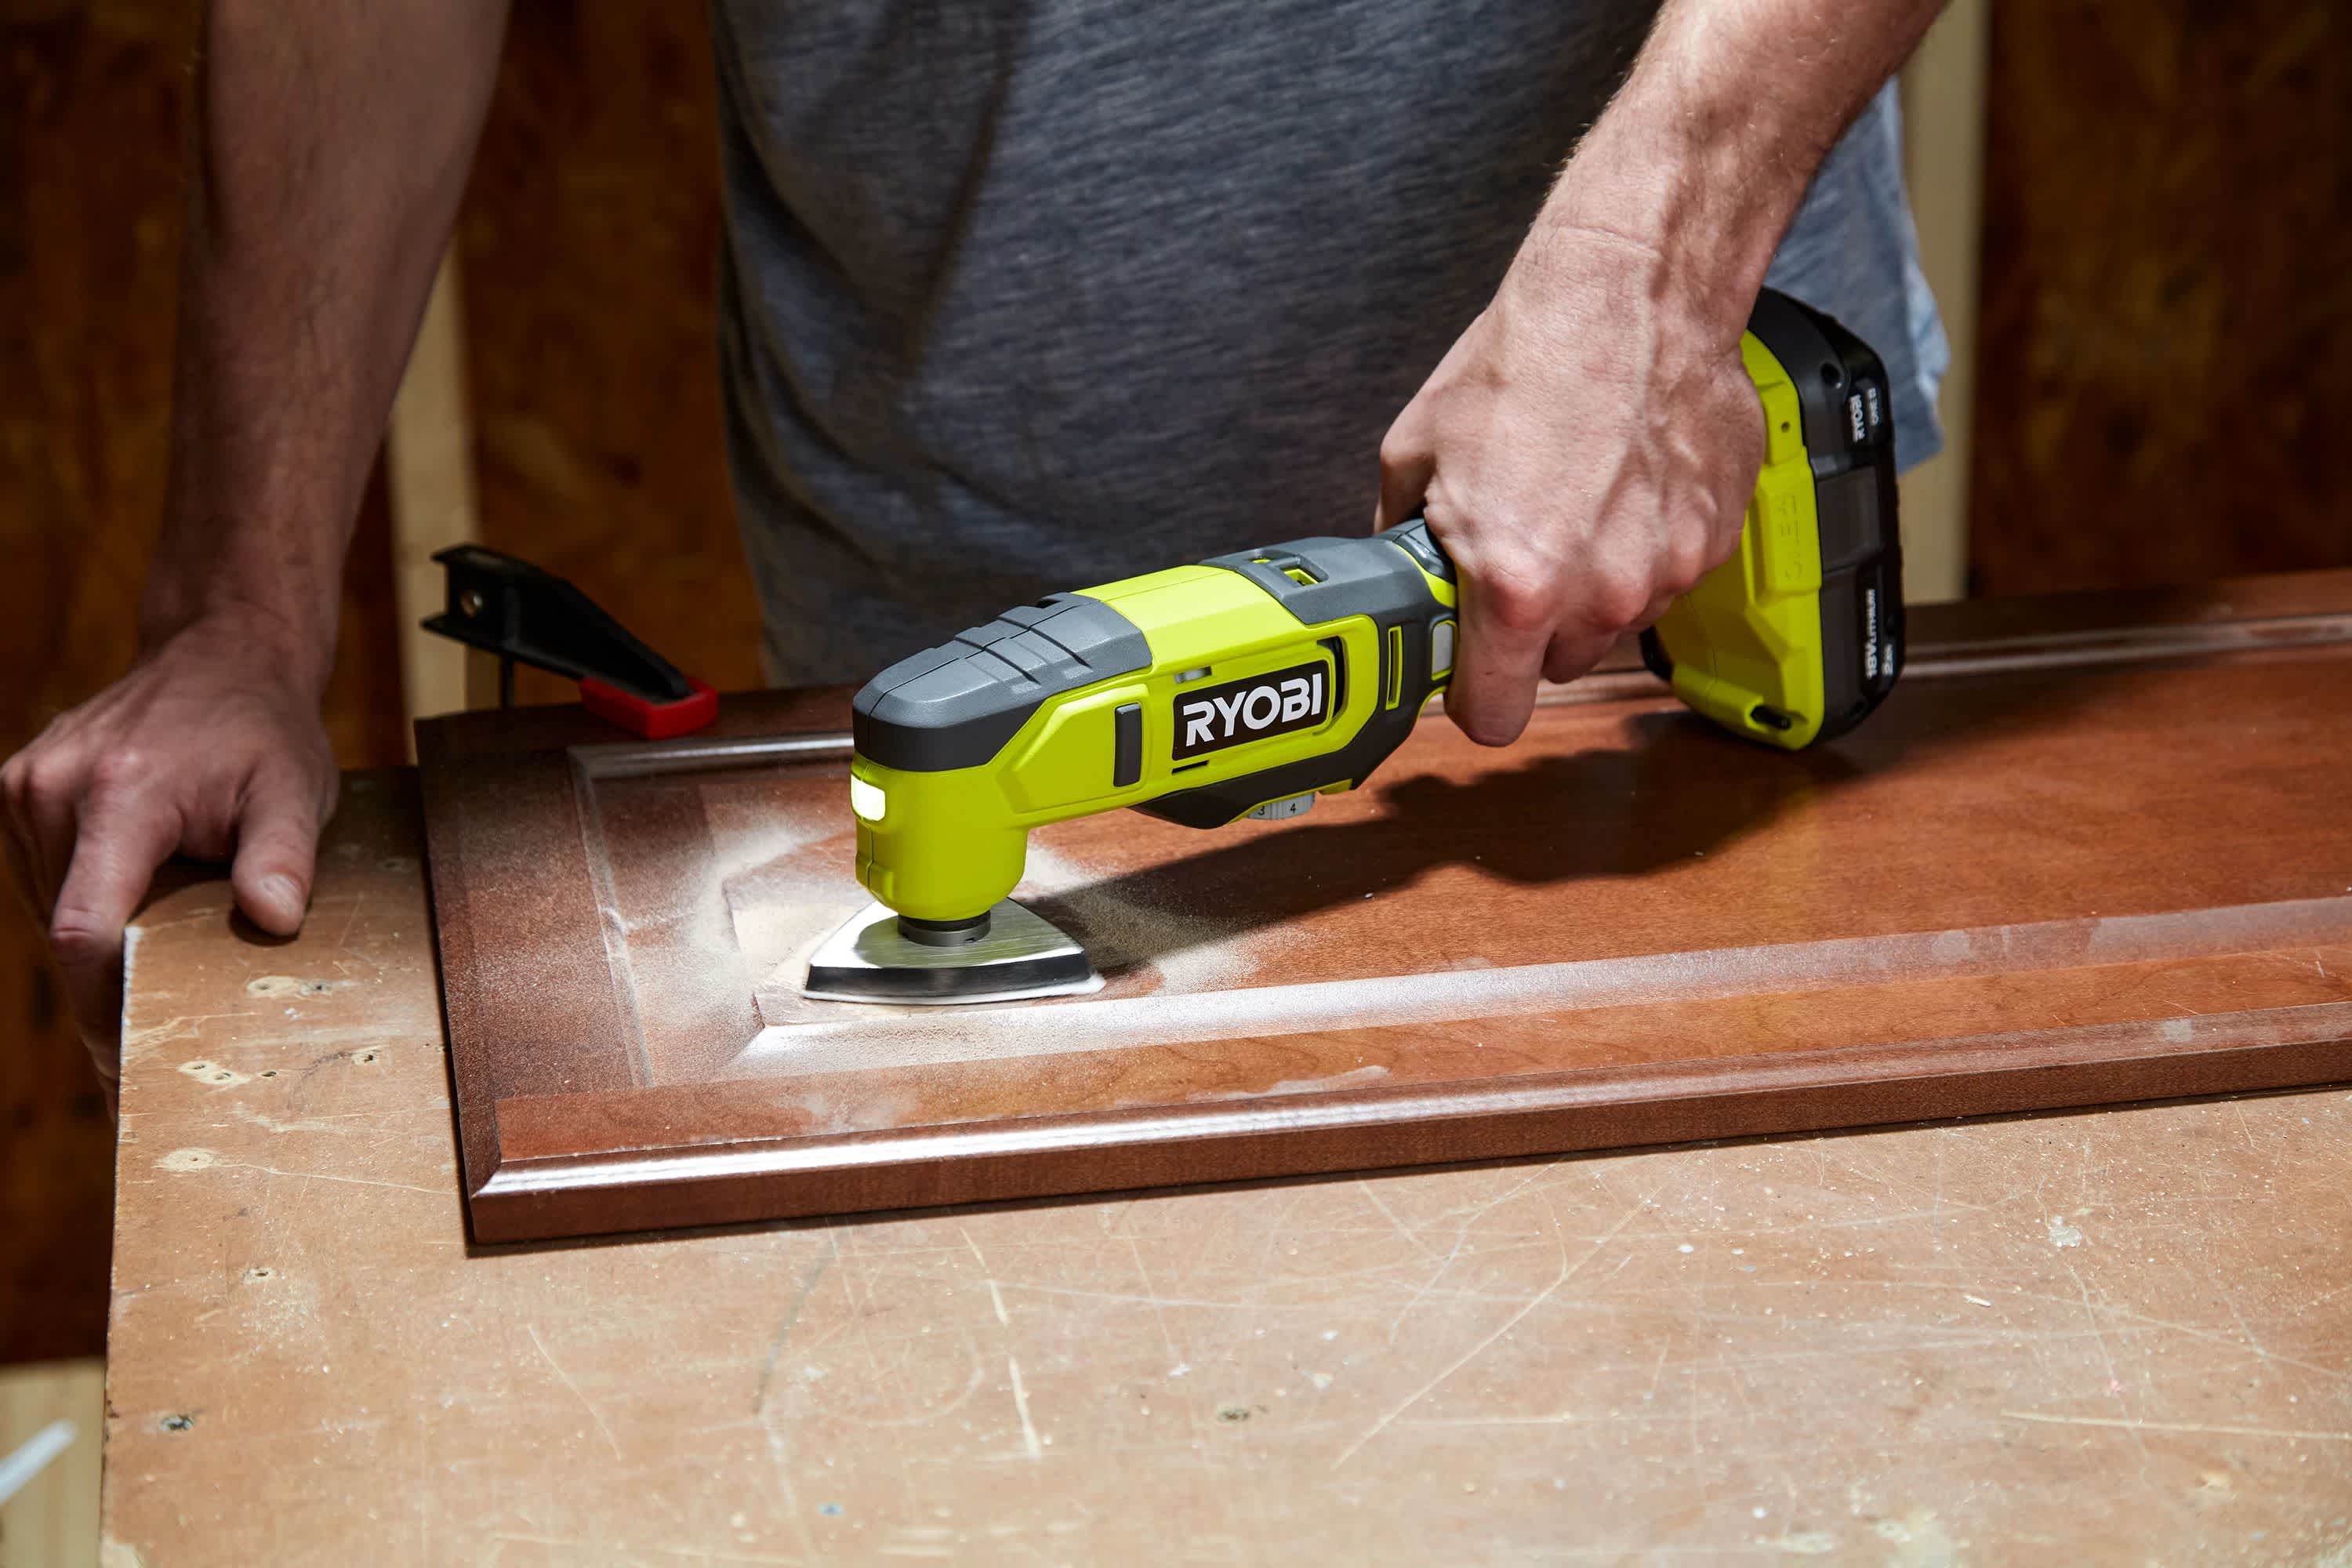
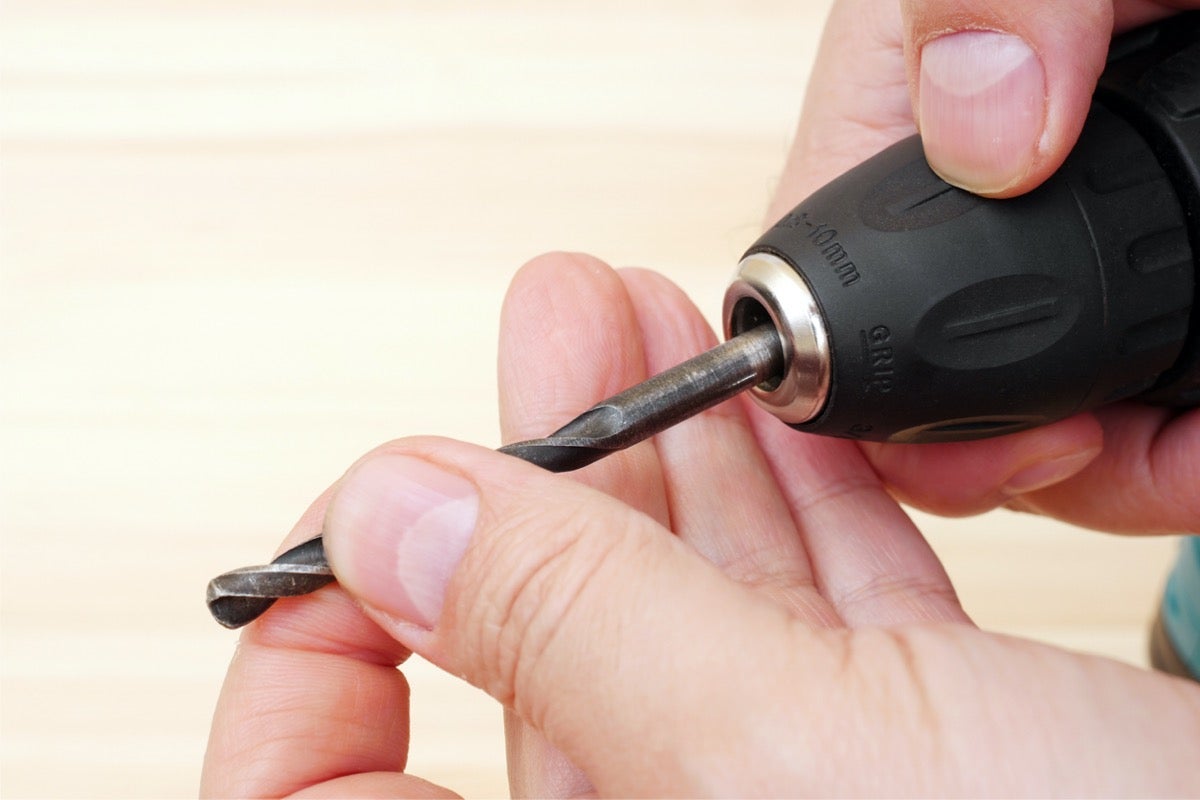
Changing the blade on your Ryobi multi-tool is a relatively simple process that can be done in a matter of minutes. Whether you need to replace a dull blade or switch to a different type of blade for a specific task, knowing how to change the blade on your multi-tool is a valuable skill that can save you time and frustration.
With a few simple steps and the right tools, you’ll be able to swap out blades on your Ryobi multi-tool with ease. In this article, we will guide you through the process, ensuring that you can tackle a range of projects without any hassle.
Before we dive into the step-by-step instructions, let’s gather the necessary tools and materials you’ll need for this task.
Key Takeaways:
- Mastering the art of changing the blade on your Ryobi multi-tool not only saves time and effort but also ensures safety and optimal performance for a wide range of cutting tasks. Prioritize safety, gather the right tools, and follow the step-by-step process for a seamless blade change.
- Regularly inspect and replace blades as needed to maintain clean and precise cuts. Testing the functionality of the new blade and securing it properly are crucial steps in guaranteeing safe and effective operation. With this skill mastered, you can confidently take on various cutting projects with ease.
Read more: How To Change Blade On Ryobi Jigsaw
Step 1: Gather necessary tools and materials
Before you begin changing the blade on your Ryobi multi-tool, make sure you have the following tools and materials readily available:
- A new blade – Ensure that you have the correct blade for your specific Ryobi multi-tool model. There are a variety of blades available for different purposes, such as cutting metal, wood, or plastic.
- A screwdriver – Depending on your Ryobi multi-tool model, you may need a screwdriver to remove any screws holding the blade in place.
- Safety gloves – It’s always important to prioritize safety when handling tools. Wear a pair of protective gloves to avoid any potential injuries during the blade change process.
- Safety goggles – Protect your eyes by wearing safety goggles or glasses. This will shield your eyes from any debris or particles that may be released during the blade change.
Once you have gathered these tools and materials, you are ready to proceed with changing the blade on your Ryobi multi-tool.
Step 2: Unplug the Ryobi multi-tool
Before you begin any maintenance or blade-changing procedure, it’s essential to prioritize safety. Start by unplugging your Ryobi multi-tool from the power source. This will prevent any accidental activation of the tool while you are working on it.
If your Ryobi multi-tool is cordless and operates on a rechargeable battery, remove the battery pack from the tool to ensure it cannot be inadvertently turned on.
This step is crucial to avoid any potential accidents or injuries while you are handling the tool and changing the blade.
Once you have unplugged your Ryobi multi-tool or removed the battery pack, you can continue with the next step of the blade-changing process.
Step 3: Locate the blade release lever
Locating the blade release lever on your Ryobi multi-tool is an important step in the blade-changing process. The blade release lever is typically located near the blade housing and is designed to securely hold the blade in place or release it for removal.
Take a close look at your Ryobi multi-tool and search for the blade release lever. It is usually a small lever that you can easily move with your thumb or index finger. The lever may be labeled or have a distinct shape to indicate its function.
Once you have identified the blade release lever, you can proceed to the next step of activating it to remove the old blade.
Note: If you are unable to locate the blade release lever or are unsure about its location, refer to your Ryobi multi-tool’s user manual for specific guidance.
Step 4: Activate the blade release lever
Now that you have located the blade release lever on your Ryobi multi-tool, it’s time to activate it to release the old blade. Follow these steps to safely activate the blade release lever:
- Ensure that your Ryobi multi-tool is still unplugged or has the battery pack removed to avoid any accidental activation.
- Using your thumb or index finger, carefully move the blade release lever in the designated direction. This will typically involve pushing or sliding the lever to unlock the blade.
- Keep the blade release lever in the activated position to continue to the next step.
Activating the blade release lever is a crucial step in disengaging the old blade from the tool. By unlocking the blade, you will be able to remove it safely and replace it with a new one.
Note: Some Ryobi multi-tools may have a different mechanism to release the blade, such as a button or switch. Refer to your specific model’s user manual if it differs from the traditional blade release lever.
With the blade release lever activated, you are now ready to remove the old blade from your Ryobi multi-tool.
When changing the blade on a Ryobi multi-tool, make sure the tool is unplugged or the battery is removed. Use the included hex key to loosen the blade screw, then carefully remove and replace the blade, ensuring it is securely tightened before use.
Read more: How To Change The Blade On A Ryobi Table Saw
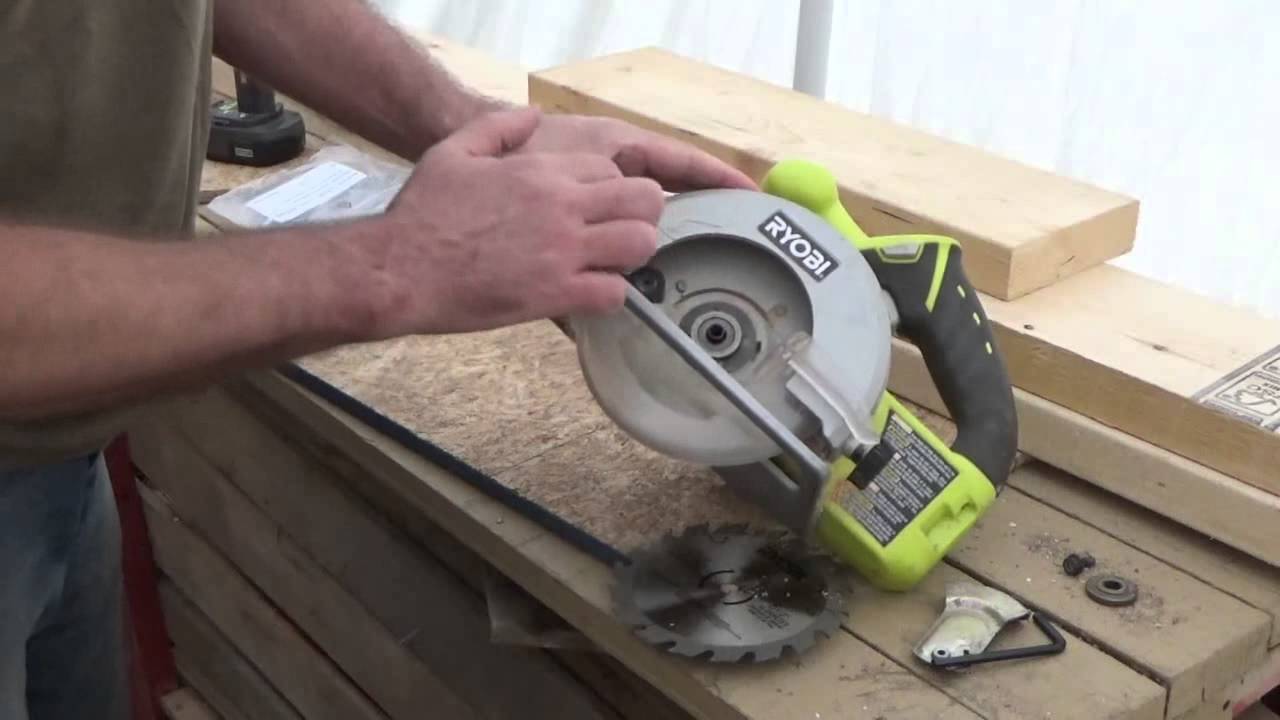
Step 5: Remove the old blade
With the blade release lever activated, you can now proceed to remove the old blade from your Ryobi multi-tool. Follow these steps to safely and easily remove the old blade:
- While holding the blade release lever in the activated position, carefully pull the old blade out of the blade housing.
- Be cautious when handling the old blade, as it may be sharp or have jagged edges. Use a pair of gloves or a cloth to protect your hands during this process.
- Inspect the old blade for any signs of damage or wear. If the blade is damaged or no longer effective, it is recommended to discard it and replace it with a new one.
Removing the old blade may require a bit of gentle force, but be careful not to use excessive strength or twist it forcefully, as this can cause damage to the tool or result in injury.
Once you have successfully removed the old blade, proceed to the next step to insert the new blade into your Ryobi multi-tool.
Step 6: Insert the new blade
Now that you have removed the old blade from your Ryobi multi-tool, it’s time to insert the new blade. Follow these steps to properly and securely insert the new blade:
- Take the new blade and align it with the blade housing, ensuring that the teeth of the blade are facing the correct direction for the cutting action you require. The blade should fit snugly into the housing.
- Gently slide the new blade into the blade housing, making sure it is fully seated and secure. You may need to apply a bit of pressure to push the blade all the way in.
- Release the blade release lever once the new blade is in place. The lever should automatically engage and lock the new blade in position.
It is important to ensure that the new blade is inserted correctly and securely. A loose or improperly inserted blade can lead to inefficient cutting, vibrations, or even accidents during use.
Once the new blade is properly inserted, you can move on to the next step to test the functionality of the blade.
Step 7: Test the new blade
After inserting the new blade into your Ryobi multi-tool, it’s important to test its functionality before proceeding with any tasks or projects. Follow these steps to test the new blade:
- Ensure that your Ryobi multi-tool is still unplugged or does not have the battery pack inserted.
- Hold the tool firmly and activate the power switch for a brief moment.
- Observe the new blade as it starts to move. Make sure it rotates smoothly and without any wobbling or unusual vibrations.
- If you notice any issues with the new blade’s performance, such as excessive vibration, strange noises, or lack of smooth rotation, stop using the tool and check the blade’s installation. It may need to be repositioned or replaced.
Testing the new blade ensures that it is properly installed and ready for use. This step helps to avoid any potential accidents or frustrations that may occur if the blade is not functioning correctly.
If the new blade passes the test and operates smoothly, you can proceed to the next step to secure the blade and tighten the blade release lever.
Step 8: Secure the blade and tighten the blade release lever
Once you have tested the functionality of the new blade on your Ryobi multi-tool, it’s time to secure the blade and tighten the blade release lever. Follow these steps to ensure the blade is properly secured:
- Make sure the blade is aligned and seated correctly in the blade housing.
- While holding the blade in place, use your thumb or index finger to release the blade release lever slowly.
- As you release the lever, it should engage and lock the blade securely in place.
- Check that the blade is not loose by gently trying to move it or wiggle it. If it feels secure, you can proceed to the next step.
- If the blade feels loose, release the blade release lever and repeat the process of inserting the blade, ensuring it is securely seated in the blade housing.
- Once the blade is secure, use a screwdriver (if required) to tighten any screws that hold the blade in place. This step may not be necessary for all Ryobi multi-tool models.
Tightening the blade release lever and any screws (if applicable) ensures that the blade is safely secured in your Ryobi multi-tool. A properly secured blade prevents accidents, improves cutting efficiency, and prolongs the life of the blade.
With the blade secured and the blade release lever tightened, you have successfully changed the blade on your Ryobi multi-tool. You are now ready to tackle a wide range of projects with confidence!
Read more: How To Change The Blade On Ryobi Miter Saw
Conclusion
Changing the blade on your Ryobi multi-tool is a straightforward process that can be done quickly and easily. By following the step-by-step instructions outlined in this article, you can confidently replace the blade and ensure optimal performance for your various projects.
Remember to prioritize safety throughout the blade-changing procedure. Always unplug or remove the battery pack from your Ryobi multi-tool before starting any maintenance tasks. Wear safety gloves and goggles to protect yourself from potential accidents.
Gathering the necessary tools and materials, locating the blade release lever, activating it, and removing the old blade are essential steps that set the stage for a successful blade change. Inserting the new blade, testing its functionality, and securing it with the blade release lever and any necessary screws are key to guaranteeing safe and effective operation.
Regularly inspect your blades for signs of wear or damage, and replace them as needed. A sharp and properly functioning blade will ensure clean and precise cuts, saving you time and effort on your projects.
Always consult your Ryobi multi-tool’s user manual for device-specific instructions and recommendations. Different models may have variations in the blade-changing process.
By mastering the skill of changing the blade on your Ryobi multi-tool, you can confidently tackle a wide range of tasks, including cutting wood, metal, or plastic. Enjoy the versatility and efficiency that a sharp and properly installed blade brings to your projects.
Now that you have learned how to change the blade on your Ryobi multi-tool, you can take on new and exciting projects with confidence, knowing that you have the skills to handle any cutting task that comes your way.
Frequently Asked Questions about How To Change Blade On Ryobi Multi Tool
Was this page helpful?
At Storables.com, we guarantee accurate and reliable information. Our content, validated by Expert Board Contributors, is crafted following stringent Editorial Policies. We're committed to providing you with well-researched, expert-backed insights for all your informational needs.


0 thoughts on “How To Change Blade On Ryobi Multi Tool”