
Articles
How To Clean Box Fan
Modified: October 28, 2024
Looking for articles on how to clean your box fan? Check out our comprehensive guide for easy and effective tips to keep your fan running smoothly.
(Many of the links in this article redirect to a specific reviewed product. Your purchase of these products through affiliate links helps to generate commission for Storables.com, at no extra cost. Learn more)
Introduction
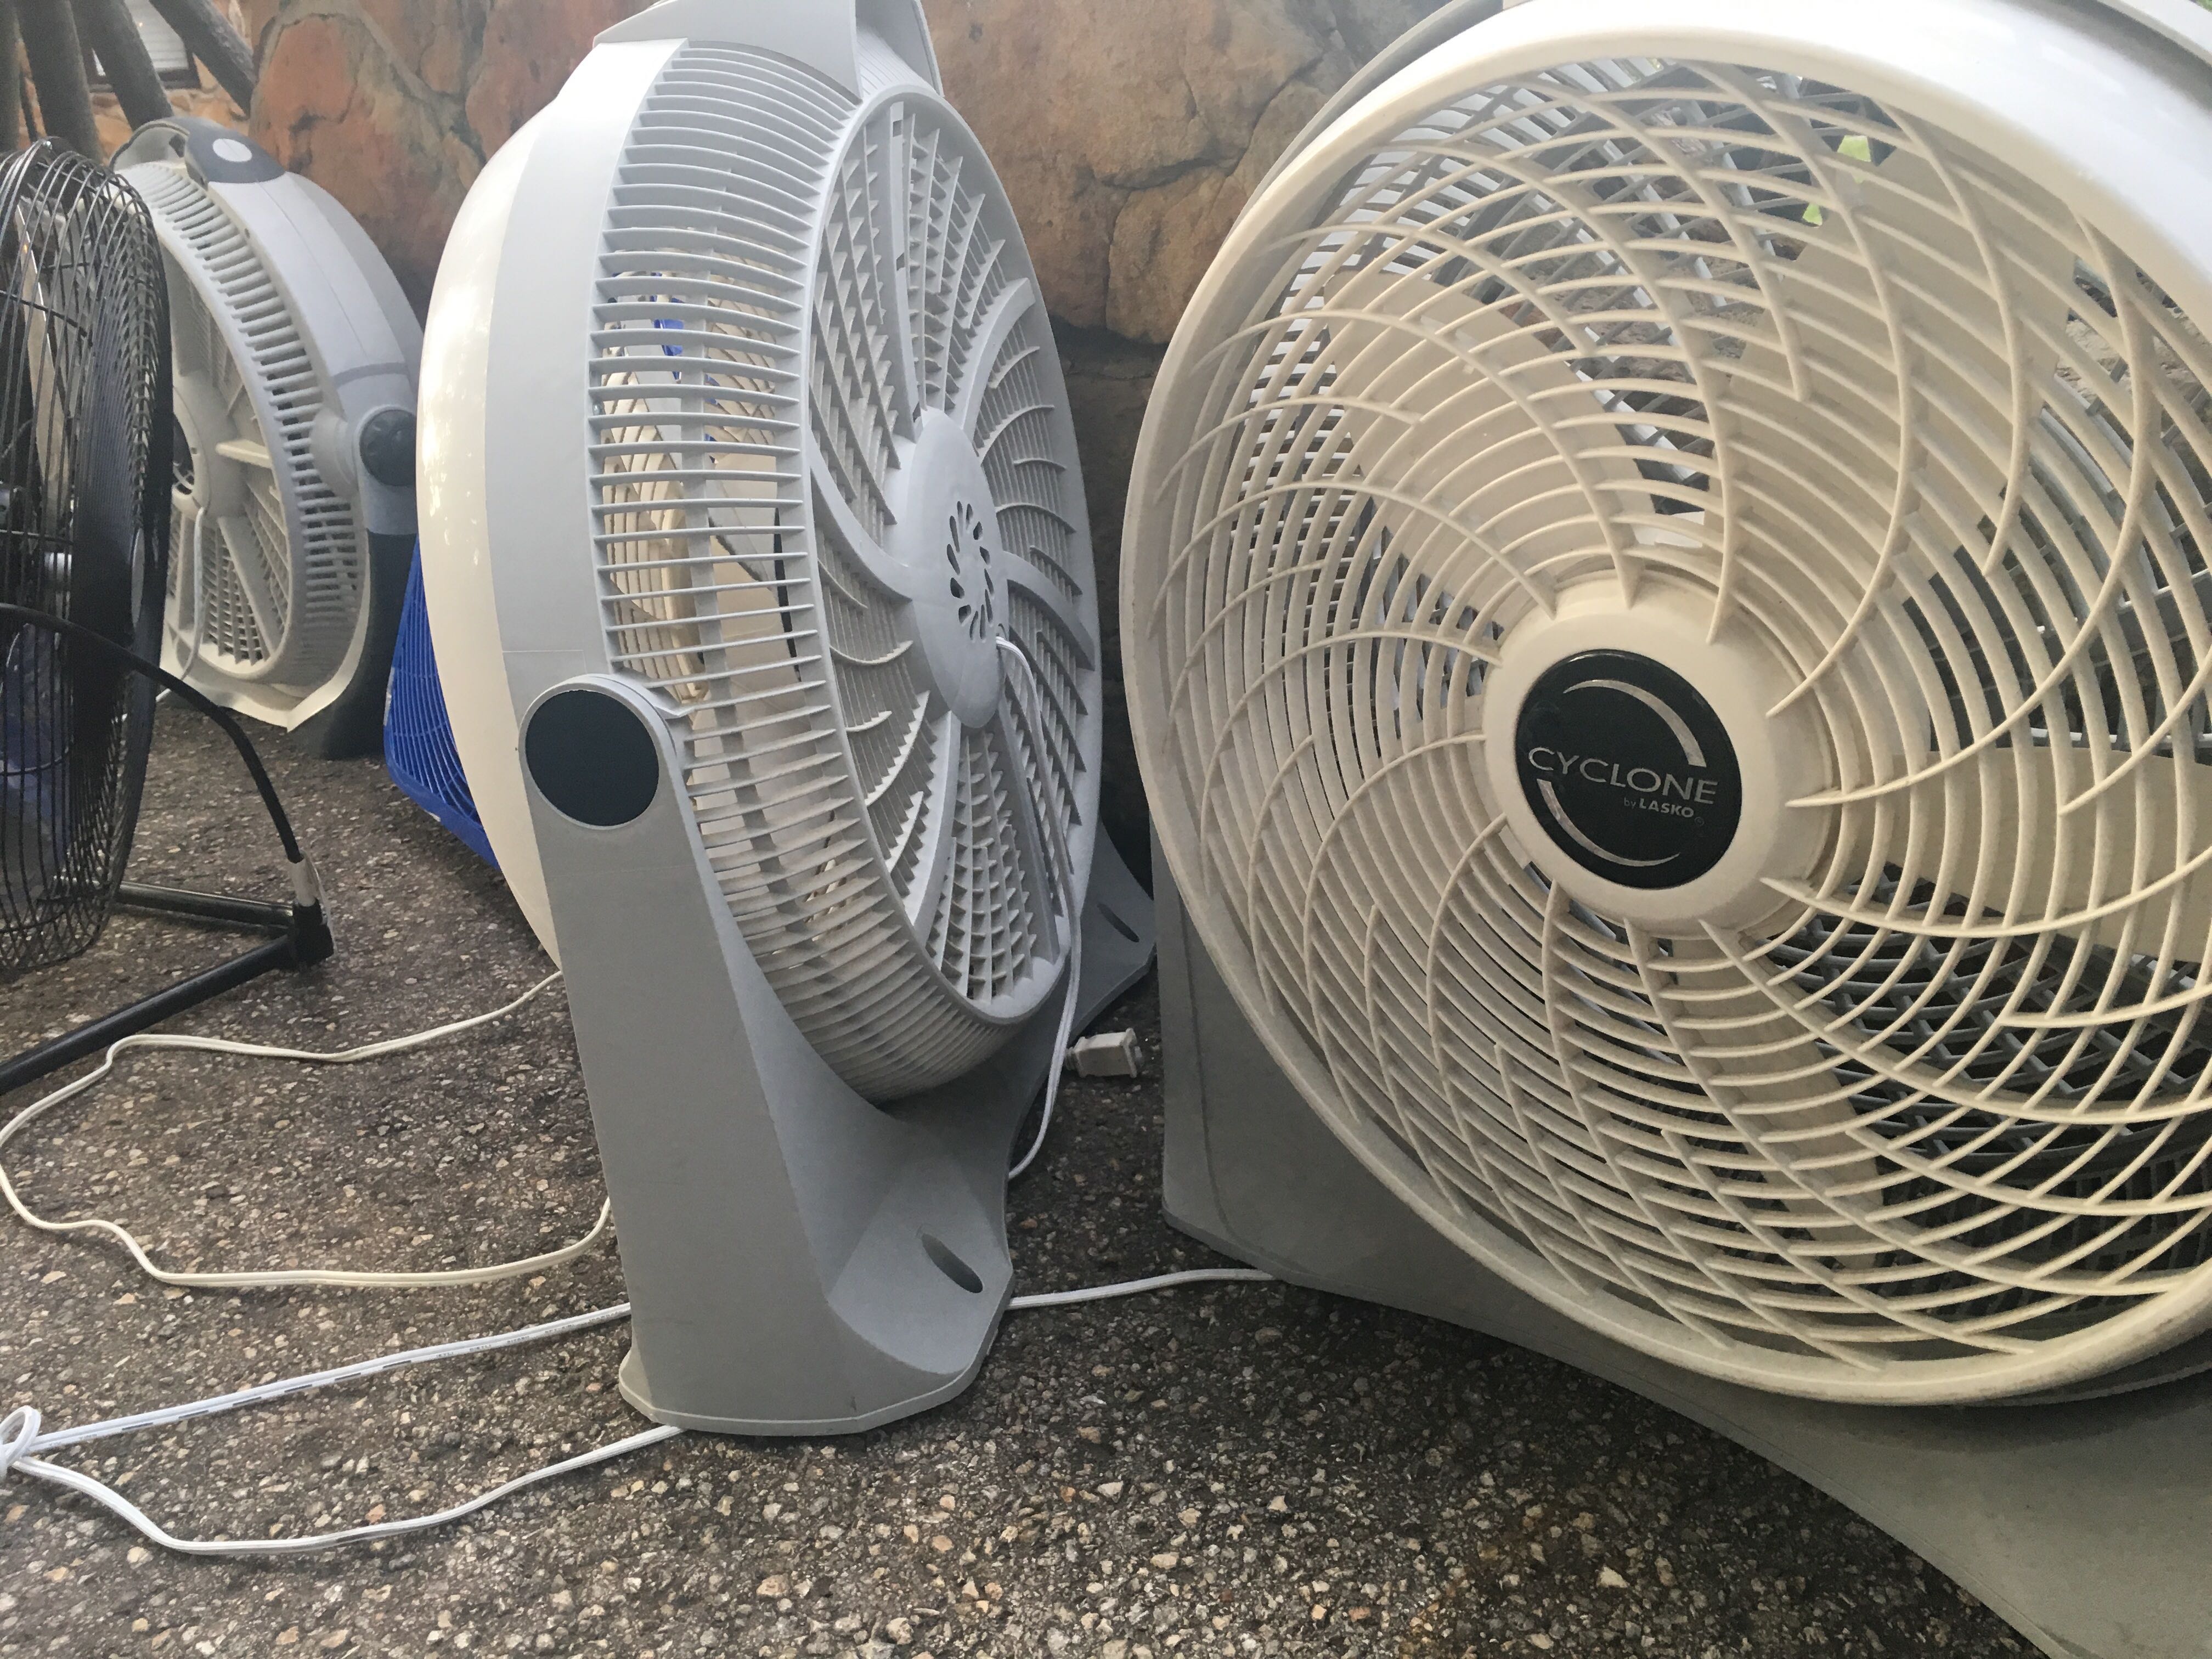
Box fans are a popular and cost-effective way to circulate air and keep a room cool during hot summer days. However, with regular use, box fans can accumulate dust, dirt, and other debris, which not only affect their performance but also compromise indoor air quality. Therefore, it is essential to regularly clean and maintain your box fan to ensure optimal functioning and longevity.
In this article, we will guide you through step-by-step instructions on how to clean a box fan effectively. By following these simple cleaning techniques, you can keep your box fan running smoothly and enjoy a fresh and clean airflow in your home.
Key Takeaways:
- Regularly cleaning your box fan every few months will ensure optimal performance, prolong its lifespan, and maintain a healthy indoor environment. Don’t forget to inspect for damage and wear to ensure safe and efficient operation.
- Gather the necessary cleaning supplies, unplug the fan, remove the front grille, clean the fan blades, wipe down the grille and housing, reassemble the fan, and enjoy the benefits of a well-maintained box fan.
Read more: How To Clean Dyson Fan
Gather Cleaning Supplies
Before you begin cleaning your box fan, it’s important to gather all the necessary cleaning supplies. Having everything ready will save you time and make the cleaning process more efficient. Here are the supplies you’ll need:
- Dust mask or protective mask
- Gloves
- Screwdriver
- Cloth or sponge
- Mild detergent or cleaning solution
- Soft-bristle brush or toothbrush
- Lint-free cloth or microfiber cloth
- Vacuum cleaner with hose attachment
- Compressed air canister (optional)
Once you have gathered these supplies, you are ready to start cleaning your box fan. It’s important to wear a dust mask or protective mask and gloves to avoid inhaling dust particles or coming into direct contact with dirt and debris.
Unplug the Box Fan
Before you start cleaning your box fan, it is crucial to ensure it is unplugged from the power source. This precautionary measure will prevent any accidents or electrical hazards while you are handling the fan.
Take a few moments to locate the power cord of your box fan and unplug it from the electrical outlet. Double-check that the fan is completely disconnected from power to ensure your safety throughout the cleaning process.
It is also recommended to place the box fan on a stable and flat surface, such as a table or workbench, to make it easier to clean and prevent any accidental damage. With the box fan unplugged and in a safe position, you can proceed to the next step of removing the front grille.
Remove the Front Grille
Once the box fan is unplugged and positioned on a stable surface, you can begin removing the front grille. The grille is the protective cover that sits in front of the fan blades, and it is usually held in place by clips or screws.
Using a screwdriver, carefully unscrew the screws securing the front grille in place. If your box fan has clips, gently press and release them to detach the grille from the fan housing.
After removing the screws or releasing the clips, carefully lift the front grille away from the fan. Be cautious while handling the grille as it may have sharp edges. Set the grille aside in a safe place to clean separately later.
Now that the front grille is removed, you can access the fan blades and clean them thoroughly to remove any accumulated dust or dirt. Let’s move on to the next step of cleaning the fan blades.
Clean the Fan Blades
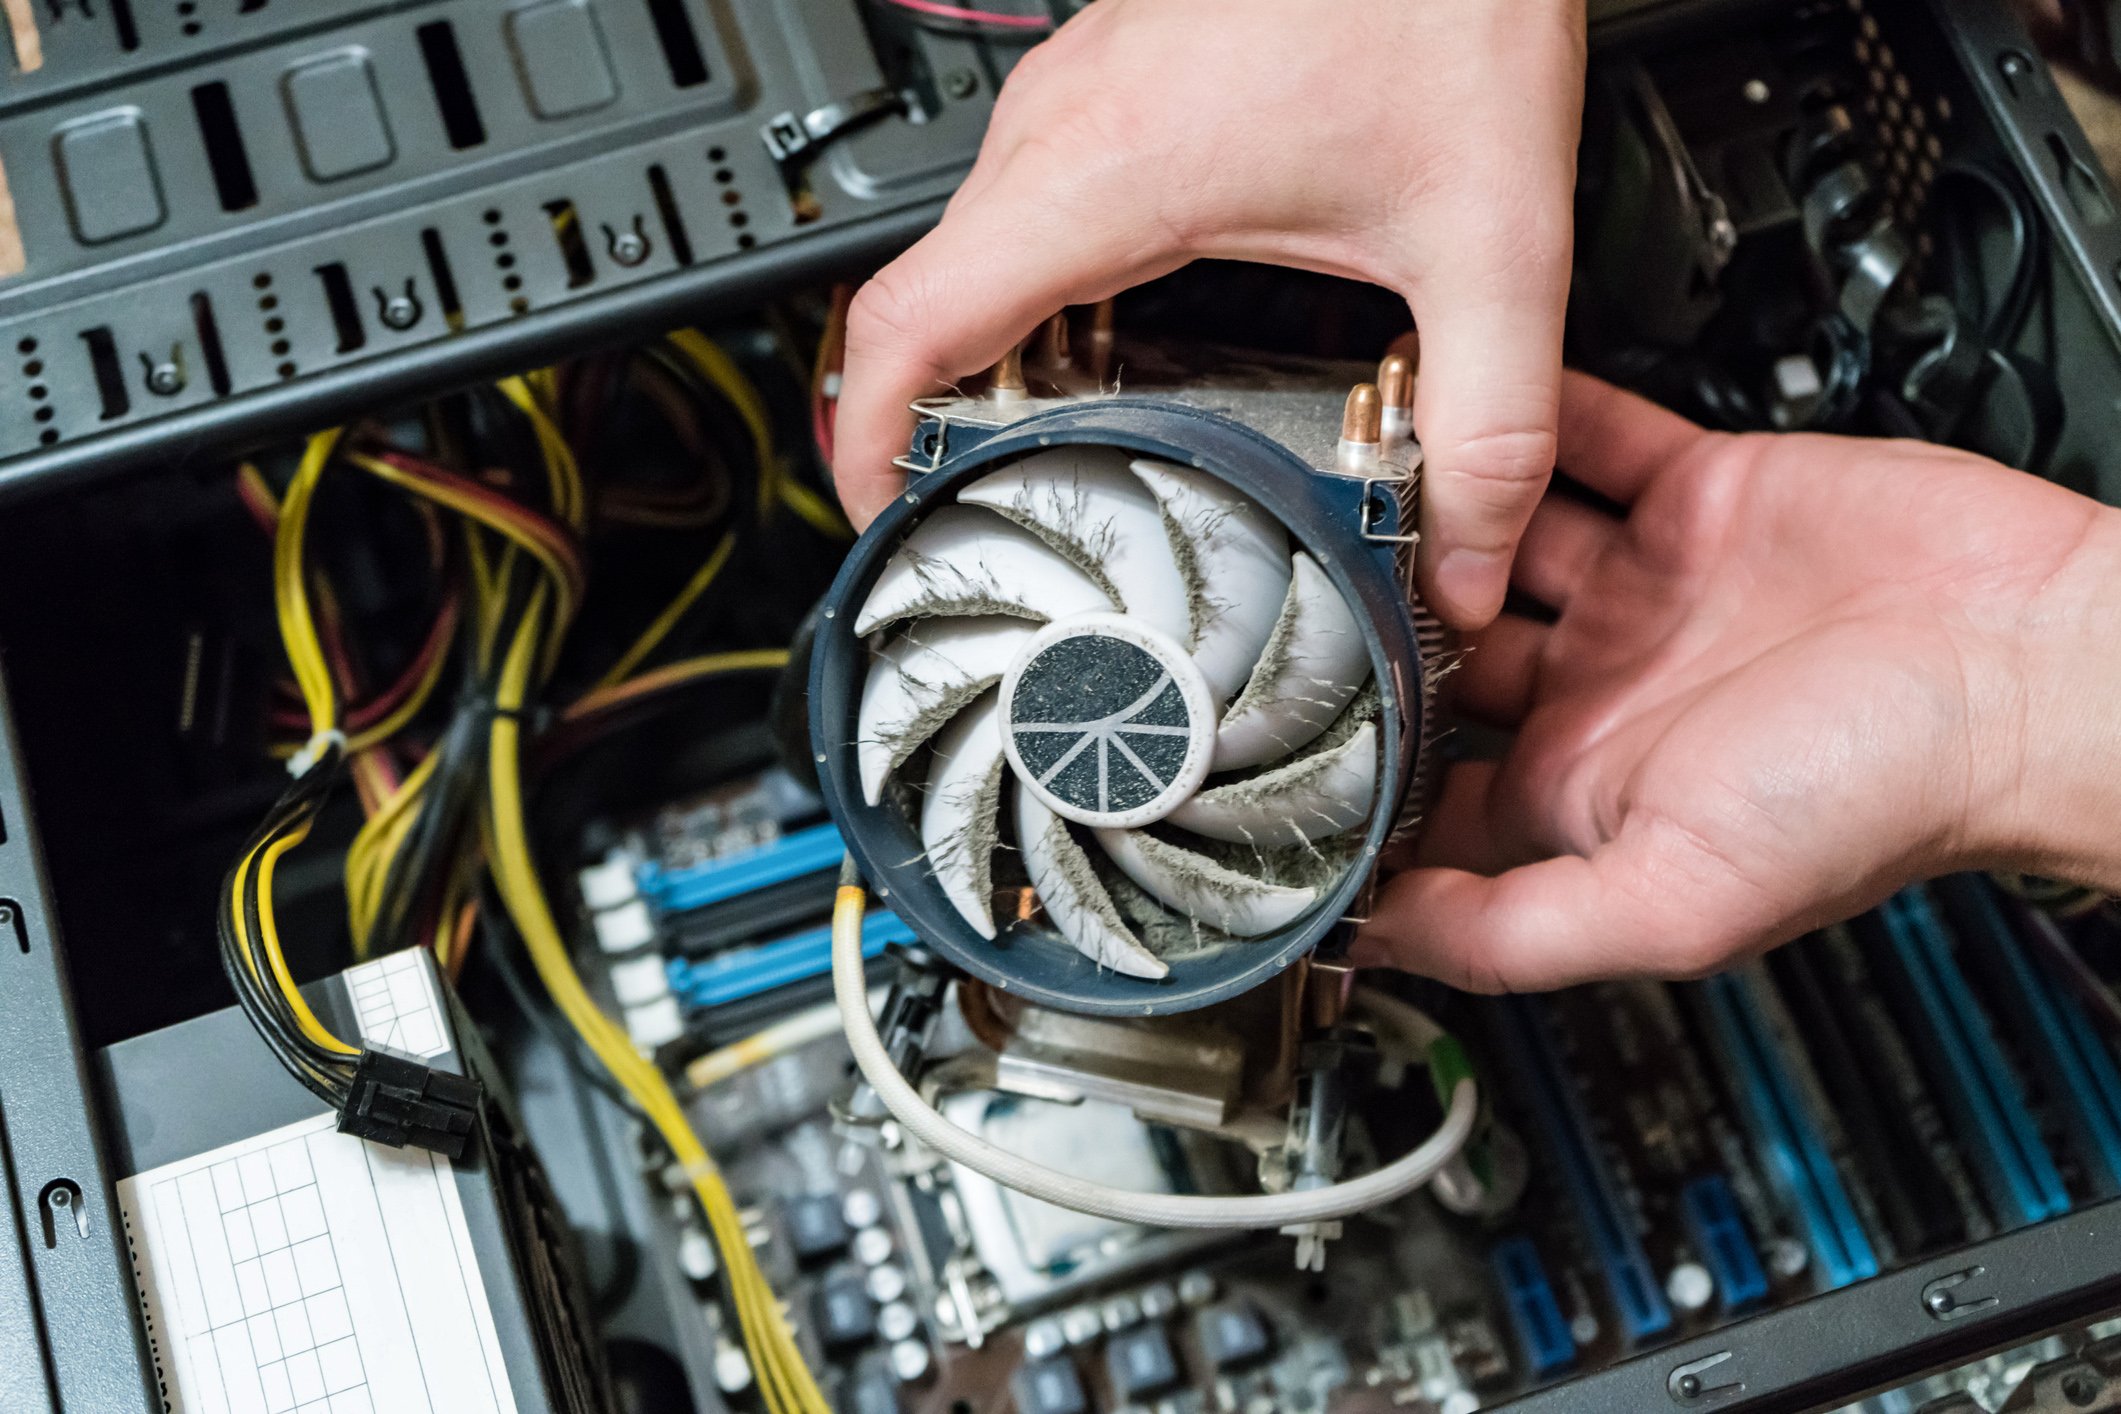
With the front grille removed, you can now focus on cleaning the fan blades, which are responsible for circulating air. Over time, these blades can accumulate dust, debris, and even pet hair, affecting the performance of your box fan. Cleaning the fan blades regularly will ensure optimal airflow and reduce the risk of allergies or respiratory issues.
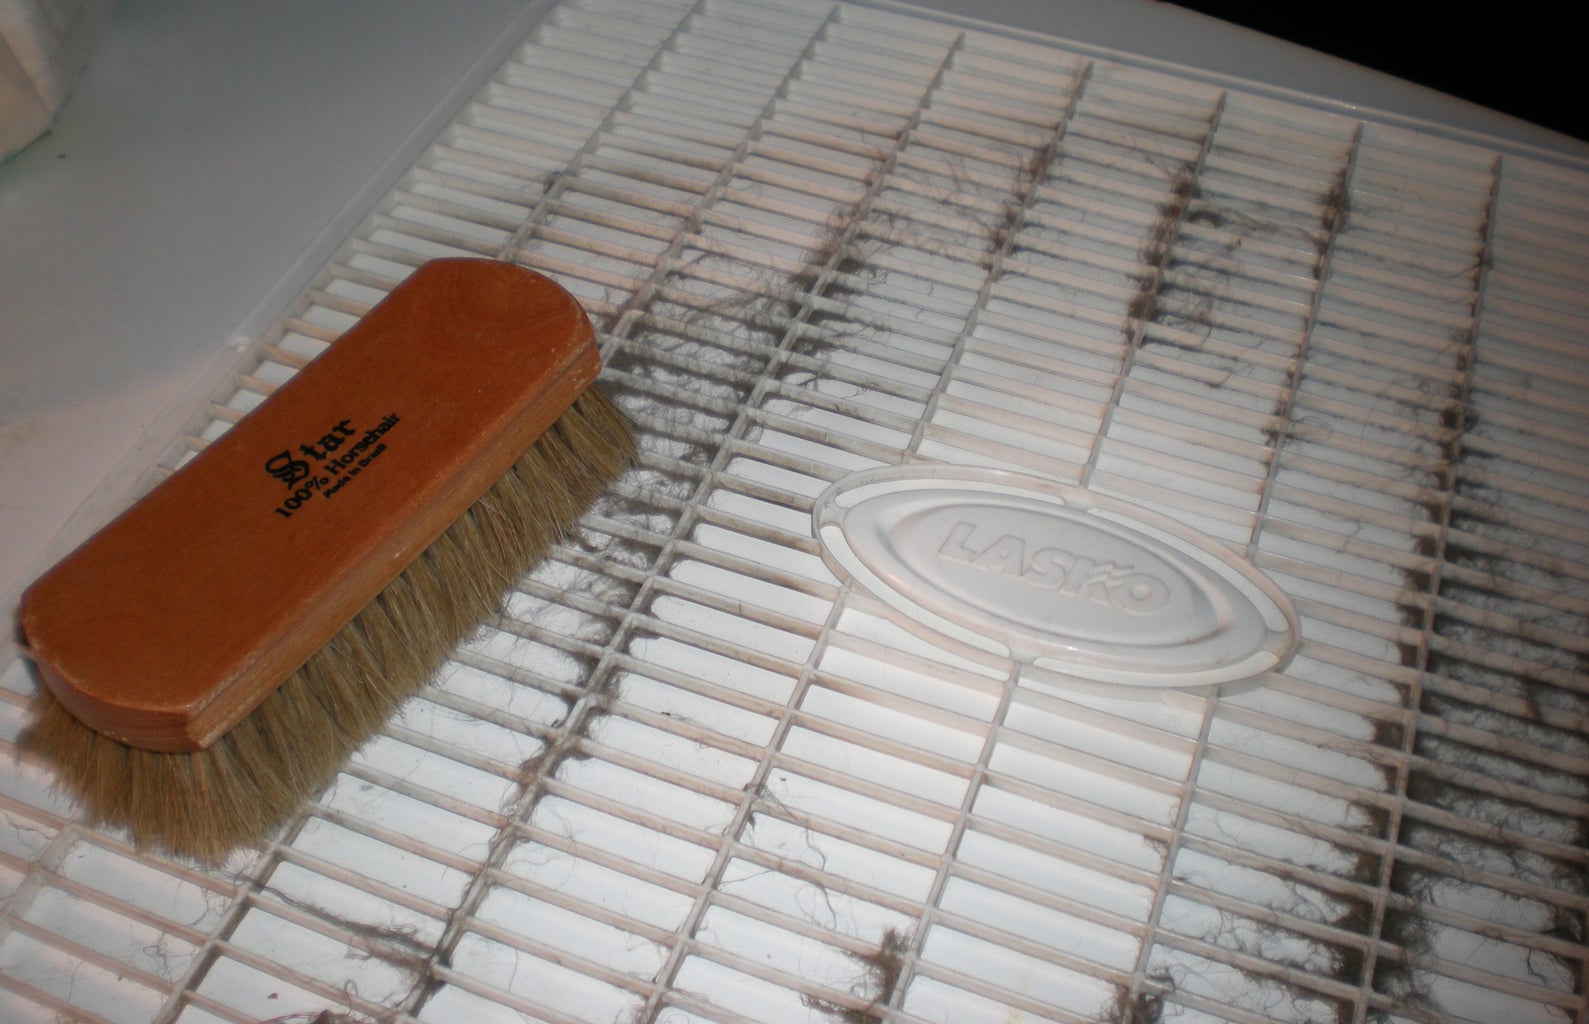
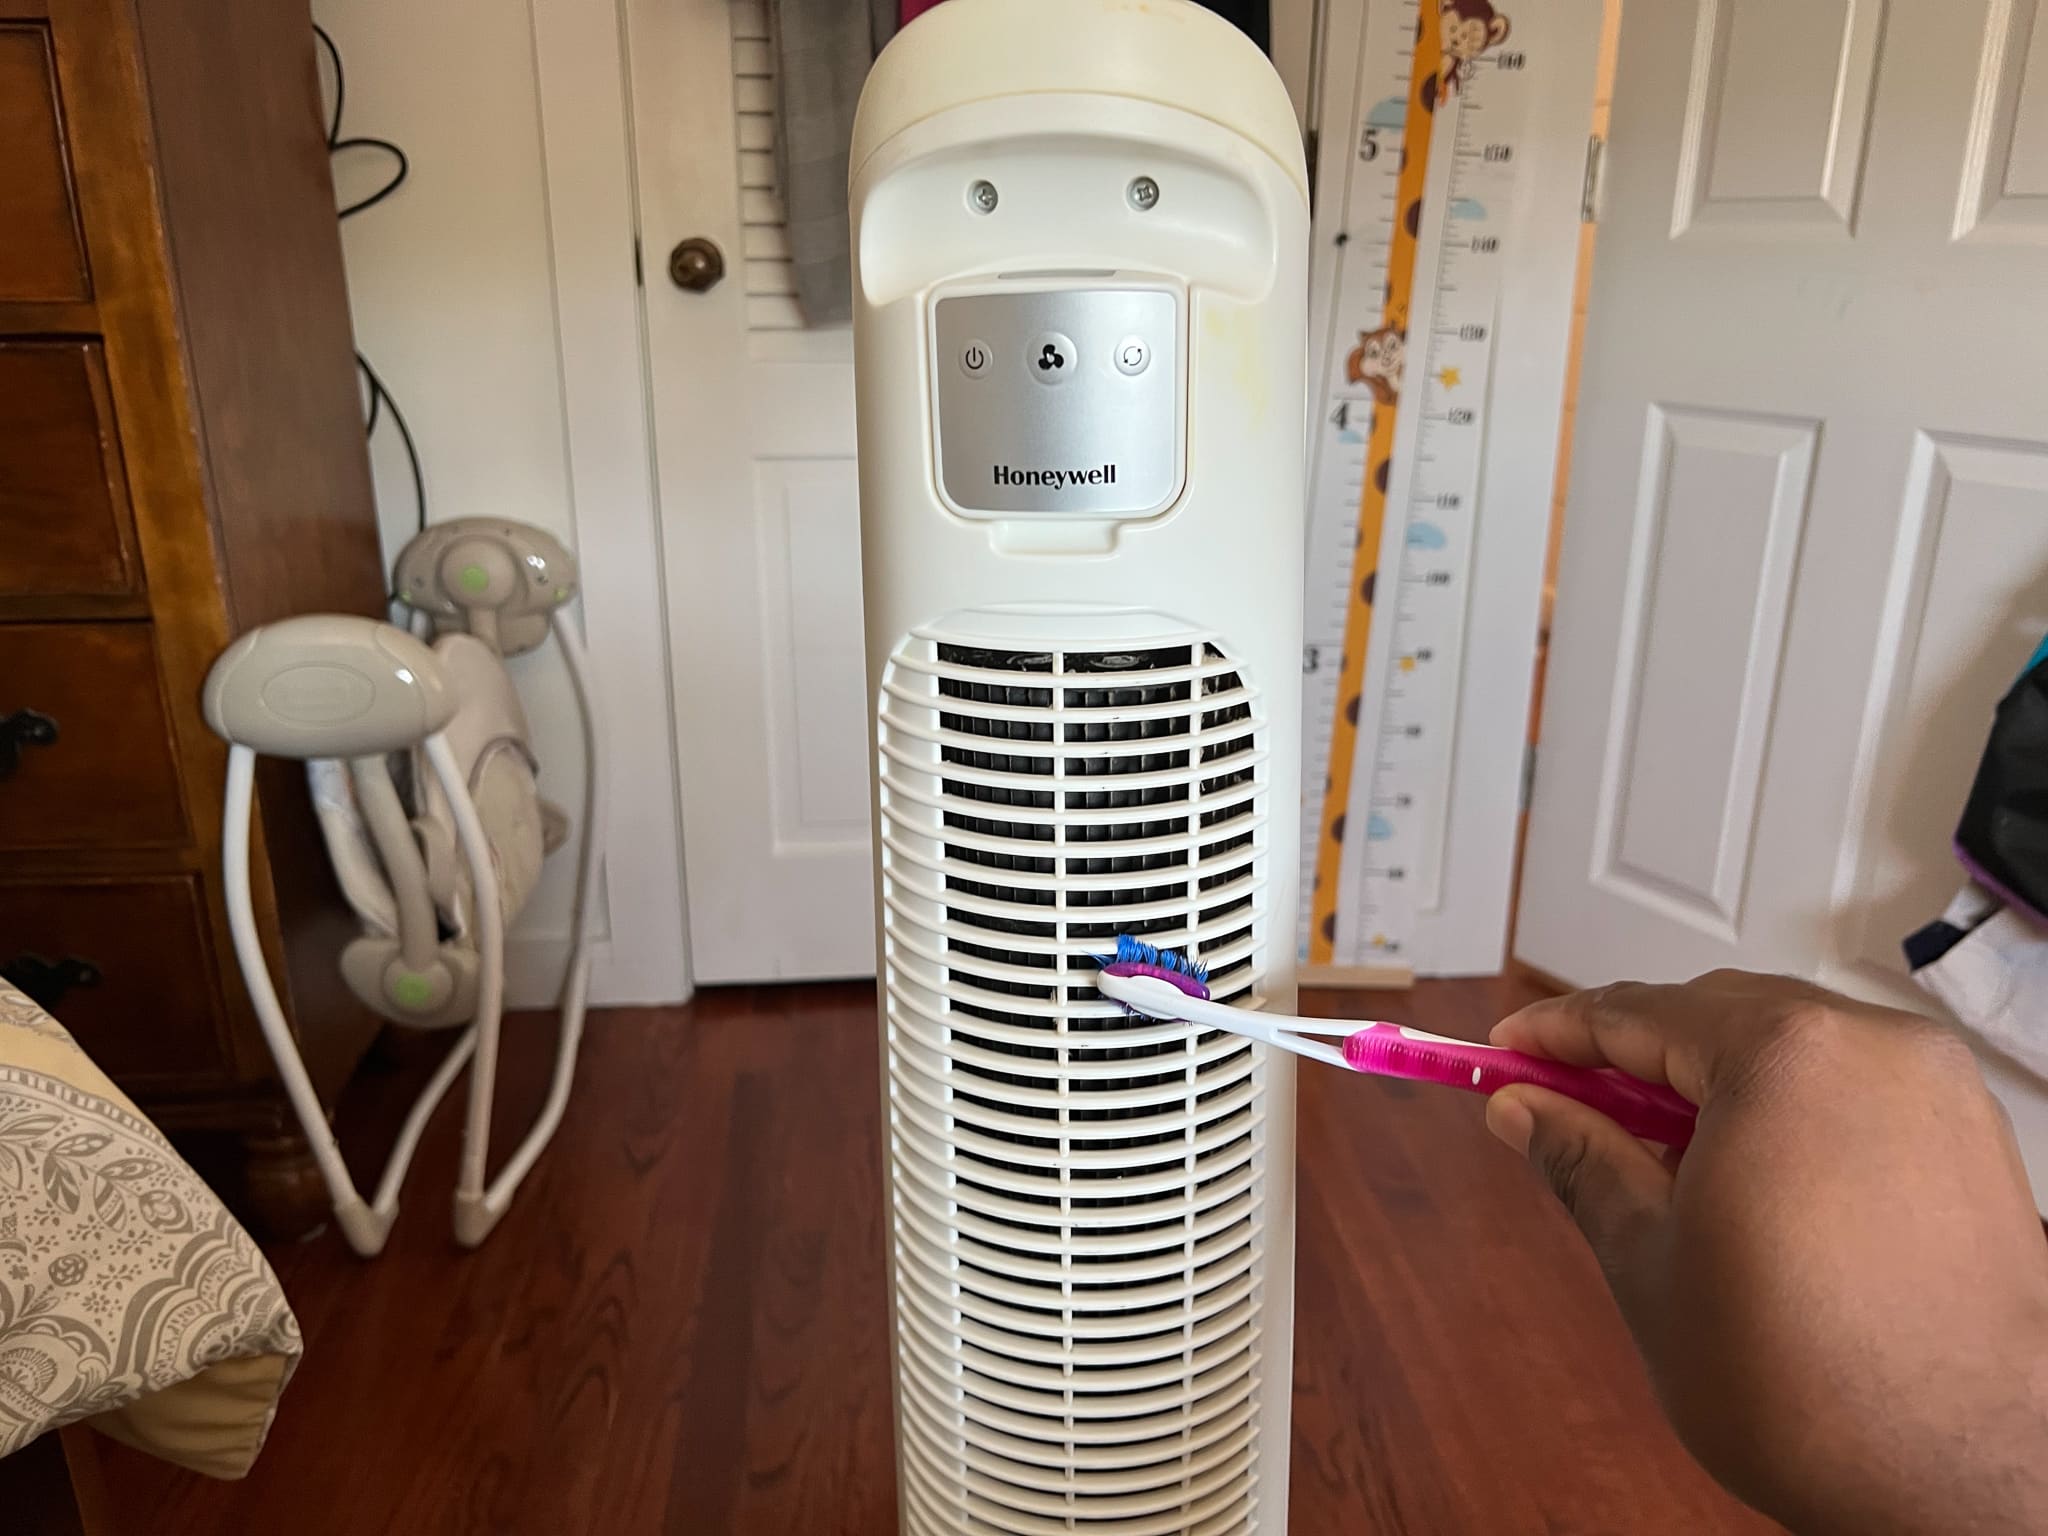
Start by using a soft-bristle brush or a toothbrush to gently brush away loose dirt and dust from the fan blades. Be thorough, making sure to clean both sides of each blade. Alternatively, you can use a vacuum cleaner with a hose attachment to remove loose debris.
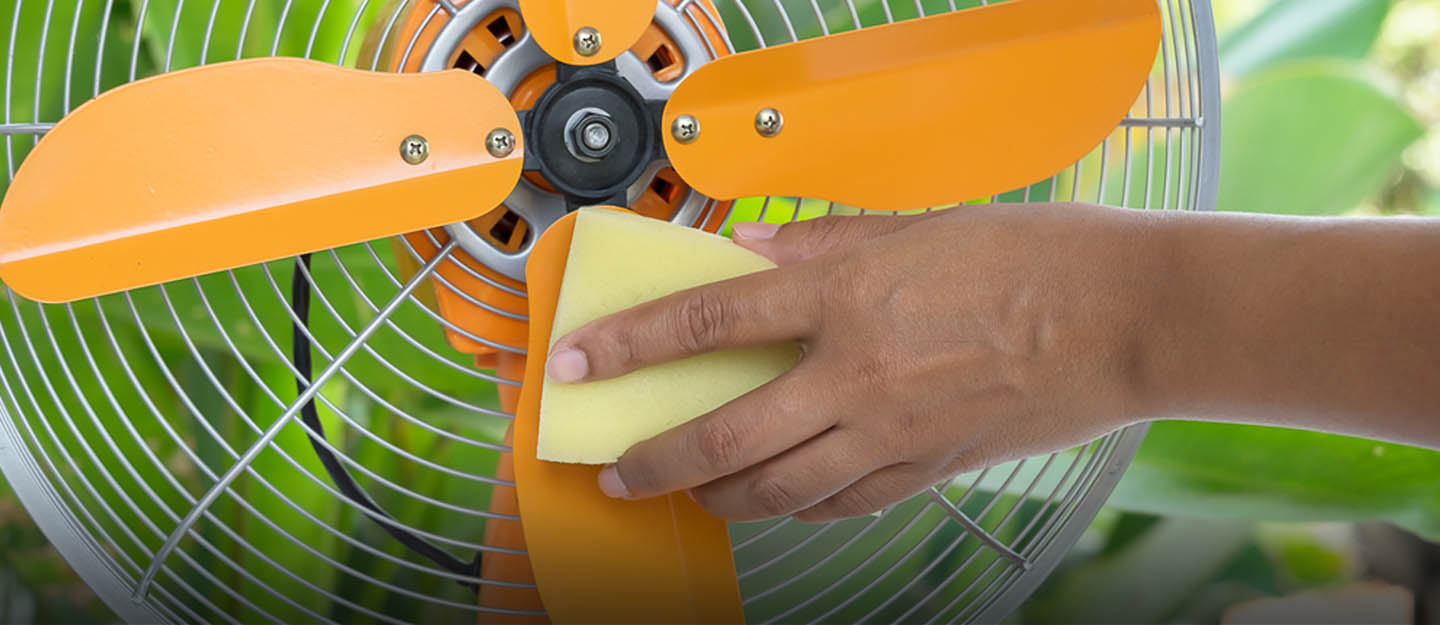
If the blades are particularly dirty or have stubborn grime, you can use a mild cleaning solution or detergent. Mix a few drops of the solution with water in a small bowl. Dampen a cloth or sponge in the solution and carefully wipe down each blade, removing any dirt or residue.
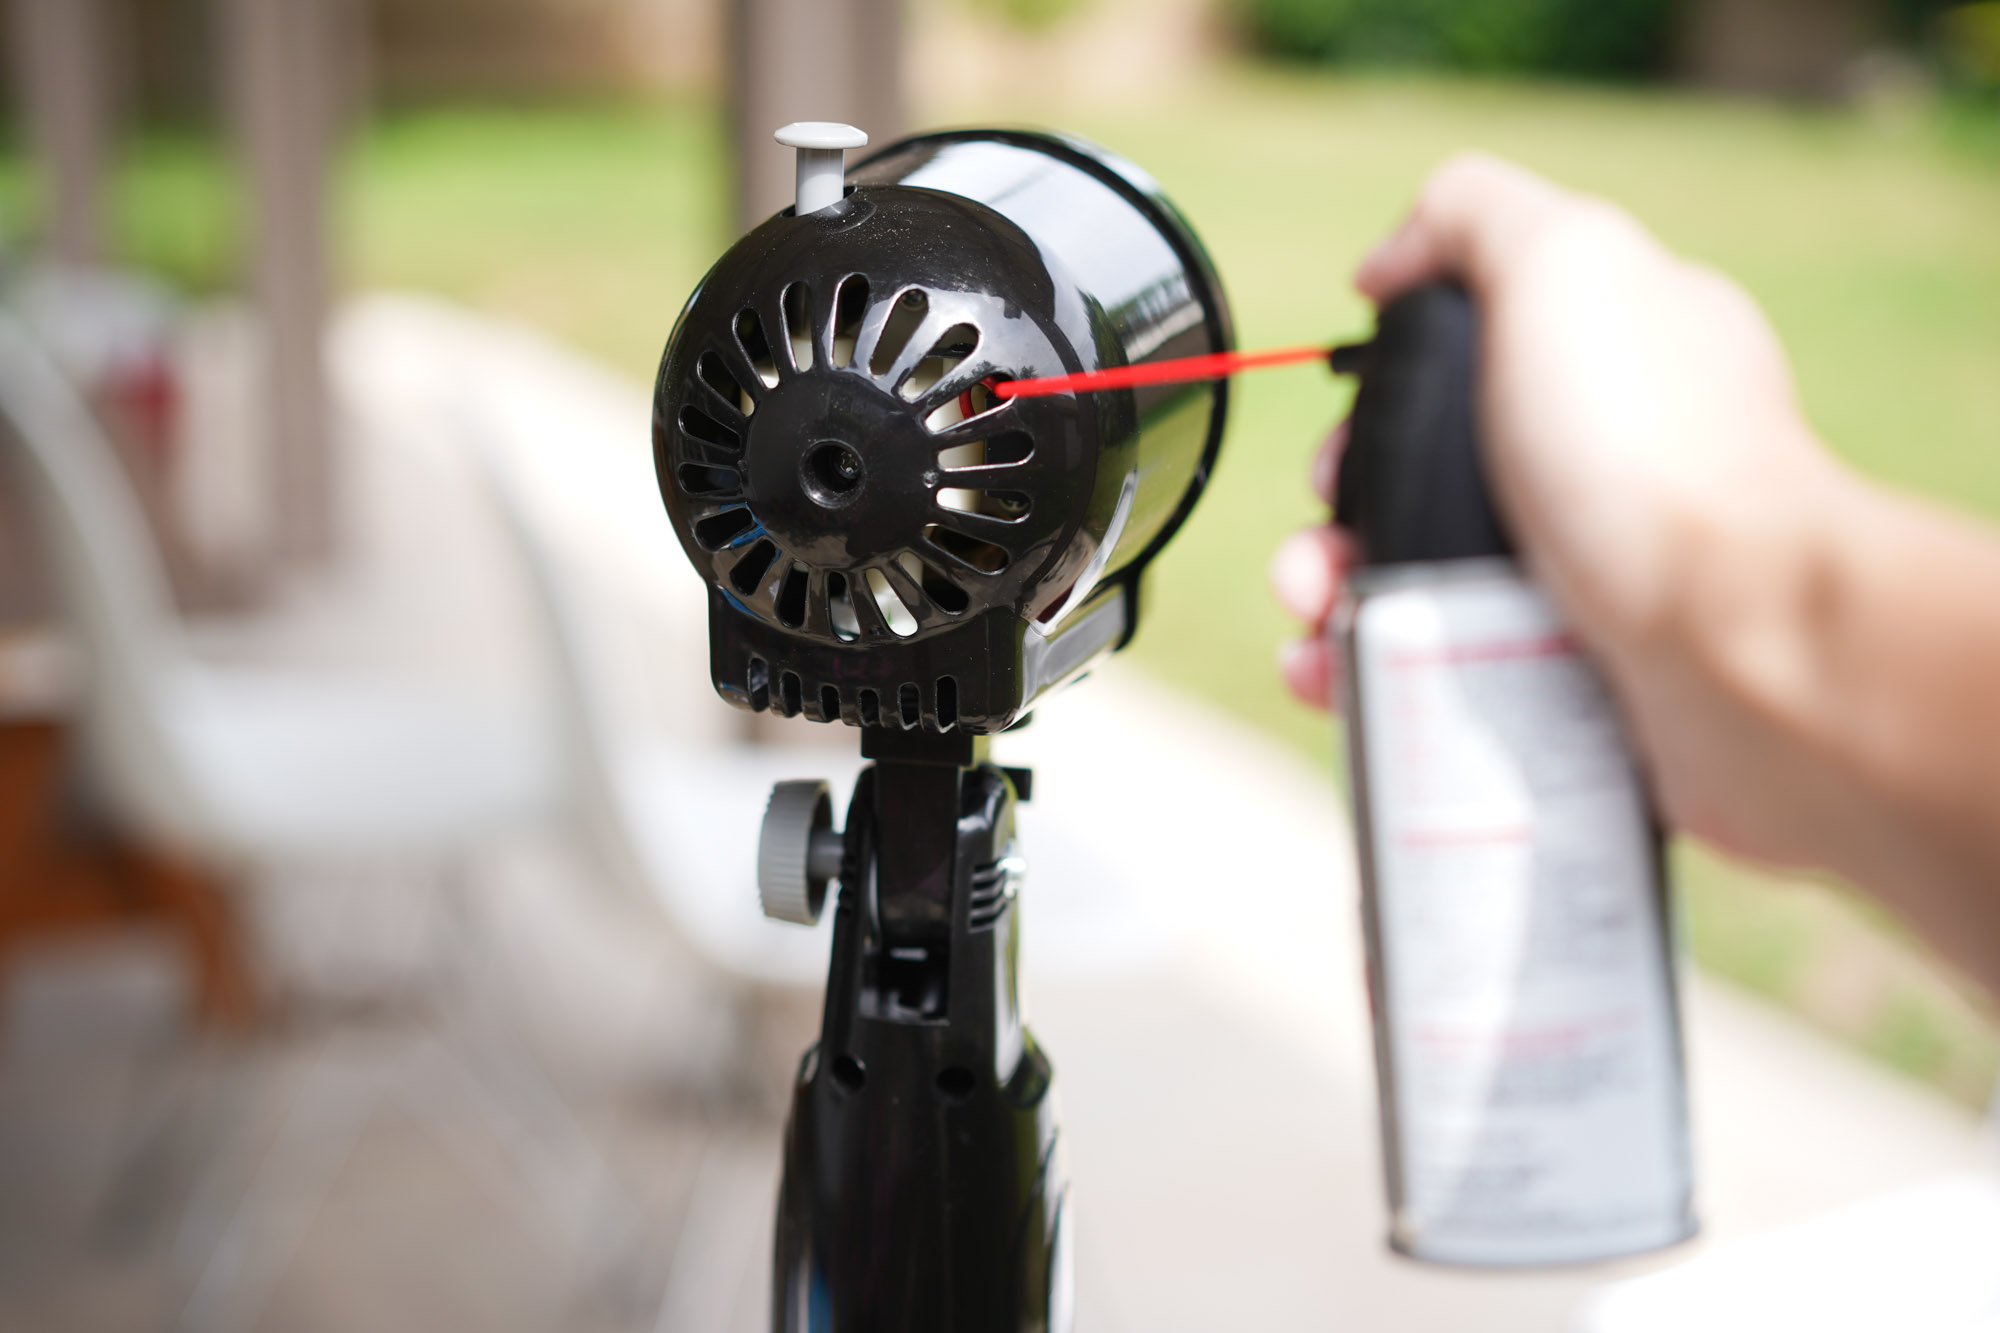
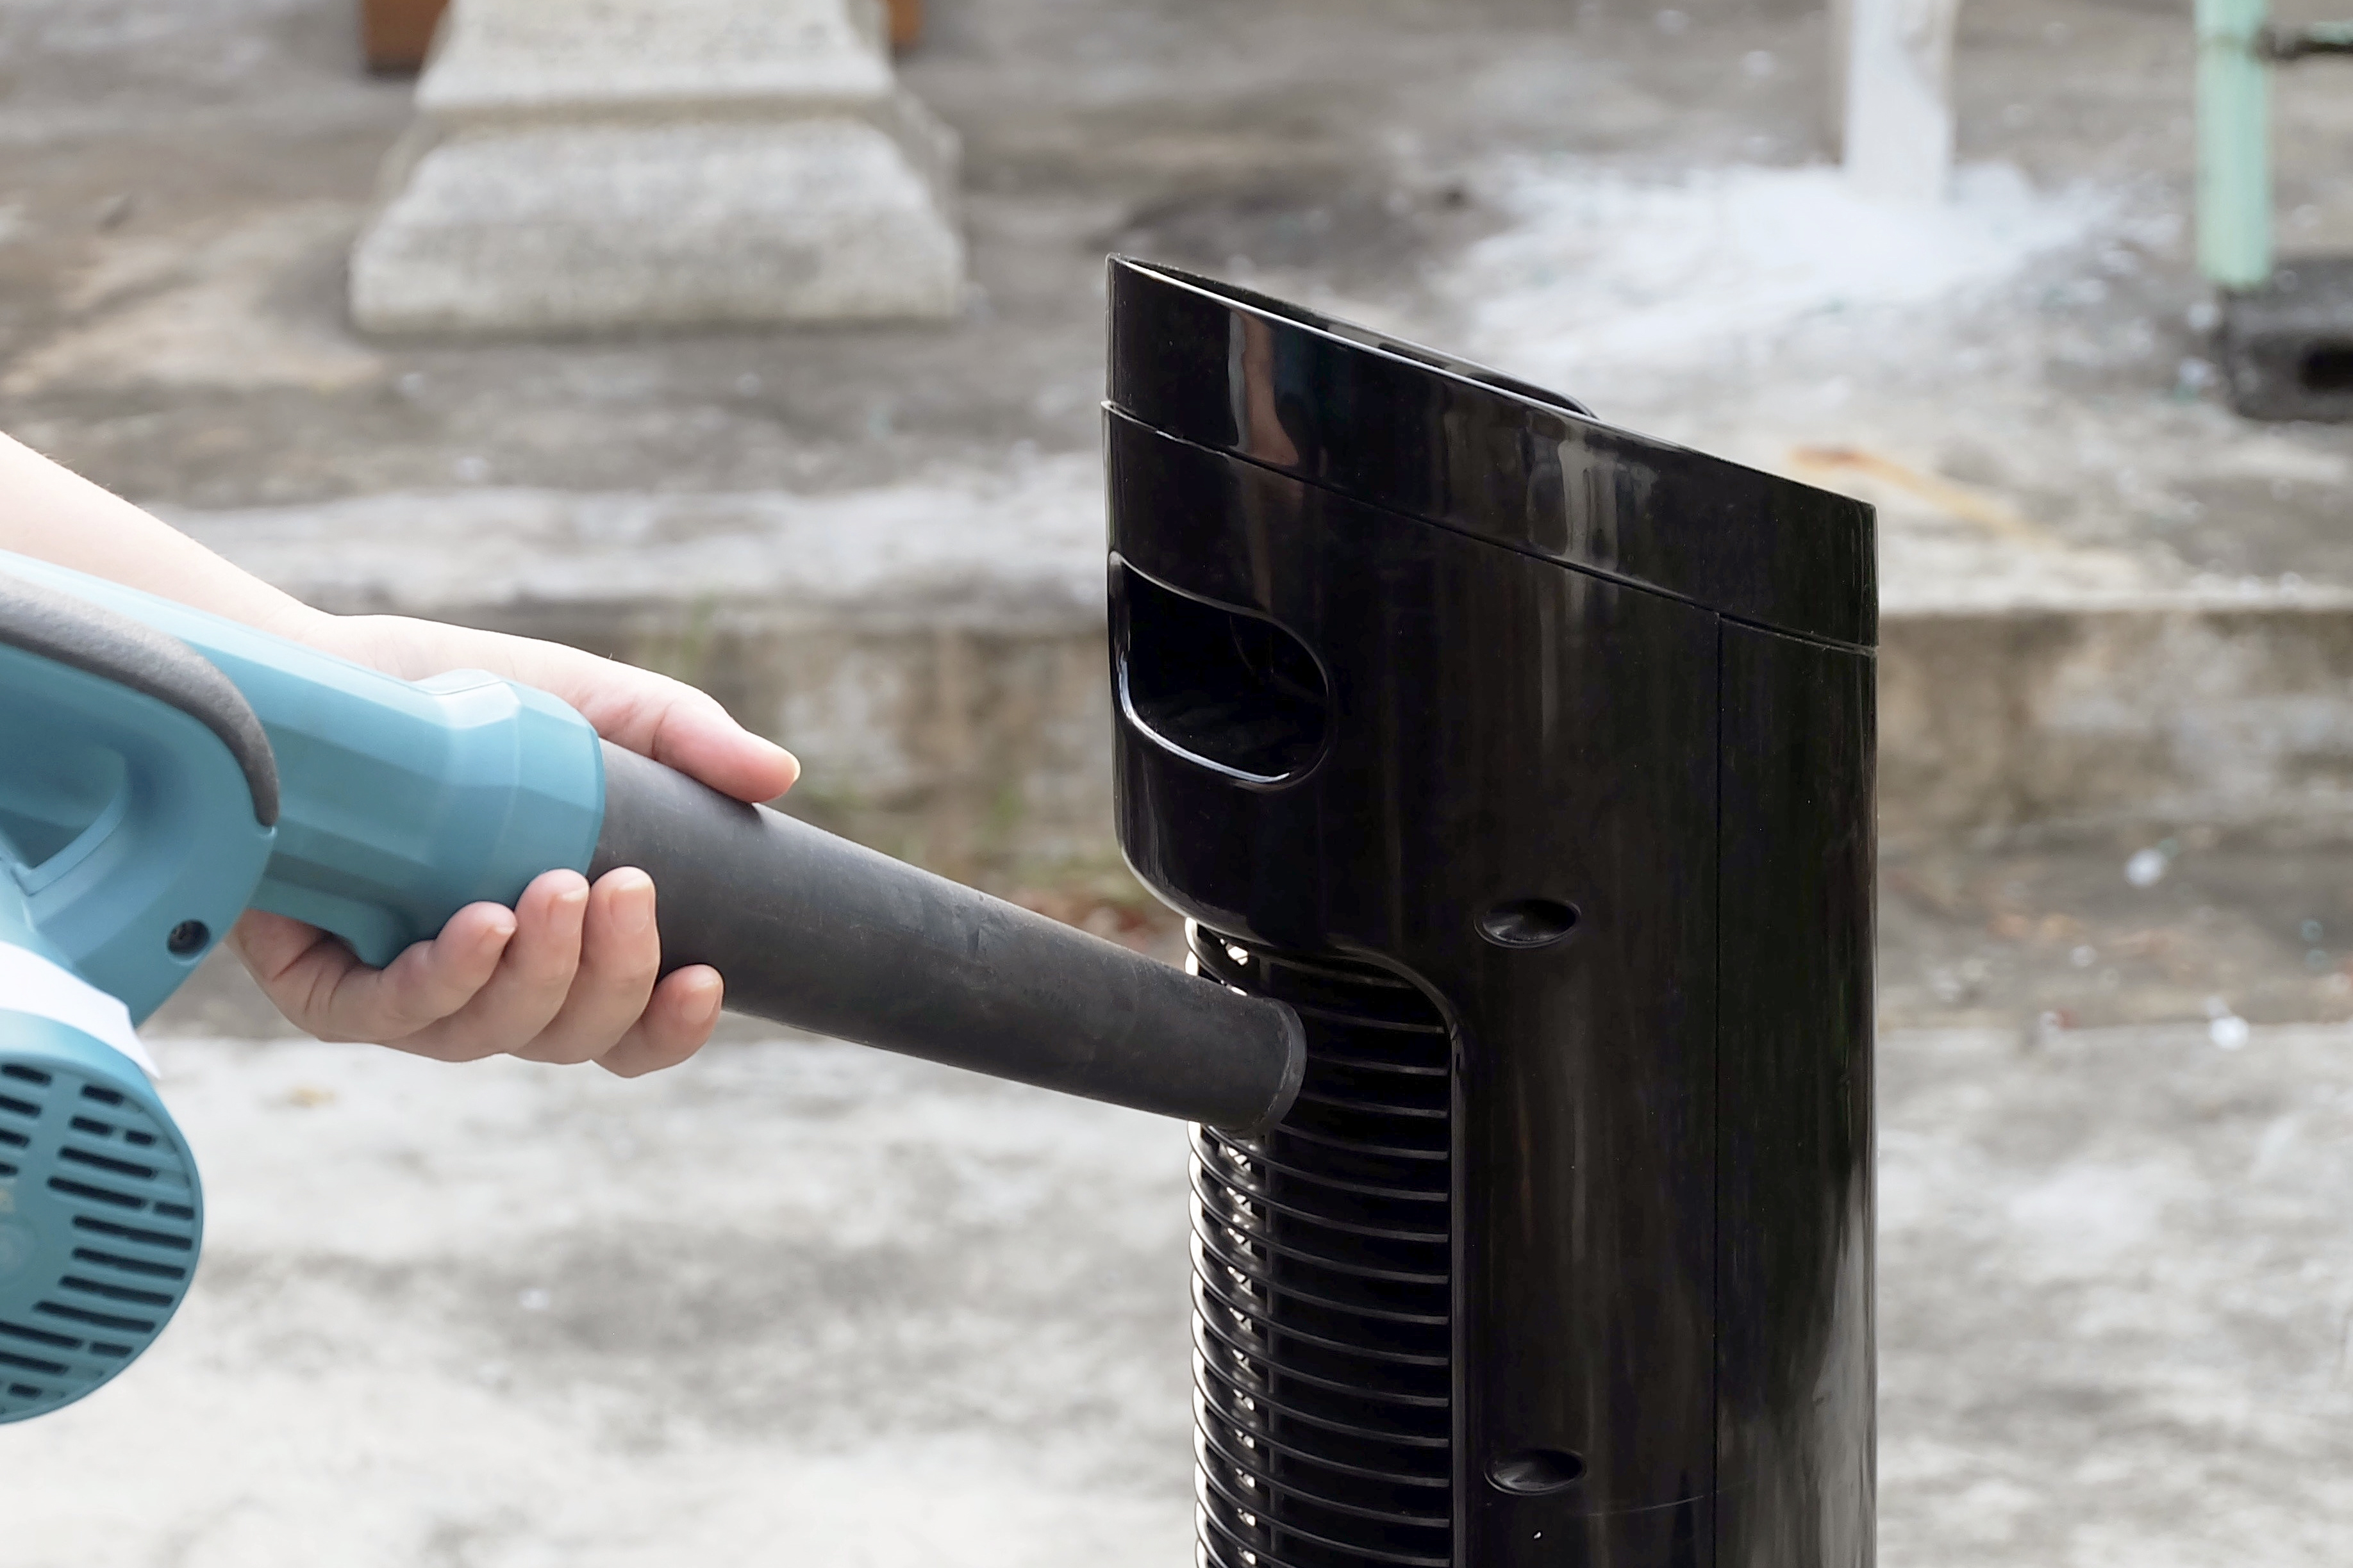
For hard-to-reach areas or tight spots between the blades, you can use a compressed air canister to blow away the dust. Ensure you hold the canister at a safe distance to prevent any damage to the fan blades or motor.
Once you have cleaned the fan blades, give them a final wipe with a lint-free or microfiber cloth to remove any remaining moisture or cleaning solution. Ensure the blades are completely dry before moving on to the next step.
Now, let’s continue the cleaning process by wiping down the front grille and the fan housing.
To clean a box fan, start by unplugging it and removing the front grill. Use a vacuum with a brush attachment to remove dust and debris from the blades and grill. Wipe down the blades and grill with a damp cloth, and allow them to dry completely before reassembling the fan.
Read more: How To Clean A Window Fan
Wipe Down the Grille and Housing
After cleaning the fan blades, it’s time to focus on wiping down the front grille and the fan housing. These components can accumulate dust, dirt, and grime, impacting the overall cleanliness and efficiency of your box fan.
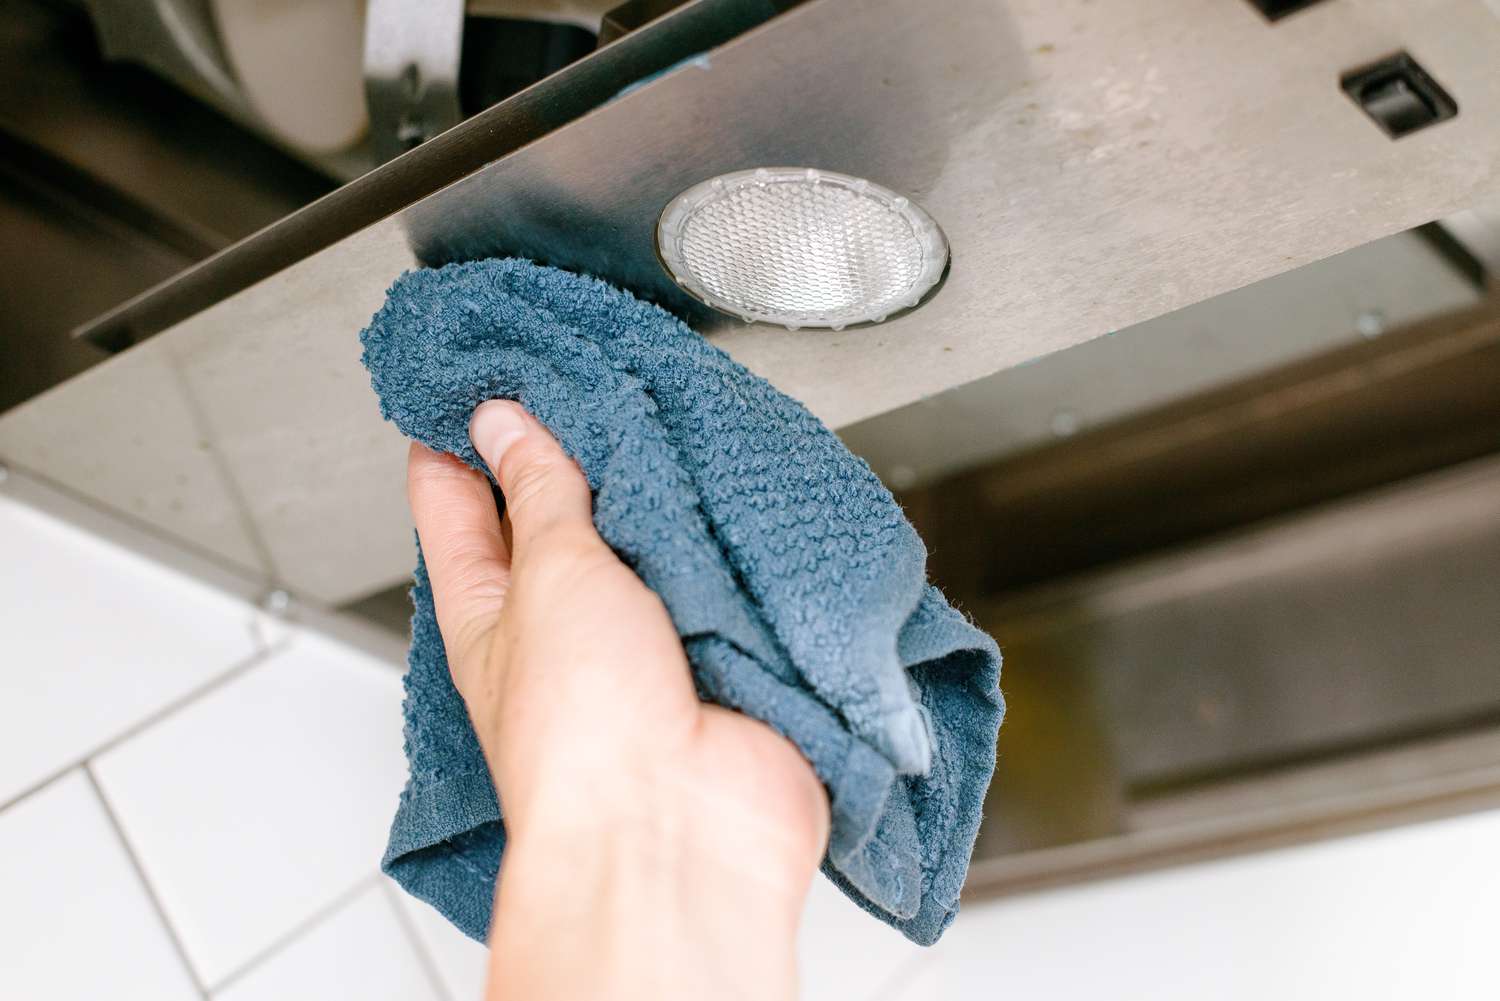
Start by using a damp cloth or sponge to gently wipe the front grille. Pay attention to the corners and edges, as these areas tend to collect more dust and dirt. If necessary, you can use a mild detergent or cleaning solution to remove stubborn stains or grime. Ensure you wring out any excess liquid from the cloth or sponge to prevent water from seeping into the fan motor.
Next, turn your attention to the fan housing. Use a clean, damp cloth or sponge to wipe down the entire surface, removing any dust or dirt that may have accumulated. Be careful around any openings or vents, ensuring that water or cleaning solution does not enter these areas. If needed, you can use a toothbrush or soft-bristle brush to gently clean smaller crevices or hard-to-reach spots.
Once you have thoroughly wiped down the front grille and fan housing, use a lint-free or microfiber cloth to dry these components. Ensuring they are completely dry will prevent any moisture from causing damage to the motor or affecting the fan’s performance.
With the front grille and fan housing cleaned and dried, you can now move on to reassembling the box fan.
Reassemble the Box Fan
Now that you have completed the cleaning process for your box fan, it’s time to reassemble the components. Follow these steps to ensure the fan is properly put back together:
- Take the front grille that you set aside earlier and align it with the fan housing. Carefully line up the clips or screw holes.
- If your box fan has clips, gently press them until they securely fasten the front grille in place. Alternatively, if you removed screws, use a screwdriver to reattach them.
- Double-check that the front grille is placed correctly and is tightly secured to the fan housing.
- Once the front grille is back in place, take a moment to ensure all the blades are clean and free from any dirt or debris.
- Plug the box fan back into the electrical outlet. Test it to ensure that it is working correctly.
With the box fan reassembled and in proper working order, you can now enjoy the benefits of clean and fresh air circulation in your home.
Remember, regular cleaning and maintenance of your box fan will help prolong its lifespan and ensure optimal performance. It is recommended to clean your box fan every few months or more frequently if you use it in dusty environments.
Before concluding, let’s go over some final tips and recommendations to help you keep your box fan in great condition.
Final Tips and Recommendations
Cleaning your box fan regularly is essential for maintaining its performance and prolonging its lifespan. Here are some final tips and recommendations to help you with the upkeep of your box fan:
- Consider using a dust or air purifier in the room where you use your box fan. This will help reduce the amount of dust and allergens that accumulate on the fan blades and grille.
- If you live in a particularly dusty or dirty area, you may need to clean your box fan more frequently to prevent excessive buildup.
- Inspect the fan blades and grille for any signs of damage or wear. If you notice any cracks, chips, or loose parts, it’s important to get them repaired or replaced to ensure safe operation.
- Regularly clean the area surrounding the box fan to prevent dust and debris from accumulating and being blown back into the fan.
- Consider using a box fan cover or protective case when the fan is not in use. This will help keep it clean and prevent dust from settling on the blades and grille.
- Always follow the manufacturer’s instructions for cleaning and maintenance specific to your box fan model.
- It is essential to unplug the box fan before cleaning to prevent any accidents or electrical hazards.
By following these tips and recommendations, you can ensure that your box fan remains clean, efficient, and functioning at its best. Regular maintenance will not only improve airflow and cooling but also contribute to a healthier indoor environment.
Remember, a well-maintained box fan can make a significant difference in the comfort of your space during those hot summer months.
With that, you have all the information you need to clean your box fan effectively. Happy cleaning!
Conclusion
Cleaning your box fan is a simple yet crucial task that should not be overlooked. Regular maintenance of your box fan ensures optimal performance, prolongs its lifespan, and helps maintain a clean and healthy indoor environment.
Throughout this article, we have provided step-by-step instructions on how to clean a box fan effectively. From gathering the necessary cleaning supplies to reassembling the fan after cleaning, we have covered all the essential aspects of the cleaning process.
Remember to unplug the box fan before starting the cleaning process and to wear protective gear such as a dust mask and gloves. Taking these necessary precautions will keep you safe throughout the cleaning process.
Regularly cleaning your box fan every few months, or more frequently in dusty environments, will ensure that it functions at its best. Additionally, incorporating a dust or air purifier in the room can help reduce the buildup of dust and allergens on your box fan.
Finally, don’t forget to inspect the fan blades and grille for any damage or wear. Repair or replace any parts as needed to ensure safe and efficient operation of your box fan.
By following these simple cleaning techniques and maintenance tips, you can keep your box fan running smoothly and enjoy a fresh and clean airflow in your home. So, take the time to clean your box fan regularly and enjoy the benefits of a cool and comfortable living space.
Frequently Asked Questions about How To Clean Box Fan
Was this page helpful?
At Storables.com, we guarantee accurate and reliable information. Our content, validated by Expert Board Contributors, is crafted following stringent Editorial Policies. We're committed to providing you with well-researched, expert-backed insights for all your informational needs.



0 thoughts on “How To Clean Box Fan”