Articles
How To Clean A Wind Machine Fan
Modified: August 28, 2024
Learn effective strategies and methods for cleaning wind machine fans in this comprehensive article. Keep your fan running smoothly with our expert tips and techniques.
(Many of the links in this article redirect to a specific reviewed product. Your purchase of these products through affiliate links helps to generate commission for Storables.com, at no extra cost. Learn more)
Introduction
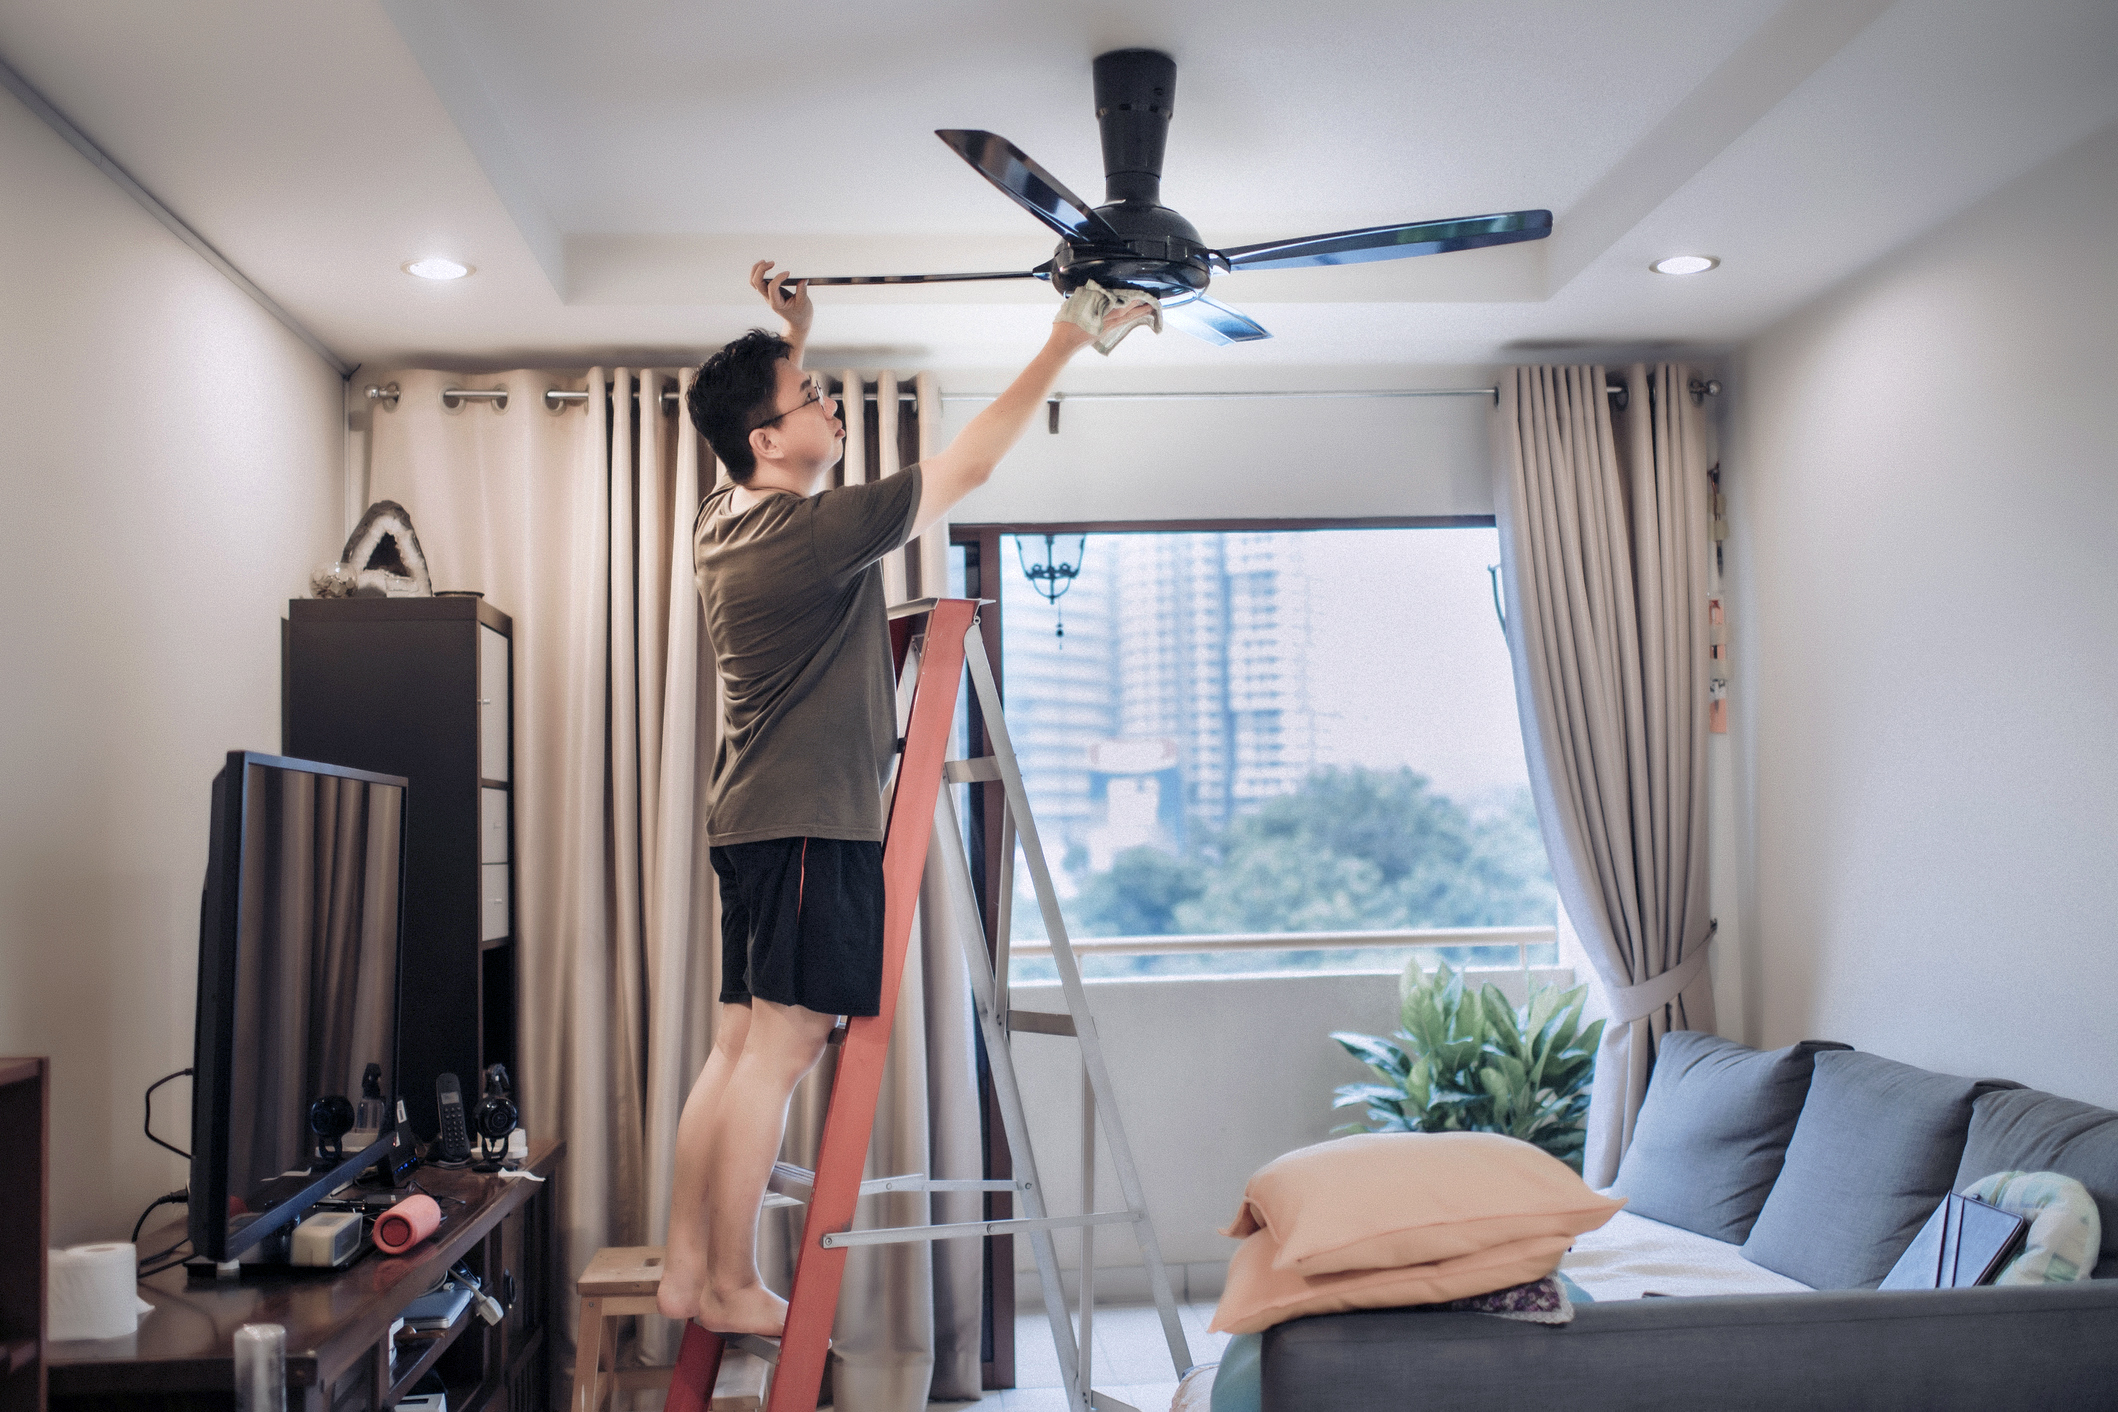
Having a wind machine fan can provide a refreshing and cool breeze during hot summer days or even help circulate air in a stuffy room. However, over time, dust and dirt can accumulate on the fan’s blades and grill, which can affect its performance and efficiency. Cleaning your wind machine fan regularly is essential to ensure that it operates effectively and maintains a clean and hygienic environment.
In this article, we will guide you through the step-by-step process of cleaning a wind machine fan. By following these simple instructions and using the right materials, you can keep your fan in optimal condition and enjoy its cooling benefits for years to come.
Key Takeaways:
- Regularly cleaning your wind machine fan is essential to maintain optimal performance and extend its lifespan. Follow the step-by-step guide to ensure efficient airflow and a clean, refreshing breeze in your space.
- Unplugging the fan, using the right materials, and following safety precautions are crucial for effective cleaning. Keep your wind machine fan in excellent condition to enjoy its cooling benefits for years to come.
Read also: 11 Amazing Wind Machine Fan for 2025
Materials Needed
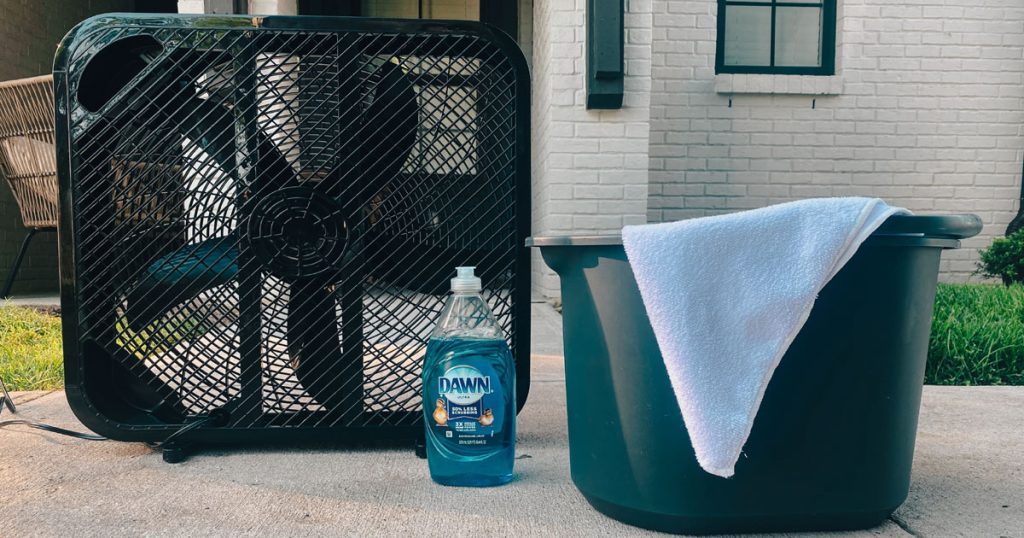
Before you begin cleaning your wind machine fan, gather the following materials:
- Soft cloth or microfiber cloth
- Dust mask or face mask
- Cleaning solution (mild dish soap or all-purpose cleaner)
- Warm water
- Small brush (toothbrush or paintbrush)
- Vacuum cleaner with a brush attachment
These materials are easily accessible and will help you effectively remove dirt, dust, and grime from your wind machine fan.
Step 1: Unplug the Wind Machine Fan
The first step in cleaning your wind machine fan is to ensure that it is unplugged from the power source. Safety is crucial when working with electrical appliances, and disconnecting the fan from the power supply will help prevent any accidents or injuries.
Make sure to locate the power cord and unplug it from the outlet or switch off the power supply if the fan is hardwired. Double-check that the fan is completely disconnected before proceeding to the next step.
It’s also a good idea to place the fan on a stable and secure surface where you have plenty of room to work comfortably. This will make the cleaning process easier and safer.
Step 2: Remove the Front Grill
Once the wind machine fan is safely unplugged, the next step is to remove the front grill. The grill is the protective cover that encloses the fan blades.
Start by examining the fan and locating the clips, screws, or latches that hold the front grill in place. Depending on the model of your fan, there may be different methods of securing the grill. Consult the fan’s user manual if you’re unsure how to remove it.
Once you’ve identified the attachment points, gently release the clips, unscrew the screws, or undo the latches to detach the front grill. Be cautious not to apply excessive force or use sharp objects that may damage the grill or the fan itself.
Some fans may have a latch or release button that allows for easy removal of the front grill. In that case, simply press the latch or button and slide the grill off.
After the front grill is detached, set it aside in a safe place to be cleaned later. Now you have access to the fan blades and can proceed to the next step of cleaning them.
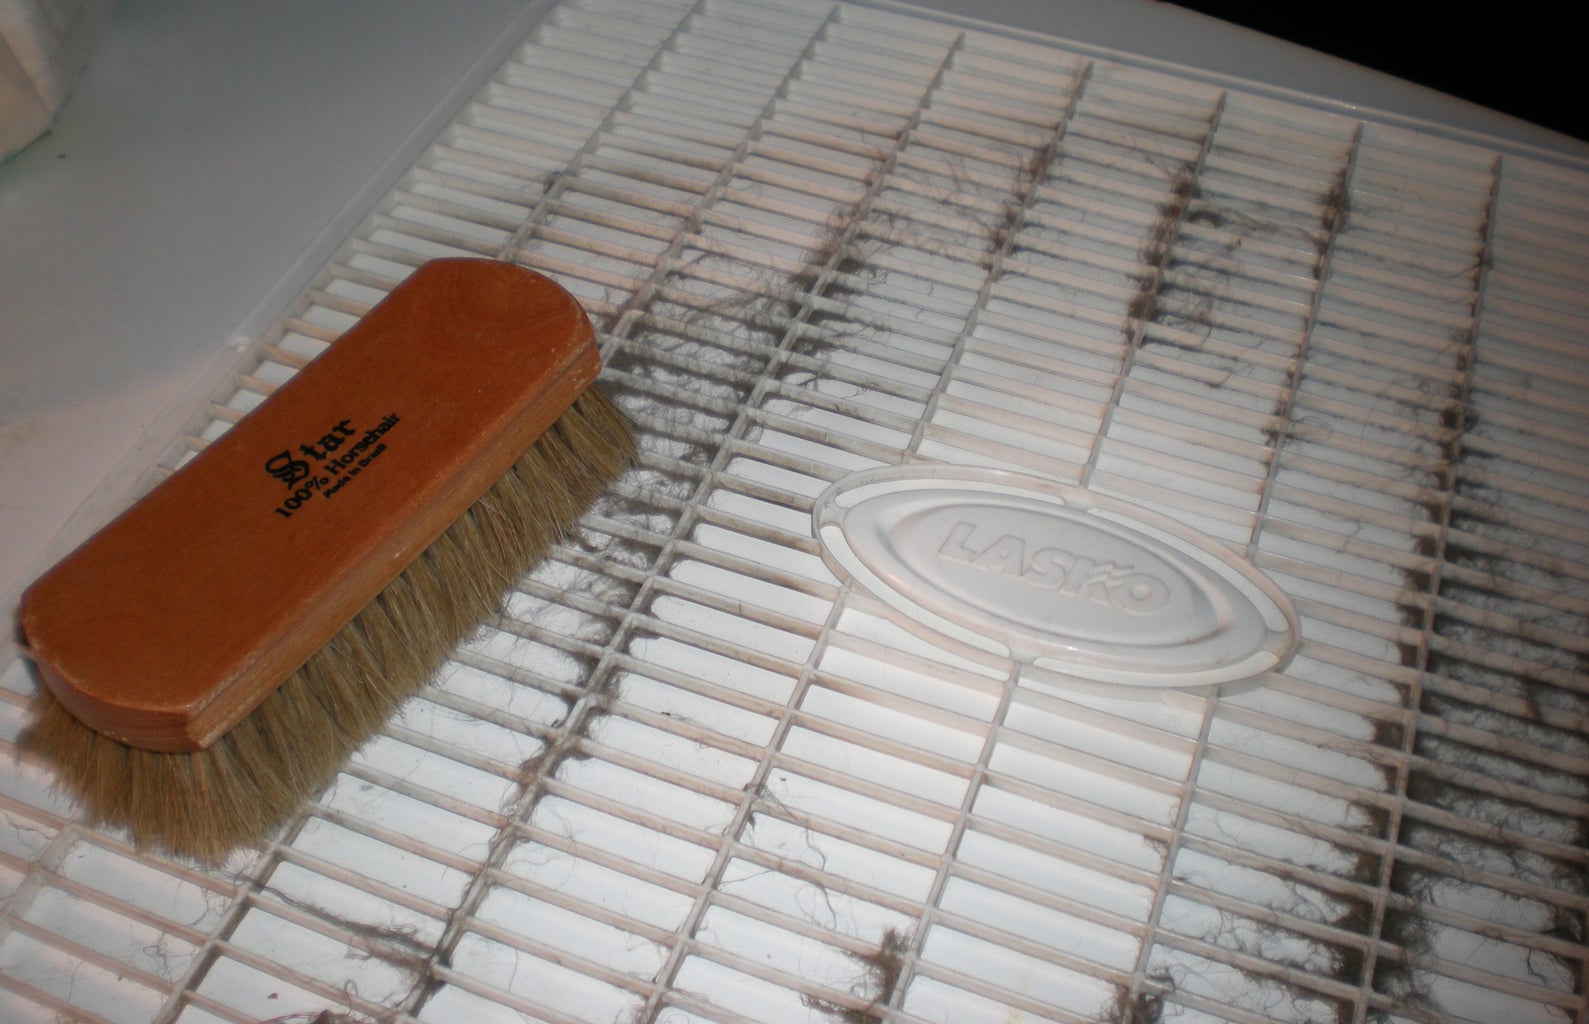
Step 3: Clean the Front Grill
Now that you have removed the front grill, it’s time to give it a thorough cleaning. The front grill tends to accumulate a significant amount of dust and dirt over time, which can obstruct the airflow and reduce the fan’s efficiency. Cleaning it regularly will help maintain optimal performance.
Start by inspecting the grill for any loose debris or large particles. Use a soft cloth or a small brush to gently wipe away the loose dirt. Be careful not to bend or damage the grill during this process.
Next, fill a basin or sink with warm water and add a small amount of mild dish soap or all-purpose cleaner. Immerse the front grill into the soapy water and let it soak for a few minutes. This will help loosen any stubborn stains or built-up grime.
After soaking, use a soft cloth or a brush to scrub the grill gently. Pay attention to the corners, crevices, and hard-to-reach areas to ensure a thorough cleaning. If there are any stubborn stains or dirt, you can use a toothbrush or a toothpick to carefully remove them.
Rinse the front grill with clean water to remove any soap residue. Make sure to remove all traces of soap to avoid leaving a film on the grill.
Once the grill is clean and free from dirt and soap, use a dry cloth to pat it dry. Allow it to air dry completely before reassembling it back onto the fan. This will prevent any moisture from damaging the electrical components.
With the front grill cleaned and dried, you can now move on to cleaning the fan blades in the next step.
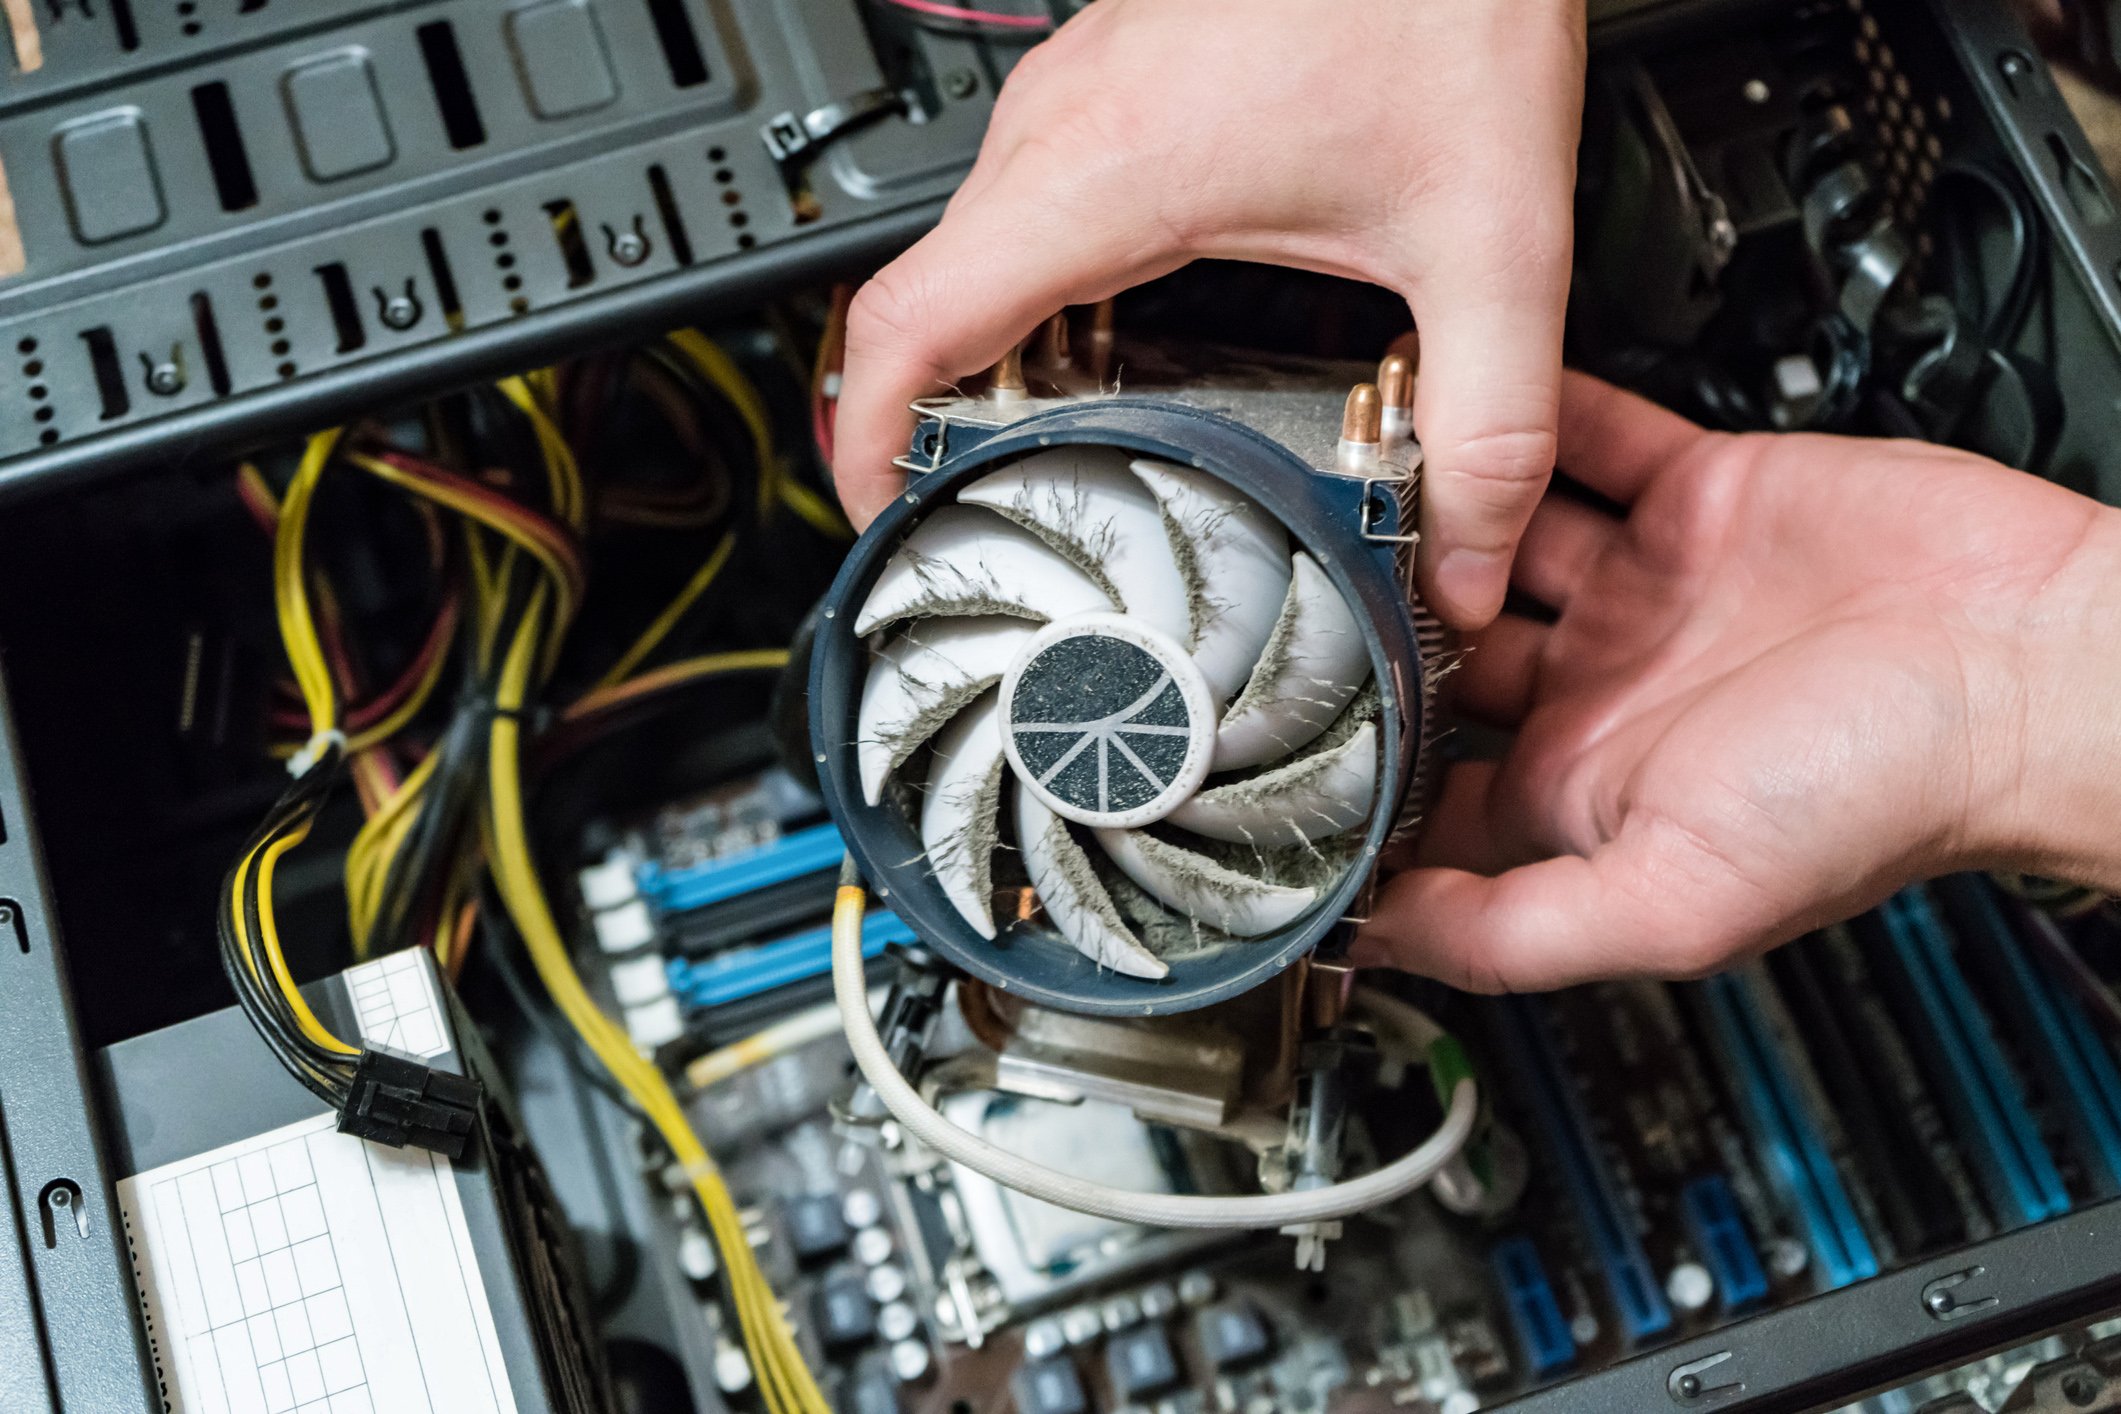
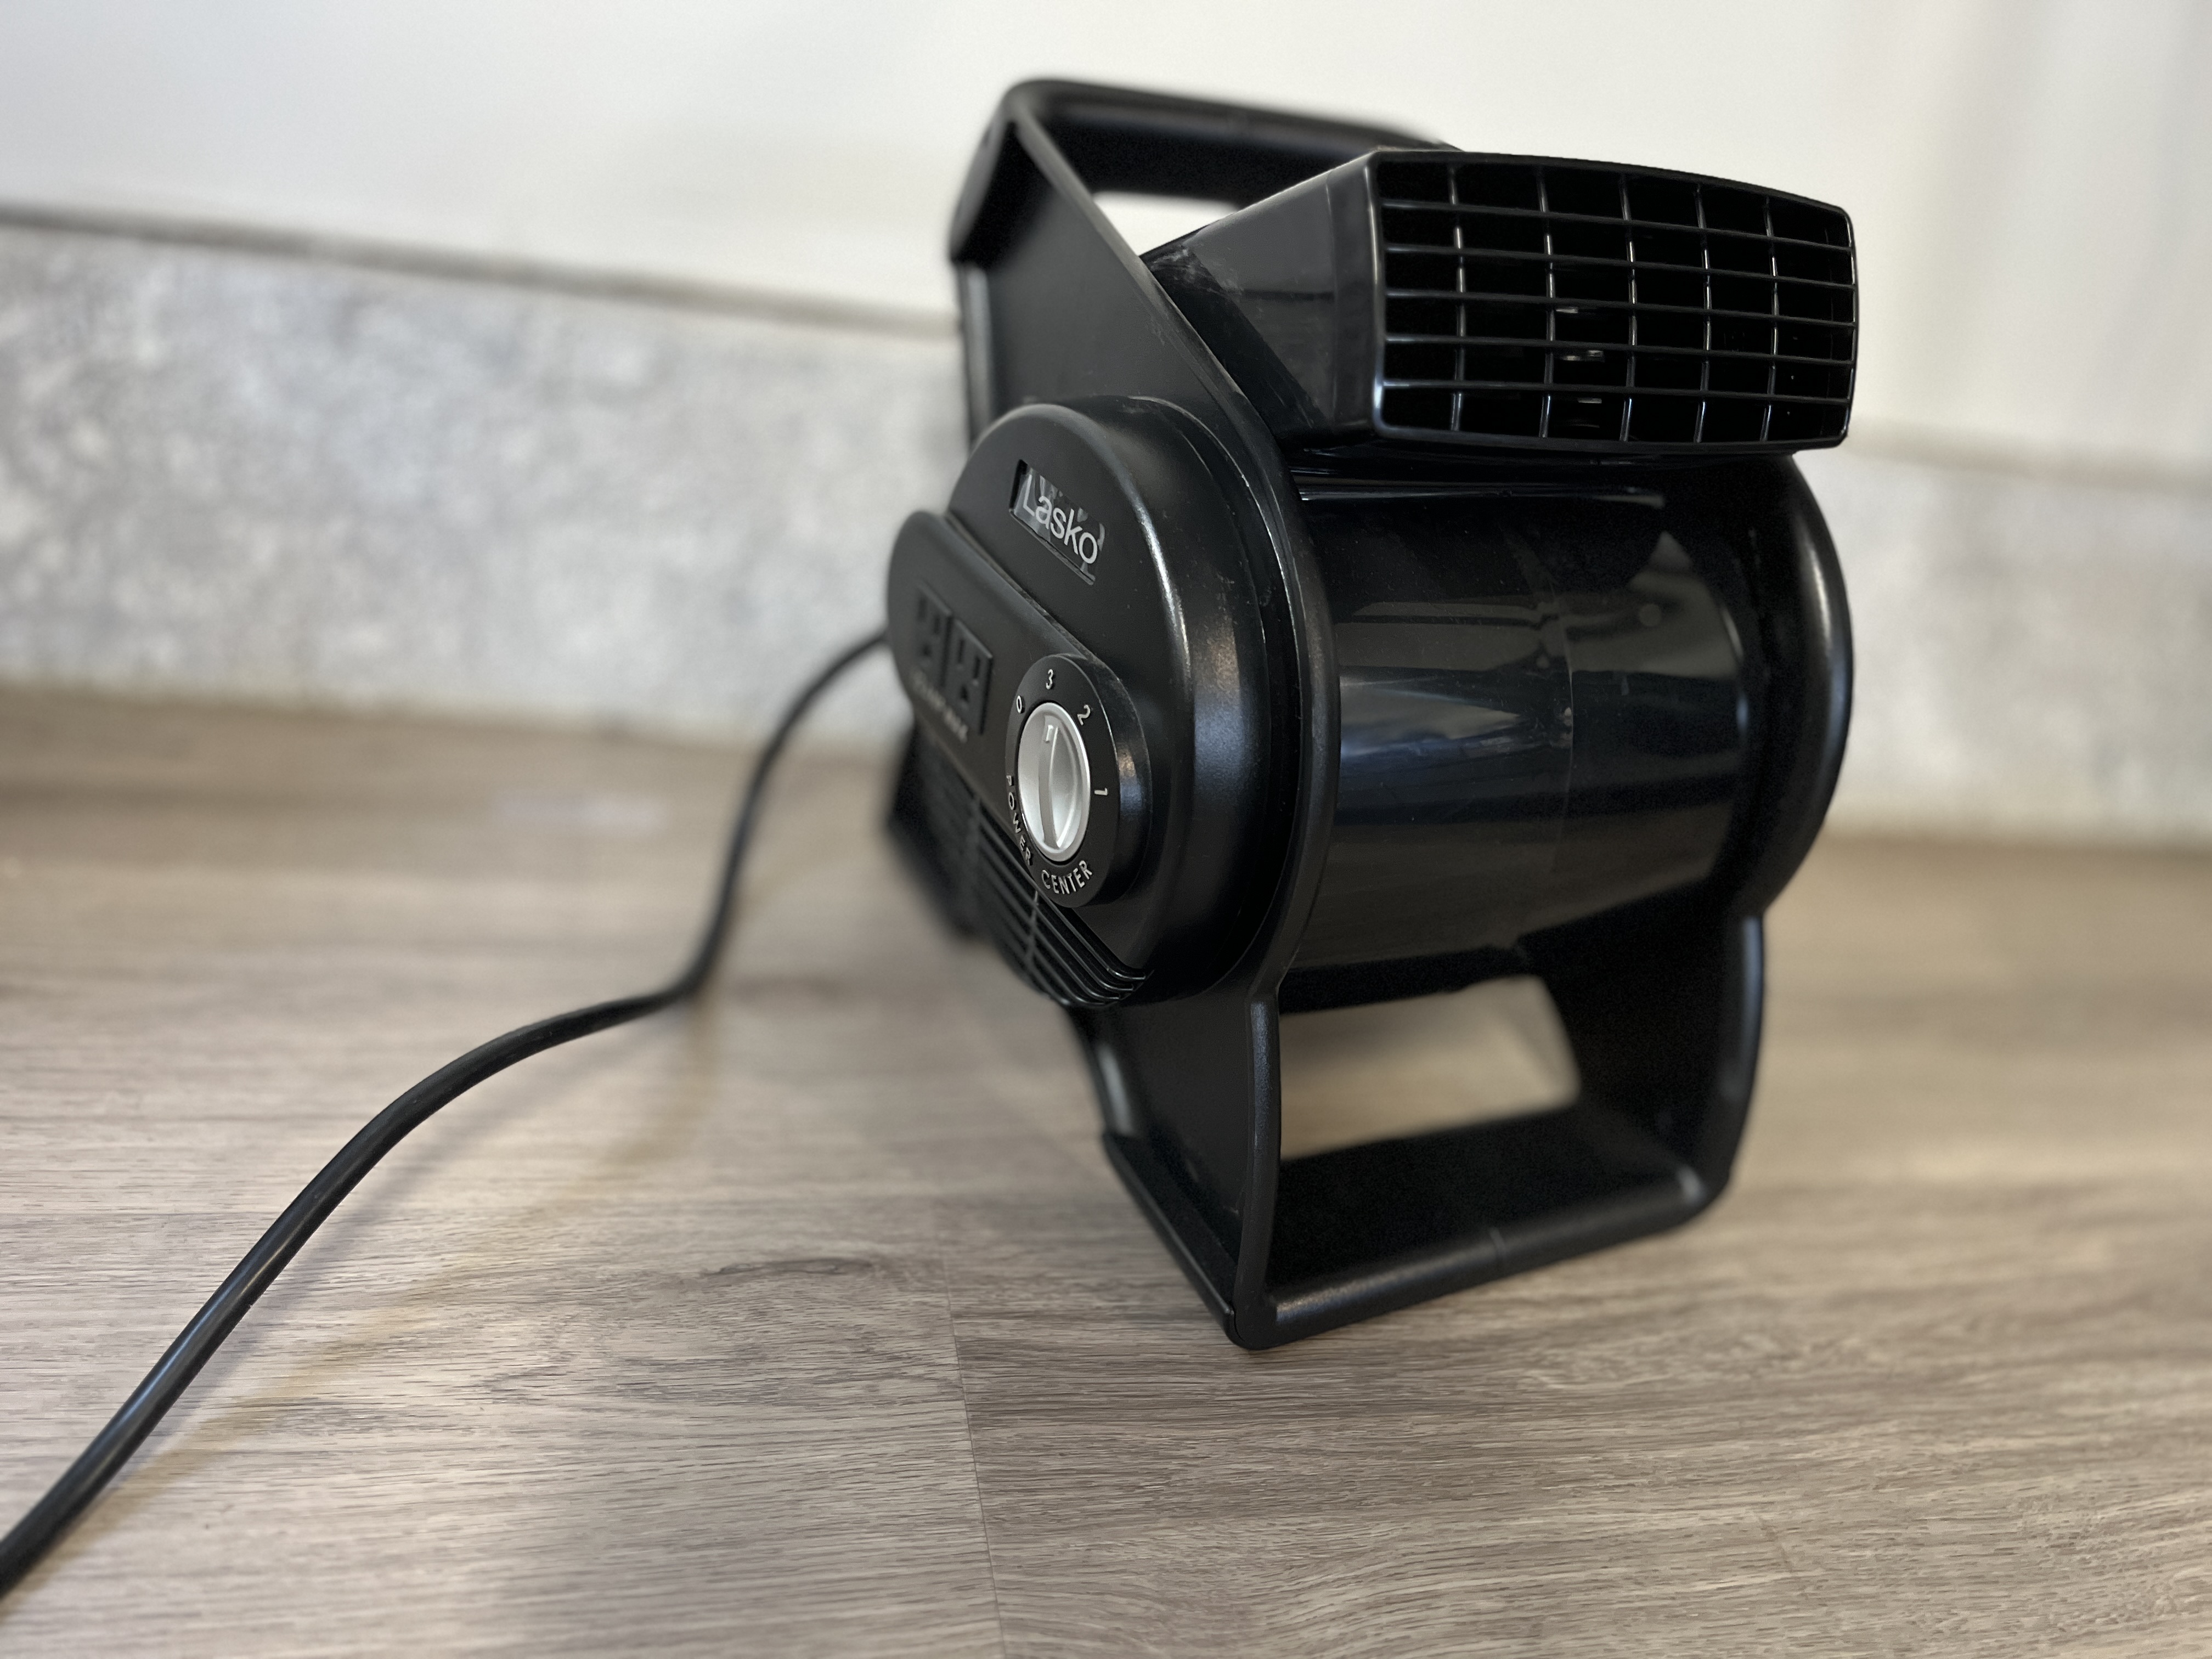
Use a soft, damp cloth to wipe down the blades and grille of the wind machine fan. Use a vacuum with a brush attachment to remove dust from the motor and other hard-to-reach areas. Be sure to unplug the fan before cleaning.
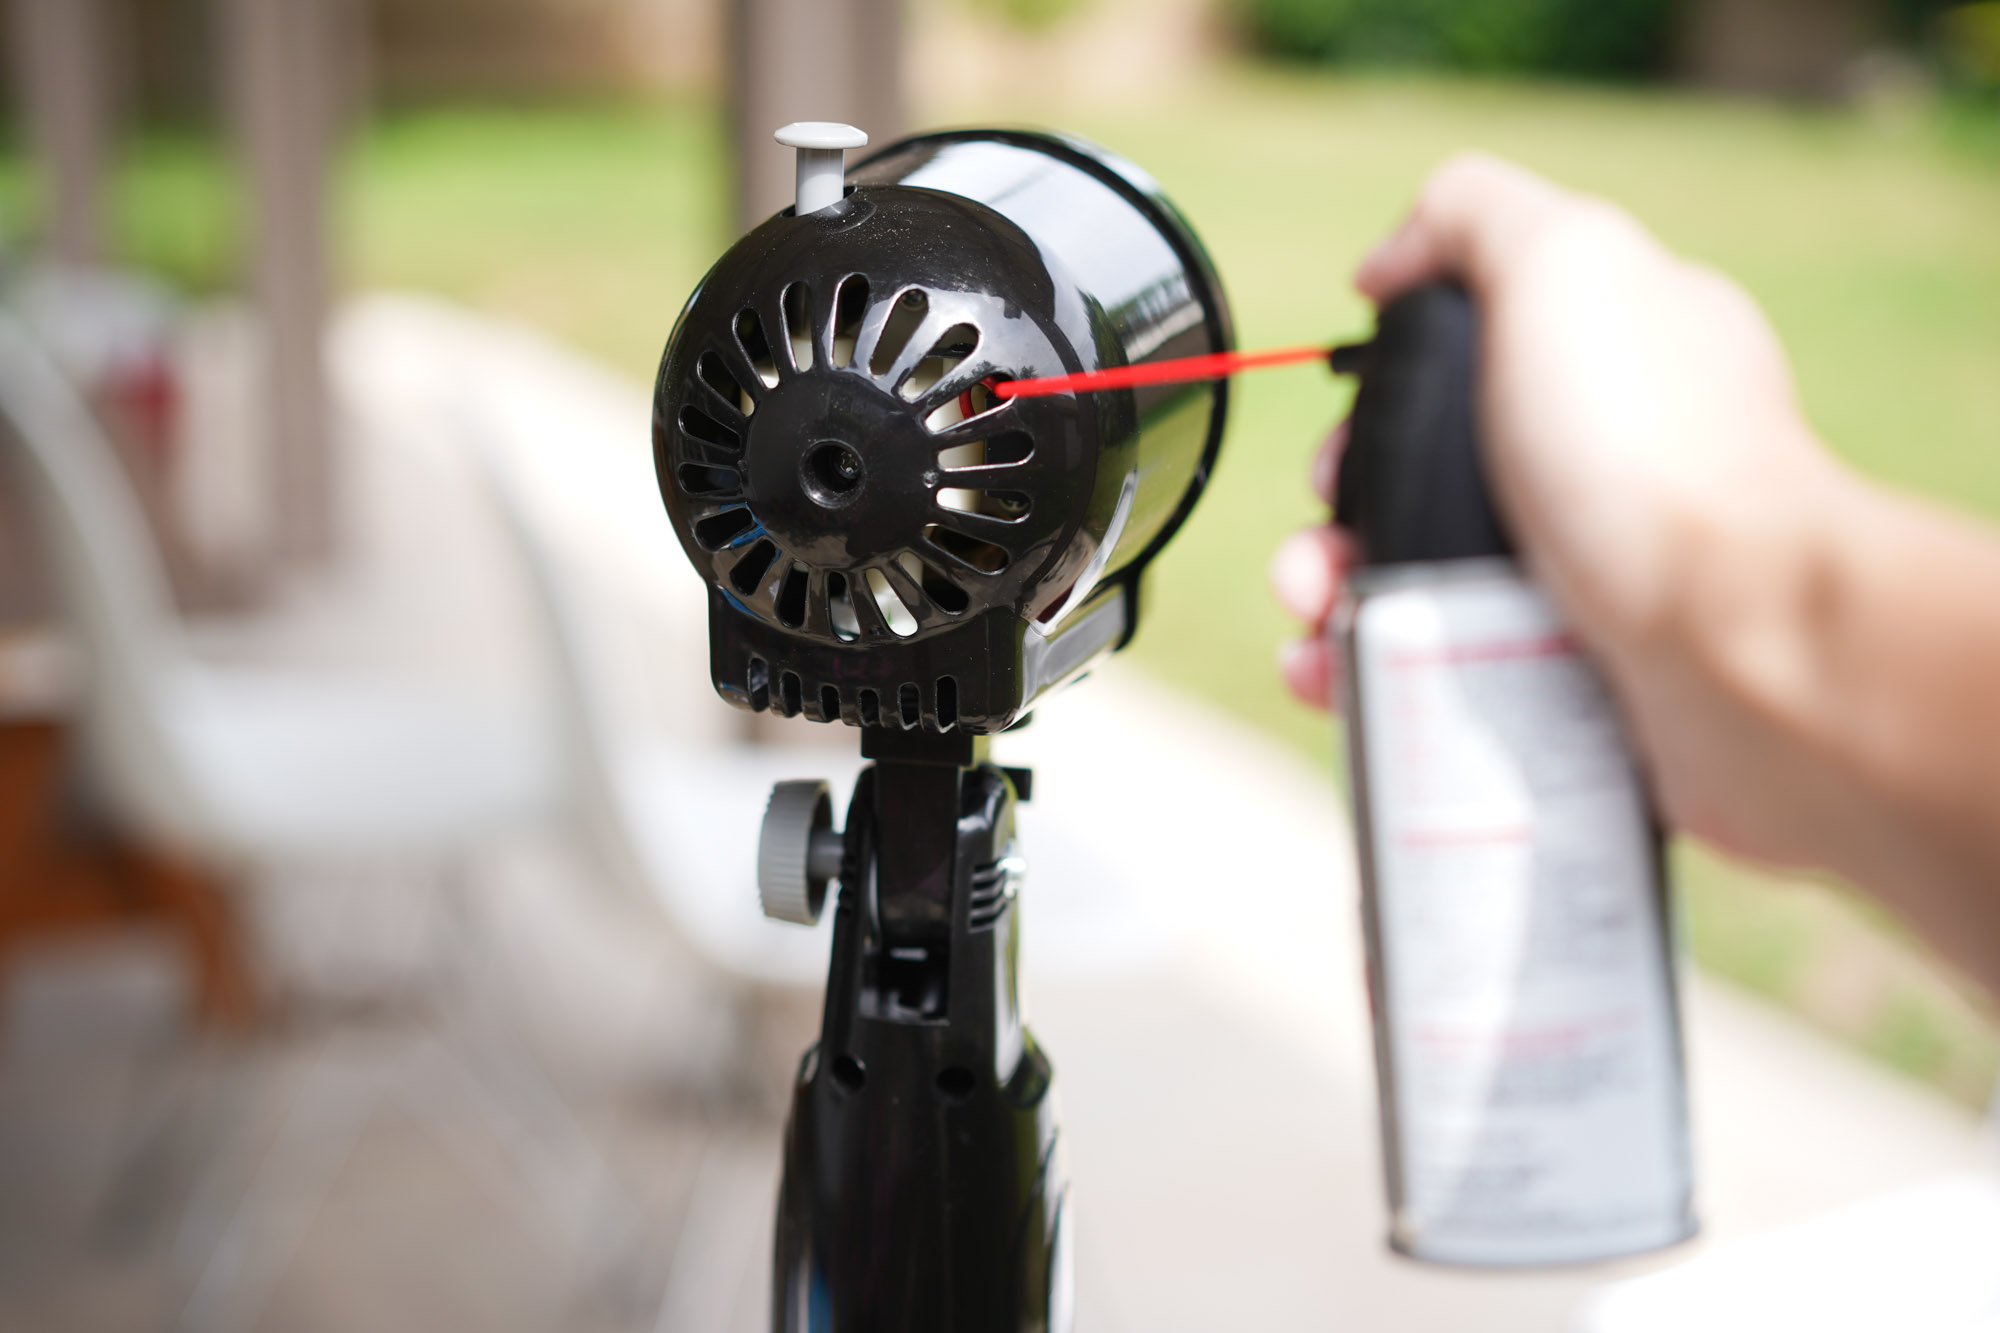
Step 4: Clean the Blades
Now that the front grill is clean, it’s time to focus on cleaning the fan blades. The blades are the main component that generates airflow, and over time, they can accumulate dust and dirt, affecting the fan’s efficiency.
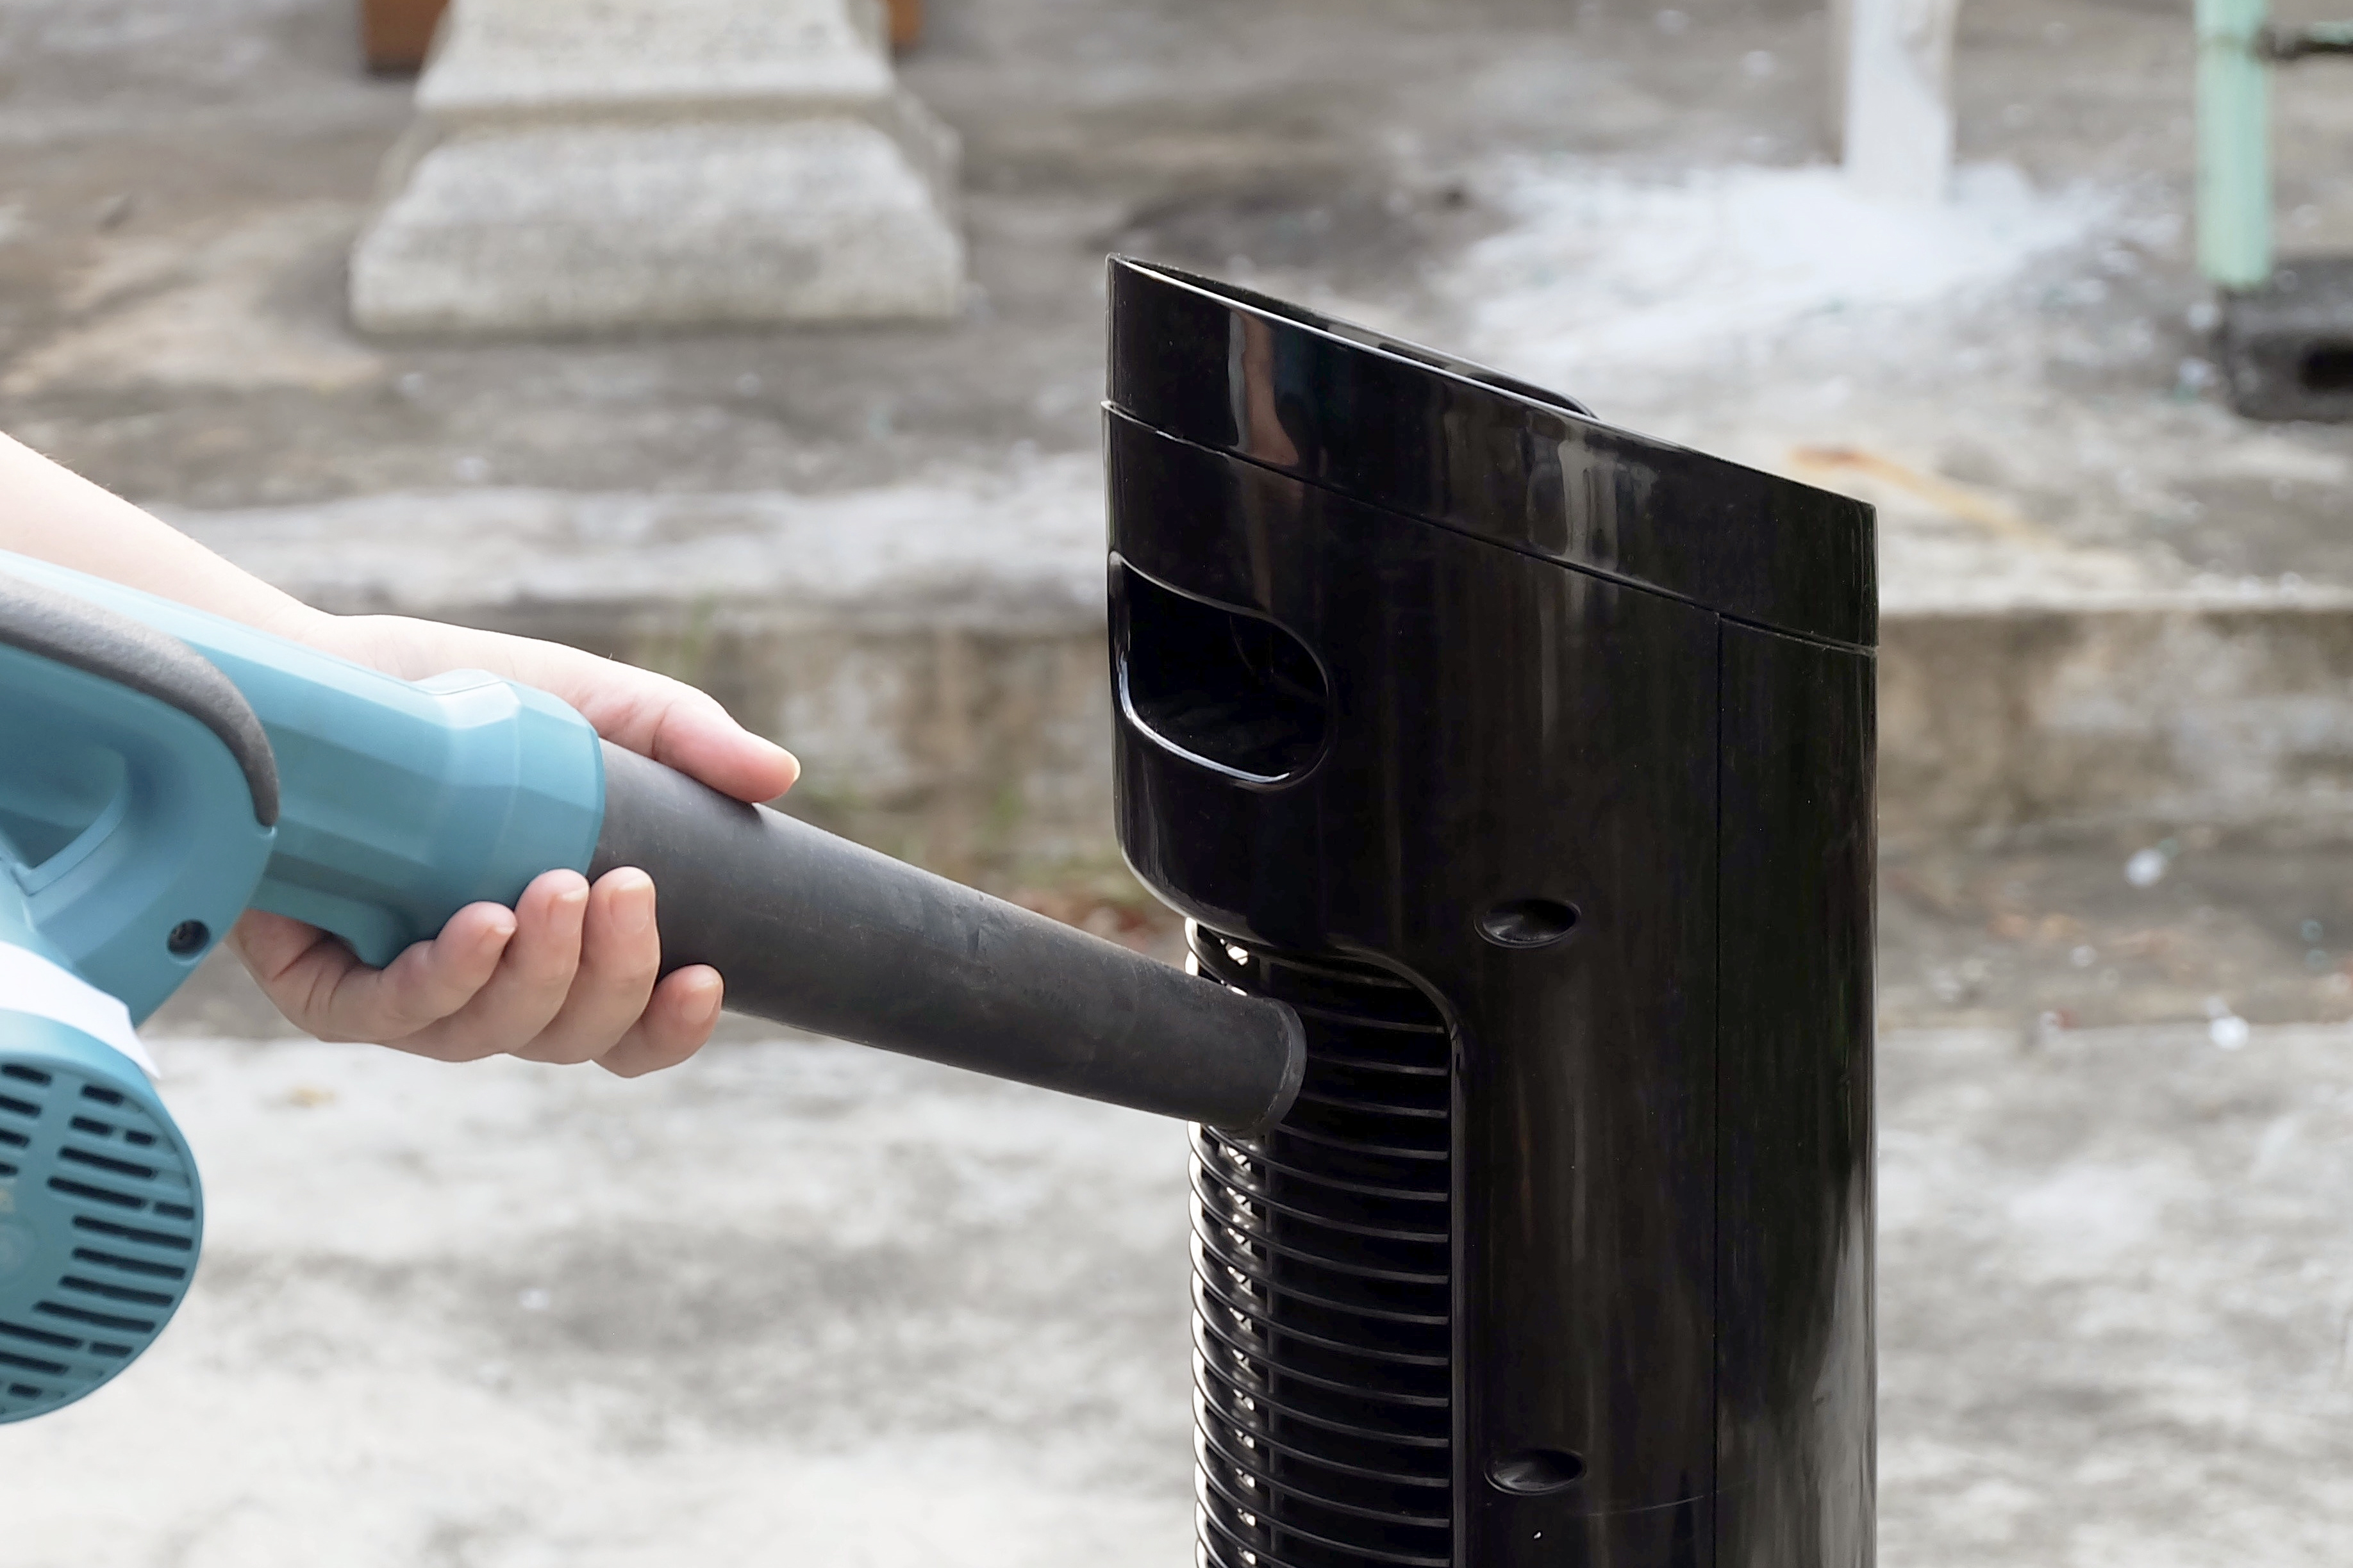
Start by using a vacuum cleaner with a brush attachment to remove any loose debris or dust from the blades. Gently run the brush attachment along the blades, ensuring that you reach all surfaces.
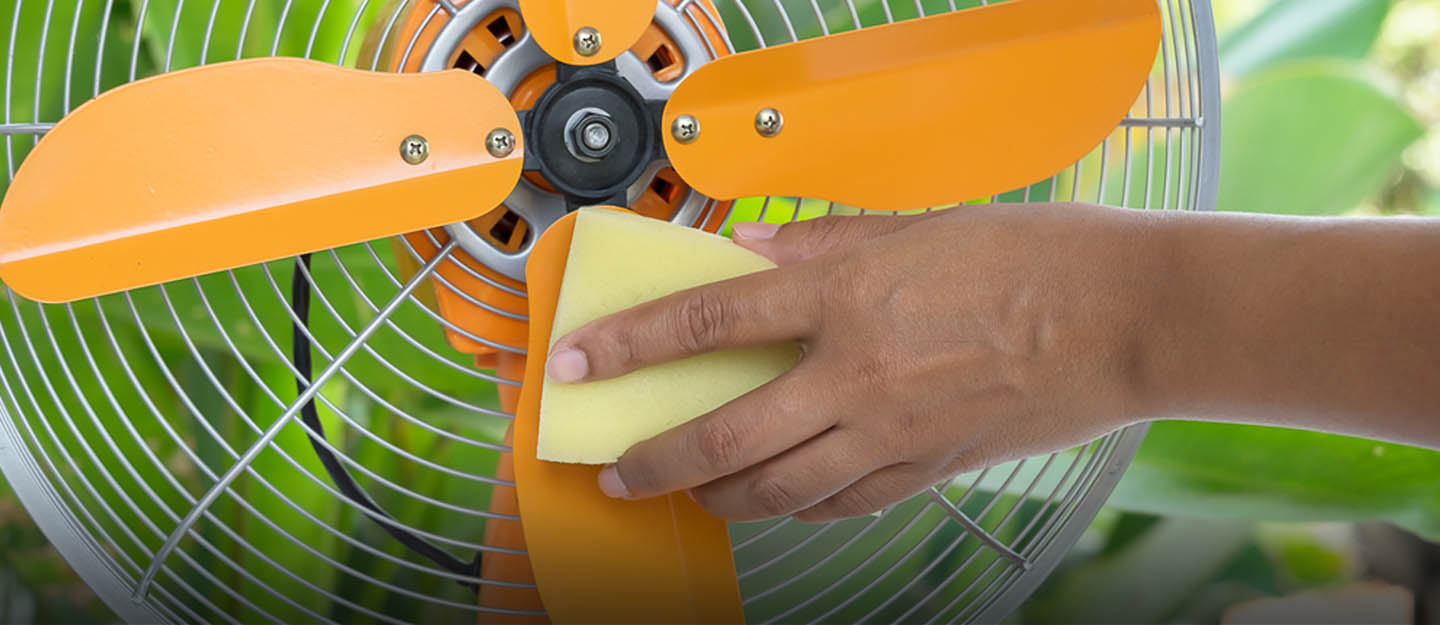
Next, dampen a soft cloth or microfiber cloth with water and wring out any excess moisture. Avoid using too much water, as it can damage the electrical components of the fan.
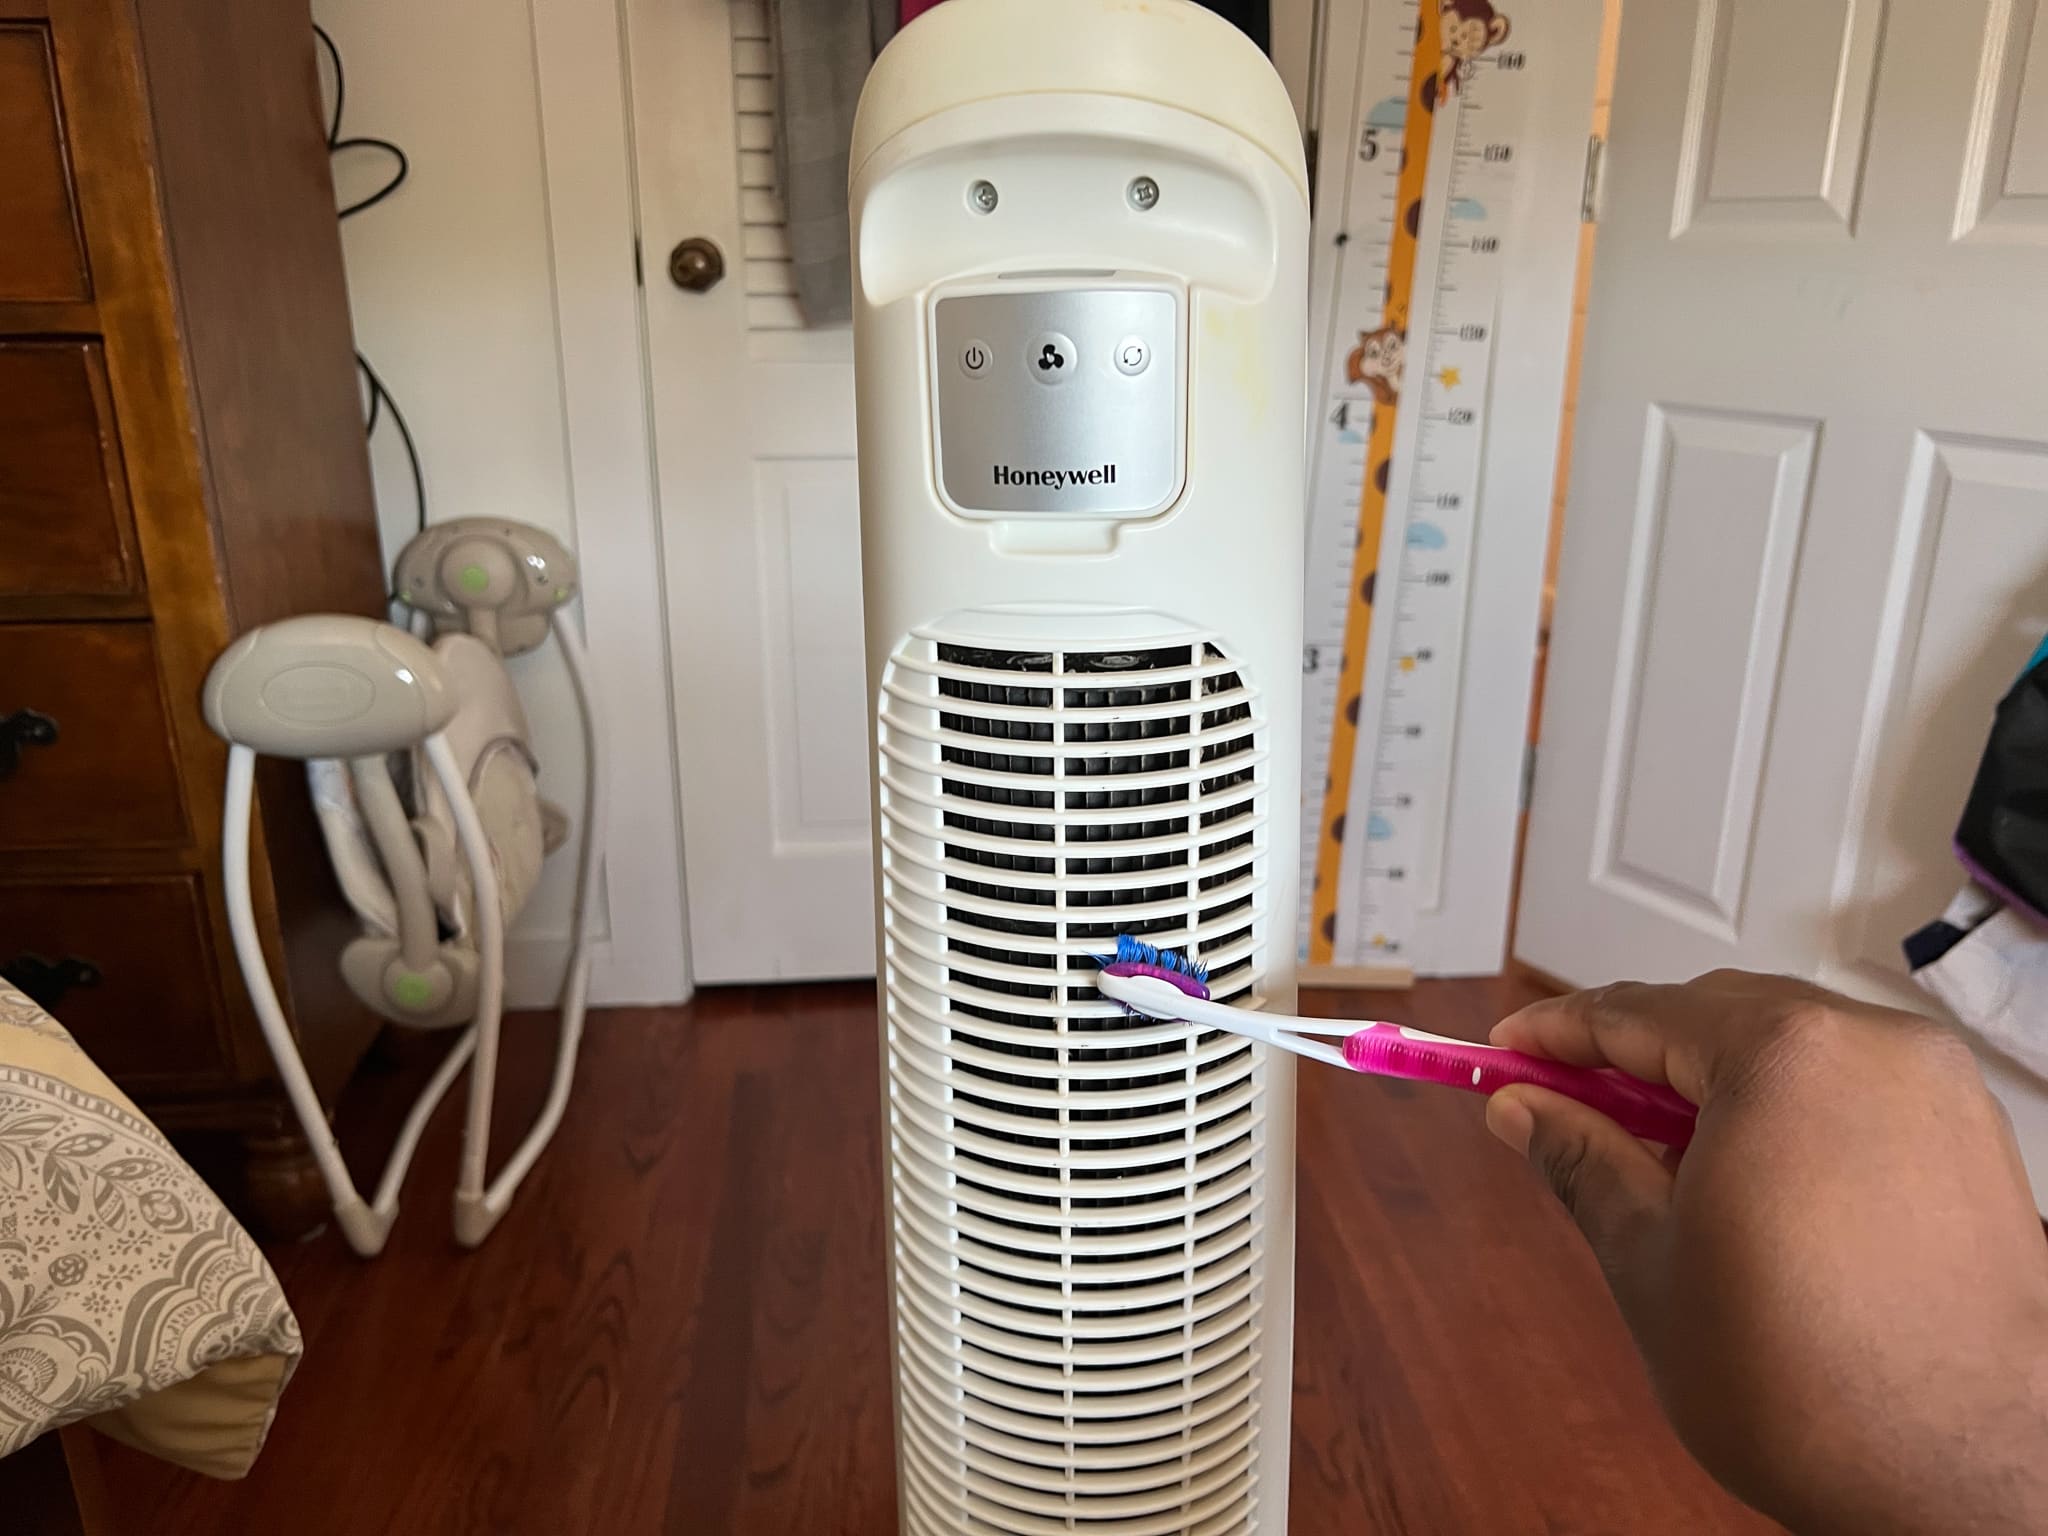
Wipe down each fan blade individually, making sure to remove any visible dirt or grime. Use a gentle wiping motion, and pay attention to both sides of each blade. For hard-to-reach areas, you can use a small brush, like a toothbrush, to scrub the blades gently.
If there are stubborn stains or sticky residue on the blades, you can mix a solution of mild dish soap and warm water. Dip a cloth in this solution, wring out excess liquid, and gently clean the affected areas. Rinse the cloth thoroughly and wipe off any soap residue from the blades.
After cleaning, use a dry cloth to remove any remaining moisture from the blades. Ensure they are completely dry before proceeding to the next step.
By cleaning the fan blades, you will improve the airflow and overall performance of your wind machine fan.
Step 5: Wipe down the Exterior
Now that you have cleaned the front grill and blades of your wind machine fan, it’s time to focus on cleaning the exterior surfaces. The exterior of the fan can also accumulate dust and dirt, so it’s important to give it a thorough wipe down.
Start by using a soft cloth or microfiber cloth to wipe down the entire exterior of the fan. Pay attention to all surfaces, including the top, sides, and back. Use gentle sweeping motions to remove any dust or dirt that may have collected.
If there are any stubborn stains or smudges, you can dampen the cloth with a mild cleaning solution or all-purpose cleaner. Make sure to wring out any excess liquid before wiping the fan to avoid damage from moisture.
As you clean, be careful around any buttons, switches, or controls on the fan. Take extra care not to get water or cleaning solution into these areas to prevent any damage to the electrical components.
After wiping down the exterior surfaces, take a moment to inspect the fan for any remaining dirt or smudges. If you notice any spots, you can use a small brush or a damp cloth to target those specific areas and remove the dirt.
Once you are satisfied with the cleanliness of the exterior, use a dry cloth to remove any remaining moisture. Make sure that all surfaces are completely dry before proceeding to the next step.
By wiping down the exterior surfaces, you not only enhance the cleanliness of your wind machine fan but also ensure its overall appearance.
Step 6: Reassemble the Fan
After cleaning the various components of your wind machine fan, it’s time to reassemble it to its original state. Follow these steps to ensure proper reassembly:
- Take the cleaned front grill and align it with the fan’s housing. Make sure it is positioned correctly and securely.
- Slide or latch the front grill back into place, ensuring that it is firmly attached. Double-check that any clips, screws, or latches are secured to hold the grill in position.
- Take a moment to ensure that there are no loose or dangling cords that could pose a safety hazard. Adjust the positioning of the power cord as needed.
By carefully reassembling the fan, you ensure that all components are securely in place and that the fan will function properly.
Step 7: Plug in and Test the Fan
After reassembling the wind machine fan, the final step is to plug it back in and test its functionality. Follow these steps to ensure a safe and proper testing process:
- Locate the power cord and ensure that it is plugged into a suitable and grounded electrical outlet.
- Double-check that all the switches and controls on the fan are in the correct position for operation. Pay attention to any speed settings or oscillation options that you may need to adjust.
- Put on any safety equipment, such as a dust mask or face mask, if desired.
- Switch on the power supply and test the fan by turning it on. Observe if the blades are rotating smoothly and if the fan is generating the desired airflow.
- Listen for any unusual noises or vibrations that could indicate a problem. If you notice anything concerning, unplug the fan immediately and inspect it further for any issues.
If the fan is working properly and providing the desired airflow, you have successfully cleaned and restored your wind machine fan.
Remember to periodically clean your fan to maintain its efficiency and extend its lifespan. Regular cleaning will also help to prevent the build-up of dust and dirt, which can negatively impact air quality.
By following these steps, you can keep your wind machine fan in excellent condition and enjoy its cooling benefits for a long time to come.
Read more: How To Clean Dyson Fan
Conclusion
Cleaning your wind machine fan is a simple yet crucial task to ensure its optimal performance and longevity. By following the step-by-step guide outlined in this article, you can effectively remove dirt, dust, and grime from the fan’s components.
Regularly cleaning the front grill, blades, and exterior of the fan will not only enhance its efficiency but also improve air quality in your space. With proper cleaning, you can enjoy a refreshing and clean breeze throughout your home or office.
Remember to unplug the fan before cleaning and take necessary precautions to ensure your safety. Utilize the recommended materials and cleaning solutions to achieve the best results without causing any damage to the fan’s electrical components.
By dedicating a small amount of time and effort to clean your wind machine fan, you can prolong its lifespan and maintain its optimal performance, ensuring that you can continue to enjoy the cool breeze whenever you need it.
So, don’t wait! Grab your cleaning materials and get started on giving your wind machine fan the attention it deserves. Your refreshed and clean fan will thank you with cool and efficient airflow for years to come.
Frequently Asked Questions about How To Clean A Wind Machine Fan
Was this page helpful?
At Storables.com, we guarantee accurate and reliable information. Our content, validated by Expert Board Contributors, is crafted following stringent Editorial Policies. We're committed to providing you with well-researched, expert-backed insights for all your informational needs.

0 thoughts on “How To Clean A Wind Machine Fan”