
Articles
How To Clean Ceramic Floor Tile
Modified: December 7, 2023
Discover effective tips and articles on how to clean ceramic floor tiles to keep your floors looking pristine and shiny.
(Many of the links in this article redirect to a specific reviewed product. Your purchase of these products through affiliate links helps to generate commission for Storables.com, at no extra cost. Learn more)
Introduction
Keeping your ceramic floor tiles clean is not only essential for maintaining their beauty, but also for ensuring their longevity. Over time, dirt, grime, and spills can accumulate on the surface of your tiles, diminishing their appearance and making them appear dull. Regular cleaning is necessary to remove these contaminants and restore the shine of your ceramic floor tiles.
In this article, we will guide you through the step-by-step process of cleaning ceramic floor tiles, ensuring that they remain looking their best. We will cover the materials needed, as well as provide detailed instructions on how to effectively remove dirt, stains, and grime from your tiles. Let’s dive in!
Key Takeaways:
- Regular cleaning and maintenance are crucial for preserving the beauty and longevity of ceramic floor tiles. Follow the step-by-step guide to effectively remove dirt, stains, and grime, ensuring your tiles remain clean and shiny.
- Incorporate the key steps into your regular cleaning routine to enjoy clean and shiny ceramic floor tiles that enhance the aesthetics of your space. Remember to follow manufacturer’s recommendations and test cleaning products before use.
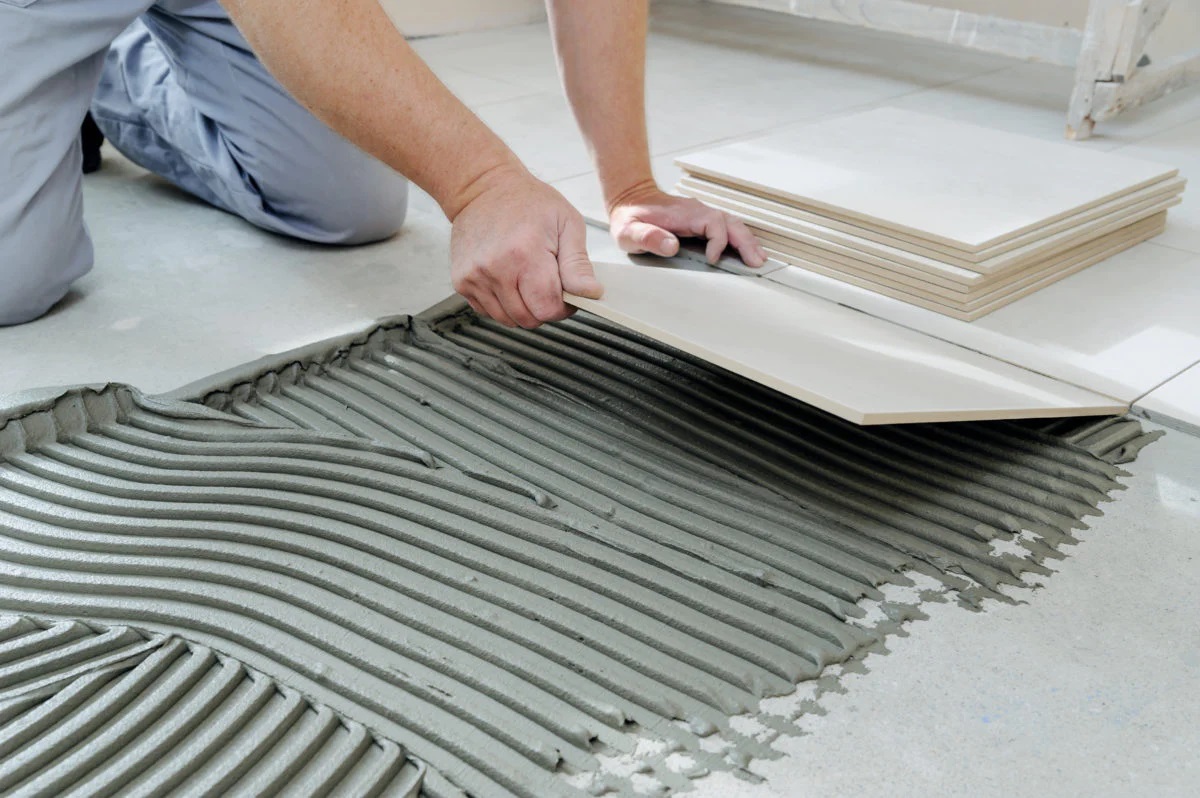
Read more: How To Lay A Ceramic Tile Floor
Materials Needed
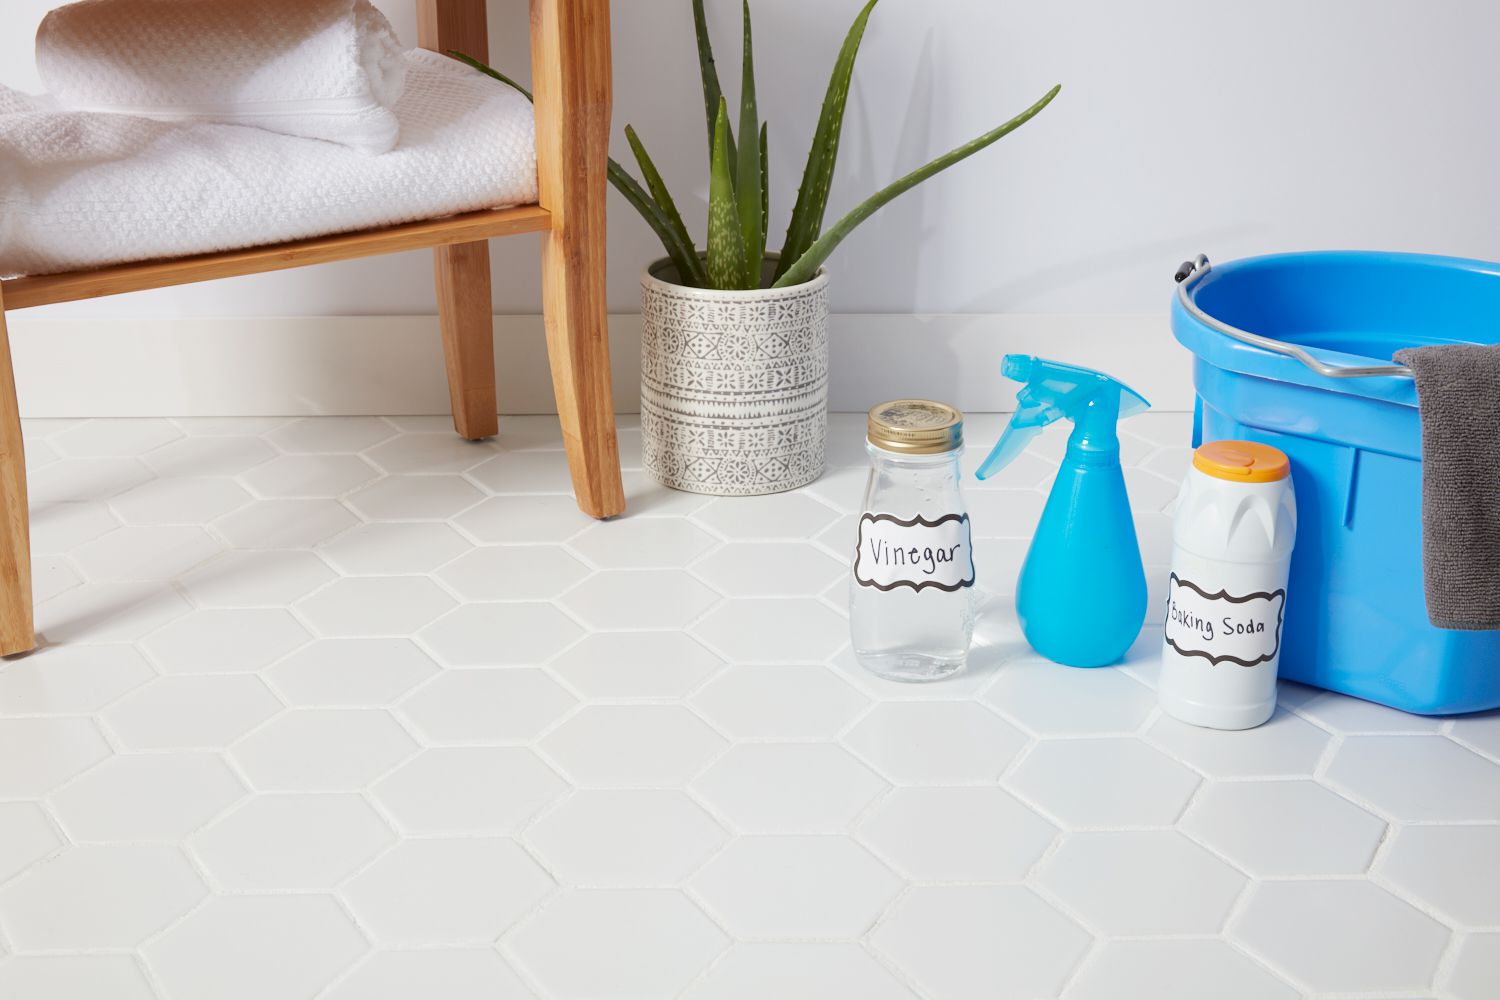
Before you begin the cleaning process, gather the following materials:
- A broom or vacuum cleaner
- A bucket
- Warm water
- Mild detergent or tile cleaner
- A mop or microfiber cloth
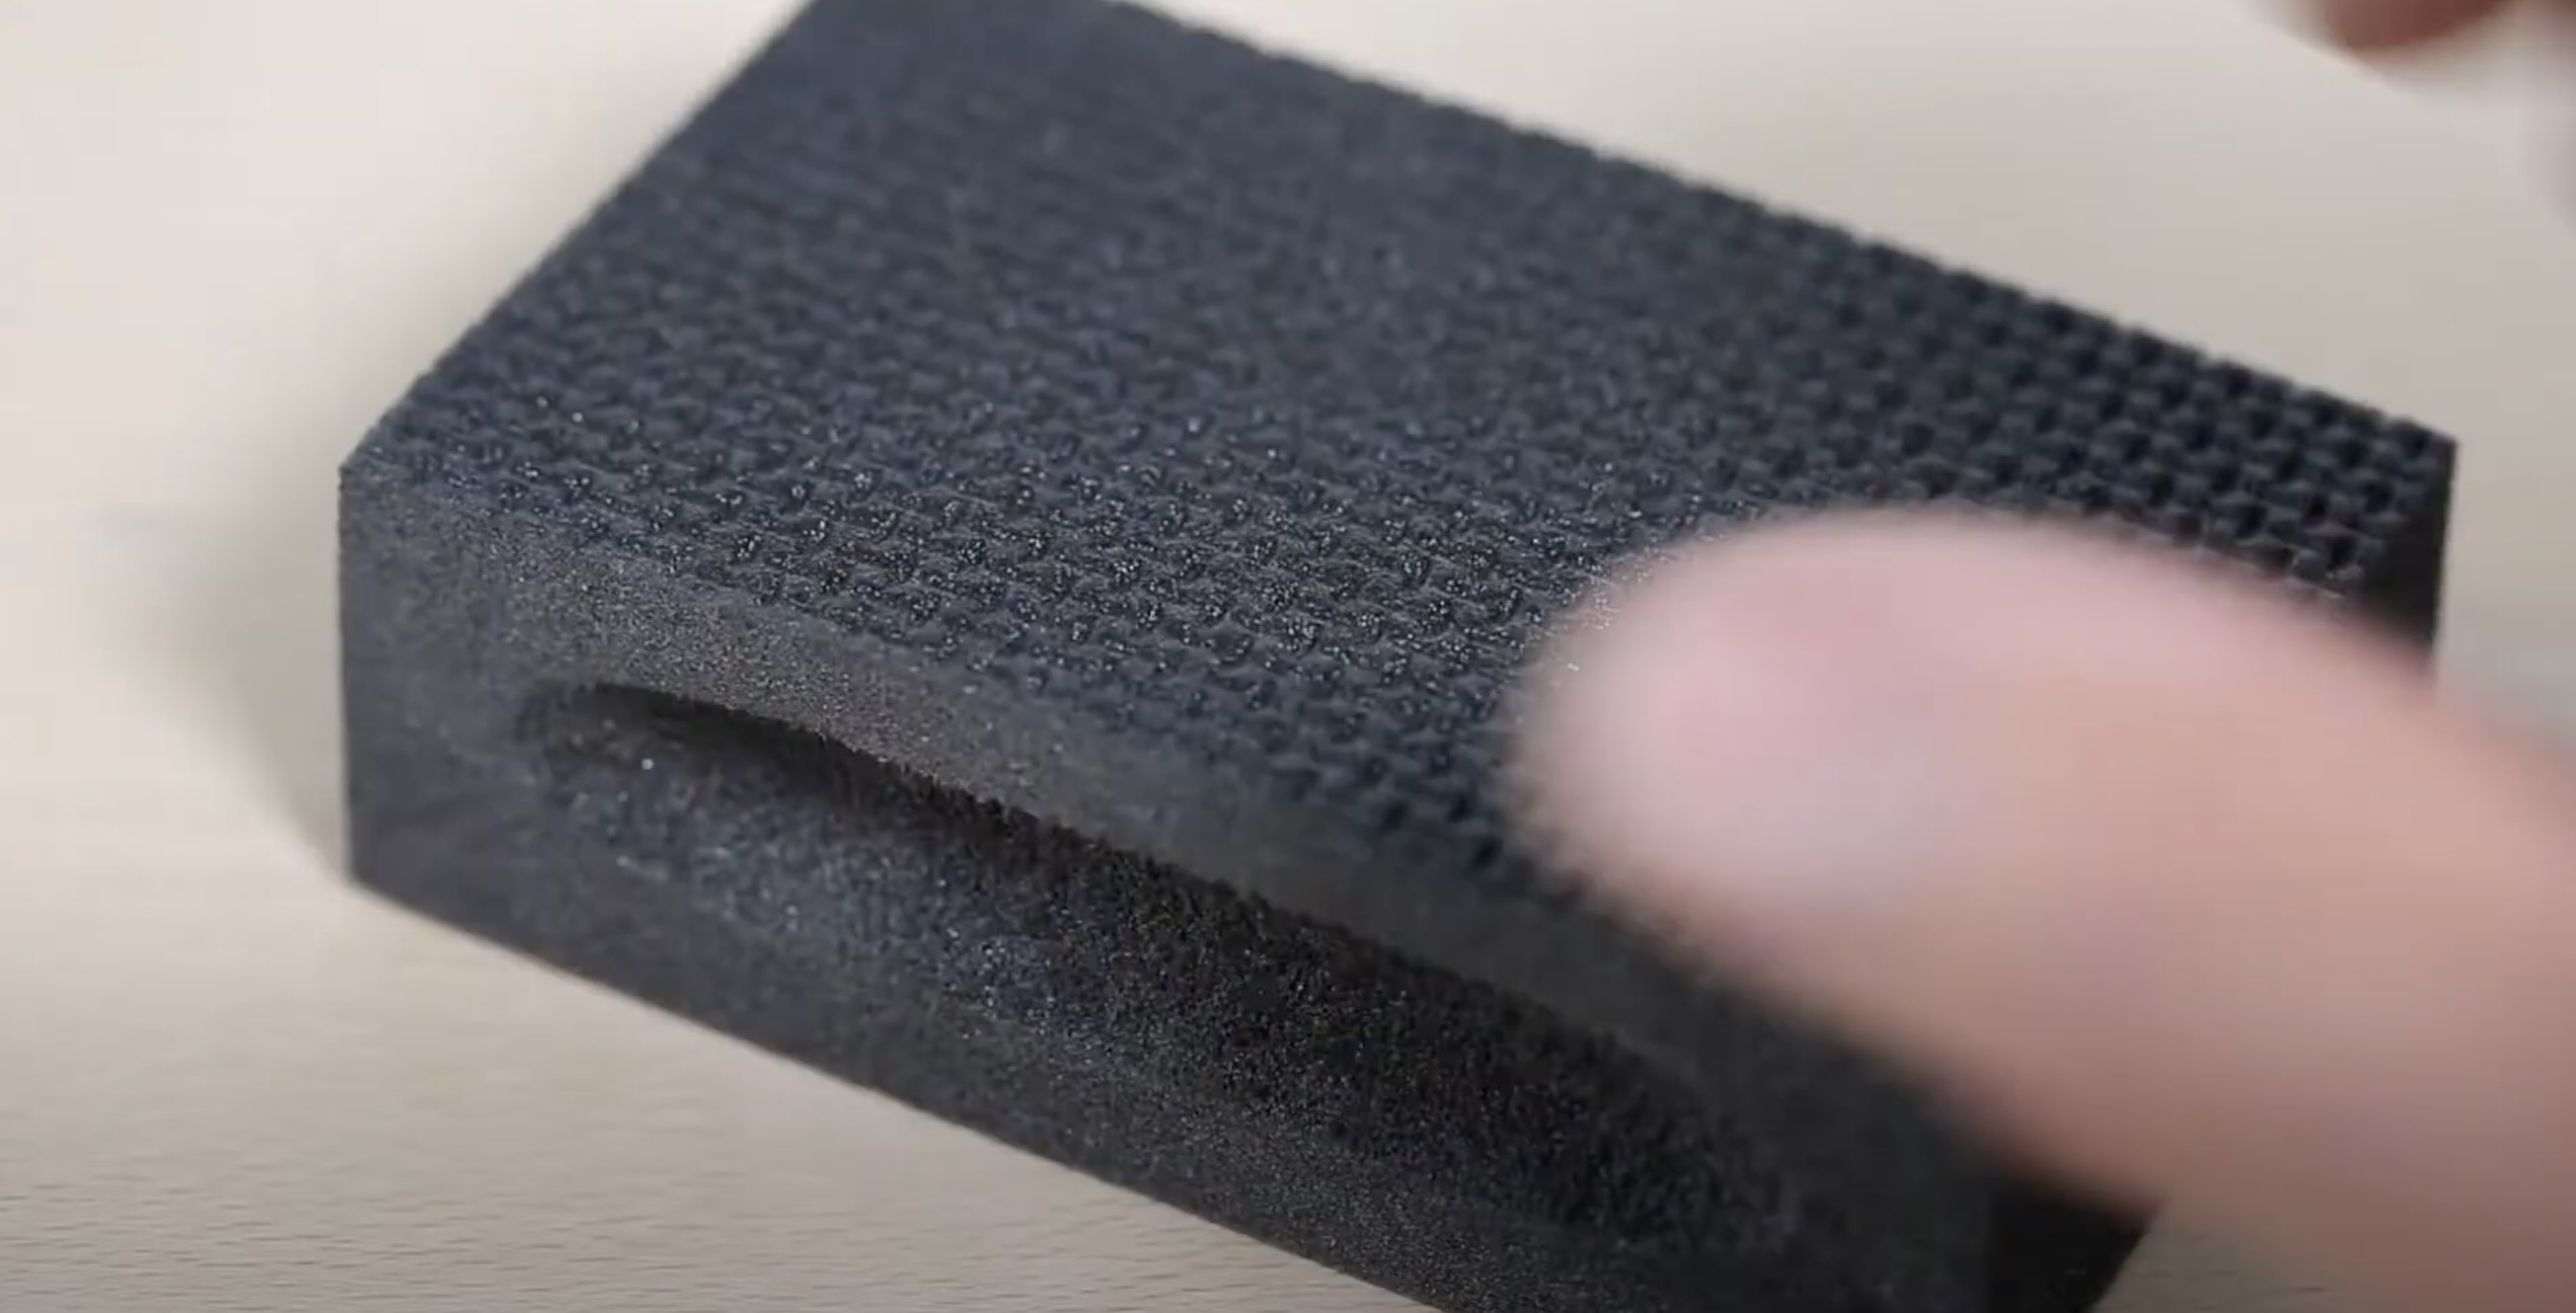
- A scrub brush or sponge
- A clean towel or mop for drying
Ensuring that you have all these materials readily available will make the cleaning process more efficient and effective.
Step 1: Sweep or Vacuum the Floor
Before you begin the actual cleaning process, it’s important to remove any loose dirt, dust, or debris from the floor surface. This will prevent these particles from being spread around and potentially scratching the tiles during the cleaning process.
If you have a broom, start by sweeping the entire floor, making sure to reach into corners and along baseboards. Use a dustpan to collect the swept-up debris and dispose of it properly.
If you prefer using a vacuum cleaner, ensure that it’s set to the appropriate setting for hard floors. Use the brush attachment or turn off the brush roll if your vacuum has that option. Thoroughly vacuum the floor, paying attention to any hard-to-reach areas and crevices.
By removing loose dirt and dust before cleaning, you’ll make the actual cleaning process more effective and prevent scratches on your ceramic floor tiles.
Step 2: Prepare the Cleaning Solution
Once you have cleared the floor of loose dirt and debris, it’s time to prepare the cleaning solution. For ceramic floor tiles, a mild detergent or a specialized tile cleaner can be used.
To create the cleaning solution, fill a bucket with warm water. Add a small amount of the detergent or tile cleaner according to the manufacturer’s instructions. Be sure not to use too much detergent, as excessive suds may be difficult to remove.
Stir the solution gently to mix the detergent or tile cleaner with the water. Avoid agitating the solution vigorously to prevent excessive suds formation.
Remember, it’s important to follow the instructions provided by the manufacturer of the tile cleaner or detergent for the correct dilution ratio and usage guidelines.
Having a properly prepared cleaning solution will ensure that your ceramic floor tiles are effectively cleaned without causing any damage or leaving behind residue.
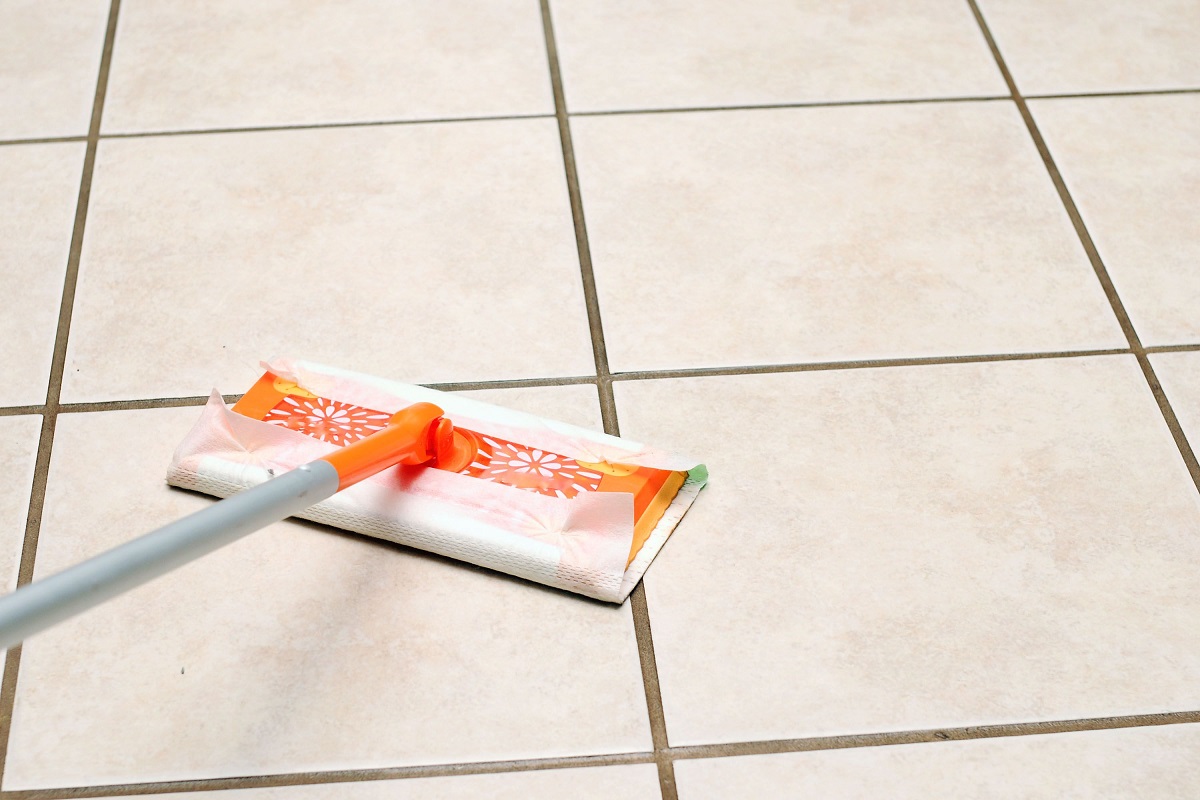
Step 3: Mop the Floor with the Solution
Now that you have your cleaning solution ready, it’s time to start mopping the floor. Dip your mop or microfiber cloth into the cleaning solution, making sure it’s well saturated but not dripping.
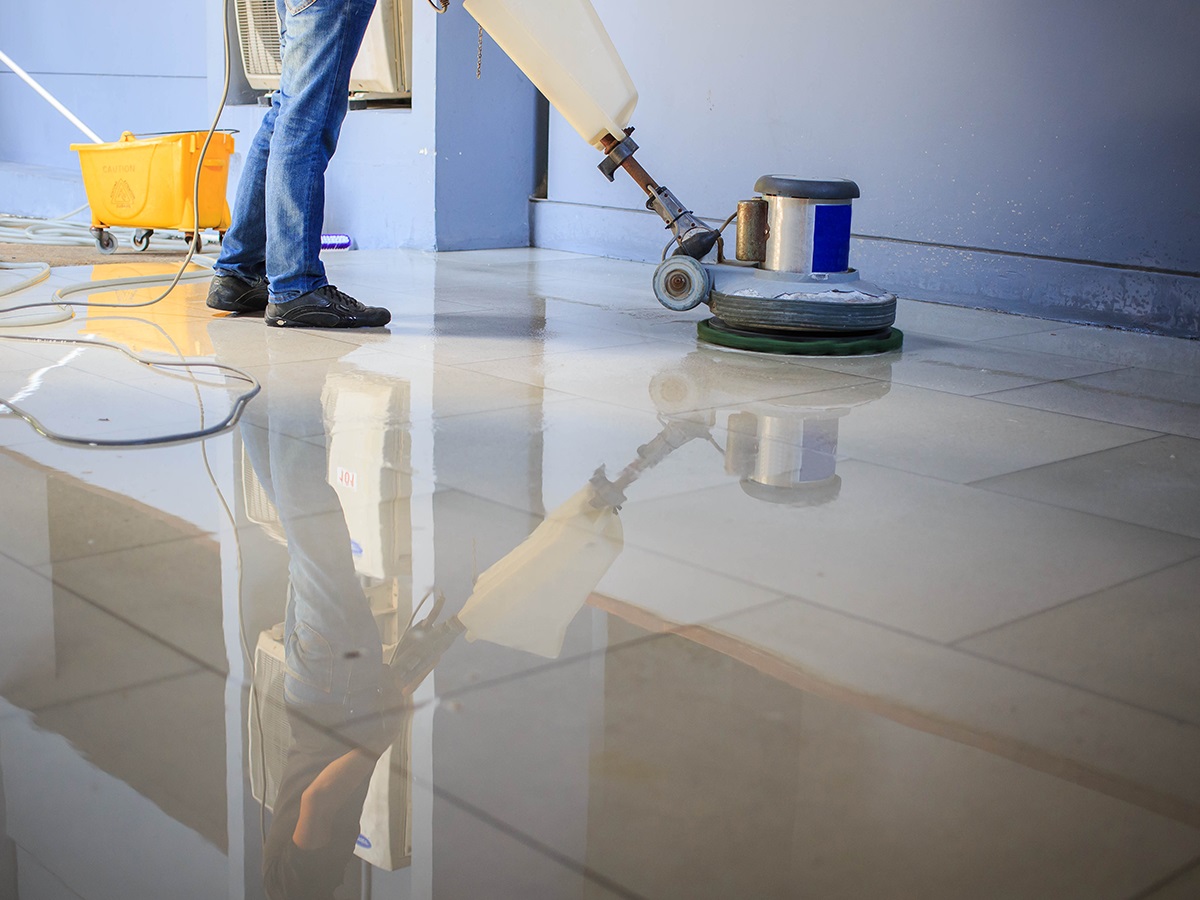
Begin mopping the ceramic floor tiles, working in small sections at a time. Move the mop back and forth in gentle, overlapping strokes, applying even pressure to effectively clean the surface.
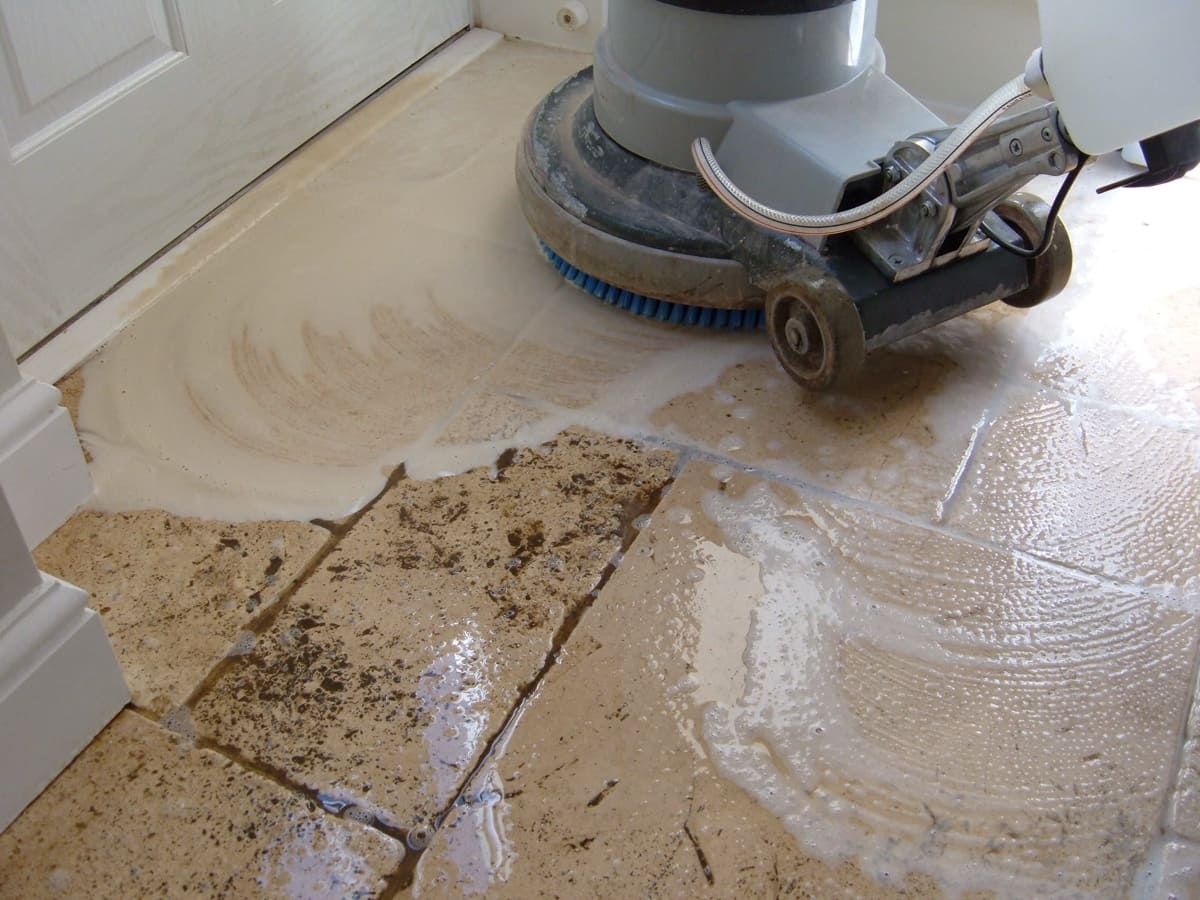
Pay extra attention to any areas that appear dirtier or have stains. For stubborn dirt or grime, allow the cleaning solution to sit on the tile surface for a few minutes before scrubbing.
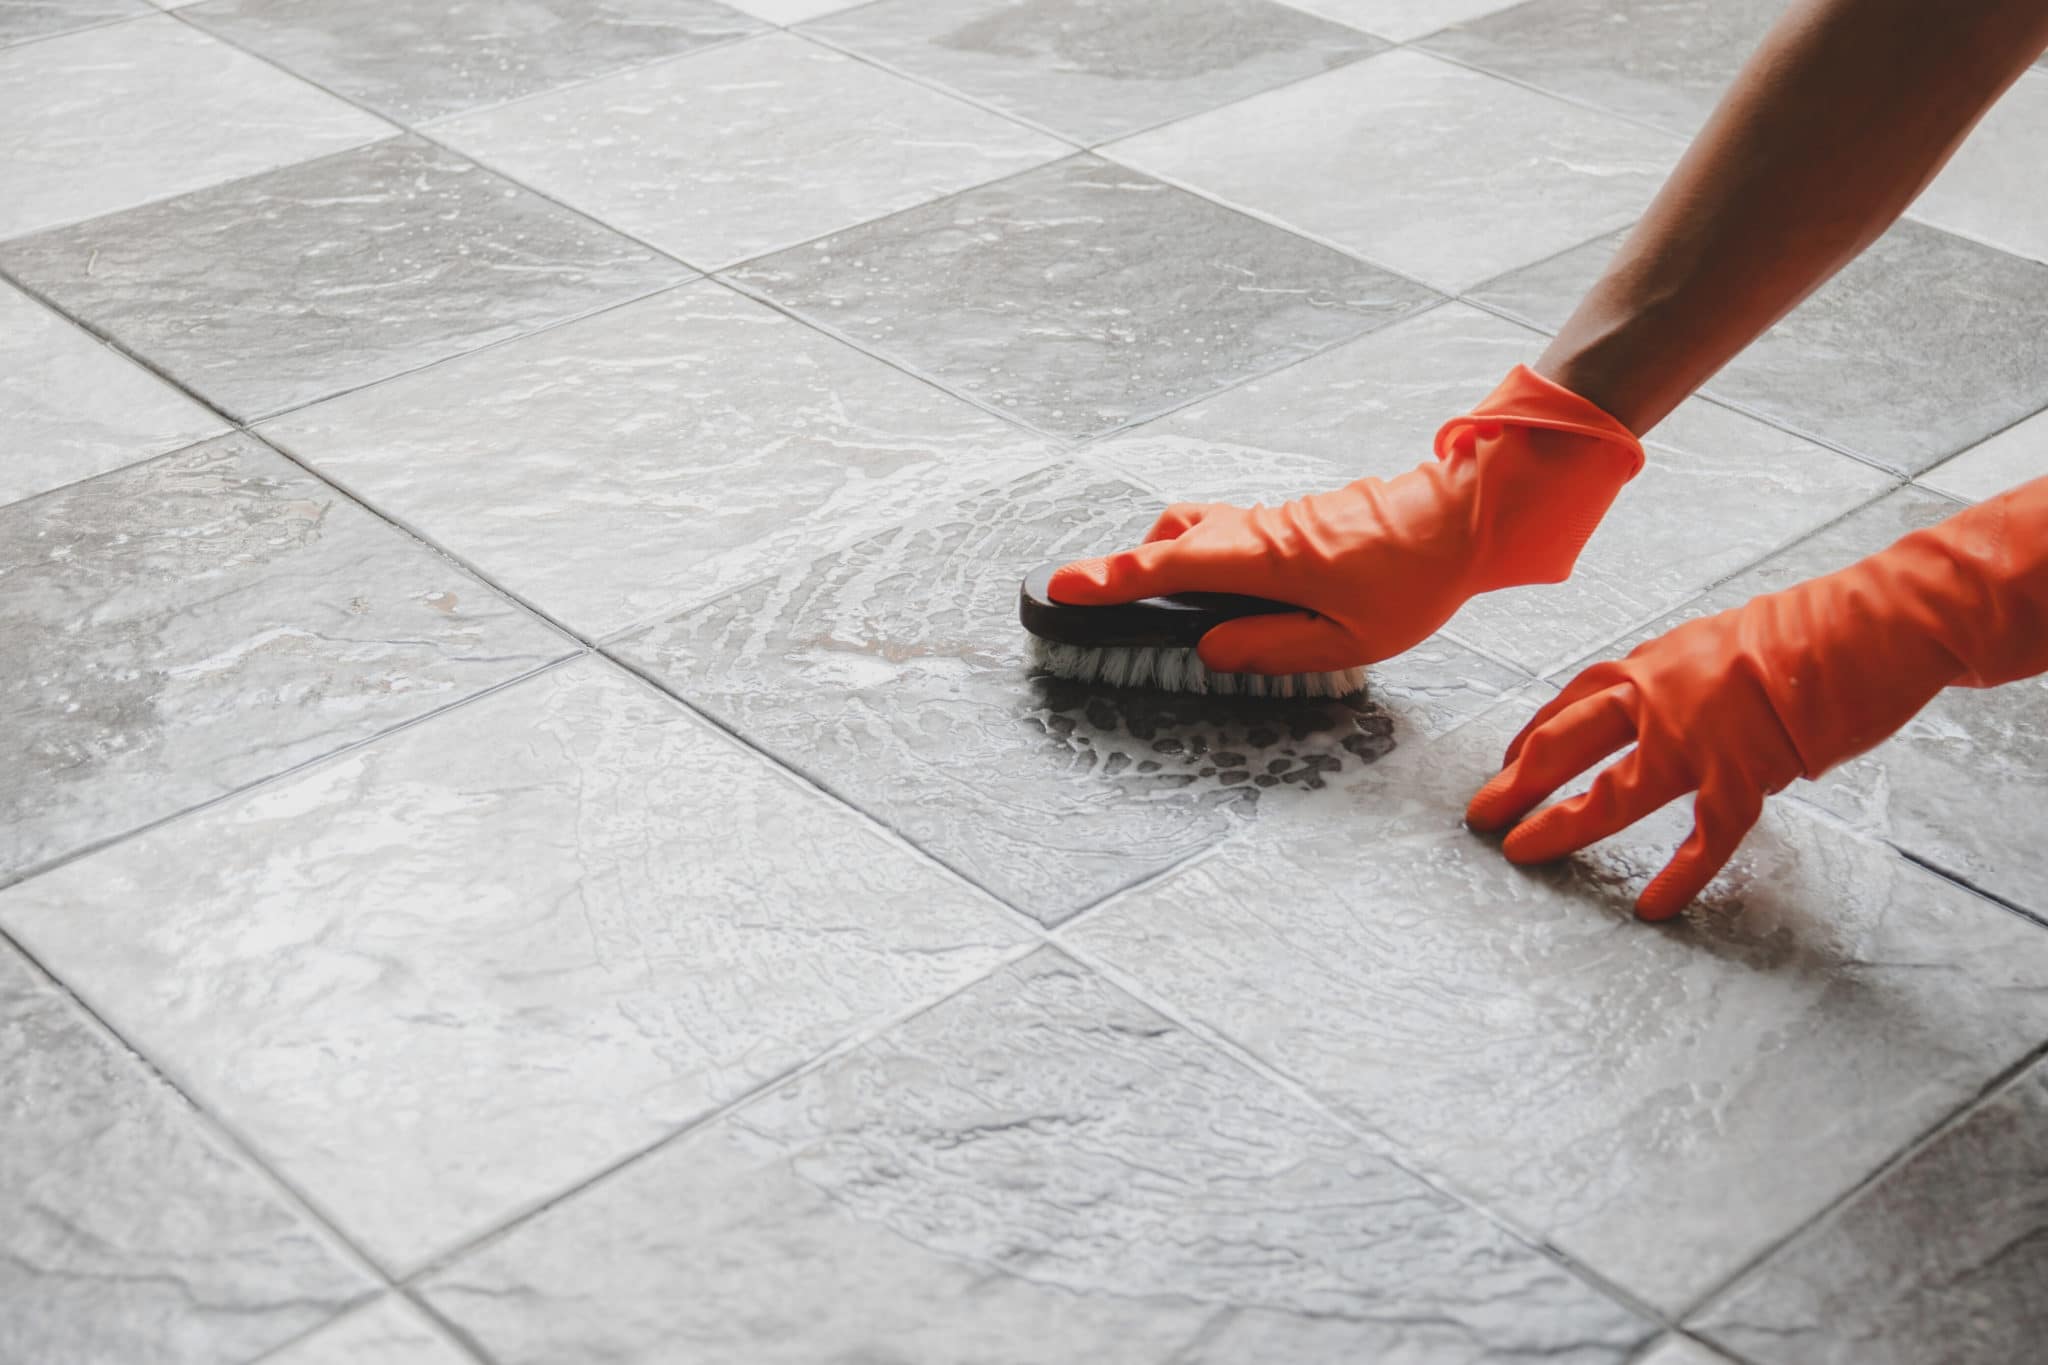
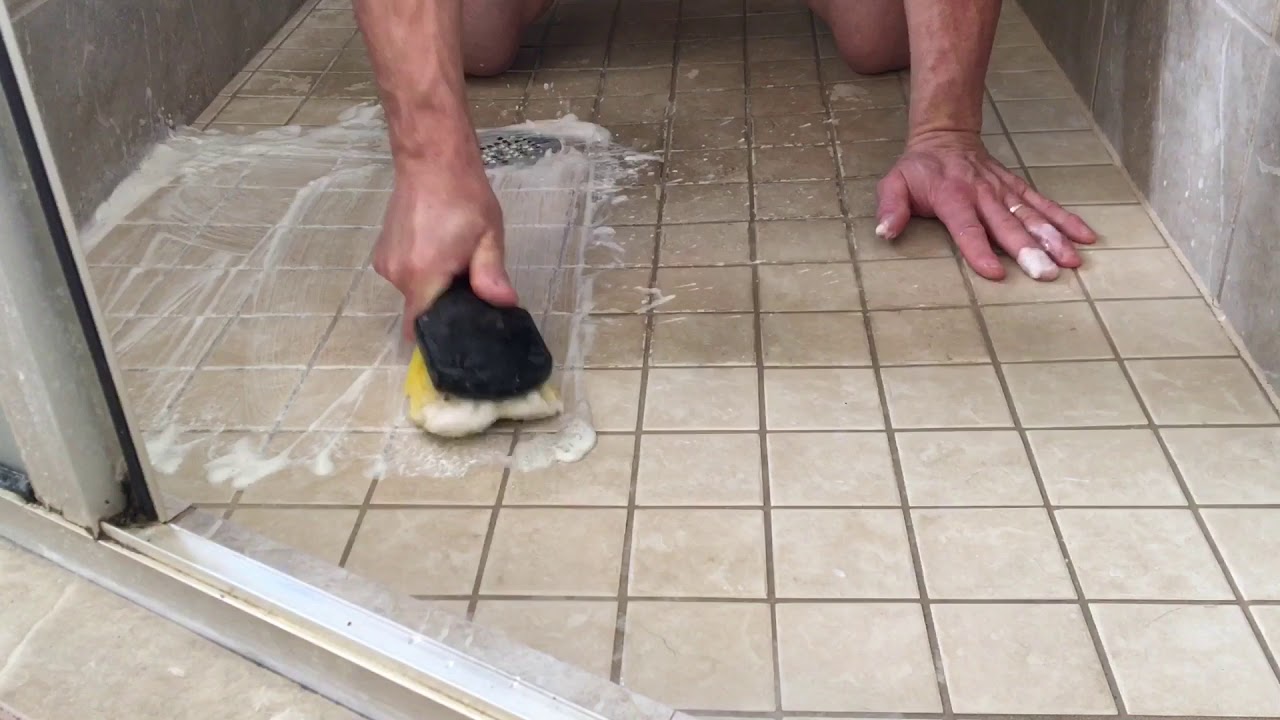
If you encounter any areas with dried spills or stains, you may need to put a little extra effort into scrubbing. Use a scrub brush or sponge to gently scrub these areas, applying a bit of pressure to loosen and remove the stain.
Make sure to frequently rinse out the mop or microfiber cloth in the bucket of cleaning solution to prevent spreading dirt or grime back onto the tile surface.
Continue mopping the entire floor, reapplying the cleaning solution as needed. Remember, it’s better to use less rather than too much cleaning solution to avoid residue buildup.
By thoroughly mopping the floor with the cleaning solution, you will effectively remove dirt, grime, and stains from your ceramic floor tiles, leaving them looking fresh and clean.
Use a mixture of warm water and mild detergent to clean ceramic floor tiles. Avoid using harsh chemicals or abrasive tools that can damage the surface. Dry the tiles thoroughly to prevent water spots.
Read more: How To Seal Ceramic Tile Floor
Step 4: Scrub Stubborn Stains
While mopping with the cleaning solution will remove most dirt and stains, there may be some stubborn stains that require a little extra attention. Here’s how to approach those tough spots:
- Identify the stubborn stain: Take a close look at the stain and determine what might have caused it. Different types of stains may require different cleaning methods.
- Choose an appropriate cleaning agent: Depending on the type of stain, you may need to use a specific cleaning agent. For example, for grease or oil stains, you can use a diluted dish soap or a degreaser. For rust stains, a mixture of vinegar and water can be effective.
- Apply the cleaning agent: Apply a small amount of the appropriate cleaning agent directly onto the stain. Let it sit for a few minutes to penetrate the stain and break it down.
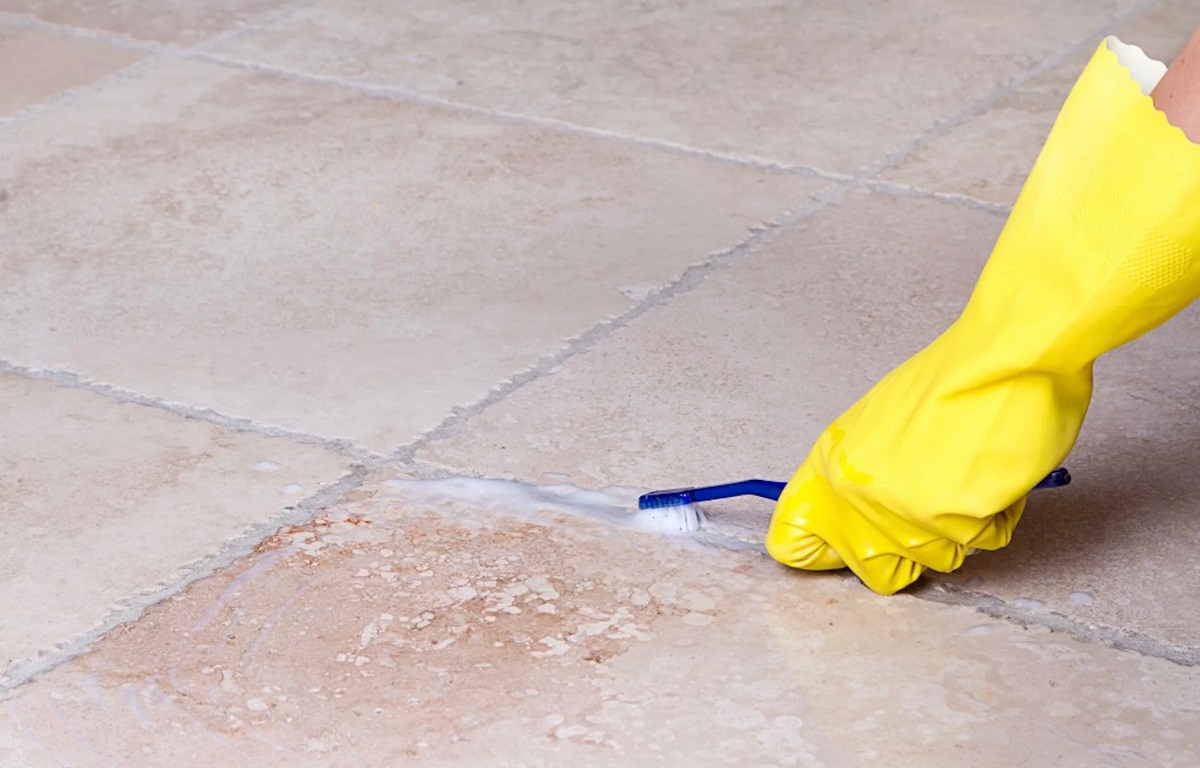
- Scrub the stain: Use a scrub brush or sponge to gently scrub the stained area in a circular motion. Apply moderate pressure, but be careful not to scrub too aggressively, as this may damage the tile surface.
- Rinse and repeat if necessary: Once you have scrubbed the stain, rinse the area thoroughly with clean water. If the stain persists, repeat the process until it is fully removed.
It’s important to note that certain types of stains, such as permanent marker or dye stains, may be more challenging to remove. In such cases, you may need to consult a professional cleaner or contact the tile manufacturer for further advice.
By giving extra attention to stubborn stains and using the appropriate cleaning agents, you can effectively remove even the toughest marks from your ceramic floor tiles.
Step 5: Rinse the Floor
After thoroughly cleaning the ceramic floor tiles and removing any stubborn stains, it’s important to rinse the floor to remove any residual cleaning solution or loosened dirt.
Start by filling a clean bucket with warm water. Dip a mop or a clean microfiber cloth into the water and wring out any excess moisture. You want the mop or cloth to be damp, not saturated.
Begin rinsing the floor by mopping in the same back-and-forth motion as in the previous cleaning steps, ensuring that you cover the entire floor surface.
Remember to frequently rinse out the mop or cloth in the bucket of clean water to avoid spreading dirt or residue back onto the tiles.
If you notice any areas that still feel slippery or soapy, continue rinsing those specific areas with clean water until all traces of the cleaning solution have been removed.
It’s important to thoroughly rinse the floor to prevent any residue from building up and leaving behind streaks or a dull appearance. Adequate rinsing will ensure that your ceramic floor tiles are left clean and residue-free.
Step 6: Dry the Floor
Once you have completed rinsing the ceramic floor tiles, it’s time to dry them to prevent any water spots or streaks from forming. Here’s how to ensure a thorough and effective drying process:
- Use a clean towel or mop: Start by using a clean, dry towel or mop to soak up any excess water on the floor surface. Gently press the towel or mop onto the tiles, absorbing as much moisture as possible.
- Air dry or use a fan: Depending on the size of the area, you can allow the floor to air dry naturally or use a fan to speed up the drying process. This will help to prevent any water spots from forming.
- Avoid walking on wet tiles: While drying the floor, it’s important to avoid walking on the wet tiles as much as possible. This will prevent any dirt or debris from being tracked onto the clean surface.
- Buff with a dry cloth: To add an extra shine to your ceramic floor tiles, you can use a dry cloth to gently buff the surface. This will help to remove any remaining streaks or water marks.
Allowing the ceramic floor tiles to thoroughly dry will not only prevent water spots and streaks, but it will also ensure that the tiles regain their natural shine.
Conclusion
Cleaning and maintaining the beauty of your ceramic floor tiles is essential for keeping them looking their best for years to come. By following the step-by-step guide outlined in this article, you can effectively clean your ceramic floor tiles and restore their shine. Remember the key steps:
- Sweep or vacuum the floor to remove loose dirt and debris.
- Prepare a cleaning solution using a mild detergent or tile cleaner.
- Mop the floor with the solution, paying extra attention to stubborn stains.
- Scrub any tough stains using the appropriate cleaning agents.
- Rinse the floor thoroughly to remove any cleaning residue or loosened dirt.
- Dry the floor using a towel, air drying, and buffing to achieve a streak-free finish.
By incorporating these steps into your regular cleaning routine, you can enjoy clean and shiny ceramic floor tiles that enhance the aesthetics of your space. Regular maintenance and prompt stain removal will help prolong the lifespan of your tiles and maintain their original beauty.
Remember to follow the manufacturer’s recommendations and guidelines for cleaning and maintenance of your specific ceramic floor tiles. Additionally, it’s important to test any cleaning products or solutions on a small, inconspicuous area of the floor before applying them to the entire surface.
With proper cleaning and care, your ceramic floor tiles will continue to impress with their timeless elegance and aesthetic appeal, enhancing the overall atmosphere of your home or office.
Frequently Asked Questions about How To Clean Ceramic Floor Tile
Was this page helpful?
At Storables.com, we guarantee accurate and reliable information. Our content, validated by Expert Board Contributors, is crafted following stringent Editorial Policies. We're committed to providing you with well-researched, expert-backed insights for all your informational needs.

0 thoughts on “How To Clean Ceramic Floor Tile”