
Articles
How To Clean Edgestar Kegerator Lines
Modified: October 19, 2024
Learn the best techniques and tips for cleaning Edgestar kegerator lines with our informative articles. Ensure your beer always tastes fresh and delicious.
(Many of the links in this article redirect to a specific reviewed product. Your purchase of these products through affiliate links helps to generate commission for Storables.com, at no extra cost. Learn more)
Introduction
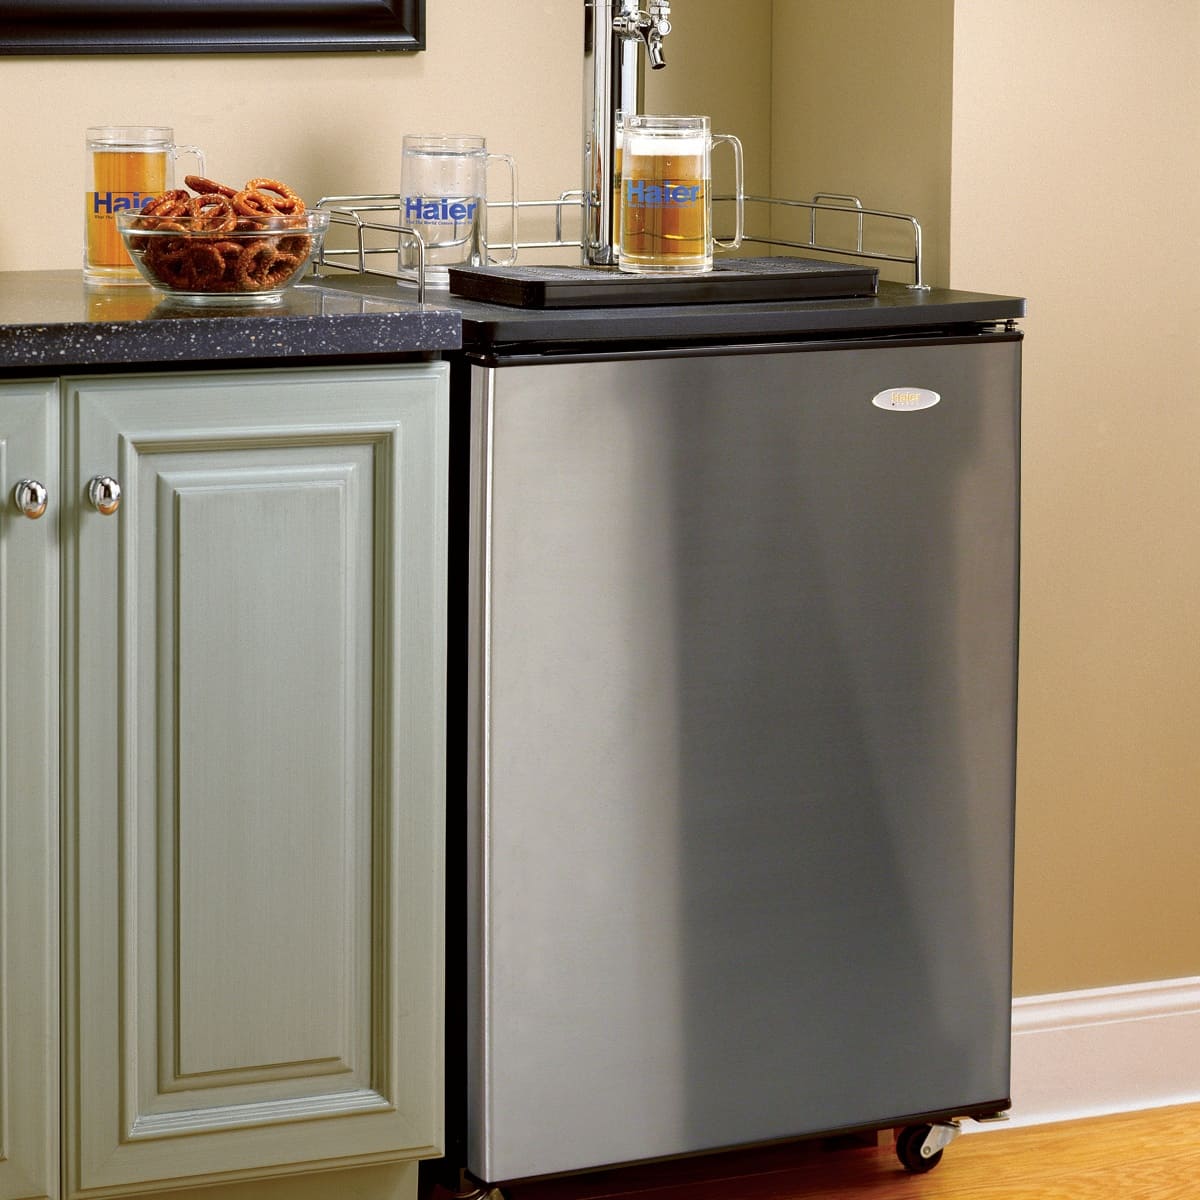
Keeping your Edgestar kegerator running smoothly and ensuring the quality of your beer requires regular maintenance, including cleaning the beer lines. Over time, beer residue, bacteria, and yeast can build up inside the lines, resulting in off-flavors and decreased pour quality. Cleaning the kegerator lines not only improves the taste of your beer but also prolongs the lifespan of the equipment.
In this article, we will guide you through the process of cleaning Edgestar kegerator lines, step by step. By following these instructions, you will ensure that your kegerator is always in top condition, resulting in perfectly poured pints of your favorite brews.
Key Takeaways:
- Regularly cleaning your Edgestar kegerator lines with warm water and a cleaning agent ensures fresh, flavorful beer and prolongs the lifespan of your equipment.
- Disconnect, clean, and reconnect your kegerator regularly to maintain optimal performance and enjoy perfectly poured pints of your favorite brews. Cheers to clean and delicious beer!
Read more: How To Clean Your Kegerator Lines
What You Will Need
Before you begin cleaning your Edgestar kegerator lines, gather the necessary items and supplies:
- Bucket: You will need a bucket to hold the cleaning solution and catch any liquid that flows out during the cleaning process.
- Cleaning solution: There are several options for cleaning solutions, including commercially available line cleaners or a homemade solution of warm water and cleaning agent, such as baking soda or PBW (Powdered Brewery Wash).
- Cleaning brush or line cleaning kit: A cleaning brush or line cleaning kit with a brush attachment is essential for scrubbing the beer lines and removing any residue or buildup.
- Clean cloth or sponge: This will be used to clean the faucet and other external surfaces of the kegerator.
- Sanitizing solution: After cleaning the lines, it’s important to sanitize them to eliminate any remaining bacteria or yeast. You can use a commercially available sanitizer or a homemade solution of warm water and sanitizer agent, such as Star San or iodophor.
Make sure you have all these items ready before you start the cleaning process to ensure a smooth and efficient cleaning experience.
Step 1: Disconnect the Kegerator
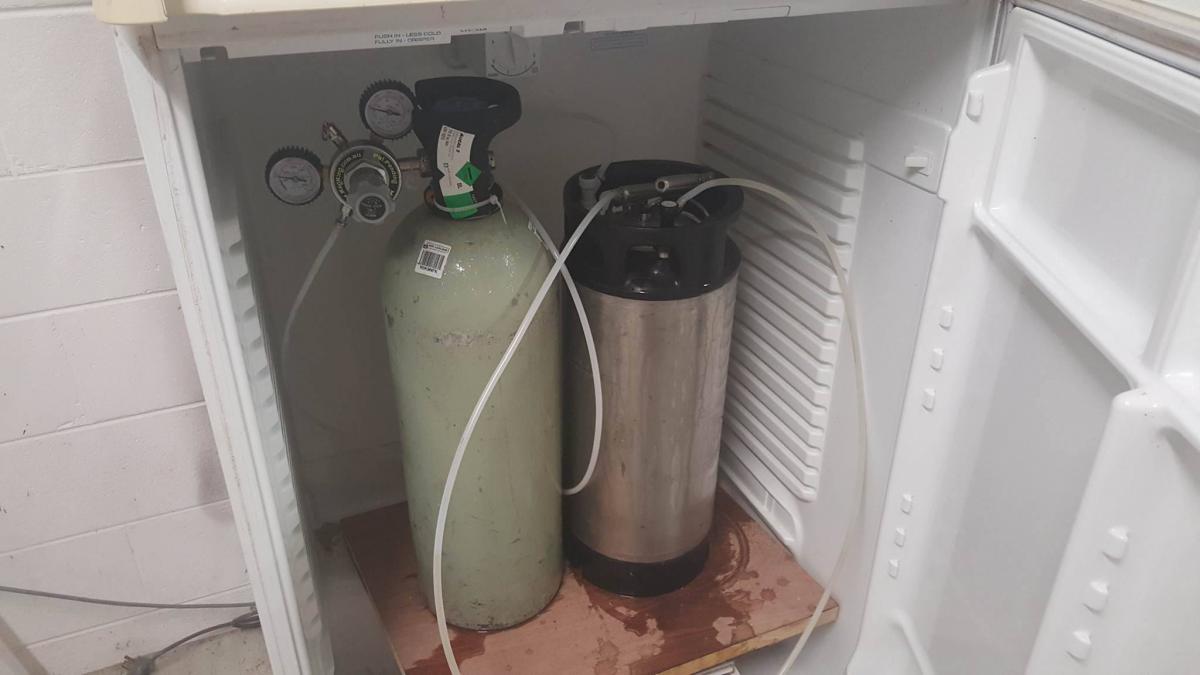
The first step in cleaning the Edgestar kegerator lines is to disconnect the kegerator from the power source. Unplug the kegerator from the electrical outlet to ensure your safety during the cleaning process.
Next, turn off the CO2 tank valve. This will prevent any pressure from building up in the lines while you are cleaning them. You can do this by turning the valve clockwise until it is fully closed.
Once the kegerator is disconnected and the CO2 tank valve is closed, you can proceed to the next step.
Note: If you have any kegs inside the kegerator, remove them before proceeding to disconnect the kegerator. Make sure to store them properly to maintain their freshness.
Step 2: Prepare the Cleaning Solution
Now that the kegerator is safely disconnected, it’s time to prepare the cleaning solution that will effectively clean the beer lines. As mentioned earlier, you can either use a commercially available line cleaner or make your own cleaning solution.
If using a commercial line cleaner, follow the instructions on the packaging to mix the appropriate amount of cleaner with warm water in a bucket. Typically, a ratio of 1 ounce of cleaner per gallon of water is recommended.
If making your own cleaning solution, consider using a mixture of warm water and a cleaning agent such as baking soda or PBW (Powdered Brewery Wash). In a bucket, mix a tablespoon of baking soda or PBW with a gallon of warm water. Stir the mixture until the cleaning agent is fully dissolved.
Ensure that the cleaning solution is well-mixed and ready for use.
Note: It’s important to use warm water in the cleaning solution as it helps to effectively dissolve any residue or buildup in the beer lines.
To clean Edgestar kegerator lines, mix warm water with a cleaning solution, run the mixture through the lines, and then rinse with clean water. Repeat this process until the lines are clean.
Step 3: Clean the Beer Lines
With the cleaning solution prepared, it’s time to clean the beer lines of your Edgestar kegerator. Follow these steps:
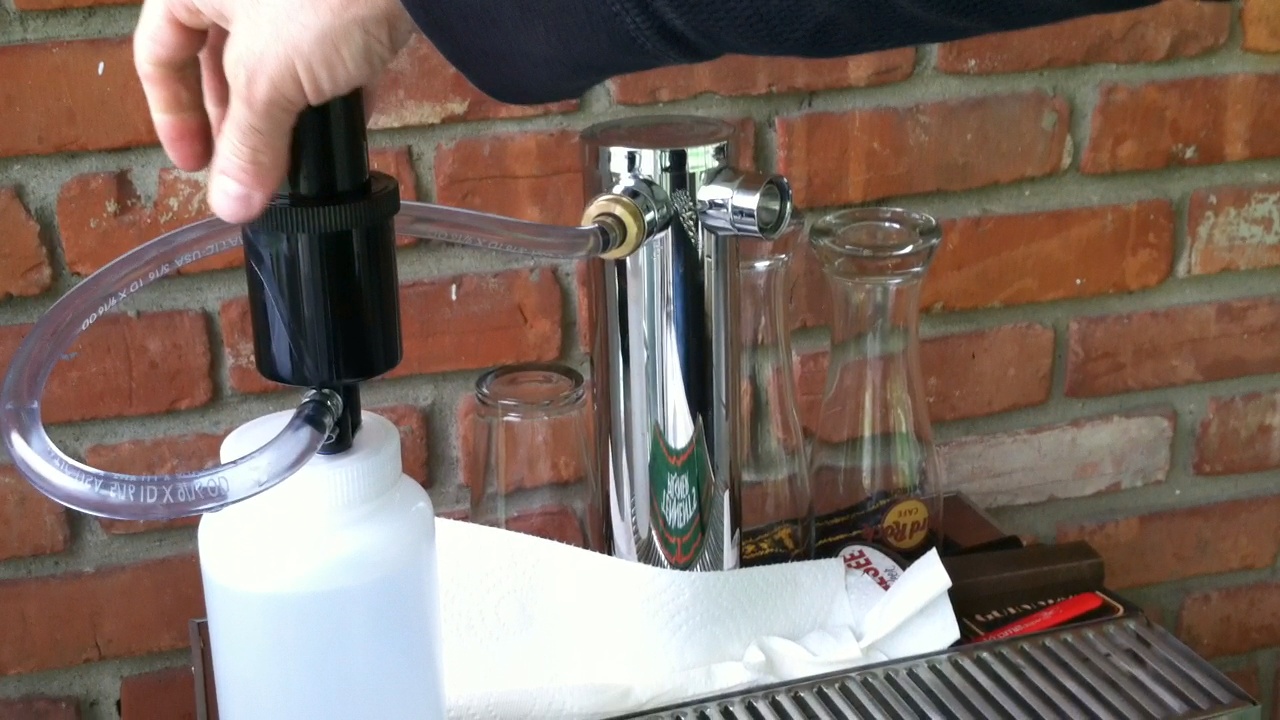
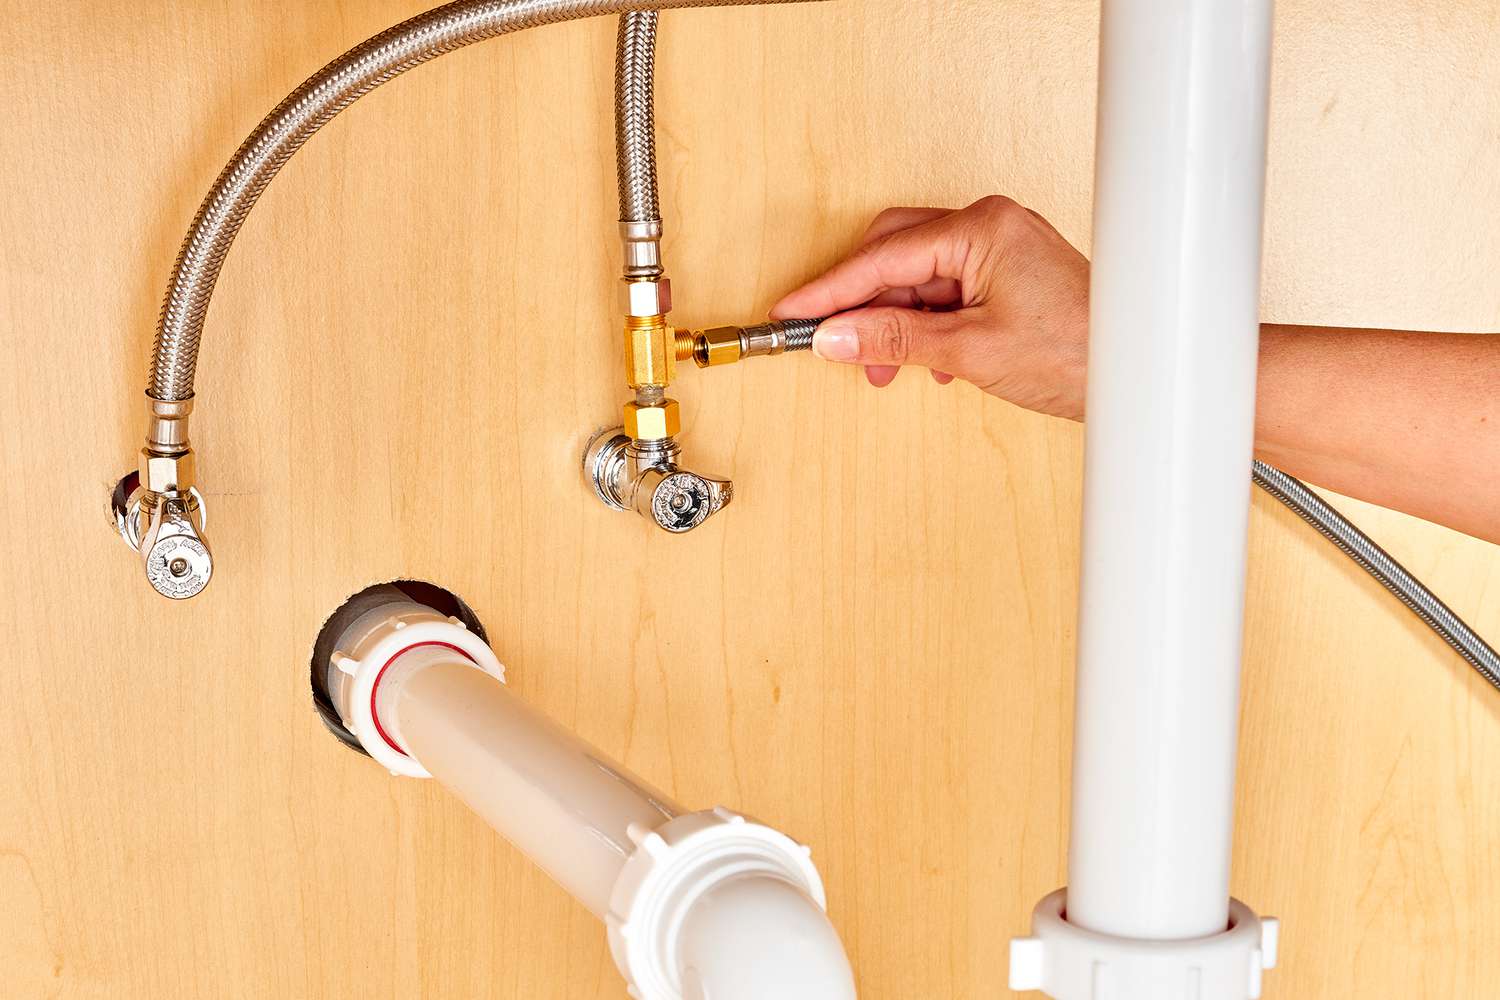
- Attach one end of the cleaning brush or line cleaning kit to the faucet. This will help guide the brush through the beer lines.
- Lower the other end of the brush or kit into the bucket containing the cleaning solution.
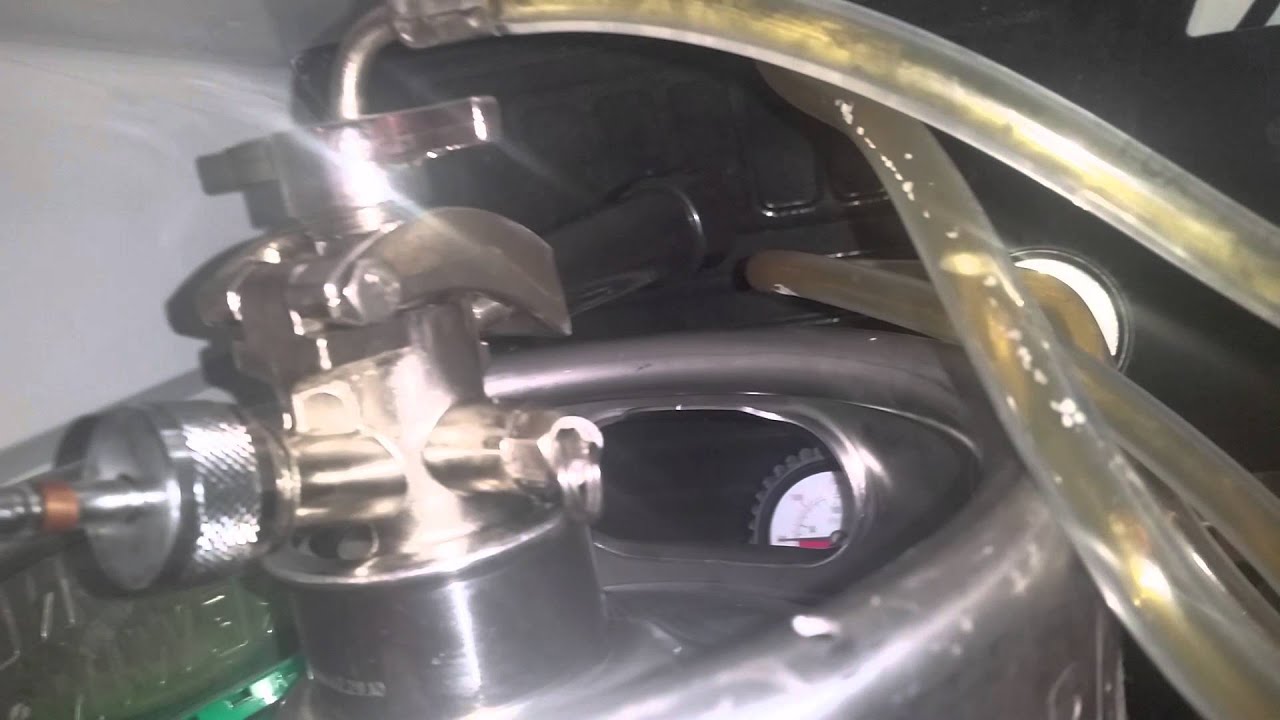
- Slowly and gently push the brush or kit through the beer lines, making sure it reaches all the way to the keg coupler.
- Once the brush or kit has reached the end of the lines, start pulling it back while gently scrubbing the inside of the lines. This motion will help remove any residue or buildup.
- Repeat this process several times, ensuring that all parts of the beer lines have been thoroughly cleaned.
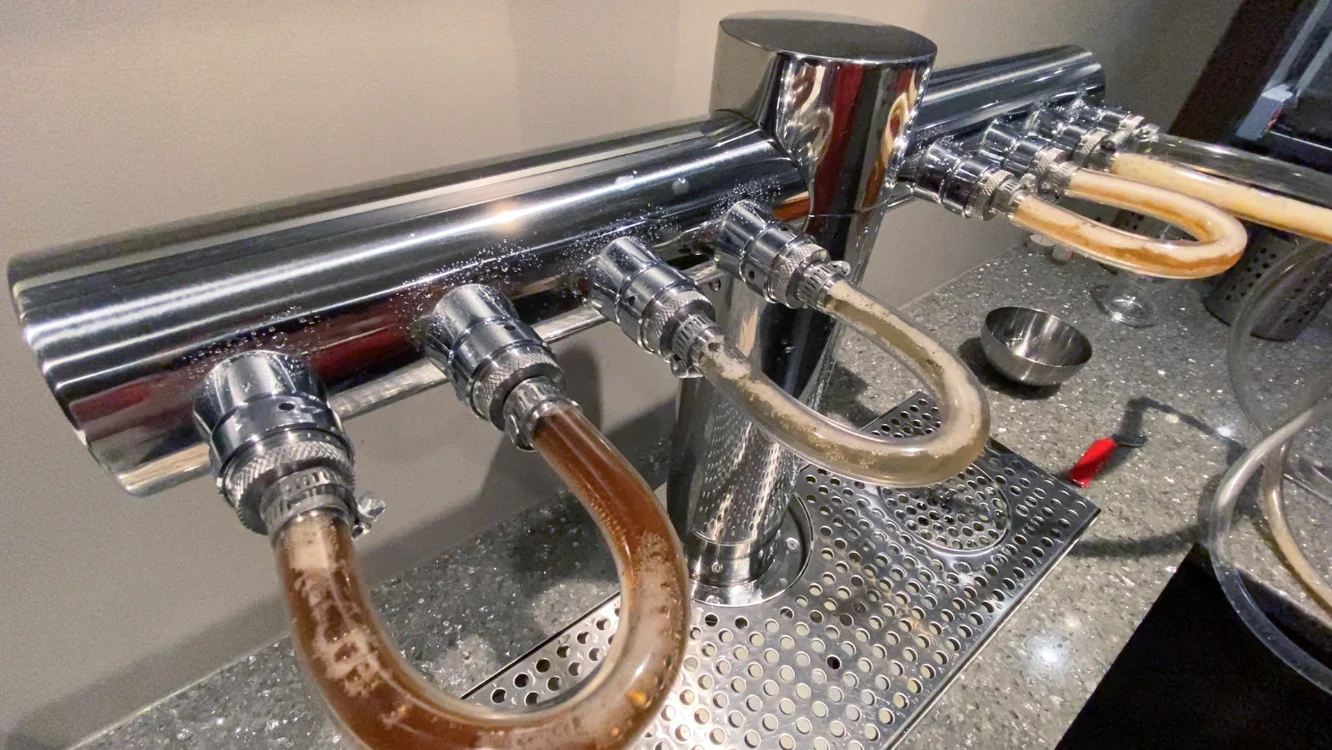
- Once you are satisfied with the cleaning, flush the lines with clean water. This will help remove any remaining cleaning solution and residue.
While cleaning the beer lines, pay attention to any areas that may require extra scrubbing, such as bends or tight spots where residue can accumulate. Take your time and be thorough in this step to ensure all debris is removed.
Note: If you have multiple beer lines in your kegerator, repeat this process for each line individually.
Read more: How To Tap A Keg In An Edgestar Kegerator
Step 4: Clean the Faucet
The faucet is an essential part of your Edgestar kegerator, and it also requires regular cleaning to maintain its functionality and to prevent the buildup of any contaminants. Follow these steps to clean the faucet:
- Detach the faucet from the kegerator by unscrewing it counterclockwise. Be careful not to damage any components while doing so.
- Using a clean cloth or sponge, wipe the exterior of the faucet to remove any dirt or grime.
- Inspect the inside of the faucet for any debris or residue. If you notice any buildup, rinse it off with warm water and gently scrub the interior with a brush or cloth.
- Soak the faucet in the cleaning solution for a few minutes to ensure thorough cleaning. Swirl it around to help dislodge any stubborn contaminants.
- Rinse the faucet with clean water to remove any cleaning solution.
Make sure to clean all parts of the faucet, including the spout, handle, and any other removable components. This will help maintain the cleanliness and functionality of the faucet.
Note: If your faucet has a removable nozzle, clean it separately by soaking it in the cleaning solution and then rinsing it thoroughly with clean water.
Step 5: Reconnect the Kegerator
Now that the beer lines and faucet have been thoroughly cleaned, it’s time to reconnect your Edgestar kegerator and prepare it for future use. Follow these steps:
- Ensure that the faucet is completely dry before reattaching it to the kegerator. This will help prevent any moisture buildup.
- Screw the faucet back onto the kegerator in a clockwise direction until it is securely attached.
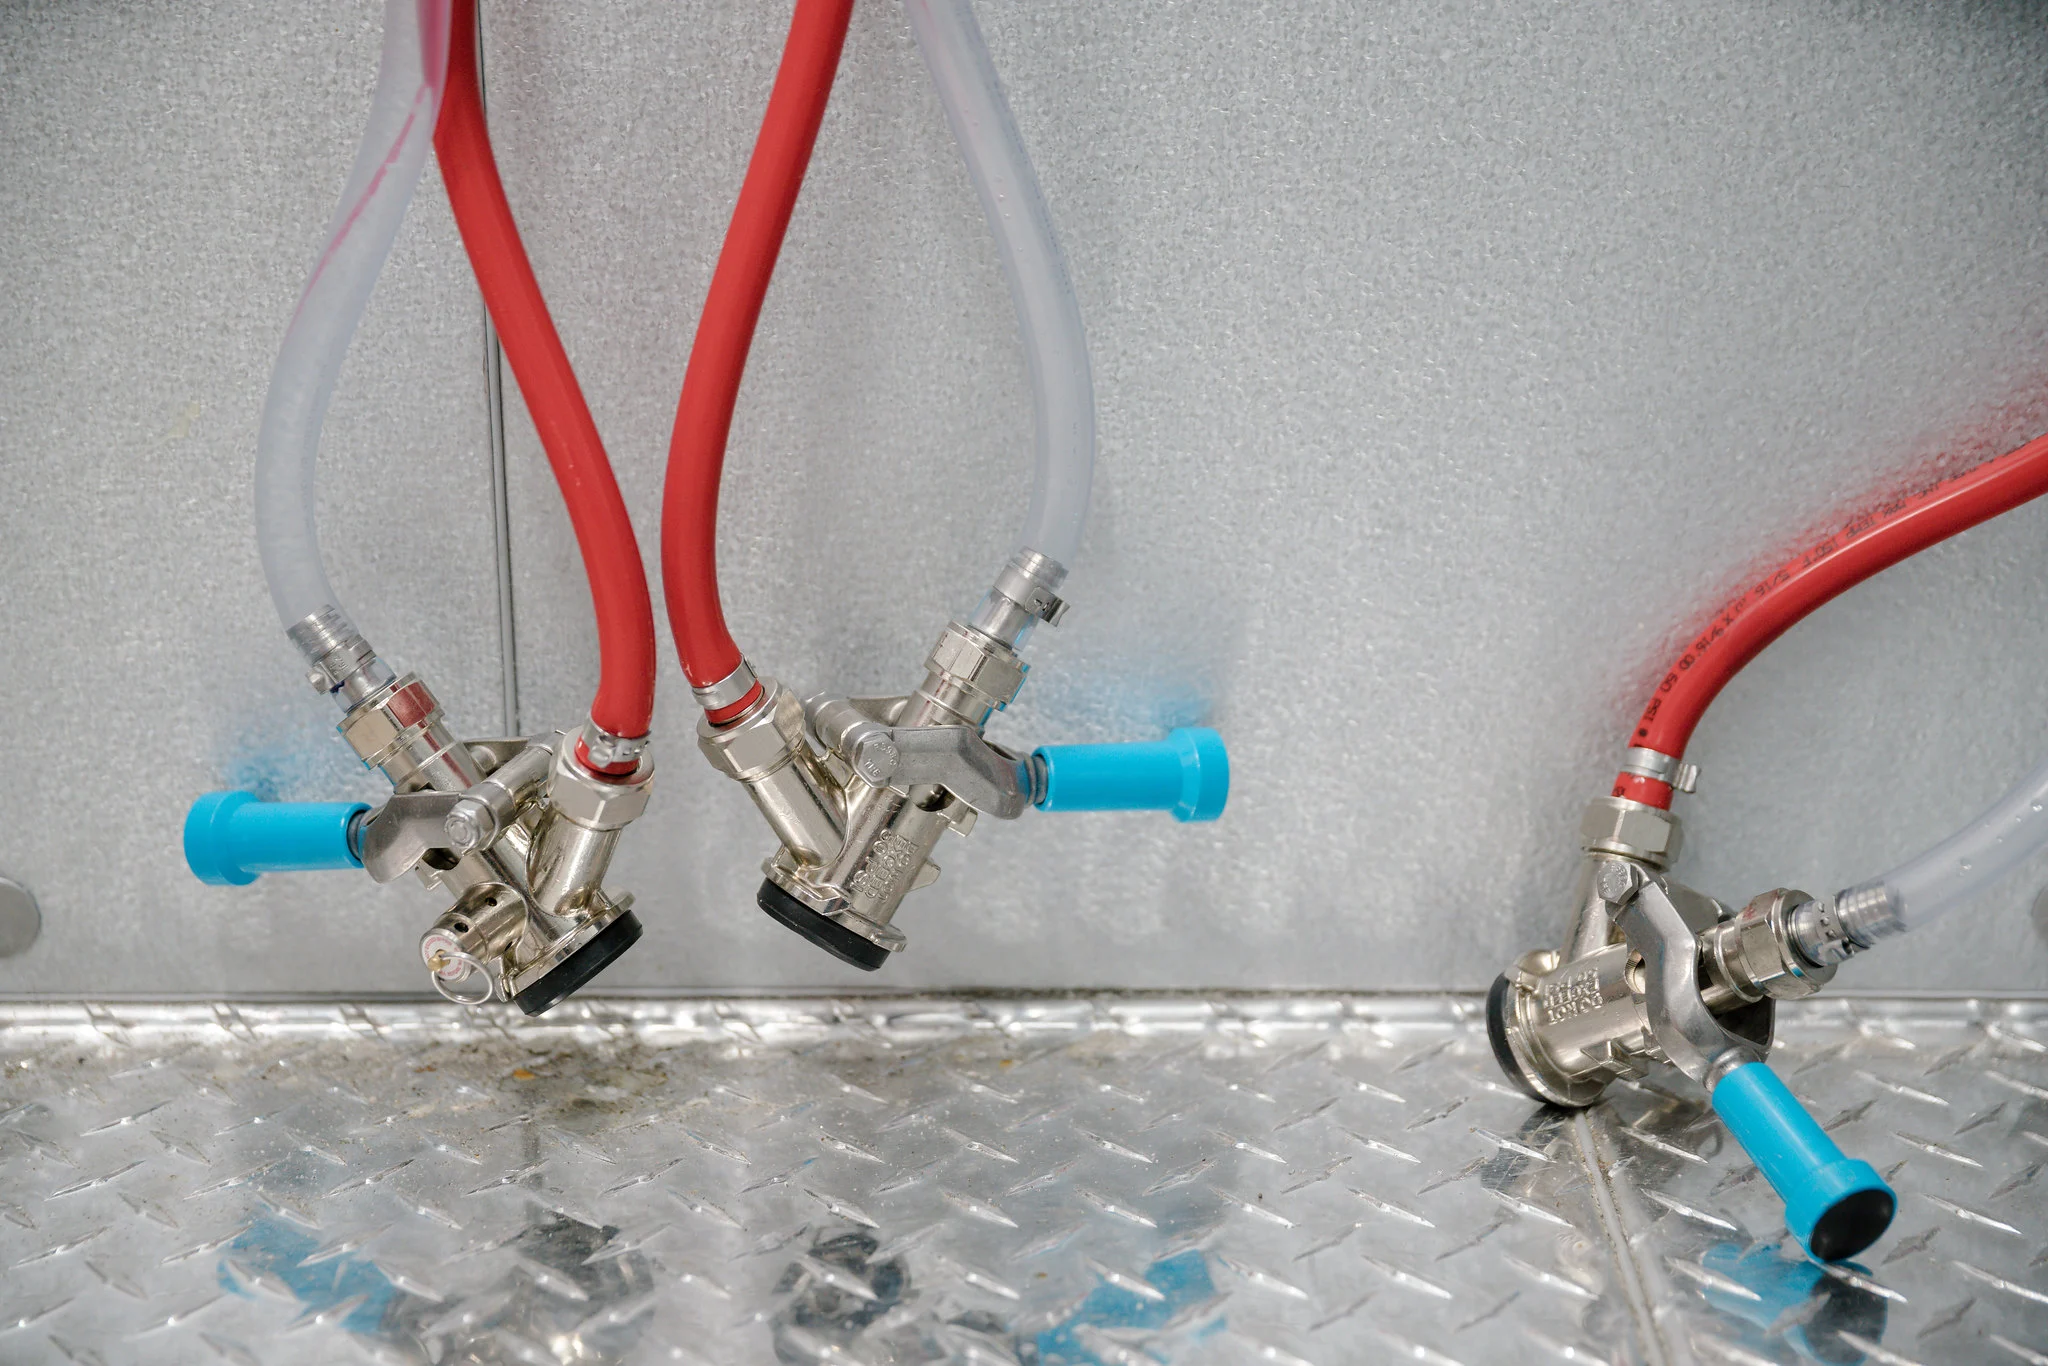
- If you have multiple beer lines, make sure to properly reconnect each line to its corresponding keg coupler.
- Once everything is securely connected, check that all connections are tight and leak-free. This will ensure proper dispensing of your beer without any issues.
- If you had removed any kegs from the kegerator during the cleaning process, now is the time to place them back in and secure them properly.
After reassembling the kegerator, take a moment to inspect all parts for any signs of damage or wear. Replace any worn-out or damaged components to maintain the optimal performance of your kegerator.
With the kegerator reconnected and ready for use, proceed to the final step to ensure everything is working as expected.
Step 6: Test and Enjoy
Now that you have completed the cleaning process and reconnected your Edgestar kegerator, it’s time to test it and enjoy a perfectly poured pint of beer. Follow these final steps:
- Open the CO2 tank valve slowly to allow the pressure to build up gradually in the kegerator. This will help prevent any excessive foaming or pressure-related issues.
- Ensure that the temperature inside the kegerator is set to the appropriate level for the type of beer you are planning to serve.
- Pull the tap handle forward to start pouring your beer. Observe the flow and consistency of the beer to ensure a smooth pour without excessive foam.
- Taste the beer to ensure that it is fresh and free from any off-flavors or contaminants. If the beer tastes off, it may be necessary to repeat the cleaning process or seek professional assistance.
Note: It is recommended to clean your Edgestar kegerator lines every 2-3 months or as needed based on the frequency of use and the quality of your beer. Regular cleaning and maintenance will help keep your kegerator running smoothly and ensure the best possible beer drinking experience.
By following these steps and maintaining a regular cleaning schedule, you can enjoy clean and flavorful beer from your Edgestar kegerator for years to come. Cheers!
Frequently Asked Questions about How To Clean Edgestar Kegerator Lines
Was this page helpful?
At Storables.com, we guarantee accurate and reliable information. Our content, validated by Expert Board Contributors, is crafted following stringent Editorial Policies. We're committed to providing you with well-researched, expert-backed insights for all your informational needs.


0 thoughts on “How To Clean Edgestar Kegerator Lines”