
Articles
How To Clean Pebble Shower Floor
Modified: May 6, 2024
Learn effective techniques and products to clean your pebble shower floor in our informative articles. Discover tips and tricks for maintaining a sparkling and hygienic pebble shower floor.
(Many of the links in this article redirect to a specific reviewed product. Your purchase of these products through affiliate links helps to generate commission for Storables.com, at no extra cost. Learn more)
Introduction
A pebble shower floor can add a touch of nature and elegance to any bathroom. The small, smooth pebbles create a unique texture underfoot, providing a spa-like experience. However, over time, these pebbles can accumulate dirt, soap scum, and grime, making the floor look dull and dirty. To keep your pebble shower floor looking its best, regular cleaning is essential.
In this article, we will guide you on how to clean a pebble shower floor effectively. We will walk you through step-by-step instructions, from gathering the necessary materials to applying a sealer for long-lasting results.
By following our recommended cleaning process, you can restore the beauty of your pebble shower floor and prolong its lifespan. So, let’s get started!
Key Takeaways:
- Restore the natural beauty of your pebble shower floor by following a step-by-step cleaning process using simple materials like mild soap, vinegar, and a soft brush. Enjoy a spa-like experience in your bathroom with a sparkling clean shower floor!
- Enhance the longevity of your pebble shower floor by applying a protective sealer, repelling water and stains. Follow safety precautions, gather materials, and enjoy a serene, rejuvenating shower experience.
Step 1: Gather the necessary materials
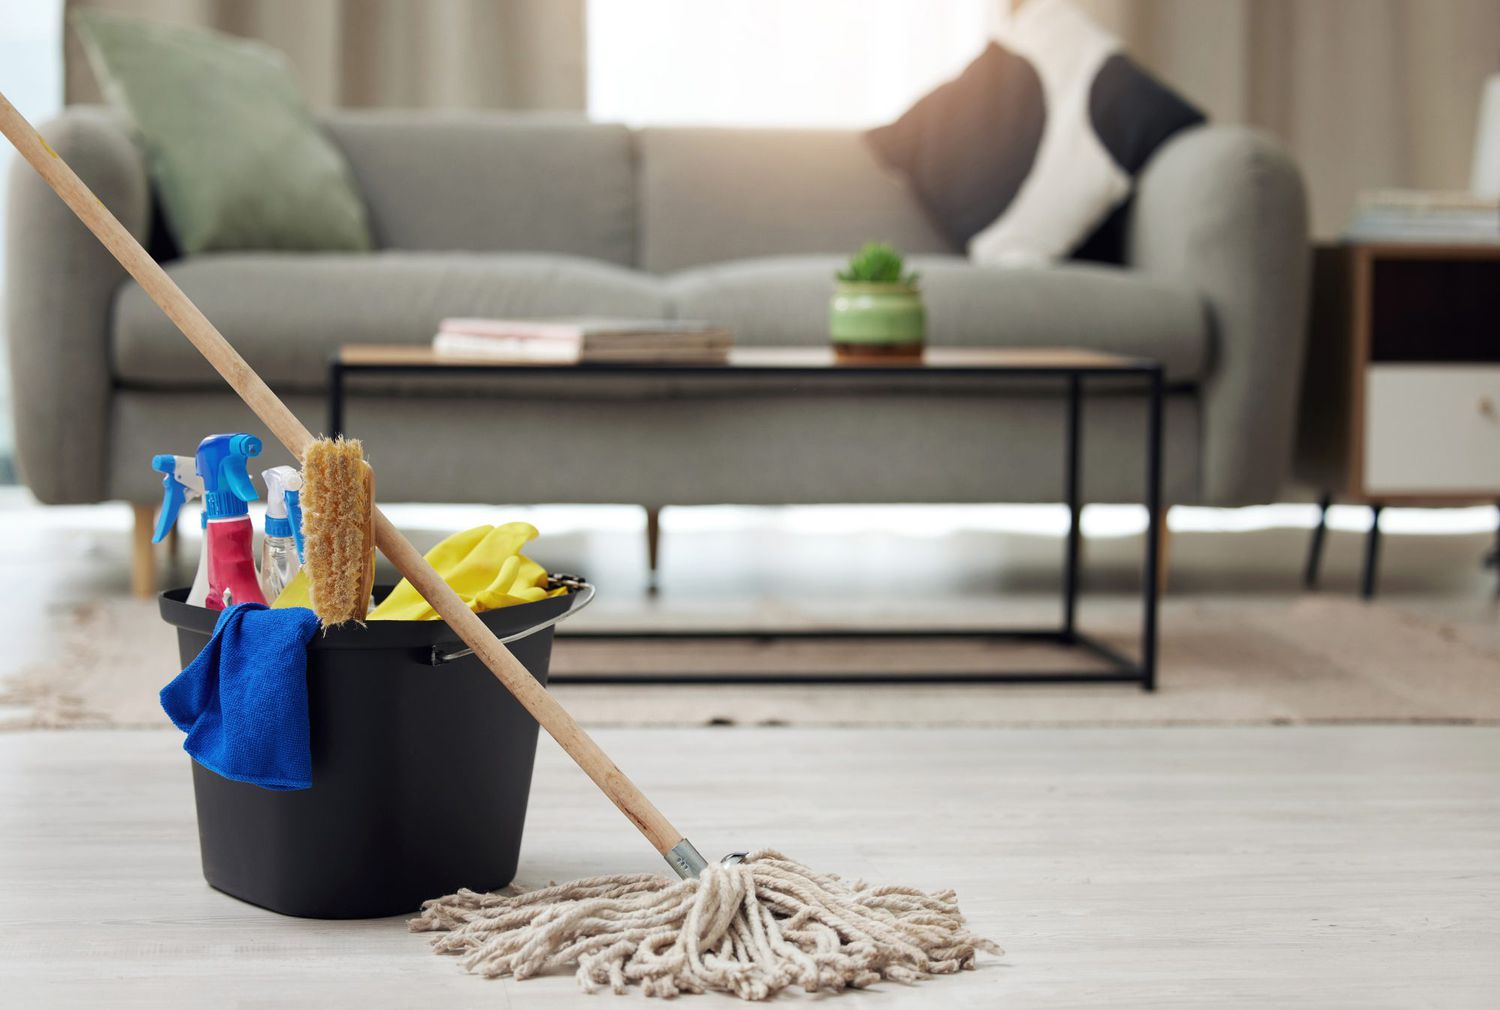
Before you begin cleaning your pebble shower floor, it is important to gather all the necessary materials. Having everything at hand will make the process more convenient and efficient. Here are the materials you will need:
- Mild liquid soap or specially formulated pebble shower floor cleaner
- Soft-bristle brush or scrub brush
- White vinegar or lemon juice
- Spray bottle
- Warm water
- Old toothbrush
- Microfiber cloth or soft towel
- Protective gloves (optional)
Make sure you have all these items before moving on to the next step.
Once you have gathered the materials, you are ready to start cleaning your pebble shower floor.
Step 2: Remove any surface debris
Before you begin the deep cleaning process, it’s important to remove any surface debris from your pebble shower floor. This includes loose hair, dirt, and any other visible particles.
Start by using a broom or a dustpan to sweep away larger debris. Be gentle to avoid scratching the surface of the pebbles.
Next, use a handheld vacuum cleaner or a handheld brush attachment to remove smaller particles and finer debris. Move the vacuum or brush along the surface of the pebbles, ensuring that you reach all areas, including corners and crevices.
If you don’t have access to a vacuum cleaner, you can also use a damp microfiber cloth to pick up the debris. Gently wipe the surface of the pebbles, making sure to remove any loose dirt.
Removing surface debris before cleaning allows for a more effective deep cleaning process. It ensures that the dirt and grime are not trapped under the cleaning solution, allowing it to penetrate the pebbles more efficiently.
Once you have removed all visible debris, you are ready to move on to the next step: preparing a cleaning solution.
Step 3: Prepare a cleaning solution
Preparing a cleaning solution is an essential step in effectively cleaning your pebble shower floor. The right cleaning solution will help to remove soap scum, mineral deposits, and other stubborn stains without damaging the pebbles’ natural texture.
You have a few options when it comes to choosing a cleaning solution:
- Mild liquid soap: This is a popular and readily available option. Choose a mild liquid soap that is gentle on the skin and free of harsh chemicals. Dilute the soap in a bucket of warm water, following the instructions on the bottle.
- Pebble shower floor cleaner: If you prefer a specialized cleaner, there are products available specifically designed for cleaning pebble shower floors. These cleaners are formulated to effectively remove grime and stains without damaging the pebbles or grout.
- DIY solution: If you prefer a more natural and eco-friendly option, you can create your own cleaning solution using white vinegar or lemon juice. In a spray bottle, mix equal parts of white vinegar or lemon juice with water. The acidity of these ingredients helps to break down soap scum and mineral deposits.
Choose the option that suits your preference and the condition of your pebble shower floor. Be sure to wear protective gloves if you are using a cleaner that may irritate the skin. Having your cleaning solution ready will allow for a smooth and efficient cleaning process.
Once you have prepared your chosen cleaning solution, you are ready to move on to the next step: scrubbing the pebble shower floor.
Step 4: Scrub the pebble shower floor
Now that you have your cleaning solution prepared, it’s time to start scrubbing the pebble shower floor to remove any built-up grime and stains. Here’s how:
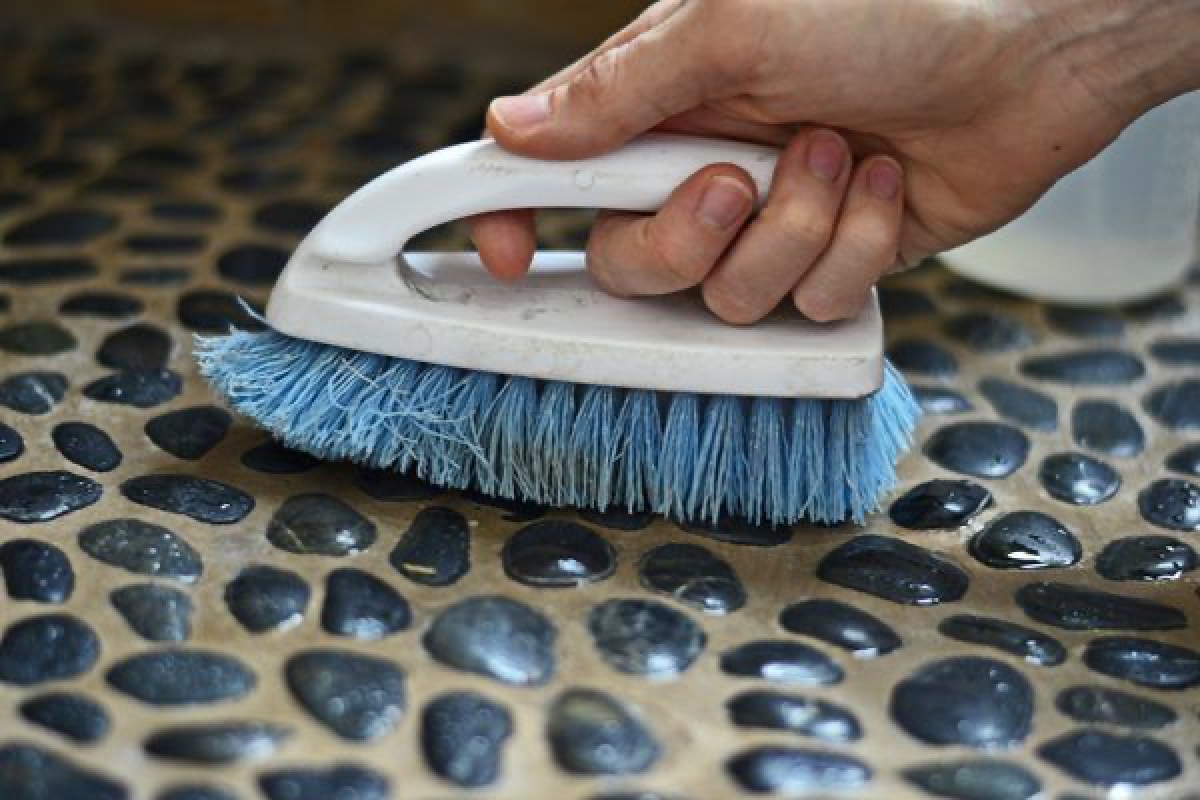
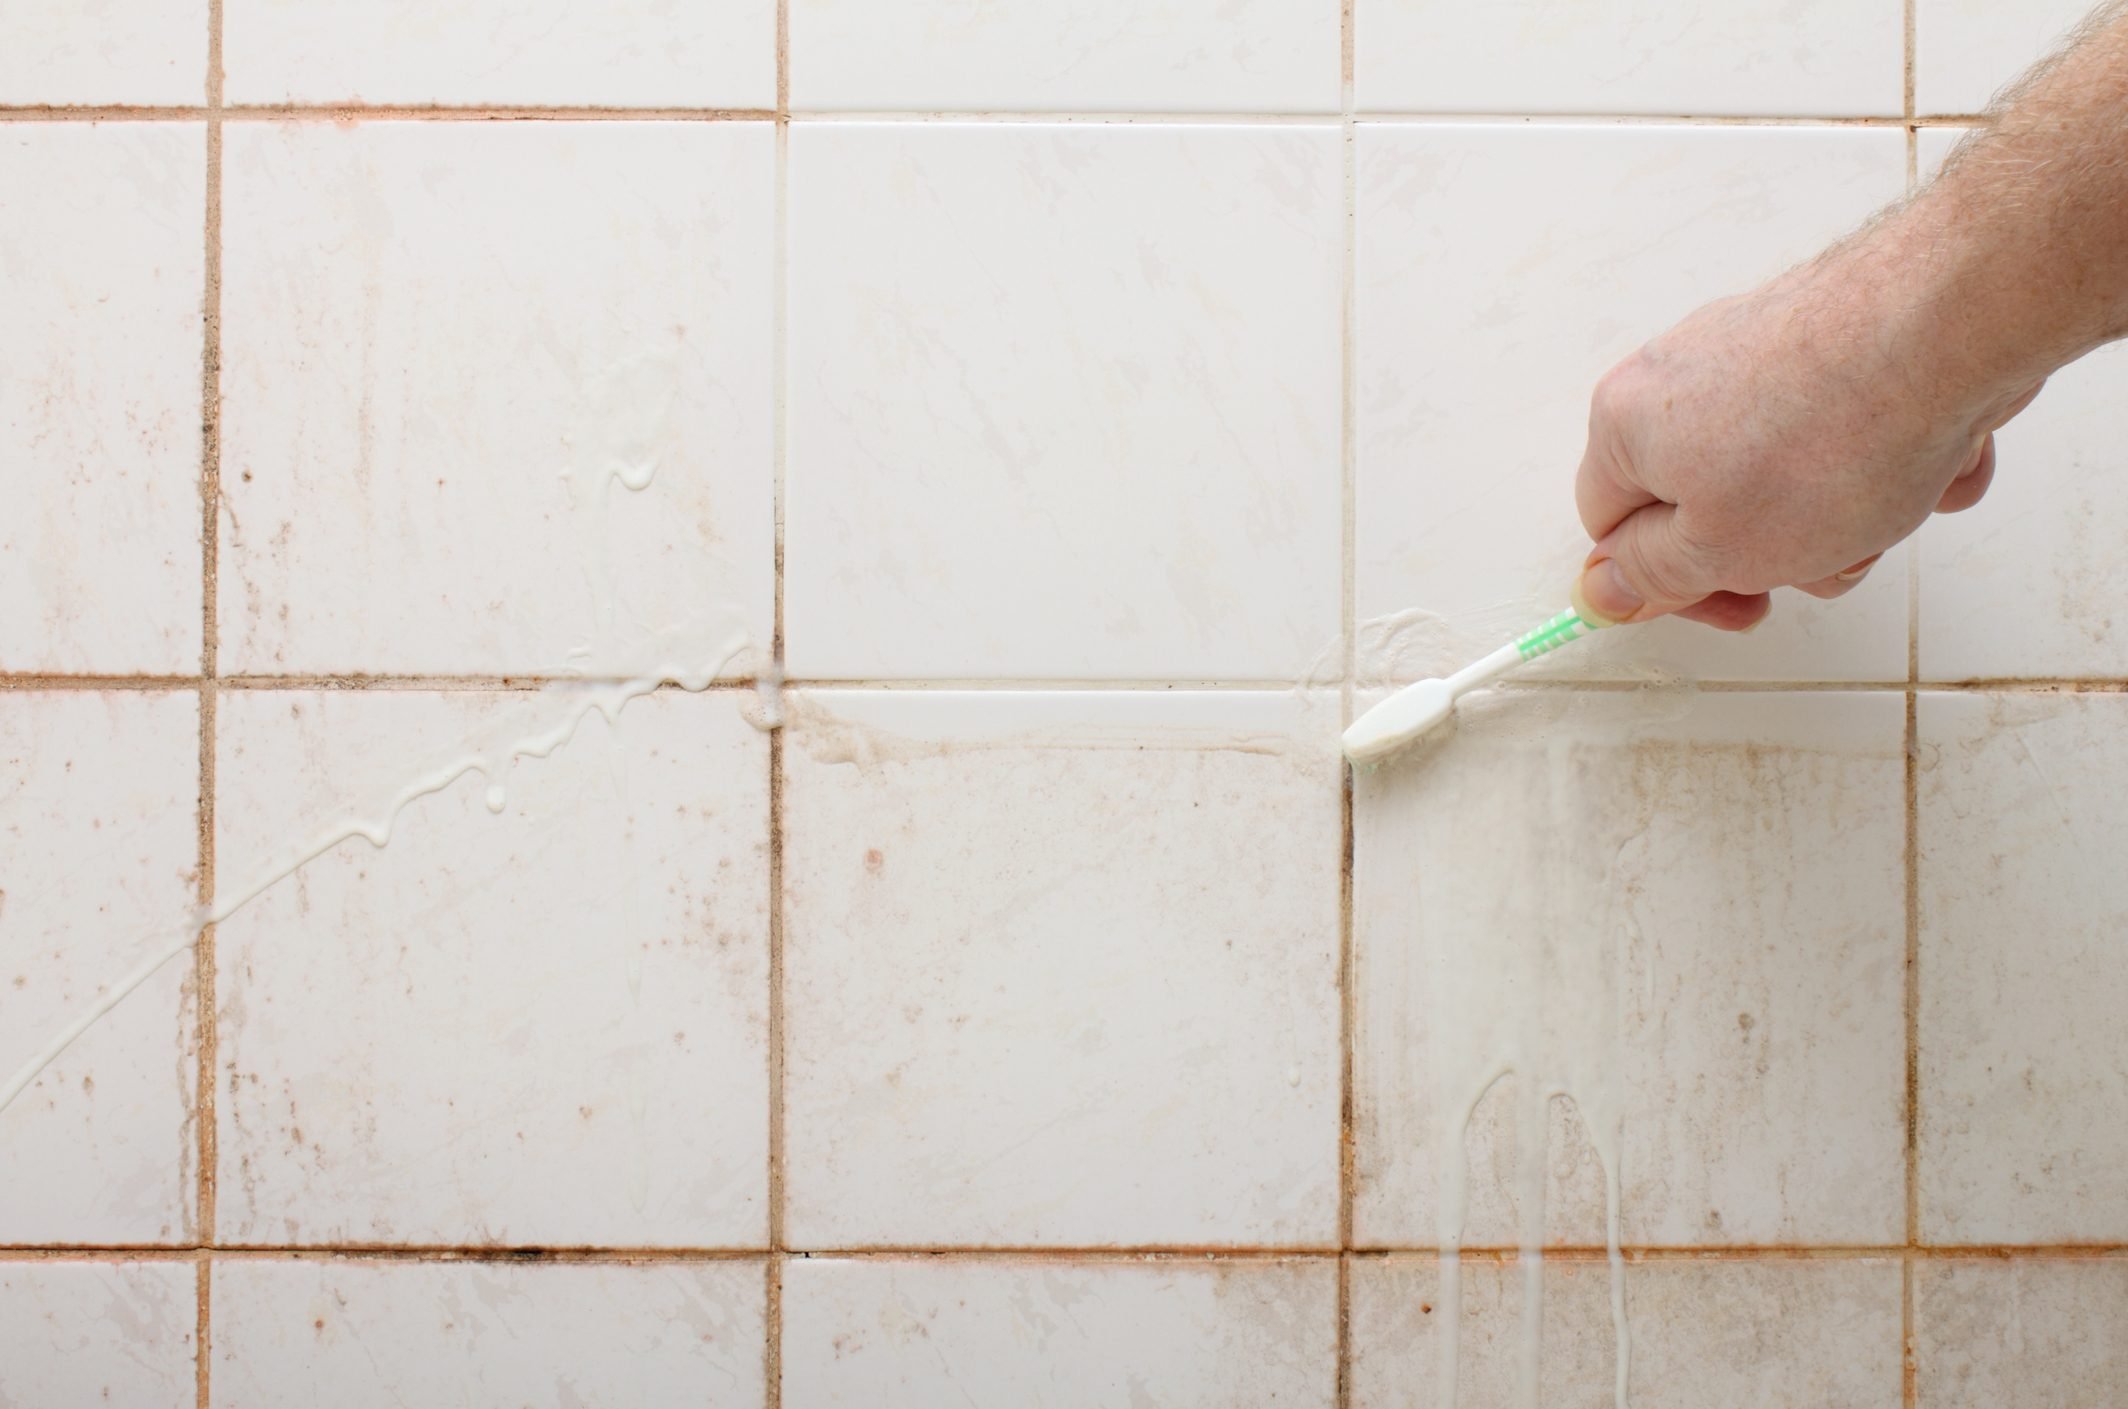
- Dampen your soft-bristle brush or scrub brush with the cleaning solution. You can also use an old toothbrush for harder-to-reach areas.
- Starting from one corner of the shower floor, begin scrubbing the pebbles in a circular motion. Apply gentle pressure to ensure thorough cleaning without damaging the pebbles.
- Work your way across the entire surface, paying extra attention to areas with visible stains or soap scum buildup.
- If you come across stubborn stains that are not easily removed, apply a little extra cleaning solution to the area and scrub vigorously. For tough mineral deposits, you can also try using a mixture of white vinegar or lemon juice directly on the stain.
- As you scrub, periodically dip the brush or toothbrush into the cleaning solution to keep it damp and effective.
Take your time with this step, ensuring that you cover all areas of the pebble shower floor. The scrubbing action will help dislodge dirt and grime from the surface, revealing the natural beauty of the pebbles underneath.
Once you have scrubbed the entire surface, you are ready to move on to the next step: rinsing off the cleaning solution.
Use a mixture of white vinegar and water to clean your pebble shower floor. Spray the solution onto the floor, let it sit for a few minutes, then scrub with a soft-bristled brush. Rinse thoroughly to remove any residue.
Read more: How To Clean Shower Floor Tile
Step 5: Rinse off the cleaning solution
After you have successfully scrubbed the pebble shower floor, it’s crucial to thoroughly rinse off the cleaning solution to prevent any residue or film from remaining on the surface. Follow these steps to ensure a clean and residue-free finish:
- Use warm water to rinse the entire surface of the pebble shower floor. Start from one end and work your way to the other, ensuring that you cover all areas.
- Pay extra attention to any crevices or corners where the cleaning solution may have accumulated.
- Continue rinsing until all traces of the cleaning solution have been removed. You may need to refill your bucket or spray bottle with fresh water throughout the rinsing process.
- Use a clean microfiber cloth or a soft towel to wipe away any excess water from the surface. This will help speed up the drying process.
Rinsing off the cleaning solution is essential to prevent any potential residue that can dull the appearance of the pebble shower floor. Make sure to rinse the surface thoroughly, leaving no traces of the cleaning solution behind.
Once you have rinsed off the cleaning solution, you are ready to move on to the next step: drying the pebble shower floor.
Step 6: Dry the pebble shower floor
Properly drying the pebble shower floor is crucial to prevent any moisture-related issues and maintain its pristine condition. Follow these steps to ensure a thorough drying process:
- Start by using a clean microfiber cloth or a soft towel to soak up any remaining moisture on the surface of the pebble shower floor.
- Wipe the entire surface, including corners and crevices, until it feels dry to the touch.
- For faster drying, you can also use a fan or open windows to promote air circulation and accelerate the evaporation process.
- Avoid walking on the pebble shower floor until it is completely dry to prevent any accidental slips or falls.
It’s essential to ensure thorough drying to prevent mold or mildew growth in the nooks and crannies of the pebble shower floor. By following these steps, you’ll help maintain a clean and hygienic shower floor.
Once the pebble shower floor is completely dry, you can move on to the optional step of applying a sealer for added protection.
Step 7: Apply a sealer (optional)
Applying a sealer to your pebble shower floor is an optional step, but it can provide added protection and prolong the lifespan of the pebbles. A sealer creates a barrier that helps repel water, soap scum, and stains, making it easier to clean and maintain the floor in the long run.
If you choose to apply a sealer, follow these steps:
- Ensure that the pebble shower floor is completely dry before applying the sealer. Any moisture trapped beneath the sealer can cause issues.
- Choose a sealer specifically designed for pebble showers. Read the manufacturer’s instructions carefully to determine the appropriate application method and drying time.
- Apply the sealer using a paintbrush or a foam applicator, starting from one corner and working your way across the entire floor. Make sure to cover all areas, including grout lines if applicable.
- Allow the sealer to dry according to the manufacturer’s instructions. This can range from a few hours to a day or more, depending on the product.
- Once the sealer is completely dry, test its effectiveness by sprinkling a few drops of water on the surface. If the water beads up, the sealer is working as intended.
It’s important to note that a sealer will require periodic reapplication over time. Consult the manufacturer’s instructions to determine the recommended frequency of resealing.
By applying a sealer, you can enhance the durability and longevity of your pebble shower floor, ensuring it remains in top condition for years to come.
With the sealer applied, your pebble shower floor maintenance routine is complete. The final step is to enjoy your sparkling clean shower floor!
Conclusion
Cleaning a pebble shower floor doesn’t have to be a daunting task. With the right materials and a step-by-step process, you can restore the natural beauty of your pebbles and maintain a clean and hygienic shower environment.
By following the steps outlined in this guide, you can effectively remove dirt, grime, and stains from your pebble shower floor. Remember to gather the necessary materials, remove any surface debris, prepare a suitable cleaning solution, and scrub the pebbles gently to avoid damage. Rinse off the cleaning solution thoroughly and dry the floor completely to prevent any moisture-related issues.
If you want to provide an extra layer of protection, applying a sealer can help repel water and prolong the lifespan of your pebble shower floor. However, this step is optional and may require periodic reapplication.
A well-maintained pebble shower floor adds a touch of elegance and serenity to any bathroom. With regular cleaning and care, you can enjoy a spa-like experience every time you step into your shower.
Remember to take necessary safety precautions, follow manufacturer’s instructions for the cleaning products you use, and always wear protective gloves if needed.
We hope this guide has been helpful in guiding you through the process of cleaning your pebble shower floor. Now, go ahead and enjoy the rejuvenating experience of your beautifully cleaned shower floor!
Now that you've mastered cleaning your pebble shower floor, why stop there? Continue refining your cleaning techniques with our detailed guide on how to maintain a spotless shower environment. Our article on how to effectively clean the shower floor offers savvy tips and straightforward methods, ensuring your entire bathroom remains pristine and welcoming.
Frequently Asked Questions about How To Clean Pebble Shower Floor
Was this page helpful?
At Storables.com, we guarantee accurate and reliable information. Our content, validated by Expert Board Contributors, is crafted following stringent Editorial Policies. We're committed to providing you with well-researched, expert-backed insights for all your informational needs.


0 thoughts on “How To Clean Pebble Shower Floor”