Articles
How To Clean Vivo Home Ice Maker
Modified: August 16, 2024
Articles on how to clean your Vivo Home Ice Maker. Find step-by-step instructions, tips, and products to keep your ice maker running smoothly.
(Many of the links in this article redirect to a specific reviewed product. Your purchase of these products through affiliate links helps to generate commission for Storables.com, at no extra cost. Learn more)
Introduction
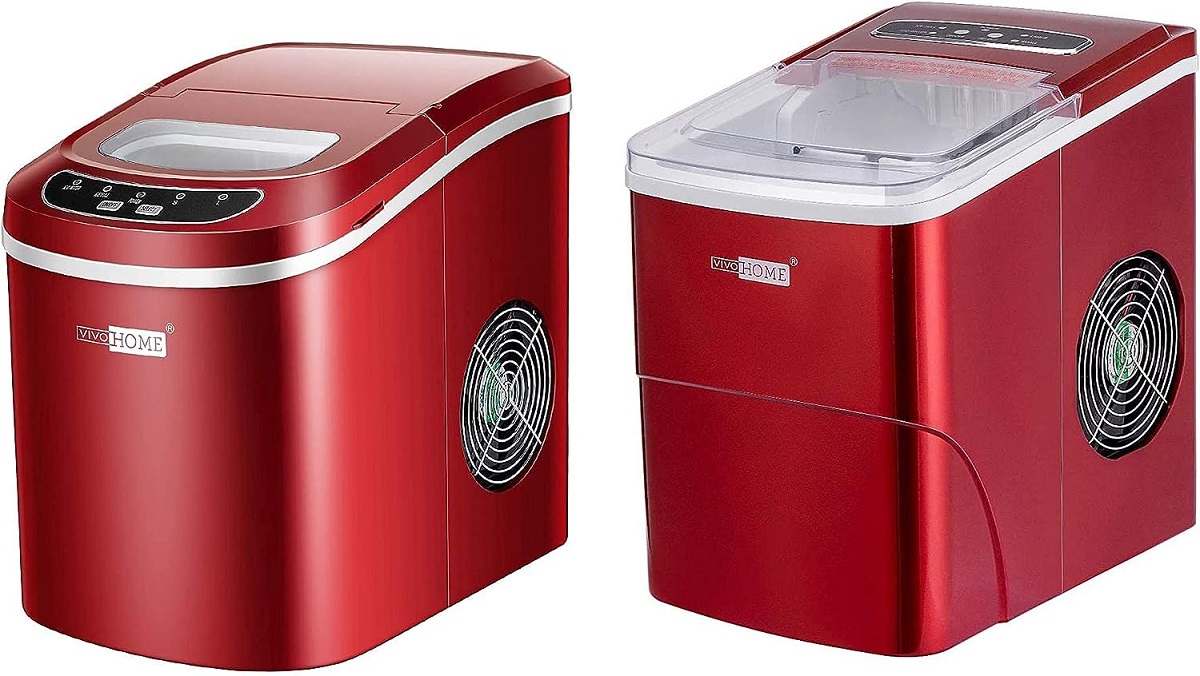
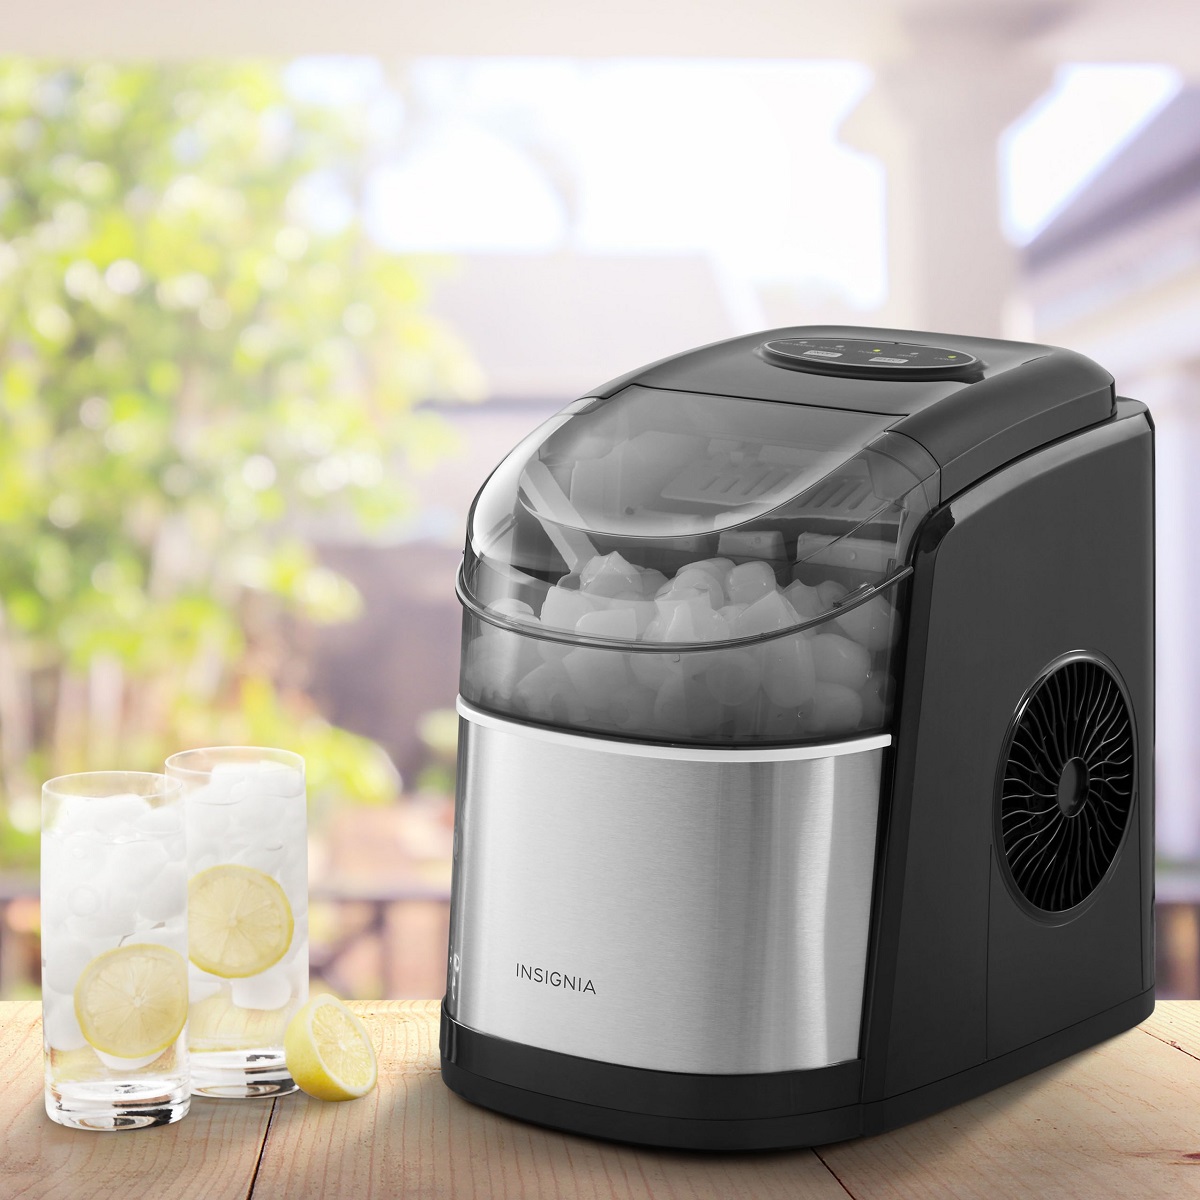
Welcome to this guide on how to clean the Vivo Home Ice Maker. Having a clean ice maker is essential for maintaining its efficiency and ensuring that the ice it produces is safe to consume. Over time, mineral deposits, mold, and bacteria can build up inside the machine, affecting the quality of the ice and potentially causing malfunctions. Cleaning your ice maker regularly will not only keep it in optimal condition but also ensure that you and your family enjoy clean and refreshing ice.
In this article, we will walk you through the step-by-step process of cleaning your Vivo Home Ice Maker. We will cover everything from unplugging and emptying the machine to cleaning the interior and exterior surfaces, as well as the water reservoir. Additionally, we will provide essential safety precautions to follow throughout the cleaning process. By the end of this guide, you will have all the knowledge and confidence to keep your Vivo Home Ice Maker sparkling clean.
Before we dive into the cleaning process, let’s take a moment to highlight some important safety precautions to keep in mind:
Key Takeaways:
- Keep your Vivo Home Ice Maker sparkling clean by following essential safety precautions, unplugging the machine, and using mild cleaning solutions. Regular maintenance ensures safe and refreshing ice for your family.
- Thoroughly clean the interior, exterior, and water reservoir of your Vivo Home Ice Maker to maintain its efficiency and the quality of the ice it produces. Regular cleaning and defrosting are key to optimal performance.
Read more: How To Clean A Igloo Ice Maker
Safety Precautions
- Always unplug the ice maker before starting the cleaning process to avoid the risk of electric shock.
- Wear protective gloves to protect your hands from any cleaning chemicals you may use.
- Use mild, non-abrasive cleaning solutions to avoid damaging the ice maker’s surfaces or components.
- Ensure that all parts are completely dry before reassembling and plugging in the ice maker to prevent electrical hazards.
Now that we have covered the necessary safety precautions, let’s get started with the cleaning process.
Key Takeaways:
- Keep your Vivo Home Ice Maker sparkling clean by following essential safety precautions, unplugging the machine, and using mild cleaning solutions. Regular maintenance ensures safe and refreshing ice for your family.
- Thoroughly clean the interior, exterior, and water reservoir of your Vivo Home Ice Maker to maintain its efficiency and the quality of the ice it produces. Regular cleaning and defrosting are key to optimal performance.
Read more: How To Clean A Igloo Ice Maker
Safety Precautions
Before you begin the process of cleaning your Vivo Home Ice Maker, it is important to take some safety precautions to ensure your well-being and prevent any potential damage to the machine. By following these guidelines, you can clean your ice maker effectively and safely:
1. Unplug the Ice Maker
Before you start cleaning, make sure to unplug the ice maker from the power source. This step is crucial to avoid any electrical accidents or shocks while you are handling water and cleaning agents.
2. Wear Protective Gloves
To protect your hands from any chemical cleaning agents or sharp edges, it is recommended to wear gloves. This will provide an extra layer of safety as you handle and clean the different components of the ice maker.
Read more: How To Clean Out An Ice Maker
3. Use Mild Cleaning Solutions
When selecting a cleaning solution, opt for mild and non-abrasive products. Avoid using harsh chemicals or abrasive cleaners as they can damage the surfaces and components of the ice maker. A mixture of warm water and mild dish soap or a solution of vinegar and water can be effective for removing buildup and bacteria.
4. Avoid Excessive Moisture
While cleaning the ice maker, it is important to avoid excessive moisture. Do not pour water directly onto the machine or submerge any electrical components. Instead, use a damp cloth or sponge to clean the surfaces. Wipe them dry with a clean towel or allow them to air dry completely before reassembling and plugging in the ice maker.
5. Follow Manufacturer’s Instructions
Read the instruction manual provided by the manufacturer of your Vivo Home Ice Maker. Each ice maker may have specific cleaning instructions and recommendations. Make sure to follow these instructions carefully to avoid any damage to the machine and to ensure optimal cleaning results.
6. Regular Cleaning Maintenance
To prevent excessive buildup and ensure the longevity of your ice maker, it is important to establish a regular cleaning routine. Regular cleaning will help maintain the performance and efficiency of the machine and ensure that the ice it produces is safe for consumption.
By following these safety precautions, you can clean your Vivo Home Ice Maker effectively and safely. Now that you are aware of the necessary precautions, let’s move on to the step-by-step cleaning process.
Read more: How To Clean A Silonn Ice Maker
Step 1: Unplug and Empty the Ice Maker
The first step in cleaning your Vivo Home Ice Maker is to unplug the machine and empty it of any remaining ice. This is an important safety measure to prevent any electrical accidents or injury during the cleaning process.
To begin, locate the power cord and unplug it from the electrical outlet. Make sure there is no power running to the machine before proceeding.
Next, remove the ice basket or tray from the ice maker. Depending on the model of your Vivo Home Ice Maker, the ice basket may be located at the top or front of the machine. Gently lift or slide out the ice basket, taking care not to spill any ice or water.
Empty the contents of the ice basket into a sink or suitable container to dispose of the ice. If the ice has been sitting in the ice maker for an extended period, it is recommended to discard it rather than using it for consumption.
Once the ice maker is unplugged and emptied of ice, it is ready to be thoroughly cleaned. Proceed to the next step to learn how to clean the ice basket and interior surfaces of the Vivo Home Ice Maker.
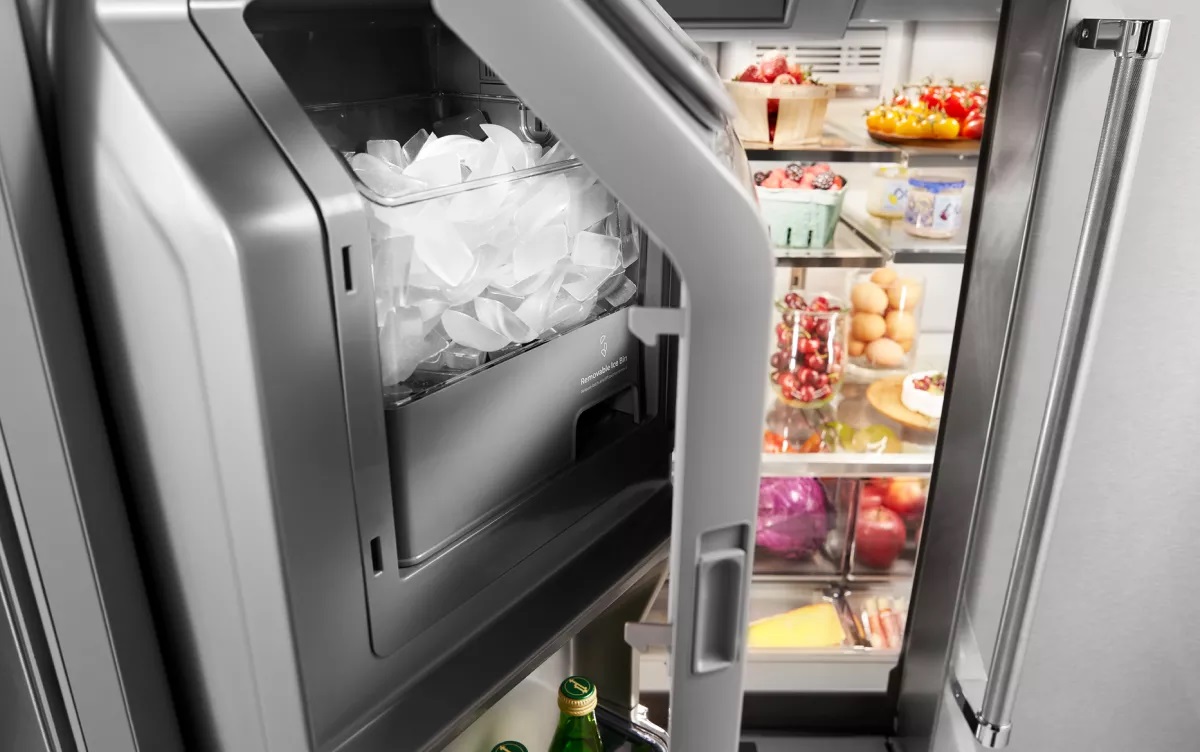
Step 2: Remove and Clean the Ice Basket
Now that you have unplugged and emptied the Vivo Home Ice Maker, it’s time to focus on cleaning the ice basket. The ice basket is where the ice is stored, so it’s important to keep it clean to maintain the quality of the ice and prevent any buildup or contamination.
To remove the ice basket, gently lift or slide it out of the ice maker. Be cautious not to spill any water or ice that may still be inside the basket.
Once the ice basket is removed, take it to your sink and rinse it with warm water to remove any loose dirt or debris. You can also use a mild dish soap and a soft sponge to scrub the basket gently.
Pay close attention to the corners and crevices of the ice basket, as these areas are prone to accumulating dirt and residue. Use a small brush or toothbrush to effectively clean these hard-to-reach areas.
After rinsing and cleaning the ice basket, thoroughly dry it with a clean towel or allow it to air dry completely before placing it back into the ice maker.
While the ice basket is drying, you can move on to the next step to learn how to clean the interior surfaces of the Vivo Home Ice Maker.
Note: It is recommended to clean the ice basket regularly to prevent any bacteria or mold buildup. Depending on the frequency of use, aim to clean the ice basket at least once a month.
Step 3: Clean the Interior Surfaces
After removing and cleaning the ice basket, it’s time to focus on cleaning the interior surfaces of your Vivo Home Ice Maker. This step is essential to remove any residue, mineral deposits, or bacteria that may have accumulated inside the machine.
To begin, prepare a mixture of warm water and mild dish soap or a solution of equal parts vinegar and water. This cleaning solution will help break down any buildup and sanitize the interior surfaces.
Take a clean cloth or sponge and dip it into the cleaning solution. Wring out any excess liquid to prevent it from dripping into the internal components of the ice maker.
Gently wipe the interior surfaces of the ice maker, paying close attention to the areas where the ice forms and is ejected. Be thorough and ensure that you cover all sides and corners of the interior.
If there are stubborn mineral deposits or residue, you can use a soft brush or toothbrush to scrub those areas gently. However, be cautious not to apply excessive force that may damage the surfaces or delicate components of the ice maker.
Once you have thoroughly cleaned the interior surfaces, rinse the cloth or sponge with clean water and go over the surfaces again to remove any soap or vinegar residue.
Finally, use a dry cloth or towel to wipe down the interior surfaces and remove any remaining moisture. It is crucial to ensure that the interior of the ice maker is completely dry to prevent any electrical hazards or mold growth.
With the interior surfaces now clean, it’s time to move on to the next step: cleaning the exterior surfaces of the Vivo Home Ice Maker.
Note: Regular cleaning of the interior surfaces is important to maintain the efficiency and sanitation of your ice maker. Aim to clean the interior every 3-6 months, depending on the frequency of use and water quality in your area.
Step 4: Clean the Exterior Surfaces
Now that you have successfully cleaned the interior surfaces of your Vivo Home Ice Maker, it’s time to turn your attention to the exterior surfaces. Cleaning the exterior not only enhances the appearance of the machine but also helps to keep it free from dust, dirt, and grime.
To begin, dampen a clean cloth or sponge with warm water. Wring out any excess liquid to prevent it from dripping onto the electrical components of the ice maker.
Gently wipe down all the exterior surfaces of the machine, including the sides, top, front, and back. Pay attention to areas that may accumulate more dirt, such as the control panel and the vents.
If there are stubborn stains or residue on the exterior surfaces, you can use a mild dish soap solution to tackle them. Apply a small amount of the soapy solution to the cloth or sponge and gently scrub the affected areas, being careful not to scratch or damage the surface.
For stainless steel surfaces, it is essential to use a cleaning agent specifically designed for stainless steel. This will help maintain its shine and prevent any discoloration or damage.
After cleaning, rinse the cloth or sponge with clean water and go over the exterior surfaces again to remove any soap or cleaning solution residue.
Finally, use a dry cloth or towel to thoroughly dry the exterior surfaces. Pay extra attention to the crevices and corners to ensure that no moisture remains.
Once the exterior surfaces are clean and dry, you are one step closer to having a sparkling Vivo Home Ice Maker. However, there is one more crucial step left: cleaning the water reservoir.
Note: Regularly cleaning the exterior surfaces of your ice maker helps to maintain its aesthetic appeal and prevent the accumulation of dirt and grime. Aim to clean the exterior every one to two weeks or as needed.
Read more: How To Clean A Gevi Ice Maker
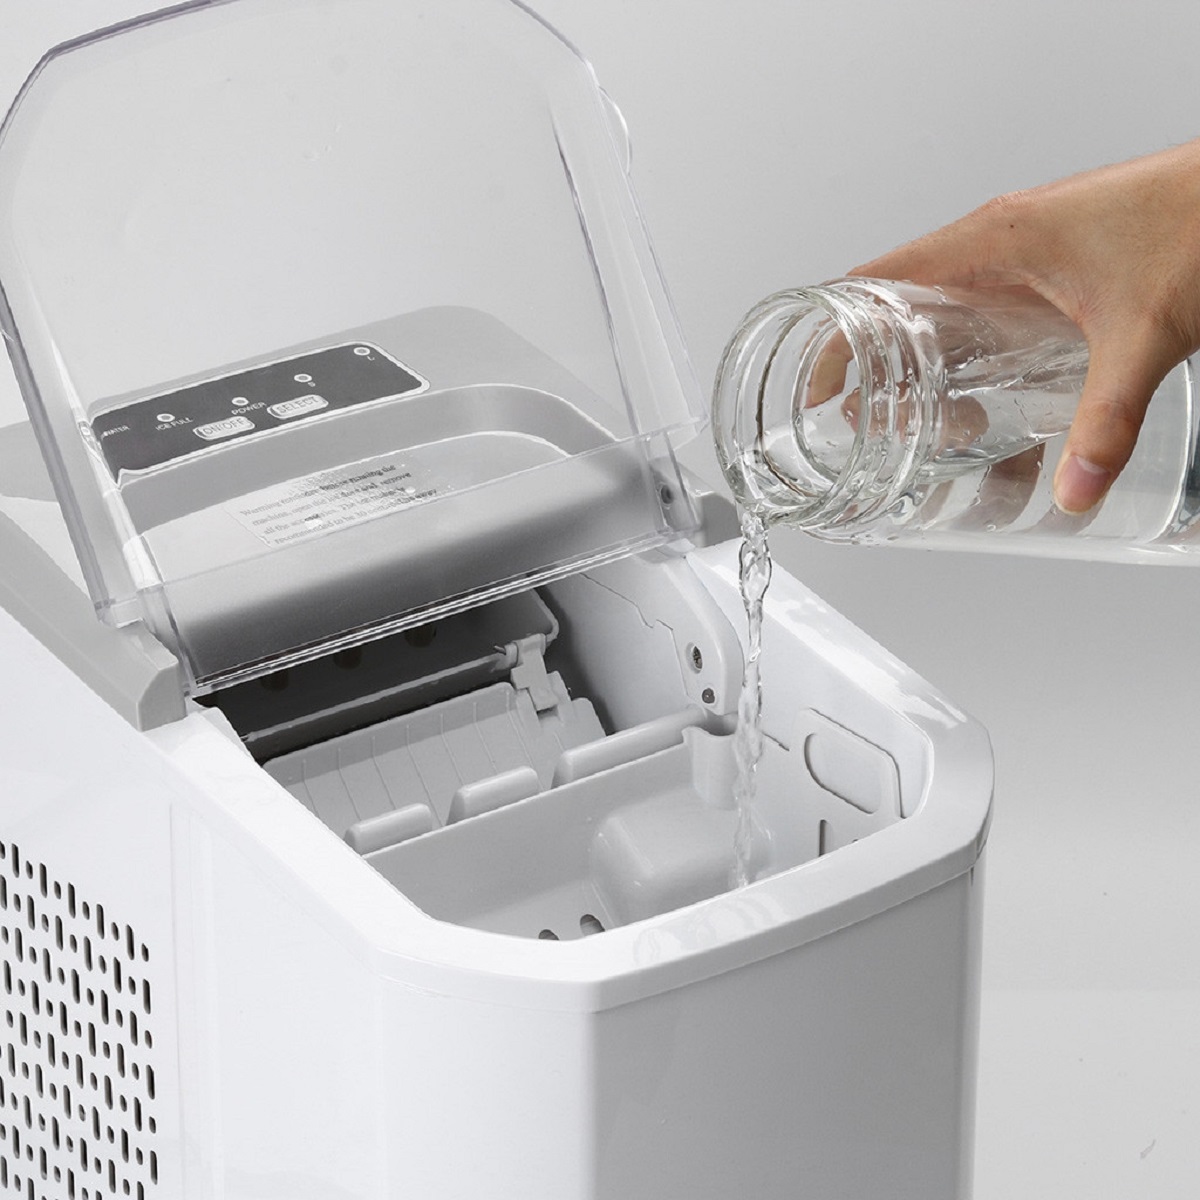
Step 5: Clean the Water Reservoir
Cleaning the water reservoir of your Vivo Home Ice Maker is an important step to ensure the quality and safety of the ice it produces. Over time, mineral deposits, bacteria, and other impurities can accumulate in the water reservoir, which can affect the taste and purity of the ice.
To begin, make sure the ice maker is still unplugged to prevent any electrical accidents during the cleaning process.
Locate the water reservoir of your ice maker. This is usually located at the rear or bottom of the machine. Depending on the model, it may have a removable reservoir or a fill port that can be accessed for cleaning.
If the water reservoir is removable, carefully detach it from the ice maker following the manufacturer’s instructions. If it is not removable, you can use a funnel to pour a cleaning solution into the fill port.
Prepare a cleaning solution using a mixture of equal parts water and distilled white vinegar. This natural solution is effective in removing mineral deposits and sanitizing the water reservoir.
If the water reservoir is removable, soak it in the cleaning solution for about 10 to 15 minutes. This will help loosen any buildup or residue inside the reservoir.
After soaking, use a soft brush or sponge to gently scrub the interior surfaces of the water reservoir. Pay extra attention to any areas with visible buildup or stains. For non-removable reservoirs, use a funnel or small brush to clean the fill port and any accessible areas.
Rinse the water reservoir thoroughly with clean water until all traces of the cleaning solution and debris are removed.
Once the reservoir is clean and rinsed, dry it completely using a clean cloth or allow it to air dry before reassembling it back into the ice maker.
With the water reservoir cleaned, you are almost done with the cleaning process. The next step, if applicable to your ice maker, is to defrost it. If your ice maker does not have a defrost feature, you can proceed to the final step of reassembling and plugging in the machine.
Note: Regularly cleaning the water reservoir, ideally once every 1-2 months, helps maintain the purity of your ice and ensures the optimal performance of your Vivo Home Ice Maker.
Step 6: Defrost the Ice Maker (if applicable)
If your Vivo Home Ice Maker has a defrost feature, it is important to regularly defrost the machine to remove any ice buildup and ensure optimal performance. The defrosting process helps to maintain the efficiency of the ice maker and prevent any malfunctions.
Before you begin the defrosting process, ensure that the ice maker is unplugged to avoid any electrical hazards.
Locate the defrost button or switch on your ice maker. Refer to the instruction manual or manufacturer’s guidelines for the specific location and instructions for your particular model.
Switch on the defrost feature and allow the ice maker to defrost for the recommended amount of time. This can vary depending on the model but typically ranges from 15 minutes to an hour.
As the machine defrosts, you may notice water pooling in the bottom of the ice maker. Place a towel or absorbent cloth beneath the machine to catch any melting ice and water.
Once the defrosting cycle is complete, empty the water reservoir and wipe down any excess moisture from the interior surfaces of the ice maker.
If there are any stubborn ice deposits or residue, use a soft cloth or sponge to gently wipe them away. Avoid using sharp objects or abrasive materials that could scratch or damage the surfaces.
After cleaning and drying the interior, reassemble the ice maker and plug it back in. Your Vivo Home Ice Maker is now ready to produce fresh and clean ice.
Note: It’s important to check the manufacturer’s instructions to determine how often to defrost your ice maker. Some models may require more frequent defrosting, while others may have self-defrosting mechanisms. Regular defrosting helps to maintain the efficiency and performance of your ice maker.
To clean a Vivo Home ice maker, mix equal parts of water and white vinegar, then run the solution through the machine. Follow by running a cycle of clean water to rinse out any remaining vinegar. Wipe down the exterior with a damp cloth.
Step 7: Reassemble and Plug In the Ice Maker
Congratulations! You’re in the final step of cleaning your Vivo Home Ice Maker. After completing the cleaning process, it’s time to reassemble the machine and get it ready for use once again.
To begin, make sure that all components of the ice maker are clean and dry. This includes the ice basket, water reservoir, and any removable parts that were cleaned separately.
If you previously removed the water reservoir, carefully reattach it to its designated position according to the manufacturer’s instructions. Ensure that it is securely in place to prevent any leaks.
Place the cleaned ice basket back into its proper position inside the ice maker. Make sure it is positioned correctly and easily slides into place.
Once all the components are properly reassembled, plug the ice maker into a grounded electrical outlet. Ensure that the power cord is securely connected, and there are no kinks or damage to the cord.
As the ice maker powers on, you may hear the sound of the machine starting up. Allow the ice maker to run for a few minutes to ensure that it is functioning properly and to flush out any remaining cleaning solution or debris.
Check the control panel or settings of your Vivo Home Ice Maker to ensure that it is set to the desired ice making mode. Consult the instruction manual for specific instructions on using the control panel.
Observe the ice maker as it produces ice, making sure that the ice forms properly and is dispensed into the ice basket. If any issues or abnormalities are detected, consult the troubleshooting section of the manual or contact the manufacturer for assistance.
With the ice maker reassembled and plugged in, you have completed the cleaning process! Enjoy the crisp and clean ice produced by your Vivo Home Ice Maker.
Note: Regular cleaning and maintenance of your ice maker will help to prolong its lifespan and ensure that it continues to produce high-quality ice. Follow the manufacturer’s instructions and recommended cleaning schedule for optimal performance.
Conclusion
Cleaning your Vivo Home Ice Maker is an essential task to maintain its efficiency, performance, and the quality of the ice it produces. By following the step-by-step process outlined in this guide, you can keep your ice maker clean and in optimal condition.
We started by emphasizing the importance of safety precautions, such as unplugging the machine and wearing protective gloves. These precautions ensure that you can clean your ice maker safely without any risks of electrical accidents or injury.
Throughout the cleaning process, we covered key steps including unplugging and emptying the ice maker, removing and cleaning the ice basket, cleaning the interior and exterior surfaces, and cleaning the water reservoir. Each step is crucial to remove dirt, mineral deposits, bacteria, and other impurities that can affect the quality of the ice.
If your ice maker has a defrost feature, we included a step on how to defrost it properly. Defrosting helps prevent ice buildup and keeps the machine running smoothly.
Finally, we discussed reassembling the ice maker and plugging it back in, enabling you to enjoy fresh and clean ice once again.
Regularly cleaning your Vivo Home Ice Maker is highly recommended to maintain its performance and ensure the purity and taste of the ice it produces. By establishing a cleaning routine and following the guidelines in this guide, you can keep your ice maker in excellent condition for years to come.
Remember to consult the instruction manual for your specific model for additional guidance and follow any manufacturer’s recommendations regarding cleaning and maintenance.
Now that you have the knowledge and steps to clean your Vivo Home Ice Maker, it’s time to put them into action. Get your cleaning supplies ready and give your ice maker the care it deserves. Enjoy the refreshing and pure ice produced by your clean Vivo Home Ice Maker!
Frequently Asked Questions about How To Clean Vivo Home Ice Maker
Was this page helpful?
At Storables.com, we guarantee accurate and reliable information. Our content, validated by Expert Board Contributors, is crafted following stringent Editorial Policies. We're committed to providing you with well-researched, expert-backed insights for all your informational needs.
0 thoughts on “How To Clean Vivo Home Ice Maker”