Articles
How To Cover Wooden Stairs
Modified: August 21, 2024
Learn how to cover your wooden stairs in a stylish and practical way with our informative articles. Enhance the beauty and safety of your staircase with these helpful tips.
(Many of the links in this article redirect to a specific reviewed product. Your purchase of these products through affiliate links helps to generate commission for Storables.com, at no extra cost. Learn more)
Introduction
Wooden stairs can bring warmth and elegance to any home, but over time they may start to show signs of wear and tear. If your wooden stairs are looking worn or outdated, covering them can be a great way to give them a fresh and modern look. In this article, we will guide you through the process of covering your wooden stairs step by step.
Covering your wooden stairs not only enhances their appearance but also provides added protection and durability. Whether you prefer a classic or contemporary style, there are various materials and designs available to suit your taste and complement your home’s decor.
By following the steps outlined in this article, you can transform your wooden stairs into a beautiful focal point that will impress your guests and make your home feel more inviting. So let’s get started on this exciting project!
Key Takeaways:
- Transform your wooden stairs into a stunning focal point by accurately measuring, choosing the right covering material, and adding finishing touches for enhanced visual appeal, durability, and safety.
- Elevate the aesthetic appeal of your home with covered wooden stairs that provide a fresh and modern look, increased durability, and improved safety for you and your family to enjoy.
Read more: How To Protect Wooden Stairs
Step 1: Measure the stairs
Before you begin covering your wooden stairs, it is essential to measure them accurately. This will ensure that you purchase the right amount of materials and eliminate any guesswork during the installation process.
Start by measuring the width of each step. Use a measuring tape to measure from one side of the step to the other, taking note of the measurement in inches or centimeters. Repeat this process for each step on your staircase.
Next, measure the depth of each step. This measurement will determine the length of the tread covers you will need. Measure from the back of the step to the front edge, and record the measurement for each step.
Additionally, measure the height of each riser. This measurement will determine the height of the riser covers you will need. Measure from the bottom of one step to the top of the next step, and note down the measurements for each riser.
It is important to double-check your measurements to ensure accuracy. Take into account any irregularities or unevenness in the steps when measuring.
Once you have the measurements, you can use them to calculate the amount of covering material you will require. Take into consideration the width, depth, and height measurements to determine how much material you will need.
By taking the time to measure your stairs accurately, you can save yourself from any potential headaches or delays in the installation process. This step is crucial to ensure that you have enough covering material and that it fits perfectly on your stairs.
Step 2: Choose the covering material
Once you have measured your stairs, the next step is to choose the right covering material. There are several options available, each with its own unique characteristics and aesthetic appeal.
One popular option for covering wooden stairs is carpet. Carpet provides a soft and comfortable surface to walk on and comes in a wide range of colors and patterns to suit any style. It also helps to reduce noise and provides added traction on the stairs. However, keep in mind that carpet requires regular maintenance and may not be suitable for high-traffic areas.
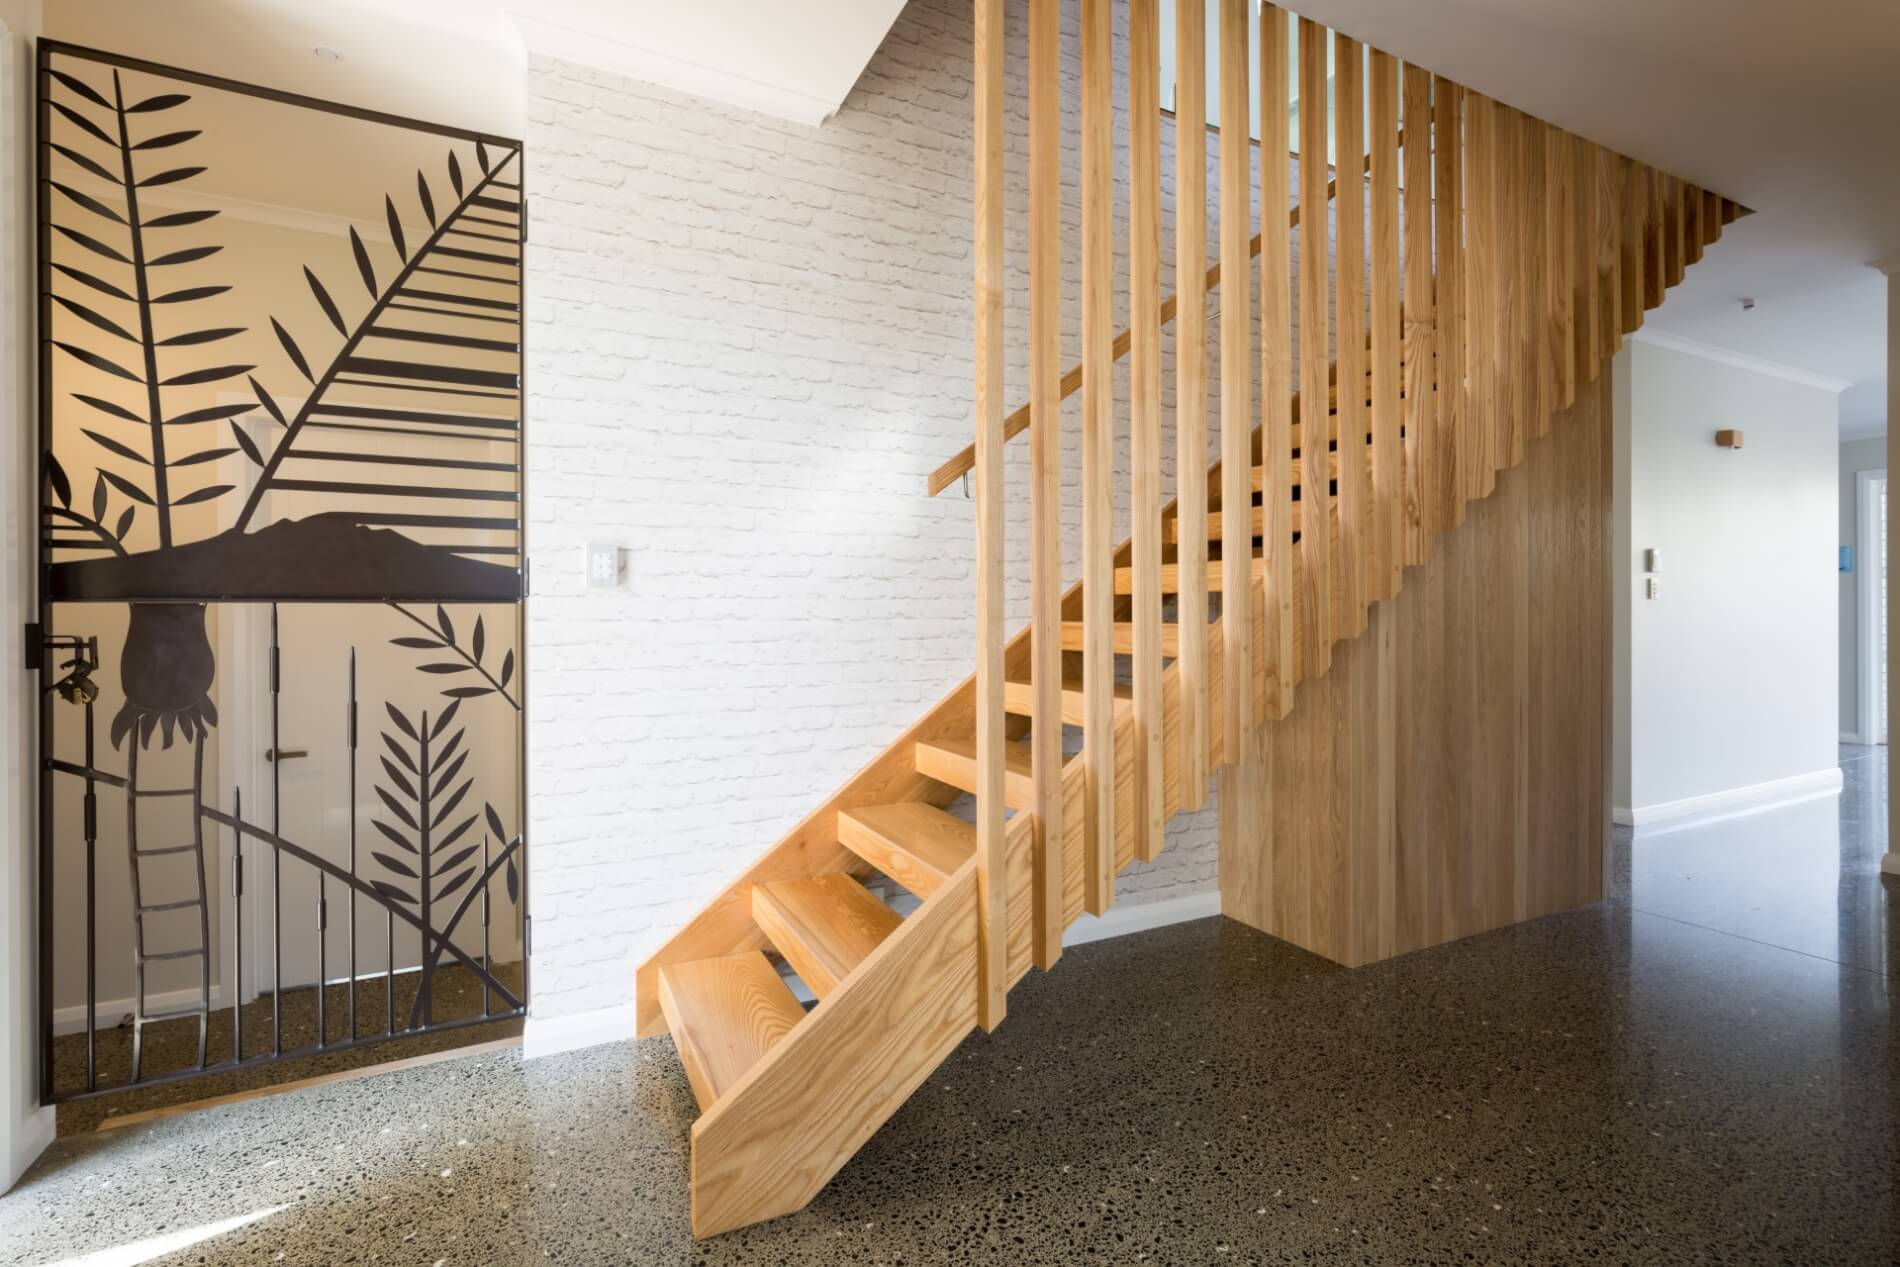
If you prefer a more modern and sleek look, consider using hardwood or laminate flooring to cover your stairs. These materials offer durability and easy maintenance while adding a touch of sophistication to your staircase. Hardwood and laminate flooring come in various finishes and colors, allowing you to customize the look to match your decor.
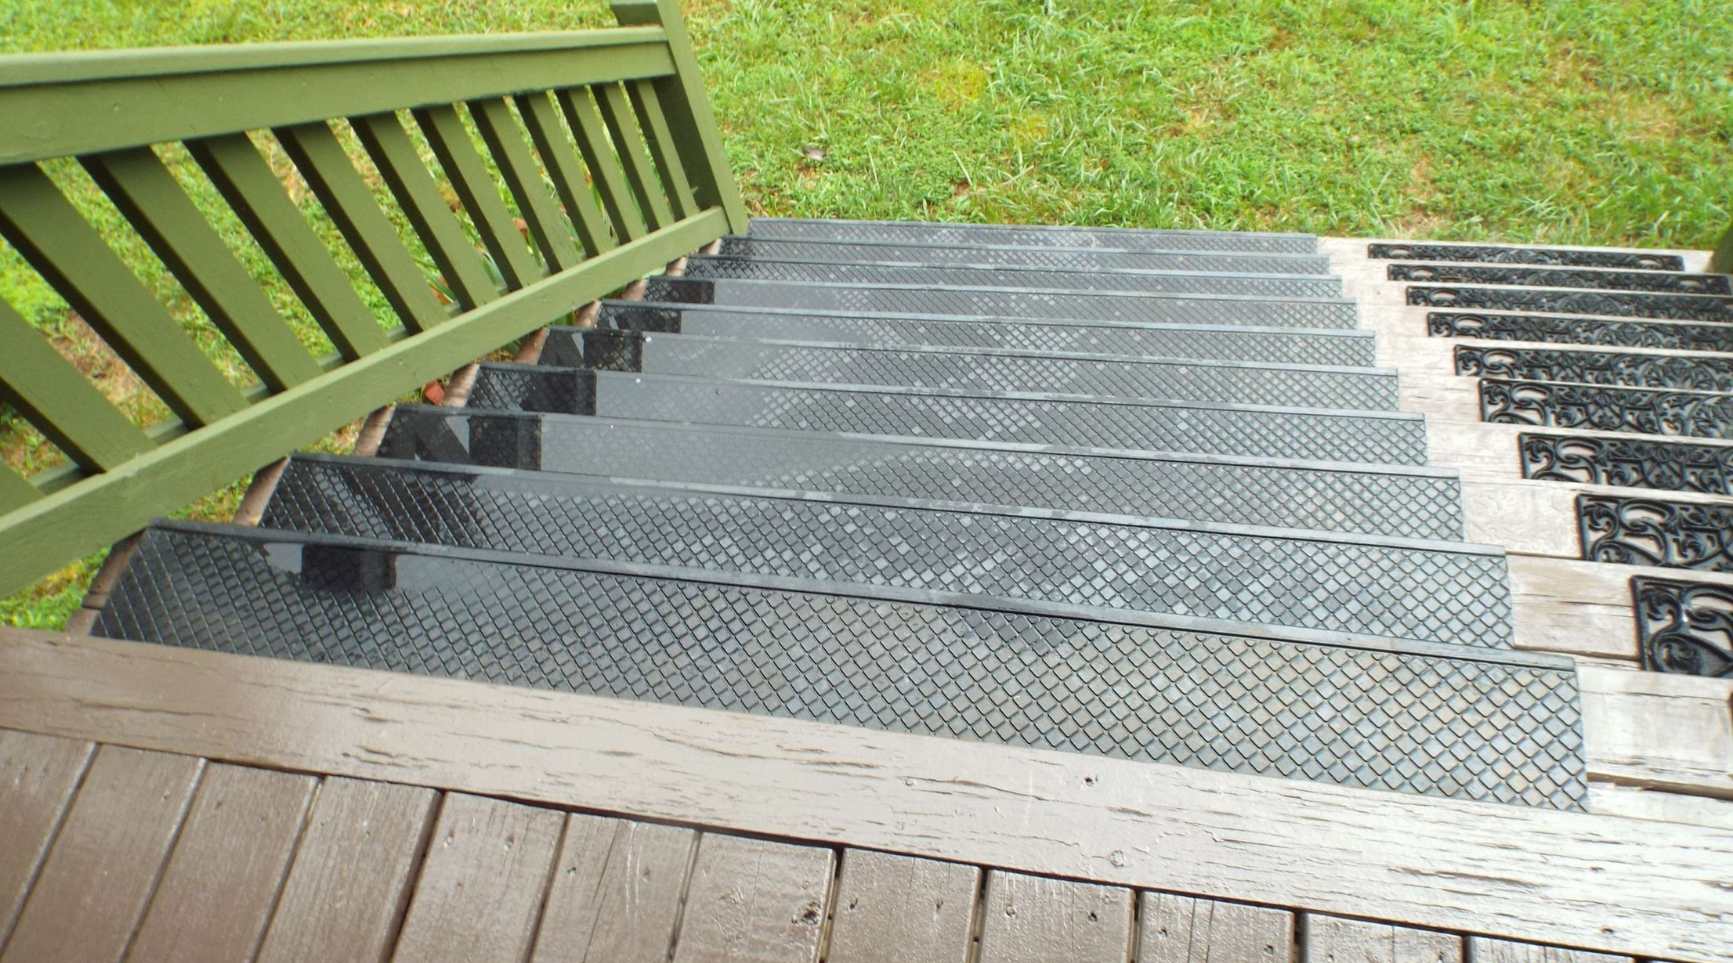
Another option to consider is vinyl or rubber stair treads. These materials are slip-resistant and provide excellent traction, making them a practical choice for stairs. They are also easy to clean and maintain, making them ideal for heavy foot traffic areas or homes with pets and children.
Another popular choice is to use decorative tiles or stone for a unique and stylish look. Tiles and stone can add a touch of luxury and elegance to your staircase, creating a statement piece in your home. They are available in various colors, patterns, and textures to suit your personal style.
When choosing the covering material, consider factors like durability, maintenance requirements, safety, and your personal preferences. It is also a good idea to take into account the overall aesthetic of your home and select a material that complements the existing decor.
Take the time to research each material option and consider your specific needs before making a decision. Remember, the covering material you choose will not only enhance the appearance of your stairs but also affect their functionality and longevity.
Once you have chosen the covering material, you can proceed to the next step, preparing the stairs for installation.
Step 3: Prepare the stairs
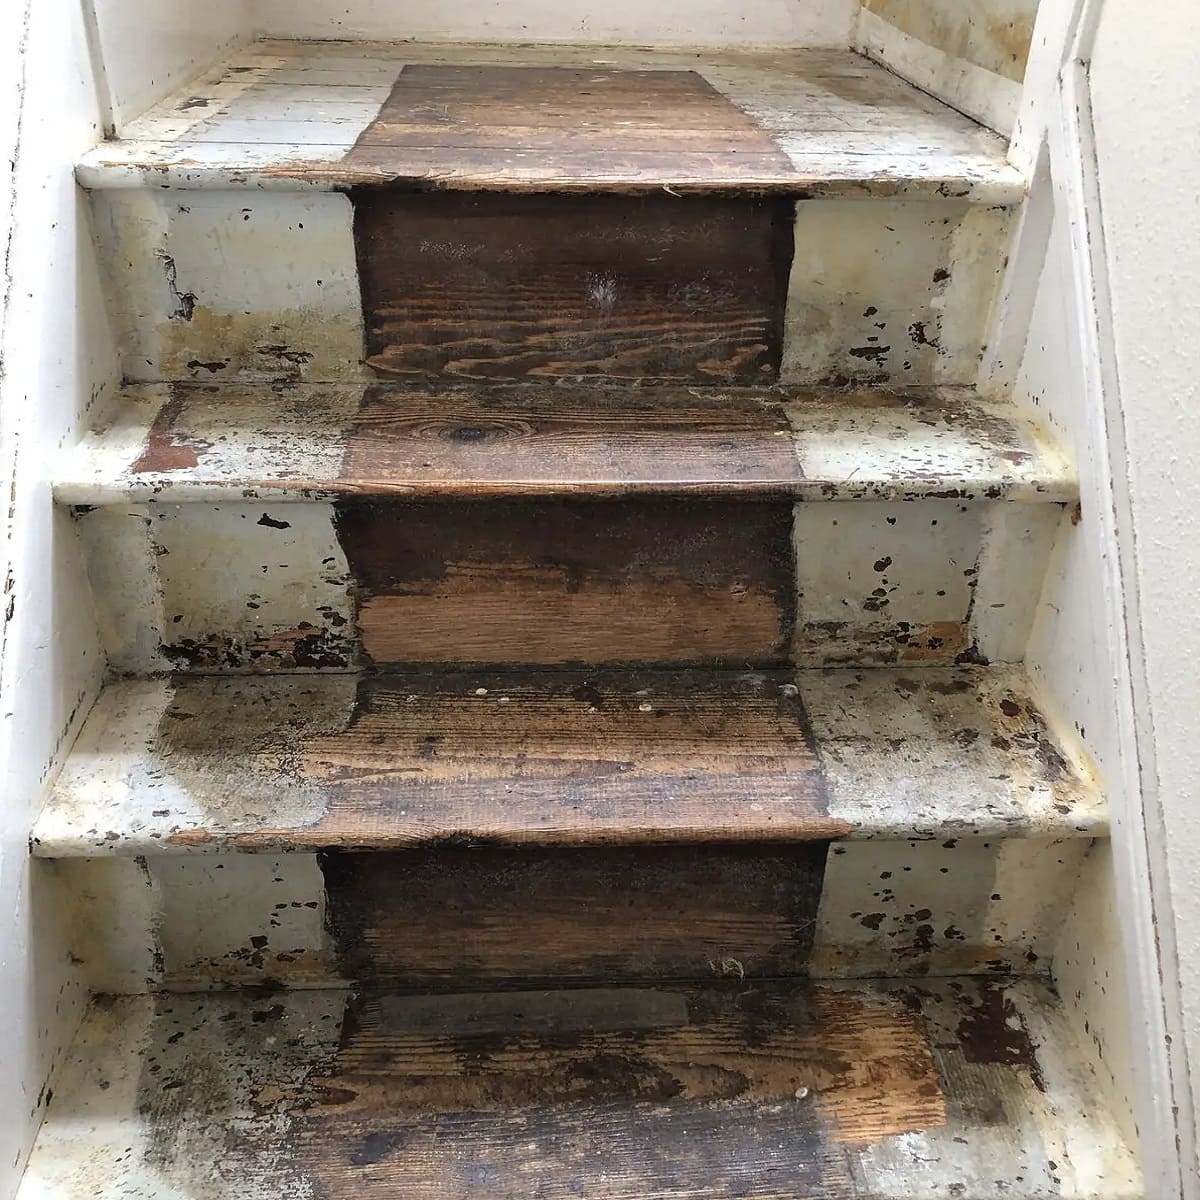
Before installing the covering material, it is essential to prepare your stairs to ensure a smooth and successful installation process. This step involves cleaning the stairs, repairing any damage, and removing any existing coverings.
Start by thoroughly cleaning the wooden stairs. Remove any dust, dirt, or debris using a broom or vacuum cleaner. For stubborn stains, you can use a mild detergent and water solution to gently scrub the surface. Make sure to allow the stairs to dry completely before proceeding.
If there are any loose or damaged parts on the stairs, take the time to address them. Secure any loose boards or treads using screws or nails. Sand down any rough or uneven areas to create a smooth surface. Fill in any cracks or gaps with wood filler and sand it down to make the surface even.
If you have existing coverings on your stairs, such as carpet or old treads, remove them carefully. Use a utility knife or scraper to lift and peel away the covering material. Make sure to remove any adhesive residue to ensure a clean surface.
Once the stairs are cleaned, repaired, and free of any existing coverings, it’s a good idea to give them a final inspection. Check for any loose or squeaky steps and address them before proceeding.
Preparing your stairs properly will ensure a sturdy base for the covering material and will help to extend its lifespan. This step is crucial to ensure a seamless and long-lasting installation.
With the stairs prepared, you are now ready to move on to the next step: installing the riser covers.
Step 4: Install riser covers
Installing riser covers is the next step in covering your wooden stairs. Riser covers not only enhance the aesthetic appeal of the staircase but also protect the vertical portion of each step from wear and tear.
Before you begin, ensure that you have the necessary tools and materials. You will need the riser covers of your choice, a measuring tape, a pencil, a level, adhesive or screws, and a saw (if required for cutting the covers to size).
Start by measuring the height and width of each riser. Use a measuring tape to measure from the bottom of the previous step to the top of the next step, and record the measurements. Remember to account for any variations or irregularities in the steps.
With the measurements in hand, cut or trim the riser covers to the appropriate size. Follow the manufacturer’s instructions for cutting or trimming the material, ensuring that you achieve a precise fit.
Next, apply adhesive to the back of the riser cover or use screws to secure it in place. If using adhesive, carefully align the cover with the corresponding riser and press it firmly against the surface. Use a level to ensure that it is straight and aligned properly.
If using screws, drill pilot holes into the riser and then attach the cover using the screws provided. Make sure to countersink the screws for a neat and flush finish.
Repeat the steps for each riser, ensuring that each cover is installed securely and uniformly. Double-check the alignment and levelness as you go along.
Once all the riser covers are installed, take a step back and admire your progress. The riser covers not only add a decorative touch to your stairs but also protect them from scuffs and scratches.
With the riser covers in place, it’s time to move on to the next step: installing the tread covers.
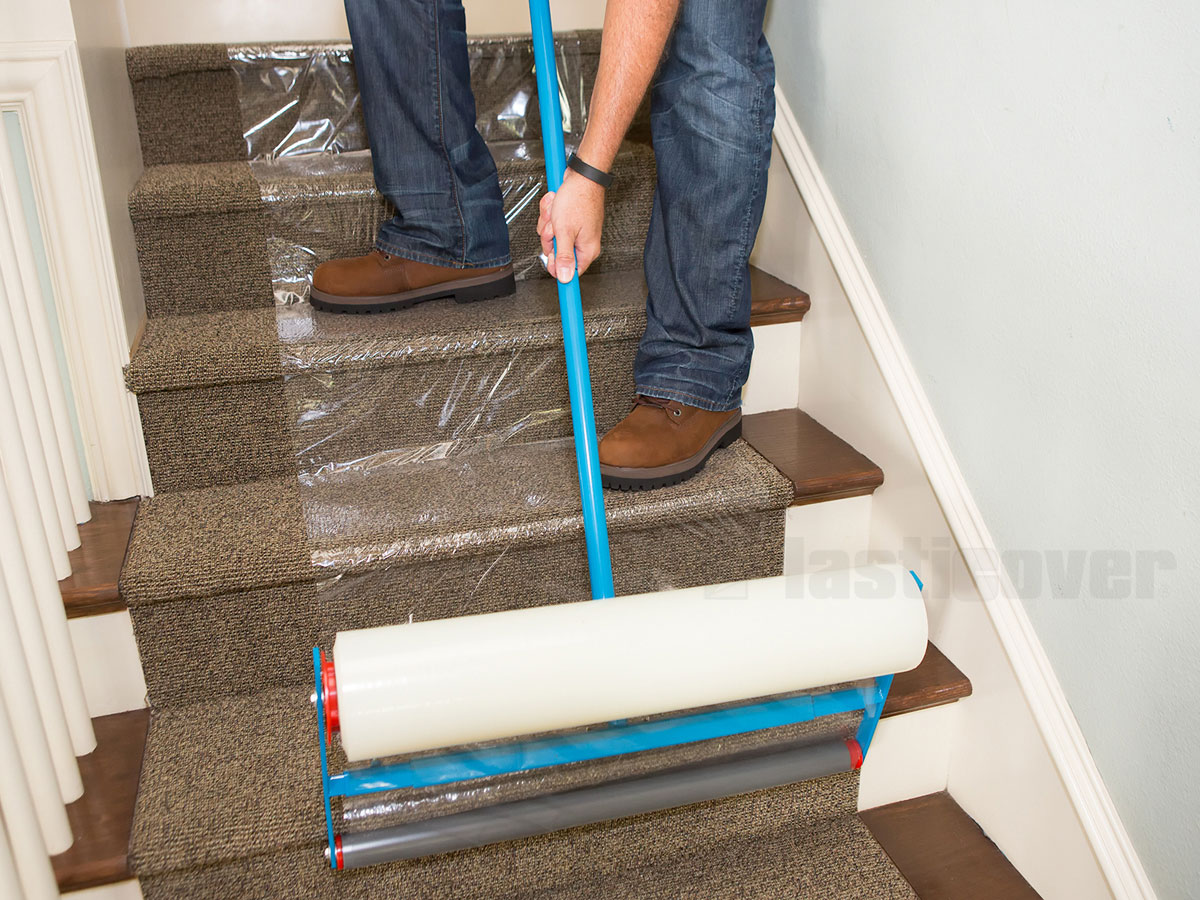
Consider using a durable and non-slip material such as carpet or rubber stair treads to cover wooden stairs. This will improve safety and reduce wear and tear on the wood.
Read more: How To Refinish Wooden Stairs
Step 5: Install tread covers
Installing tread covers is the next step in the process of covering your wooden stairs. Tread covers not only add beauty and style to the staircase but also provide a durable and slip-resistant surface for safe and comfortable walking.
Before you begin, gather the necessary tools and materials. You will need the tread covers of your choice, a measuring tape, a pencil, a level, adhesive or screws, and a saw (if required for cutting the covers to size).
Start by measuring the depth and width of each step. Use a measuring tape to measure from the front edge of the step to the back, ensuring that you measure the flat surface where your foot will be placed. Record the measurements and account for any irregularities or variations in the steps.
Once you have the measurements, cut or trim the tread covers to fit each step. Follow the manufacturer’s instructions for cutting or trimming the material, ensuring precise and accurate cuts.
Apply adhesive to the back of the tread covers or use screws to secure them in place. If using adhesive, carefully align the cover with the corresponding step, starting from the front and working your way back. Press the cover firmly against the surface, ensuring proper adhesion. Use a level to ensure the cover is straight and aligned correctly.
If using screws, drill pilot holes into the tread and then attach the cover using the screws provided. Make sure to countersink the screws for a seamless finish.
Repeat the process for each step, ensuring that each tread cover is installed securely and evenly. Check the alignment and levelness periodically as you go along.
Once all the tread covers are in place, take a moment to appreciate the transformation. Not only do the tread covers enhance the appearance of your stairs, but they also provide a safe and comfortable surface for you and your family to walk on.
After installing the tread covers, move on to the next step: securely fastening the covers to ensure long-lasting durability.
Step 6: Secure the covers
Securing the covers is a crucial step in the process of covering your wooden stairs. It ensures that the riser and tread covers are firmly in place, providing stability, durability, and safety.
Before you begin, gather the necessary tools and materials. You will need screws, a screwdriver, adhesive (if applicable), a level, and a measuring tape.
Start by inspecting each cover to ensure it is properly aligned and level. Use a level to check for any discrepancies and make necessary adjustments.
If you are using adhesive, apply it generously on the back of the covers. Carefully align each cover with the corresponding step or riser and press firmly against the surface to secure it in place. Use a level to double-check the alignment and adjust as needed.
If you are using screws, carefully drill pilot holes into the covers and the underlying wooden stairs. Make sure to place the screws evenly spaced along the covers, ensuring a secure attachment. Use a screwdriver to tighten the screws and countersink them for a flush and neat finish.
Repeat the process for each riser and tread cover, ensuring that all the covers are securely fastened. Take the time to double-check the alignment, levelness, and stability of each cover as you go along.
Properly securing the covers will prevent them from shifting or coming loose over time. It will also provide a safe and sturdy staircase for you and your family to use.
After securing all the covers, take a step back and admire the final result. Your covered wooden stairs now have a beautiful and cohesive look that will enhance the aesthetic appeal of your home.
With the covers securely fastened, there is only one more step remaining: adding the finishing touches.
Step 7: Finishing touches
Adding the finishing touches is the final step in the process of covering your wooden stairs. These touches will help to perfect the overall look and ensure that your staircase makeover is complete.
Start by inspecting the installation to ensure everything is in place and secure. Double-check the alignment, stability, and levelness of the covers, making any necessary adjustments.
If you notice any gaps or spaces between the covers and the stairs, use an appropriate filler to fill them in. Follow the manufacturer’s instructions for the filler and allow it to dry completely before proceeding.
Once the filler is dry, carefully sand down any rough or uneven areas to create a smooth and seamless finish. Use a fine-grit sandpaper and a gentle touch to avoid damaging the covers or the stairs.
After sanding, thoroughly clean the stairs to remove any dust or debris. Use a broom, vacuum cleaner, or a soft cloth to ensure that the surface is clean and ready for the final touch.
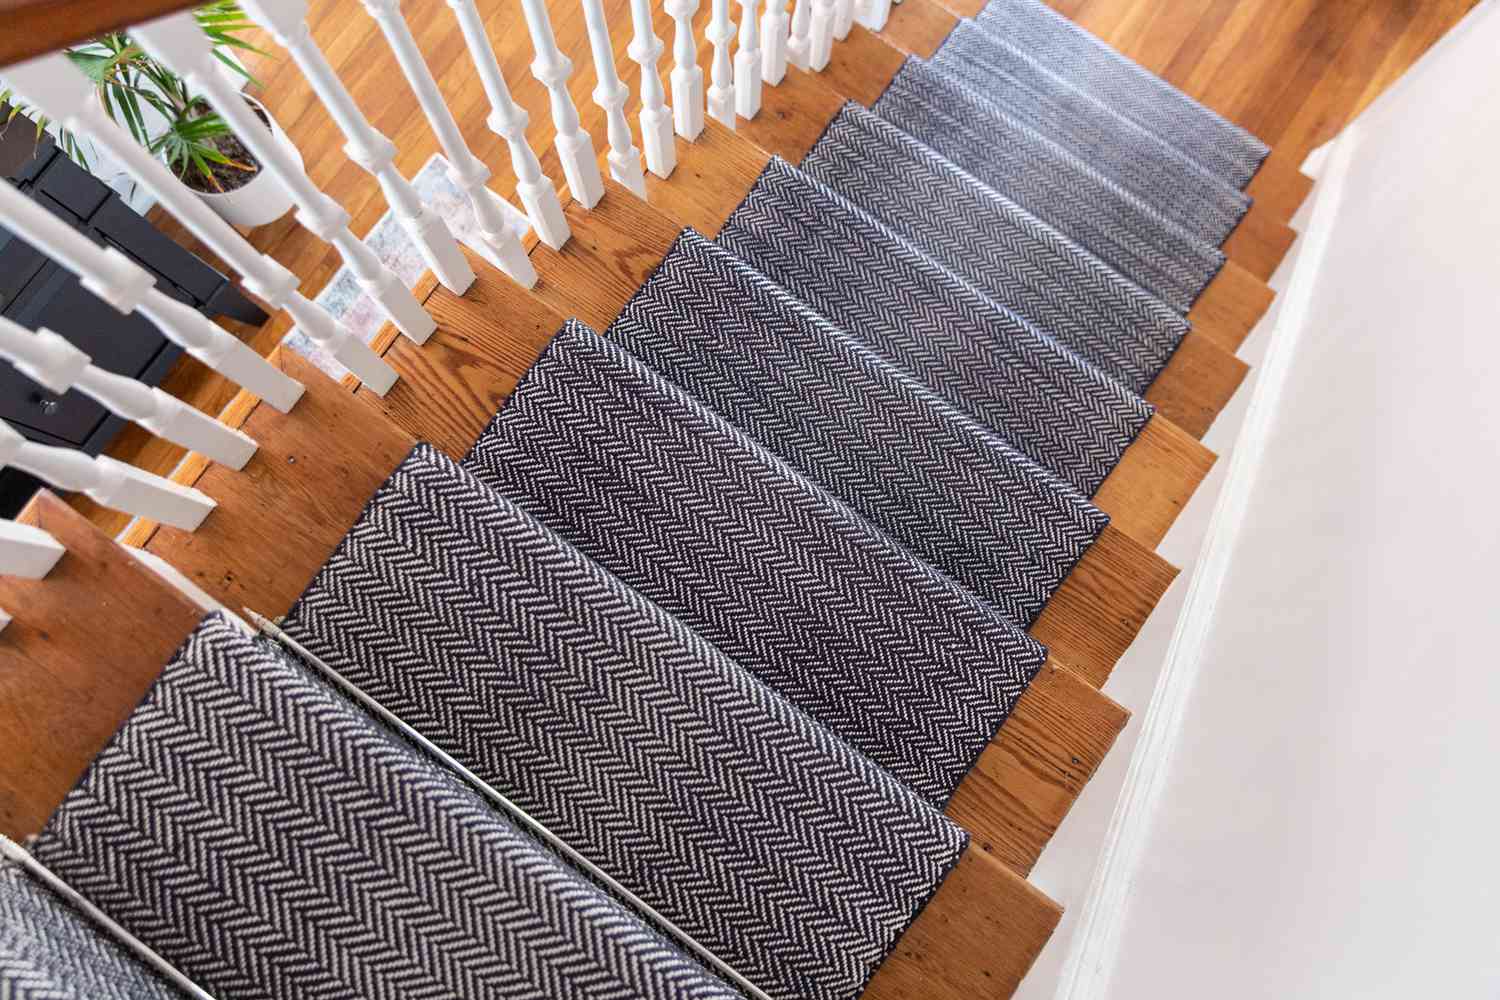
Now comes the exciting part – adding any additional decorative elements or personal touches to your covered stairs. Depending on your preference and the overall style of your home, you can consider adding stair runners, decorative trim, or even LED strip lighting along the edges of the stairs.
Stair runners can add a pop of color or pattern and provide added protection to the covers. They can be attached using adhesive or secured with staples or carpet tacks. Choose a runner that complements the colors and design of the covers, elevating the overall aesthetic appeal of your staircase.
Decorative trim, such as molding or nosing, can be added to the edges of the covers to enhance their visual appeal. Select a trim that matches the style of your home and attach it securely to the edges using adhesive or finish nails.
If you want to create a dramatic effect, consider installing LED strip lighting along the edges of the stairs. This will not only add a contemporary and stylish touch but also improve safety by providing ample lighting in dimly lit areas.
Once you have added the finishing touches, take a moment to step back and admire your beautifully covered stairs. You have successfully transformed your wooden stairs into a stunning focal point that enhances the overall aesthetics of your home.
Congratulations on completing the process of covering your wooden stairs! Enjoy your newly upgraded staircase and the many benefits it brings.
If you have any questions or need further assistance, don’t hesitate to reach out to a professional or consult the manufacturer’s guidelines for specific installation instructions and maintenance tips.
Conclusion
Covering your wooden stairs is a fantastic way to revitalize the look of your home and give your staircase a fresh and modern appearance. By following the step-by-step process outlined in this article, you can successfully transform your wooden stairs into a beautiful focal point that enhances the overall aesthetic appeal of your home.
Throughout this journey, you have learned the importance of measuring your stairs accurately, choosing the right covering material, and preparing the stairs for installation. You have also discovered how to install riser covers, tread covers, and securely fasten them to ensure stability and durability.
Lastly, you have seen the significance of adding the finishing touches to perfect the overall look of your covered stairs. Whether it’s filling in any gaps, sanding down rough areas, adding decorative elements, or installing stair runners or lighting, these final touches will truly elevate the appearance of your staircase.
Remember, when choosing your covering material, take into account factors such as durability, maintenance requirements, safety, and the overall aesthetic of your home. Properly measuring your stairs and preparing them for installation is essential to ensure a seamless and long-lasting transformation.
With your covered wooden stairs now complete, take a moment to appreciate the beautiful result of your hard work. Enjoy the enhanced visual appeal, increased durability, and improved safety that your covered stairs provide.
If you have any questions or need further guidance, consult a professional or refer to the manufacturer’s instructions for specific materials and installation techniques. Keep in mind that each staircase may have its unique considerations, so it’s essential to adapt the process accordingly.
Thank you for taking the time to follow this comprehensive guide on how to cover wooden stairs. We hope you have found it informative and helpful. Enjoy your newly transformed staircase!
Frequently Asked Questions about How To Cover Wooden Stairs
Was this page helpful?
At Storables.com, we guarantee accurate and reliable information. Our content, validated by Expert Board Contributors, is crafted following stringent Editorial Policies. We're committed to providing you with well-researched, expert-backed insights for all your informational needs.


0 thoughts on “How To Cover Wooden Stairs”