
Articles
How To Cover Concrete Porch With Wood
Modified: August 28, 2024
Learn how to transform your concrete porch into a beautiful and inviting space with this step-by-step guide. Discover the benefits of covering your porch with wood and create a stunning outdoor area.
(Many of the links in this article redirect to a specific reviewed product. Your purchase of these products through affiliate links helps to generate commission for Storables.com, at no extra cost. Learn more)
Introduction
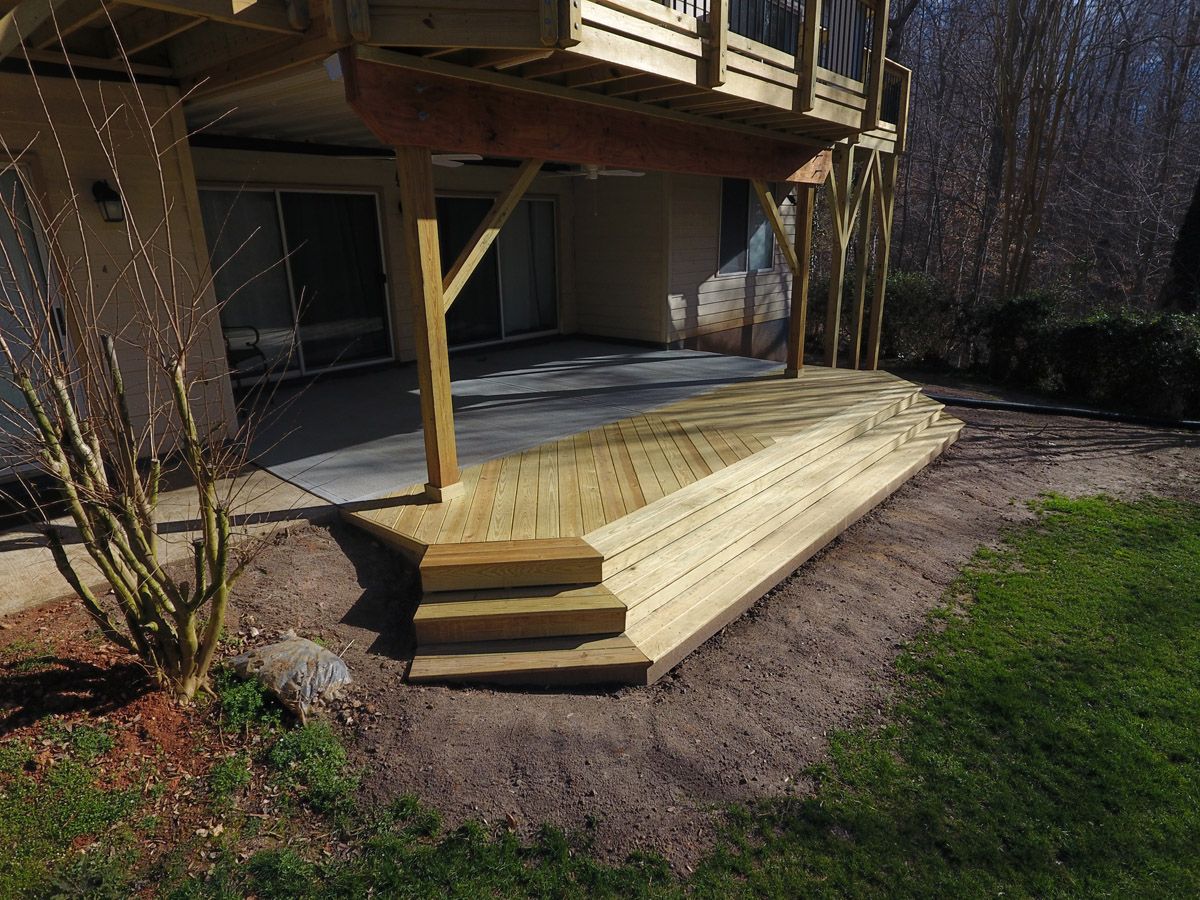
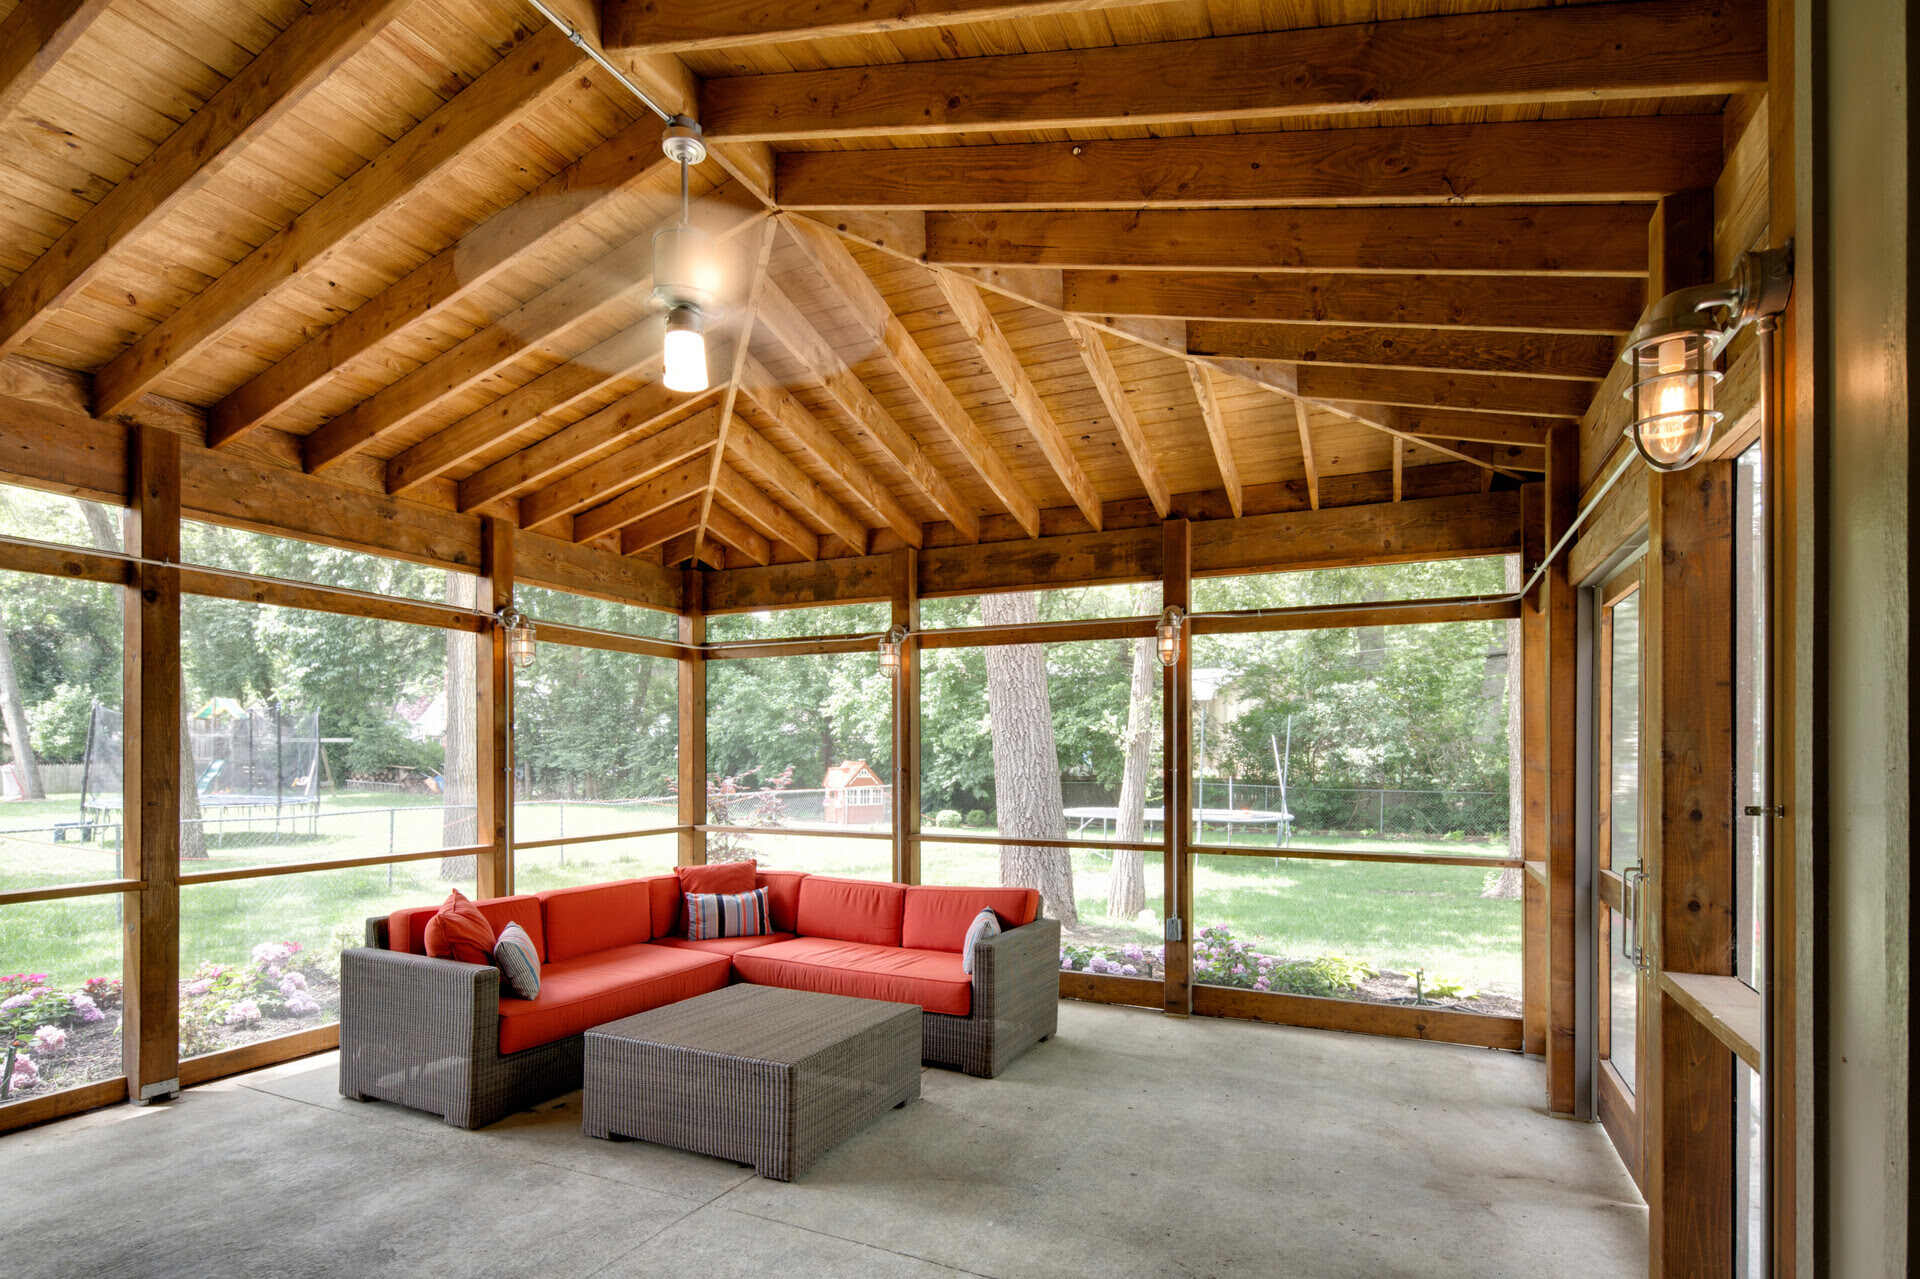
Having a concrete porch can be a functional and durable feature of your home, but let’s face it – it’s not the most visually appealing. However, with a little bit of time, effort, and creativity, you can transform your concrete porch into a beautiful wooden oasis that adds warmth and charm to your outdoor space.
In this article, we will guide you through the step-by-step process of covering your concrete porch with wood. By following these instructions, you can create a stunning and inviting outdoor area that you and your loved ones will enjoy for years to come.
Before we dive into the nitty-gritty of the installation process, it’s important to note that this project requires a basic knowledge of carpentry and construction tools. If you’re not comfortable with these tasks, it’s always a good idea to consult with a professional to ensure the job is done correctly and safely.
Now, let’s gather our materials and tools and get ready to transform your concrete porch into a beautiful wooden haven!
Key Takeaways:
- Transform your concrete porch into a stunning wooden oasis with the step-by-step process outlined in this article, creating a beautiful, inviting area for relaxation and entertainment.
- Prioritize safety, proper preparation, and regular maintenance to ensure the longevity and visual appeal of your newly covered porch, providing a cozy and inviting space for all your outdoor activities.
Read more: How To Cover Porch
Step 1: Gather Materials and Tools
Before you begin covering your concrete porch with wood, you’ll need to gather all the necessary materials and tools. Here’s a list of what you’ll need:
- Pressure-treated lumber: Choose a high-quality, durable wood that can withstand outdoor conditions.
- Concrete screws: These will be used to secure the wood to the concrete surface.
- Landscape fabric: This will help prevent weeds and grass from growing through the gaps in the wood.
- Gravel: Use this as a base for the wood cover to provide stability.
- Joist hangers and nails: These will be used to attach the wood joists to the porch.
- Circular saw: This tool will be used to cut the wood to the desired sizes.
- Drill: You’ll need a drill to create pilot holes for the concrete screws.
- Tape measure: Use this to accurately measure the dimensions of your porch.
- Level: Ensure that the wood cover is installed evenly by using a level.
- Safety equipment: Don’t forget to wear safety glasses and gloves to protect yourself during the construction process.
Once you have all the necessary materials and tools, you’ll be ready to move on to the next step of the process – preparing the concrete porch for the wood cover.
Step 2: Prepare the Concrete Porch
Before you can begin installing the wood cover, it’s essential to properly prepare your concrete porch. Follow these steps to ensure a smooth and successful installation:
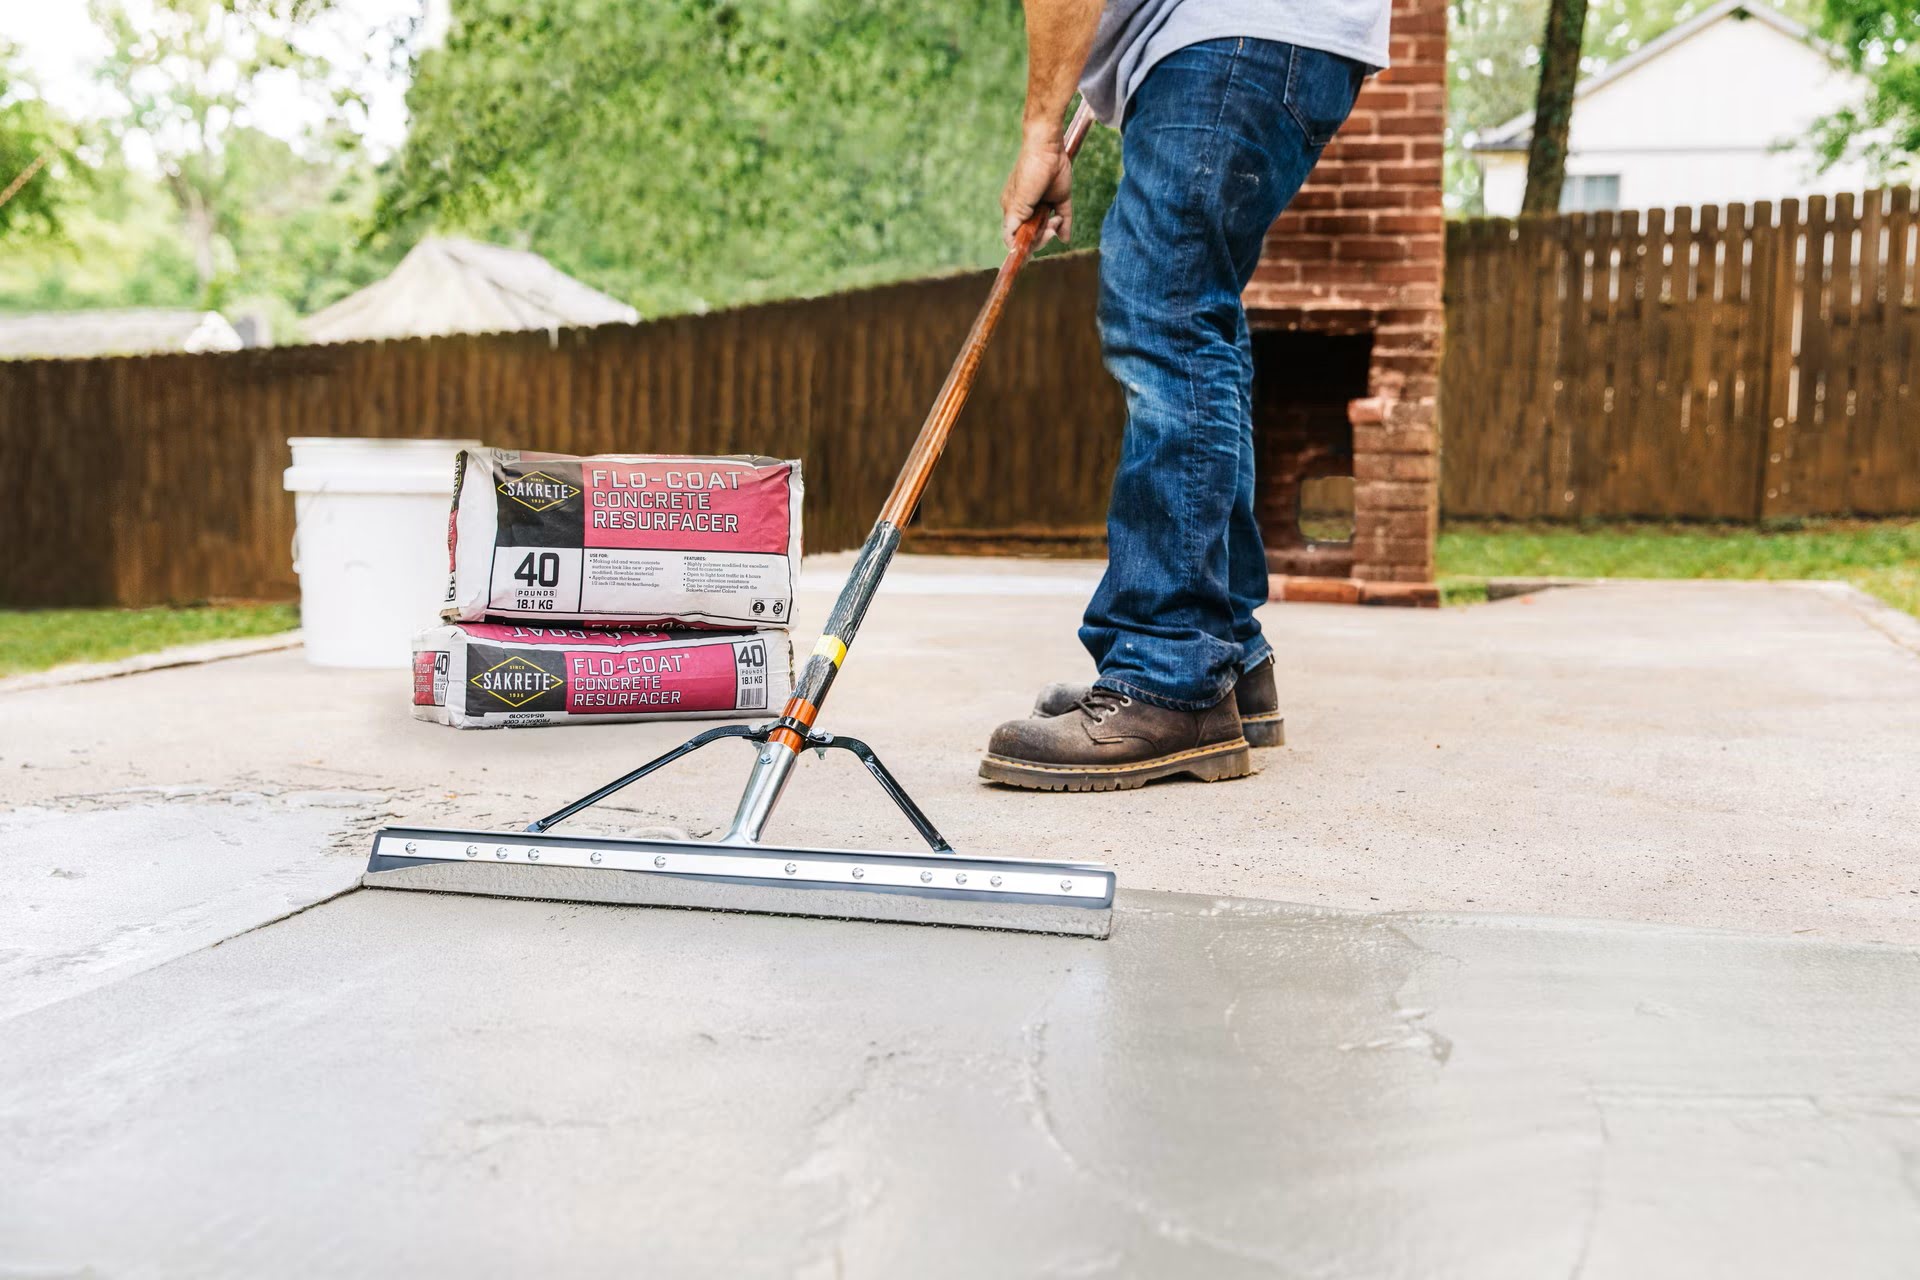
- Clean the surface: Start by thoroughly cleaning the concrete porch to remove any dirt, debris, or stains. You can use a pressure washer or a stiff brush with a concrete cleaner to get the job done.
- Repair any damage: Inspect the concrete for any cracks or uneven areas. If you find any, fill them in with a concrete repair compound and allow it to dry completely.
- Check for drainage: Ensure that the concrete porch has proper drainage to prevent water buildup and potential damage to the wood cover. If necessary, you may need to add drains or create slope modifications.
- Apply a waterproofing sealant: To protect the wood from moisture, apply a waterproofing sealant to the surface of the concrete and let it dry according to the manufacturer’s instructions.
- Install landscape fabric: Lay down landscape fabric over the entire surface of the concrete porch. This will help prevent weeds and grass from growing through the gaps in the wood.
By taking the time to properly prepare your concrete porch, you’ll create a solid foundation for the wood cover installation. This will ensure longevity and minimize potential problems down the road. Once the preparation is complete, you’re ready to move on to the next step – measuring and cutting the wood for covering.
Step 3: Measure and Cut the Wood for Covering
Now that your concrete porch is properly prepared, it’s time to measure and cut the wood that will be used to cover it. Follow these steps to ensure accurate measurements and precise cuts:
- Measure the porch: Use a tape measure to determine the dimensions of your porch. Measure the length, width, and any areas where the wood cover will need to be modified, such as steps or angles.
- Decide on the wood orientation: Determine whether you want the wood boards to run parallel or perpendicular to the length of the porch. This decision will affect the overall aesthetic of the project.
- Calculate the number of boards needed: Based on the measurements, calculate how many wood boards you’ll need to cover the porch surface. Keep in mind that you may need to adjust the width of the boards to fit evenly.
- Cut the wood: Using a circular saw, cut the wood boards to the desired lengths according to your measurements. Ensure that the cuts are precise and straight for a professional look.
- Bevel the edges (optional): For a more finished appearance, you can use a router or a sander to bevel the edges of the wood boards. This can add a touch of elegance to the final result.
As you measure and cut the wood, take your time and double-check all measurements to avoid any mistakes. Remember, it’s better to spend a little extra time upfront to ensure accuracy than to encounter issues during the installation process. Once the wood is cut and prepared, it’s time to move on to the next step – installing joists and attaching the decking boards.
Before covering a concrete porch with wood, make sure the concrete is in good condition and properly sealed. Use pressure-treated wood and ensure proper ventilation to prevent moisture buildup.
Step 4: Install Joists and Attach Decking Boards
With the wood boards cut to size, it’s now time to install the joists and attach the decking boards to create the base of your wood cover. Follow these steps for a sturdy and well-structured installation:
- Frame the porch: Start by installing pressure-treated 2×4 or 2×6 wooden joists around the perimeter of the porch. Ensure they are level and securely attached using joist hangers and nails.
- Add intermediate joists: Depending on the size of your porch, you may need to install additional joists spaced evenly between the perimeter joists for added support.
- Attach the decking boards: Begin attaching the cut wooden boards to the joists, using stainless steel or coated decking screws. Start at one end of the porch and work your way to the other, ensuring each board is evenly spaced and properly secured.
- Leave room for expansion: In between each decking board, leave a small gap for expansion and contraction due to temperature and moisture changes. This will help prevent warping and buckling.
- Continue the process: Repeat the process of attaching the decking boards until the entire surface of the porch is covered. Double-check that all boards are level and aligned properly.
During the installation, always use a level to ensure that the joists and decking boards are straight and even. This will not only contribute to the overall appearance but also improve the durability and longevity of the wood cover. Once the joists and decking boards are securely in place, it’s time to move on to the next step – securing the wood cover in place.
Read more: How To Extend A Concrete Porch
Step 5: Secure the Wood Cover in Place
Now that the decking boards are installed, it’s crucial to make sure your wood cover is securely attached to the concrete porch. Follow these steps to ensure a sturdy and safe installation:
- Pre-drill pilot holes: Using a drill with a masonry bit, pre-drill pilot holes through the decking boards and into the concrete porch. Space the holes approximately every 16 inches along each joist.
- Insert concrete screws: Insert concrete screws into the pre-drilled holes and firmly tighten them using a screwdriver or drill with a screwdriver bit. Make sure the screws are flush with the surface of the wood boards.
- Continue screwing in all areas: Repeat the pre-drilling and screwing process for every decking board, ensuring that each board is securely fastened to the concrete porch.
- Check for stability: Give the wood cover a gentle shake to test its stability. If you notice any wobbling or movement, reinforce the area by adding additional screws or support as needed.
By securely attaching the wood cover to the concrete porch, you can have peace of mind knowing that it will withstand heavy foot traffic and various weather conditions. Ensuring the stability of the wood cover is essential for its longevity and safety.
Now that your wood cover is securely fastened, it’s time to move on to the final step – adding the finishing touches and implementing a maintenance plan to keep your newly covered porch looking its best.
Step 6: Finishing touches and Maintenance Tips
Congratulations! You’ve successfully covered your concrete porch with wood. Now it’s time to add those finishing touches and establish a maintenance routine to keep your new wood cover looking beautiful for years to come. Follow these steps:
- Apply a protective finish: To enhance the appearance and protect the wood from the elements, consider applying a protective finish such as a wood stain or sealer. Choose a product specifically designed for outdoor use and follow the manufacturer’s instructions.
- Add handrails (if desired): If your porch requires handrails for safety or aesthetics, now is the perfect time to install them. Choose a style that complements the wood cover and ensure they are properly secured.
- Regularly clean and inspect: Regularly sweep or use a leaf blower to remove debris from the wood surface. Clean the cover periodically with a mild detergent and water, then rinse thoroughly. Inspect for any signs of wear, damage, or loose screws, and address them promptly.
- Perform necessary maintenance: Depending on your climate and exposure to the elements, you may need to reapply a protective finish or perform maintenance tasks such as sanding or replacing damaged boards. Stay vigilant and address any issues as they arise.
- Protect from moisture: To prevent moisture penetration and potential damage to the wood, consider using mats or furniture pads to protect it from standing water or excessive humidity. Avoid placing pots or planters directly on the wood surface.
By adding these finishing touches and implementing a regular maintenance routine, you can ensure that your covered porch remains a beautiful and inviting space for years to come. Enjoy your newly transformed outdoor area!
On a final note, remember that safety should always be a priority. Be mindful of local building codes and regulations, use the appropriate safety equipment, and consider consulting with professionals for assistance if needed. Happy woodworking!
Conclusion
Transforming your concrete porch into a stunning wooden oasis is a rewarding project that can significantly enhance the visual appeal and functionality of your outdoor space. By following the step-by-step process outlined in this article, you can successfully cover your concrete porch with wood and create a beautiful, inviting area for relaxation and entertainment.
From gathering the necessary materials and tools to preparing the concrete porch, measuring and cutting the wood, installing joists and decking boards, securing the wood cover in place, and adding the finishing touches, each step is essential in creating a sturdy and visually appealing wood cover.
Remember to prioritize safety throughout the process, utilizing appropriate safety equipment and consulting professionals if needed. Taking the time to properly measure, cut, and secure the wood cover will ensure its longevity and reduce the need for future repairs or replacements.
Maintaining your wood cover is also crucial for its long-term durability and aesthetics. Regular cleaning, inspection, and maintenance tasks will help prevent damage and keep it looking its best. Applying a protective finish and implementing measures to protect the wood from moisture will further prolong its lifespan.
Now it’s time to enjoy your newly covered porch! Whether you’re hosting outdoor gatherings, enjoying a cup of coffee in the morning, or simply unwinding after a long day, your transformed wood cover will provide a cozy and inviting space for all your outdoor activities.
So, gather your materials, follow the steps outlined in this article, and embark on the journey of turning your concrete porch into a beautiful wooden haven. Embrace the process, get creative, and enjoy the transformative power of woodworking. Your dream porch awaits!
Now that you've mastered covering your concrete porch with wood, why stop there? Dive into our engaging guide on the wonders of DIY projects. You'll discover how crafting something with your own hands offers not just personal satisfaction but also the potential to personalize your space in ways previously unimagined. So, if you're itching to wield more tools and create more magic at home, our next read is perfect for you.
Frequently Asked Questions about How To Cover Concrete Porch With Wood
Was this page helpful?
At Storables.com, we guarantee accurate and reliable information. Our content, validated by Expert Board Contributors, is crafted following stringent Editorial Policies. We're committed to providing you with well-researched, expert-backed insights for all your informational needs.





0 thoughts on “How To Cover Concrete Porch With Wood”