
Articles
How To Install Wood Floor On Concrete
Modified: December 7, 2023
Learn how to install wood floor on concrete with our step-by-step articles. Transform your space with this DIY flooring project.
(Many of the links in this article redirect to a specific reviewed product. Your purchase of these products through affiliate links helps to generate commission for Storables.com, at no extra cost. Learn more)
Introduction
Installing wood flooring on concrete can be a challenging task, but with the right preparation and technique, it is definitely achievable. Whether you want to upgrade your basement, convert a garage into a living space, or simply add warmth and elegance to your home, installing wood flooring on concrete can transform the look and feel of any room.
In this comprehensive guide, we will take you through the step-by-step process of installing wood flooring on concrete. From the initial preparation to the finishing touches, we will provide you with valuable insights and expert tips to ensure a successful and long-lasting installation.
Before we dive into the installation process, it is essential to understand that wood and moisture do not mix well. Concrete surfaces tend to hold moisture, which can lead to various issues such as warping, buckling, and mold growth when installing wood flooring directly on top. Therefore, it is crucial to take the necessary steps to mitigate moisture and prepare the concrete surface properly.
With the right tools, materials, and a bit of patience, you can achieve a beautiful and durable wood floor on a concrete subfloor. So let’s get started with the first step – Preparation.
Key Takeaways:
- Transform any space with warmth and elegance by installing wood flooring on concrete. Follow the comprehensive guide for a rewarding and achievable project, ensuring a stable and visually stunning finished product.
- Achieve a successful wood flooring installation with proper preparation, technique, and attention to detail. Embrace the transformative power of a beautiful wood floor and enjoy the timeless beauty it brings to your home.
Read more: How To Install Heated Floors On Concrete
Step 1: Preparation
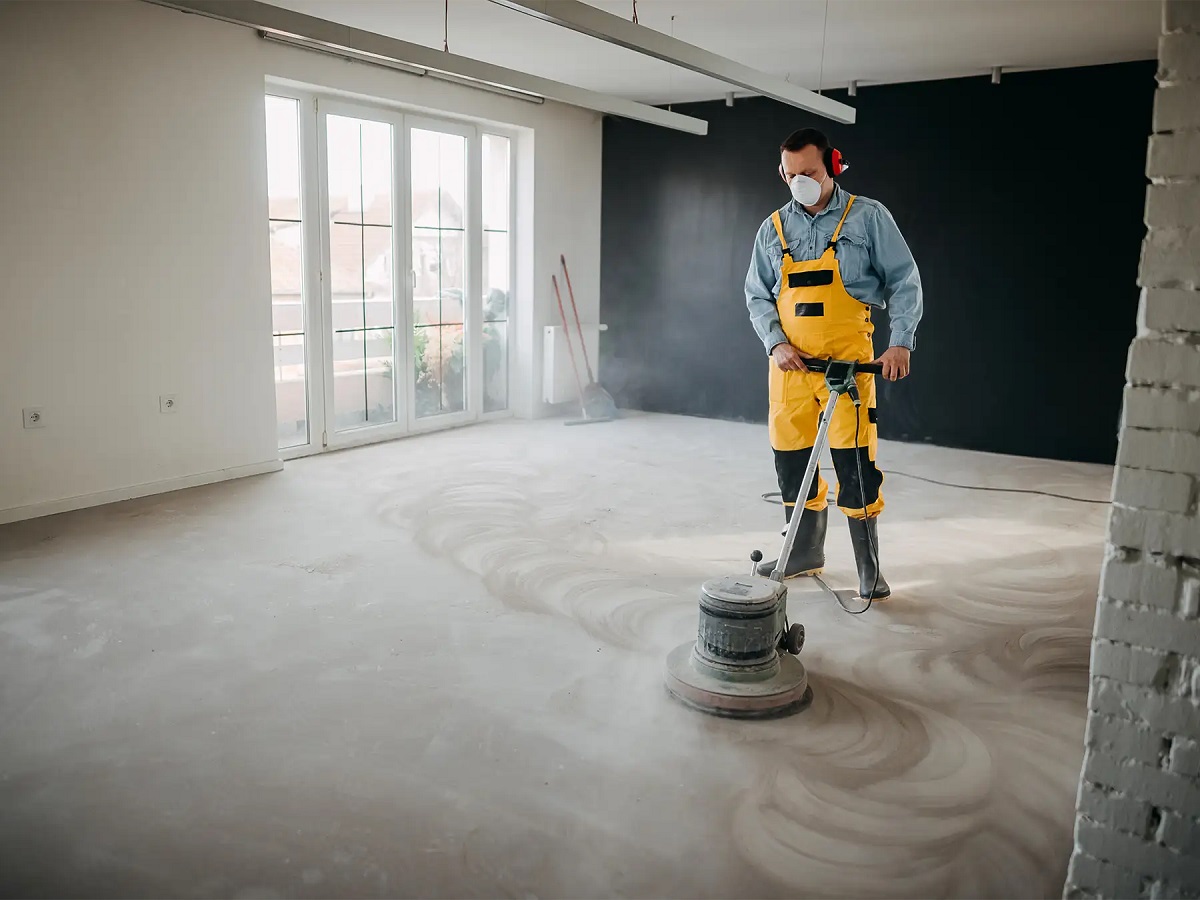
Before you begin the installation process, it’s crucial to ensure that your concrete subfloor is clean, level, and dry. Here are the steps to follow in the preparation phase:
- Clean the Concrete: Start by removing any existing flooring, such as carpet or tile. Use a broom, vacuum, or mop to clean the concrete surface thoroughly. Make sure to remove any dust, dirt, or debris that could interfere with the installation.
- Check for Moisture: Moisture is a significant concern when installing wood flooring on concrete. Conduct a moisture test to determine the moisture content of the concrete. You can use a moisture meter or perform a simple plastic sheet test. If the moisture levels are too high, you will need to address this issue before moving forward with the installation.
- Address Any Flooring Issues: Inspect the concrete for any cracks, unevenness, or imperfections. If you discover any significant issues, it’s essential to repair them before proceeding. Fill in cracks, level uneven areas, and fix any damage to ensure a smooth and stable surface for the wood flooring.
- Allow for Proper Air Circulation: It’s important to have good air circulation beneath the wood flooring to prevent moisture buildup. If your concrete subfloor is below grade or prone to moisture, consider implementing a ventilation system or installing a moisture barrier.
By thoroughly preparing the concrete subfloor, you are laying the foundation for a successful wood flooring installation. Taking the time to clean, check for moisture, address flooring issues, and ensure proper air circulation will help prevent future problems and guarantee a long-lasting wood floor. With the preparation complete, we can move on to the next step – installing a moisture barrier.
Step 2: Moisture Barrier
Installing a moisture barrier is a crucial step to protect your wood flooring from moisture damage. Even if your concrete subfloor appears dry, it’s essential to take preventive measures, as concrete can still retain moisture. Follow these steps to install a moisture barrier:
- Choose the Right Barrier: There are several options for moisture barriers, including plastic sheeting, asphalt felt, and moisture-resistant underlayments. Consult with a flooring professional or follow the manufacturer’s recommendations to select the appropriate barrier for your specific flooring type.
- Measure and Cut: Measure the dimensions of the room and cut the moisture barrier accordingly. Leave a few inches of excess material along the edges to ensure full coverage.
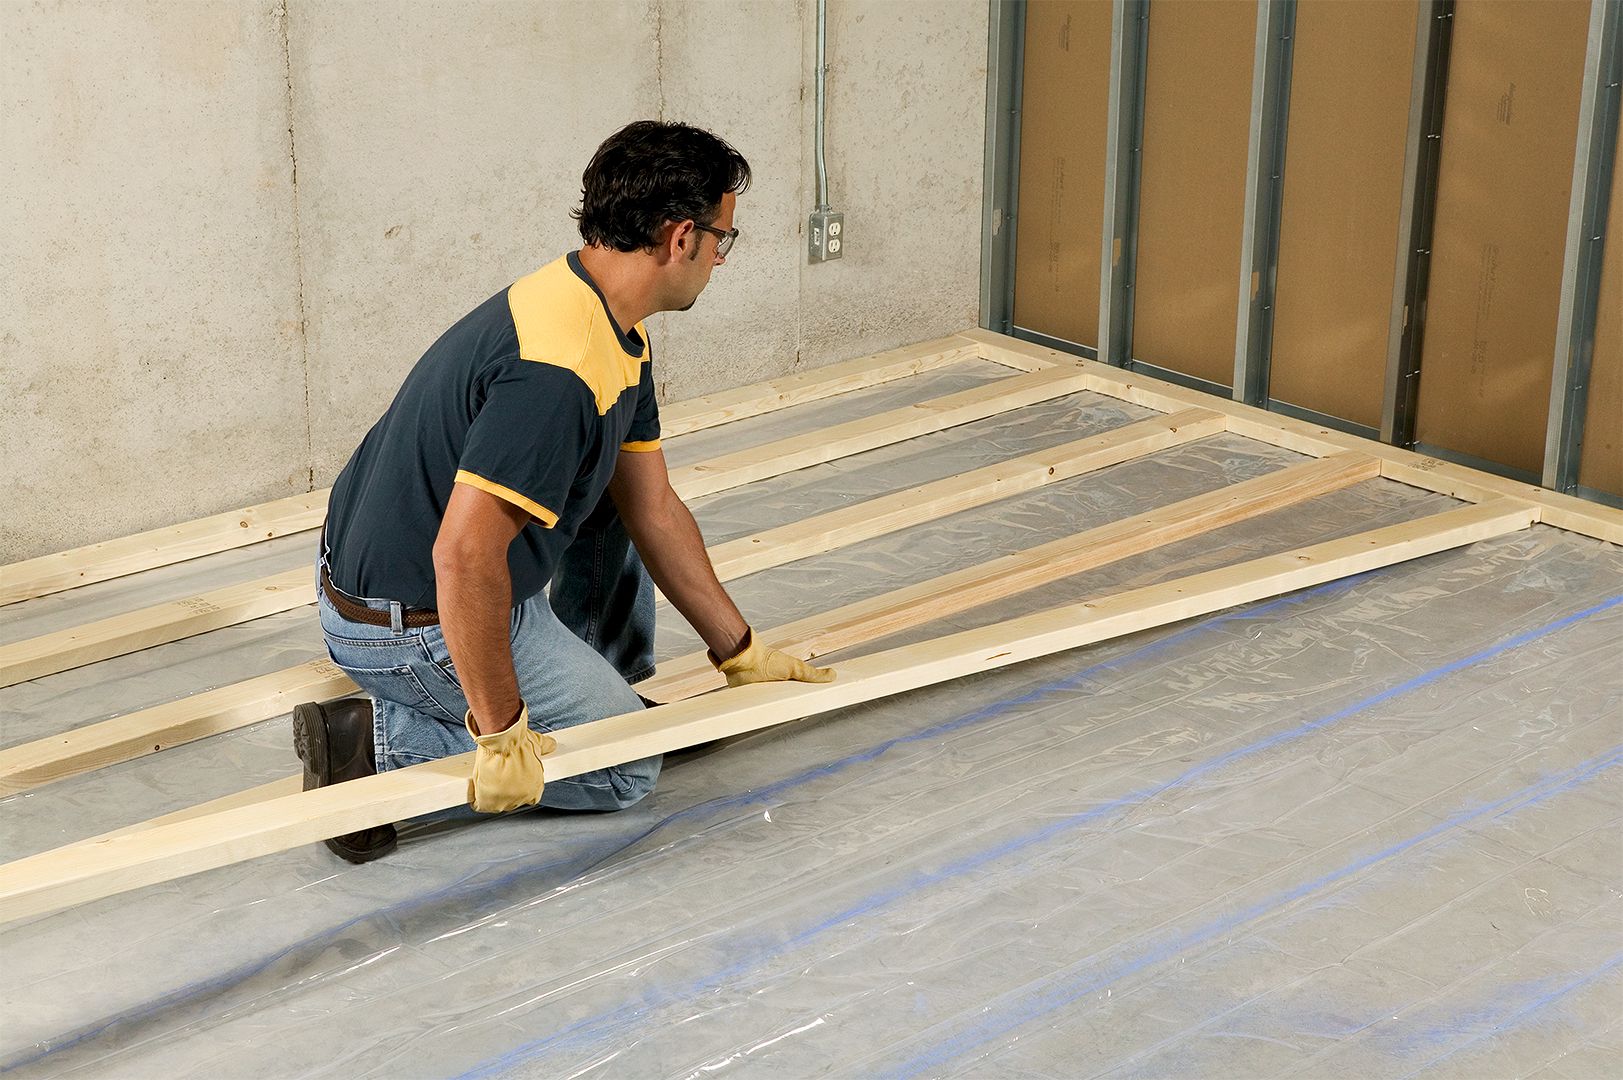
- Place the Barrier: Lay the moisture barrier over the clean and dry concrete subfloor. Ensure that the barrier covers the entire floor area, including corners and edges, and overlaps any seams or joints by several inches. Use tape or adhesive to secure the barrier in place.
- Seal the Seams: If you are using a moisture barrier with seams, it’s crucial to seal them properly to prevent moisture penetration. Use moisture-resistant tape or adhesive to seal the seams tightly.
Installing a moisture barrier serves as an extra layer of protection against moisture, preventing it from seeping into the wood flooring. This step is essential, especially for areas with high humidity levels or those prone to moisture issues. Once you have successfully installed the moisture barrier, you can move on to the next step – acclimating the wood flooring.
Step 3: Acclimation
Acclimating the wood flooring is a critical step in preparing it for installation. Wood is a natural material that can expand or contract based on the environmental conditions, such as temperature and humidity. Proper acclimation helps the wood adjust to its new surroundings, reducing the risk of issues like warping or buckling down the line. Follow these steps for a successful acclimation process:
- Bring the Wood Flooring Indoors: Purchase the wood flooring in advance and store it indoors in the room where it will be installed. This will allow the wood to acclimate to the temperature and humidity of the space.
- Remove Packaging: Open the boxes or packages containing the wood flooring. Remove any plastic wrapping, and allow the wood to breathe.
- Stack and Space the Planks: Stack the wood planks horizontally, leaving spaces between each board and allowing air to circulate. Place small spacers between the planks to maintain adequate spacing.
- Allow Sufficient Time: The acclimation period can vary depending on the wood species and the manufacturer’s recommendations. Generally, wood flooring should acclimate for at least 48-72 hours. However, it’s always best to follow the specific guidelines provided by the flooring manufacturer.
- Monitor the Moisture Levels: Throughout the acclimation process, it’s important to monitor the moisture content of both the wood flooring and the environment. Use a moisture meter to ensure that the moisture levels are within the acceptable range for installation.
Acclimation is a crucial step to give the wood flooring time to adjust to its new environment. By allowing the wood to acclimate properly, you can minimize the potential for future issues and ensure a more stable and durable installation. Once the designated acclimation period is complete, you are ready to proceed to the next step – preparing the subfloor for installation.
Step 4: Subfloor Preparation
Preparing the subfloor is an essential step in ensuring a smooth and stable surface for the wood flooring. Proper subfloor preparation is vital for preventing squeaks, minimizing unevenness, and maximizing the lifespan of your wood floor. Follow these steps to prepare the subfloor:
- Inspect the Subfloor: Thoroughly examine the subfloor for any signs of damage or unevenness. Repair any cracks, holes, or imperfections using a suitable floor patching compound or leveling product.
- Remove Baseboards and Trim: If necessary, remove baseboards, moldings, or any other obstructions along the edges of the room. This will allow you to install the wood flooring more easily and achieve a clean finish.
- Sand and Clean the Subfloor: If your subfloor is uneven, you may need to lightly sand it to create a smooth surface. After sanding, thoroughly clean the subfloor to remove any dust, debris, or residue that may interfere with the installation.
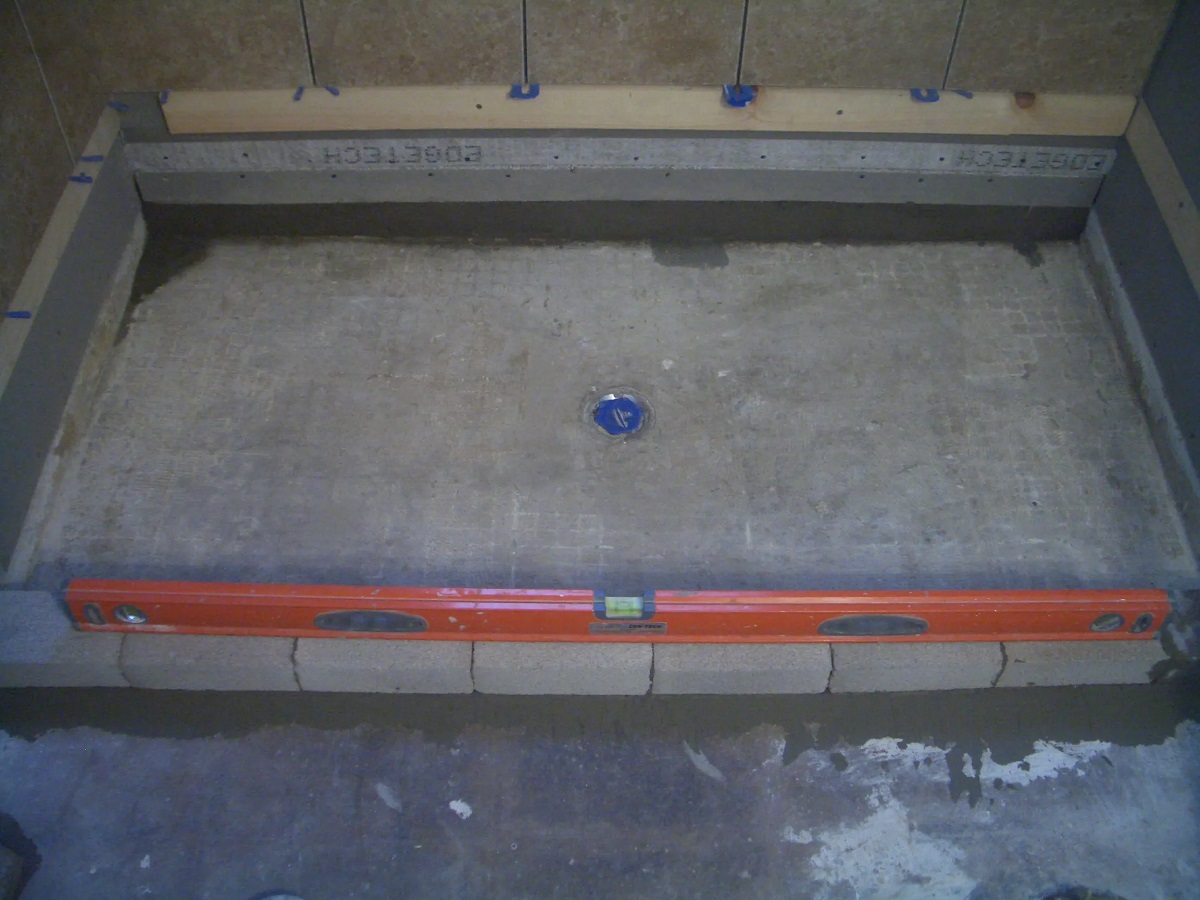
- Check for Levelness: Use a long level or straightedge to check for any uneven spots on the subfloor. If you identify any high or low areas, you may need to use a leveling compound to even out the surface. Follow the manufacturer’s instructions for mixing and applying the leveling compound.
- Allow Sufficient Drying Time: If you used a patching compound or leveling product, ensure that it has adequate time to dry and cure. This will prevent any potential issues when installing the wood flooring.
Properly preparing the subfloor is crucial for achieving a smooth and stable foundation for your wood flooring. Taking the time to inspect, repair, sand, and level the subfloor will help ensure a successful and long-lasting installation. Once the subfloor preparation is complete, you are ready to move on to the next step – installing the underlayment.
Before installing wood flooring on concrete, make sure the concrete is clean, level, and dry. Use a moisture barrier and adhesive specifically designed for wood on concrete to ensure a secure and long-lasting installation.
Read more: How To Install In Floor Heating In Concrete
Step 5: Installing the Underlayment
The underlayment serves as a crucial layer between the subfloor and the wood flooring, providing various benefits such as sound insulation, moisture protection, and added cushioning. Follow these steps to install the underlayment:
- Select the Right Underlayment: Choose an underlayment specifically designed for wood flooring installation. Consider factors such as moisture resistance, sound absorption, and the requirements of your specific flooring type.
- Measure and Cut: Measure the dimensions of the room and cut the underlayment accordingly. Start by laying out a row of underlayment along one wall, leaving a small gap (about 1/4 inch) between the edge of the underlayment and the wall.
- Align and Secure: Continue laying the underlayment row by row, ensuring that each piece overlaps the previous one by a few inches. Use a utility knife or appropriate cutting tool to trim the underlayment as needed. Secure the underlayment in place using staples, adhesive, or the recommended fasteners for your specific underlayment type.
- Install Around Obstacles: When encountering obstacles such as doorways or vents, make appropriate cutouts in the underlayment to accommodate them. Ensure a snug fit around these areas to maintain the integrity of the underlayment layer.
- Seal the Edges: It’s important to seal the edges of the underlayment to provide an effective moisture barrier. Use appropriate sealing products or adhesive to seal any gaps or seams in the underlayment. This will help prevent moisture from seeping through and potentially damaging the wood flooring.
Installing the underlayment provides essential protection and support for your wood flooring. It helps reduce noise, acts as a moisture barrier, and provides added cushioning for a more comfortable feel underfoot. Once the underlayment is securely installed, you are ready for the next step – laying the wood flooring.
Step 6: Laying the Wood Flooring
Laying the wood flooring is an exciting step that brings your vision to life. With proper technique and attention to detail, you can achieve a beautiful and professional-looking installation. Follow these steps to lay the wood flooring:
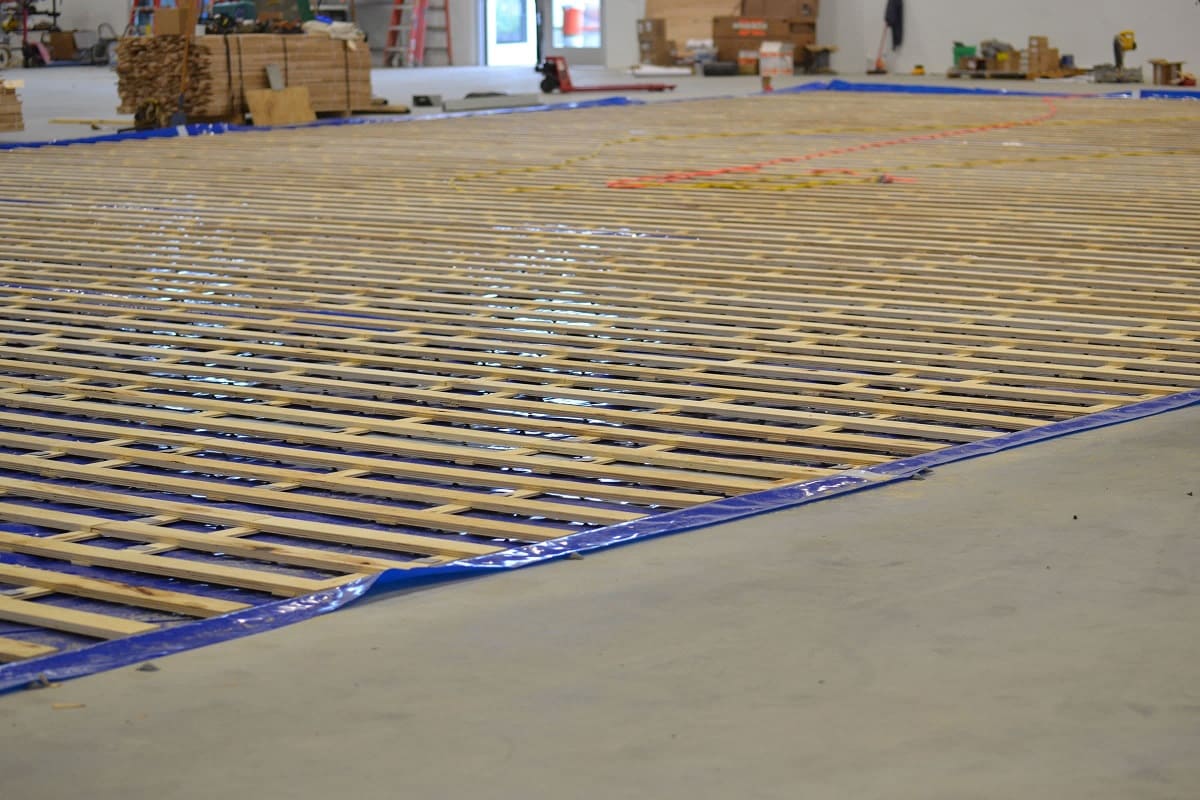
- Choose the Right Starting Point: Select a starting point that is perpendicular to the floor joists and aligns with the longest wall in the room. This will provide optimal stability and ensure a visually pleasing installation.
- Create Expansion Gaps: Leave a small expansion gap (typically 1/4 inch) between the edge of the flooring and the walls or any fixed objects. This allows the wood to expand and contract with changes in temperature and humidity without causing buckling or warping.
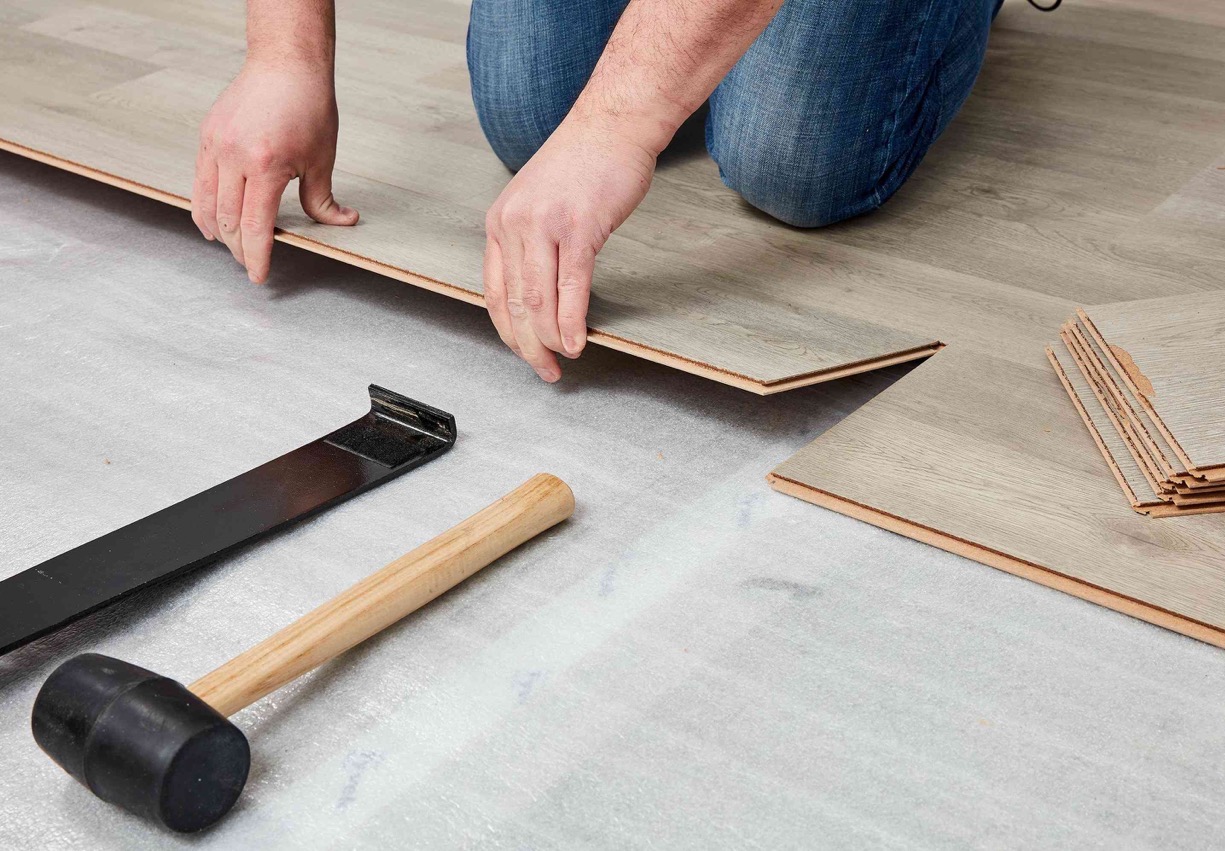
- Fit the First Row: Lay the first row of flooring along your chosen starting point, placing the tongue side against the wall. Use a spacer between the flooring and the wall to maintain the proper expansion gap. Ensure that the planks are snugly fit together, using a tapping block and rubber mallet if necessary.
- Continue Installing: Proceed to install the subsequent rows of flooring, connecting each plank by angling it and fitting it into the previous row. Apply gentle pressure to ensure a tight fit and use a tapping block and mallet as needed. Stagger the end joints of the planks to create a visually appealing and stable installation.
- Cut the Planks: Measure and cut planks as necessary to fit the last row. Use a miter saw, circular saw, or appropriate cutting tool to achieve clean and precise cuts. Remember to account for the expansion gap when cutting the planks.
- Secure the Flooring: Depending on the type of wood flooring you are installing, you may need to secure it using nails, staples, or adhesive. Follow the manufacturer’s instructions for proper installation and use the recommended fasteners or adhesive for your specific flooring type.
- Check for Levelness and Stability: Periodically check the levelness and stability of the installed wood flooring. Use a level to ensure that the planks are flat and even. If you detect any unevenness or instability, make the necessary adjustments to maintain a high-quality installation.
Laying the wood flooring requires precision and attention to detail, but the results are well worth the effort. Taking the time to properly fit, secure, and align the planks will result in a stunning and long-lasting wood floor. With the wood flooring in place, you are ready for the final step – adding the finishing touches.
Step 7: Finishing Touches
Adding the finishing touches to your wood flooring installation will not only enhance its appearance but also provide protection and longevity. Follow these steps to complete the final touches:
- Trim and Baseboards: Install new trim or baseboards along the perimeter of the room to cover the expansion gap and create a finished look. Use a miter saw to make accurate cuts and ensure seamless transitions at corners.
- Sanding and Sealing: If you’ve installed unfinished wood flooring, sand the surface to a smooth and even finish. Remove any dust or debris and apply a suitable wood sealer or finish according to the manufacturer’s instructions. This step adds beauty, protection, and durability to your wood flooring.
- Transition Pieces: Install transition pieces where your wood flooring meets other types of flooring, such as carpet or tile. These transition pieces not only provide a seamless transition but also protect the edges of the wood flooring.
- Furniture Pads: Attach furniture pads to the bottom of your furniture legs to prevent scratches and dents on the wood flooring. This simple step will help preserve the beauty of your floor for years to come.
- Area Rugs: Consider placing area rugs in high-traffic areas or under furniture to protect the wood flooring from excessive wear and tear. Area rugs also provide additional warmth and comfort to the room.
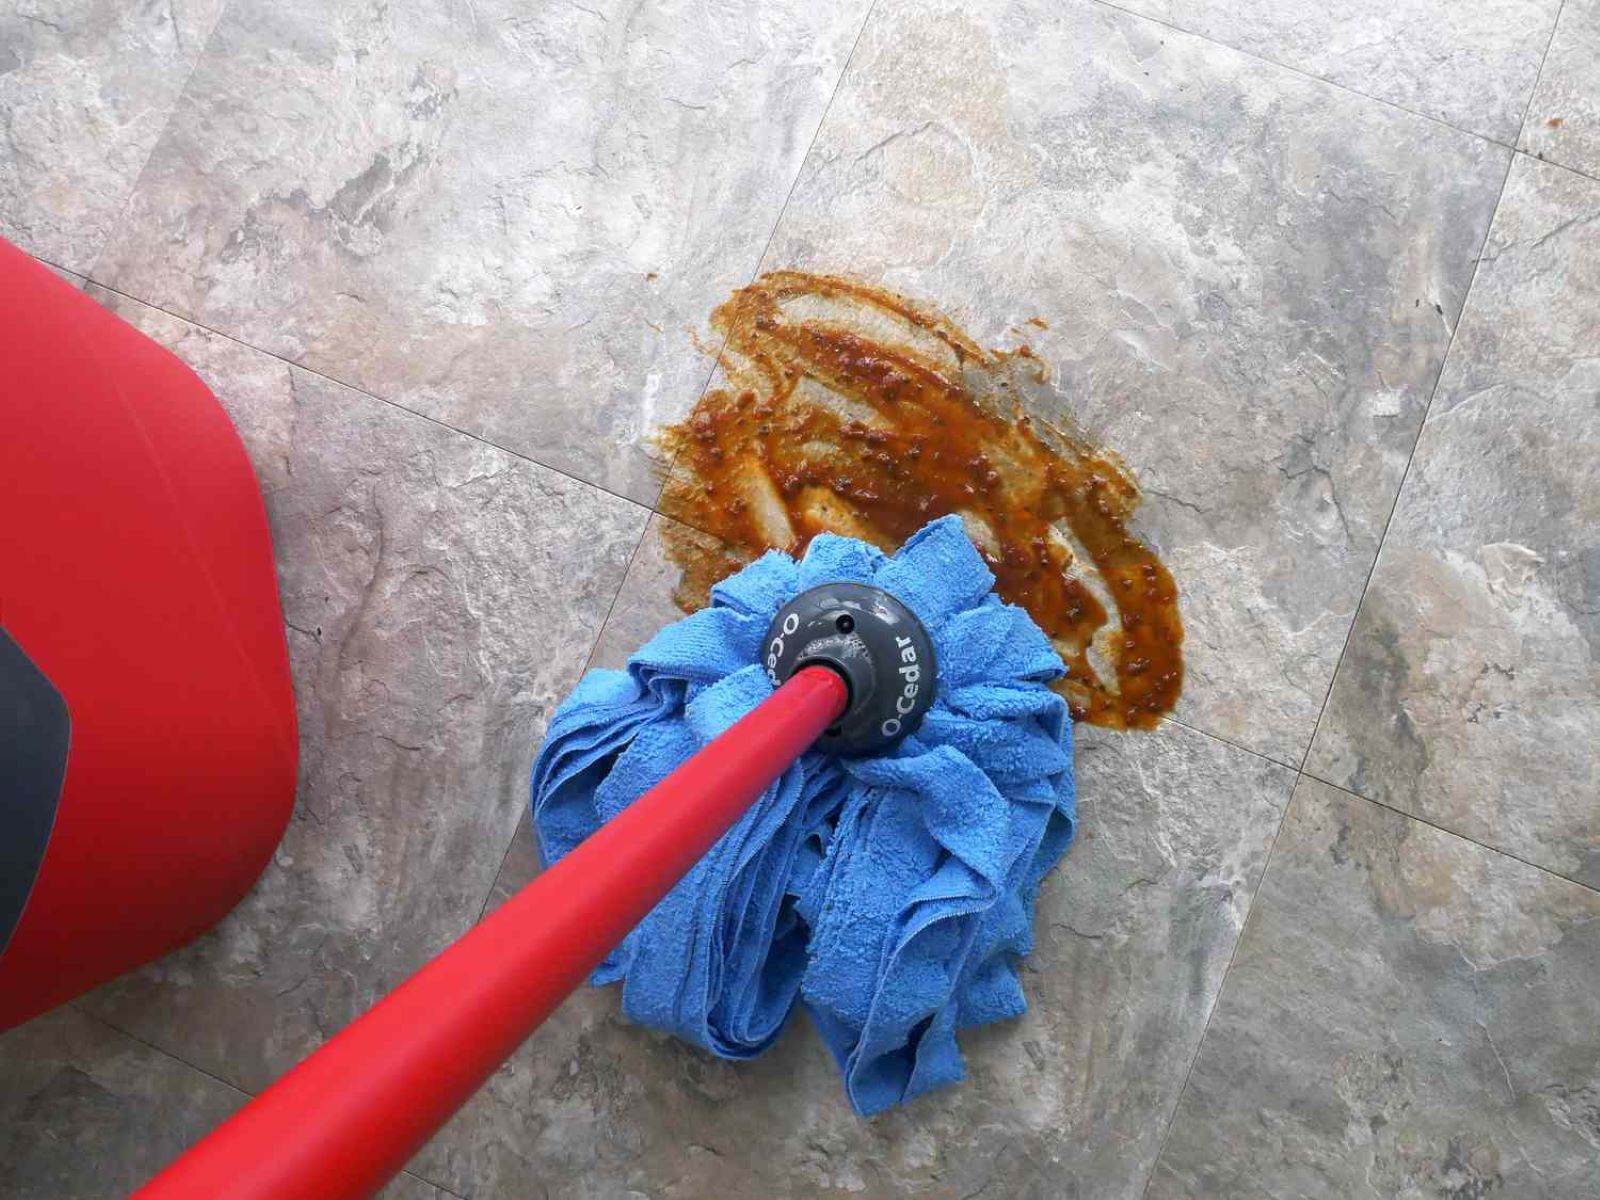
- Maintenance and Cleaning: Follow the appropriate maintenance and cleaning guidelines for your specific wood flooring type. Regularly sweep or vacuum the floor to remove debris, and use a damp mop with a mild cleaner designed for wood floors to keep them looking their best.
- Enjoy Your New Wood Floor: With the finishing touches complete, it’s time to sit back, relax, and enjoy the beauty and warmth of your newly installed wood floor. Embrace the natural elegance and timeless appeal that wood flooring brings to your space.
By focusing on the final details, you can ensure that your wood flooring installation is not only visually appealing but also well-protected and easy to maintain. Take pride in your accomplishment and revel in the transformative power of a beautiful wood floor.
Conclusion
Installing wood flooring on concrete may seem like a daunting task, but with the right preparation, technique, and attention to detail, it can be a rewarding and achievable project. By following the steps outlined in this comprehensive guide, you can create a beautiful, durable, and long-lasting wood floor that adds warmth and elegance to any space.
From preparing the concrete subfloor and installing a moisture barrier to acclimating the wood flooring and laying it with precision, each step plays a crucial role in ensuring a successful installation. Taking the time to properly prepare the subfloor, install the underlayment, and fit the wood flooring will result in a stable and visually stunning finished product.
Remember to pay attention to the finishing touches, such as adding trim, sealing the wood, and implementing furniture pads. These final steps not only enhance the appearance of your wood floor but also protect it from wear and tear, ensuring its longevity and beauty for years to come.
Proper maintenance and care are key to preserving the quality and beauty of your wood floor. Regular cleaning and maintenance routines will help keep the flooring in pristine condition and maintain its natural charm.
Installing wood flooring on concrete is a labor of love that can transform any space into a welcoming and sophisticated environment. With a little planning, patience, and the guidance provided in this guide, you have the knowledge and tools to achieve a successful wood flooring installation.
Now it’s time to enjoy your new wood floor and the timeless beauty it brings to your home. Embrace the warmth and character that wood flooring provides, and take pride in your accomplishment. Sit back, relax, and relish in the inviting atmosphere created by your stunning wood floor.
Frequently Asked Questions about How To Install Wood Floor On Concrete
Was this page helpful?
At Storables.com, we guarantee accurate and reliable information. Our content, validated by Expert Board Contributors, is crafted following stringent Editorial Policies. We're committed to providing you with well-researched, expert-backed insights for all your informational needs.


0 thoughts on “How To Install Wood Floor On Concrete”