
Articles
How To Cover Garage Door
Modified: October 28, 2024
Learn how to cover your garage door with these helpful articles. Protect your garage from the elements and give it a fresh new look.
(Many of the links in this article redirect to a specific reviewed product. Your purchase of these products through affiliate links helps to generate commission for Storables.com, at no extra cost. Learn more)
Introduction
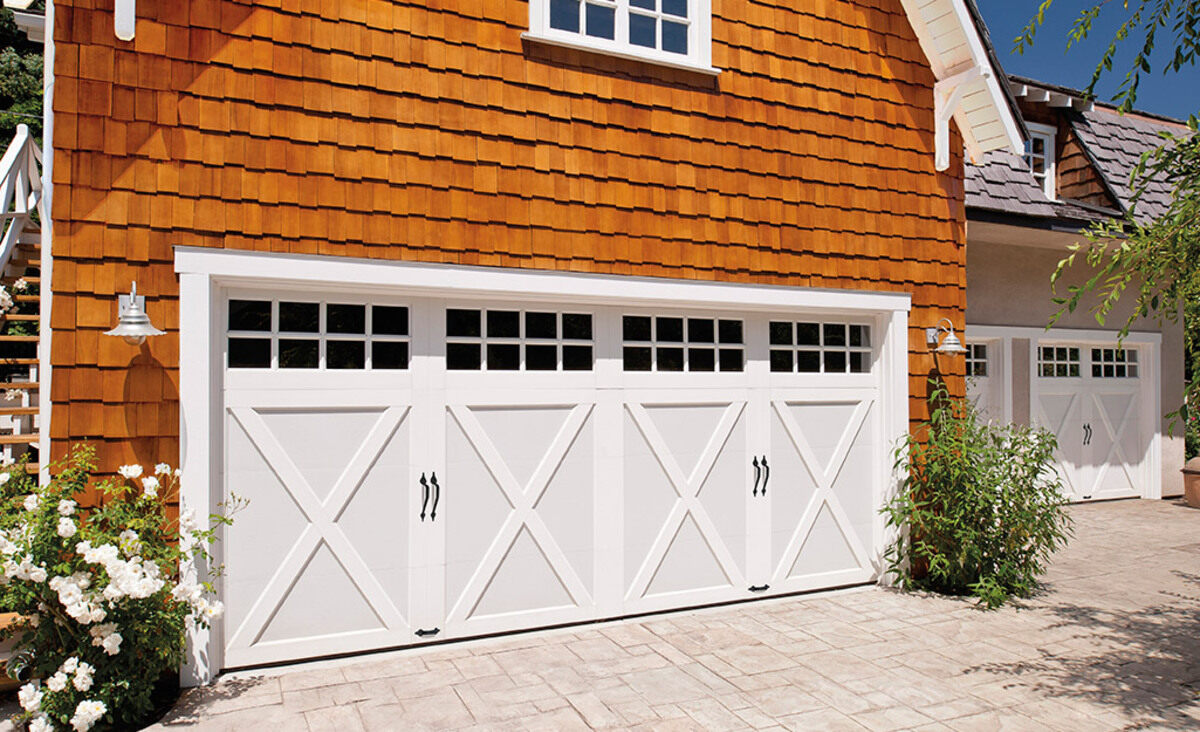
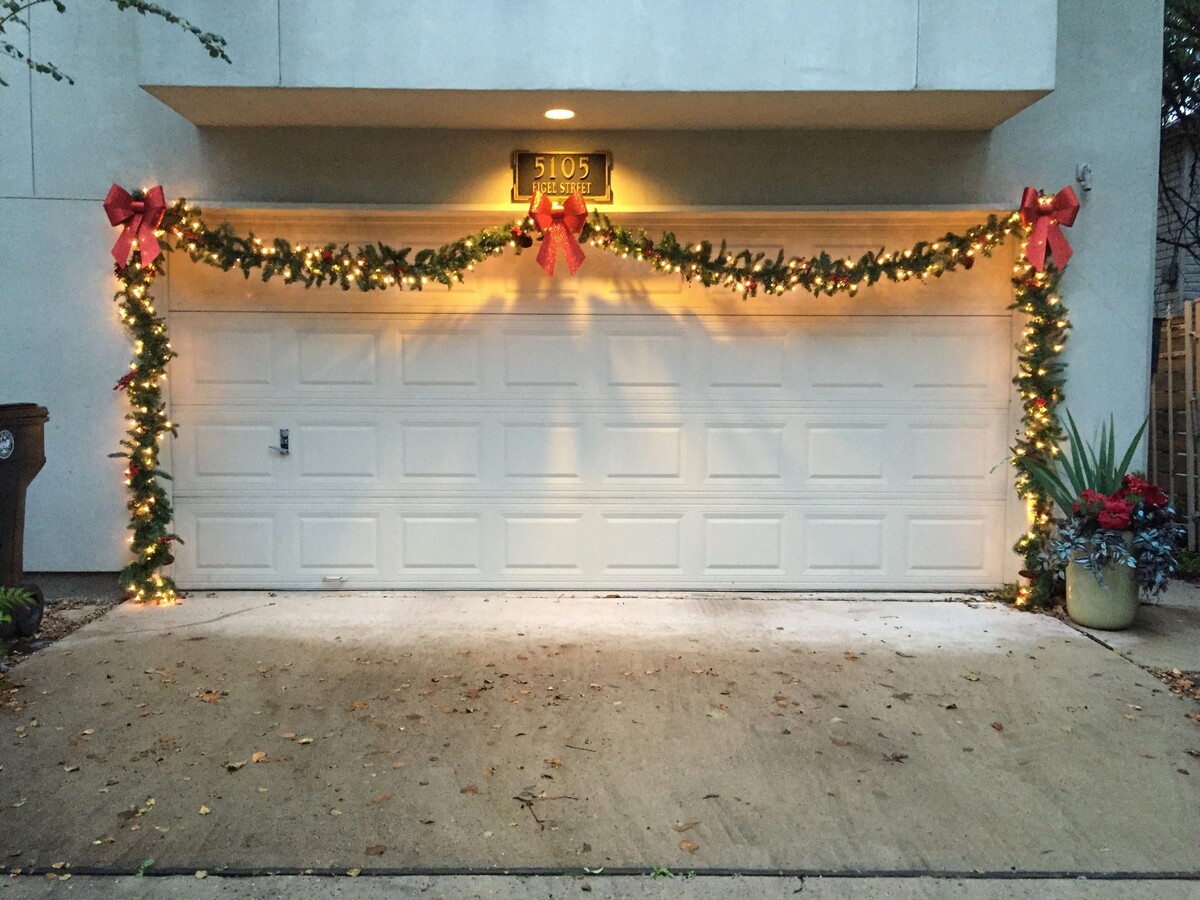
When it comes to improving the aesthetics of your home, don’t overlook the garage door. One way to give your garage door a fresh new look is by adding a cover. A garage door cover can enhance the curb appeal of your home and make a statement to your neighbors and visitors.
In this article, we will walk you through the steps on how to cover your garage door, from gathering the necessary materials to securing the cover in place. With a little bit of time and effort, you can transform your plain garage door into a visually stunning focal point.
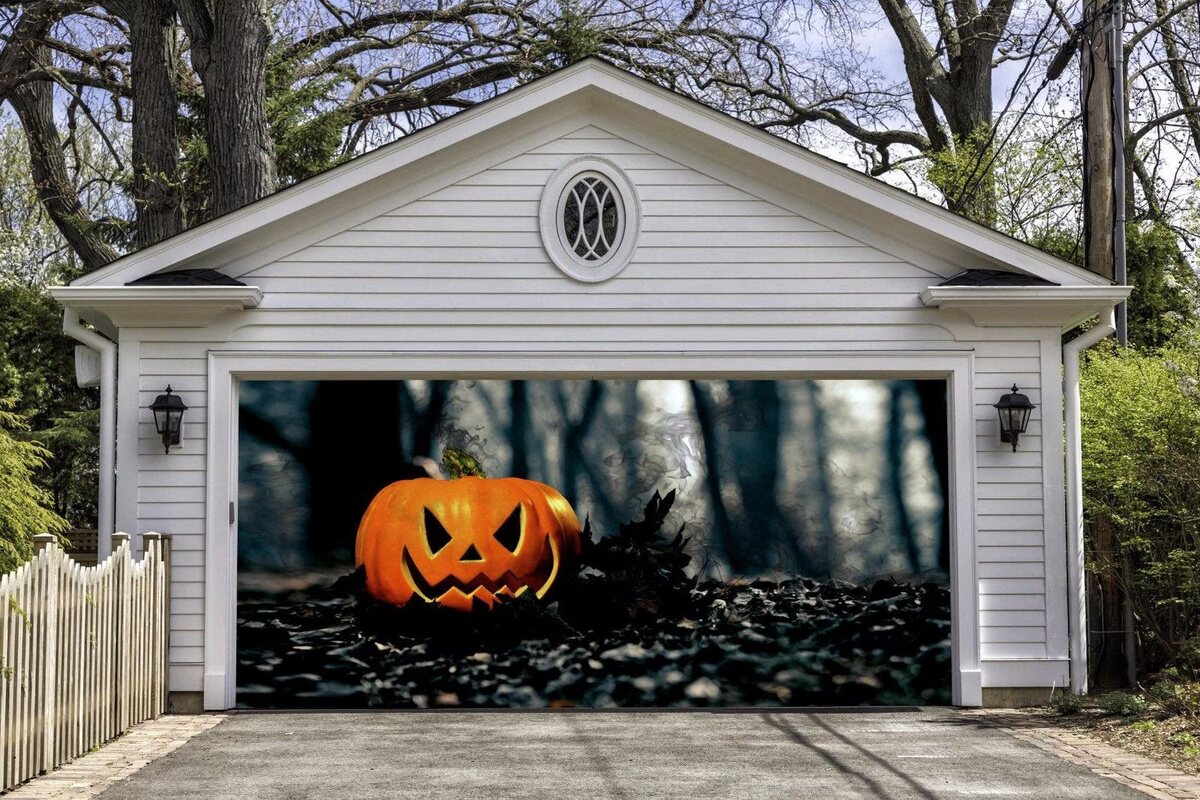
Before diving into the steps, it’s important to note that there are various options available for covering your garage door. From magnetic covers to mural wraps, you have the freedom to choose a style that best suits your taste and matches the overall design of your home.
Now, let’s get started on transforming your garage door and adding a touch of personality to your home!
Key Takeaways:
- Transform your garage door with a cover to enhance curb appeal and showcase your personal style. Choose from magnetic covers, mural wraps, or custom paint for a visually stunning focal point.
- Follow the step-by-step guide to cover your garage door with ease. From gathering materials to testing functionality, create a captivating statement piece that reflects your unique taste and adds wow factor to your home’s exterior.
Step 1: Gather the necessary materials
Before you begin covering your garage door, you’ll need to gather the following materials:
- Garage door cover: Choose a cover that fits the dimensions of your garage door and matches your desired style. You can opt for a magnetic cover, which easily attaches to the garage door, or a mural wrap, which requires adhesive.
- Measuring tape: This will help you accurately measure the size of your garage door, ensuring the cover fits properly.
- Scissors or utility knife: You’ll need these tools to trim the cover to the correct size if necessary.
- Cleaning supplies: Before applying the cover, it’s important to clean the garage door surface. Gather some soap, water, and a sponge or cloth.
- Painter’s tape (optional): If you want to create a specific design or pattern on your garage door, painter’s tape can help you achieve clean and crisp lines.
Once you have these materials ready, you’re all set to move on to the next step!
Step 2: Measure the garage door
Before you can proceed with covering your garage door, it’s crucial to accurately measure its dimensions. This step ensures that the cover you choose will fit perfectly and look seamless once installed. Here’s how to measure your garage door:
- Start by closing the garage door completely. This will give you an accurate measurement of the surface you’ll be covering.
- Take your measuring tape and measure the width of the garage door. Begin from one side and extend the tape to the other side. Note down the measurement.
- Next, measure the height of the garage door. Start from the top and extend the tape down to the bottom. Again, record the measurement.
- Optional: If your garage door has windows or panels, measure those as well. This will help you accurately position the cover or customize it to accommodate the windows.
Once you have the measurements written down, double-check them to ensure accuracy. It’s always better to be precise when it comes to covering your garage door.
Now that you have the measurements, you can move on to the next step of choosing the appropriate cover material.
Step 3: Choose the appropriate cover material
Now that you have the measurements of your garage door, it’s time to choose the right cover material. The material you select will depend on your preferences, budget, and the overall look you want to achieve for your garage door. Here are a few popular options:
- Magnetic covers: If you’re looking for a quick and easy solution, magnetic covers are a great choice. They are made from a durable vinyl material and come in various designs and patterns. These covers adhere to your garage door using strong magnets, making installation and removal a breeze. Just make sure to choose a cover that matches the size and style of your garage door.
- Mural wraps: Mural wraps offer a more customized and visually stunning option. These covers are made from high-quality adhesive vinyl and can transform your plain garage door into a work of art. You can choose from a wide range of pre-designed murals or create a custom design. Keep in mind that mural wraps require more time and effort for installation, as they need to be carefully applied and trimmed to fit your garage door.
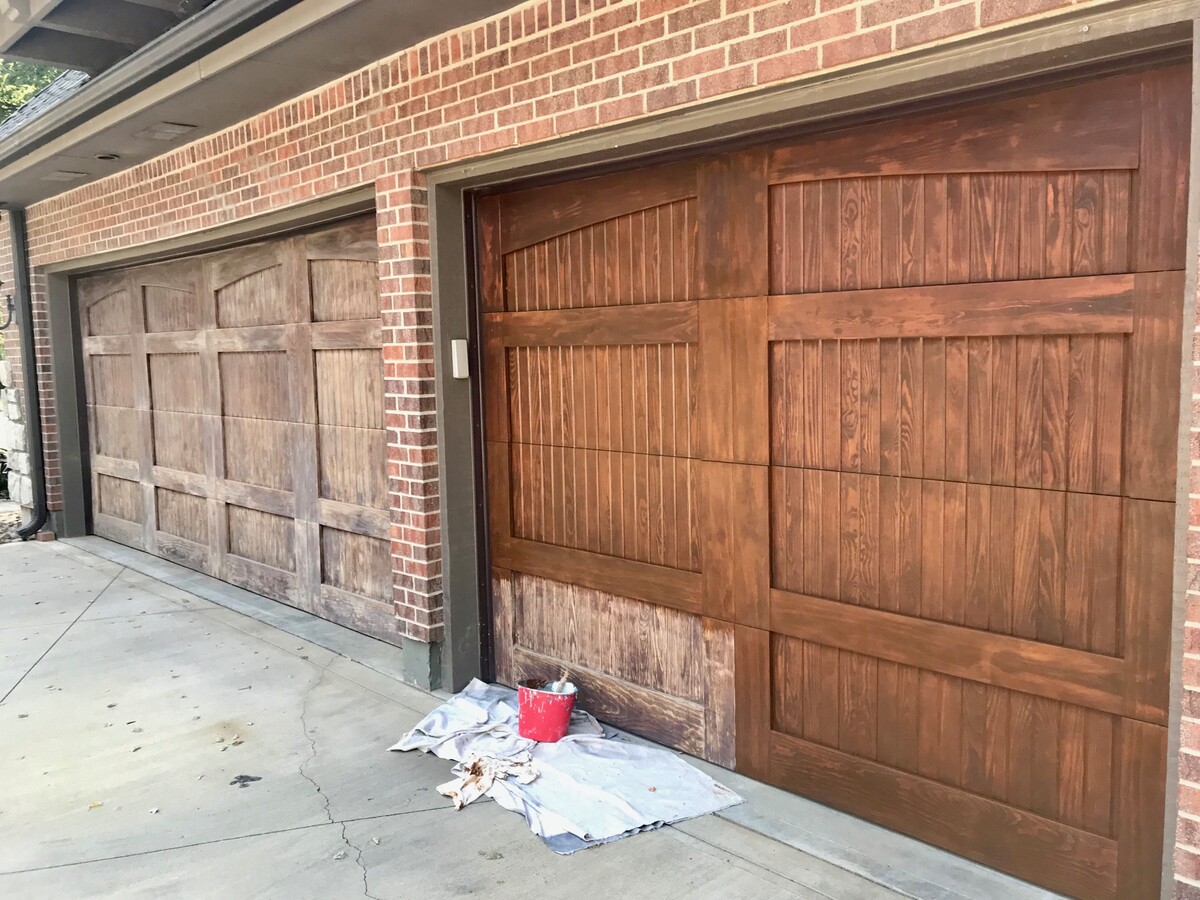
- Paint: If you’re feeling creative and want complete control over the design, you can opt to paint your garage door. This allows you to have a unique and personalized look. However, painting can be more time-consuming and may require more skill to achieve the desired result. Make sure to choose a high-quality exterior paint that is suitable for outdoor use and can withstand various weather conditions.
When choosing the cover material, consider the maintenance required, durability, and how well it will hold up against weather elements. Take your time to explore different options and select the material that best fits your needs and style preferences.
Once you’ve chosen the appropriate cover material, you’re ready to move on to preparing the garage door surface in the next step.
Step 4: Prep the garage door surface
Before applying the cover material, it’s essential to prepare the surface of your garage door. Proper preparation ensures that the cover adheres well and stays in place. Follow these steps to prep the garage door surface:
- Start by cleaning the garage door. Use a mild detergent or soap mixed with water to remove any dirt, dust, or debris. Scrub the surface gently with a sponge or cloth, paying attention to corners and edges. Rinse off the soap with clean water and allow the door to dry completely.
- If your garage door has any rough spots, sand them down lightly. This will create a smooth surface for better adhesion of the cover material.
- If you’re using a magnetic cover or mural wrap, test the adhesion in a small, inconspicuous area of the garage door. This will give you an idea of how well the cover will stick and whether any additional adhesive is needed.
- For mural wraps or custom designs, use painter’s tape to mark any specific areas or patterns you want to create on the garage door. Take your time to ensure clean and precise lines.
- Make sure the garage door surface is completely dry and free of any dust or residue before proceeding to the next step.
By properly prepping the garage door surface, you’ll ensure that the cover material adheres effectively and stays in place for a long time. Taking this extra step will result in a more professional and polished look for your covered garage door.
Now that the garage door surface is prepped, it’s time to move on to the exciting part of attaching the cover material!
Consider using a weather-resistant tarp or cover specifically designed for garage doors to protect against the elements and extend the life of the door.
Read more: How To Maintain Garage Door
Step 5: Attach the cover to the garage door
Now that the garage door surface is prepped, it’s time to attach the cover material. The method will depend on the type of cover you’ve chosen. Follow these steps for a seamless installation:
- Magnetic covers:
- Start by aligning the magnetic cover with your garage door. Ensure that it matches the dimensions and lines up properly.
- Begin at one corner and gently press the cover against the garage door surface. The magnets will hold it in place.
- Working your way from the corner, press the cover against the garage door, smoothing out any wrinkles or air bubbles as you go.
- Continue this process until the entire cover is attached to the garage door.
- Mural wraps:
- Start by carefully positioning the mural wrap over the garage door surface, ensuring that it aligns with the edges and any marked patterns.
- Peel back a small portion of the adhesive backing, starting at the top or one side.
- Press the exposed adhesive portion onto the garage door, making sure to smooth out any wrinkles or bubbles as you go.
- Continue peeling back the adhesive backing and pressing the wrap onto the garage door surface, taking your time to ensure proper alignment and a smooth application.
- If needed, use a utility knife or scissors to trim any excess wrap at the edges or around windows.
- Paint:
- Start by applying a coat of primer to the prepared garage door surface. This will help the paint adhere better and provide a base for the color.
- Once the primer is dry, begin applying thin and even coats of paint to the garage door, using a paintbrush or roller.
- Allow each coat to dry before applying the next, following the manufacturer’s instructions for drying time.
- If desired, apply additional coats until you achieve the desired color and coverage.
Follow the specific instructions provided by the manufacturer for the cover material you have chosen. Take your time during the installation process to ensure a smooth and even application. Avoid rushing to prevent any mistakes or imperfections.
Now that the cover material is securely attached to the garage door, let’s move on to the next step of securing it in place!
Step 6: Secure the cover in place
Once the cover material is attached to your garage door, it’s important to secure it properly to ensure it stays in place and maintains its appearance. How you secure the cover will depend on the type you’ve chosen. Follow these steps to secure the cover:
- Magnetic covers:
- Ensure that all corners and edges of the cover are properly aligned with the garage door.
- Press firmly along the edges of the cover to reinforce the magnetic attachment.
- Periodically check the cover to ensure that it stays in place and adjust if necessary.
- Mural wraps:
- If your mural wrap requires additional adhesive, carefully apply it to the edges and corners of the cover, following the manufacturer’s instructions.
- Smooth out any wrinkles or bubbles by pressing firmly along the entire surface of the mural wrap.
- For added security, you may use a heat gun or hairdryer on low heat to gently warm the surface of the mural wrap. This can help activate the adhesive and provide better adhesion.
- Paint:
- Allow the painted garage door to dry completely according to the manufacturer’s instructions.
- If desired, apply a clear coat or protective sealant to the painted surface. This will help protect the paint from fading and extend its lifespan.
Periodically check the cover to ensure it remains secure and intact. If you notice any areas that require additional adhesion or touch-up, address them promptly to maintain the appearance of your covered garage door.
Now that your cover is securely in place, let’s move on to the final step of testing the functionality of the garage door.
Step 7: Test the functionality of the garage door
After covering your garage door, it’s important to test its functionality to ensure that the cover does not interfere with its operation. Follow these steps to test the functionality of your garage door:
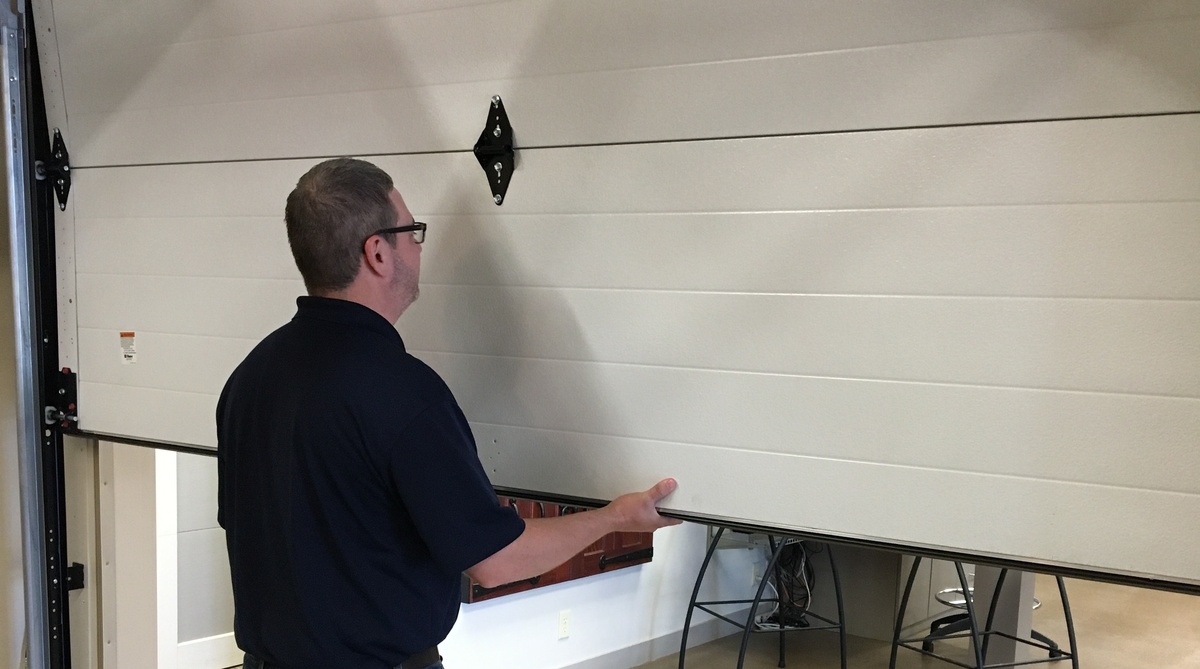
- Using the garage door opener or manual control, open and close the garage door several times to observe its movement.
- Pay attention to any resistance, strange noises, or abnormalities in the garage door’s operation.
- Check the clearance between the cover and any surrounding structures, such as walls or ceilings, ensuring that there is enough space for the door to operate smoothly.
- Inspect the cover itself for any signs of wrinkling, peeling, or detachment. If any issues are detected, make the necessary adjustments or seek professional assistance.
- If your garage door has windows, ensure that they are not obstructed or compromised by the cover.
By testing the functionality of your garage door, you can identify and address any issues early on, ensuring that it operates safely and efficiently.
Congratulations! You have successfully covered your garage door and transformed its appearance. Take a step back and appreciate the new look you’ve achieved for your home.
Remember to periodically clean and maintain the cover to preserve its lifespan and appearance. Follow any specific care instructions provided by the manufacturer to ensure its longevity.
Enjoy the enhanced curb appeal and personal touch that your covered garage door brings to your home!
This concludes the steps to cover your garage door. If you have any questions or need further assistance, don’t hesitate to reach out.
Conclusion
Covering your garage door is a fantastic way to enhance the curb appeal of your home and add a personal touch to its exterior. Whether you choose a magnetic cover, mural wrap, or paint, the process can be an exciting and creative project that transforms a plain garage door into a captivating focal point.
By following the steps outlined in this article, you can successfully cover your garage door and achieve a seamless and professional look. Remember to gather the necessary materials, measure the garage door accurately, choose the appropriate cover material, prep the surface, attach the cover securely, and test the functionality of the door.
By taking the time to prepare and ensure a proper installation, you’ll enjoy a visually stunning garage door that not only adds value to your home but also reflects your personal style and taste.
Don’t be afraid to get creative and explore different design options. Whether you prefer a bold and vibrant mural, a sleek and modern magnetic cover, or a custom-painted masterpiece, the possibilities are endless.
Maintain your covered garage door by regularly cleaning and inspecting it for any signs of wear or damage. With proper care, your garage door cover will continue to impress and enhance the visual appeal of your home for years to come.
So go ahead and embark on this garage door transformation journey. from a simple garage door to a captivating statement piece that showcases your unique style and adds that wow factor to your home’s exterior.
Remember, if you have any questions or need further assistance throughout the process, feel free to reach out for guidance. Happy covering!
Frequently Asked Questions about How To Cover Garage Door
Was this page helpful?
At Storables.com, we guarantee accurate and reliable information. Our content, validated by Expert Board Contributors, is crafted following stringent Editorial Policies. We're committed to providing you with well-researched, expert-backed insights for all your informational needs.


0 thoughts on “How To Cover Garage Door”