Articles
How To Varnish A Wooden Floor
Modified: August 16, 2024
Learn how to varnish a wooden floor with our informative articles. Discover step-by-step instructions and expert tips for achieving a flawless finish.
(Many of the links in this article redirect to a specific reviewed product. Your purchase of these products through affiliate links helps to generate commission for Storables.com, at no extra cost. Learn more)
Introduction
Welcome to our comprehensive guide on how to varnish a wooden floor. Varnishing is a great way to protect and enhance the beauty of your wooden floors. Whether you have just installed a new hardwood floor or want to refresh the look of an existing one, varnishing can give it a warm and glossy finish that will make it the envy of your guests. In this article, we will take you through the step-by-step process of varnishing a wooden floor, ensuring it is done correctly and to the highest standard.
Before we get started, it’s worth noting that varnishing a wooden floor requires some basic DIY skills and tools. If you’re not confident in your abilities or don’t have the necessary equipment, it’s always best to consult a professional. However, if you’re up for the challenge, let’s dive into the exciting world of varnishing!
In this guide, we’ll cover everything from prepping the floor to selecting the right varnish and applying it correctly. We’ll also provide some tips and tricks to help you achieve a flawless finish. So, let’s get started and transform your wooden floor into a stunning centerpiece of your home!
Key Takeaways:
- Transform your wooden floor into a stunning centerpiece by following our comprehensive guide on varnishing. From preparation to application, achieve a professional finish with the right tools and techniques.
- Enhance the durability and beauty of your wooden floor with the right varnish and application process. Follow our step-by-step guide for a flawless finish that will impress your guests.
Read more: What Grit Sandpaper For Varnish
Step 1: Prepare the floor
Before you can start varnishing your wooden floor, it’s important to ensure that the surface is clean and ready for treatment. Follow these steps to prepare your floor:
- Remove any furniture: Clear the room of any furniture and objects to create a clear working space. This will give you unrestricted access to the entire floor surface.
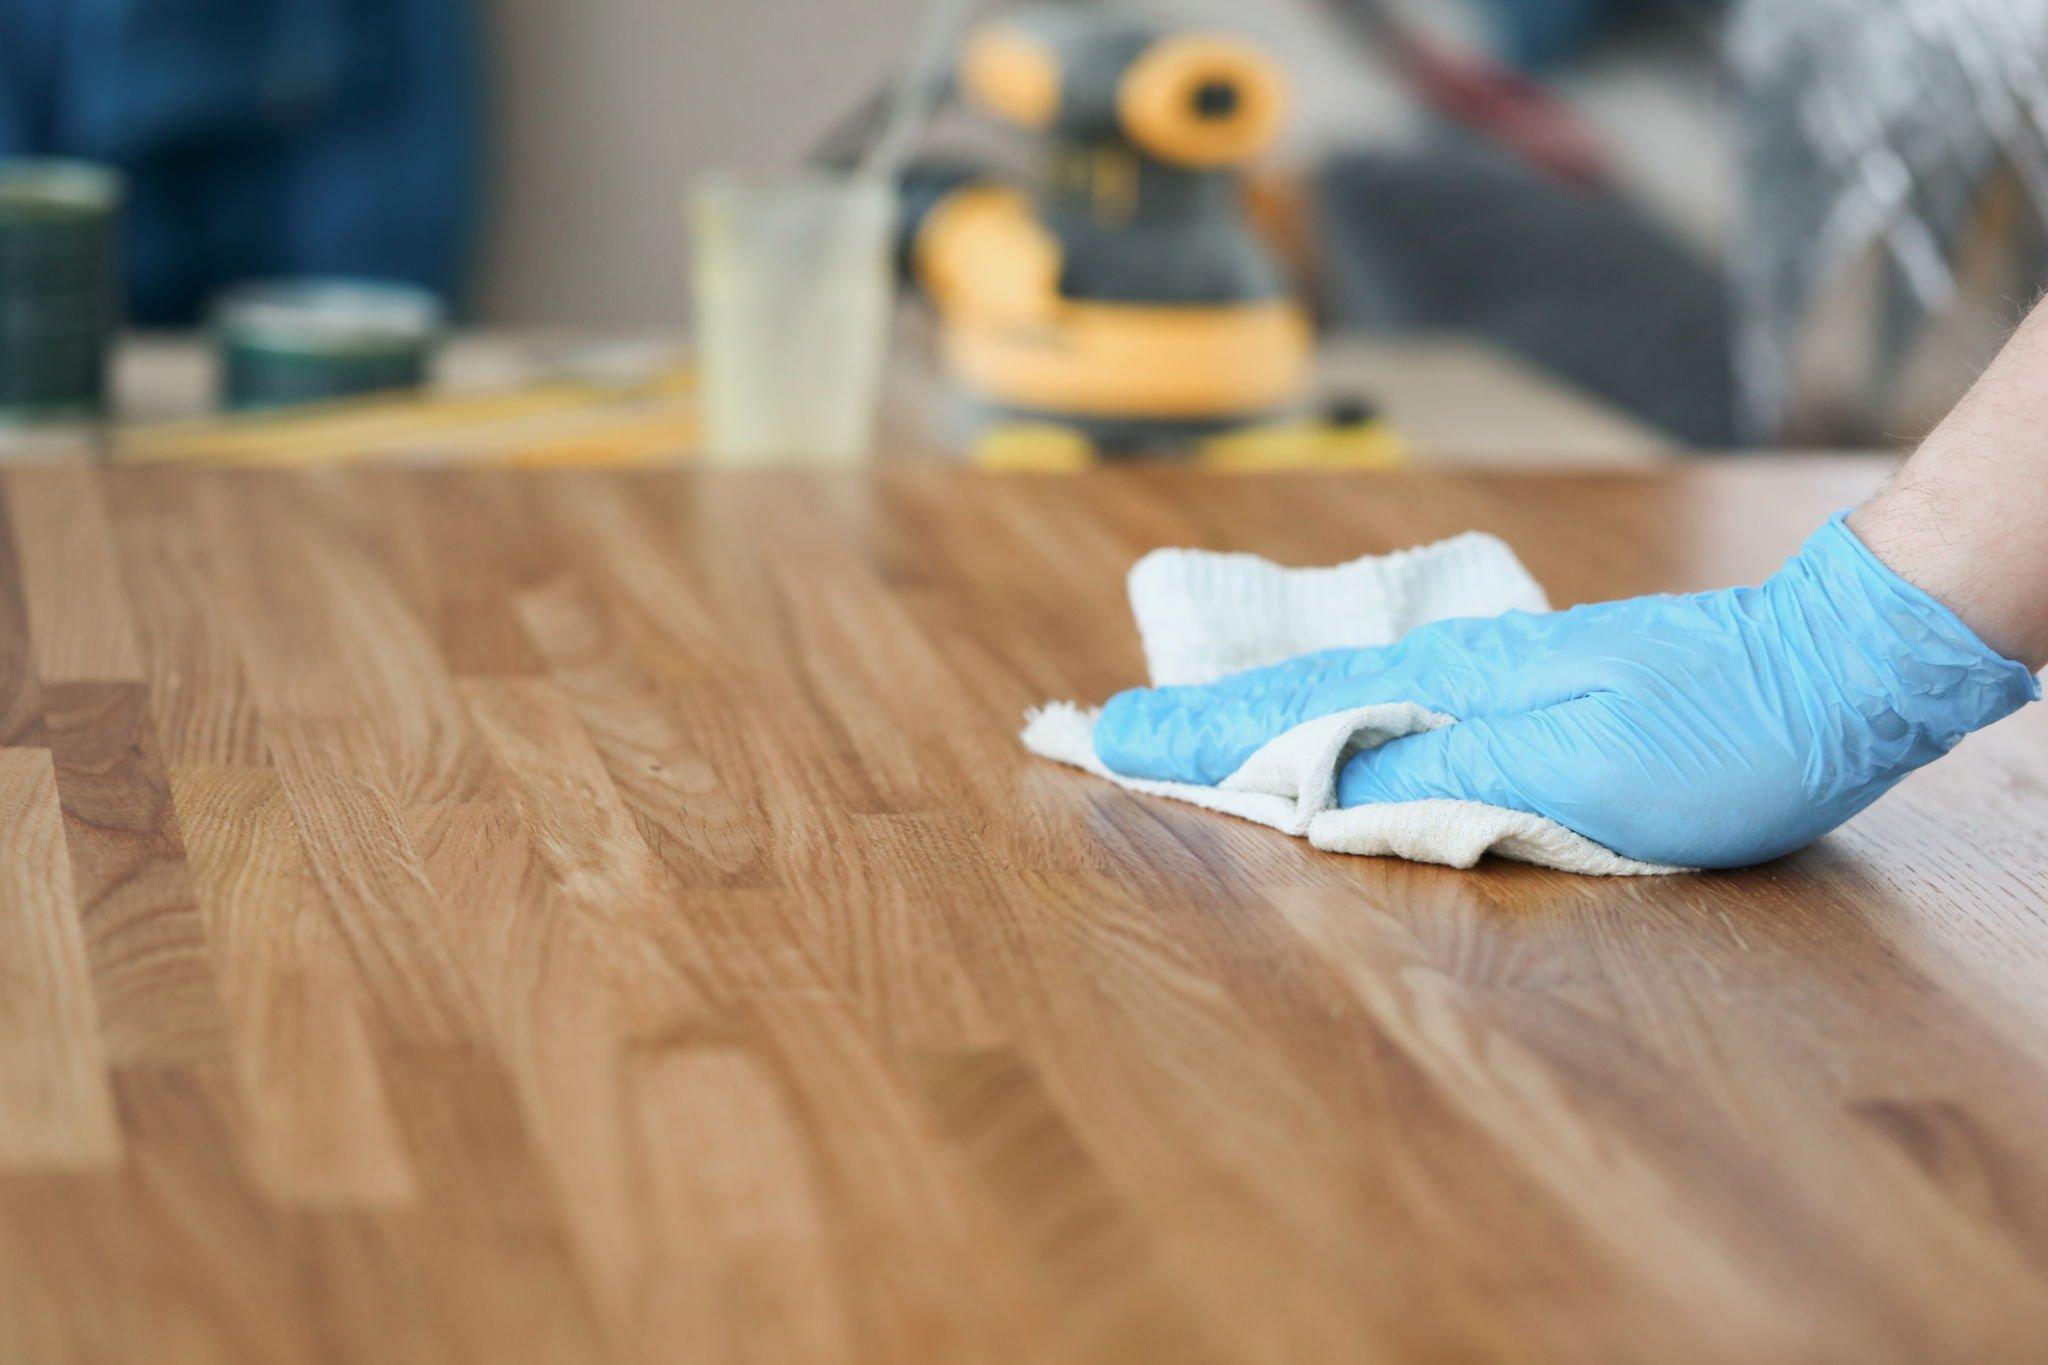
- Clean the floor: Thoroughly clean the floor to remove any dust, dirt, or debris. Start by sweeping the floor to remove loose particles, then use a vacuum cleaner to eliminate smaller debris. Finish off by wiping the floor with a damp cloth or mop to ensure it’s free from any remaining dirt or residue. This step is crucial as it will help the varnish adhere properly to the surface.
- Repair any damages: Inspect the floor for any scratches, gaps, or damages that need to be fixed. Fill in any small cracks or gaps with wood filler and use a putty knife to smooth it out. Sand down any rough patches or protruding edges to create a smooth and even surface.
- Sand the edges: If you have wooden baseboards or skirting boards, it’s a good idea to sand their edges lightly. This will help the varnish blend seamlessly with the floor surface when you reach the edge during the application process.
- Protect adjoining areas: If there are any areas adjacent to the floor that you want to protect from varnish drips or spills, use painter’s tape to cover them. This includes walls, door frames, and any other surfaces in close proximity to the floor.
By following these steps, you will create a clean and well-prepared surface, ensuring that the varnish adheres evenly and produces a professional-looking finish. Once you have completed these preparations, you are ready to move on to the next step: selecting the right varnish.
Step 2: Select the right varnish
Choosing the right varnish for your wooden floor is essential to achieve the desired look and level of protection. There are several factors to consider when selecting a varnish:
- Type of varnish: There are different types of varnishes available, such as water-based varnishes, oil-based varnishes, and polyurethane varnishes. Each type has its own advantages and disadvantages. Water-based varnishes dry quickly, have low odor, and are more environmentally friendly. Oil-based varnishes provide a warm and rich finish but take longer to dry. Polyurethane varnishes provide a durable and long-lasting finish.
- Finish: Varnishes come in various finishes, including matte, satin, semi-gloss, and gloss. Consider the aesthetic you want to achieve and the level of shine you prefer. Keep in mind that glossier finishes tend to show more imperfections, while matte finishes can hide flaws but may require more frequent maintenance.
- Durability: Assess the durability of the varnish, especially if the floor is in a high-traffic area. Look for a varnish that offers good resistance to scratches, stains, and wear. Consider the manufacturer’s recommendations regarding the durability of the varnish.
- Compatibility: Ensure that the varnish you choose is compatible with the type of wood in your floor. Different woods may react differently to varnishes, affecting the color and overall appearance.
- Application method: Consider the application method for the varnish. Some varnishes require a brush, while others can be applied with a roller or sprayer. Choose a varnish that matches your preferred application technique and level of expertise.
It’s a good idea to visit a local hardware store or consult a flooring expert to discuss your specific needs and get recommendations on the best varnish for your wooden floor. Take your time to research and compare different options before making a decision. Once you have chosen the right varnish, you’re ready to move on to the next step: sanding the wooden floor.
Step 3: Sand the wooden floor
In order to achieve a smooth and even surface for varnishing, it’s important to sand the wooden floor. Sanding helps to remove any rough spots, imperfections, or previous coatings, allowing the varnish to adhere properly. Follow these steps to sand your wooden floor:
- Gather the necessary equipment: To sand the floor, you’ll need a floor sander or a handheld orbital sander, sandpaper in different grits (start with a coarse grit and gradually work your way to a finer grit), a dust mask, safety goggles, and ear protection. Ensure you have these items ready before you begin.
- Start with the coarse grit sandpaper: Begin sanding the floor with the coarsest grit sandpaper. This will help remove any existing varnish, paint, or other coatings on the floor. Move the sander in the direction of the wood grain, applying even pressure and covering the entire surface. Be sure to sand all the way to the edges and corners of the room.
- Gradually progress to finer grits: After sanding with the coarse grit, switch to a medium grit sandpaper and repeat the sanding process. This will help smooth out any rough areas left by the coarse grit sandpaper. Continue progressing to finer grits, such as fine and extra fine, to achieve a smooth and even surface.
- Keep the sander moving: When sanding, make sure to keep the sander moving at a steady pace. Holding it in one spot for too long can create unevenness or sanding marks. Always move in the direction of the wood grain to avoid damaging the floor.
- Check your progress: Periodically stop sanding and inspect the floor to ensure you’re achieving the desired level of smoothness. Look out for any rough patches or uneven areas that may need additional sanding.
- Remove dust: After sanding, it’s important to thoroughly remove all the dust created. Use a vacuum cleaner or a broom to sweep away the dust, and then wipe the floor with a damp cloth or mop to eliminate any remaining particles. It’s crucial to have a clean and dust-free surface before applying the varnish.
By following these steps and taking your time to sand the wooden floor properly, you will create a smooth and pristine surface ready for varnishing. Once you have completed the sanding process, you can proceed to the next step: cleaning the floor surface.
Step 4: Clean the floor surface
Before applying the varnish, it’s crucial to thoroughly clean the floor surface to ensure optimal adhesion and a flawless finish. Follow these steps to clean the floor surface:
- Vacuum the floor: Start by vacuuming the floor to remove any dust, dirt, or loose particles that may have accumulated during the sanding process. Use a vacuum cleaner with a brush attachment to effectively capture all the debris.
- Use a tack cloth: After vacuuming, take a tack cloth (a sticky cloth specifically designed for cleaning surfaces before painting or varnishing) and lightly wipe the entire floor. The tack cloth will pick up any remaining dust or particles, ensuring a clean and smooth surface.
- Inspect for any debris: Take a closer look at the floor surface and inspect for any visible debris or imperfections that may have been missed during the initial cleaning. Use a damp microfiber cloth to spot clean any stubborn spots or stains.
- Allow the floor to dry: After cleaning, it’s important to allow the floor to fully dry before proceeding with the varnishing process. Give it sufficient time to air dry, or use fans or dehumidifiers to speed up the drying process if necessary.
- Check for moisture: Before applying the varnish, ensure that the floor surface is completely dry. Moisture trapped beneath the surface can cause issues with the varnish, such as bubbling or peeling. You can perform a moisture test using a moisture meter to ensure that the floor is properly dried.
By following these steps and ensuring a clean and dry floor surface, you set the stage for a successful varnishing process. Taking the time to properly clean the floor not only improves the adhesion of the varnish but also helps to achieve a professional-looking finish. Once the floor is clean and dry, you’re now ready to apply the varnish.
Make sure to sand the floor thoroughly before applying varnish to ensure a smooth and even finish. Use a high-quality brush or roller for application and work in the direction of the wood grain for best results.
Read more: How To Store Wooden Furniture
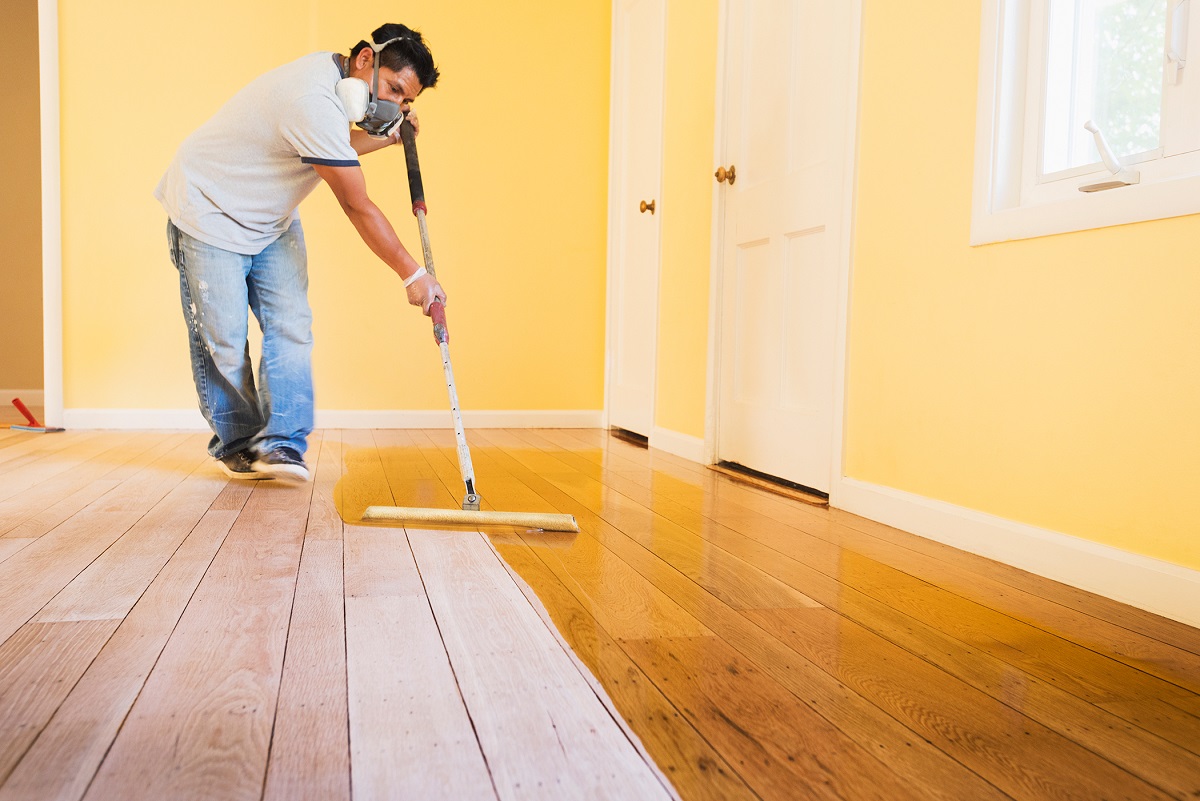
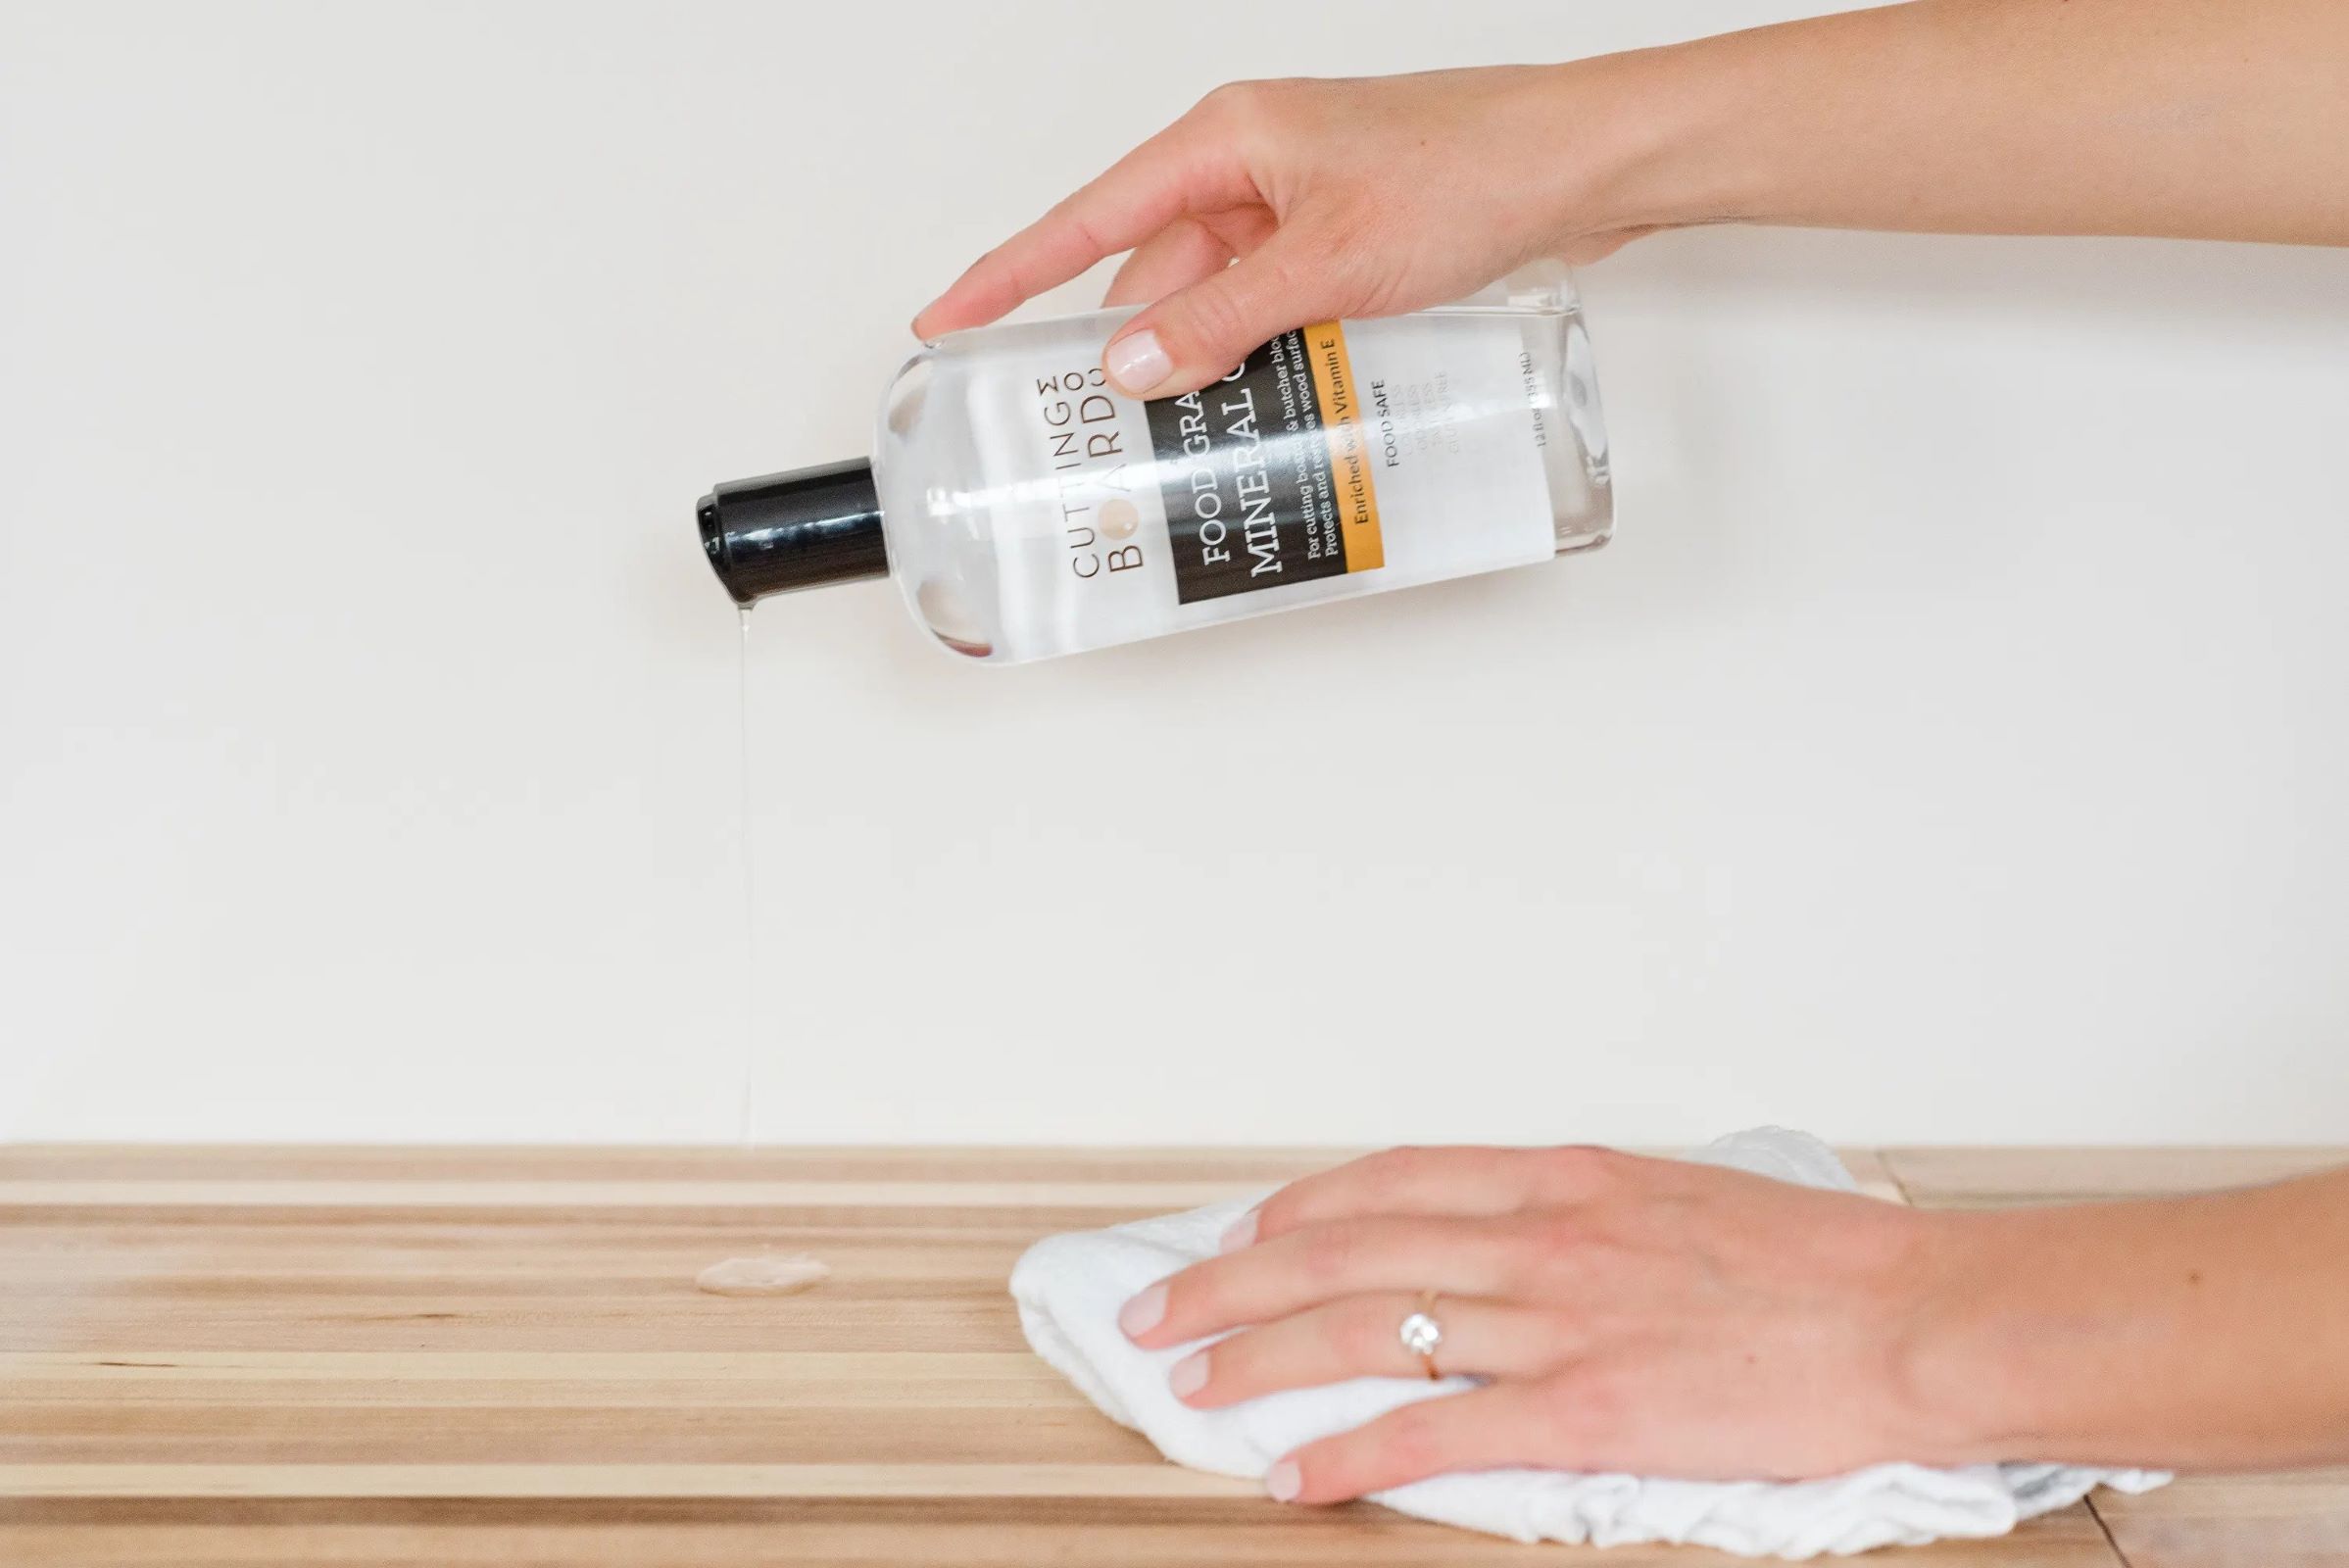
Step 5: Apply the varnish
Now comes the exciting part – applying the varnish to your wooden floor. Follow these steps to ensure a smooth and even application:
- Stir the varnish: Before you start, give the varnish a good stir to ensure it is properly mixed. This will help distribute any settled solids and ensure a consistent finish.
- Choose your application method: Decide on the best application method for your varnish. You can use a brush, roller, or sprayer, depending on your preference and the size of the floor area.
- Start from the furthest corner: Begin applying the varnish from the furthest corner of the room. This way, you won’t have to step over the freshly varnished areas as you work your way out of the room.
- Apply in the direction of the wood grain: When using a brush or roller, apply the varnish in the direction of the wood grain. This helps to achieve an even and natural-looking finish. If using a sprayer, follow the manufacturer’s instructions for an even application.
- Work in manageable sections: Divide the floor into manageable sections and apply the varnish in smooth, thin coats. Avoid applying too much varnish at once, as it can lead to drips or an uneven finish. Multiple thin coats are better than one thick coat.
- Level the varnish: After applying each coat, use a clean brush or roller to level out the varnish. This helps to remove any excess or uneven application and ensures a smoother finish.
- Overlap each stroke: When using a brush or roller, slightly overlap each stroke to create a seamless blend between sections. This helps to avoid visible lines or demarcations in the final finish.
- Allow proper drying time: Follow the manufacturer’s instructions for drying time between coats. It’s important to allow each coat to dry fully before applying the next. This ensures optimal adhesion and prevents any issues with the final finish.
Remember to work methodically and avoid rushing the varnish application process. Take your time, and ensure each coat is applied evenly. By following these steps, you’ll be well on your way to achieving a beautifully varnished wooden floor!
Note: It’s also important to consider ventilation during the varnishing process. Ensure that the room is well-ventilated to allow for proper drying and to minimize strong odors associated with varnish.
Step 6: Allow the varnish to dry
After applying the varnish, it’s crucial to allow sufficient drying time before any further steps. This will ensure that the varnish cures properly and provides a durable and long-lasting finish. Here are some key points to keep in mind during the drying process:
- Read the manufacturer’s instructions: Different varnishes have varying drying times, so it’s important to refer to the manufacturer’s instructions for specific guidelines. This will give you a clear idea of how long the varnish needs to dry before you can walk on it or apply additional coats.
- Create proper ventilation: Good air circulation is essential for the drying process. Open windows and doors to provide fresh air flow. If possible, use fans or dehumidifiers to speed up the drying process. This will also help to minimize any strong odors associated with the varnish.
- Avoid foot traffic: During the drying period, it’s important to avoid walking on the varnished surface. This can cause smudges or marks that may be difficult to remove. Use alternative routes or protective coverings to navigate the room during this time.
- Prevent dust and debris: Cover the varnished floor with a drop cloth or plastic sheeting to protect it from dust and debris while it dries. This will help maintain a smooth and flawless finish.
- Be patient: The drying time of varnish can range from a few hours to a few days, depending on the type of varnish and environmental conditions. It’s important to exercise patience and wait for the varnish to fully cure before proceeding with any additional steps.
Keep in mind that proper drying time is crucial for the varnish to harden and provide the desired level of protection. Rushing this step can compromise the finish and durability of your wooden floor. Once the varnish has fully dried and cured, you can assess the surface and determine if an additional coat is necessary.
Now that you’ve allowed the varnish to dry, let’s move on to the optional step of applying a second coat.
Step 7: Apply a second coat (optional)
While applying a second coat of varnish is optional, it can significantly enhance the durability and appearance of your wooden floor. A second coat provides additional protection and helps to achieve a more even and consistent finish. Follow these steps if you decide to apply a second coat:
- Check the drying time: Refer to the manufacturer’s instructions to determine the recommended drying time between coats. Make sure the first coat of varnish has fully dried and cured before proceeding with the second coat.
- Lightly sand the surface: Before applying the second coat, lightly sand the surface using fine-grit sandpaper or a sanding block. This helps to smooth out any imperfections or unevenness that may have occurred during the drying process. Remember to clean the surface afterward to remove any sanding residue.
- Apply the second coat: Using the same application method as the first coat, apply a thin and even layer of varnish to the entire floor surface. Follow the same techniques for working in manageable sections, overlapping strokes, and leveling the varnish. This coat will enhance the depth and richness of the finish.
- Allow proper drying time: Once again, refer to the manufacturer’s instructions for the recommended drying time between the second coat and any subsequent steps. It’s essential to provide sufficient time for the varnish to dry and fully cure before subjecting the floor to regular usage.
- Inspect the final finish: After the second coat has dried, inspect the floor for any areas that may require touch-ups or additional coats. If needed, repeat the process of sanding and applying varnish to achieve the desired result. The goal is to have a smooth, flawless, and durable finish.
Applying a second coat of varnish can add an extra layer of protection and enhance the aesthetic appeal of your wooden floor. It’s worth considering this optional step to achieve a more professional and long-lasting finish. Once the second coat has dried and the final finish is satisfactory, you can move on to the final step: adding the finishing touches.
Step 8: Finishing touches
After completing the varnishing process, there are a few finishing touches that you can consider to add the perfect final touches to your newly varnished wooden floor. These touches will enhance the overall look and protect the floor for years to come. Here are some options to consider:
- Apply a topcoat: Consider adding a clear topcoat to provide additional protection and durability to the varnished surface. A topcoat can help guard against scratches, scuffs, and stains, extending the life of your wooden floor.
- Buff the surface: If you desire a more polished and smooth finish, you can lightly buff the surface with a fine-grade steel wool or a buffing pad. This step helps to make the varnish look even more lustrous and can minimize the appearance of any minor imperfections.
- Replace furniture and accessories: Once the floor is completely dry, you can carefully reposition furniture and accessories back into the room. Take precautions when moving heavy objects to prevent any scratching or denting of the freshly varnished surface.
- Add area rugs or mats: Consider placing area rugs or mats strategically in high-traffic areas or areas prone to spills. This can help protect the varnished floor from wear and tear, as well as provide extra cushioning underfoot.
- Maintain regular cleaning: Implement a regular cleaning routine to keep your varnished wooden floor looking its best. Use a soft broom or microfiber mop to remove dust and debris, and avoid using harsh chemicals or abrasive cleaners that can damage the varnish.
- Periodic maintenance: Over time, the varnish may show signs of wear. It’s important to periodically inspect the floor for any areas that may require touch-ups or reapplication of varnish. Maintaining the floor’s finish will help preserve its beauty and protection.
By attending to these finishing touches, you can ensure that your newly varnished wooden floor remains in excellent condition for years to come. These final steps will help enhance the aesthetic appeal and prolong the lifespan of your floor, allowing you to enjoy the beauty and warmth it brings to your home.
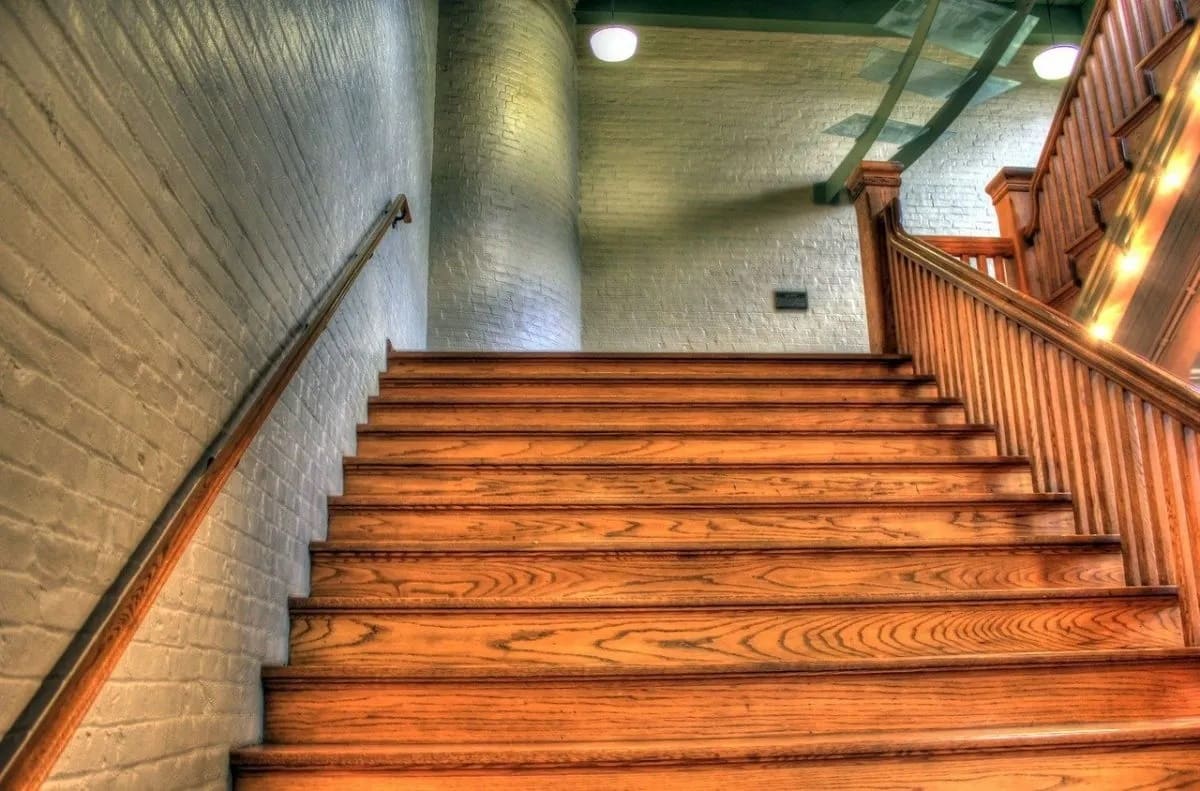
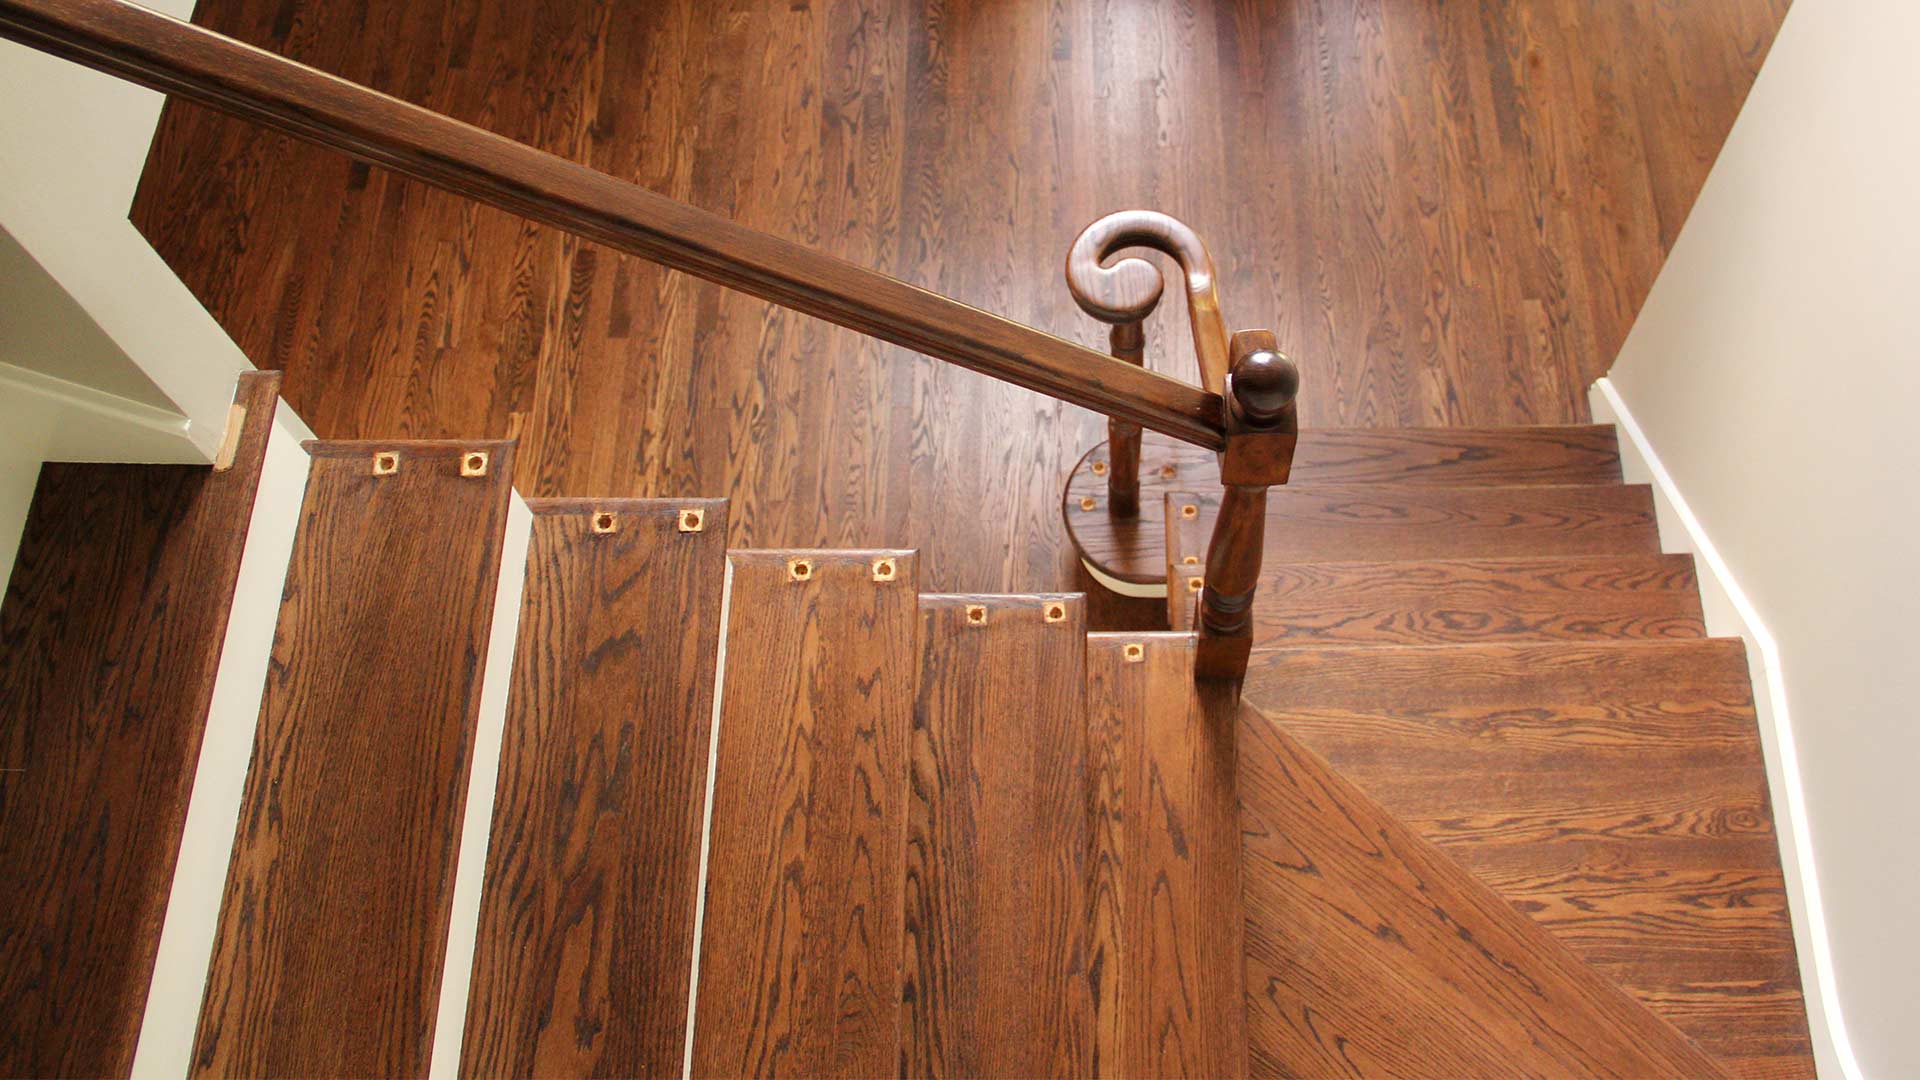
Congratulations on successfully varnishing your wooden floor! With proper maintenance and care, it will continue to be a stunning feature of your living space.
Disclaimer: The information provided in this article is for general informational purposes only. It is not intended as professional advice. Please consult a flooring professional or manufacturer’s guidelines for specific instructions and recommendations for varnishing your particular type of wooden floor.
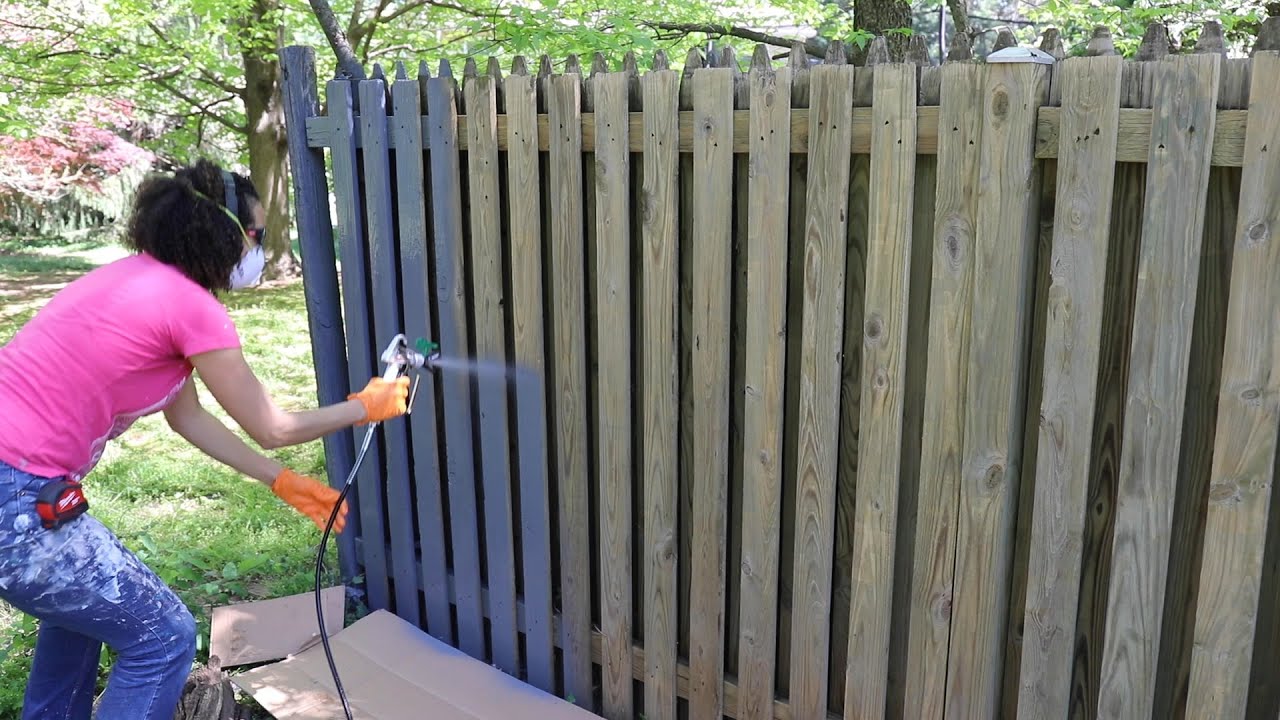
Read more: How To Protect A Wooden Fence
Conclusion
Congratulations! You have now learned how to varnish a wooden floor like a pro. By following the step-by-step process outlined in this guide, you can achieve a beautiful and durable finish that will transform your wooden floor into a stunning focal point of your home.
From preparing the floor to selecting the right varnish, sanding, cleaning, and applying the varnish, each step is crucial to ensure a successful varnishing project. Taking the time to properly prepare the surface, choose the right materials, and apply the varnish with care will result in a professional-looking finish.
Remember to take into consideration the drying time between coats, and consider applying a second coat for added protection and a more polished appearance. Pay attention to the finishing touches, such as adding a topcoat or using area rugs to protect the varnished surface.
By maintaining regular cleaning and periodic maintenance, your varnished wooden floor will continue to shine and delight for years to come. Enjoy the beauty, warmth, and durability that a well-varnished wooden floor brings to your space.
We hope this comprehensive guide has provided you with the knowledge and confidence to tackle your varnishing project successfully. However, always keep in mind that if you lack the necessary skills or tools, it’s best to consult a professional to ensure the best possible results.
Thank you for joining us on this varnishing journey. Now, go ahead and showcase your beautifully varnished wooden floor with pride!
Disclaimer: The information provided in this article is for general informational purposes only. It is not intended as professional advice. Please consult a flooring professional or manufacturer’s guidelines for specific instructions and recommendations for varnishing your particular type of wooden floor.
Frequently Asked Questions about How To Varnish A Wooden Floor
Was this page helpful?
At Storables.com, we guarantee accurate and reliable information. Our content, validated by Expert Board Contributors, is crafted following stringent Editorial Policies. We're committed to providing you with well-researched, expert-backed insights for all your informational needs.


0 thoughts on “How To Varnish A Wooden Floor”