Articles
How To Cut A Bathroom Vanity Top
Modified: October 26, 2024
Learn the step-by-step process of cutting a bathroom vanity top with our informative articles. Transform your bathroom with ease!
(Many of the links in this article redirect to a specific reviewed product. Your purchase of these products through affiliate links helps to generate commission for Storables.com, at no extra cost. Learn more)
Introduction
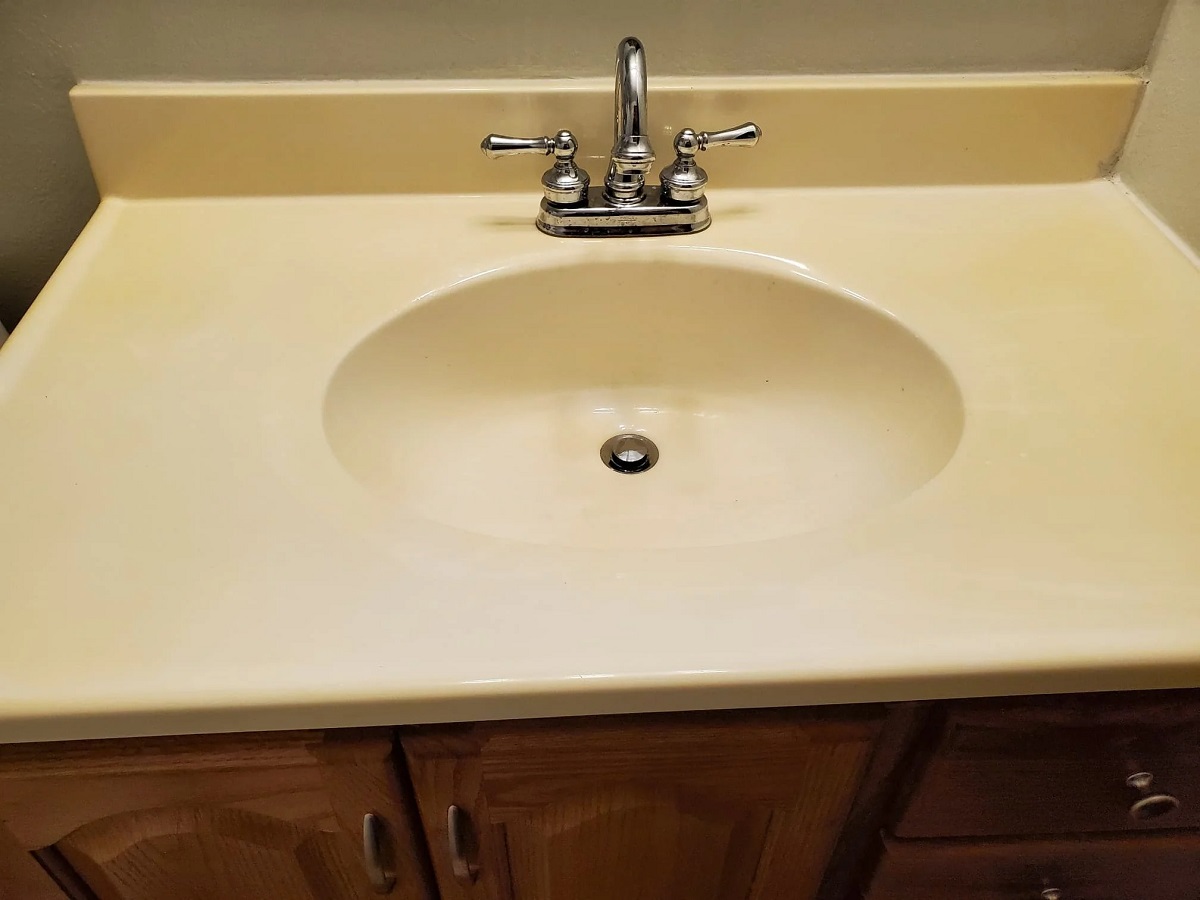
When it comes to bathroom renovations, one important task is cutting a bathroom vanity top. Whether you’re upgrading your existing vanity or installing a new one, being able to cut the top to fit your specific measurements is essential for a seamless and professional-looking finish.
This article will guide you through the step-by-step process of cutting a bathroom vanity top. With the right tools and techniques, you can achieve precise cuts and create a custom-fit vanity top that perfectly suits your design plans. So, let’s dive in and get started!

Key Takeaways:
- Achieve a seamless and professional-looking bathroom vanity top by following precise measurements, using the right tools, and taking the time to prepare and cut with care.
- Prioritize safety, patience, and attention to detail when cutting a bathroom vanity top to ensure a polished and professional appearance for your DIY project.
Read more: How To Cut Marble Vanity Top
Tools and Materials Needed
Before you begin cutting a bathroom vanity top, gather the following tools and materials:
- Tape Measure – for accurately measuring the dimensions of the vanity top.
- Pencil – for marking the cutting lines on the vanity top.
- Safety Glasses – to protect your eyes from debris while cutting.
- Circular Saw or Jigsaw – choose a saw that is suitable for cutting through your specific vanity top material.
- Clamps – to secure the vanity top in place while cutting.
- Work Gloves – to protect your hands during the cutting process.
- Sanding Block – for smoothing rough edges after cutting.
- Masking Tape – to prevent chipping or splintering of the vanity top surface.
Additionally, you will need the following materials:
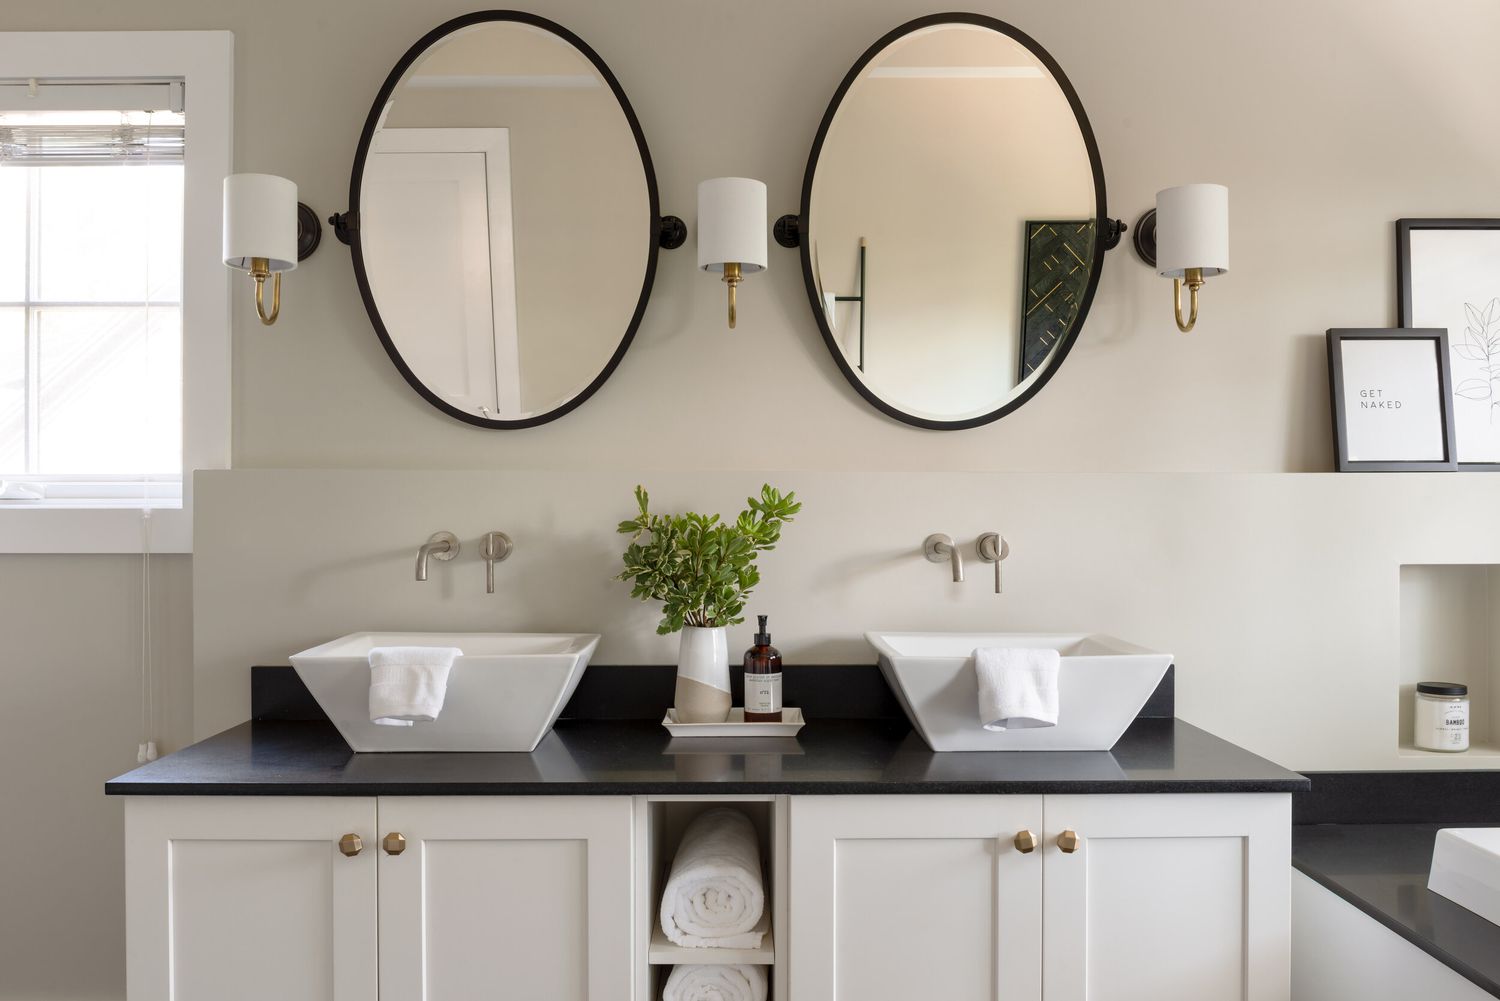
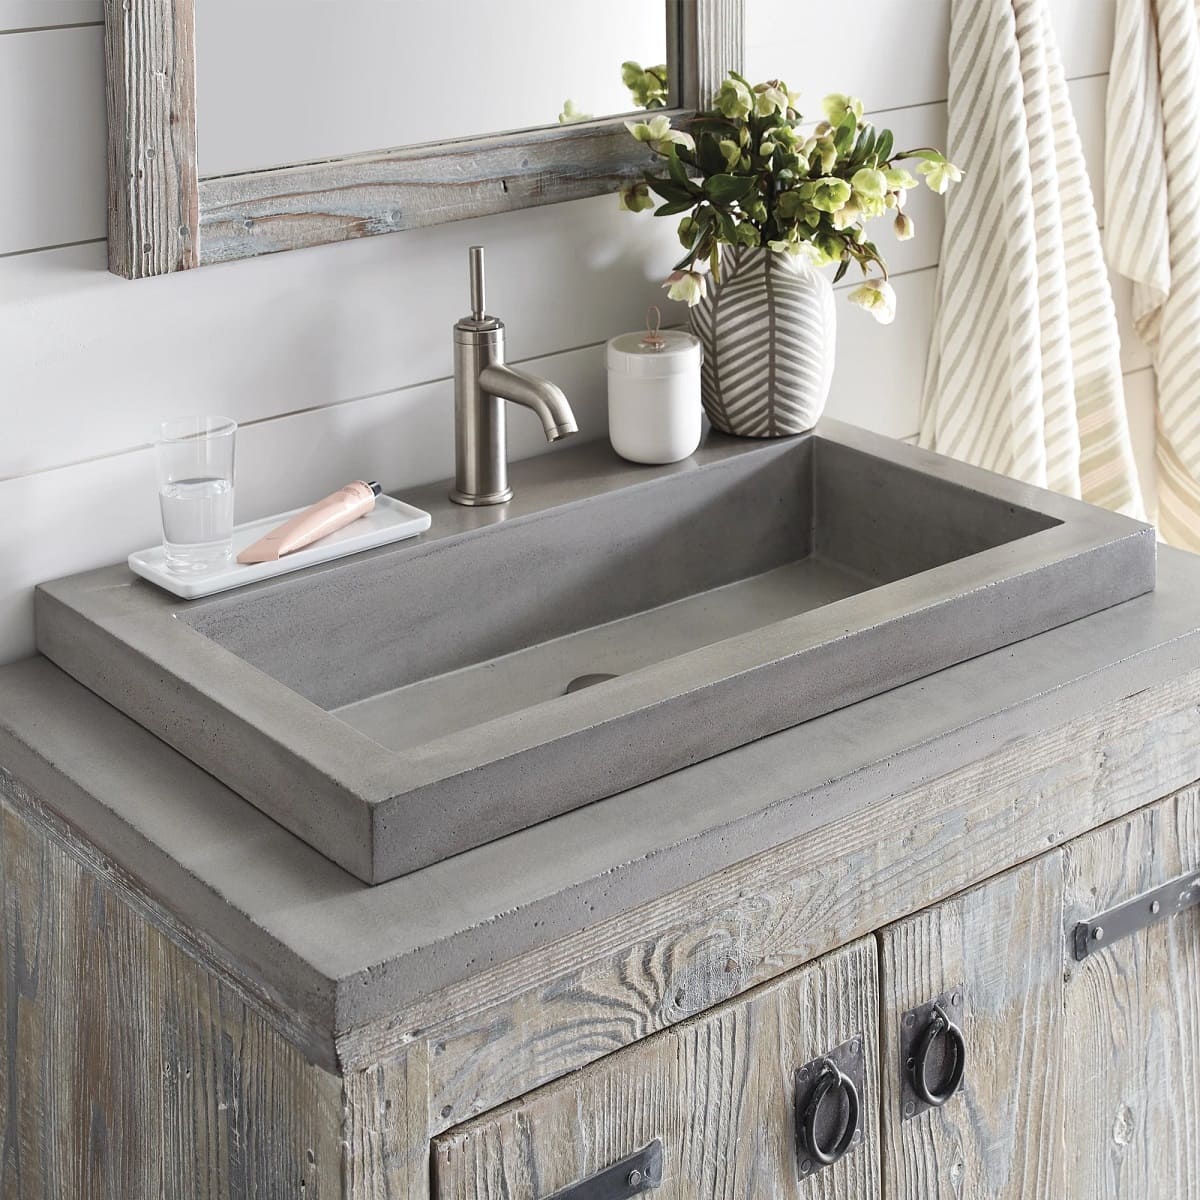
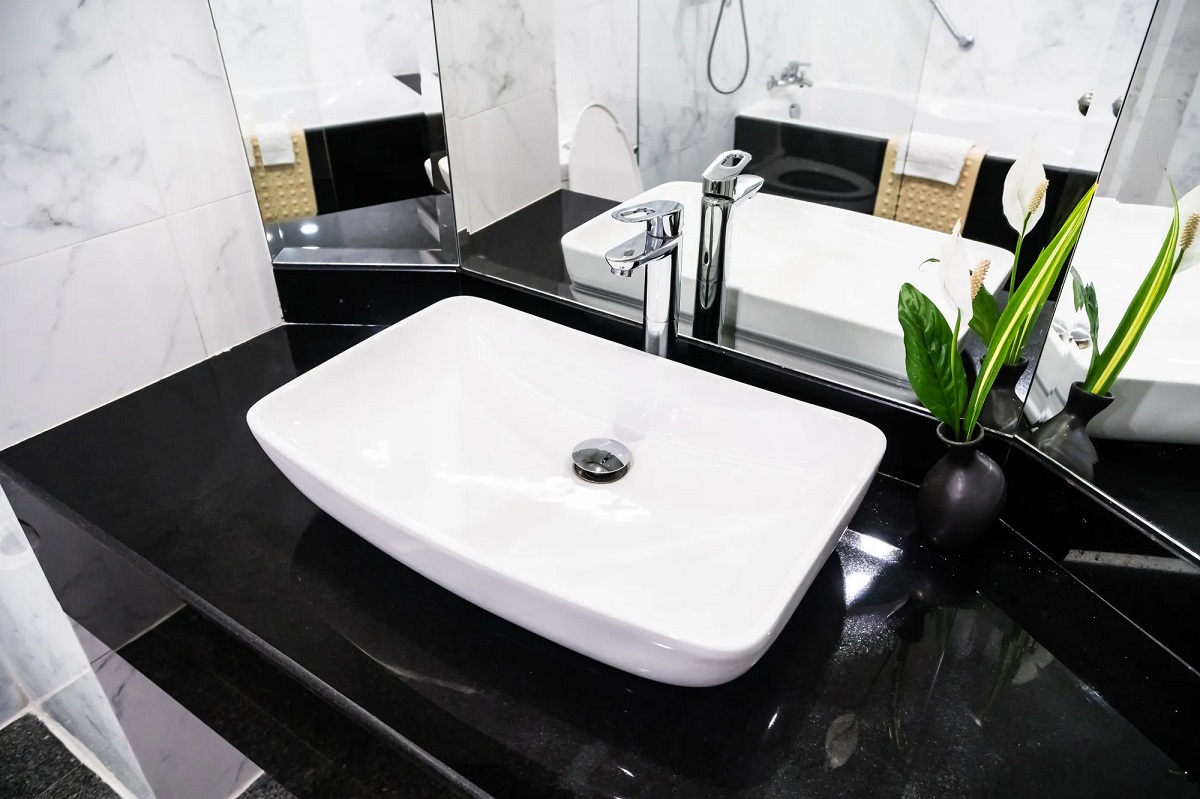
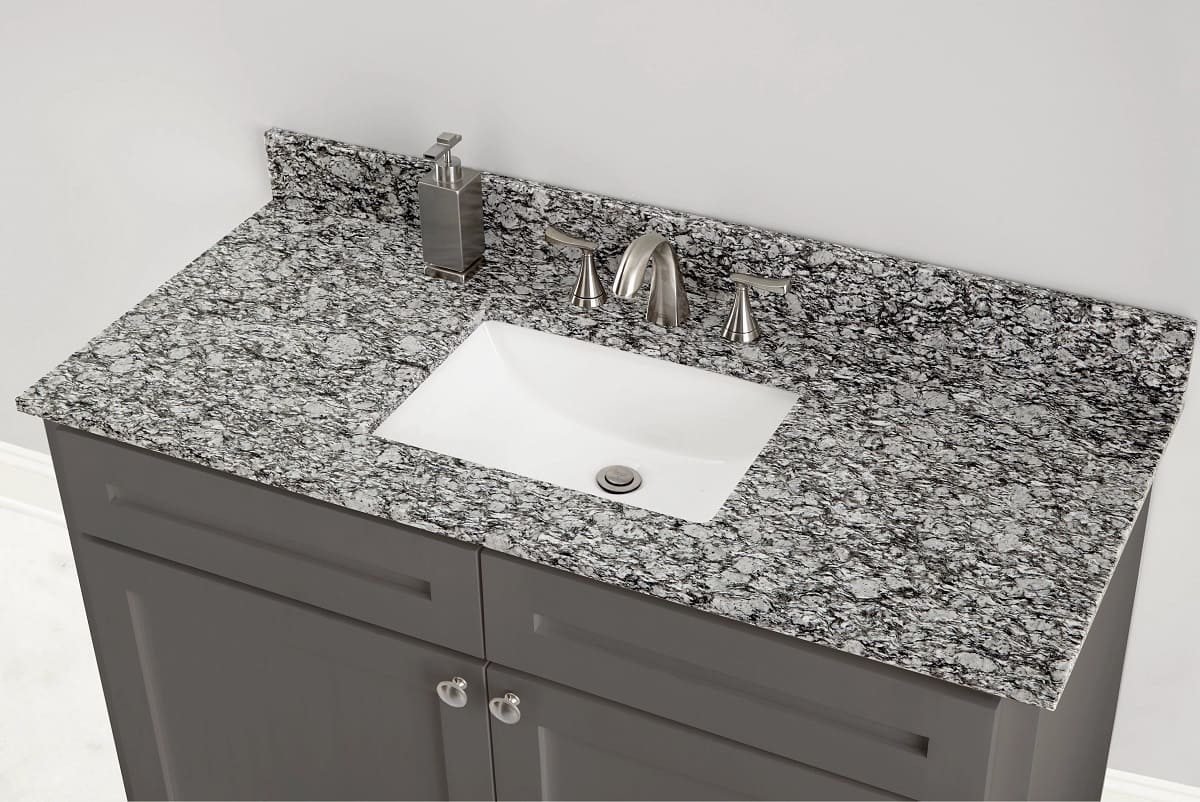
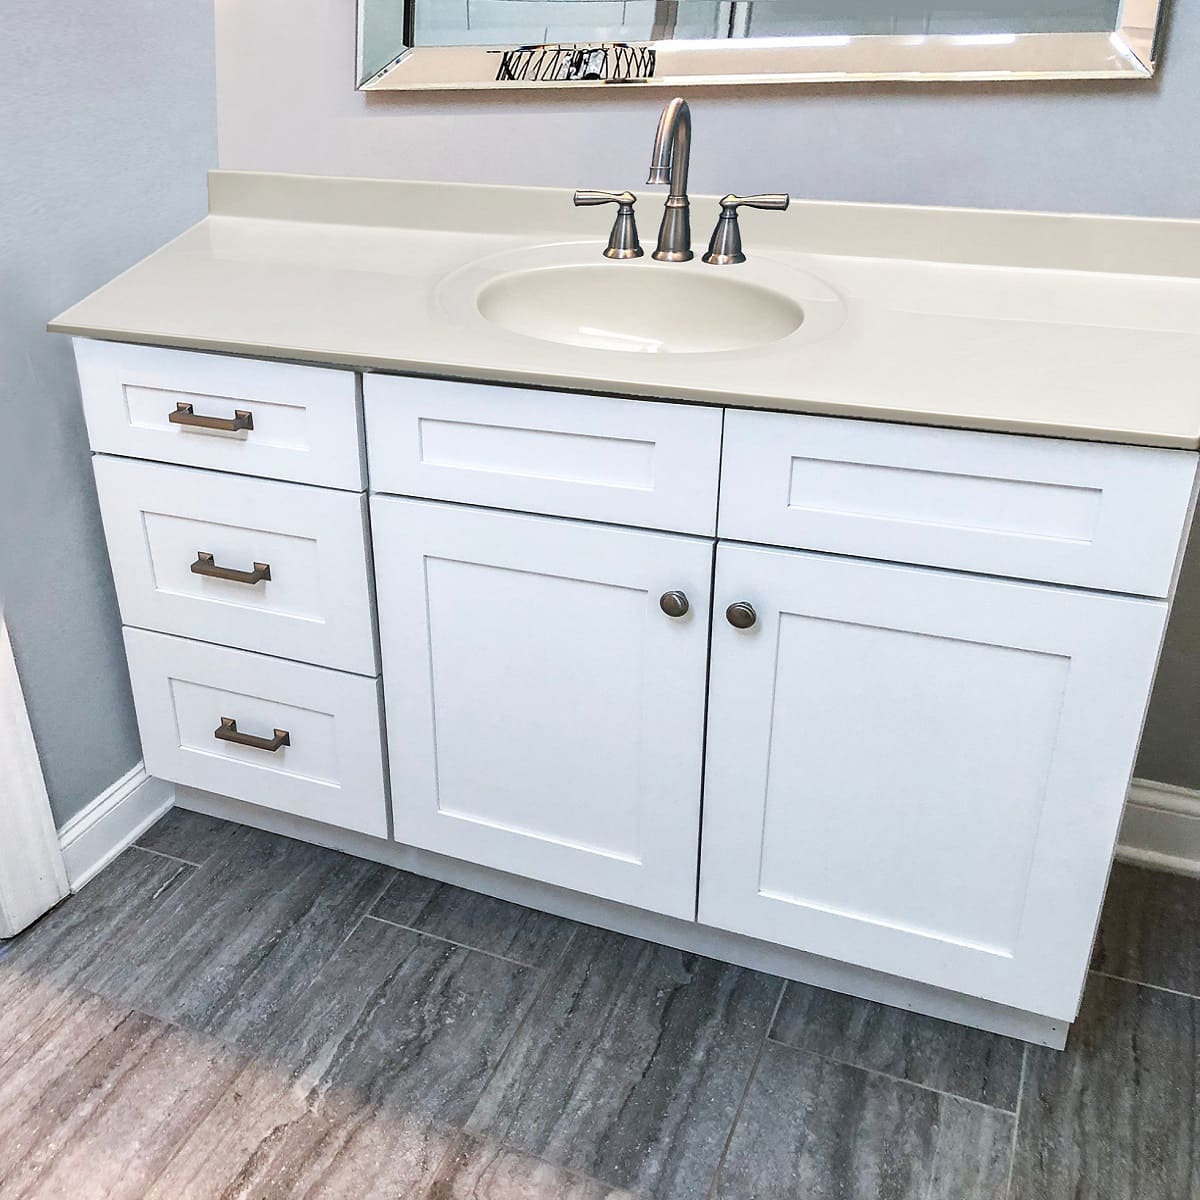
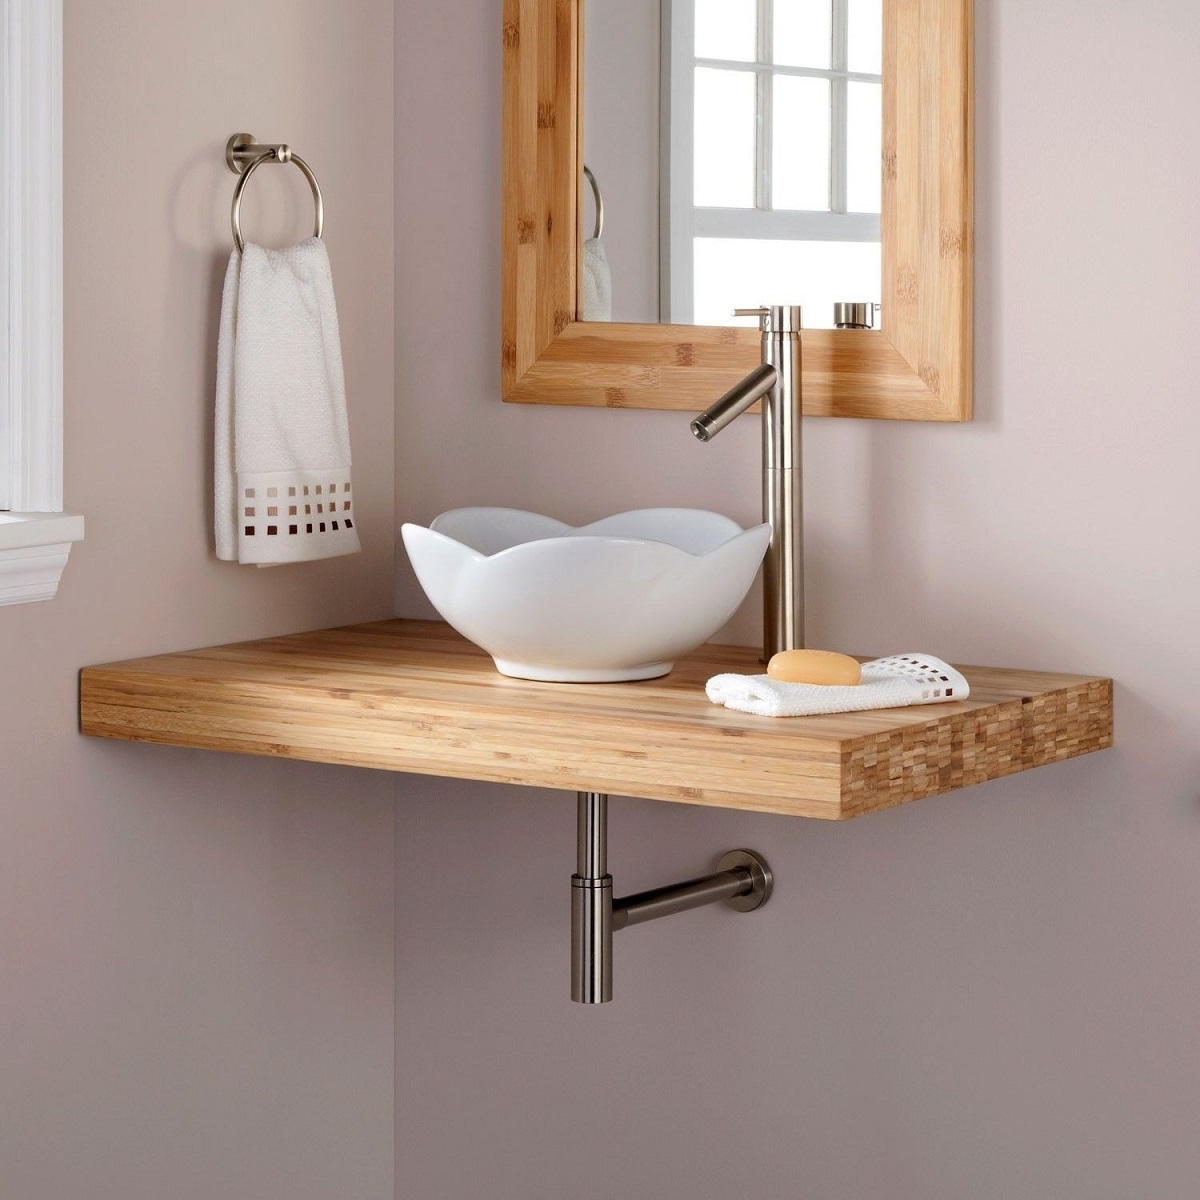
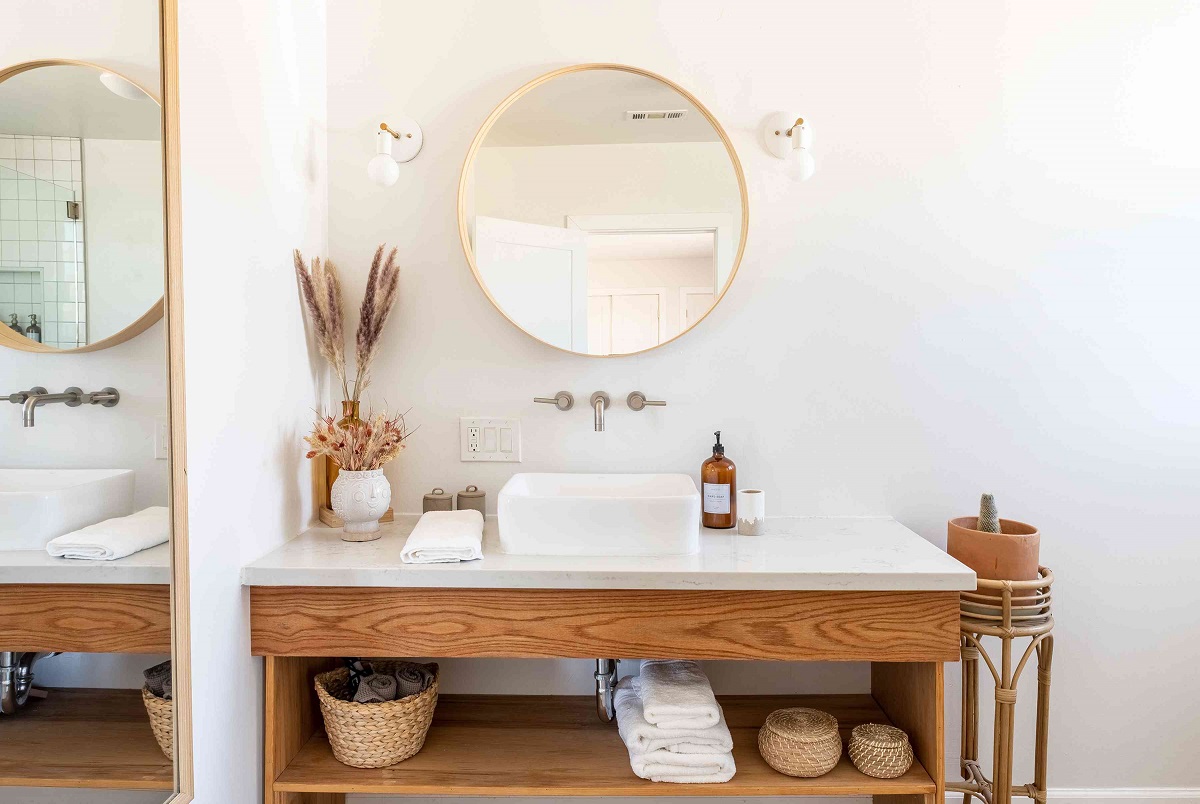
- Bathroom Vanity Top – choose a material that complements your bathroom decor and meets your design preferences.
- Newspaper or Drop Cloth – to protect the surrounding area from dust and debris.
Make sure you have all the necessary tools and materials readily available before starting the cutting process. This will ensure a smoother and more efficient workflow, allowing you to achieve precise and accurate cuts.
Step 1: Measuring and Marking
The first step in cutting a bathroom vanity top is to accurately measure and mark the dimensions. This will ensure that the cut is precise and the vanity top fits perfectly in your desired space. Follow these steps:
- Measure the length and width of the vanity cabinet or the area where the vanity top will be placed. Use a tape measure and take note of the measurements.
- Transfer the measurements onto the vanity top. Place the vanity top on a flat surface and use a pencil to mark the dimensions. Double-check the measurements to avoid any mistakes.
- Consider the placement of the sink. Measure and mark the location and dimensions of the sink hole on the vanity top. Make sure to leave enough space for the sink to fit comfortably.
- Use a straightedge or ruler to connect the marked points and create cutting lines. Ensure that the lines are straight and accurate, as they will guide the cutting process.
Take your time during this step to ensure precise measurements and markings. Remember to measure twice to avoid any errors. Accurate measurements are crucial for achieving a seamless and professional-looking vanity top.
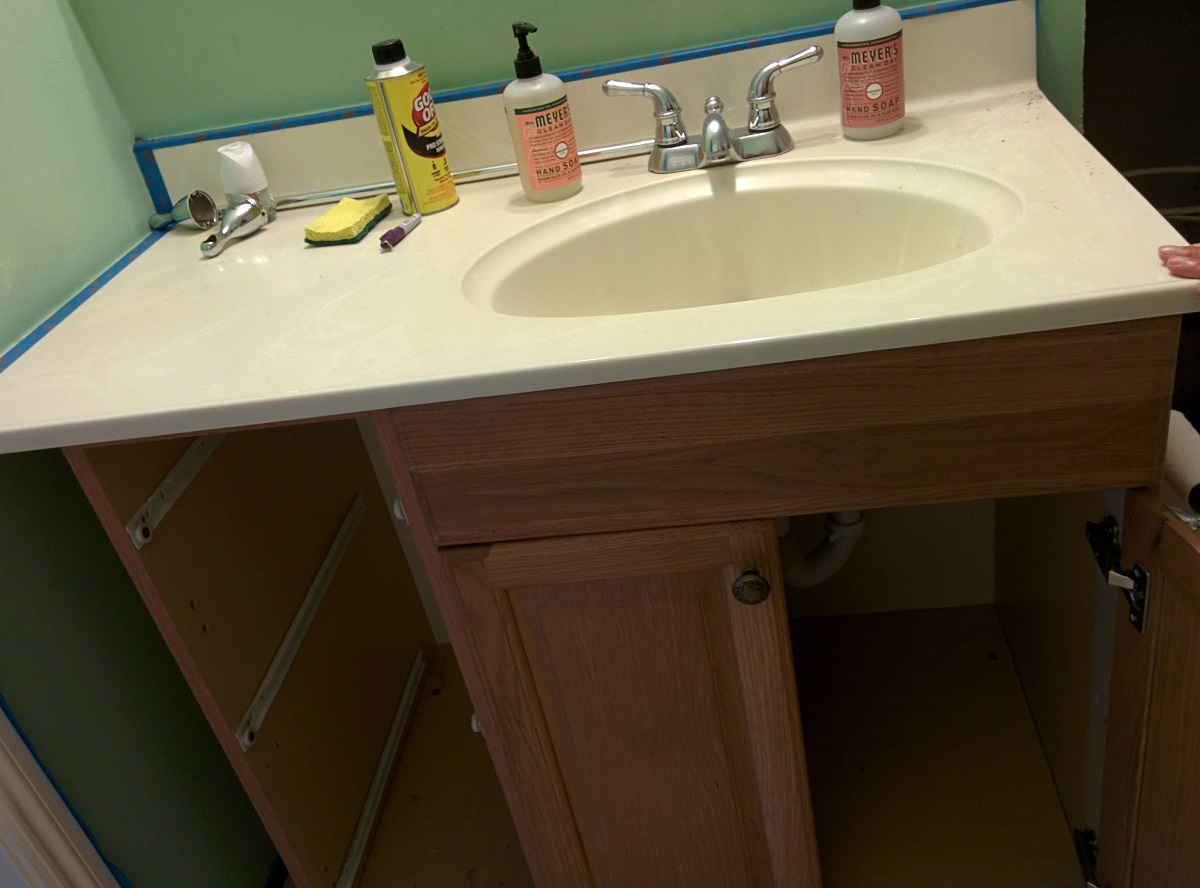
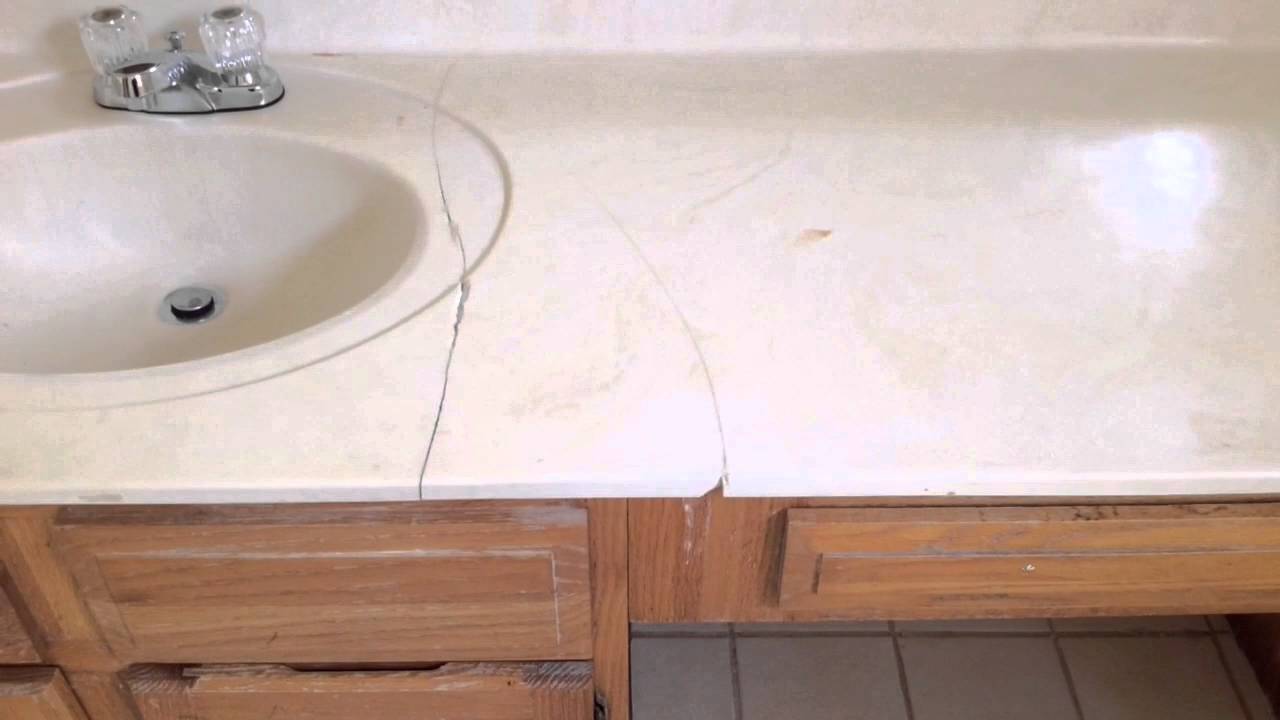
Step 2: Preparing the Vanity Top
Once you have measured and marked the dimensions on the bathroom vanity top, it’s time to prepare it for the cutting process. Follow these steps:
- Clean the surface of the vanity top. Remove any dust, dirt, or debris using a mild cleaner and a soft cloth. This will ensure a clean and smooth cutting surface.
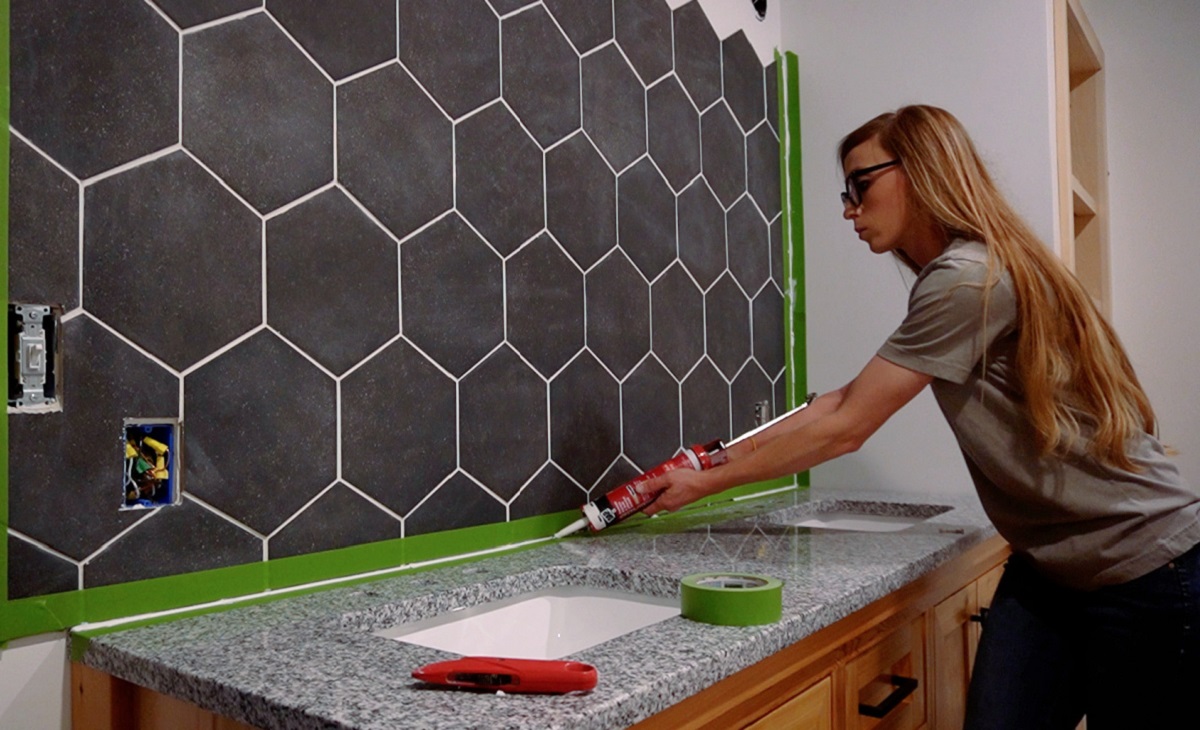
- Protect the areas you don’t want to cut. If there are any areas on the vanity top that you want to keep intact, such as finished edges or backsplash, use masking tape to cover and protect them. This will prevent accidental damage during the cutting process.
- Secure the vanity top. Place the vanity top on a stable surface or workbench. If needed, use clamps to secure it in place. This will prevent any movement or shifting while cutting.
By properly preparing the vanity top, you create a stable and safe workspace for cutting. Cleaning the surface ensures smooth and accurate cuts, while protecting certain areas prevents any unwanted damage.
Step 3: Setting up a Guide
To ensure precise and straight cuts while cutting a bathroom vanity top, it’s important to set up a guide. This will help you maintain a consistent cutting line. Follow these steps:
- Measure the distance from the edge of the circular saw blade to the edge of the base plate. This measurement will determine the offset needed for the guide.
- Mark the offset measurement on a piece of scrap wood or a straight board. This will act as your guide.
- Position the guide along the cutting line, making sure the offset side is facing the waste side. Use clamps to secure the guide in place.
- Check the alignment of the guide to ensure it is straight and parallel to the cutting line. Make any necessary adjustments if needed.
The guide will serve as a reference point for the circular saw or jigsaw, ensuring straight and accurate cuts. It provides stability and helps prevent the saw from veering off the cutting line.
Note: If you’re using a jigsaw instead of a circular saw, you may need to attach a straight-edge cutting guide to the jigsaw to achieve straight cuts.
When cutting a bathroom vanity top, be sure to measure and mark the cutting line carefully before using a circular saw with a diamond blade. Use masking tape to prevent chipping and go slow to ensure a clean cut.
Read more: How To Attach A Vanity Top
Step 4: Making the Initial Cut
With the guide in place, it’s time to make the initial cut on the bathroom vanity top. Follow these steps:
- Put on safety glasses and work gloves to protect yourself during the cutting process.
- Position the saw at the starting point of the cutting line, aligning the blade with the guide.
- Hold the saw with a firm grip and start the motor.
- Slowly and steadily guide the saw along the cutting line, maintaining contact between the saw’s base plate and the guide.
- Apply slight pressure to the saw, allowing the blade to do the cutting. Avoid forcing the saw, as this can lead to inaccurate cuts and potential damage to the vanity top.
- Continue cutting along the marked line until you reach the end point.
- Release the power button and allow the blade to come to a complete stop before lifting the saw away from the vanity top.
By making the initial cut along the cutting line, you create a starting point for the rest of the cutting process. Take your time and maintain a steady hand to achieve clean and precise cuts.
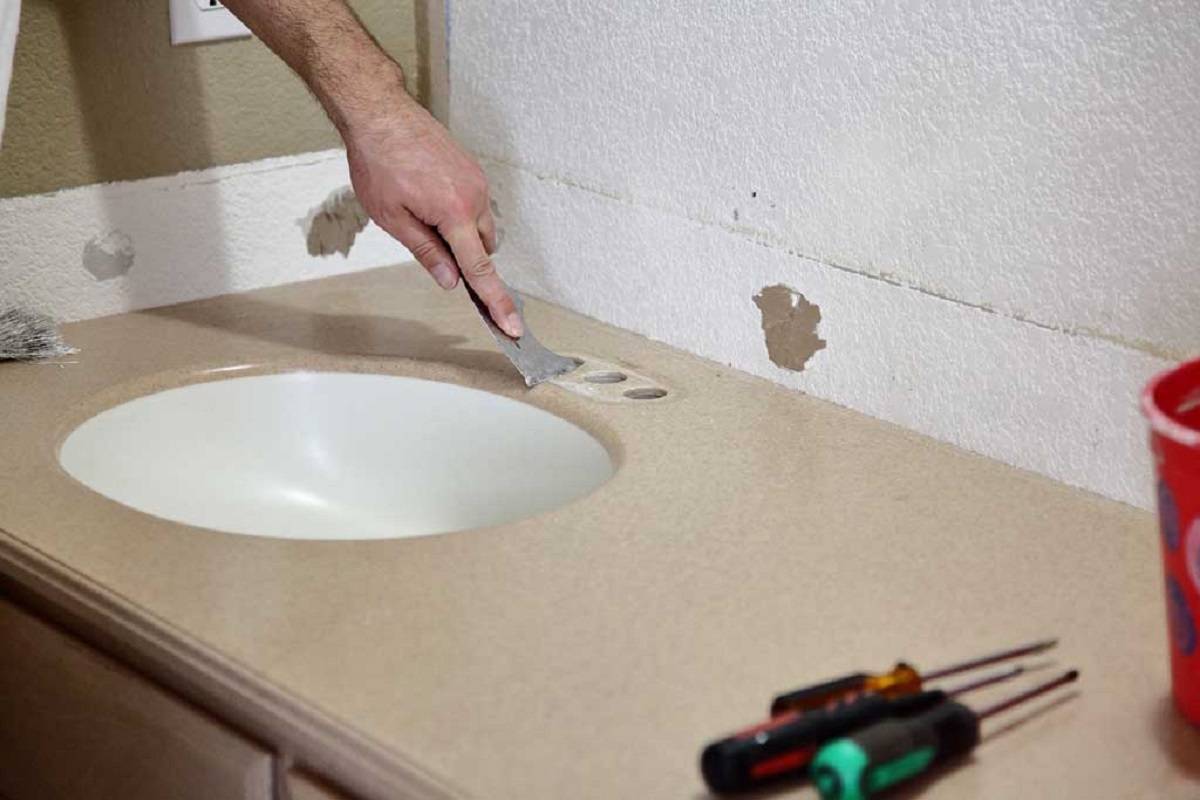
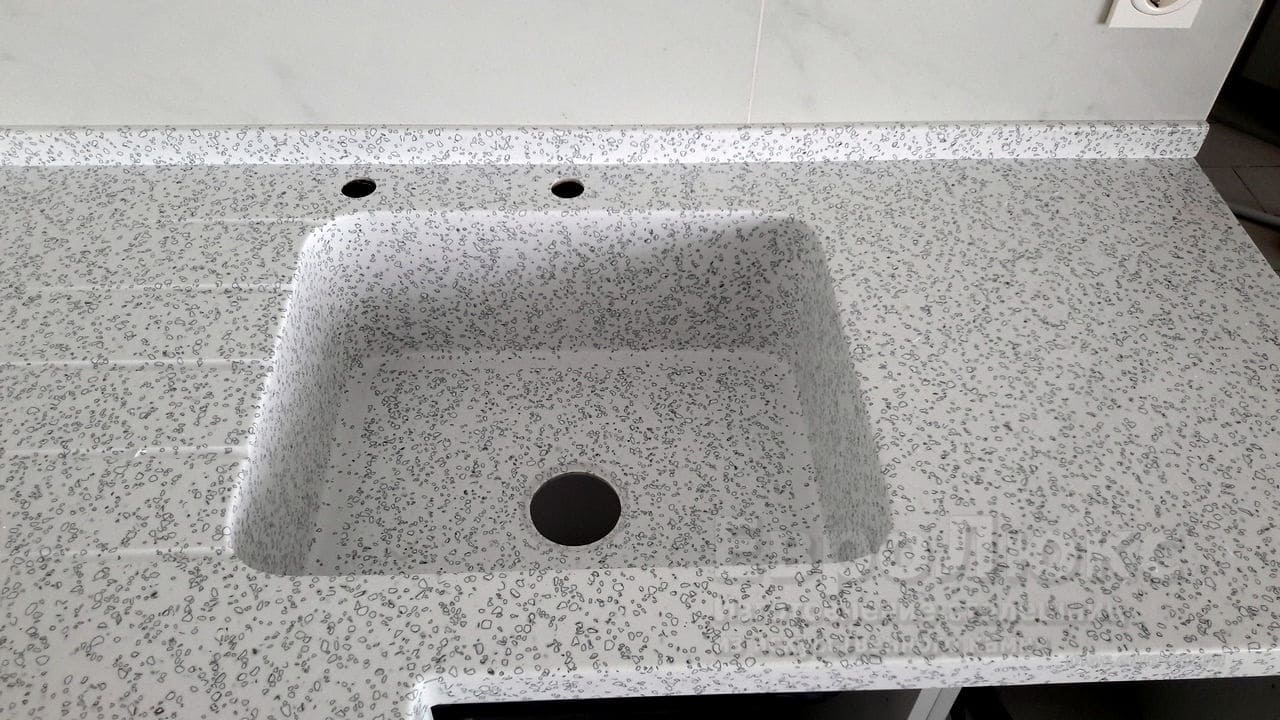
Step 5: Cutting the Sink Hole
Now that the initial cut is complete, it’s time to cut the sink hole in the bathroom vanity top. Follow these steps:
- Measure and mark the dimensions of the sink hole on the vanity top, ensuring sufficient space for the sink to fit.
- Drill a starter hole inside the marked area. This will allow you to easily insert the jigsaw blade for cutting.
- Insert the jigsaw blade into the starter hole and carefully guide it along the marked cutting line. Use a slow and steady motion to prevent any damage to the vanity top.
- When cutting the sink hole, be mindful of any corners or curves. Make precise and controlled cuts to ensure a clean and accurate shape.
- If needed, use a file or sanding block to smooth out any rough edges or uneven areas around the sink hole.
It’s important to be patient and cautious during the sink hole cutting process. Take your time to achieve accurate cuts and create a well-defined and properly sized opening for the sink.
Step 6: Finishing Touches
After making the necessary cuts and creating the sink hole, it’s time to focus on the finishing touches for your bathroom vanity top. Follow these steps:
- Inspect the cuts and edges to ensure they are smooth and clean. If there are any rough or jagged areas, use a sanding block or file to smooth them out.
- Remove any masking tape or protective coverings from the vanity top. Clean the surface with a mild cleaner and a soft cloth to remove any dust or debris.
- Place the vanity top onto the vanity cabinet or the designated area. Ensure that it fits securely and aligns properly.
- If necessary, use screws or adhesive to secure the vanity top to the cabinet or support structure. Follow the manufacturer’s instructions for proper installation methods.
- Inspect the overall appearance of the vanity top. If desired, apply a sealant or finish to protect the surface and enhance its durability and aesthetics. Follow the product instructions for the specific sealant or finish you choose.
By paying attention to the finishing touches, you can ensure that your bathroom vanity top looks polished and professional. Taking the time to smooth out the edges, properly install the vanity top, and apply a sealant or finish will add the final touches to your project.
Conclusion
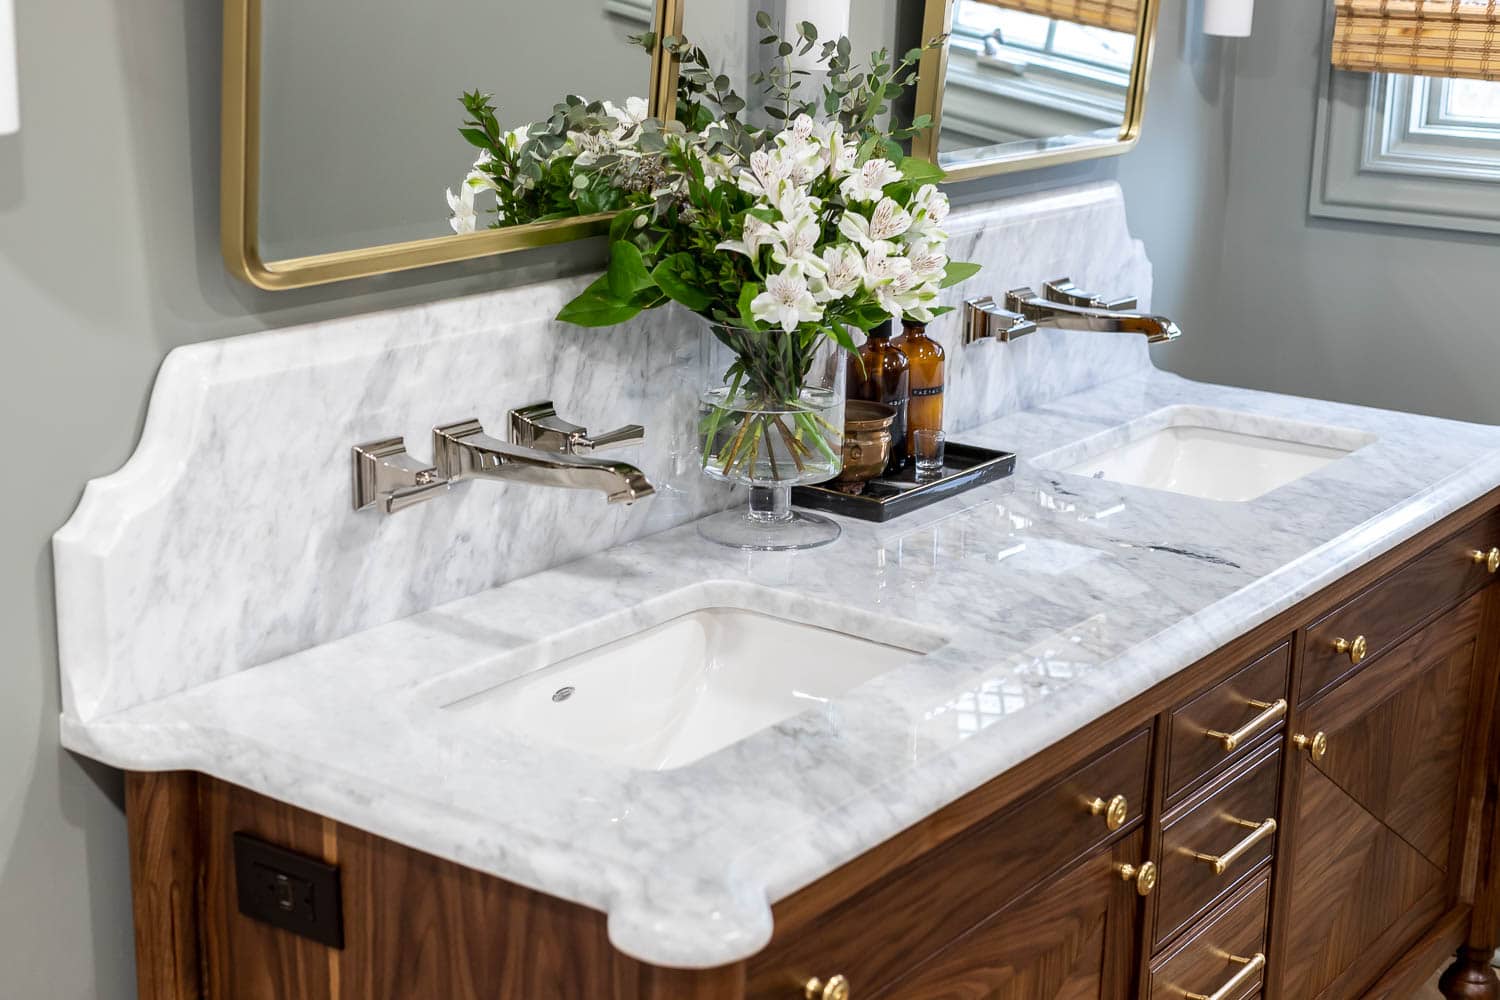
Cutting a bathroom vanity top may seem like a daunting task, but with the right tools, materials, and techniques, it can be a manageable and rewarding project. By following the step-by-step process outlined in this article, you can achieve precise cuts and create a custom-fit vanity top that perfectly suits your design plans.
Remember to take accurate measurements, mark the cutting lines carefully, and properly prepare the vanity top before cutting. Setting up a guide will help you achieve straight and precise cuts, while making the initial cut sets the foundation for the rest of the process. Cutting the sink hole requires precision and attention to detail, and the finishing touches will ensure a polished and professional appearance.
Throughout the process, prioritize safety by wearing protective gear and using proper techniques. Take your time and be patient to achieve the best results. If you’re unsure or uncomfortable with cutting a bathroom vanity top yourself, it’s always a good idea to consult a professional for assistance.
Now that you have the knowledge and guidance to cut a bathroom vanity top, you can confidently tackle your bathroom renovation project. Enjoy the satisfaction of creating a customized vanity top that adds style and functionality to your bathroom space.
Frequently Asked Questions about How To Cut A Bathroom Vanity Top
Was this page helpful?
At Storables.com, we guarantee accurate and reliable information. Our content, validated by Expert Board Contributors, is crafted following stringent Editorial Policies. We're committed to providing you with well-researched, expert-backed insights for all your informational needs.

0 thoughts on “How To Cut A Bathroom Vanity Top”