Articles
How To Install A Bathroom Vanity Top
Modified: February 22, 2024
Discover step-by-step articles on how to effortlessly install a bathroom vanity top and create a stunning addition to your bathroom.
(Many of the links in this article redirect to a specific reviewed product. Your purchase of these products through affiliate links helps to generate commission for Storables.com, at no extra cost. Learn more)
Introduction
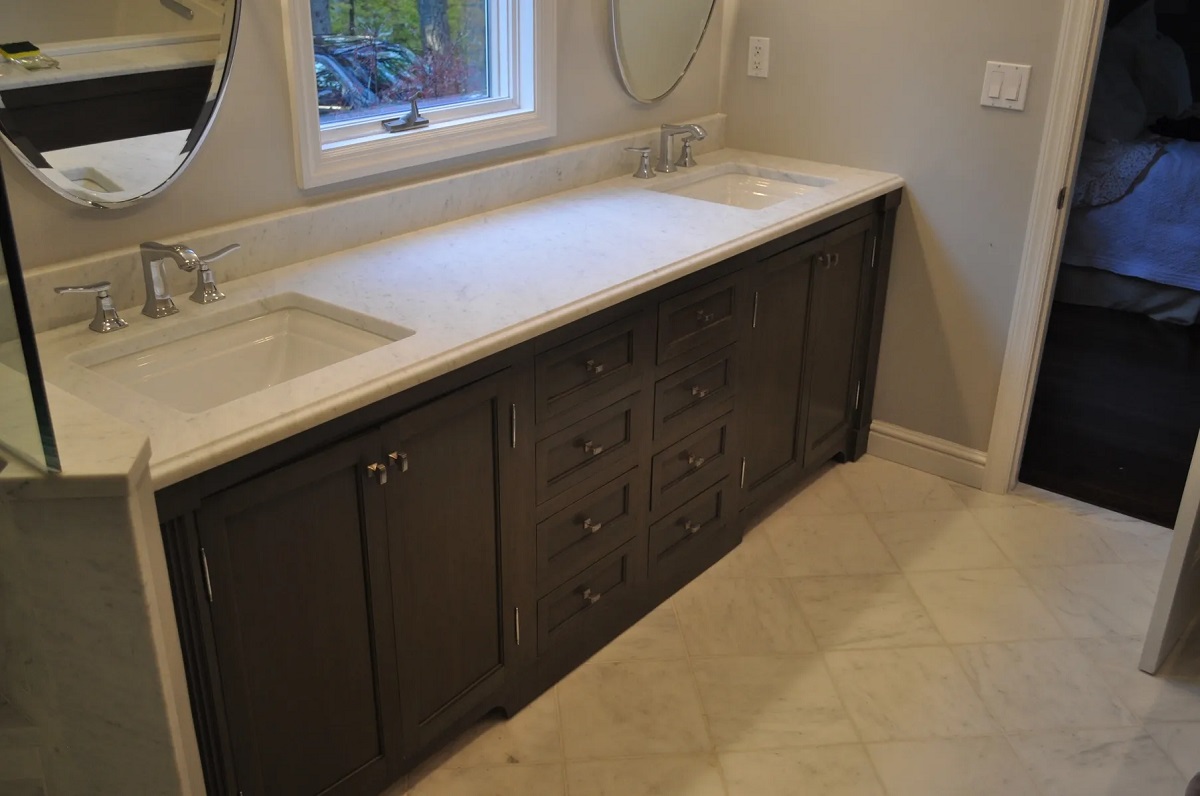
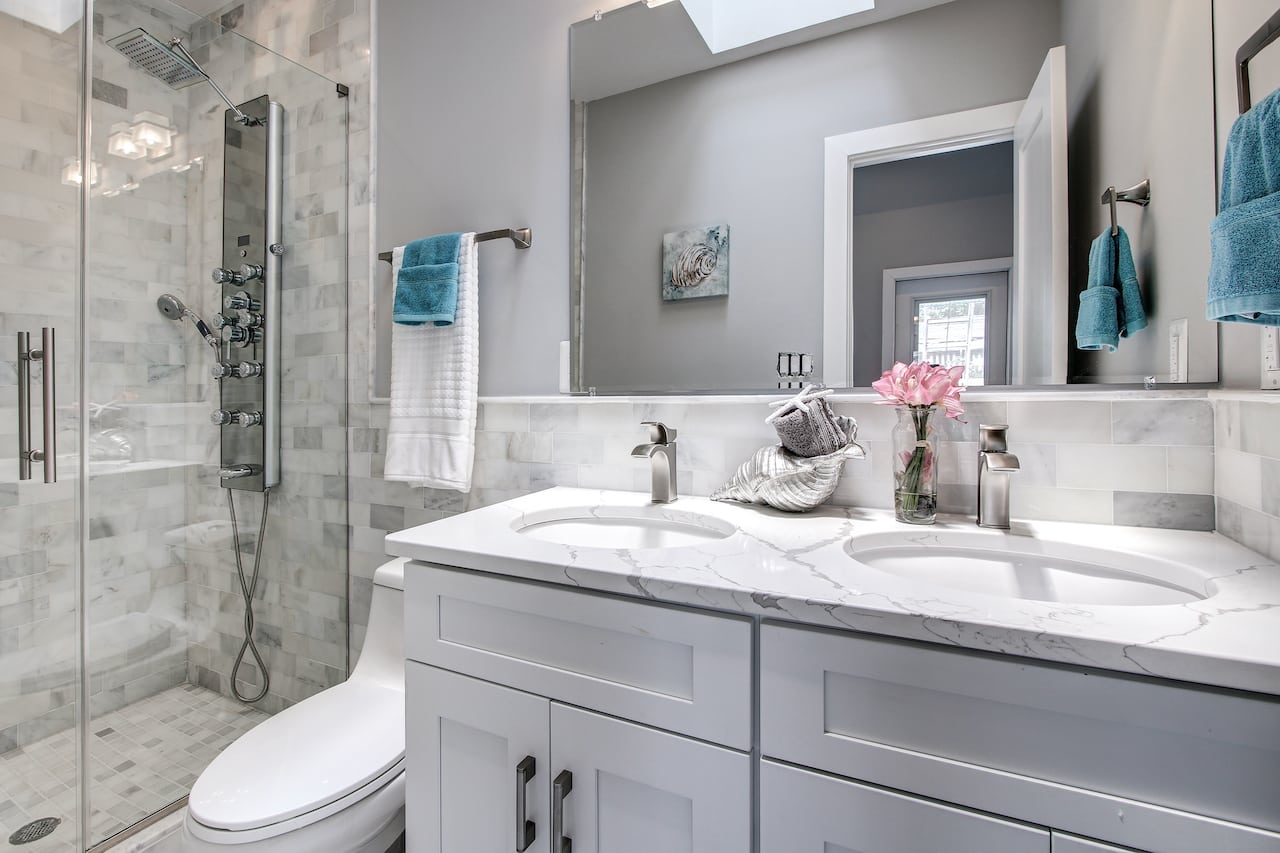
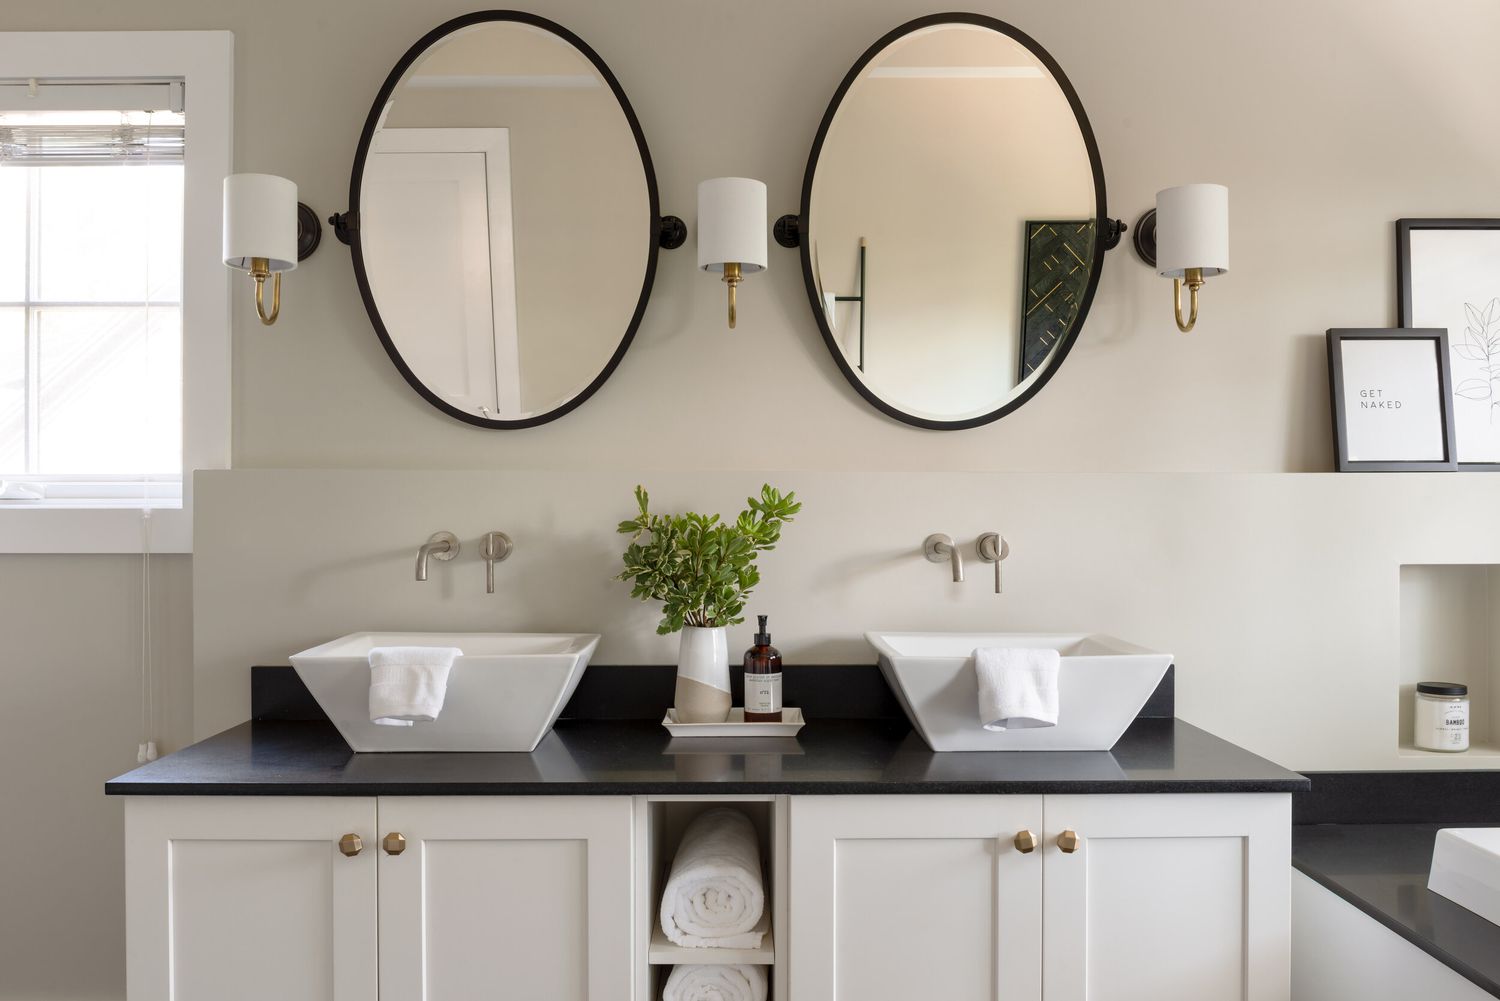
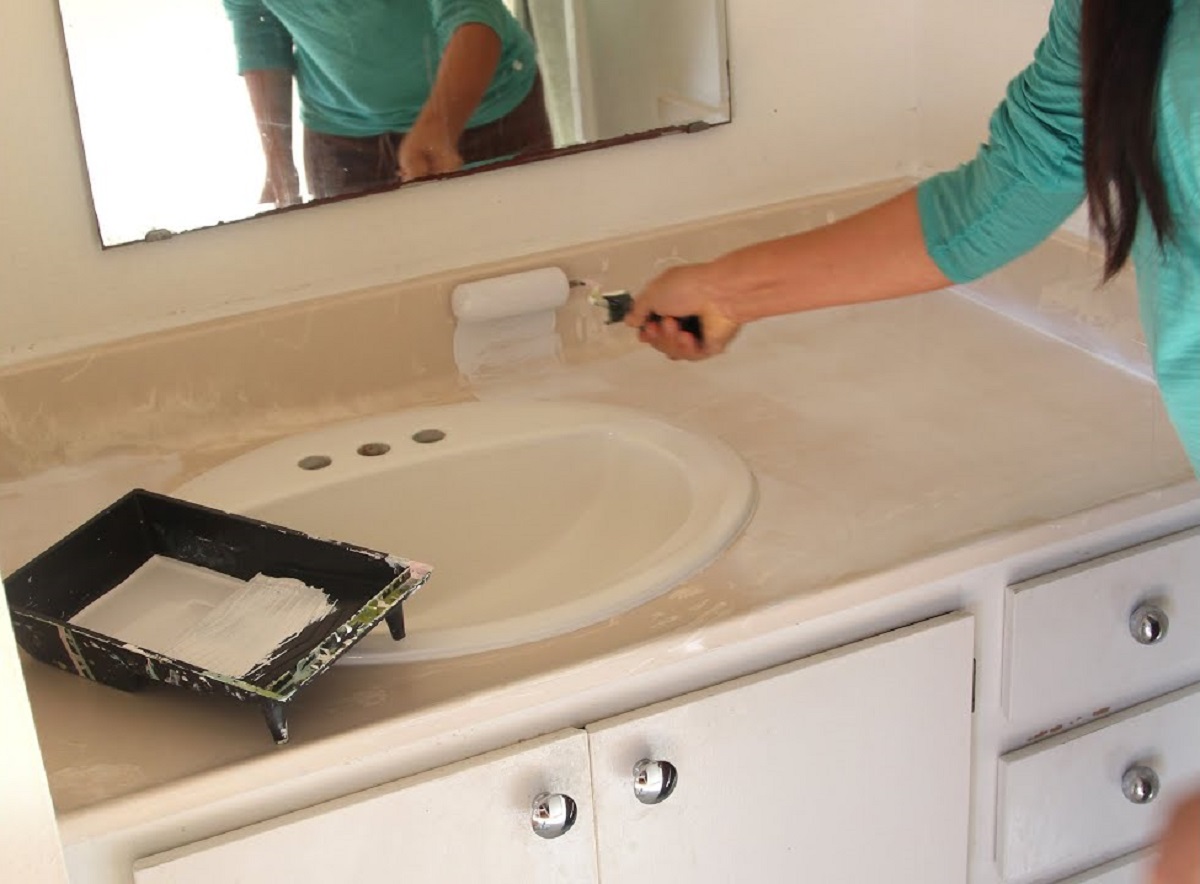
Installing a new bathroom vanity top can be a great way to update the look and functionality of your bathroom. Whether you’re remodeling your bathroom or simply looking to replace a worn-out vanity top, this project can give your space a fresh and modern feel.
Not only does a new vanity top provide a beautiful surface for your bathroom essentials, but it also serves as a functional space for your sink, faucet, and other plumbing fixtures. However, the installation process may seem daunting for those who are not experienced in home improvement projects.
In this step-by-step guide, we will walk you through the process of installing a bathroom vanity top. By following these instructions and using the right tools and materials, you can achieve a professional-looking installation without the need for a hired professional.
Before we dive into the installation process, it’s important to note that the specifics of the installation may vary depending on the type of vanity top you choose. We will provide general guidelines that can be applied to most vanity tops, but it’s always advisable to consult the manufacturer’s instructions for your specific product.
Now, without further ado, let’s get started on transforming your bathroom with a beautiful new vanity top.
Key Takeaways:
- Transform your bathroom with a new vanity top by following these step-by-step instructions. From gathering tools to sealing edges, achieve a professional installation without the need for a hired professional.
- Enjoy a stylish and functional bathroom with a new vanity top. Follow the detailed guide to confidently install, connect plumbing fixtures, and finish with a polished, clean space.
Read more: How To Attach A Vanity Top
Step 1: Gather necessary tools and materials
Before you begin the installation process, it’s essential to gather all the necessary tools and materials. Having everything ready at hand will save you time and ensure a smooth installation. Here’s a list of what you’ll need:
- Measuring tape: Accurate measurements are crucial for a proper fit
- Pencil or marker: To mark measurements and cut lines
- Level: To ensure the vanity top is installed evenly
- Hacksaw or circular saw: Depending on the vanity top material, you may need to cut it to size
- Clamps: These help hold the vanity top in place during installation
- Drill with screwdriver bit: For securing the vanity top to the base
- Adjustable wrench or pliers: Needed for plumbing connections
- Silicone caulking: To seal the edges of the vanity top
- Plumbing supplies: This includes the necessary pipes, fittings, and connectors for your specific plumbing setup
- Protective gear: Safety glasses, gloves, and a dust mask to protect yourself during the installation
Additionally, you’ll need the following materials:
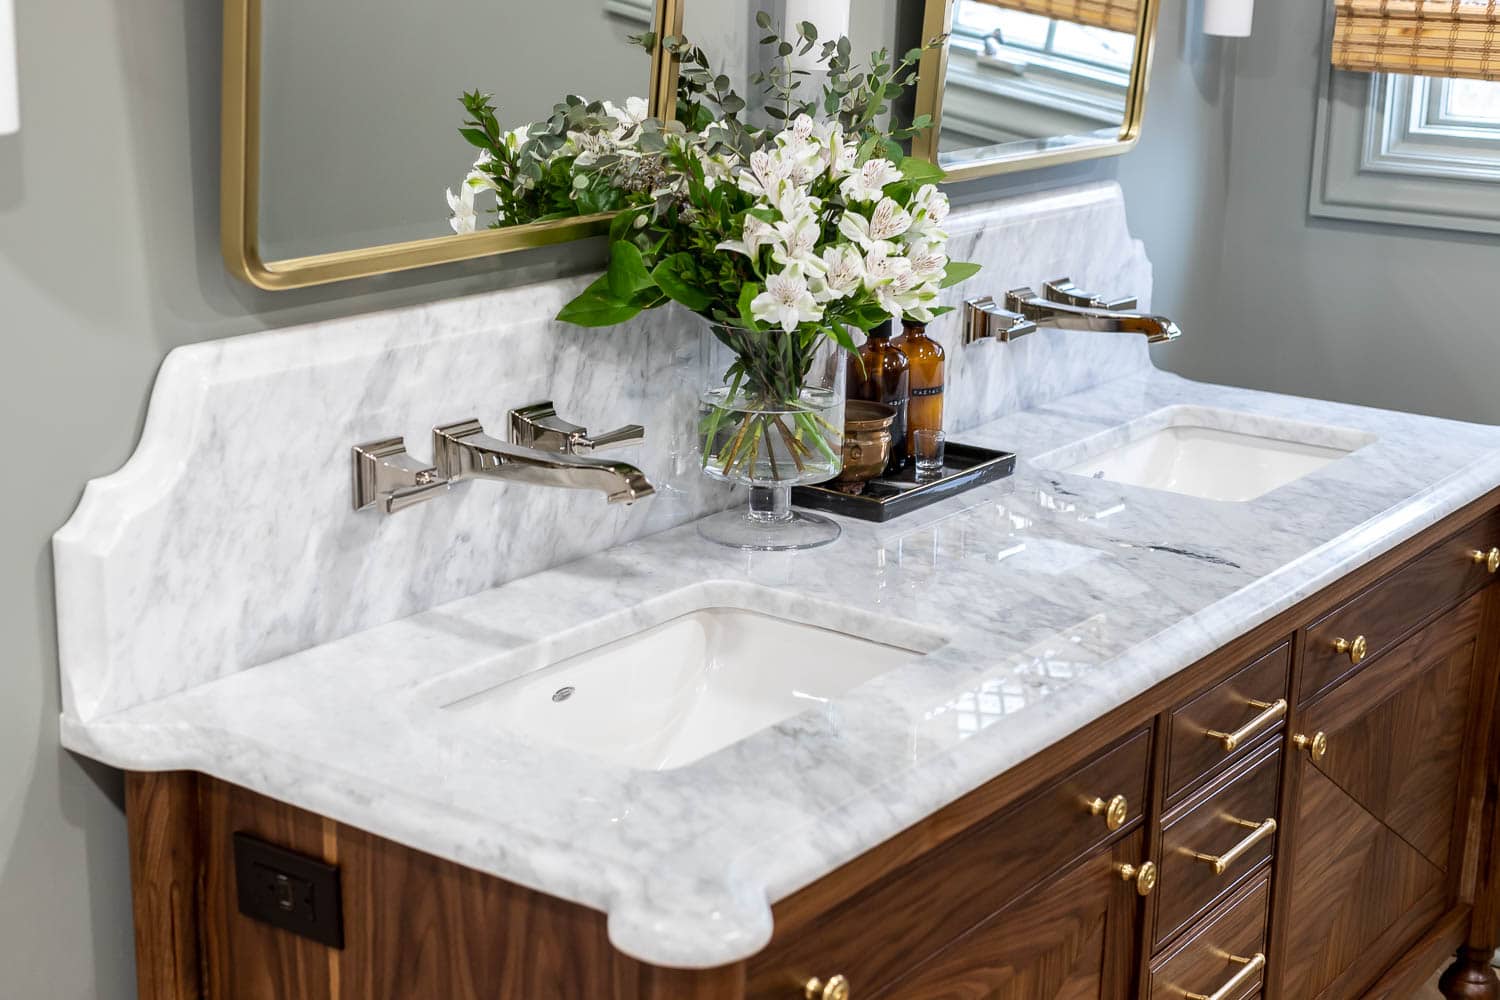
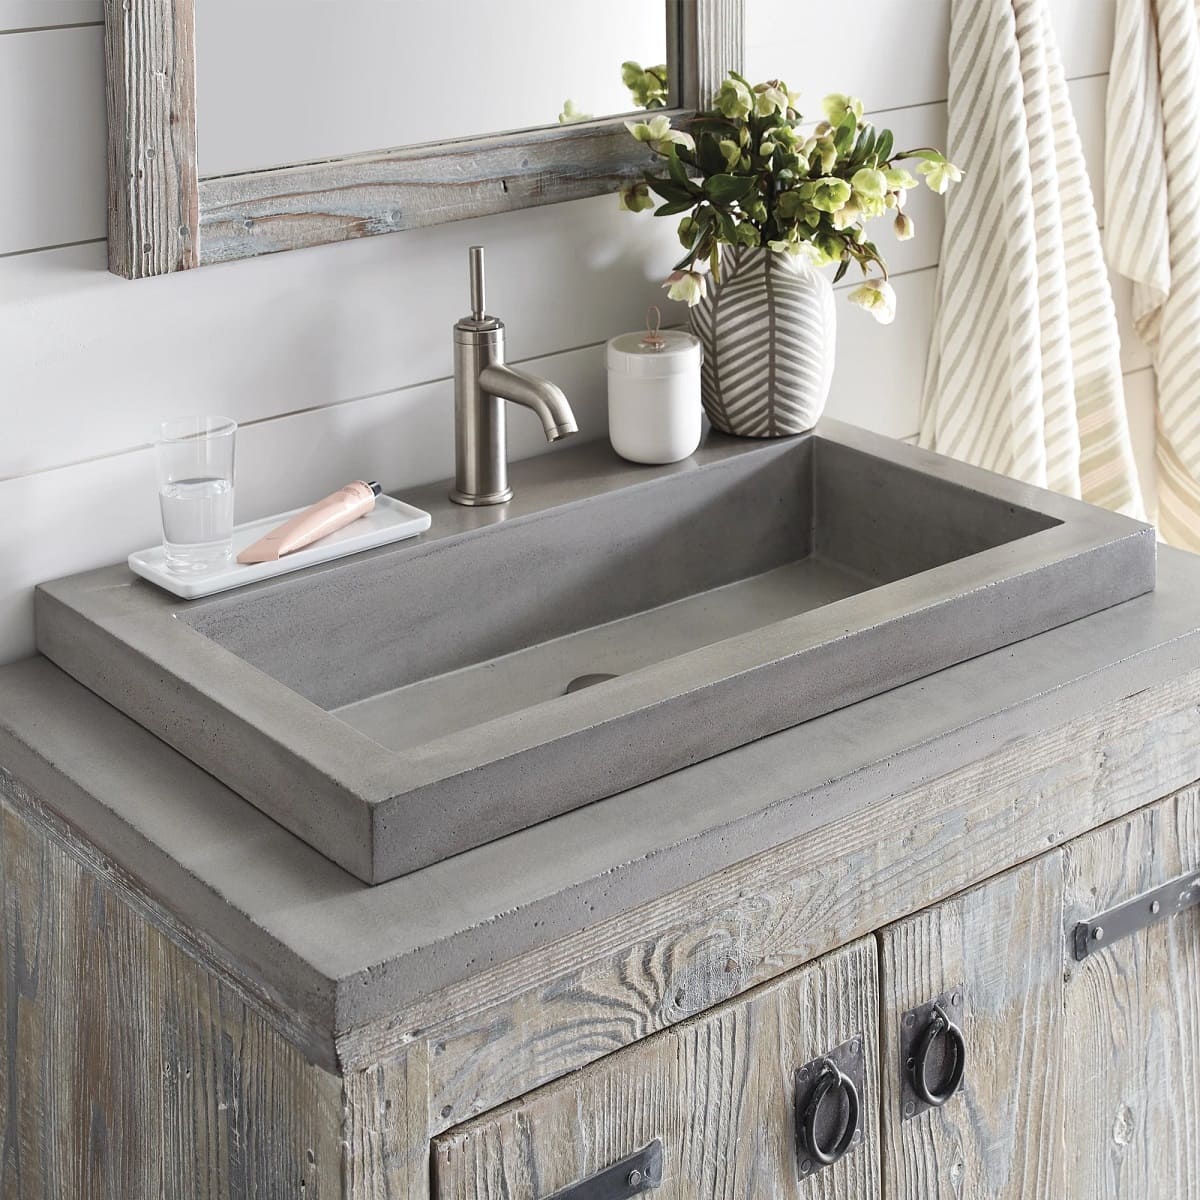
- Bathroom vanity top: Choose a material and design that suits your style and preferences
- Vanity base or cabinet: This provides the support for the vanity top
- Mounting hardware: Check if the vanity top or base requires any specific hardware for installation
- Plumbing fixtures: Sink, faucet, and any other fixtures you plan to install on the vanity top
- Plumber’s putty or thread seal tape: These help create watertight connections for plumbing fixtures
Once you’ve gathered all the necessary tools and materials, you’ll be ready to move on to the next step: removing the old vanity top.
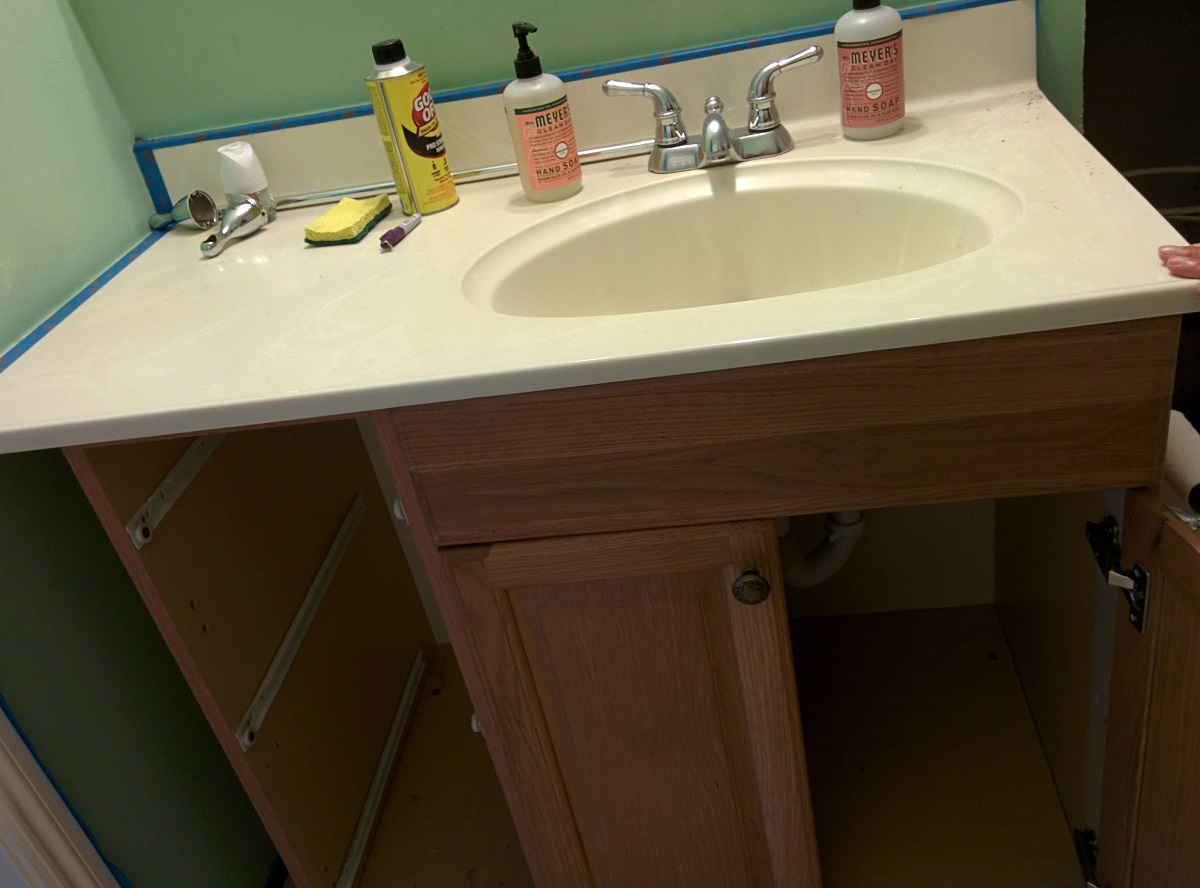
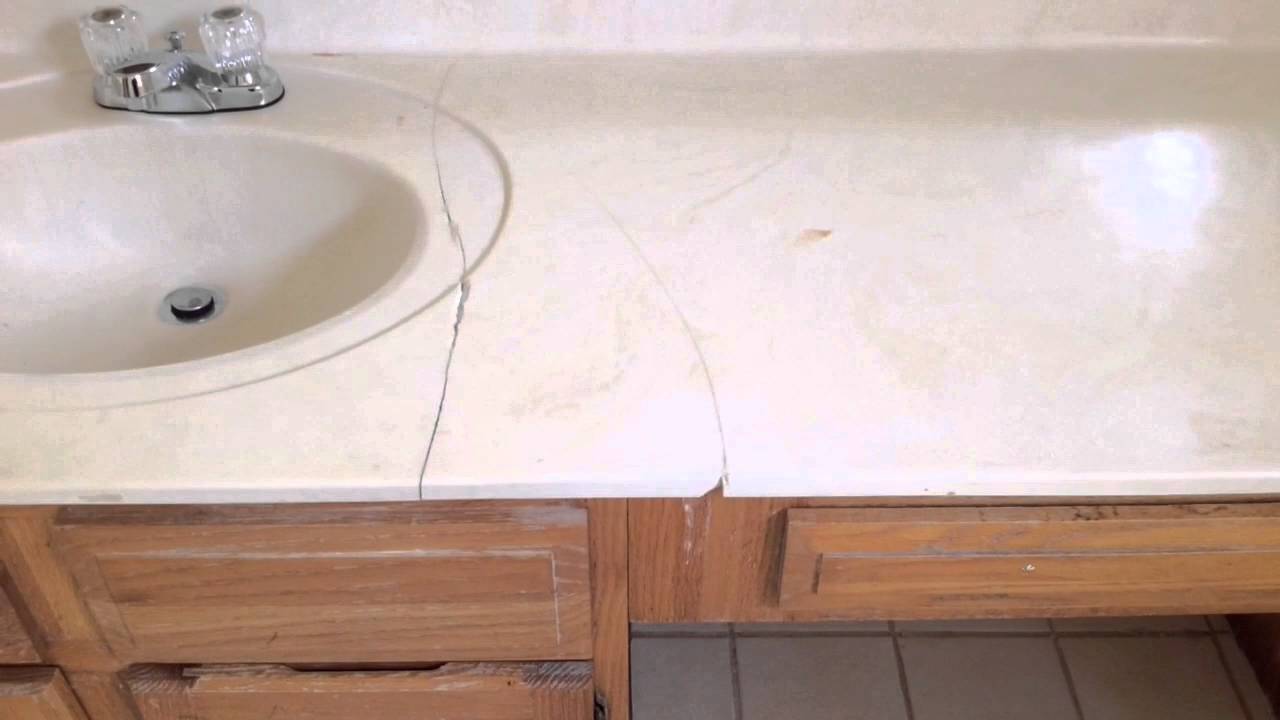
Step 2: Remove the old vanity top
Before you can install a new vanity top, you need to remove the old one. Here’s a step-by-step guide on how to do it:
- Turn off the water supply: Locate the shut-off valves under the sink and turn them clockwise to close the water supply.
- Disconnect plumbing fixtures: Use an adjustable wrench or pliers to disconnect the water supply lines from the faucet and the drain pipe connecting the sink to the plumbing system. Place a bucket or towel to catch any water that may spill.
- Remove the sink and faucet: Unscrew any clips or fasteners holding the sink in place. Carefully lift the sink and faucet assembly from the vanity top and set it aside.
- Remove the vanity top: Check for any screws or brackets securing the vanity top to the base. Unscrew or remove them to free the vanity top. Carefully lift the old vanity top off the base and set it aside.
- Clean the base: Remove any old caulking, adhesive, or debris from the base to ensure a clean surface for the new vanity top.
Once you’ve removed the old vanity top, it’s important to inspect the base for any damage or repairs that may be needed. Take this opportunity to make any necessary fixes before proceeding with the installation of the new vanity top.
With the old vanity top out of the way and the base prepared, you’re now ready to move on to the next step: preparing the vanity base.
Step 3: Prepare the vanity base
Preparing the vanity base is an important step in ensuring a stable and secure installation of the new vanity top. Here’s how you can prepare the vanity base:
- Inspect the base: Take a close look at the vanity base and check for any damage or signs of wear. Make any necessary repairs or adjustments to ensure a solid foundation for the new vanity top.
- Measure and mark: Use a measuring tape to determine the exact placement of the new vanity top on the base. Mark the measurements with a pencil or marker to guide you during installation.
- Apply adhesive (if needed): Depending on the type of vanity top and manufacturer’s instructions, you may need to apply adhesive to the top of the base. Follow the adhesive manufacturer’s guidelines for application and drying times.
- Install additional support (if necessary): If your vanity top is particularly heavy or if the manufacturer recommends it, you may need to install additional support brackets or blocks underneath the vanity base. This will ensure a stable and secure installation.
- Double-check levelness: Place a level on the vanity base to ensure it is perfectly level. If needed, use shims or adjust the base to achieve a level surface. This step is crucial in preventing any future issues with the vanity top.
Once you have prepared the vanity base and ensured its stability, you are ready to proceed to the next step: measuring and cutting the new vanity top.
Step 4: Measure and cut the new vanity top
Measuring and cutting the new vanity top accurately is essential to achieve a proper fit and a seamless installation. Follow these steps to measure and cut the new vanity top:
- Place the new vanity top on the base: Position the new vanity top on the prepared vanity base. Ensure that it is aligned properly and centered on the base.
- Ensure sufficient overhang: Check the manufacturer’s guidelines or your personal preference to determine the desired amount of overhang on the front, sides, and back of the vanity top. Use a measuring tape to ensure even overhang on all sides.
- Mark the cutting lines: Using a pencil or marker, carefully mark the cutting lines on the vanity top based on the measurements taken in the previous step. Use a straight edge or ruler to create straight and accurate cutting lines.
- Cut the vanity top (if necessary): If your vanity top needs to be cut to fit a specific space or accommodate plumbing fixtures, use a hacksaw or circular saw with the appropriate blade to make the cuts. Take your time and follow the marked lines carefully to ensure a clean and precise cut.
- Sand and smooth the edges (if needed): After cutting the vanity top, use sandpaper to smooth and refine the edges. This will prevent any potential splintering or roughness that could affect the appearance and functionality of the vanity top.
- Clean the vanity top: Once you have finished cutting and sanding, thoroughly clean the vanity top to remove any dust or debris. This will provide a clean surface for the next steps of the installation process.
It’s important to be cautious and take your time when measuring and cutting the new vanity top. Remember to double-check your measurements and seek professional assistance if you feel uncertain or uncomfortable with the cutting process.
Now that you have measured and cut the new vanity top, it’s time to move on to the next step: installing the new vanity top.
Read more: How To Seal Vanity Top
Step 5: Install the new vanity top
Now that you have measured and cut the new vanity top, it’s time to install it onto the prepared vanity base. Follow these steps for a successful installation:
- Position the vanity top: Carefully lift the vanity top and place it on the base, aligning it with the previously marked lines and ensuring proper overhang on all sides.
- Check for levelness: Use a level to ensure that the vanity top is perfectly level. Make adjustments as needed by adding or removing shims underneath the vanity top.
- Fasten the vanity top: Depending on the manufacturer’s instructions and the type of vanity top, you may need to secure it to the base with clips, brackets, or screws. Follow the provided guidelines to properly fasten the vanity top.
- Ensure a seamless joint: If your vanity top consists of multiple pieces or has a joint, ensure that the pieces fit together tightly and create a seamless appearance. Use adhesive or other recommended methods to join the pieces securely.
- Check for stability: Give the vanity top a gentle push to ensure that it is securely in place. If it feels unstable or wobbly, revisit the previous steps to ensure a proper installation.
It’s important to exercise caution when installing the vanity top, as it can be heavy and fragile. Enlist the help of another person if needed to ensure a safe and successful installation.
Now that you have successfully installed the new vanity top, it’s time to move on to the next step: securing the vanity top in place.
When installing a bathroom vanity top, be sure to measure the space accurately before purchasing the top. This will ensure a proper fit and save you from any installation headaches.
Step 6: Secure the vanity top in place
Securing the vanity top in place ensures its stability and prevents any potential movement or shifting. Follow these steps to securely fasten the vanity top:
- Use clamps (if necessary): Depending on the type of vanity top and the fastening method, you may need to use clamps to hold the vanity top firmly in place while securing it.
- Follow manufacturer’s instructions: Refer to the manufacturer’s guidelines and instructions for securing the vanity top. This may involve using clips, brackets, or screws provided with the vanity top.
- Space the fasteners evenly: If using clips or brackets, distribute them evenly along the edges of the vanity top. This ensures an even distribution of support and prevents any stress or strain on specific areas of the top.
- Use appropriate screws or fasteners: Ensure that the screws or fasteners used are compatible with the material of the vanity top and the base. Use a screwdriver or drill with the appropriate bit to secure the fasteners in place.
- Do not overtighten: Take care not to overtighten the screws or fasteners, as this can damage the vanity top. Tighten them until they are snug but be cautious not to exert excessive pressure.
- Check for stability and alignment: After securing the vanity top, perform a final check to ensure that it is stable and properly aligned. Gently push and test the top for any movement or wobbling. Make any necessary adjustments if needed.
By following these steps and securely fastening the vanity top, you can ensure its long-lasting durability and prevent any potential issues in the future.
Now that the vanity top is securely in place, it’s time to move on to the next step: connecting the plumbing fixtures.
Step 7: Connect plumbing fixtures
Connecting the plumbing fixtures is an important step in completing the installation of your new bathroom vanity top. Follow these steps to connect the plumbing fixtures:
- Install the sink and faucet: Carefully place the sink back onto the vanity top, aligning it with the pre-cut hole or mounting brackets. Attach the faucet according to the manufacturer’s instructions, ensuring proper connections.
- Connect the water supply lines: Use adjustable wrenches or pliers to connect the water supply lines to the faucet. Ensure that the connections are tight and secure to prevent any leaks.
- Attach the drain pipe: Connect the drain pipe to the sink’s drain opening, following the manufacturer’s guidelines. Apply plumber’s putty or wrap the threads with thread seal tape to create a watertight seal.
- Inspect all connections: Double-check all the connections to make sure they are secure and properly aligned. Look for any signs of leaks or drips.
- Turn on the water supply: Slowly turn on the shut-off valves to restore the water supply. Check for any leaks around the plumbing connections and address them promptly if necessary.
- Test the sink and faucet functionality: Open the faucet and let the water flow to ensure that both the sink and faucet are functioning properly. Check for any irregularities or issues that may require further adjustments.
It’s important to take your time during this step to ensure that all connections are tight and secure. Properly connecting the plumbing fixtures will not only prevent leaks but also ensure the smooth operation of your bathroom vanity top.
With the plumbing fixtures connected, it’s time to move on to the next step: sealing the edges of the vanity top.
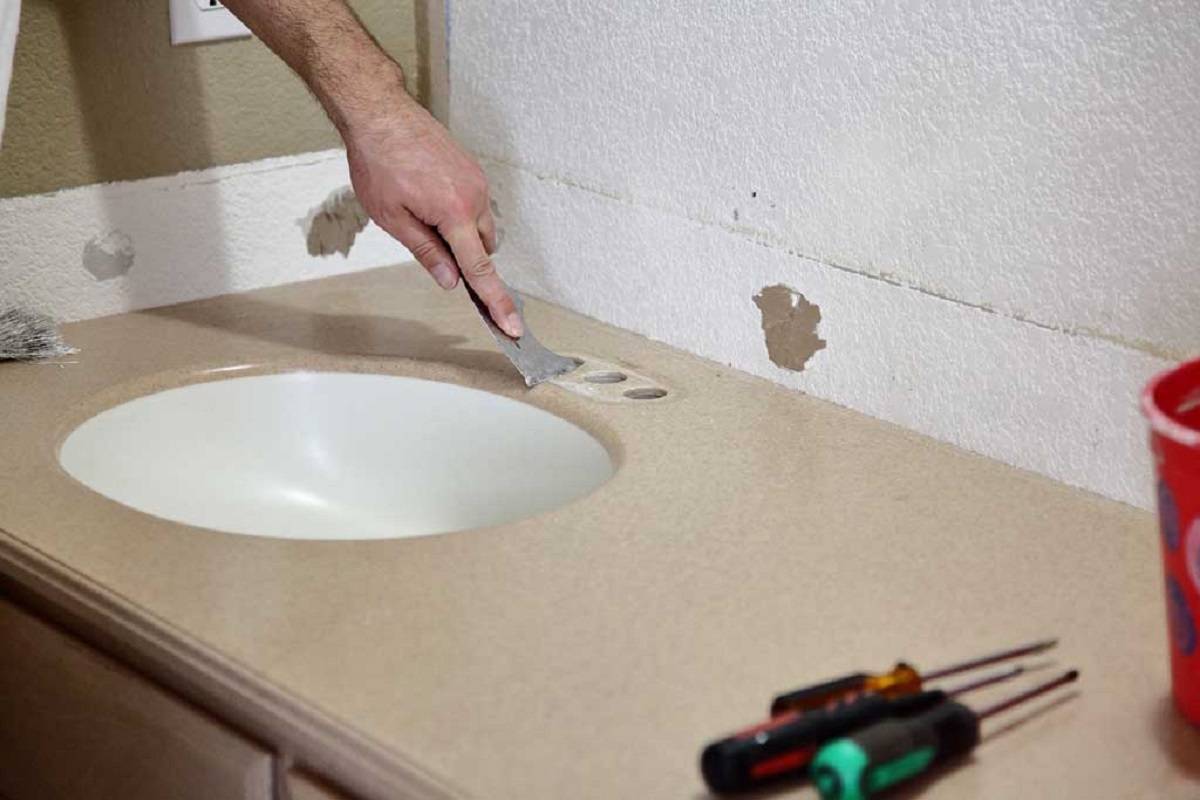
Step 8: Seal the edges of the vanity top
Sealing the edges of the vanity top is an important step to prevent water damage and maintain the longevity of your installation. Follow these steps to properly seal the edges:
- Clean the edges: Use a mild cleanser and a soft cloth to clean any dirt, debris, or residue from the edges of the vanity top. Ensure the surface is dry before proceeding.
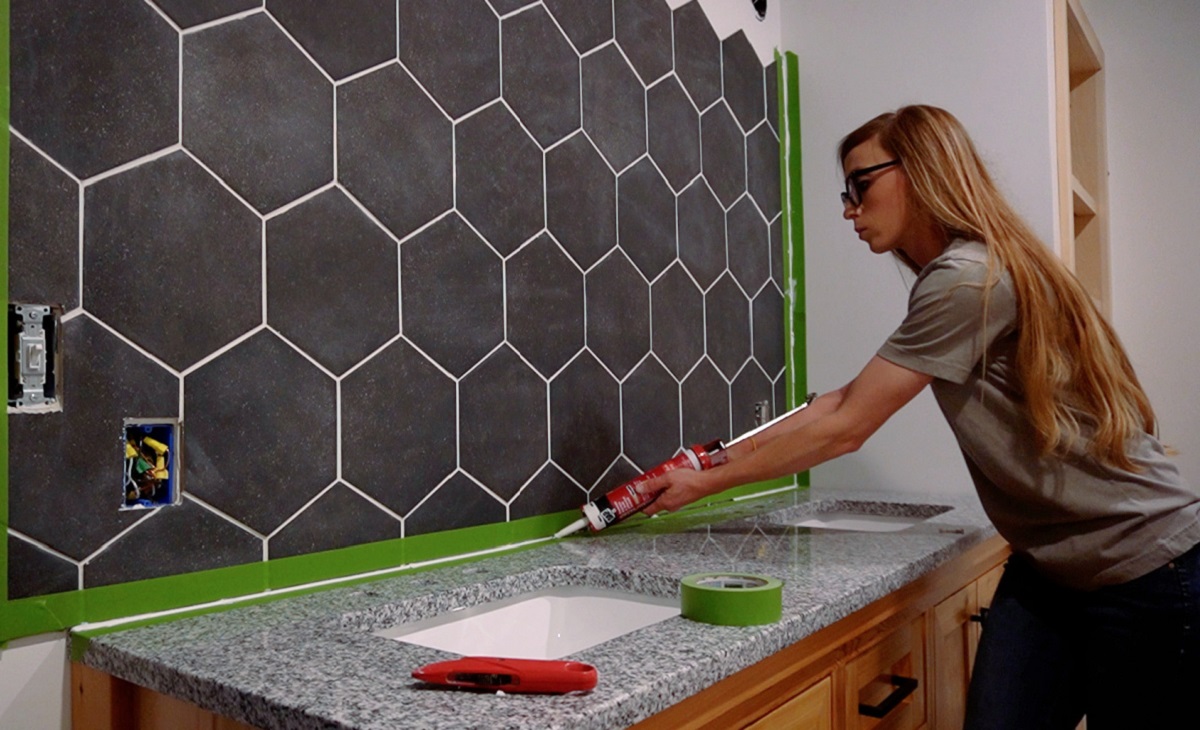
- Apply silicone caulking: Using a silicone caulking gun, apply a thin bead of silicone caulk along the edges of the vanity top. Start at one end and work your way around, ensuring complete coverage. Be sure to leave a small gap near the sink opening for water drainage.
- Smooth the caulk: Use a caulk-smoothing tool or your finger to smooth the applied caulk, creating an even and finished look. Wipe away any excess caulk with a damp cloth.
- Let the caulk cure: Follow the manufacturer’s instructions for the recommended curing time of the silicone caulk. This will ensure that the seal is fully formed and waterproof.
- Inspect the seal: Once the caulk has fully cured, inspect the seal for any gaps or imperfections. If necessary, apply additional caulk and repeat the smoothing process to ensure a proper seal.
Applying a silicone caulk sealant to the edges of the vanity top will prevent water from seeping into the base and causing damage. It also creates a clean and finished appearance for your installation.
With the edges of the vanity top properly sealed, it’s time to move on to the final step: finishing the installation and cleaning up.
Read more: How To Clean Vanity Top
Step 9: Finish installation and clean up
As you near the completion of your bathroom vanity top installation, there are a few final steps to take to ensure a polished finish and a clean workspace. Follow these steps to finish the installation and clean up:
- Tighten any loose screws or fasteners: Inspect the vanity top and base for any loose screws or fasteners. Tighten them if necessary, ensuring that everything is securely in place.
- Remove any excess caulk: Carefully remove any excess or stray caulk from the vanity top and surrounding areas. Use a utility knife or caulk remover tool to gently scrape away the unwanted caulk.
- Wipe down the vanity top: Use a damp cloth or sponge to wipe down the surface of the vanity top, removing any dust, debris, or fingerprints. Dry the surface with a clean towel or cloth.
- Clean up the workspace: Dispose of any packaging materials, tools, or debris from the installation process. Vacuum or sweep the area to remove any dust or dirt. Ensure that the surrounding area is clean and tidy.
- Inspect the overall installation: Take a step back and inspect the overall installation of the vanity top. Check for any visible issues, such as gaps or misalignments. Make any necessary adjustments or corrections.
- Enjoy your new vanity top: Now that the installation is complete and the area is clean, take the time to appreciate your newly installed bathroom vanity top. Admire its beauty and functionality, and enjoy the refreshed look of your bathroom.
By completing these final steps, you will ensure a professional, clean, and polished finish for your bathroom vanity top installation.
Congratulations! You have successfully installed a new vanity top in your bathroom. Your hard work and attention to detail have paid off, and you can now enjoy a stylish and functional space.
Remember to regularly maintain and clean the vanity top to preserve its appearance and prolong its lifespan. With proper care and maintenance, your new vanity top will continue to enhance your bathroom for years to come.
Thank you for following this step-by-step guide. We hope it has been helpful and that you are satisfied with the results of your bathroom vanity top installation.
Conclusion
Installing a bathroom vanity top can transform the look and functionality of your bathroom. With the right tools, materials, and a step-by-step guide, you can confidently undertake this project and create a beautiful and functional space. Throughout the installation process, it’s crucial to pay attention to detail, ensure accurate measurements, and make adjustments as needed to achieve a seamless and professional finish.
We began by gathering the necessary tools and materials, ensuring we had everything needed for a successful installation. Next, we removed the old vanity top, preparing the base for the new one. Measuring and cutting the new vanity top accurately is crucial to achieve a proper fit and seamless installation.
After installing the new vanity top, we securely fastened it to the base, ensuring stability and alignment. Connecting the plumbing fixtures correctly is essential to ensure proper functionality and prevent leaks. Sealing the edges of the vanity top with silicone caulk adds an extra layer of protection and a finished look.
Finally, we completed the installation by tightening screws, removing excess caulk, and cleaning up the workspace. By following these steps and taking the time to complete each task meticulously, you’ve successfully transformed your bathroom with a new vanity top.
Remember to keep your new vanity top well-maintained and clean to preserve its appearance and functionality. Regularly check for any signs of wear or damage and address any issues promptly to prolong the lifespan of your installation.
We hope this guide has been helpful in your bathroom vanity top installation journey. Enjoy your newly transformed bathroom and the enhanced beauty and functionality it brings. With your newly acquired knowledge and skills, you can confidently tackle future home improvement projects.
Thank you for following along, and best of luck with your new bathroom vanity top!
Frequently Asked Questions about How To Install A Bathroom Vanity Top
Was this page helpful?
At Storables.com, we guarantee accurate and reliable information. Our content, validated by Expert Board Contributors, is crafted following stringent Editorial Policies. We're committed to providing you with well-researched, expert-backed insights for all your informational needs.


0 thoughts on “How To Install A Bathroom Vanity Top”