Articles
How To Replace A Bathroom Vanity Top
Modified: March 1, 2024
Learn how to replace a bathroom vanity top in our informative articles. Step-by-step instructions and helpful tips to upgrade your bathroom.
(Many of the links in this article redirect to a specific reviewed product. Your purchase of these products through affiliate links helps to generate commission for Storables.com, at no extra cost. Learn more)
Introduction
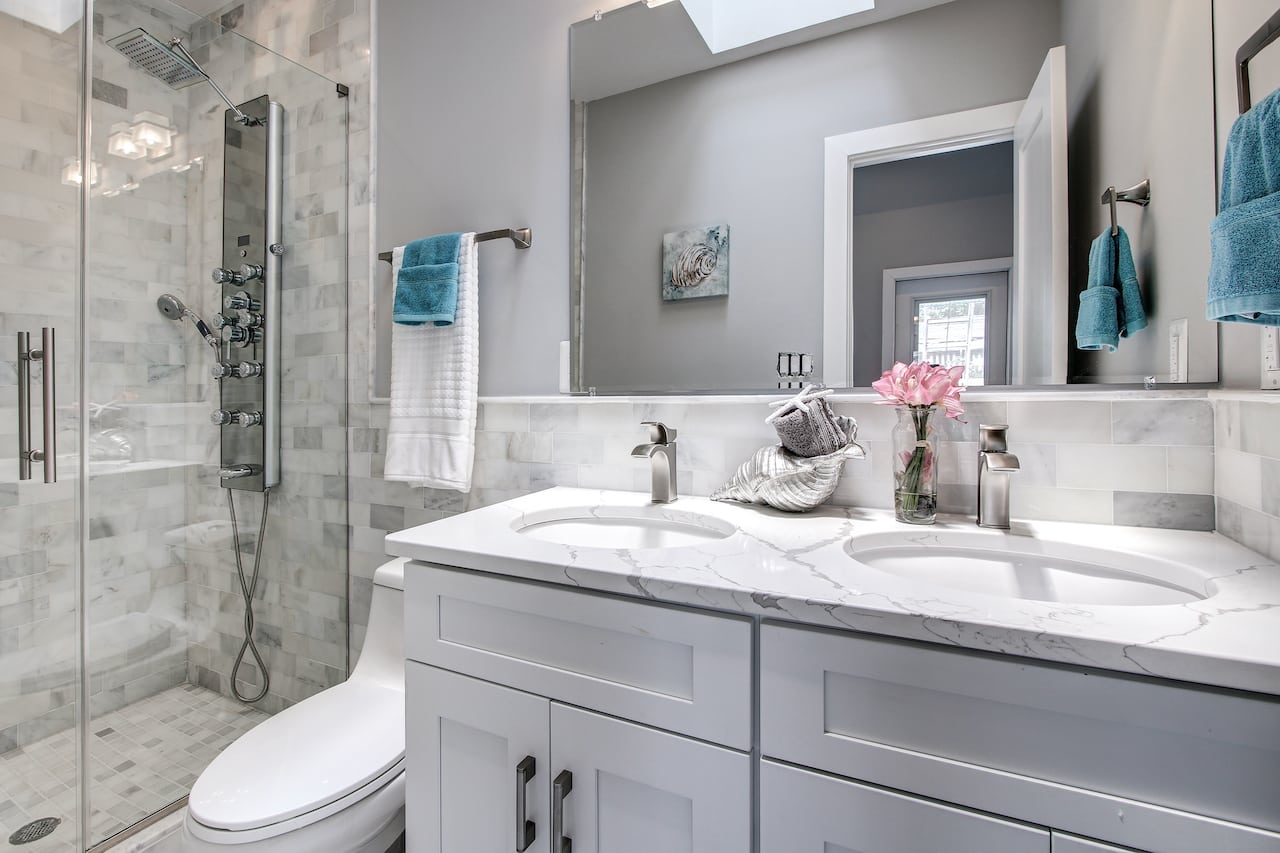
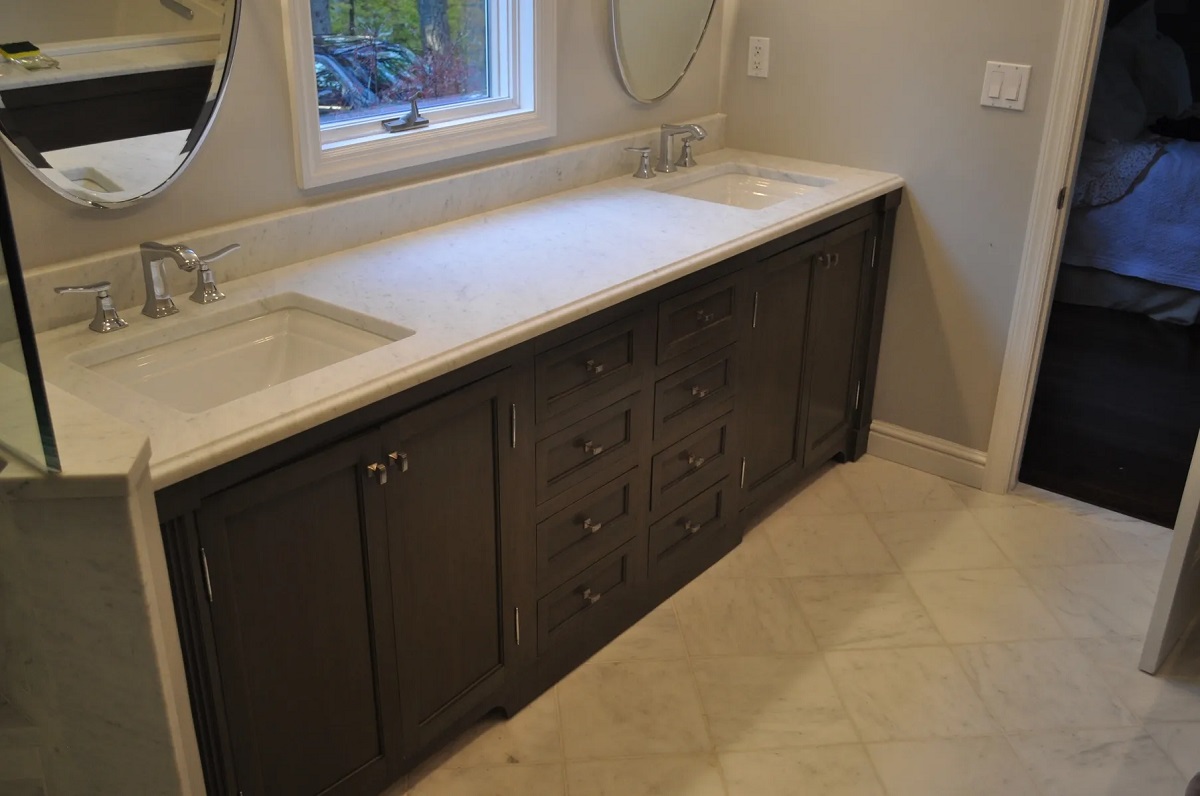
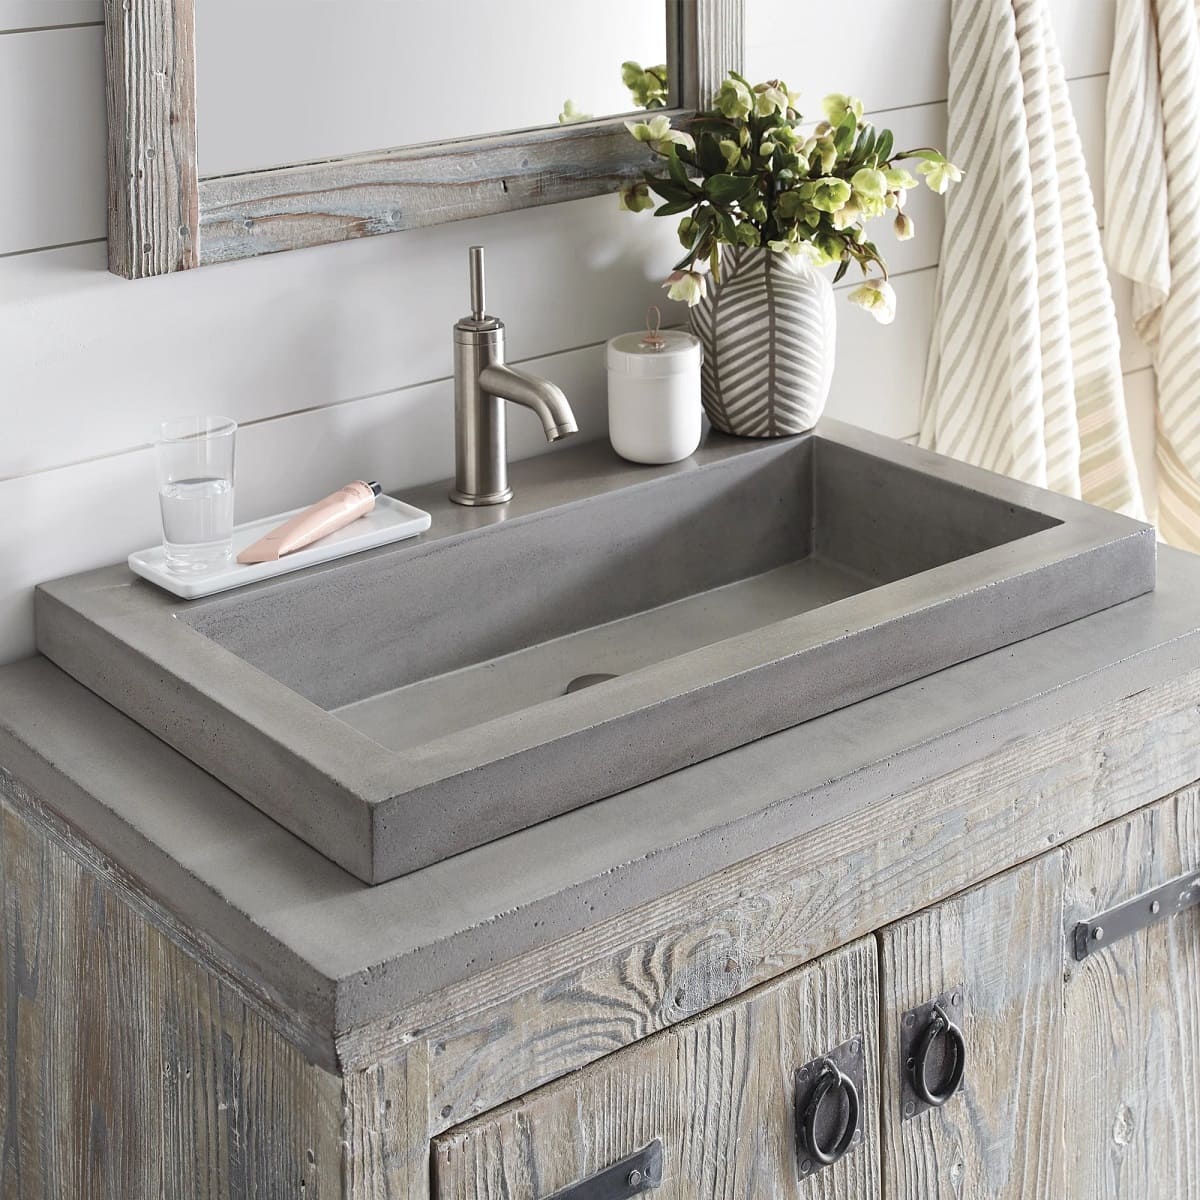
Replacing a bathroom vanity top can be a great way to update the look and functionality of your bathroom without undergoing a full renovation. Whether you’re looking to upgrade from an outdated material, repair a damaged vanity top, or simply want to give your bathroom a fresh new look, this DIY project is both affordable and relatively easy to accomplish.
In this step-by-step guide, we will walk you through the process of replacing a bathroom vanity top. From gathering the necessary tools and materials to the final finishing touches, you will learn everything you need to know to successfully complete this project.
Before you begin, it’s important to note that the steps outlined in this article are general guidelines and may vary depending on the specific design of your vanity and the type of vanity top being installed. It’s always a good idea to consult the manufacturer’s instructions for your particular vanity and vanity top to ensure proper installation.
Now, let’s get started on transforming your bathroom with a brand-new vanity top!
Key Takeaways:
- Upgrade your bathroom without a full renovation by replacing the vanity top. Follow these DIY steps for a fresh new look and improved functionality.
- Ensure a successful installation by gathering the right tools, preparing the area, and connecting plumbing fixtures. Enjoy your transformed bathroom space!
Read more: How To Seal Vanity Top
Step 1: Gather the necessary tools and materials
Before you begin the process of replacing your bathroom vanity top, it’s important to gather all the tools and materials you will need. By having everything on hand, you can work efficiently and ensure a smooth installation process. Here are the essential tools and materials you’ll need:
- A new vanity top
- Measuring tape
- Adjustable wrench
- Utility knife
- Putty knife
- Power drill
- Screwdriver set
- Plumber’s putty
- Caulk gun
- Silicone caulk
- Bucket
- Old rags or towels
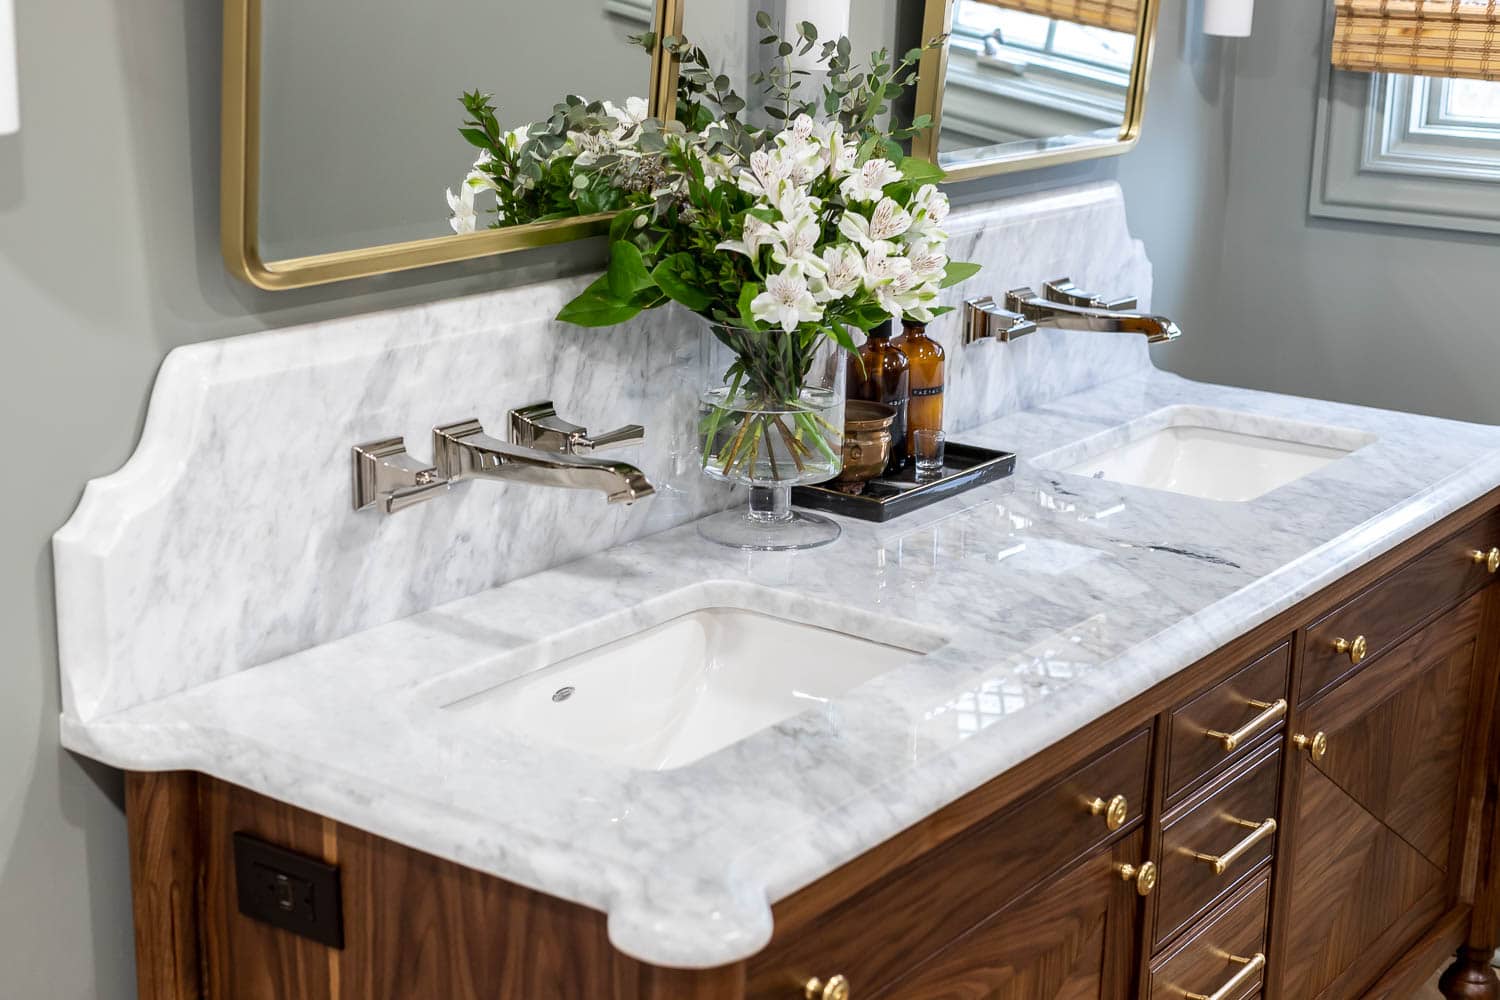
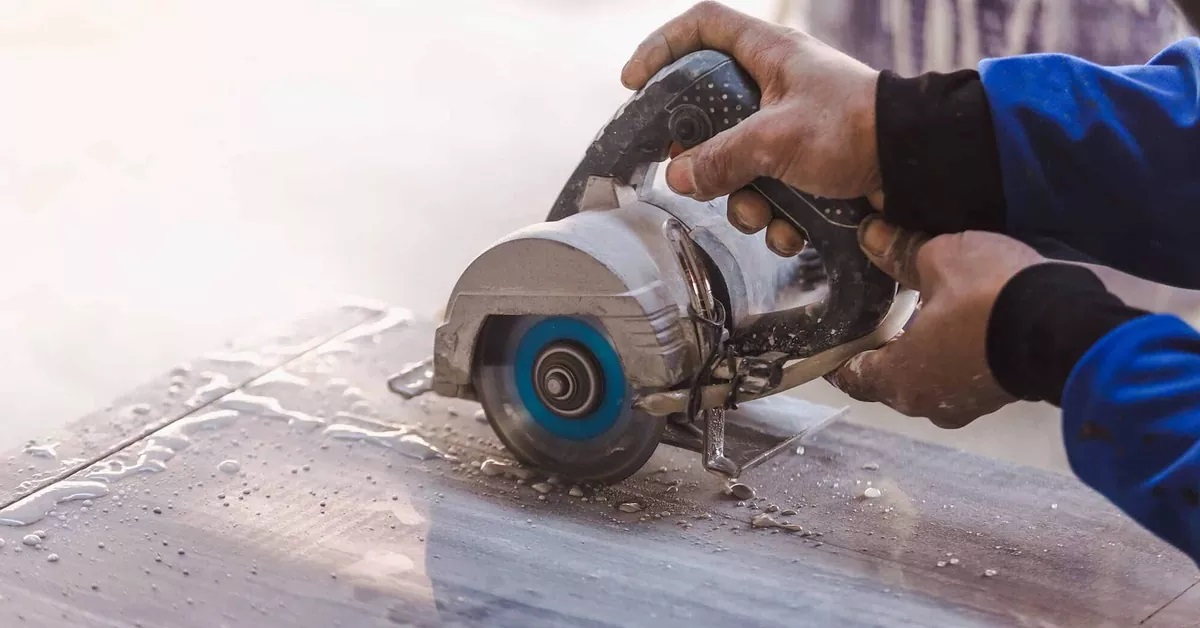
Make sure to measure the dimensions of your existing vanity top and choose a new one that fits the space properly. Additionally, check whether you will need any specific tools or materials based on the type of vanity top you are installing. For example, if you’re installing a granite or marble vanity top, you may need an adhesive or epoxy specific to those materials.
Once you have gathered all the necessary tools and materials, you’re ready to move on to the next step: removing the old vanity top.
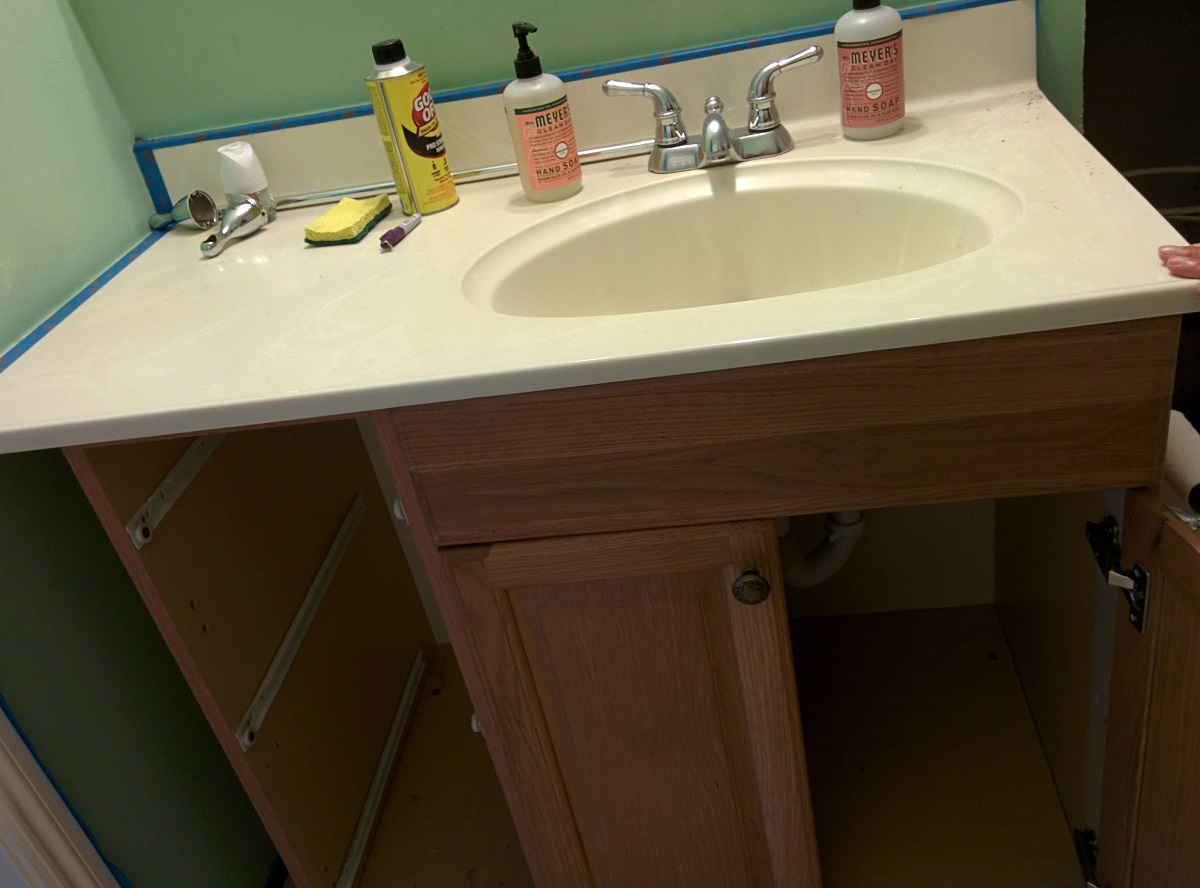
Step 2: Remove the old vanity top
Now that you have all your tools and materials ready, it’s time to remove the old vanity top. Follow these steps to safely and effectively remove the existing vanity top:
- Turn off the water supply: Before you begin, locate the shut-off valves for the water supply lines connected to the vanity. Turn them clockwise to shut off the water.
- Disconnect the plumbing fixtures: Use an adjustable wrench to loosen and disconnect the supply lines and drain pipes from the underside of the vanity top. Have a bucket or towels ready to catch any water that may spill out.
- Remove the faucet and drain: Use a screwdriver or wrench to detach the faucet and drain assembly from the vanity top. Set them aside for later use or replace them if necessary.
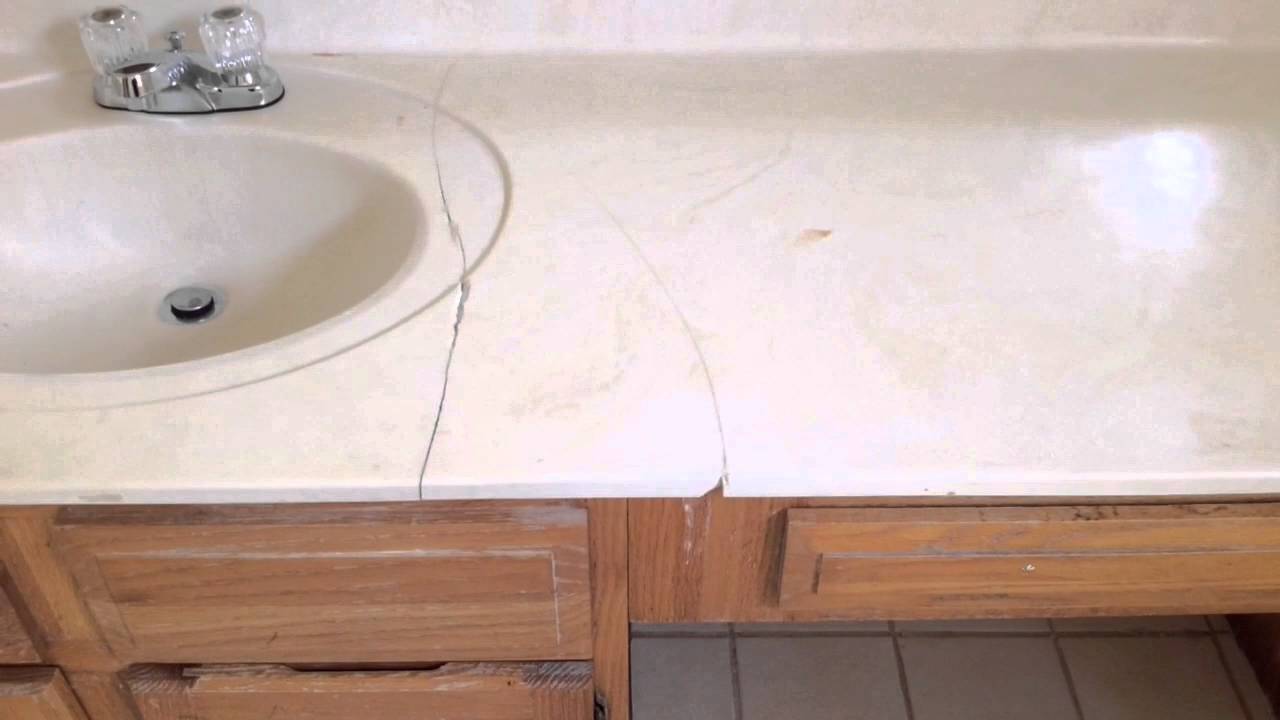
- Detach the vanity top from the vanity cabinet: Inspect how the vanity top is attached to the vanity cabinet. It may be secured with screws, brackets, or adhesive. Carefully remove any screws or brackets, and use a putty knife to gently pry the vanity top away from the cabinet. Be cautious not to damage the cabinet or walls.
- Clear the area and dispose of the old vanity top: Once the old vanity top is detached, remove any debris or adhesive residue from the cabinet. Safely dispose of the old vanity top according to local regulations.
By following these steps, you will successfully remove the old vanity top and prepare the space for the installation of the new one. With this major step completed, you can now proceed to the next step: preparing the area for installation.
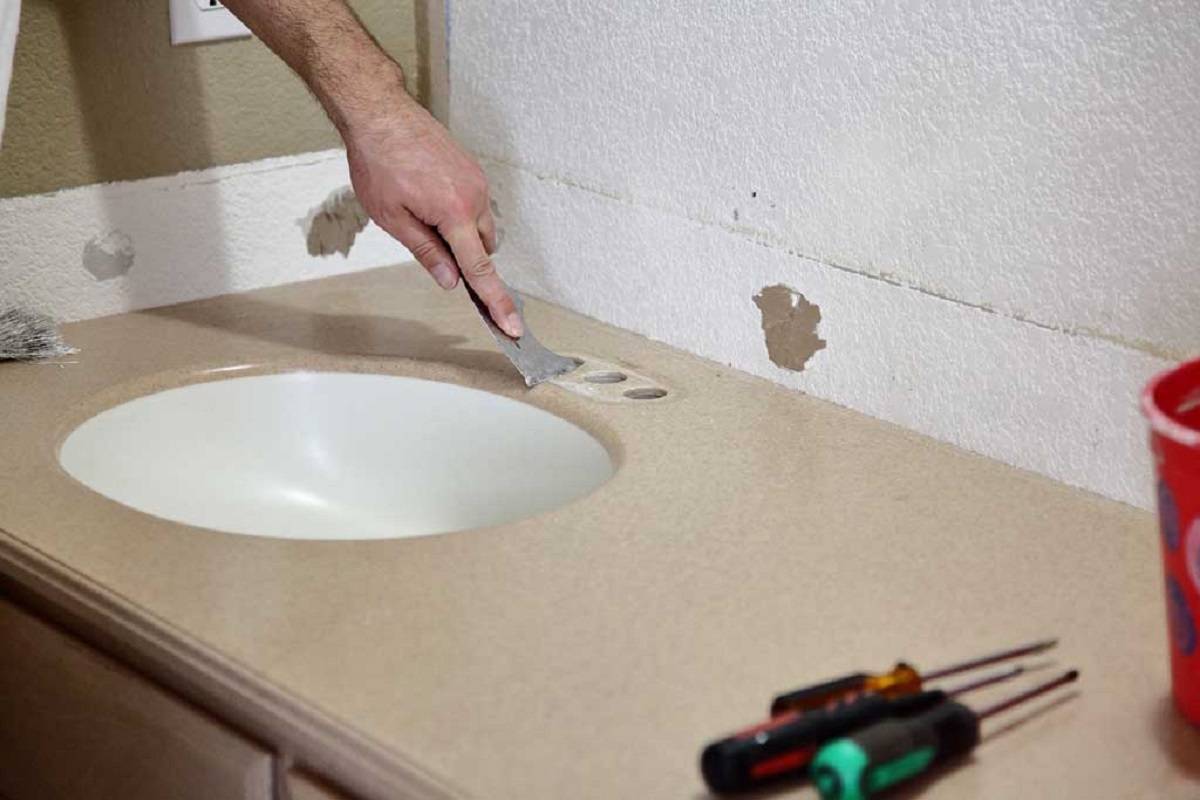
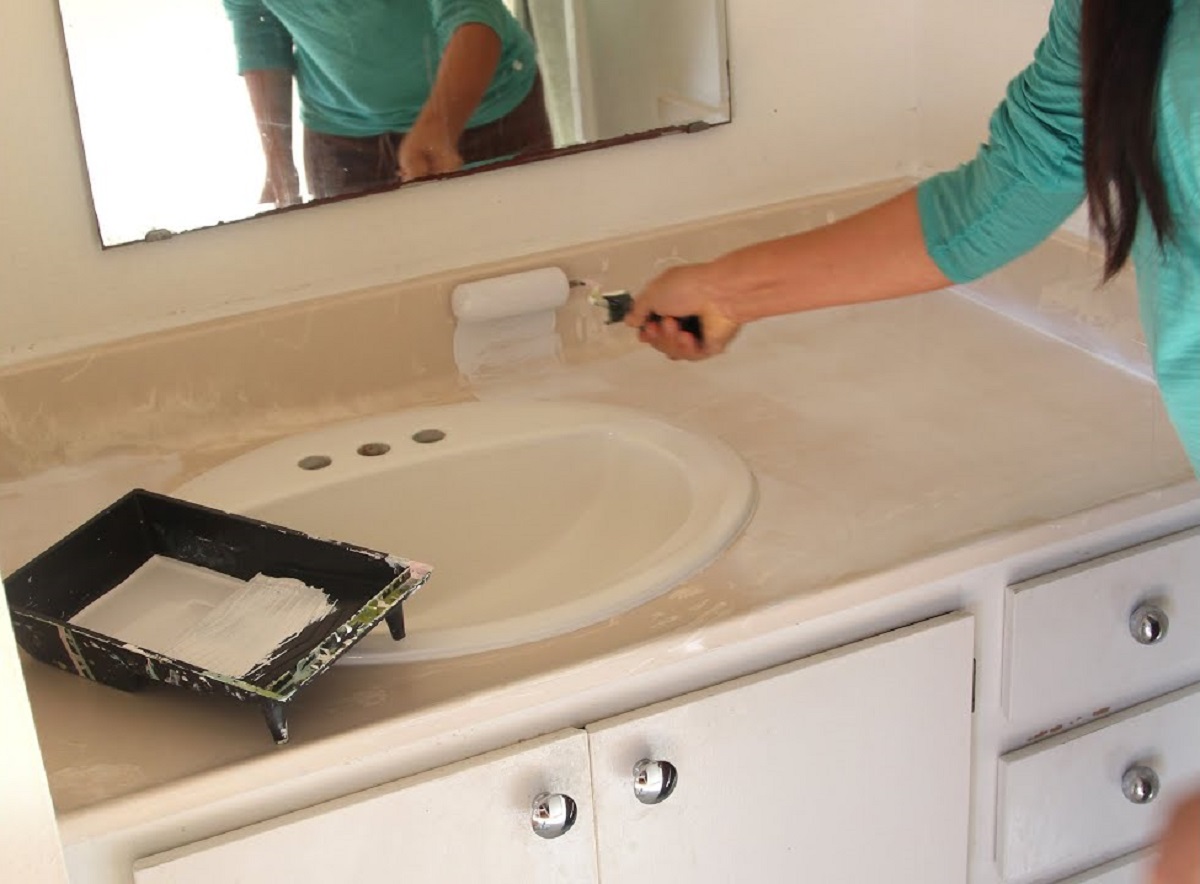
Step 3: Prepare the area for installation
With the old vanity top removed, it’s time to prepare the area for the installation of the new vanity top. Taking the time to properly prepare the space will ensure a smooth and secure installation. Follow these steps to prepare the area:
- Clean the vanity cabinet: Thoroughly clean the inside of the vanity cabinet using a mild cleaner or soapy water. Remove any dirt, dust, or debris to provide a clean surface for the new vanity top.
- Inspect the plumbing connections: Take a moment to inspect the plumbing connections and make sure they are in good condition. Replace any worn-out or damaged parts if necessary.
- Check the levelness of the cabinet: Use a level to check if the vanity cabinet is level. If it’s not level, use shims to adjust the position and ensure that the vanity top will sit evenly.
- Measure and mark the placement of the new vanity top: Use a measuring tape to measure and mark the placement of the new vanity top on the cabinet. Double-check the measurements to ensure accuracy.
- Prepare the back and side walls: If your vanity top has a backsplash or if the side walls are exposed, clean and prepare them for installation. Remove any old caulk or adhesive and make sure the surface is smooth.
- Apply a bead of plumber’s putty or adhesive: Depending on the type of vanity top and manufacturer’s instructions, apply a bead of plumber’s putty or adhesive along the top edges of the vanity cabinet. This will help secure the new vanity top in place.
By following these steps, you will have properly prepared the area for the installation of the new vanity top. Taking the time to clean, inspect, and level the cabinet, as well as properly mark the placement, will result in a secure and professional installation. Once you’ve completed these preparations, you’re ready to move on to the next step: installing the new vanity top.
Step 4: Install the new vanity top
Now that you have prepared the area, it’s time to install the new vanity top. Follow these steps to ensure a successful and secure installation:
- Lift the new vanity top into place: Carefully lift the new vanity top and position it onto the cabinet. Make sure it aligns with the previously marked placement.
- Adjust the positioning if needed: Check the alignment of the vanity top with the walls and the front of the cabinet. Make any necessary adjustments to ensure it is centered and level.
- Secure the vanity top to the cabinet: Depending on the type of vanity top, follow the manufacturer’s instructions to secure it to the cabinet. This may involve using screws, brackets, or adhesive.
- Ensure a tight fit: Check that the vanity top is securely and snugly fitted onto the cabinet. Apply gentle pressure to ensure it is evenly seated.
- Double-check the levelness: Use a level to ensure the new vanity top is level. Make any adjustments if needed by adding or removing shims.
During the installation process, be careful not to scratch or damage the vanity top or cabinet. Use caution when handling the new vanity top and enlist the help of another person if necessary.
Once the new vanity top is installed and properly aligned, you’re ready to move on to the next step: securing the vanity top in place.
When replacing a bathroom vanity top, be sure to measure the dimensions of the existing top accurately before purchasing a new one to ensure a proper fit.
Read more: How To Attach A Vanity Top
Step 5: Secure the vanity top in place
After successfully installing the new vanity top, it’s important to secure it in place to ensure stability and longevity. Follow these steps to securely attach the vanity top to the cabinet:
- Apply silicone adhesive or caulk: Depending on the instructions provided by the manufacturer, apply a thin and even bead of silicone adhesive or caulk along the top edges of the vanity cabinet. This will create a waterproof seal and prevent moisture from seeping into the cabinet.
- Press the vanity top down: Gently press down on the vanity top to ensure it adheres to the adhesive or caulk. Apply even pressure across the surface to ensure a secure bond.
- Remove any excess adhesive or caulk: Use a putty knife or damp cloth to remove any excess adhesive or caulk that may have squeezed out during the pressing process. This will provide a clean and finished look.
- Allow the adhesive or caulk to dry: Follow the manufacturer’s instructions regarding the drying time of the adhesive or caulk. It’s important to allow sufficient drying time before using the vanity.
Securing the vanity top in place is crucial for its stability and durability. By following these steps and allowing proper drying time, you can ensure that your new vanity top remains securely attached to the cabinet for years to come.
Once the adhesive or caulk is dry and the vanity top is securely in place, you can move on to the next step: connecting the plumbing fixtures.
Step 6: Connect the plumbing fixtures
With the vanity top securely in place, it’s time to connect the plumbing fixtures. Follow these steps to ensure proper installation and functioning of your bathroom plumbing:
- Reattach the faucet: Position the faucet back onto the holes provided in the vanity top. Follow the manufacturer’s instructions for securing the faucet. Typically, this involves tightening nuts or bolts from underneath the vanity top. Use an adjustable wrench or the appropriate tool to tighten them securely.
- Connect the water supply lines: Reattach the water supply lines to the corresponding hot and cold water inlets of the faucet. Use an adjustable wrench to tighten the connections, being careful not to overtighten and risk damaging the fittings.
- Reinstall the drain assembly: Attach the drain assembly to the drain opening of the vanity top, following the manufacturer’s instructions. Ensure a tight connection and use plumber’s tape if necessary.
- Reconnect the drain pipe: Connect the drain pipe to the bottom of the drain assembly. Use an adjustable wrench to tighten the connections securely.
- Turn on the water supply: Once all the plumbing fixtures are securely connected, turn on the water supply by turning the shut-off valves counterclockwise. Check for any leaks around the faucet and drain connections. If you notice any leaks, tighten the connections further or consider using plumber’s tape or thread sealant to create a watertight seal.
Completing these steps will ensure that your plumbing fixtures are properly connected and functioning efficiently. Double-check the connections and test the water flow to ensure everything is working as intended.
Next, we’ll move on to Step 7: caulking and sealing the edges of the vanity top for a finished and polished look.
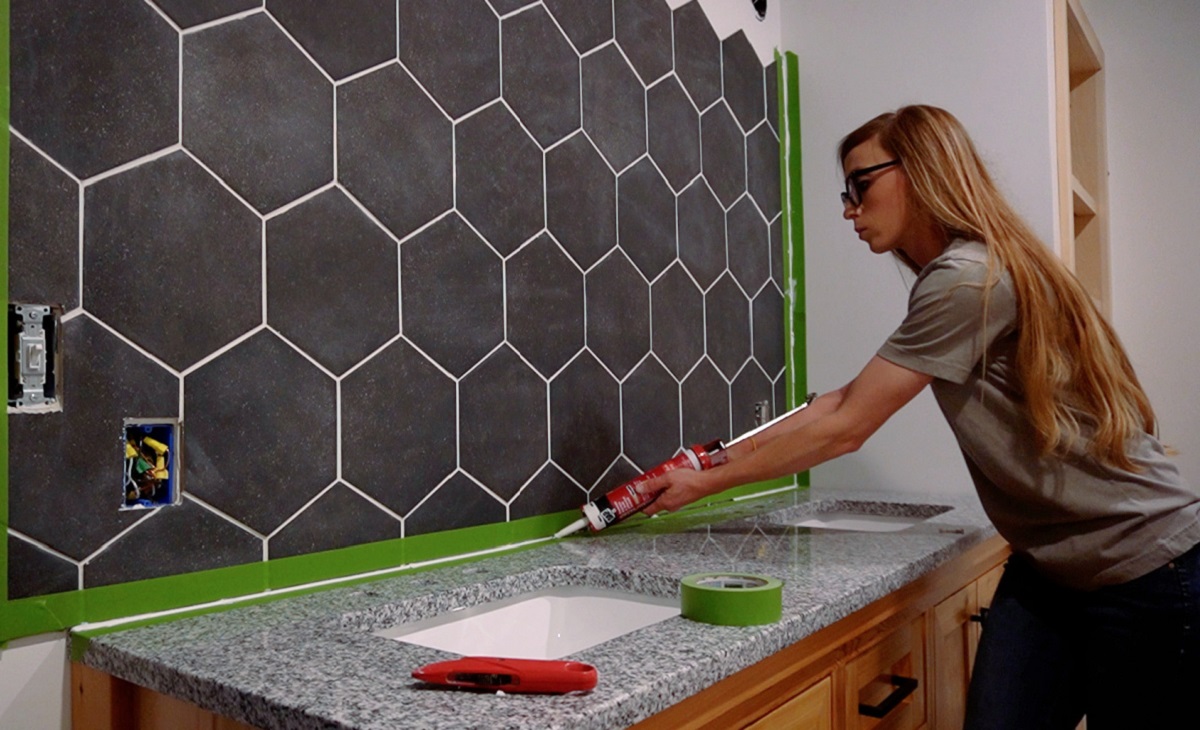
Step 7: Caulk and seal the edges
After connecting the plumbing fixtures, it’s time to caulk and seal the edges of the vanity top. This step not only gives your vanity a professional and finished look but also helps to prevent water damage and keep the area clean. Follow these steps to properly caulk and seal the edges:
- Clean the edges: Use a damp cloth to clean any dust or debris from the edges of the vanity top and the surrounding walls. This will ensure a clean and smooth surface for the caulk.
- Cut the caulk tube: Cut the tip of the caulk tube at a 45-degree angle, making a small opening. Start with a smaller opening and increase it if necessary, as you can always make the opening larger, but it’s difficult to make it smaller.
- Apply caulk: Hold the caulk gun at a 45-degree angle and gently squeeze the trigger to apply a thin bead of caulk along the edges of the vanity top. Start from one corner and continue along the entire perimeter. Take care to ensure an even and continuous bead of caulk.
- Smooth the caulk: Use your finger or a caulk smoothing tool to smooth the caulk along the edges. Apply steady and even pressure to create a clean and uniform finish. Wipe away any excess caulk with a damp cloth.
- Allow the caulk to dry: Follow the manufacturer’s instructions regarding the drying time of the caulk. It typically takes a few hours for the caulk to fully cure and dry.
By properly caulking and sealing the edges of the vanity top, you not only enhance the appearance of the installation but also create a waterproof barrier. This will help prevent water damage and keep the edges clean and free from moisture.
Lastly, we’ll move on to Step 8: adding the finishing touches and cleaning up to complete the installation.
Step 8: Finishing touches and cleanup
Congratulations! You’re almost done with the installation of your new vanity top. In this final step, we’ll focus on adding the finishing touches and cleaning up to complete the project.
- Check for any loose connections: Take a moment to double-check all the plumbing connections to ensure they are tight and secure. This will help prevent any future leaks or issues.
- Install any additional accessories: If you have any additional accessories, such as a backsplash or side splashes, now is the time to install them. Follow the manufacturer’s instructions to secure them in place.
- Clean the vanity top: Wipe down the surface of the vanity top with a non-abrasive cleaner to remove any dirt or residue. Avoid using harsh chemicals or abrasive scrubbers that could damage the surface.
- Polish the vanity top: If your vanity top is made of a natural stone material, such as granite or marble, consider applying a stone polish to enhance its shine and protect the surface.
- Clean up the workspace: Dispose of any packaging materials, clean up any debris, and return your tools to their proper storage. Make sure the bathroom is neat and tidy before admiring your newly installed vanity top.
With these final touches and cleanup steps, you have successfully completed the installation of your new bathroom vanity top. Take a step back and enjoy the transformation of your bathroom!
Remember to regularly clean and maintain your vanity top to keep it looking its best. Follow the manufacturer’s recommendations for cleaning and care, and address any issues or repairs as they arise.
Thank you for following this step-by-step guide on how to replace a bathroom vanity top. We hope this process has been helpful, and you are now able to enjoy your newly installed vanity top for years to come!
Happy renovating!
Read more: How To Clean Vanity Top
Conclusion
Replacing a bathroom vanity top is a fantastic way to upgrade the look and functionality of your bathroom without breaking the bank. By following the steps outlined in this guide, you can successfully complete this DIY project and enjoy the benefits of a fresh and stylish vanity top.
Throughout this process, we covered everything from gathering the necessary tools and materials to removing the old vanity top, preparing the area for installation, installing the new vanity top, connecting the plumbing fixtures, caulking and sealing the edges, and adding the finishing touches. Each step is crucial in ensuring a successful installation and a long-lasting result.
Remember to carefully follow the manufacturer’s instructions specific to your vanity top to ensure proper installation and avoid any potential mishaps. It’s also important to take your time, be patient, and enlist the help of a friend or family member if needed.
Once your new vanity top is securely installed, take the time to admire your handiwork and enjoy the enhanced aesthetics and functionality it brings to your bathroom space. With regular cleaning and maintenance, your vanity top will continue to shine and serve you well for years to come.
We hope this step-by-step guide has been helpful in guiding you through the process of replacing a bathroom vanity top. Remember, if you ever feel unsure or encounter any challenges, it’s always a good idea to consult with a professional for assistance.
Thank you for embarking on this home improvement journey with us. We wish you the best of luck in your project and hope you enjoy your newly transformed bathroom!
Frequently Asked Questions about How To Replace A Bathroom Vanity Top
Was this page helpful?
At Storables.com, we guarantee accurate and reliable information. Our content, validated by Expert Board Contributors, is crafted following stringent Editorial Policies. We're committed to providing you with well-researched, expert-backed insights for all your informational needs.

0 thoughts on “How To Replace A Bathroom Vanity Top”