Articles
How To Fix A Cracked Vanity Top
Modified: May 6, 2024
Learn how to fix a cracked vanity top with our informative articles. Get step-by-step instructions and expert tips to restore your bathroom vanity quickly and easily.
(Many of the links in this article redirect to a specific reviewed product. Your purchase of these products through affiliate links helps to generate commission for Storables.com, at no extra cost. Learn more)
Introduction
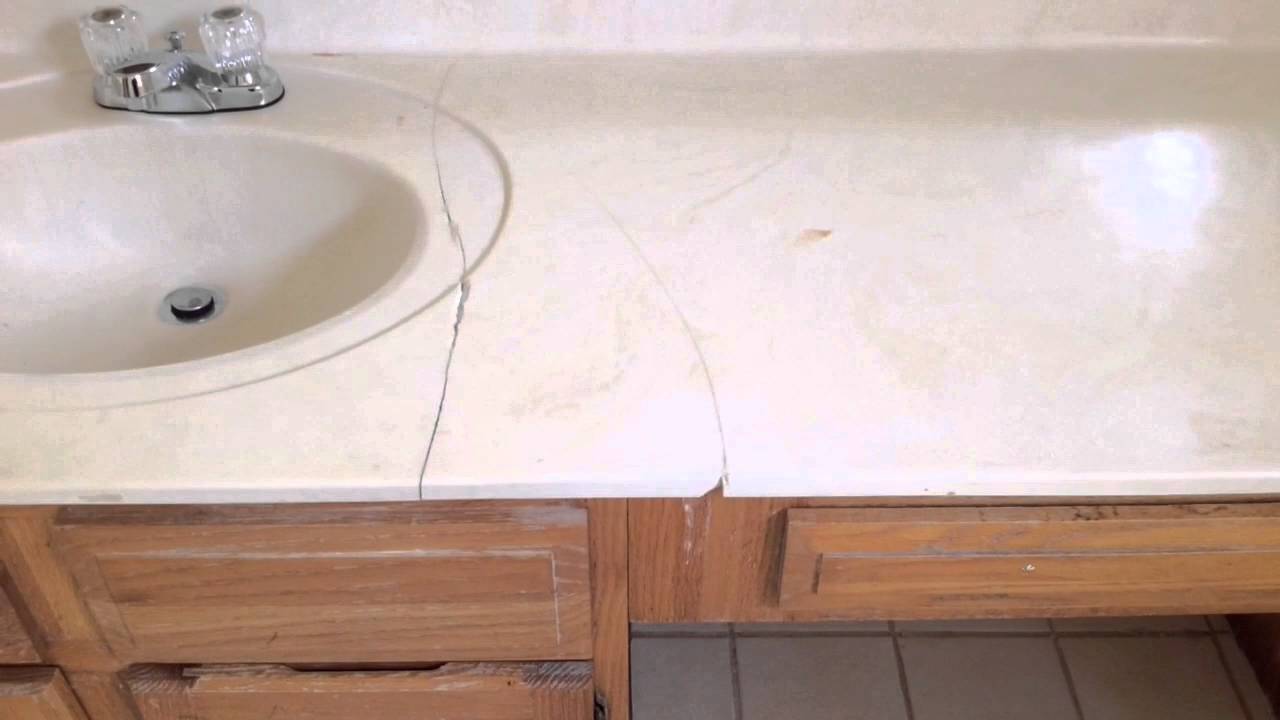
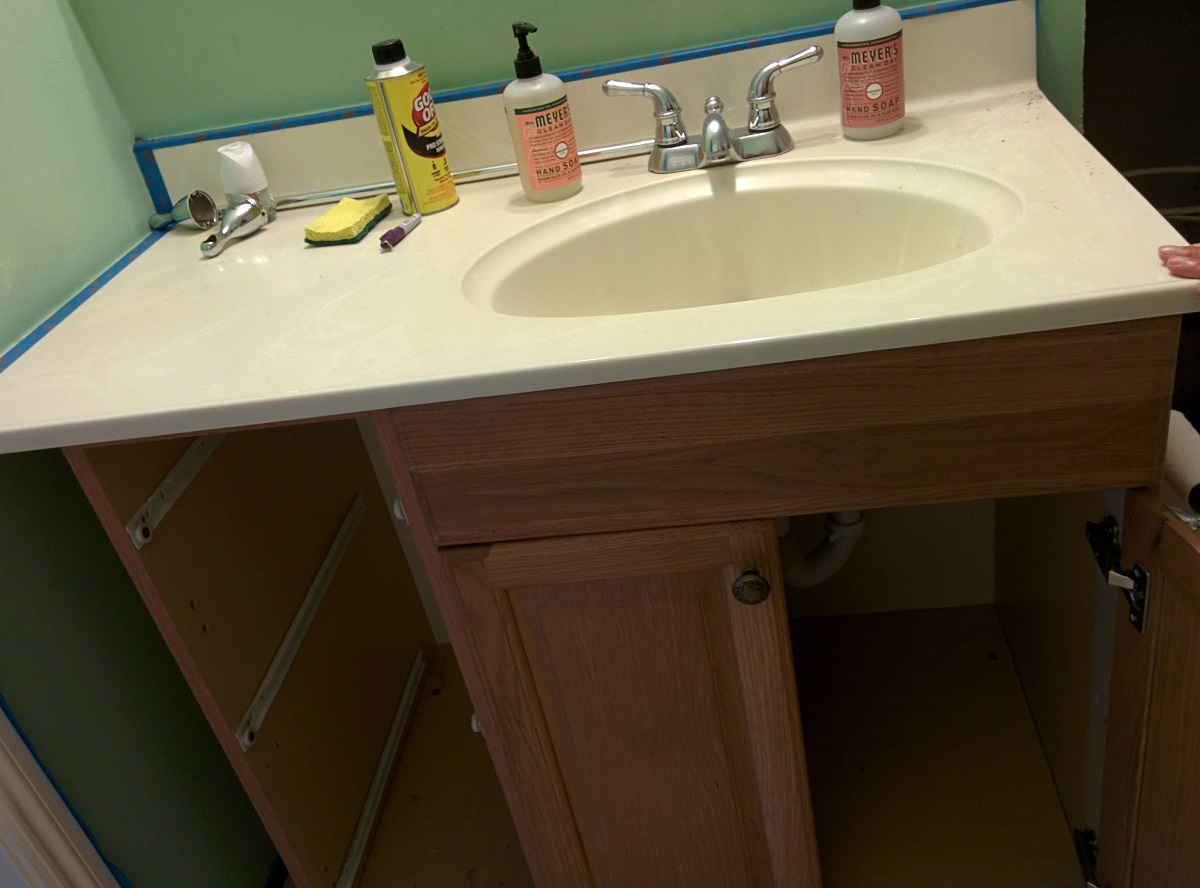
Having a cracked vanity top can be a frustrating and unsightly problem. Whether your vanity top is made of marble, granite, or laminate, a crack can detract from the overall appearance and functionality of your bathroom. However, the good news is that you can fix a cracked vanity top yourself with a few simple tools and materials.
In this article, we will guide you through the step-by-step process of fixing a cracked vanity top. We will provide detailed instructions on assessing the damage, gathering the required materials, preparing the vanity top, applying the repair compound, smoothing and leveling the surface, allowing time for the repair to cure, sanding the repaired area, applying finish and polish, and finally, some additional tips to ensure a successful repair.
Before we dive into the process, it’s important to note that the approach to repairing a cracked vanity top may vary depending on the material and severity of the crack. It’s always a good idea to consult the manufacturer’s guidelines or seek professional advice for specific recommendations. Additionally, ensure that you have all the necessary safety equipment such as safety glasses and gloves before starting the repair.
Now, let’s begin the journey to restore your cracked vanity top to its original beauty!
Key Takeaways:
- DIY Repair: Easily fix a cracked vanity top by assessing damage, gathering materials, applying repair compound, and finishing for a seamless and beautiful surface.
- Maintenance Matters: Regularly inspect and maintain your repaired vanity top to prevent future damage and ensure its longevity. Enjoy a beautiful and functional bathroom!
Read more: How To Fix A Cracked Stove Top
Assessing the Damage
Before you start the repair process, it’s essential to assess the extent of the damage to your vanity top. This step will help you determine the appropriate repair method and ensure successful results.
Here’s how you can assess the damage:
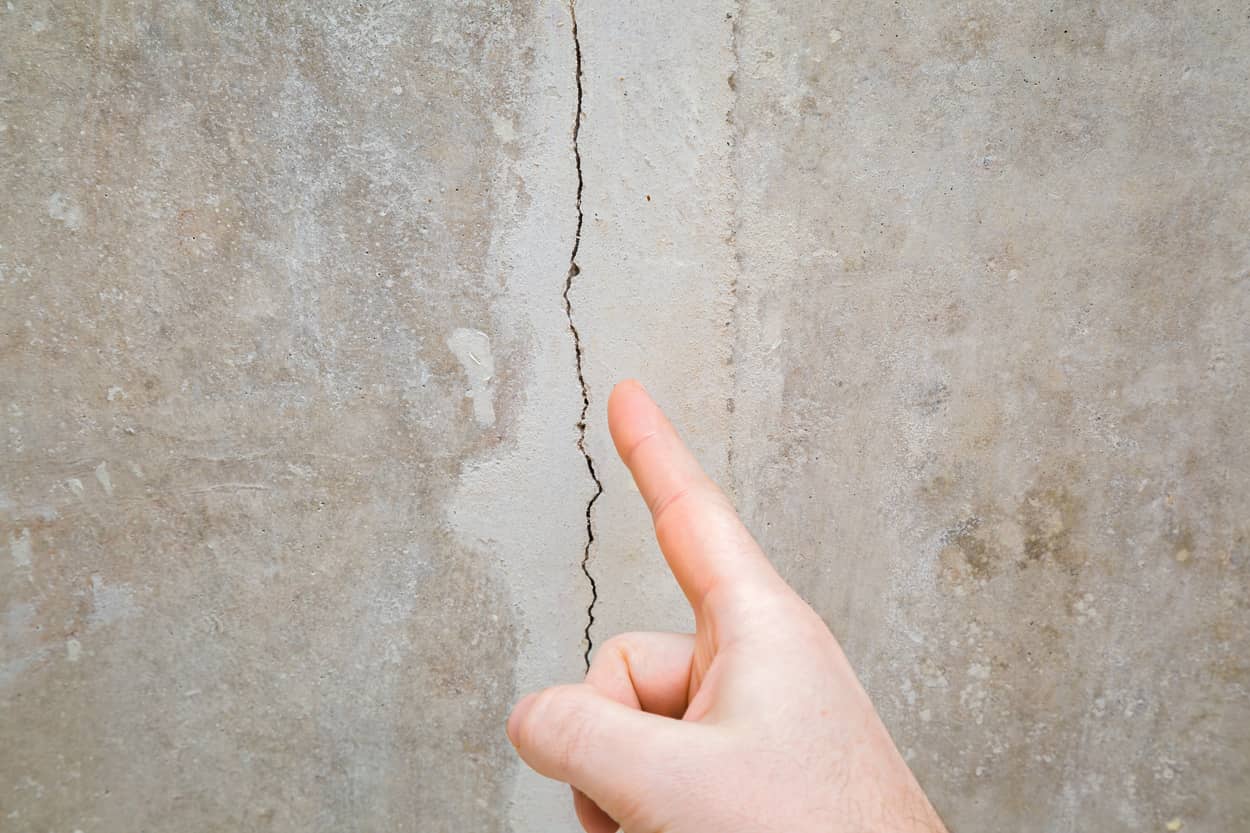
- Inspect the crack: Take a close look at the crack on your vanity top. Note its length, depth, and location. Is it a hairline crack or a more extensive one? Is it a surface-level crack or does it penetrate through the thickness of the material? This initial assessment will help you determine the necessary repair approach.
- Check for stability: Gently press on both sides of the crack to see if the vanity top is stable. If it feels loose or moves, it may require additional reinforcement or professional repair. However, if the crack is stable and doesn’t impact the overall stability of the vanity top, you can proceed with the repair process.
- Determine the material: Different materials require different repair techniques. Identify the material of your vanity top, whether it’s marble, granite, or laminate. This information will help you select the appropriate repair compound and tools for the job.
- Take note of the surrounding area: Examine the area surrounding the crack. Are there signs of discoloration, staining, or additional damage? If so, you may need to address those issues separately or consult a professional for further assistance.
By carefully assessing the damage, you’ll have a better understanding of the repair process ahead. Remember to document the findings, take measurements if necessary, and keep these details in mind as you move on to the next steps of repairing your cracked vanity top.
Gathering the Required Materials
Once you have assessed the damage of your cracked vanity top, it’s time to gather the necessary materials to complete the repair. Having the right tools and supplies will ensure a smooth and successful repair process.
Here is a list of materials you will need:
- Repair compound: Select a repair compound that is compatible with the material of your vanity top. For example, epoxy or resin-based compounds work well for most materials, while a laminate repair kit may be required for laminate surfaces.
- Putty knife or scraper: You’ll need a putty knife or scraper to apply and shape the repair compound. Make sure it is sturdy and has a flat edge for smooth application.
- Sandpaper or sanding block: Prepare sandpaper or a sanding block with different grits, including fine and medium grades. This will be used to sand down the repaired area and achieve a smooth and seamless finish.
- Protective equipment: Safety should always be a priority. Wear safety glasses, gloves, and a mask to protect yourself from any harmful particles or chemicals during the repair process.
- Cleaning supplies: Before starting the repair, clean your vanity top thoroughly. Gather some soap, water, and a soft cloth or sponge to remove any dirt, grime, or debris.
- Tape: Masking tape or painter’s tape will be useful for creating boundaries around the cracked area, preventing the repair compound from spreading onto surrounding surfaces.
- Finish and polish: Depending on the material, you may need a specific finish or polish to restore the appearance of the repaired area and blend it with the rest of the vanity top.
Make sure you have all these materials on hand before starting the repair process. It’s helpful to create a checklist to ensure you don’t miss anything. By having everything ready, you’ll be well-prepared to tackle the repair of your cracked vanity top.
Preparing the Vanity Top
Before you can begin the repair process for your cracked vanity top, it’s crucial to properly prepare the surface. Preparing the vanity top will ensure a clean and seamless repair, allowing the repair compound to adhere effectively to the material.
Follow these steps to prepare your vanity top:
- Clean the surface: Start by thoroughly cleaning the entire vanity top using a mild soap, water, and a soft cloth or sponge. Remove any dirt, grime, or residue that may be present on the surface.
- Dry the vanity top: After cleaning, make sure to dry the surface completely using a clean, dry cloth. This step is crucial as any moisture on the surface may hinder the adhesion of the repair compound.
- Mark the boundaries: Use masking tape or painter’s tape to create boundaries around the cracked area. This will help contain the repair compound and prevent it from spreading onto surrounding surfaces.
- Patch any loose or damaged areas: If you notice any loose or damaged portions of the vanity top, use an appropriate bonding agent or adhesive to secure them in place. This step will ensure that the surface is stable and ready for the repair.
- Sand any rough edges: If the crack has resulted in rough edges, gently sand them down using fine-grit sandpaper or a sanding block. This will create a smooth transition between the cracked area and the rest of the vanity top.
- Clean the surface again: Once all the necessary preparations are complete, give the vanity top a final wipe-down with a clean, damp cloth to remove any dust or debris that may have accumulated during the preparation process.
By taking the time to properly prepare the vanity top, you will ensure optimal conditions for the repair compound to bond effectively with the material. This step is essential for achieving a seamless and long-lasting repair for your cracked vanity top.
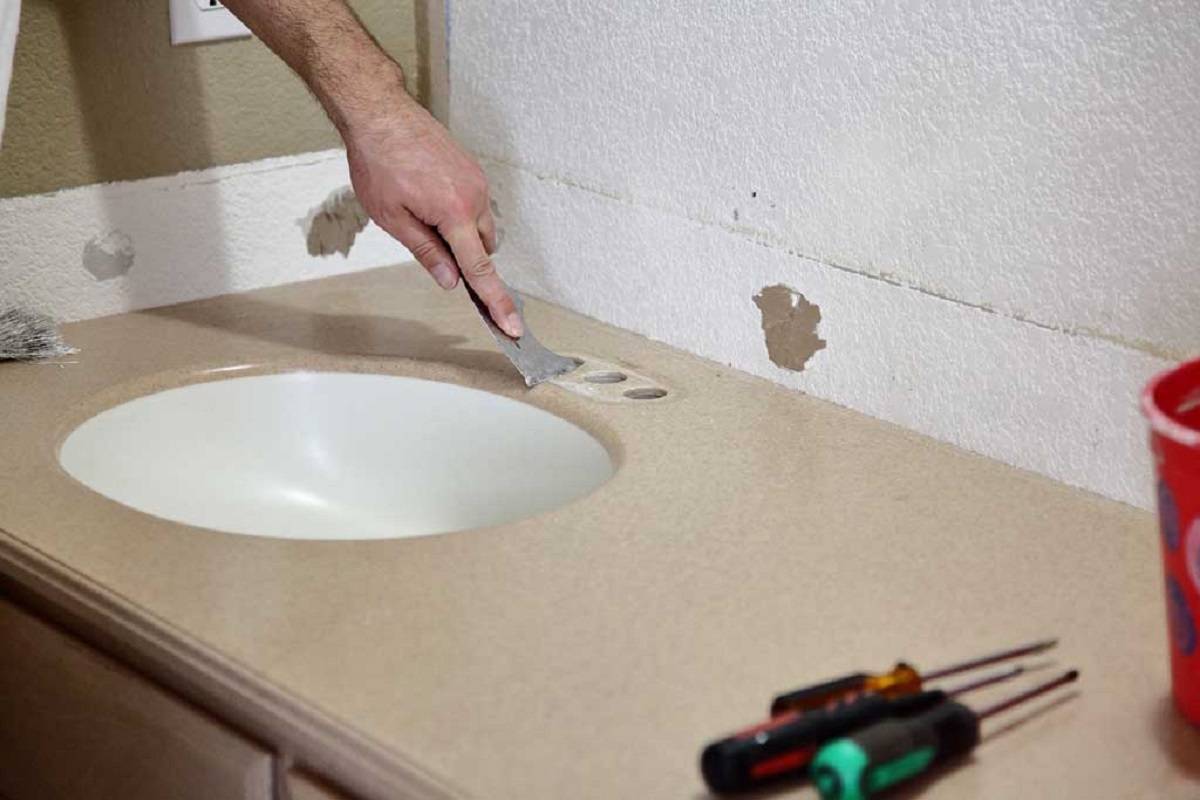
Applying the Repair Compound
Now that you have assessed the damage, gathered the necessary materials, and prepared the surface of your cracked vanity top, it’s time to apply the repair compound. The repair compound will help fill in the crack and restore the integrity and appearance of the surface.
- Mix the repair compound: Follow the instructions provided with your chosen repair compound to mix it properly. Some compounds may require mixing two or more components, while others may come ready-to-use. Ensure that you stir or mix the compound thoroughly to achieve a consistent texture.
- Apply the compound to the crack: Using a putty knife or scraper, carefully apply the repair compound to the crack. Start from one end of the crack and work your way along its length, filling in the crack completely. Make sure the compound is evenly distributed and slightly overfills the crack to ensure a solid bond.
- Smooth the compound: After applying the repair compound, use the putty knife or scraper to smooth out the surface. Gently glide the tool over the compound, feathering the edges to create a seamless transition between the repaired area and the rest of the vanity top. Be careful not to remove too much of the compound, as it may result in an uneven surface.
- Remove excess compound: If any excess repair compound spills onto the surrounding area, quickly clean it up using a damp cloth or sponge. Wipe away the excess compound before it dries to prevent it from sticking to unwanted areas.
- Allow the compound to cure: Follow the manufacturer’s instructions regarding the drying and curing time of the repair compound. It’s important to allow the compound sufficient time to cure completely, ensuring a strong and durable bond.
Remember to work efficiently and swiftly while applying the repair compound, as some compounds may have a limited working time before they start to harden. Take breaks if needed but try to complete the application process in one session to ensure a uniform appearance.
Once the repair compound has cured, you can proceed to the next step of smoothing and leveling the surface to create a seamless finish on your repaired vanity top.
Read more: How To Attach A Vanity Top
Smoothing and Leveling the Surface
After applying the repair compound to your cracked vanity top, the next step is to smooth and level the surface. This process will help achieve a seamless and polished finish, ensuring that the repaired area blends in seamlessly with the rest of the vanity top.
- Check the dried repair compound: Once the repair compound has fully cured, carefully inspect the surface to ensure it has hardened properly. Gently press on the repaired area to check for any soft spots or unevenness.
- Sand the repaired area: Using fine-grit sandpaper or a sanding block, begin sanding the repaired area in a circular motion. Start with a higher grit sandpaper and gradually move to a finer grit to create a smooth surface. Be careful not to apply too much pressure, as this could damage the surrounding vanity top.
- Keep the surface level: While sanding, make sure to maintain an even level across the repaired area and the surrounding vanity top. This will help blend the repaired area seamlessly into the rest of the surface.
- Wipe away dust: Regularly wipe away any dust or debris that accumulates during the sanding process. Use a clean, dry cloth or a damp cloth if necessary to ensure a clean surface for the next steps.
- Inspect and repeat if necessary: After sanding, inspect the repaired area for smoothness. If there are still noticeable imperfections or unevenness, repeat the sanding process until the surface is level and smooth.
It’s important to approach the sanding process with patience and care, as rushing or applying excessive force can lead to unintentional damage to the vanity top. Take your time and periodically check your progress to ensure you achieve the desired smoothness and levelness.
Once you are satisfied with the smoothness of the repaired area, you can proceed to the next step of allowing the repair to cure fully before proceeding with finishing and polishing.
Use a two-part epoxy or acrylic repair kit to fill in the crack on the vanity top. Follow the manufacturer’s instructions for proper application and allow the repair to fully cure before using the vanity.
Allowing Time for the Repair to Cure
After applying the repair compound and smoothing the surface of your cracked vanity top, it’s crucial to allow sufficient time for the repair to cure. Curing ensures that the repair compound fully hardens, providing a strong and durable bond.
Here are some important considerations when allowing time for the repair to cure:
- Refer to manufacturer’s guidelines: Different repair compounds have varying curing times. It’s important to refer to the manufacturer’s guidelines for the specific product you are using. This will provide you with specific instructions on how long the repair compound needs to cure before it can be further treated or exposed to daily use.
- Avoid putting weight or pressure on the repaired area: During the curing process, it’s important to avoid placing any significant weight or pressure on the repaired area. This can help prevent any potential damage or shifting of the repair compound.
- Adequately ventilate the area: Depending on the repair compound you used, it may emit fumes or have certain ventilation requirements during the curing process. Ensure that the area is well-ventilated to allow for proper air circulation and prevent any buildup of harmful chemicals.
- Keep the repaired area dry: Moisture can interfere with the curing process of the repair compound. Avoid exposing the repaired area to water or excessive moisture until it has fully cured. This will help maintain the integrity of the repair and prevent any potential damage.
- Monitor the curing process: Regularly check the repaired area to see if it has hardened and cured properly. Gently touch the surface and see if it feels solid and no longer tacky. If you notice any changes or concerns during the curing process, consult the manufacturer’s guidelines or seek professional advice if needed.
It’s essential to be patient and allow the repair compound ample time to fully cure. Rushing the process can compromise the durability and quality of the repair. Once you are confident that the repair has cured completely, you can proceed to the next steps of sanding, applying finish and polish to complete the repair of your cracked vanity top.
Sanding the Repaired Area
After allowing the repair compound to fully cure on your cracked vanity top, the next step is to sand the repaired area. Sanding helps to smooth out any imperfections and blend the repaired section seamlessly with the rest of the surface.
Follow these steps to effectively sand the repaired area:
- Choose the right sandpaper: Select a fine-grit sandpaper, such as 220-grit or higher. Finer grits are ideal for achieving a smooth finish on surfaces without scratching or damaging them.
- Keep the surface damp: Wet the sandpaper slightly or use a damp sponge to keep the surface slightly wet while sanding. This helps to minimize dust and provides better control during the sanding process.
- Sand in circular motions: Begin sanding the repaired area using circular motions. Apply gentle pressure and move the sandpaper evenly across the surface. Be sure to sand beyond the edges of the repaired area to blend it seamlessly with the surrounding vanity top.
- Check the progress: Periodically stop and wipe away any dust or debris to assess the progress. Inspect the repaired area to see if it aligns with the rest of the surface and feels smooth to the touch. If necessary, continue sanding until the desired results are achieved.
- Transition to finer grits: Once you’re satisfied with the sanding, switch to a finer-grit sandpaper, such as 400-grit or higher. This will further refine the surface and prepare it for the finishing and polishing steps.
- Wipe away dust: After the sanding is complete, thoroughly wipe away any dust or debris using a clean, damp cloth. Ensure that the surface is clean and dry before moving on to the next steps.
It’s important to approach the sanding process with patience and care. Take your time to achieve a smooth finish and blend the repaired area seamlessly with the rest of the vanity top. Remember to periodically inspect the progress to ensure that you’re achieving the desired results.
Once the repaired area is sanded to satisfaction, you can move on to the next step of applying the finish and polish to restore the appearance of your cracked vanity top.
Applying Finish and Polish
After sanding the repaired area of your cracked vanity top, it’s time to apply the finish and polish to restore its appearance and ensure a seamless blend with the rest of the surface.
Follow these steps to effectively apply the finish and polish:
- Select the appropriate finish: Depending on the material of your vanity top, choose a finish that is compatible and recommended for that specific material. For example, you may use a stone sealer for marble or granite, or a laminate polish for laminate surfaces.
- Read and follow the manufacturer’s instructions: Before applying the finish, carefully read the instructions provided by the manufacturer. Follow the recommended application techniques and drying times for the best results.
- Apply the finish to the repaired area: Use a soft cloth, sponge, or applicator pad to apply the finish to the repaired area. Ensure even coverage and pay attention to blending the finish with the surrounding surface to achieve a seamless appearance.
- Allow the finish to dry: Follow the recommended drying time specified by the manufacturer. It’s important to refrain from using or touching the treated area until the finish has fully dried to avoid any smudges or damage.
- Polish the vanity top: Once the finish has dried, you can use a separate cloth or buffing pad to gently polish the entire vanity top. This step will help enhance the shine and overall appearance of the surface.
- Inspect the results: After polishing, carefully inspect the repaired area and the rest of the surface. Ensure that the repaired section blends seamlessly with the surrounding vanity top and that the finish has restored its original beauty.
It’s essential to follow the manufacturer’s instructions and use the appropriate finish for your specific vanity top material. This will ensure the best results and extend the longevity of the repair.
Remember to take your time and work diligently when applying the finish and polish, as this step will greatly impact the final appearance of your repaired cracked vanity top.
Once you’re satisfied with the results, you can proceed with the final steps and tips to complete the repair process.
Read more: How To Seal Vanity Top
Final Steps and Tips
Congratulations on successfully repairing your cracked vanity top! To wrap up the repair process and ensure a long-lasting and aesthetically pleasing outcome, here are some final steps and tips to keep in mind:
- Clean and maintain: Clean your vanity top regularly using gentle, non-abrasive cleaners recommended for the specific material. Avoid using harsh chemicals or scouring pads that can damage the surface.
- Use coasters and trivets: To protect your vanity top from potential damage caused by hot items or spills, always use coasters for drinks and trivets for hot objects.
- Prevent excessive weight or pressure: Avoid placing heavy objects or applying excessive pressure on the repaired area to maintain its integrity. This will help prevent future cracks or damage.
- Address issues promptly: If you notice any new cracks, chips, or other damage on your vanity top, address them promptly to prevent further deterioration and the need for more extensive repairs in the future.
- Regularly inspect the repaired area: Keep an eye on the repaired section of the vanity top to ensure it remains in good condition. Periodically check for any signs of wear or deterioration and address any issues as soon as possible.
- Follow manufacturer’s guidelines: Always refer to the manufacturer’s guidelines and recommendations regarding the care and maintenance of your specific vanity top material. This will help you preserve its quality and appearance over time.
By following these final steps and tips, you can enjoy your repaired vanity top for years to come. Remember that proper care and maintenance are key to maintaining its beauty and functionality.
Thank you for choosing our guide to fix your cracked vanity top. We hope the steps provided have been helpful and that you are satisfied with the results of your repair efforts.
Happy home improvement!
Conclusion
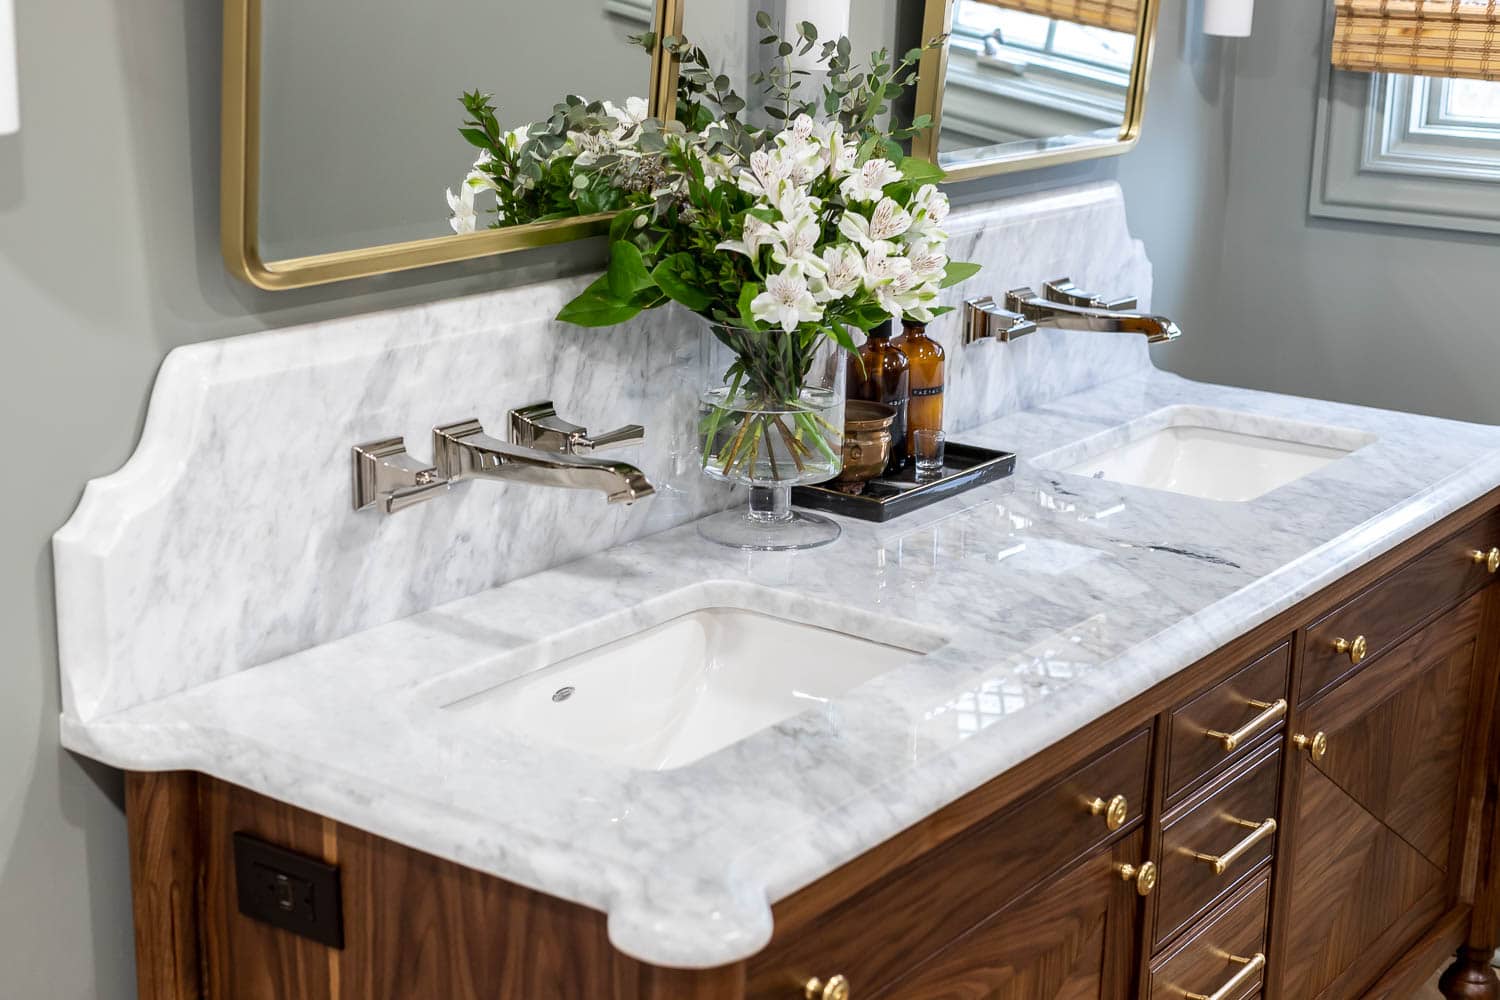
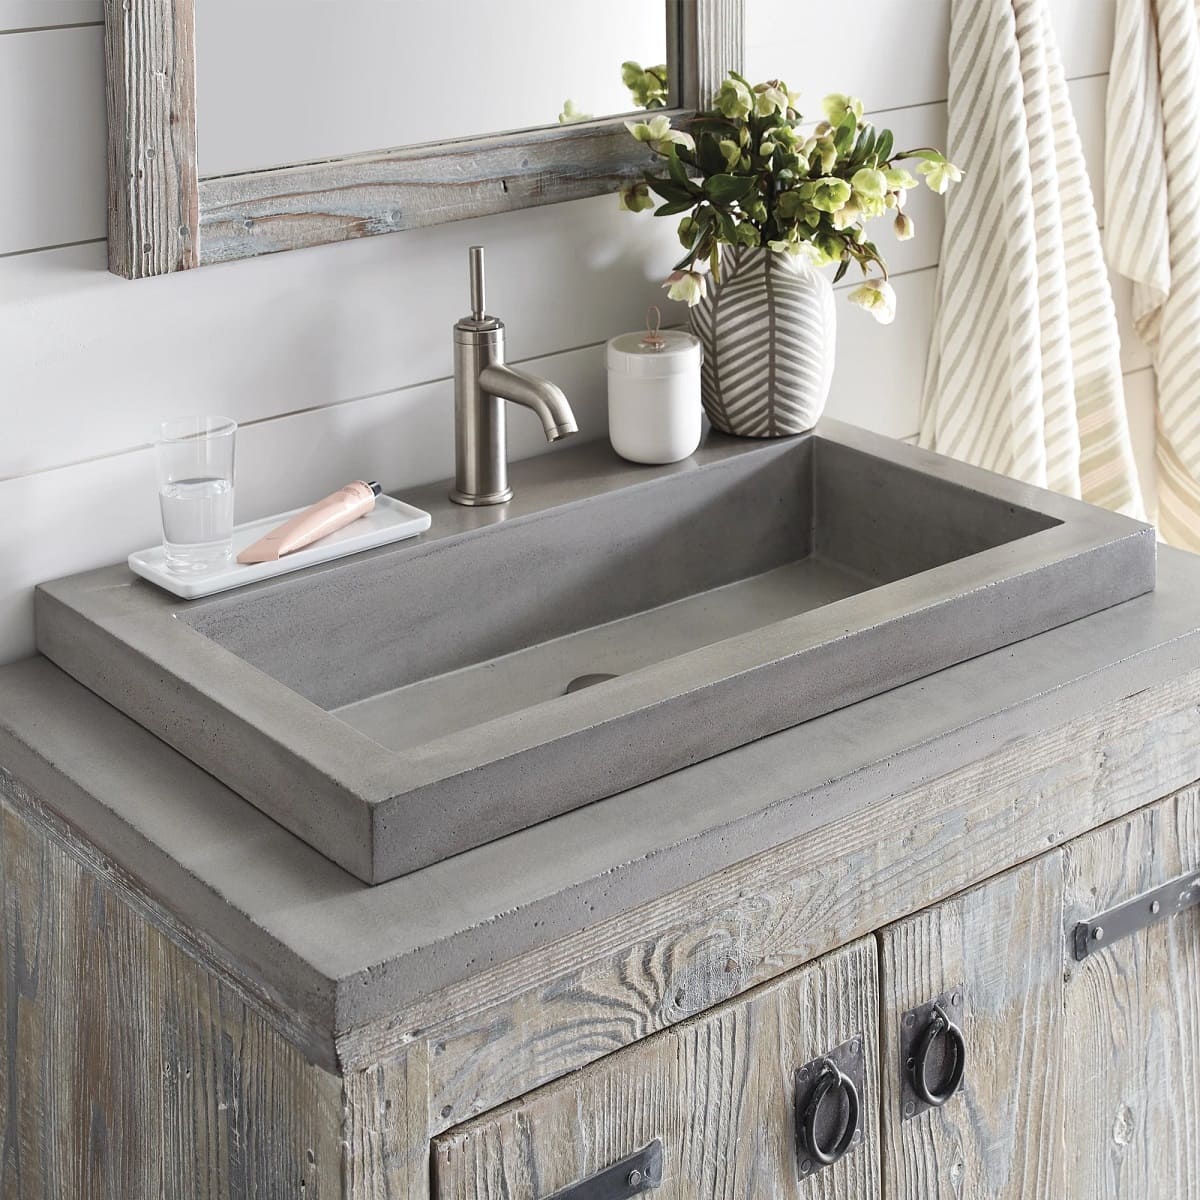
Repairing a cracked vanity top can be a rewarding DIY project that not only restores the functionality of your bathroom but also enhances its overall appearance. By following the step-by-step process outlined in this guide, you can successfully fix a cracked vanity top and enjoy a seamless and beautiful surface once again.
Throughout this article, we discussed the importance of assessing the damage, gathering the required materials, preparing the vanity top, applying the repair compound, smoothing and leveling the surface, allowing time for the repair to cure, sanding the repaired area, and applying finish and polish. Each step plays a crucial role in achieving a successful repair outcome.
Remember to always refer to the manufacturer’s guidelines, especially when it comes to selecting the right repair compound, finish, and maintenance practices for your specific vanity top material. Following these instructions will ensure optimal results and help prolong the lifespan of your repaired vanity top.
Additionally, regularly inspecting and maintaining your vanity top will help prevent future damage and ensure its longevity. Taking simple precautions such as using coasters, avoiding excessive weight or pressure, and addressing any issues promptly can contribute to keeping your vanity top in pristine condition.
Thank you for choosing our guide to fix your cracked vanity top. We hope the information provided has been helpful and that you have successfully restored the beauty and functionality of your bathroom. With proper care and maintenance, your repaired vanity top will continue to add style and charm to your space for years to come.
Remember, a repaired vanity top is not only a practical solution but also a reflection of your creativity and dedication to maintaining a beautiful home. Enjoy your revitalized vanity top and the satisfaction of a job well done!
Now that you've mastered fixing a cracked vanity top, why not tackle a bigger project? If you're considering sprucing up your bathroom further, understanding the timeline for such renovations can help manage expectations and planning. Take a look at our detailed guide on "How Long Does A Bathroom Renovation Take" for insights into the duration and phases of a typical bathroom overhaul. You'll find expert advice and practical steps to ensure your renovation goes smoothly from start to finish.
Frequently Asked Questions about How To Fix A Cracked Vanity Top
Was this page helpful?
At Storables.com, we guarantee accurate and reliable information. Our content, validated by Expert Board Contributors, is crafted following stringent Editorial Policies. We're committed to providing you with well-researched, expert-backed insights for all your informational needs.


0 thoughts on “How To Fix A Cracked Vanity Top”