
Articles
How To Cut A Pallet In Half With Hand Tools
Modified: October 25, 2024
Looking for step-by-step articles on how to cut a pallet in half using hand tools? Find all the tips and tricks you need right here
(Many of the links in this article redirect to a specific reviewed product. Your purchase of these products through affiliate links helps to generate commission for Storables.com, at no extra cost. Learn more)
Introduction
Have you ever wondered how to cut a pallet in half with hand tools? Pallets are versatile and widely used for various DIY projects, but sometimes their size can be a hindrance. Whether you need to resize a pallet for a specific project or simply want to make it more manageable, cutting it in half can be a practical solution. While power tools can make the job easier, not everyone has access to them. Fortunately, with the right tools and techniques, you can achieve this task using hand tools.
In this guide, we will walk you through the step-by-step process of cutting a pallet in half using only hand tools. From preparing the pallet to finishing the cut surfaces, we will provide you with detailed instructions to successfully complete the project. So, grab your tools and let’s get started!
Key Takeaways:
- Transform a bulky pallet into manageable pieces using only hand tools. Follow the step-by-step guide for precise cutting, smoothing, and finishing to unleash your creativity in DIY projects.
- Prioritize safety, precision, and patience when cutting a pallet in half. Prepare, measure, and execute the process with hand tools for a satisfying and practical result.
Read more: How To Cut Asphalt With Hand Tools
Tools and Materials Needed
Before you begin cutting a pallet in half with hand tools, it’s important to gather all the necessary tools and materials. Here’s a list of what you will need:
- Circular Saw or Reciprocating Saw: While this guide focuses on using hand tools, having a power saw can make the job easier. If you have access to one, it can significantly speed up the cutting process.
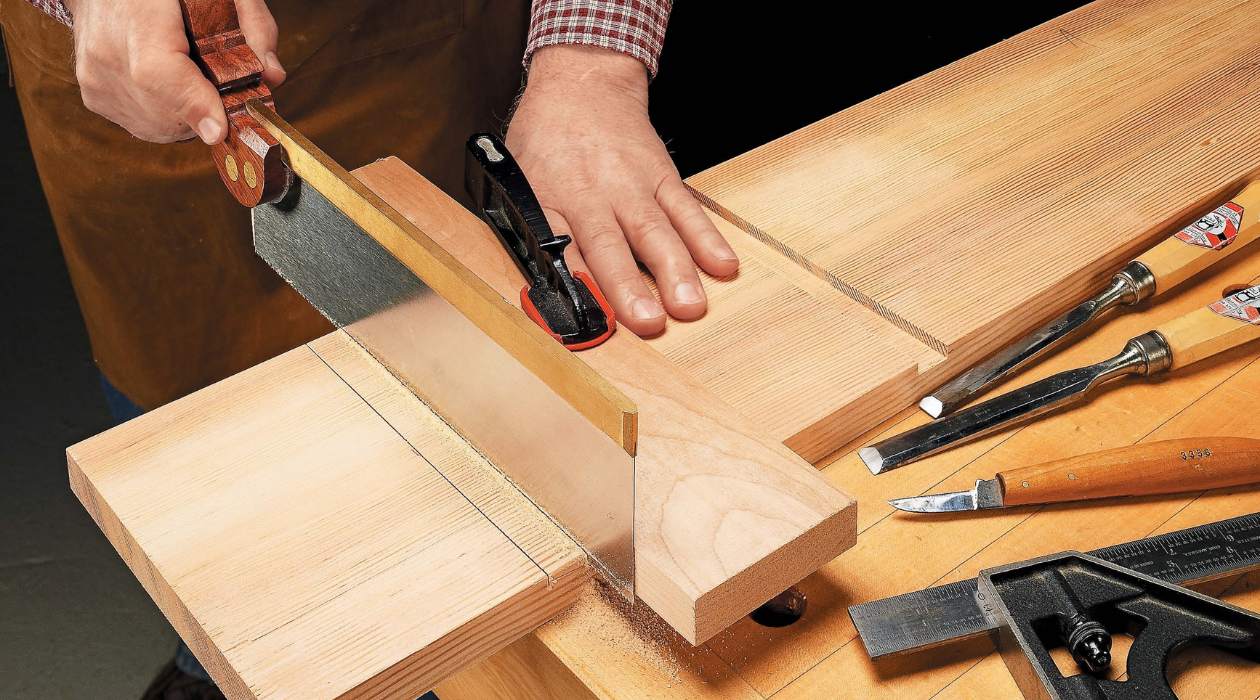
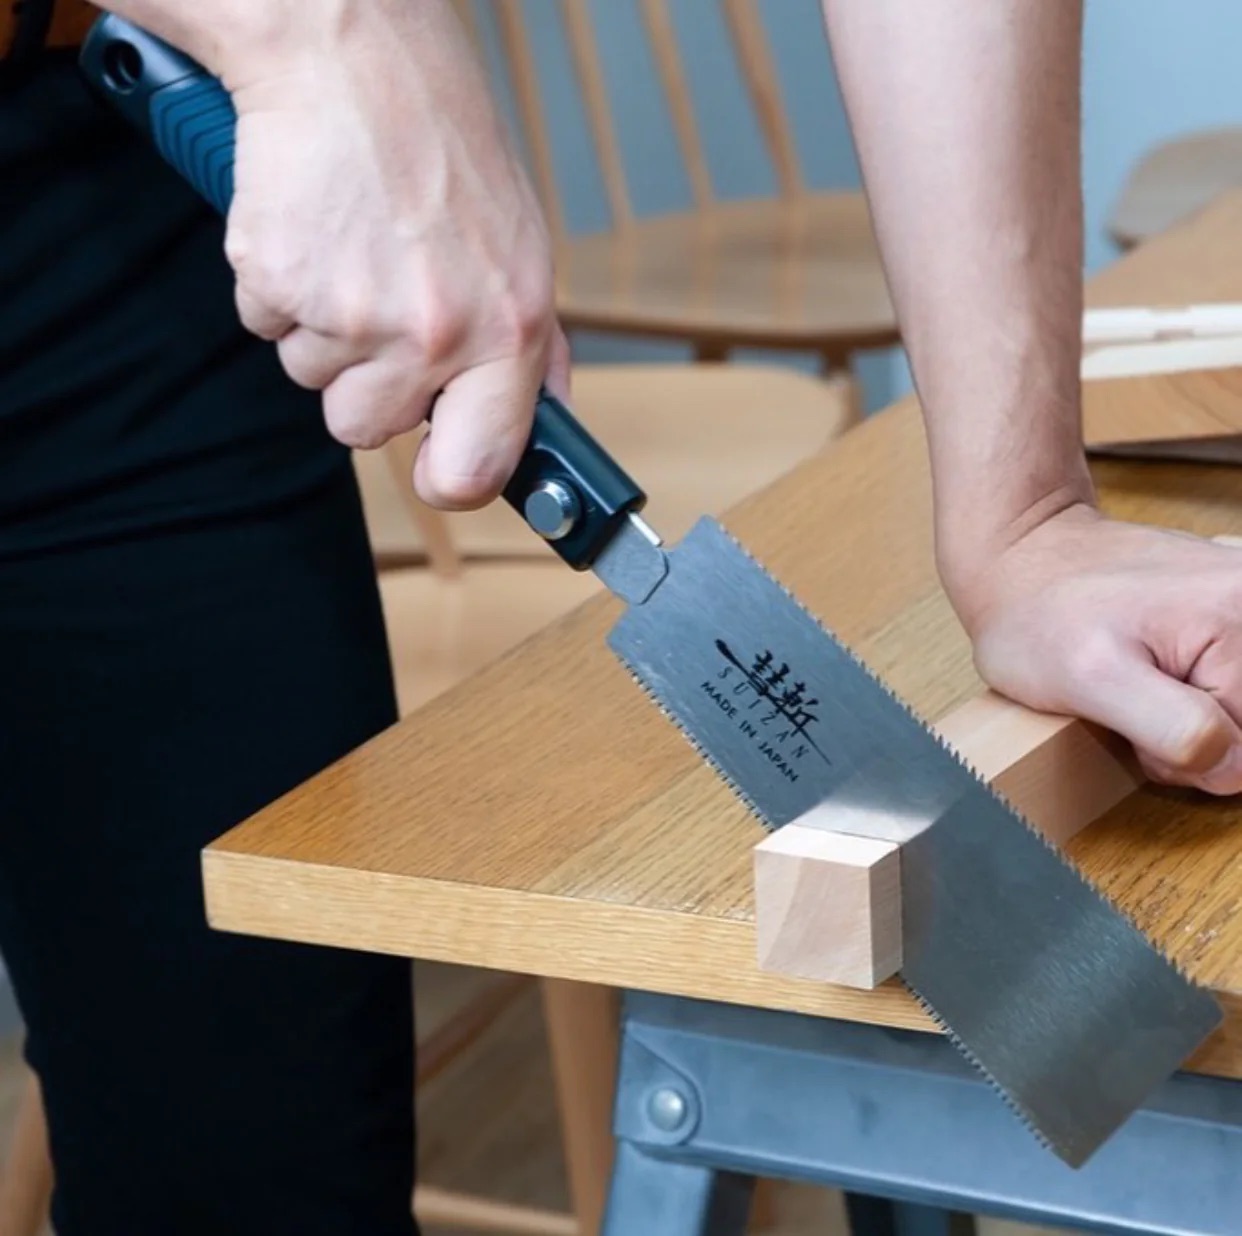
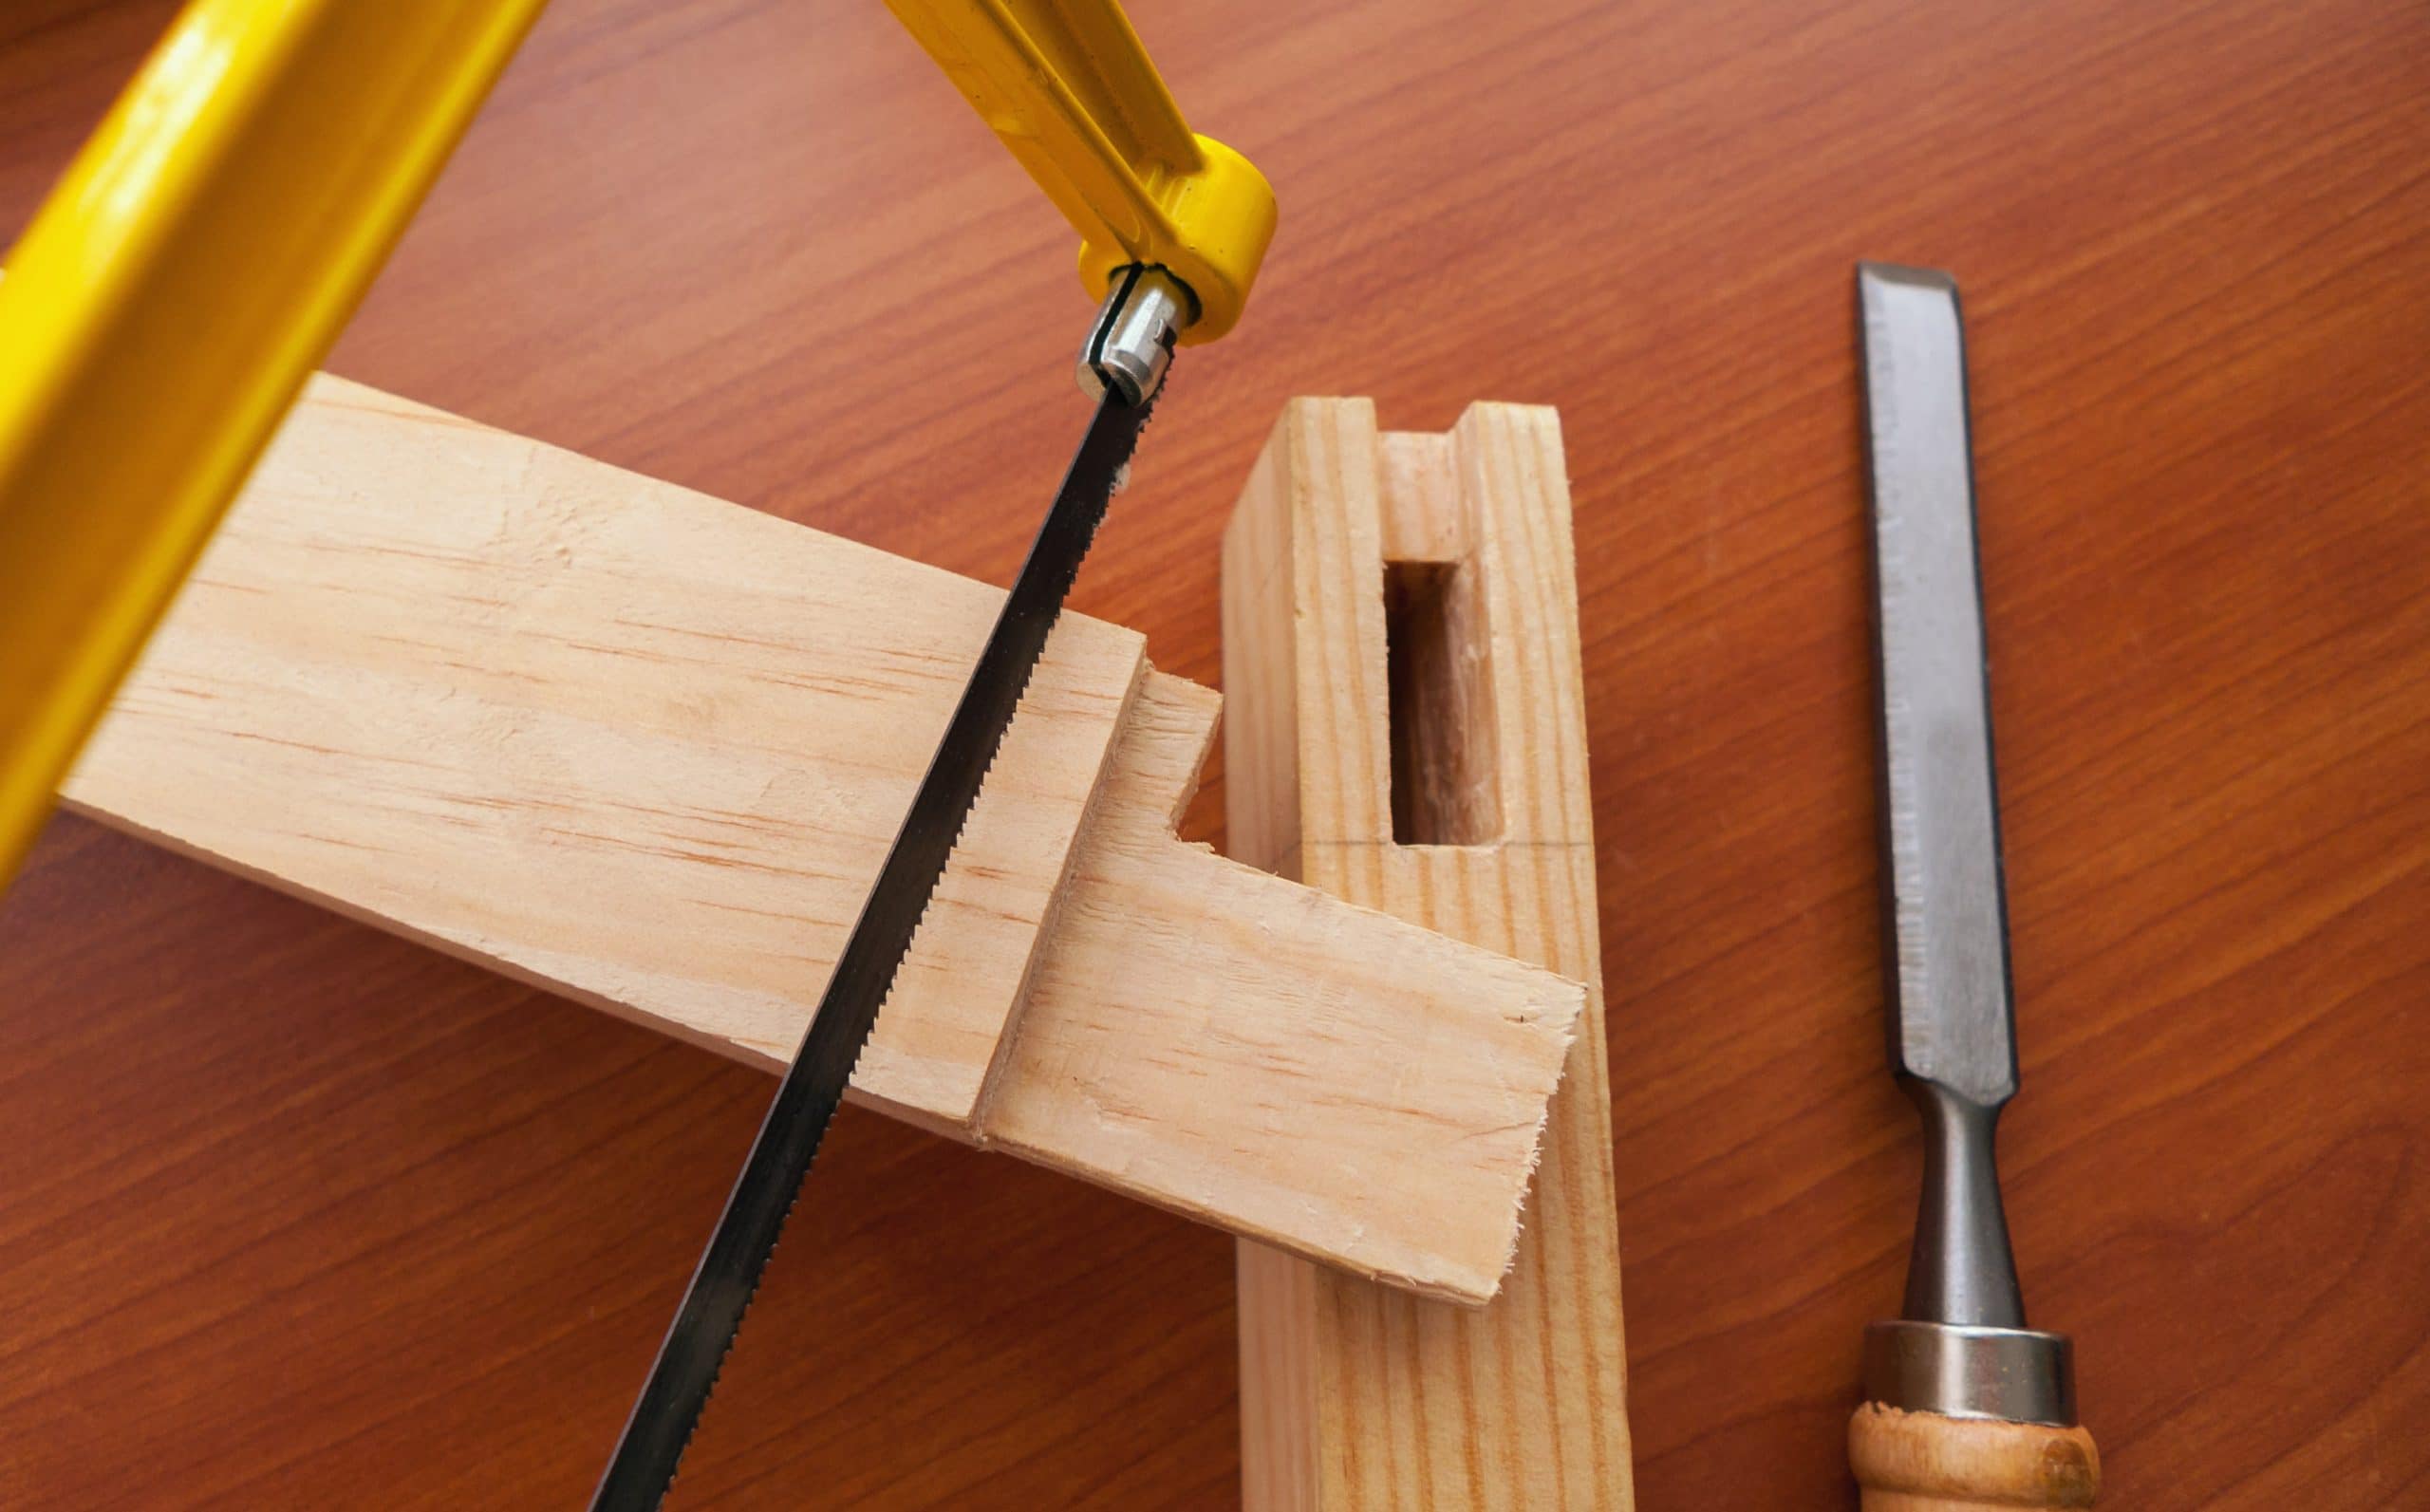
- Hand Saw: A fine-toothed hand saw will be your main tool for cutting through the pallet boards. Choose a saw with sharp teeth that will provide clean and precise cuts.
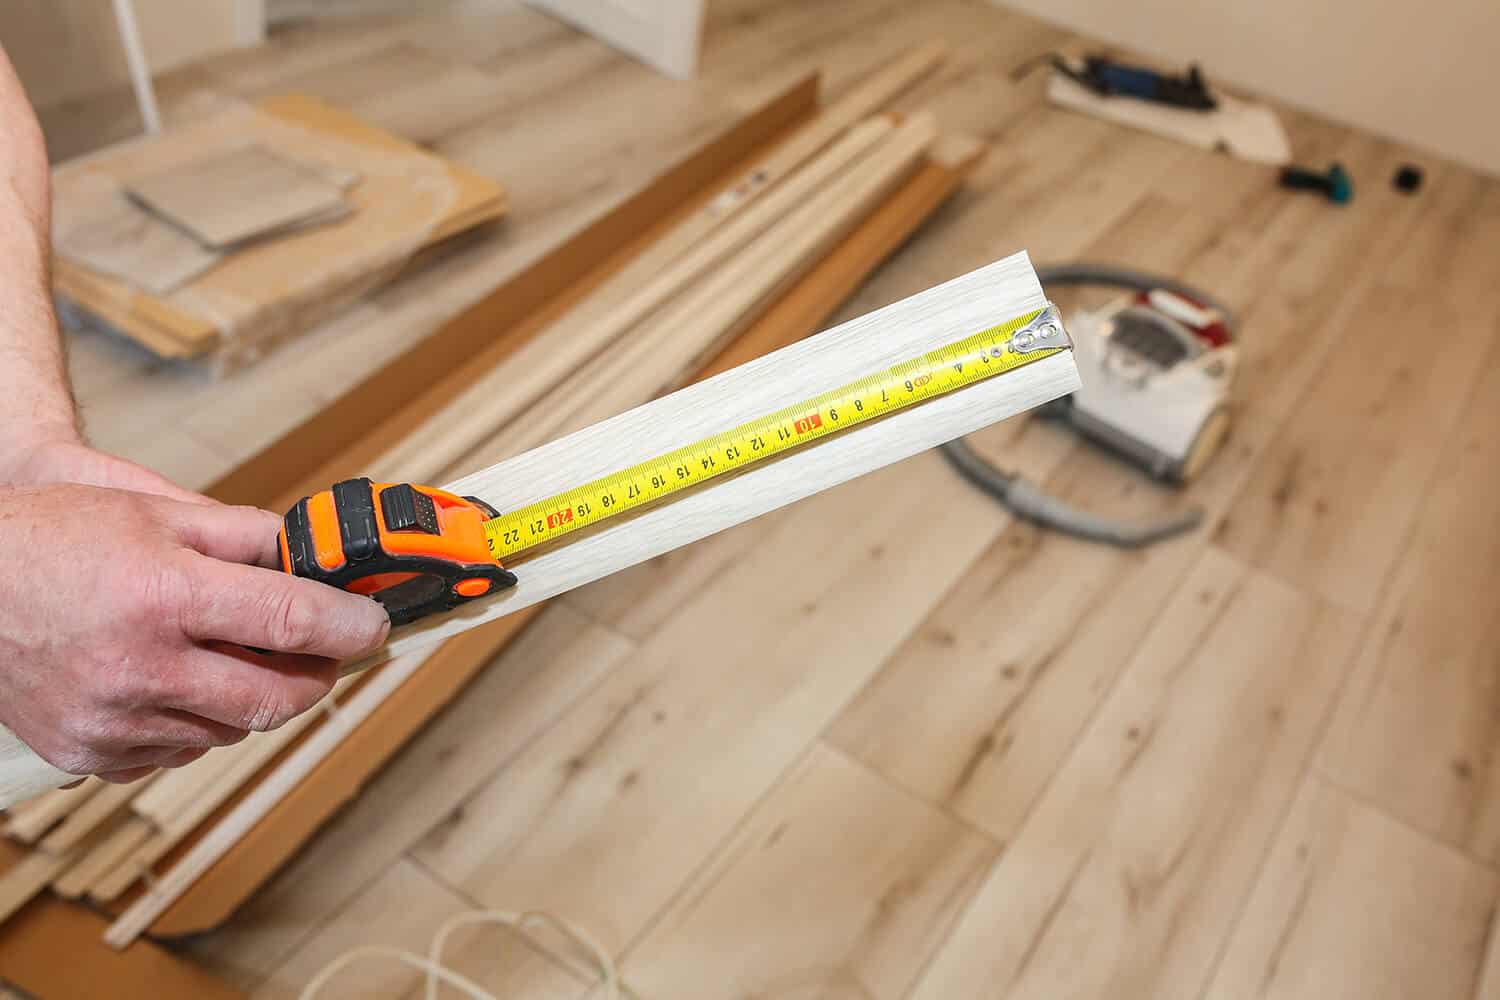
- Measuring Tape: Accurate measurements are crucial for marking the cutting line on the pallet. Make sure you have a measuring tape or ruler handy.
- Carpenter’s Pencil or Marker: You will need a pencil or marker to mark the cutting line on the pallet. Choose a tool that will show up clearly on the wood.
- Clamps: Clamps are useful for securing the pallet in place while you cut. They will help prevent any movement or shifting during the cutting process.
- Sandpaper or Sanding Block: After cutting the pallet, you’ll need to smooth out the cut edges. Sandpaper or a sanding block will help you achieve a clean and finished look.
- Safety Equipment: Safety should always be a priority. Wear safety goggles to protect your eyes from any flying debris, and consider wearing ear protection if using power tools.
With these tools and materials at your disposal, you’ll be ready to tackle the task of cutting a pallet in half with hand tools. Remember to work carefully and take appropriate safety precautions throughout the process.
Step 1: Prepare the Pallet
Before you can begin cutting the pallet, it’s important to properly prepare it for the task. Follow these steps to ensure the pallet is ready:
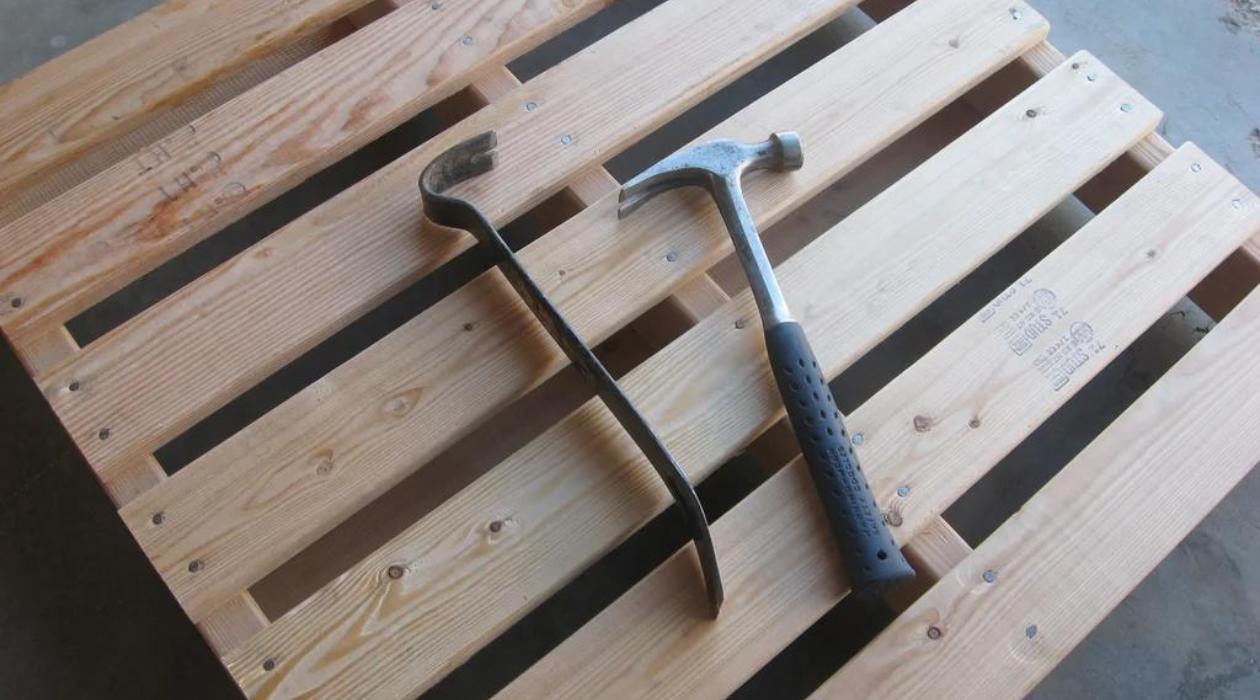
- Remove any nails or staples: Inspect the pallet and remove any nails or staples that may be sticking out or posing a risk. Use a hammer or pry bar to carefully remove them.
- Clean the pallet: If the pallet is dirty or has any debris on it, give it a thorough cleaning. Use a stiff brush or pressure washer to remove any dirt, dust, or grime.
- Assess the pallet’s condition: Examine the pallet to ensure there are no damaged or weakened boards. Avoid using a pallet with severely cracked or compromised boards, as this can affect the structural integrity.
- Secure any loose boards: If there are any loose boards on the pallet, use a hammer and nails to secure them in place. This will ensure stability while cutting.
- Choose the cutting location: Decide where you want to cut the pallet in half. This will depend on your project requirements and the desired size of the resulting pieces. Consider using a circular saw or reciprocating saw if you need a precise and straight cut.
By properly preparing the pallet, you’ll ensure that it is safe to work with and that you have a solid foundation for the cutting process. Take the time to clean and assess the pallet, as well as secure any loose boards before proceeding to the next step.
Step 2: Measure and Mark the Cutting Line
Now that the pallet is properly prepared, it’s time to measure and mark the cutting line. Follow these steps to ensure accuracy:
- Measure and decide on the desired size: Determine how long or wide you want each half of the pallet to be. Use a measuring tape or ruler to take accurate measurements. Mark the measurements on the pallet using a carpenter’s pencil or marker.
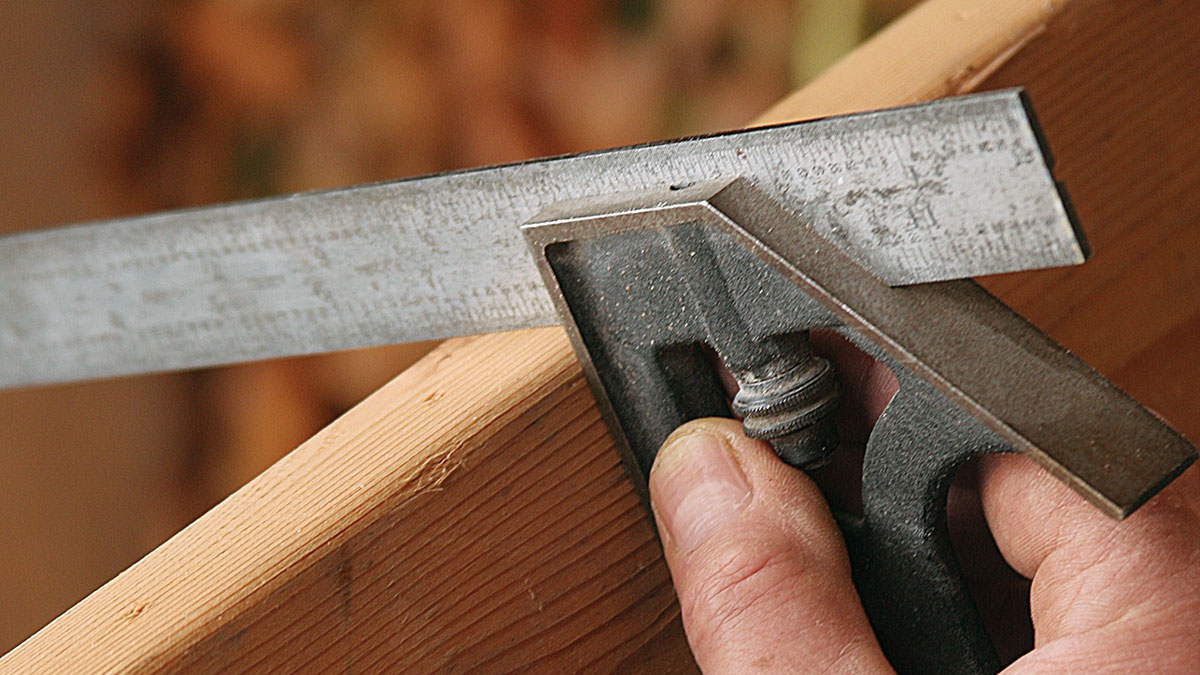
- Use a straight edge for guidance: To create a straight and even cutting line, use a straight edge or a level. Align it with the marked measurements and draw a straight line across the pallet boards. This will serve as your cutting guide.
- Double-check the measurements: Before proceeding to the cutting stage, double-check your measurements to ensure accuracy. Make any adjustments if necessary.
It’s essential to measure and mark the cutting line accurately to achieve the desired size of each half of the pallet. Taking the time to double-check your measurements will help prevent any mistakes or inconsistencies during the cutting process.
Step 3: Make the Initial Cuts
With the cutting line marked on the pallet, it’s time to make the initial cuts. Follow these steps to begin the cutting process:
- Secure the pallet: Place the pallet on a stable surface and use clamps to secure it in place. This will prevent any movement or shifting while cutting.
- Choose the appropriate hand tool: If you have access to a circular saw or reciprocating saw, you can use it to make the initial cuts. However, in this guide, we will focus on using a hand saw. Select a fine-toothed hand saw that will provide clean and precise cuts.
- Start cutting: Position the hand saw at one end of the cutting line, aligning it with the marked guide. Apply gentle pressure and begin sawing back and forth in a steady motion. Take your time and let the saw do the work. Repeat this process on the opposite end of the cutting line.
- Continue the cuts: Once you have made the initial cuts at both ends of the cutting line, continue sawing along the marked guide. Use long and smooth strokes to maintain a straight cutting line. Take breaks as needed to rest your arm and maintain control over the saw.
- Saw through each board: As you cut, make sure the saw blade goes all the way through each board. This will ensure a clean and even cut. Adjust your hand positioning and angle as needed to maintain control and accuracy.
Remember to work at a comfortable pace and take breaks if necessary. Keep the saw perpendicular to the pallet boards to achieve a straight cut. By making the initial cuts using a hand saw, you’ll have more control over the cutting process and can proceed at your own pace.
When cutting a pallet in half with hand tools, make sure to use a sturdy work surface and secure the pallet firmly in place to prevent any movement or slipping while cutting. Always wear appropriate safety gear such as gloves and eye protection.
Read more: How To Cut Miters With Hand Tools
Step 4: Split the Pallet in Half
Now that you have made the initial cuts along the marked cutting line, it’s time to split the pallet in half. Follow these steps to complete the process:
- Assess the cut: Before proceeding, check the depth of your cuts to ensure they have penetrated through all the pallet boards. If necessary, make additional passes with the hand saw to complete the cuts.
- Apply pressure: With the initial cuts complete, gently apply pressure to each half of the pallet, pushing them apart from each other. If the pallet is secured with clamps, release them before attempting to split it further.
- Use a pry bar or hammer: If the pallet halves are not separating easily, you may need to use a pry bar or hammer to help pry them apart. Insert the pry bar or hammer between the boards and apply gentle force to create separation.
- Split the pallet: Once you have successfully created separation between the pallet halves, continue pulling them apart until they are completely separated. Take your time and work carefully to avoid any damage to the boards.
By following these steps, you will be able to split the pallet in half and have two separate pieces ready for your DIY project or storage needs. Take care to assess the depth of your cuts and apply gentle pressure when separating the halves to avoid any unnecessary damage.
Step 5: Sand and Smooth the Cut Edges
After splitting the pallet in half, it’s important to sand and smooth the cut edges for a clean and finished look. Follow these steps to achieve smooth and polished edges:
- Gather sandpaper or a sanding block: Choose a medium-grit sandpaper (around 80 to 120 grit) or a sanding block to begin. This will help remove any roughness or splinters from the cut edges.
- Secure the pallet halves: Place the pallet halves on a stable surface and secure them with clamps if necessary. This will prevent any movement while sanding.
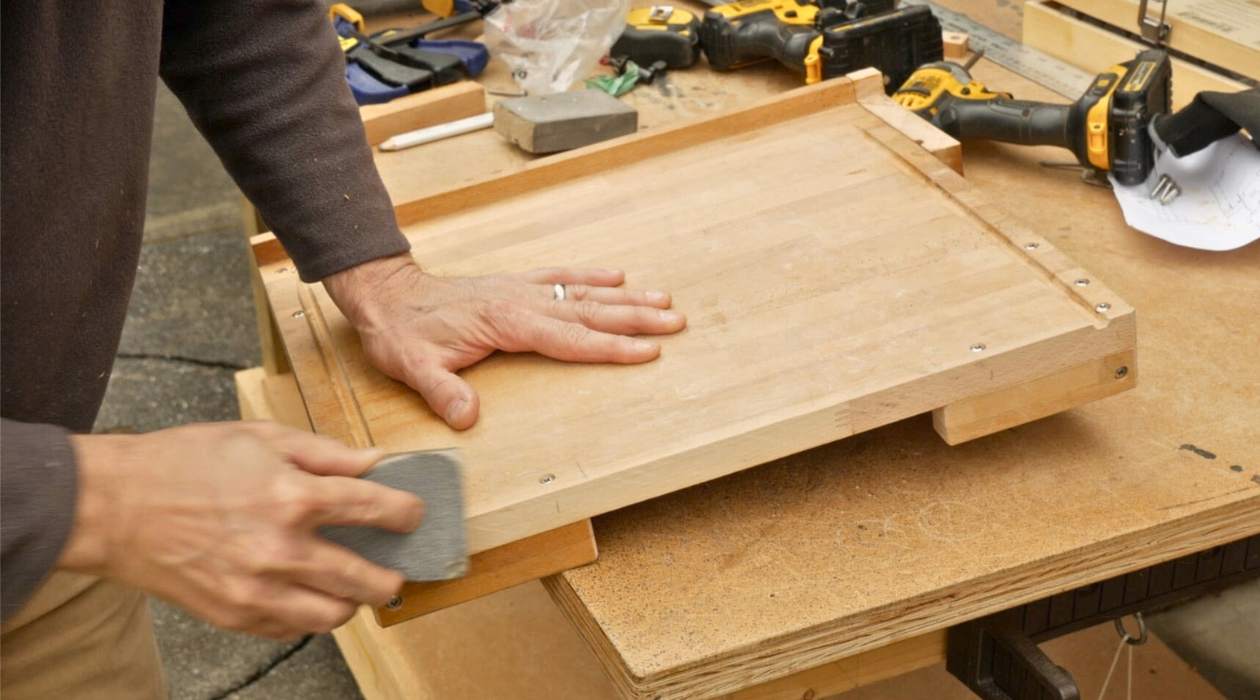
- Sand the cut edges: Use the sandpaper or sanding block to sand the cut edges of each pallet half. Move the sandpaper in a back-and-forth motion along the edges, applying moderate pressure. This will help smooth out any rough areas or splinters.
- Round the corners (optional): If desired, you can use the sandpaper to gently round the corners of the cut edges. This can provide a more polished and softened appearance.
- Check for smoothness: After sanding, run your hand along the cut edges to check for smoothness. If there are still rough spots, continue sanding until the edges feel smooth to the touch.
While sanding, be sure to wear safety goggles to protect your eyes from any dust or debris. Remember to move the sandpaper in a consistent motion to achieve an even finish. Taking the time to sand and smooth the cut edges will provide a professional and refined appearance to your split pallet.
Step 6: Finish and Seal the Cut Surfaces
Once you have sanded and smoothed the cut edges of the split pallet, it’s a good idea to finish and seal the surfaces for added protection and aesthetic appeal. Follow these steps to complete the finishing process:
- Choose a finish: Decide on the desired finish for your pallet halves. Options include paint, stain, varnish, or a clear sealant. Consider the look you want to achieve and the purpose of the pallet before making your choice.
- Prepare the surfaces: Before applying the finish, ensure that the cut surfaces are clean and free of any dust or debris. Use a damp cloth or brush to remove any remaining sanding residue.
- Apply the finish: Using a brush or a cloth, apply the chosen finish to the cut surfaces of the pallet halves. Follow the manufacturer’s instructions for application techniques and drying times. Apply multiple coats if necessary, allowing each coat to dry completely before adding another.
- Let the finish cure: Once the final coat of finish is applied, allow the pallet halves to dry and cure according to the manufacturer’s instructions. This will ensure that the finish hardens and provides the desired protection and appearance.
Finishing and sealing the cut surfaces of the split pallet not only enhances its visual appeal but also protects it from moisture, wear, and damage. Selecting the appropriate finish will depend on the intended use of the pallet, the surrounding environment, and your personal preferences.
By following these steps, you will complete the process of cutting a pallet in half with hand tools and achieve a finished product ready for your DIY projects or storage needs. Remember to work safely, take your time, and enjoy the satisfaction of transforming a pallet into two useful pieces!
Conclusion
Cutting a pallet in half with hand tools can be a practical solution for various DIY projects or when you need to make the pallet more manageable. While power tools may make the job easier, using hand tools allows for more control and precision. By following the step-by-step process outlined in this guide, you can successfully cut a pallet in half and create two separate pieces ready for your desired use.
Throughout the process, it is important to prepare the pallet by removing any nails or staples, cleaning it, and assessing its condition. Accurate measuring and marking of the cutting line is crucial to ensure the desired size of each pallet half. Making the initial cuts using a fine-toothed hand saw, along with securing and splitting the pallet, allows for a smooth and controlled cutting process.
After splitting the pallet, sanding and smoothing the cut edges provide a clean and finished look, while rounding the corners can add a touch of refinement. Finally, applying a chosen finish to the cut surfaces ensures both protection and aesthetic enhancement.
Remember, safety should always come first. Wear appropriate safety gear, follow all the necessary precautions, and work at a pace that is comfortable for you. Take breaks when needed and enjoy the process of transforming a simple pallet into two functional pieces.
Now that you have learned how to cut a pallet in half with hand tools, you have a valuable skill to apply to your future DIY projects. So, grab your tools, gather your materials, and get ready to unleash your creativity with your newly split pallets!
Frequently Asked Questions about How To Cut A Pallet In Half With Hand Tools
Was this page helpful?
At Storables.com, we guarantee accurate and reliable information. Our content, validated by Expert Board Contributors, is crafted following stringent Editorial Policies. We're committed to providing you with well-researched, expert-backed insights for all your informational needs.


0 thoughts on “How To Cut A Pallet In Half With Hand Tools”