
Articles
How To Cut An Electrical Cord
Modified: August 26, 2024
Discover the best techniques for cutting an electrical cord safely and effectively in this comprehensive guide. Read more in our articles.
(Many of the links in this article redirect to a specific reviewed product. Your purchase of these products through affiliate links helps to generate commission for Storables.com, at no extra cost. Learn more)
Introduction
Electrical cords are an essential component in our daily lives, powering our devices and appliances. However, there may be instances when you need to cut an electrical cord. Whether you’re replacing a damaged cord or adjusting the length to fit your specific needs, knowing how to properly cut an electrical cord is crucial to ensure safety and functionality.
In this article, we will guide you through the step-by-step process of cutting an electrical cord. You will learn about the necessary tools and materials, safety precautions, and the proper techniques to successfully cut an electrical cord.
Before we delve into the specifics, it’s important to note that working with electrical cords should be done with caution. If you are not confident in your abilities or have any doubts about the safety of the task, it is always recommended to seek the assistance of a qualified professional.
Now, let’s gather the necessary tools and materials to get started!
Key Takeaways:
- Prioritize safety by gathering the necessary tools and materials, wearing protective gear, and unplugging the cord before cutting. Inspect and test the cord to ensure functionality and safety.
- Follow the step-by-step process to cut, strip, and connect the electrical cord, ensuring clean cuts, secure connections, and proper insulation. If in doubt, seek professional assistance for a safe outcome.
Read more: How To Fix Cut Electrical Cord
Tools and Materials Needed
Before you begin cutting an electrical cord, it’s important to gather the necessary tools and materials to ensure a smooth and successful process. Here’s a list of what you’ll need:
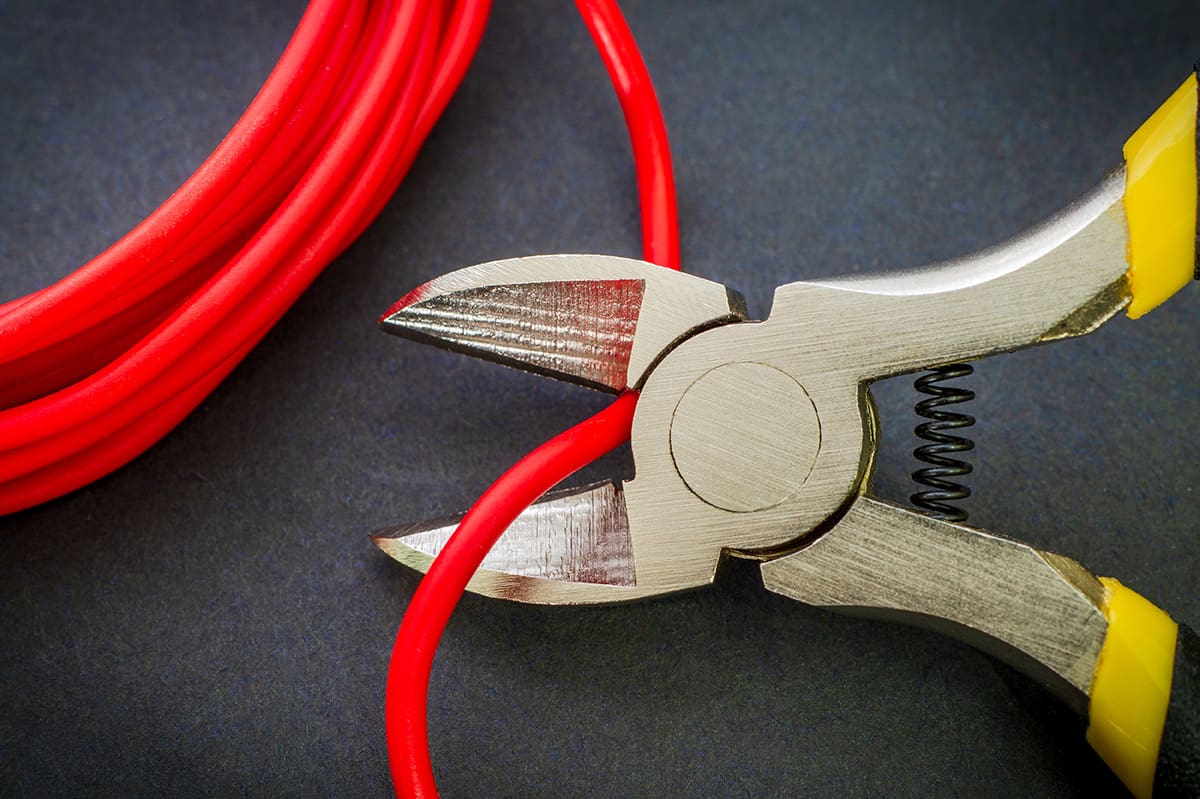
- Sharp utility knife or wire cutters: These tools are essential for precisely cutting through the outer insulation of the electrical cord.
- Electrical tape: This will be used to insulate and secure the new connections, if needed.
- Wire strippers: If you plan on connecting a new electrical cord, wire strippers will be required to remove the insulation from the wires.
- Electrical connectors: These connectors are used to join the wires together when connecting a new cord.
- Measuring tape or ruler: To determine the desired length for cutting the electrical cord.
- Safety goggles: Protect your eyes from any potential sparks or debris that may occur during the cutting process.
- Gloves: Work gloves provide an added layer of protection for your hands while handling electrical cords.
It’s important to ensure that all tools and materials are in good condition and appropriate for the task at hand. Inspect your tools for any signs of damage and replace them if necessary. Safety should always be a top priority when working with electrical cords.
Now that you have all the necessary tools and materials ready, let’s move on to the step-by-step process of cutting an electrical cord safely and effectively.
Step 1: Gather Necessary Safety Equipment
Before you begin cutting an electrical cord, it’s crucial to prioritize safety. By gathering the necessary safety equipment, you can minimize the risk of accidents or injuries. Here’s what you’ll need:
- Safety goggles: Protecting your eyes is essential when working with electrical cords. Safety goggles will shield your eyes from potential sparks or debris that may occur during the cutting process.
- Gloves: Work gloves provide an additional layer of protection for your hands. They can help prevent injuries from sharp tools and provide insulation while working with electrical cords.
- Protective clothing: Wearing long-sleeved shirts and pants can protect your skin from accidental cuts or abrasions. It’s best to choose clothing made from non-conductive materials, such as cotton.
- Fire extinguisher: While this may not be directly related to cutting an electrical cord, it’s always a good idea to have a fire extinguisher nearby in case of any electrical fires.
Before proceeding with the actual cutting process, take a moment to put on your safety equipment. Ensure that your safety goggles fit snugly and provide full coverage, and that your gloves are in good condition and offer sufficient dexterity.
Remember, safety should always be your top priority when working with electrical cords. By taking the time to gather the necessary safety equipment, you’re setting yourself up for a safe and successful task ahead.
Now that you’re equipped with the right gear, it’s time to move on to the next step: determining the length you want to cut.
Step 2: Determine the Length You Want to Cut
Once you have gathered the necessary safety equipment, it’s time to determine the length you want to cut the electrical cord. This step is important to ensure that the cord fits your specific needs and requirements. Here’s how you can do it:
- Measure the distance: Use a measuring tape or ruler to determine the exact length you need for your electrical cord. Measure from the plug end to the desired endpoint of the cord.
- Consider your needs: Think about where you will be using the cord and any specific requirements you may have. For example, if you’re using the cord for a small appliance on your kitchen counter, you’ll want to ensure that the cord is long enough to reach the nearest electrical outlet without creating a tripping hazard.
Keep in mind that it’s better to err on the side of caution and leave a bit of extra length when cutting the cord. It’s easier to trim it down later if needed than to add length back after it has been cut.
Take your time to carefully determine the length you need. Double-check your measurements to ensure accuracy before moving on to the next step.
With the length determined, you’re now ready to move on to the next step: unplugging the electrical cord.
Step 3: Unplug the Electrical Cord
Before you proceed with cutting the electrical cord, it’s crucial to ensure your safety by unplugging it from the power source. Here’s how you can safely unplug the electrical cord:
- Locate the power source: Identify the electrical outlet or power strip where the cord is connected.
- Gently pull the plug: Firmly grasp the plug and gently pull it straight out of the outlet or power strip. Avoid yanking or twisting the cord, as this can cause damage to the cord or the outlet itself.
By unplugging the electrical cord, you eliminate the risk of electric shock while working with it. Always make sure to unplug the cord before proceeding with any further steps.
If you’re working with an appliance or device that has a non-removable cord, ensure that the appliance or device is turned off and disconnected from any power source. This will add an extra layer of safety while you cut the electrical cord.
Once the electrical cord is safely unplugged, you can move on to the next step: exposing the wires.
Step 4: Expose the Wires
After safely unplugging the electrical cord, the next step is to expose the wires. This will allow you to cut the cord cleanly and access the wires inside. Here’s how you can expose the wires:
- Inspect the cord: Carefully examine the outer insulation of the cord to identify any outer layers such as a rubber or plastic sheath.
- Locate the cut point: Determine where you will make the cut on the cord, ensuring that you leave enough space to comfortably work with the exposed wires.
- Use a sharp utility knife or wire cutters: If there is a rubber or plastic sheath, carefully cut through it along the identified cut point. Take your time to make an even and clean cut, ensuring that you do not damage the internal wires.
Once the outer insulation is cut, you should be able to access the wires inside the electrical cord. It’s important to exercise caution during this step to avoid any accidental cuts or damage to the wires.
With the wires exposed, you’re now ready to proceed to the next step: inspecting the wires for any damage.
Step 5: Inspect the Wires for Damage
After exposing the wires inside the electrical cord, it’s crucial to inspect them for any signs of damage. This step is essential to ensure the safety and functionality of the cord. Here’s how you can inspect the wires:
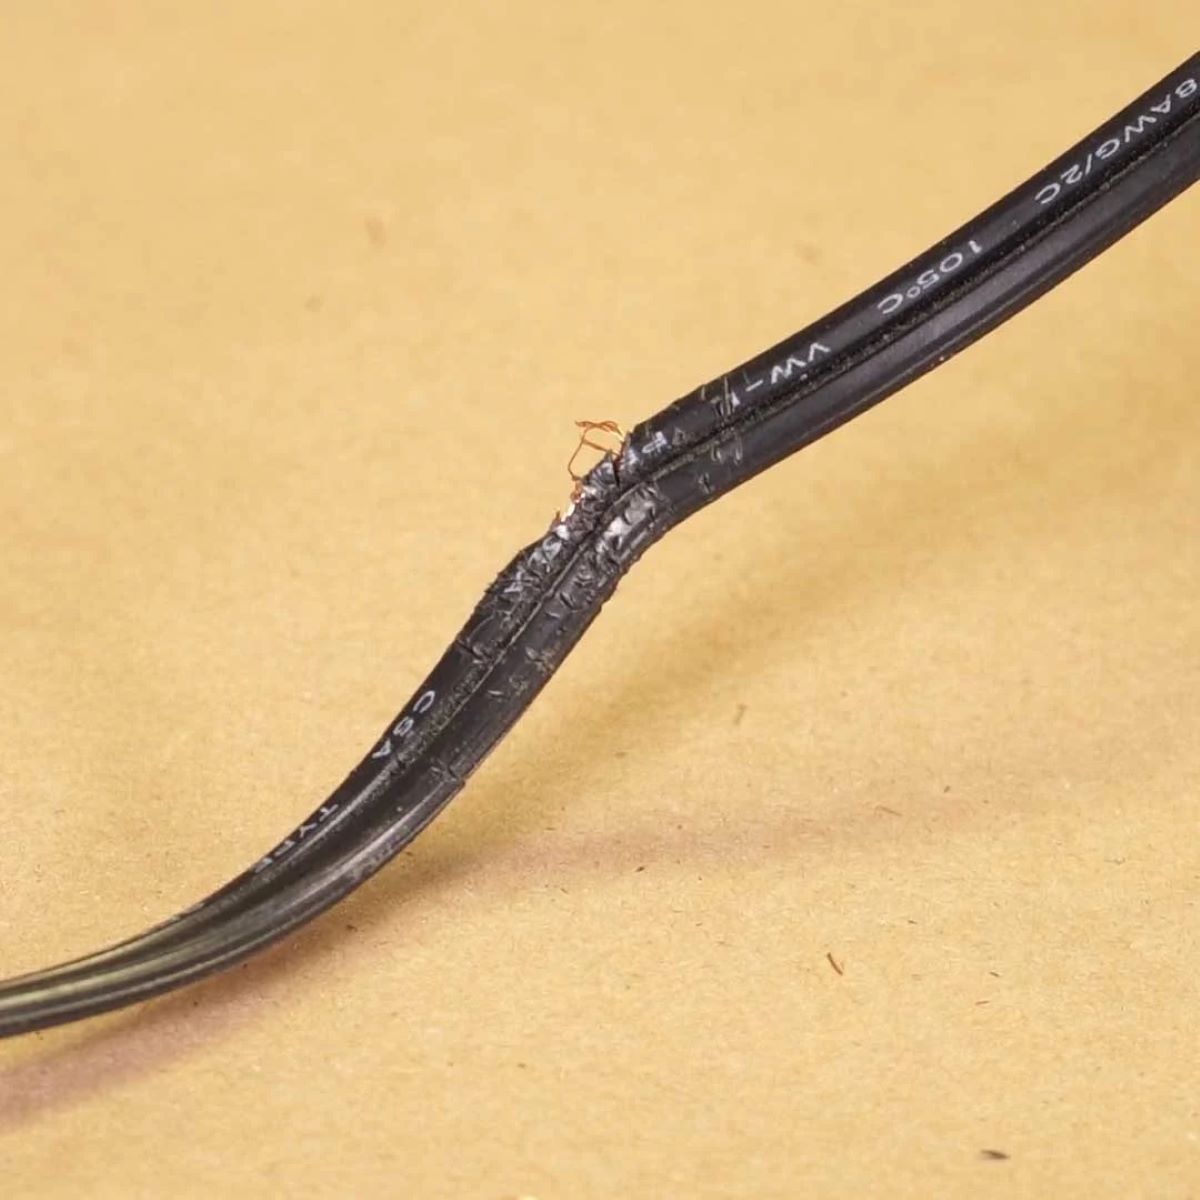
- Visually inspect the wires: Carefully examine the exposed wires for any signs of fraying, cracking, or insulation damage. Look for any exposed bare wires, as this can pose a safety risk.
- Feel for abnormalities: Run your fingers along the length of the wires to check for any unusual bumps, cuts, or irregularities.
- Bend the wires gently: While wearing gloves, gently flex the wires to ensure they are pliable and not brittle. If the wires feel stiff or break easily, they may need to be replaced.
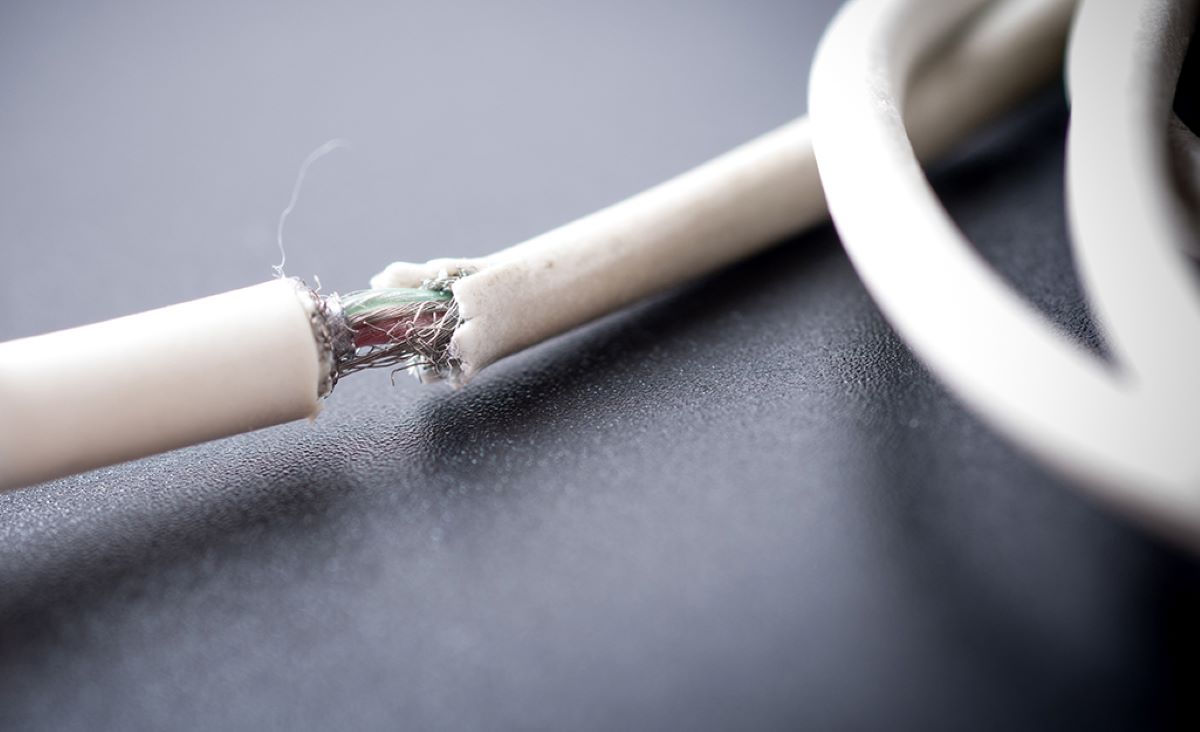
If you come across any damaged wires during the inspection, it’s important to address them before proceeding further. Damaged wires can pose a safety hazard and may need to be repaired or replaced.
If the wires are in good condition with no signs of damage, you can proceed to the next step: cutting the electrical cord.
Remember, it’s important to prioritize safety and address any damaged wires promptly. Taking the time to inspect the wires ensures that you are working with a safe and functional electrical cord.
When cutting an electrical cord, always unplug it first to avoid the risk of electric shock. Use sharp scissors or wire cutters and make a clean, straight cut to ensure a proper connection when reattaching the plug.
Step 6: Cut the Electrical Cord
With the wires exposed and inspected, it’s now time to cut the electrical cord to your desired length. Follow these steps to cut the cord properly:
- Mark the cutting point: Using a marker or piece of tape, clearly mark the point on the cord where you will make the cut. Make sure the mark is easily visible and accurately represents the desired length.
- Use sharp wire cutters: Take a pair of wire cutters or a sharp utility knife and position it at the marked cutting point on the cord.
- Apply even pressure: With a firm grip on the wire cutters, apply even pressure to cut through the cord. You may need to make multiple passes or rotations to fully sever the cord.
- Ensure a clean cut: Check that the cut is clean and even, with no frayed or jagged edges. If necessary, trim any uneven sections to create a smooth and uniform cut.
It’s important to exercise caution while cutting the electrical cord to avoid any accidental cuts or injuries. Take your time and use steady, controlled movements to ensure a clean and precise cut.
Once you have successfully cut the electrical cord to the desired length, it’s time to move on to the next step: stripping the insulation from the wires.
Step 7: Strip the Insulation from the Wires
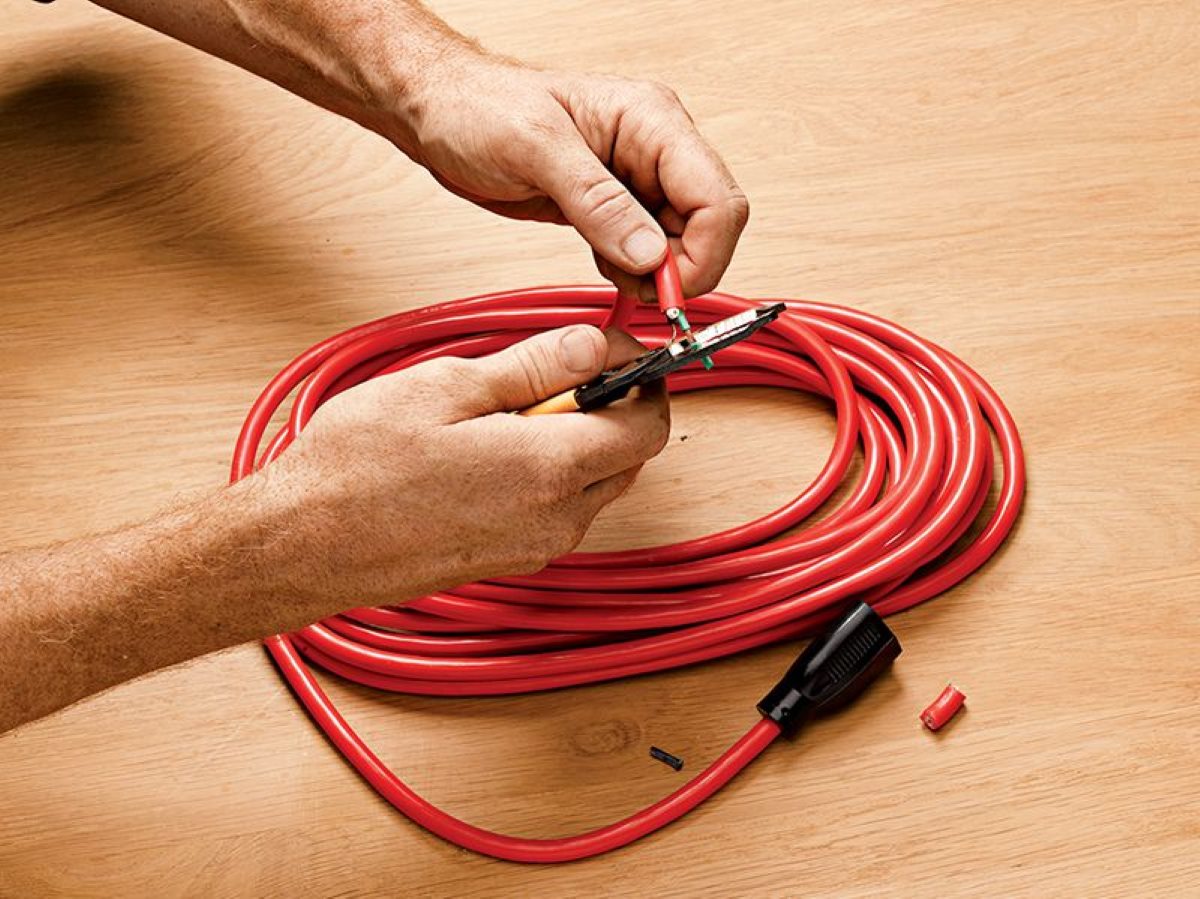
After cutting the electrical cord to the desired length, the next step is to strip the insulation from the wires. This process involves removing the outer protective layer on the wire ends to expose the conductive metal inside. Follow these steps to properly strip the insulation:
- Prepare your wire strippers: Select the appropriate wire gauge slot on your wire strippers or use a knife if you don’t have dedicated strippers.
- Hold the wire firmly: Take one end of the cut electrical cord and firmly hold it with your non-dominant hand, ensuring a stable grip.
- Position the strippers: Place the blades of the wire strippers around the insulation, making sure to align the appropriate gauge slot with the wire size.
- Apply pressure and rotate: Squeeze the handles of the wire strippers so that the blades grip the insulation. Rotate the strippers around the wire to create a clean, circular cut on the insulation.
- Remove the insulation: After making a full rotation, separate the stripped portion of the insulation from the wire by gently pulling it away. Be careful not to cut or nick the wire inside.
Repeat this process for each wire end, ensuring that you strip off an equal amount of insulation from each wire. The exposed wire should be long enough to make a secure connection, but not so long that it extends beyond the connection point.
Remember, when stripping the insulation, it’s important not to cut into or damage the wire itself. Take your time and apply gentle pressure to create a clean strip without damaging the conductive metal.
Note: If you’re working with wires that already have stripped ends or connecting a new electrical cord, you can skip this step and proceed directly to Step 8.
Now that the insulation has been stripped from the wires, you’re ready to move on to the next step: connecting the new electrical cord, if needed.
Step 8: Connect the New Electrical Cord (if Needed)
If you are replacing an old or damaged electrical cord, or if you need to connect a new cord to the wires you’ve prepared, this step will guide you through the process of making the necessary connections. Here’s what you need to do:
- Prepare the new electrical cord: If you are connecting a new cord, ensure that it is the appropriate length and type for your needs. Strip off the outer insulation of the new cord to expose the individual wires.
- Match the wires: Match the corresponding wires from the cut end of the original electrical cord with the exposed wires of the new cord. Ensure that the color-coding (if applicable) or wire identification matches between the old and new cords.
- Twist the wires together: By using a technique called “twisting,” interlace the exposed wires of both the old and new cords together. Hold the wires firmly between your thumb and forefinger and twist them in a clockwise direction. This will create a secure connection between the wires.
- Insulate the connections: Once the wires are twisted together, it’s important to insulate the connections to prevent any exposed wires or potential short circuits. Wrap each individual connection with electrical tape, ensuring a tight and secure seal.
If you are not comfortable making these electrical connections yourself or if you are unsure about the wiring, it is always recommended to seek the assistance of a qualified professional. They can ensure the proper and safe connection of the new electrical cord.
After connecting the new electrical cord (if necessary), you’re ready to move on to the next step: securing the connections.
Step 9: Secure the Connections
After making the necessary connections, it’s crucial to secure them properly to ensure a safe and reliable electrical connection. Here’s what you need to do to secure the connections:
- Reinforce with electrical tape: Once you’ve connected the wires, use electrical tape to wrap each individual connection tightly. Start a few inches above the connection and extend the tape beyond the wire ends to provide a secure and insulated seal. Wrapping the connections with electrical tape adds an extra layer of protection and helps prevent any accidental contact with the exposed wires.
- Check the integrity of the tape: Ensure that the electrical tape is firmly in place and there are no gaps or loose sections. The tape should hold the wires firmly together and provide insulation from any potential electrical hazards.
- Tug test: Gently tug on each wire to check the tightness of the connection. The wires and tape should remain firmly in place without any movement or slippage. If there is any sign of looseness, redo the connections and reinforce with additional electrical tape.
By securing the connections properly, you are reducing the risk of electrical shocks or short circuits. It’s important to take the time to ensure that all connections are securely fastened and insulated.
Now that the connections are securely in place, you’re ready to move on to the final step: testing the new electrical cord.
Step 10: Test the New Electrical Cord
After completing all the necessary steps to cut, strip, and connect the electrical cord, it’s important to test it before putting it to use. Testing the new electrical cord will help ensure that it’s functioning properly and safely. Follow these steps to test the cord:
- Plug in the cord: Insert the plug end of the new electrical cord into a properly grounded electrical outlet or power source.
- Power on the device: If you have connected the electrical cord to a device or appliance, turn the power on to check if it operates as expected. If you have connected the cord to an extension cord or power strip, ensure that all connected devices receive power.
- Check for any issues: Observe the operation of the device or appliances connected to the cord. Look for any signs of malfunction, such as flickering lights, unusual noises, or strange smells. Also, inspect the cord itself for any unusual heat buildup.
If you notice any issues or abnormalities during the testing process, immediately disconnect the cord from the power source and address the problem. Consult a qualified professional if needed or consider replacing the cord if it does not function correctly.
However, if the cord passes the testing phase without any problems, you can have confidence in its functionality and safety. It’s now ready to be used for its intended purpose.
Remember, safety should always be prioritized when working with electrical cords. Regularly inspect the cord for any signs of wear or damage, and if any issues arise, address them promptly.
Congratulations! You have successfully cut an electrical cord and made the necessary connections. By following these steps and taking precautions, you can ensure that you have a properly functioning and safe electrical cord for your needs.
Now, you’re fully equipped with the knowledge to cut an electrical cord. Whether you’re replacing a damaged cord or adjusting the length for a specific purpose, you can confidently tackle this task.
Stay safe and enjoy the reliable power of your newly cut electrical cord!
Conclusion
Cutting an electrical cord may seem like a daunting task, but with the right tools, materials, and knowledge, it can be done safely and effectively. By following the step-by-step guide provided in this article, you now have the skills to confidently cut an electrical cord to your desired length.
Remember, safety should always be your top priority when working with electrical cords. Be sure to gather the necessary safety equipment, such as safety goggles and gloves, to protect yourself from potential hazards. Unplug the cord before starting any work and be mindful of any signs of damage or wear on the cord.
Take your time during the process, ensuring clean and precise cuts when separating the wires. Inspect the wires for any damage and make the necessary repairs or replacements before proceeding. When connecting a new cord, follow proper techniques and secure the connections using electrical tape.
Once everything is in place, test the new electrical cord to ensure it functions correctly. If any issues arise, promptly disconnect the cord and address the problem or seek professional help, if needed.
By following these guidelines and remaining vigilant throughout the process, you can successfully cut an electrical cord and have a reliable power source for your devices and appliances.
However, if you have any doubts or if the task seems too complex, it’s always best to consult a qualified professional for assistance. Their expertise and knowledge can help ensure a safe and proper outcome.
Now, armed with the knowledge and confidence to cut an electrical cord, you’re ready to tackle this task with ease. Stay safe, follow the guidelines, and enjoy the convenience of a custom-length electrical cord!
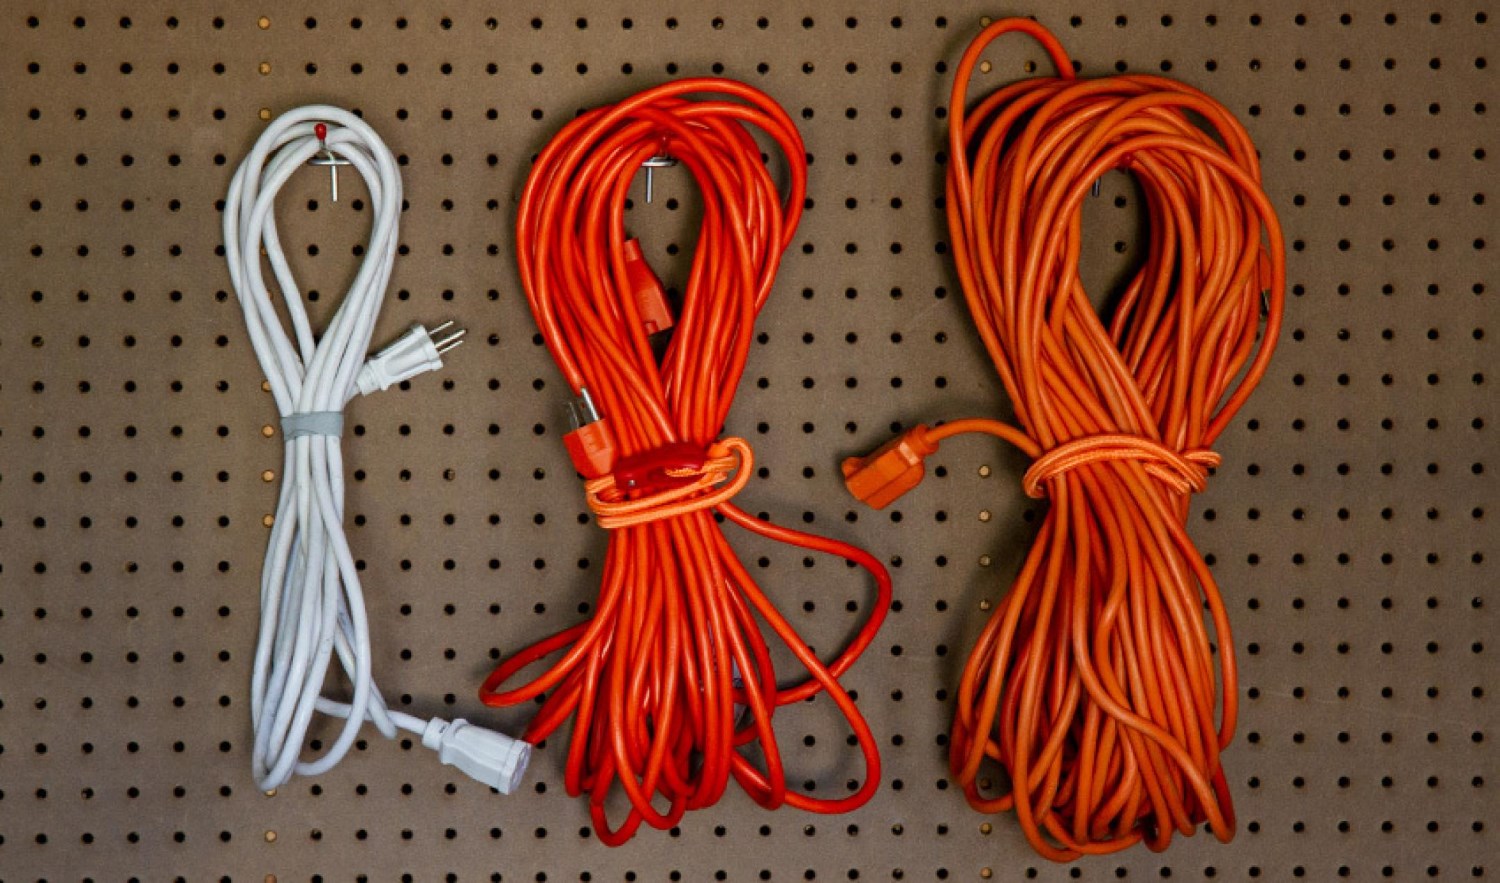
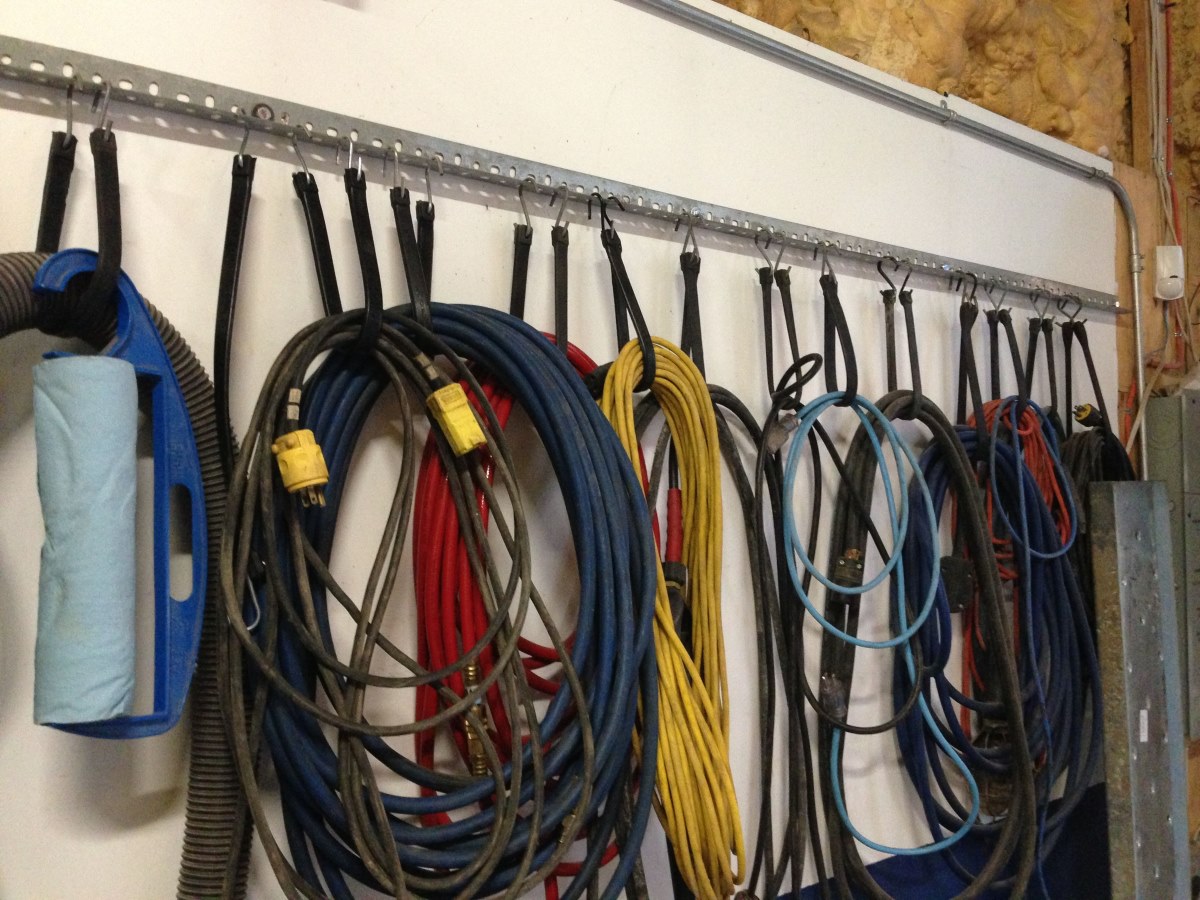
Ready to tackle more DIY projects? If you're keen on upgrading your toolkit, our guide on power tools will show you which gadgets make the cut. For those planning grander modifications, such as adding a workshop space, learning about electrical wiring to your garage is crucial. Lastly, keep your workspace neat and hazard-free with our tips on cord management; perfect for maintaining order and safety in your home or garage workshop.
Frequently Asked Questions about How To Cut An Electrical Cord
Was this page helpful?
At Storables.com, we guarantee accurate and reliable information. Our content, validated by Expert Board Contributors, is crafted following stringent Editorial Policies. We're committed to providing you with well-researched, expert-backed insights for all your informational needs.

0 thoughts on “How To Cut An Electrical Cord”