Articles
How To Fix If Electrical Wire Is Cut
Modified: December 7, 2023
Learn how to fix electrical wire that has been cut with these step-by-step articles. Find expert advice and tips to solve your wiring issues.
(Many of the links in this article redirect to a specific reviewed product. Your purchase of these products through affiliate links helps to generate commission for Storables.com, at no extra cost. Learn more)
Introduction
Electrical wires play a crucial role in our everyday lives, powering the appliances and devices that make our homes functional and comfortable. However, accidents and wear and tear can sometimes lead to electrical wires being cut or damaged. When this happens, it is important to address the issue promptly and properly to ensure safety and restore functionality.
In this article, we will guide you through the process of fixing a cut electrical wire. Whether it’s a result of accidental damage during a DIY project or wear and tear over time, we will provide step-by-step instructions to help you address this issue effectively and safely. By following these steps, you can regain power and functionality in your electrical system without the need for professional assistance.
Please keep in mind that working with electrical wires carries certain risks. If you are unsure or uncomfortable with performing these tasks yourself, it is always recommended to seek the help of a qualified electrician. Safety should always be your top priority when dealing with electricity.
Now, without further ado, let’s dive into the process of fixing a cut electrical wire.
Key Takeaways:
- Safety First
Assess the damage, gather tools, and disconnect power before fixing a cut electrical wire. Prioritize safety, and if unsure, seek professional assistance to avoid hazards and ensure a successful repair. - Step-by-Step Repair
From stripping wire insulation to testing the connection, this guide provides detailed steps for DIY wire repair. Insulate, secure, and test the connection to restore functionality safely.
Read more: How To Fix A Cut Electrical Wire In A Wall
Assessing the Damage
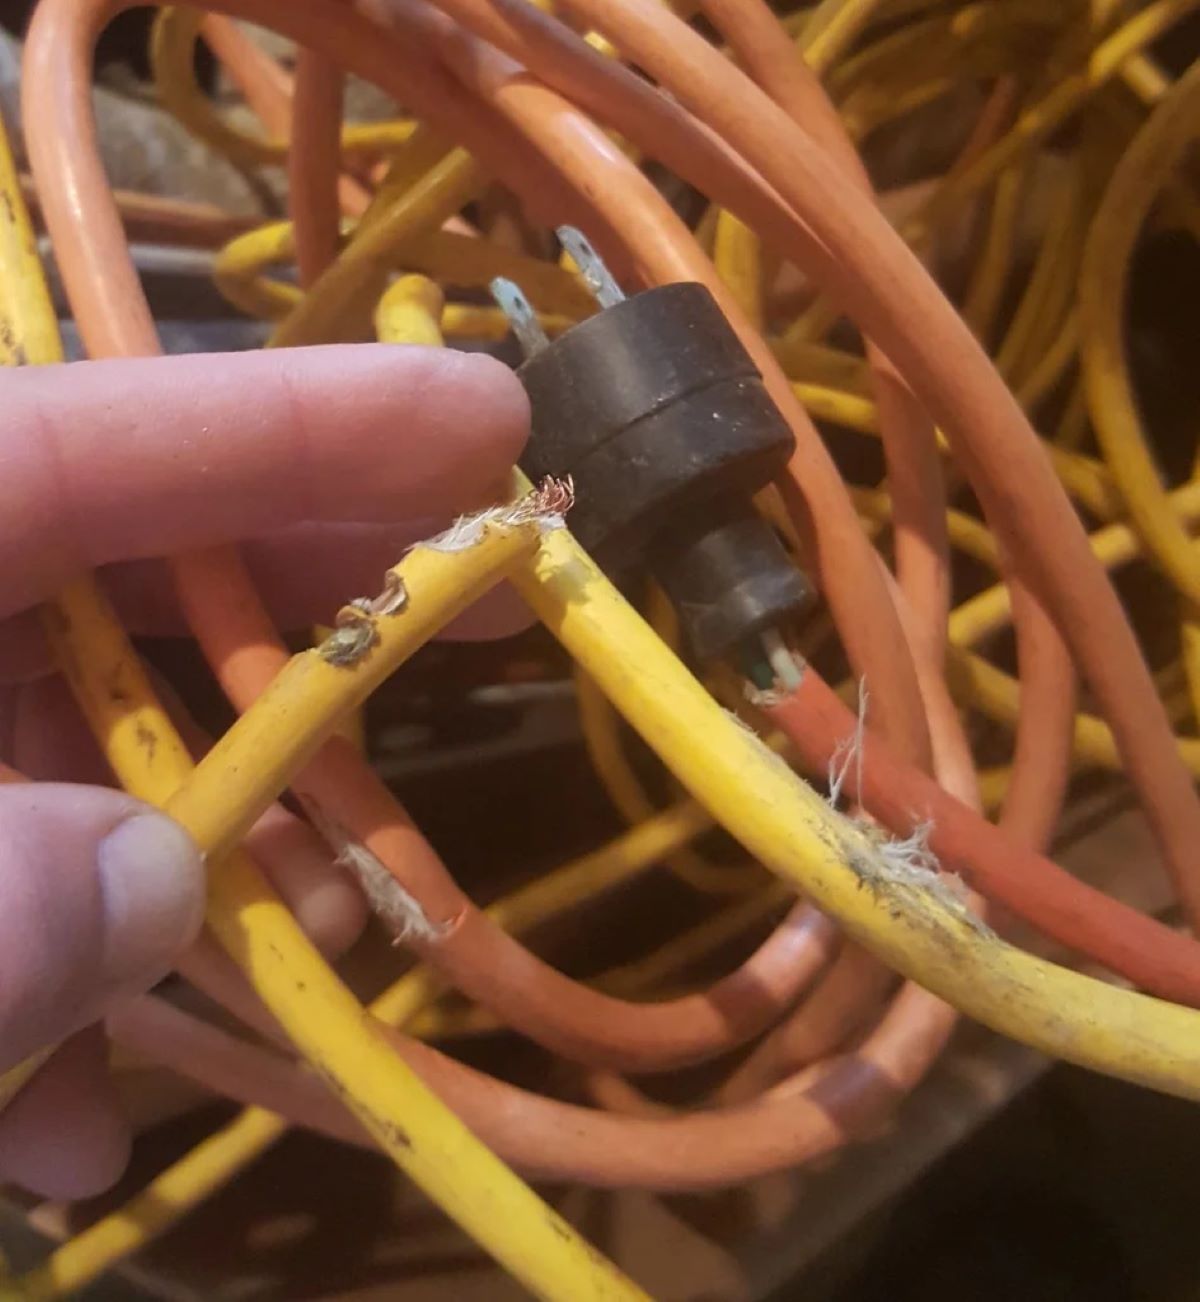
The first step in fixing a cut electrical wire is to assess the extent of the damage. This will help you determine the appropriate course of action and ensure that you have the necessary tools and supplies on hand.
Here are a few things to consider when assessing the damage:
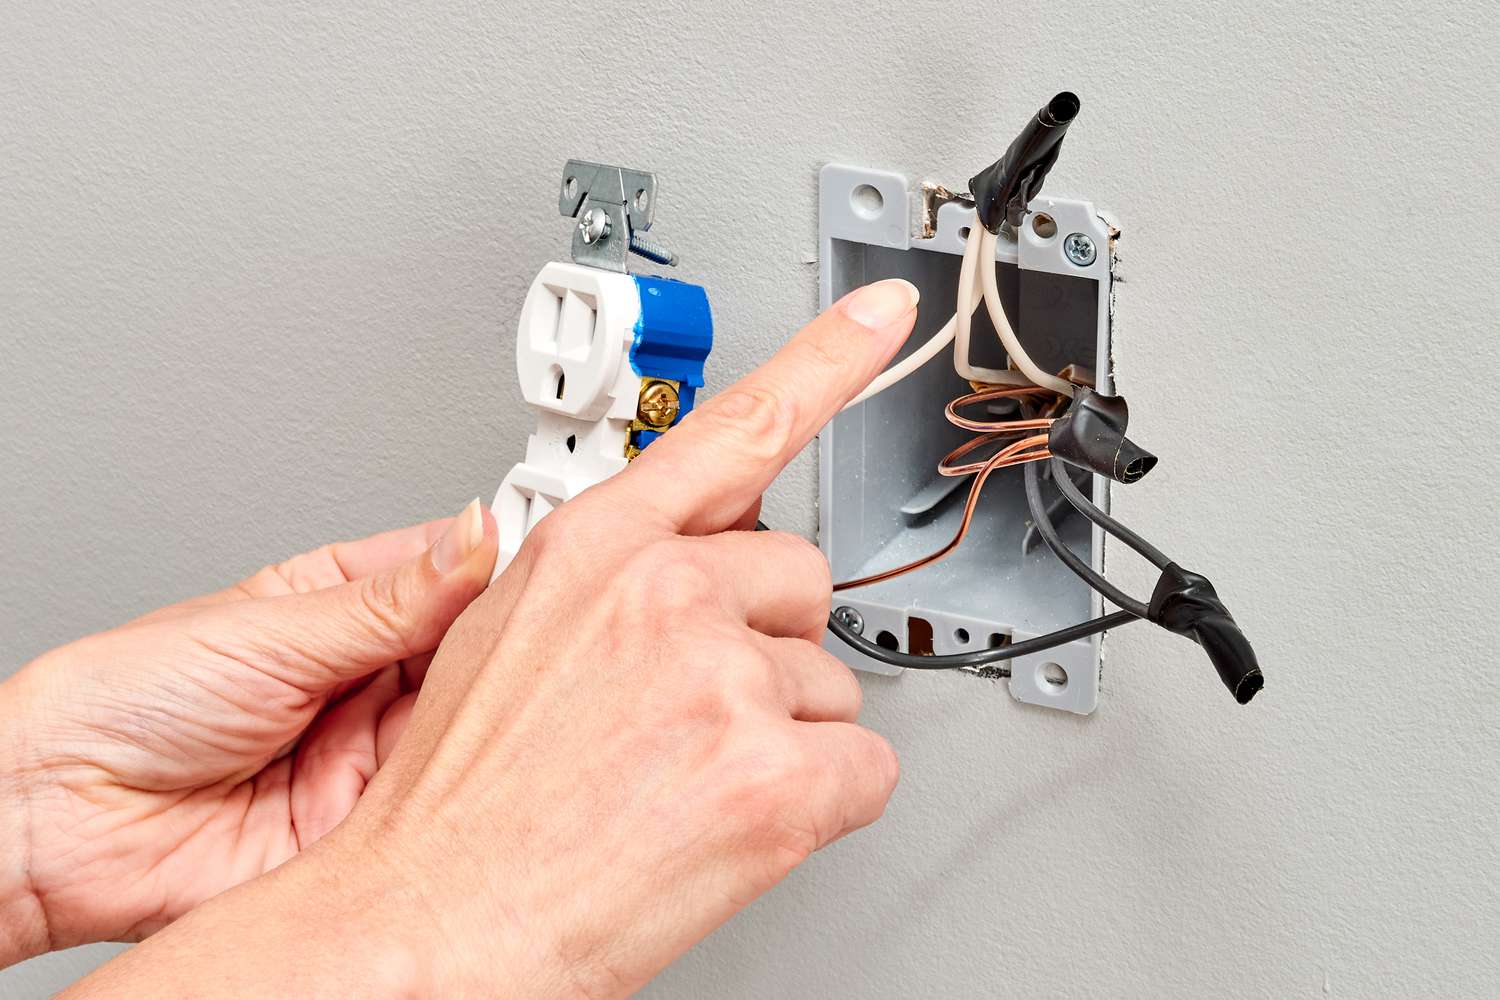
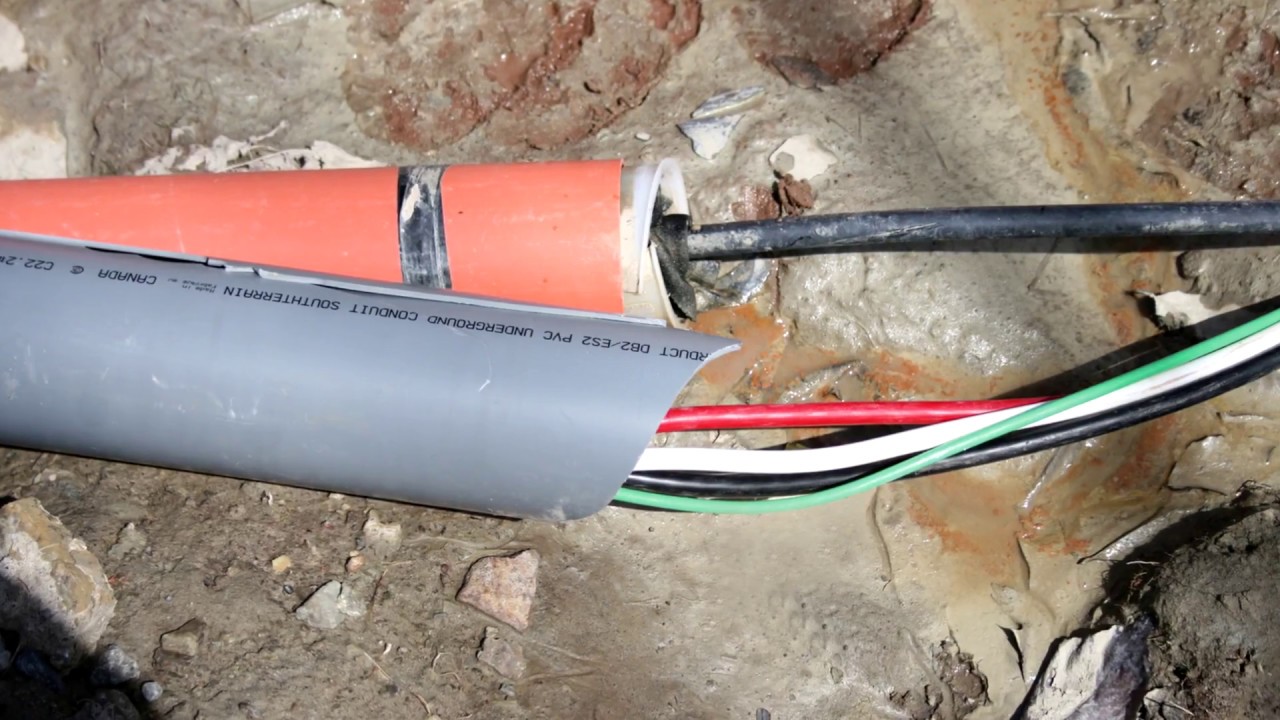
- Location of the cut: Determine where the wire has been cut or damaged. It could be near an outlet, switch, or in a concealed area such as inside a wall or ceiling.
- Type of wire: Identify the type of wire you are working with. Is it a standard electrical wire, a coaxial cable, or a low voltage wire? This will determine the specific procedures and tools required.
- Severity of the damage: Evaluate the severity of the damage. Is it a minor cut that can be easily repaired, or is the wire completely severed? Understanding the extent of the damage will help you determine whether a simple repair or a more extensive solution is needed.
- Accessibility: Consider how easily you can access the damaged wire. If it is in a hard-to-reach area, you may need to remove obstacles or create an opening to safely work on the repair.
Once you have assessed the damage and gathered this information, you will be better equipped to move forward with the repair process. Remember, if the damage is extensive or if you feel unsure about handling the repair yourself, it is advisable to seek professional assistance to avoid any further complications or safety hazards.
Gathering the Necessary Tools and Supplies
Before you begin fixing a cut electrical wire, it is essential to gather all the necessary tools and supplies. Having everything you need on hand will make the process more efficient and help ensure a successful repair.
Here is a list of tools and supplies you’ll likely need:
- Wire strippers: These are used to remove the insulation from the wire.
- Wire cutters: This tool is handy for cutting and trimming the wire.
- Electrical tape: Electrical tape provides insulation and protection for the spliced wires.
- Wire connectors: These connectors are used to join the cut wires together securely.
- Soldering iron and solder: If you are comfortable with soldering, these tools can be used to create a strong and long-lasting connection between the wires.
- Heat shrink tubing: Heat shrink tubing helps insulate and protect the soldered or connected wires.
- Multimeter: This handy device is used to test the continuity and voltage of the repaired wire.
- Safety goggles and gloves: It’s crucial to protect yourself while working with electrical wires, so make sure you have safety goggles and gloves to prevent any potential accidents.
These are the basic tools and supplies you will need for most electrical wire repair projects. However, depending on the specific situation, you may require additional tools or materials. It’s a good idea to assess the damage and review the repair steps before gathering all the necessary tools and supplies. This way, you can ensure that you have everything you need to complete the repair successfully.
Always remember to prioritize safety during the repair process. Make sure you are working in a well-ventilated area, and if you are unsure about any aspect of the repair or lack the appropriate tools, it is best to consult a professional electrician to avoid any potential hazards.
Disconnecting Power
Before you begin working on a cut electrical wire, it is crucial to disconnect the power source to prevent any accidents or electric shocks. Taking this important step will ensure your safety throughout the repair process.
Here’s how to disconnect the power:
- Identify the circuit: Determine which circuit the cut wire is connected to. Locate the corresponding circuit breaker in your electrical panel or fuse box.
- Turn off the circuit breaker: Locate the circuit breaker that controls the specific circuit and switch it to the “Off” position. This will cut off power to the affected area and prevent any electric flow.
- Test for power: To double-check that the power is off, use a non-contact voltage tester. Place it near the area where you will be working to ensure that no live wires are nearby.
- Verify power disconnection: For added safety, try turning on a light or appliance connected to the circuit that was turned off. If it doesn’t turn on, you can be confident that the power has been successfully disconnected.
By following these steps, you can minimize the risk of electrical accidents while working on the cut electrical wire. Remember, never assume that a wire is not live, even if you have turned off the circuit breaker. Always take necessary precautions and use appropriate tools to ensure your safety.
Once you have confirmed that the power is disconnected, you can proceed with the next steps of stripping the wire insulation and repairing the cut wire.
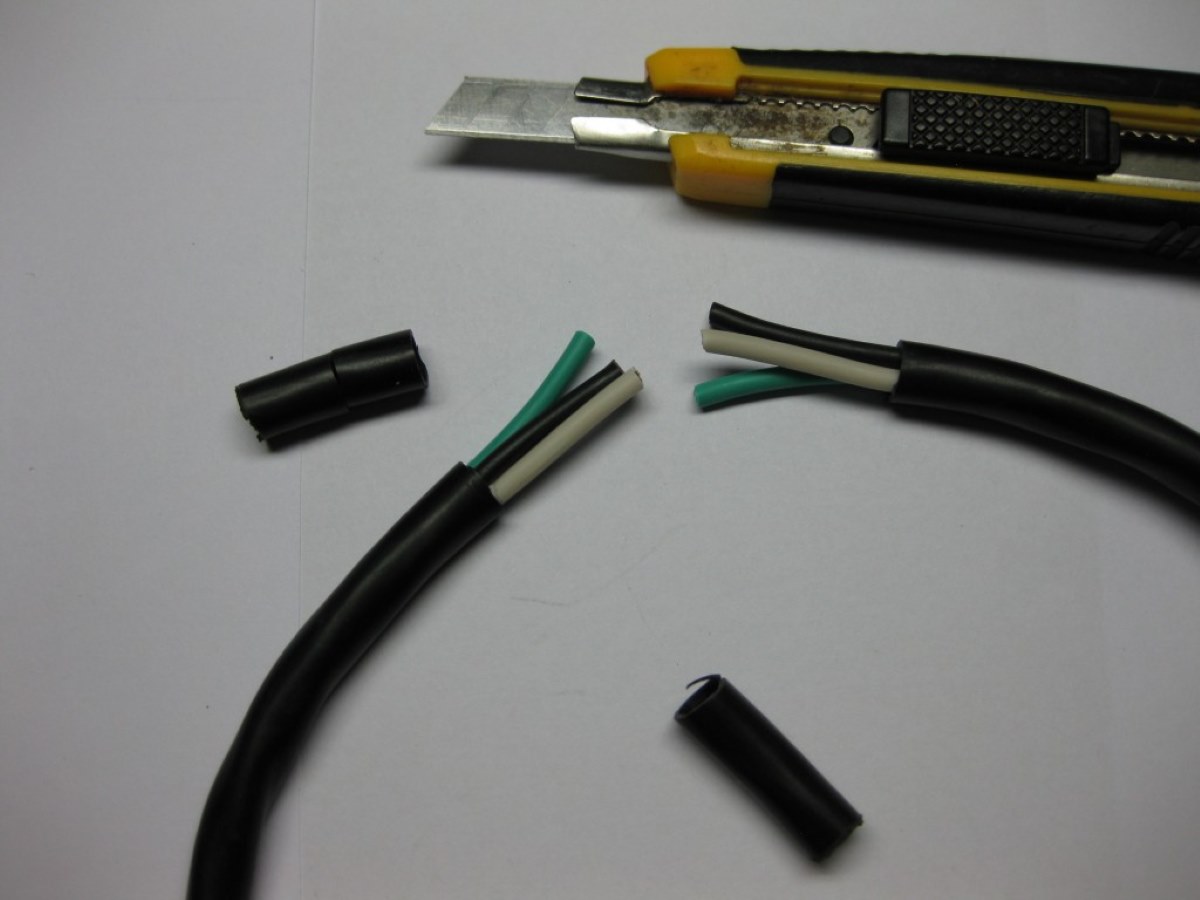
Stripping the Wire Insulation
After disconnecting the power source, the next step in fixing a cut electrical wire is to strip the insulation from the ends of the wire. This will expose the conductive metal wire, allowing you to make a proper connection or splice.
Here’s how to strip the wire insulation:
- Select the appropriate wire stripper: Choose a wire stripper that matches the gauge of the wire you are working with. Different wires have different thicknesses, so it’s important to use the right tool to avoid damaging the wire.
- Insert the wire into the stripper: Place the section of the wire that needs to be stripped into the appropriate hole or slot on the wire stripper. Make sure the wire is inserted enough to remove the desired length of insulation.
- Squeeze and rotate the stripper: Apply gentle pressure and rotate the wire stripper around the wire. The blades of the wire stripper will cut through the insulation, allowing you to remove it easily.
- Remove the insulation: Once you have made a complete rotation with the wire stripper, release the pressure and gently pull the wire to remove the stripped insulation. Be careful not to tug too hard or pull the wire out of the stripper excessively.
- Inspect the stripped wire: Examine the exposed wire to ensure that all the insulation has been removed. If there are any remnants of insulation or nicks on the wire, you may need to use a small utility knife or sandpaper to clean up the area.
It’s important to strip the wire insulation carefully and precisely. Avoid cutting through the wire or removing excessive amounts of insulation, as this can weaken the wire or cause potential electrical issues. Take your time and be meticulous when performing this step.
Once the wire insulation has been stripped, you are ready to proceed with connecting or splicing the wire to repair the cut. The next section will guide you through the necessary steps to make a secure and long-lasting connection.
Connecting and Splicing the Wire
Now that you have stripped the wire insulation, it’s time to connect or splice the wire back together. This step will restore the electrical connection and allow the current to flow seamlessly.
Here’s how to connect and splice the wire:
- Prepare the wire ends: Make sure the stripped ends of the wires are straight and clean. If needed, you can trim a small portion to ensure a fresh and even surface.
- Twist the wires together: Hold the stripped ends of the wire together and twist them clockwise. This will create a secure connection and ensure good conductivity.
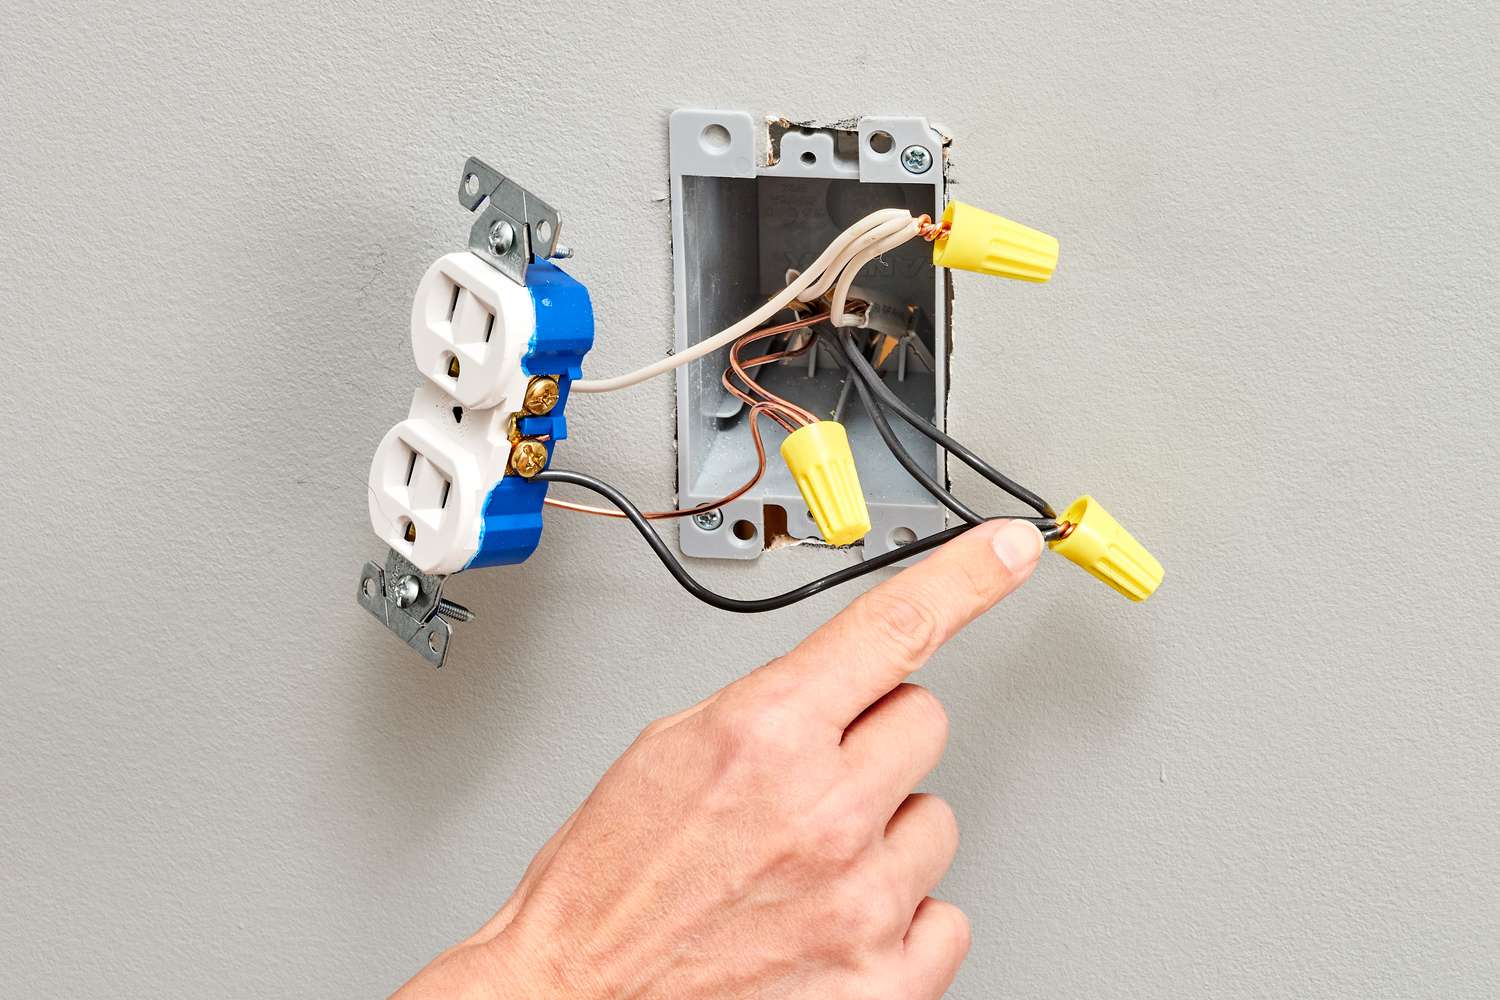
- Use wire connectors: Slide a wire connector over the twisted wire ends. Make sure the wire connector is the appropriate size for the gauge of the wire. Twist the wire connector onto the wires firmly until it is secure.
- Tug test: Gently tug on the wires and the wire connector to ensure they are securely fastened. If they come apart easily, you may need to re-twist the wires and tighten the wire connector further.
If you prefer a more advanced and secure connection, you may consider soldering the wire ends together. Soldering provides a strong and durable connection, especially for thicker wires or applications where vibration or movement is a concern. It is recommended to use heat-shrink tubing to insulate the soldered connection to prevent any potential short circuits.
Remember that the correct wiring and connection techniques may vary depending on the specific electrical system and the type of wire you are working with. Consulting an electrician or referring to specific manufacturer guidelines can provide additional guidance for your specific situation.
Once you have created a secure connection, the next step is to insulate and secure the wire to ensure its safety and reliability.
If an electrical wire is cut, first turn off the power to that circuit. Then, carefully strip the insulation from the ends of the wire and use a wire connector to join the two ends back together. Finally, secure the connection with electrical tape.
Soldering the Connection (optional)
Soldering the connection is an optional step that can provide a more secure and long-lasting electrical connection. It is especially useful for thicker wires or applications where vibration or movement is a concern. Soldering creates a strong bond between the wires, minimizing the risk of a loose or faulty connection.
Here’s how to solder the connection:
- Prepare the wire ends: Make sure the stripped ends of the wires are clean and straight. If needed, you can trim a small portion to ensure a fresh and even surface.
- Apply flux: Apply a small amount of flux to the wire ends. Flux helps in the soldering process by promoting better heat transfer and improving the flow of solder.
- Heat the wire ends: Use a soldering iron to heat the wire ends evenly. The soldering iron should be hot enough to melt the solder, but be cautious not to overheat the wires.
- Apply solder: Once the wire ends are heated, touch the solder to the joint between the wires. The solder will melt and flow around the wires, creating a strong bond. Ensure that the solder covers the entire connection for maximum strength.
- Clean the soldered joint: After the solder has cooled, clean the soldered joint with a damp cloth or sponge to remove any flux residue. A clean joint will improve the overall integrity of the connection.
- Insulate the soldered joint: To protect the soldered joint and prevent any potential short circuits, apply heat-shrink tubing over the connection. Heat the tubing using a heat gun to shrink and seal it securely around the joint.
It’s important to note that soldering should be done with caution and proper safety measures. Always ensure that you are working in a well-ventilated area, away from flammable materials. Additionally, exercise care with the soldering iron, as it can get extremely hot and cause burns.
Soldering is an advanced technique and may not be necessary for every situation. If you are unsure or uncomfortable with soldering, it is perfectly acceptable to rely on wire connectors or other approved methods of connection. The goal is to create a secure and reliable electrical connection that meets safety standards.
With the soldered connection complete, the next step is to insulate and secure the wire to ensure its safety and long-term functionality.
Insulating and Securing the Wire
After making the necessary connections or splices, it’s important to insulate and secure the wire to protect against electrical hazards and ensure its long-term functionality. Insulation prevents the wires from coming into contact with each other or any surrounding materials, reducing the risk of short circuits and electrical shocks.
Here’s how to insulate and secure the wire:
- Apply electrical tape: Begin by wrapping a layer of electrical tape around the exposed wire connection. Start slightly before the stripped wire ends and continue wrapping a few inches beyond the connection. Make sure the tape adheres firmly and overlaps itself to provide a secure seal.
- Use heat shrink tubing: For added protection and durability, you can use heat shrink tubing. Slip the heat shrink tubing over the connection and apply heat using a heat gun. As the tubing heats up, it will shrink and conform tightly around the wire, providing a waterproof and insulated seal.
- Screw or fasten the wire: If the wire is in a location where it might be subject to movement or stress, consider securing it with screws, clips, or fasteners. This will help prevent any strain on the connection and ensure its long-term stability.
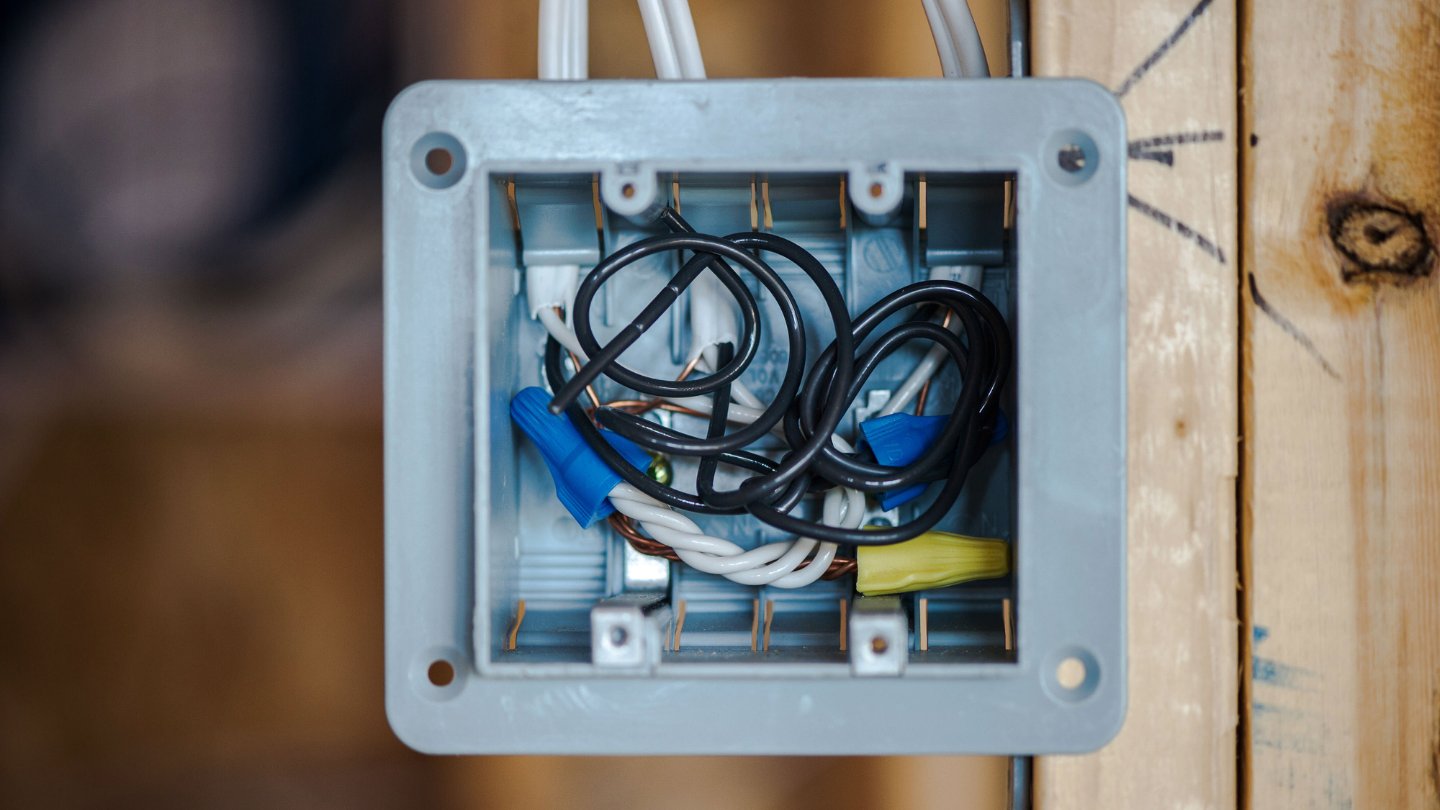
- Organize and tidy up the wires: If you have multiple wires in the same area, use zip ties or cable management solutions to keep them organized and prevent tangling. This will also help improve the overall appearance and accessibility of the wires.
By properly insulating and securing the wire, you reduce the risk of accidental contact, short circuits, and potential electrical hazards. Additionally, it ensures the longevity and reliability of the repaired wire connection.
Remember, safety should always be prioritized when working with electrical components. Ensure that the area is free from any live power sources before handling the wires and follow appropriate safety guidelines.
Now that the wire is properly insulated and secured, it’s time to restore power and test the connection.
Restoring Power
With the wire insulation and secure connection in place, it’s time to restore power to the circuit and test the repaired connection. Restoring power should be done cautiously to ensure the safety of both you and the electrical system.
Here’s how to restore power:
- Double-check the wire: Take a final look at the repaired wire connection to ensure that the insulation is intact, there are no loose wires, and everything appears secure.
- Turn on the circuit breaker: Locate the circuit breaker that controls the specific circuit and switch it to the “On” position. This will restore power to the repaired area.
- Observe for any issues: Once the power is restored, carefully observe the repaired connection and the surrounding area for any signs of sparks, smoke, or unusual behavior. If any abnormalities are detected, immediately turn off the circuit breaker and reassess the repair.
If everything appears normal and there are no signs of issues, you can proceed to testing the connection to ensure that it is functioning as expected.
Remember, if you are unsure or uncomfortable with restoring power yourself, it is always recommended to seek the assistance of a qualified electrician. They have the expertise and experience to ensure that the electrical system is restored safely and effectively.
Now that power has been restored, let’s move on to testing the connection.
Read more: How To Cut Electrical Wire When Live
Testing the Connection
After restoring power, it is important to test the repaired connection to ensure its functionality and reliability. Testing the connection will help identify any potential issues or faults and give you peace of mind that the repair was successful.
Here’s how to test the connection:
- Use a multimeter: Set your multimeter to the appropriate setting for continuity or resistance testing.
- Probe the wire connections: Place one probe of the multimeter on one side of the repaired wire connection and the other probe on the other side.
- Check for continuity or low resistance value: If the connection is intact, the multimeter should indicate continuity or a low resistance value, confirming that the electrical current can flow through the connection without any obstacles.
- Test voltage (optional): If applicable, you can also use a multimeter to test the voltage at the repaired connection. This can help ensure that the power is properly flowing through the wires.
- Repeat the test if necessary: If the multimeter indicates an open circuit or a high resistance value, there may be an issue with the connection. Double-check that the wires are securely connected and that the insulation is intact. Repeat the testing process to confirm the repair.
By testing the connection, you can have confidence in the integrity of the repair and ensure that the electrical system is functioning properly. If the test results indicate any issues or if you are uncertain about the outcome, it is advisable to consult a professional electrician for further assistance.
Remember, safety should always be the top priority when working with electrical components. Handle the multimeter and test equipment with caution, and always adhere to proper safety guidelines.
If the connection passes the testing process, congratulations! You have successfully fixed the cut electrical wire and restored power to your system. With the repair complete, you can now enjoy the functionality and peace of mind that comes with a properly repaired electrical connection.
Conclusion
Fixing a cut electrical wire can be a daunting task, but with the right knowledge and proper precautions, it is a manageable DIY project. In this article, we have provided a step-by-step guide to help you address a cut wire effectively and safely.
We started by emphasizing the importance of assessing the damage and gathering the necessary tools and supplies. Properly assessing the damage ensures that you have the right approach and resources for the repair. Gathering the necessary tools and supplies beforehand saves time and ensures a smoother process.
We then covered the crucial step of disconnecting the power to ensure your safety throughout the repair. Safety should always be the top priority when working with electricity, and taking the time to disconnect the power source is essential.
Next, we walked you through stripping the wire insulation and making proper connections or splices. This step restores the electrical connection and ensures proper conductivity, whether you choose to use wire connectors or go the extra mile and solder the wires together.
Insulating and securing the wire is vital to protect against potential electrical hazards. We discussed various methods, including using electrical tape and heat shrink tubing, to provide insulation and safeguard the repaired connection.
After insulating and securing the wire, we covered the process of restoring power and testing the connection. Restoring power should be done cautiously, and testing the connection verifies its functionality and reliability.
Lastly, we want to remind you that if you feel uncertain or uncomfortable at any point during the repair process, it is always best to seek the help of a qualified electrician. They have the expertise and experience to ensure a safe and effective repair.
By following the steps outlined in this article and prioritizing safety, you can successfully fix a cut electrical wire and restore functionality to your electrical system. Remember, preparation, caution, and attention to detail will help you accomplish a job well done.
Now, go forth with confidence and tackle that cut electrical wire!
Frequently Asked Questions about How To Fix If Electrical Wire Is Cut
Was this page helpful?
At Storables.com, we guarantee accurate and reliable information. Our content, validated by Expert Board Contributors, is crafted following stringent Editorial Policies. We're committed to providing you with well-researched, expert-backed insights for all your informational needs.


0 thoughts on “How To Fix If Electrical Wire Is Cut”