Articles
How To Extend Electrical Wire In Wall
Modified: October 20, 2024
Learn how to extend electrical wire in a wall with our informative articles. Find step-by-step guides and expert tips to ensure a safe and reliable installation.
(Many of the links in this article redirect to a specific reviewed product. Your purchase of these products through affiliate links helps to generate commission for Storables.com, at no extra cost. Learn more)
Introduction
When it comes to electrical installations, sometimes you may find yourself in a situation where you need to extend an electrical wire in a wall. This could be due to various reasons, such as remodeling, adding new outlets, or relocating electrical devices. Extending electrical wire in the wall may seem like a daunting task, but with the right tools and knowledge, you can successfully complete the job while ensuring the safety of your electrical system.
In this article, we will guide you through the step-by-step process of extending an electrical wire in a wall. We will cover everything from gathering the necessary tools and materials to safely connecting the wires and ensuring the proper functioning of your electrical system. So, let’s dive in and discover how to extend electrical wire in a wall.
Key Takeaways:
- Extending electrical wire in a wall requires careful planning, precise execution, and strict adherence to safety measures. From gathering the right tools to securing the junction box, each step is crucial for a successful and safe outcome.
- Turning off the power, cutting the existing wire, and connecting the wires within the junction box are critical steps that demand attention to detail and compliance with electrical codes. Prioritizing safety and seeking professional assistance when in doubt is paramount.
Read more: How To Extend Electrical Wire In Attic
Step 1: Gather the necessary tools and materials
Before you begin extending the electrical wire in your wall, it is essential to gather all the necessary tools and materials to ensure a smooth and efficient process. Here are the items you will need:
- Wire strippers
- Wire cutters
- Electrical tape
- Junction box
- Wire connectors
- Electrical wire
- Screwdriver
- Stud finder
- Fish tape or coat hanger (optional)
- Measuring tape
- Flashlight
- Extension cord (for temporary power if needed)
Having all these tools and materials ready before you start will make the process more efficient and reduce the risk of accidents or delays. It is important to ensure that the wire gauge and type match the existing wire in order to maintain compatibility and safety.
Please note that safety should be your top priority when working with electrical wires. Make sure to wear safety glasses and gloves to protect yourself from any potential hazards.
Once you have gathered all the necessary tools and materials, you are ready to proceed to the next step.
Step 2: Turn off the power
Before you start working with electrical wires, it is crucial to turn off the power to the area where you will be extending the wire. This step is essential to ensure your safety and prevent any electrical shock or damage.
To turn off the power, locate your electrical panel or circuit breaker box. Depending on your electrical setup, you may have a main circuit breaker that controls the entire house or individual circuit breakers for different areas or rooms.
Once you’ve located the correct circuit breaker, switch it off by flipping the corresponding switch to the “off” position. It is a good practice to label the circuit breaker that controls the area you are working on to make it easier for future reference.
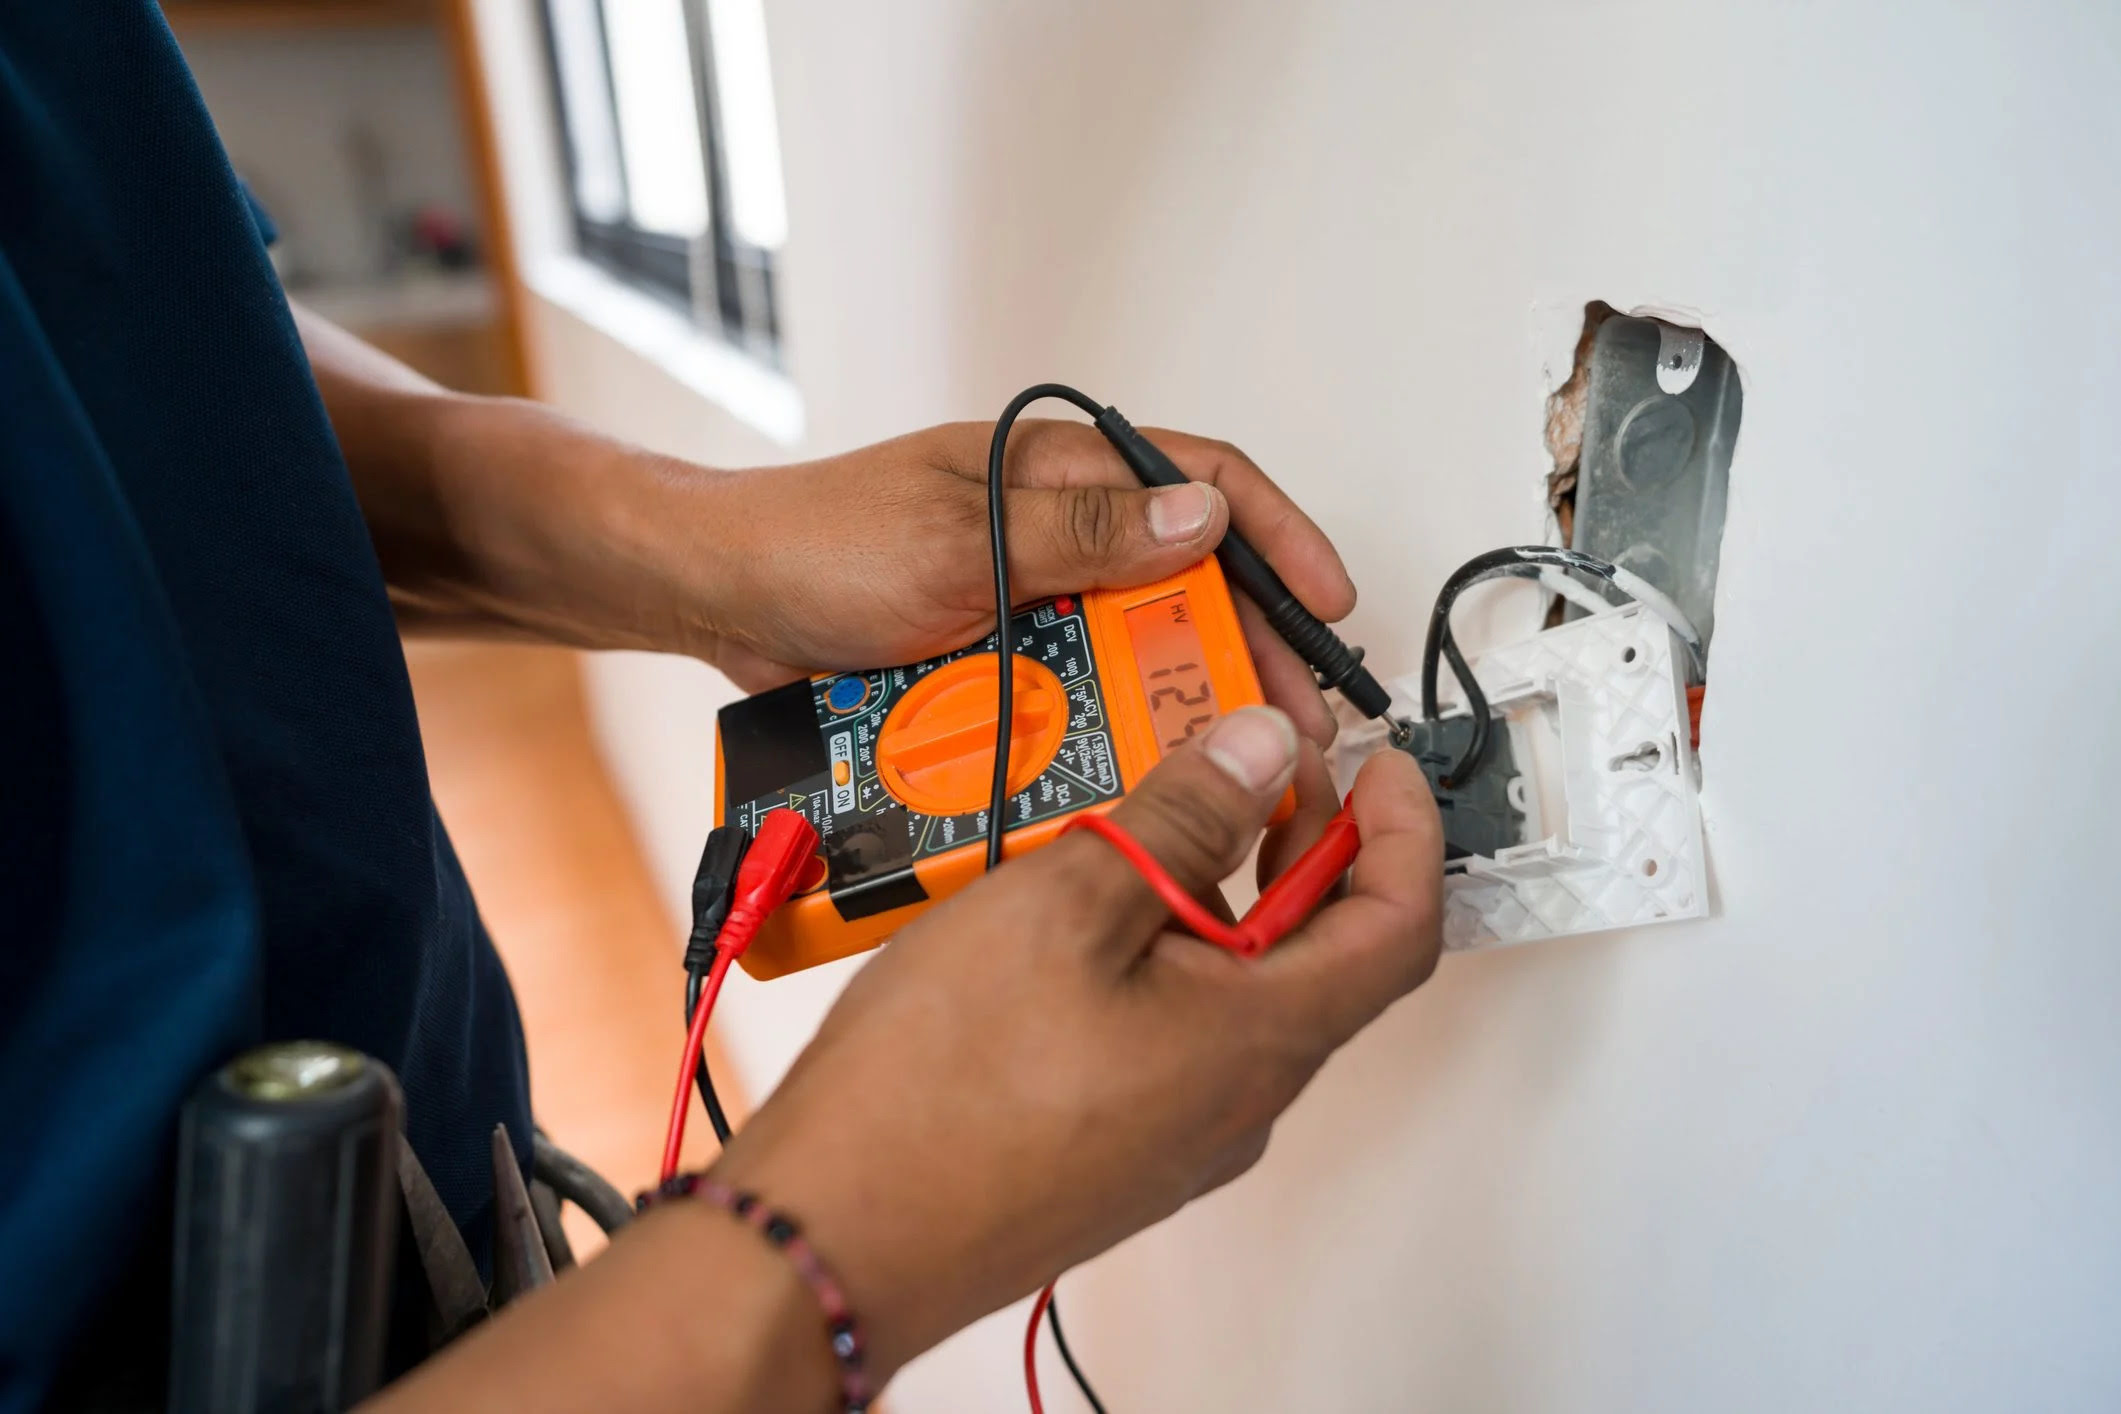
After turning off the circuit, double-check that the power is indeed off by testing the wires with a non-contact voltage tester. This device will alert you if there is any presence of electricity, ensuring that it is safe to proceed with your work.
Remember, never assume that the power is off without using a voltage tester. It is always better to be safe than sorry when working with electricity.
Once you have confirmed that the power is off, you can proceed to the next step of cutting the existing wire.
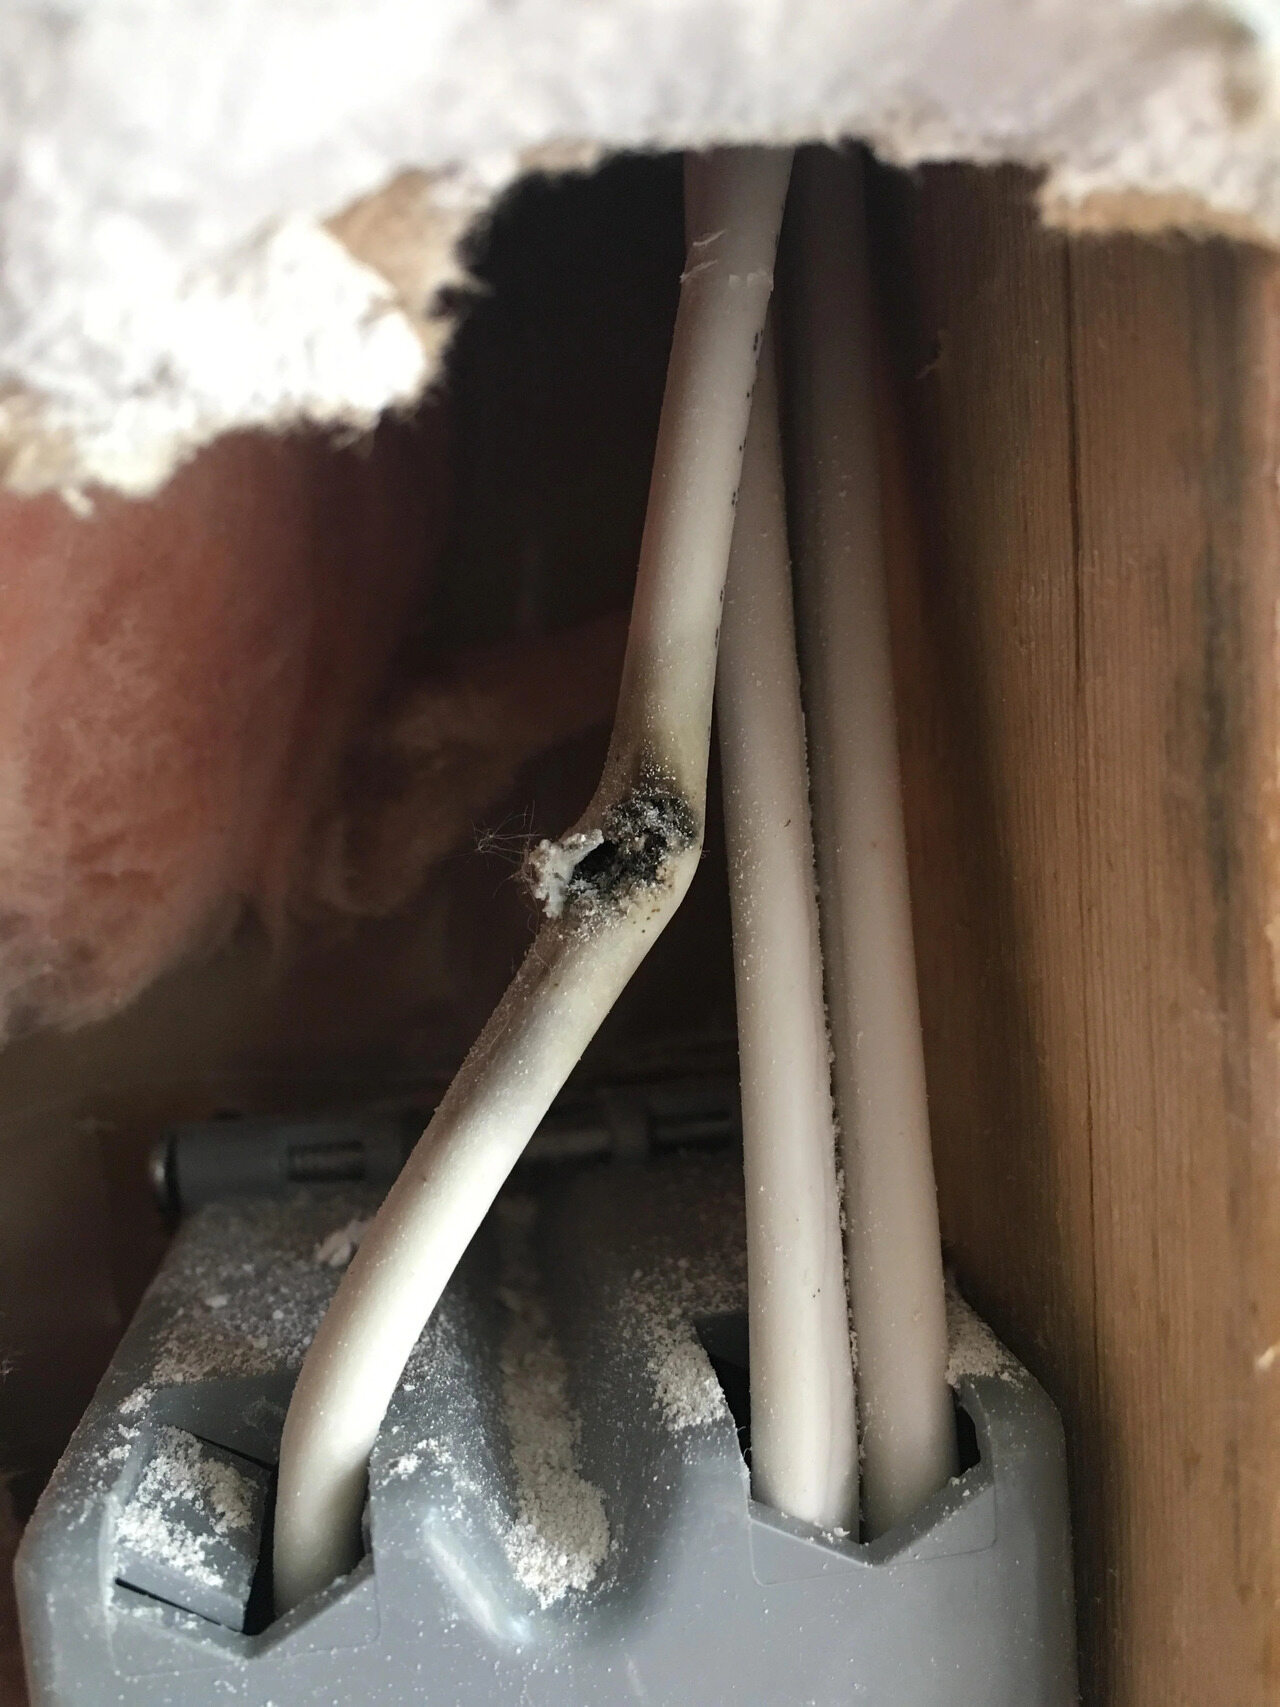
Step 3: Cut the existing wire
Now that you have safely turned off the power, it’s time to cut the existing wire in order to extend it. Before making any cuts, make sure you have a clear understanding of the specific section of wire that needs to be extended.
Start by determining the location where you will cut the wire. Use a stud finder to locate any studs in the wall to avoid accidentally cutting into them. Once you have identified the spot, measure and mark it with a pencil or tape.
Using wire cutters, carefully cut into the existing wire at the marked location. Take extra caution to ensure a clean and precise cut, without damaging any surrounding wires or components.
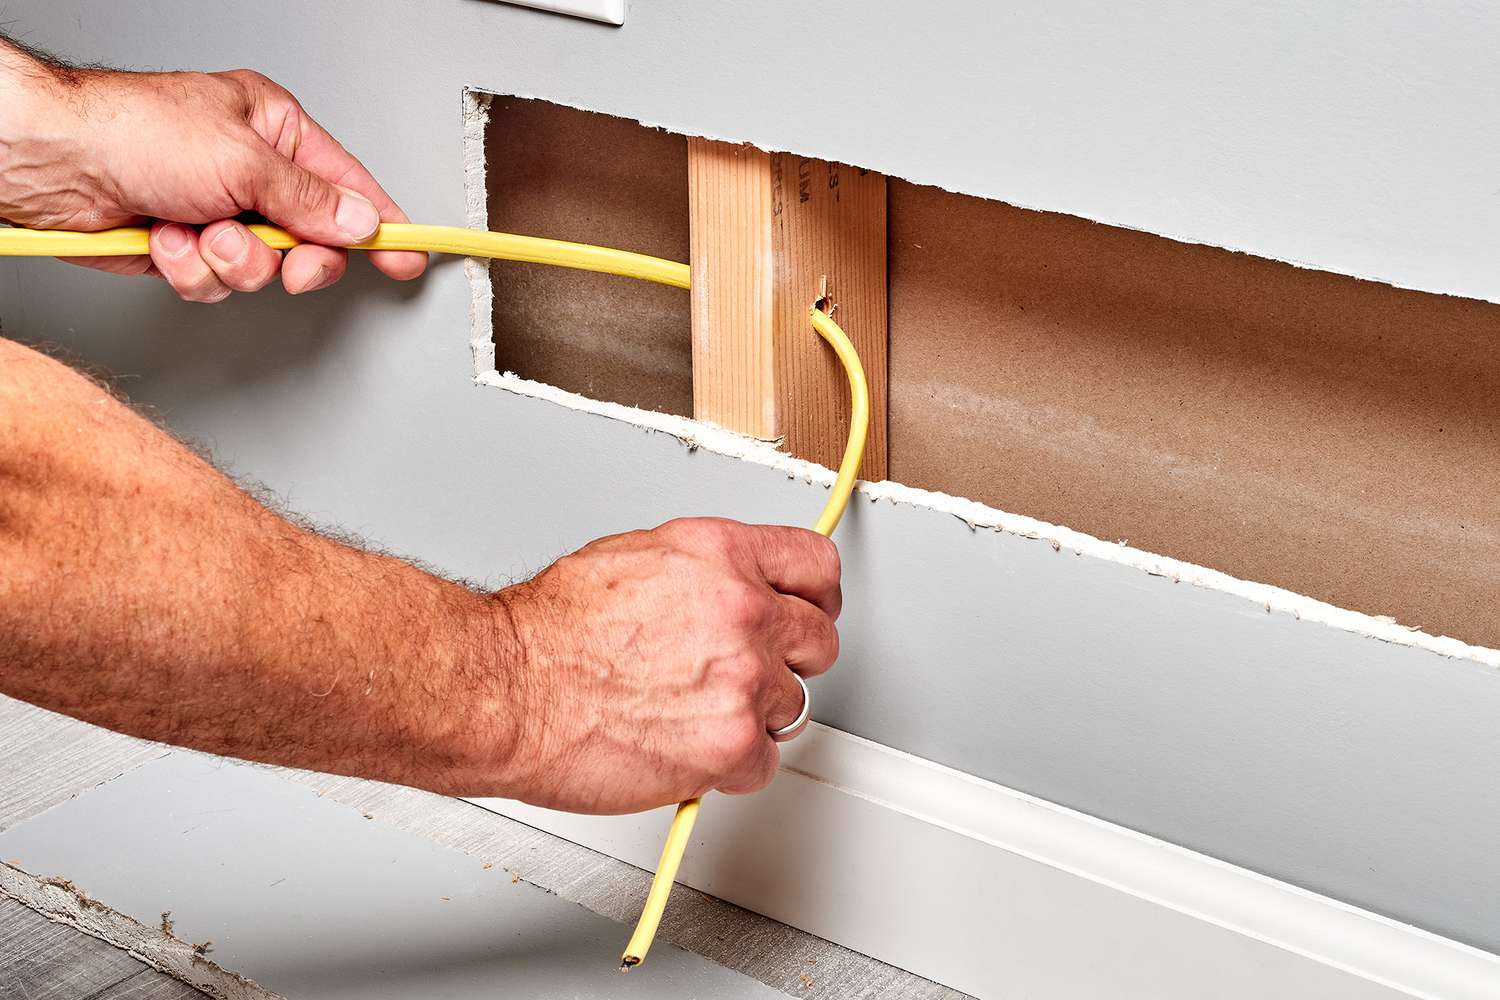
Once you have made the cut, carefully separate the two ends of the wire, creating a gap that allows you to extend it. In some cases, you may need to use a fish tape or a straightened coat hanger to help pull the wire through the wall to the desired location.
After cutting the wire and creating the gap, you are now ready to prepare the junction box to accommodate the extended wire.
Note: If you are uncertain about any aspect of cutting the wire, seeking professional assistance from a licensed electrician is always recommended.
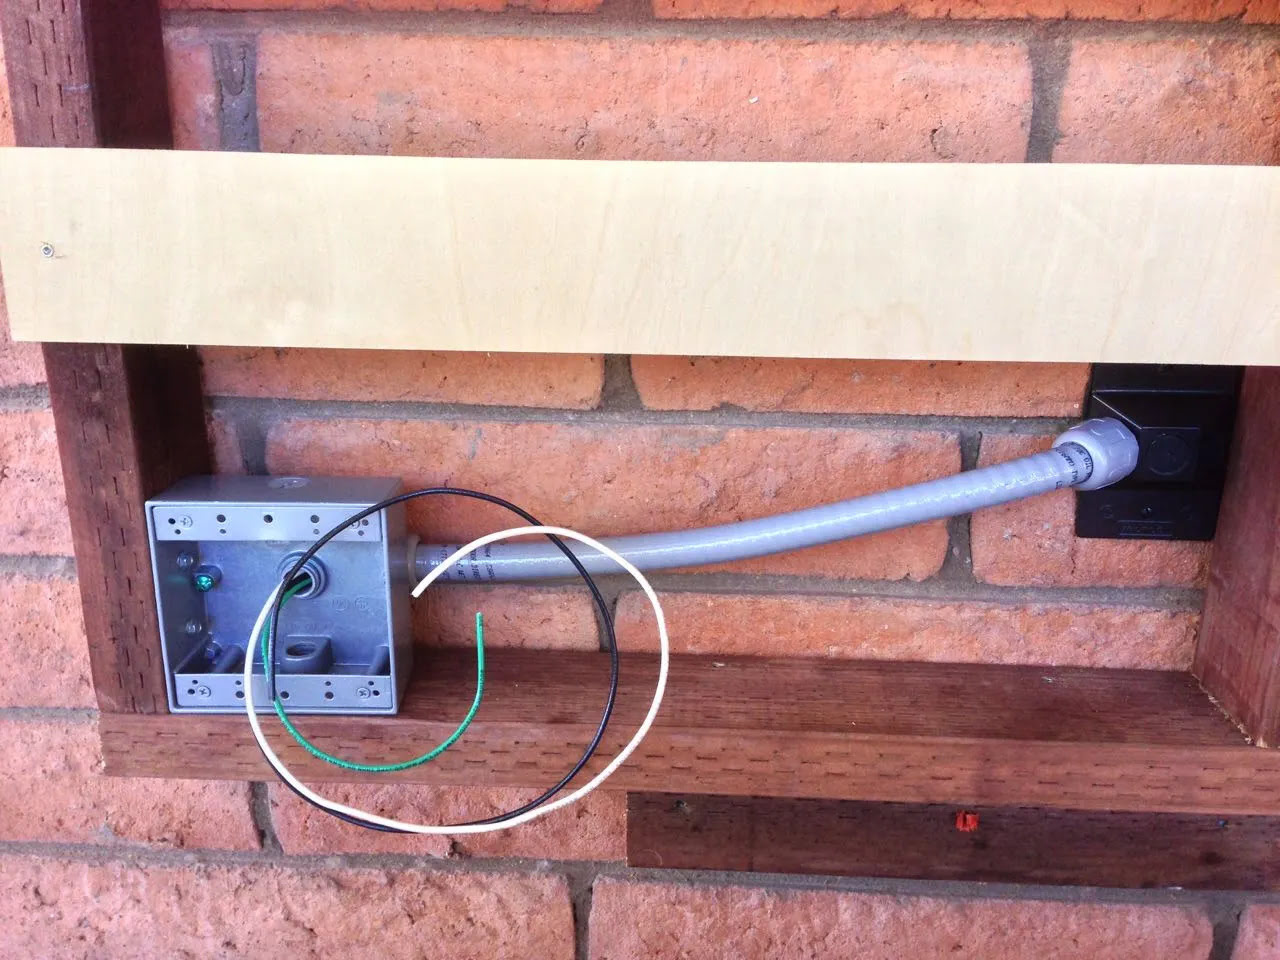
Step 4: Prepare the junction box
Now that you have cut the existing wire and created a gap, it’s time to prepare the junction box that will house the connection between the old and new wire. The junction box provides a safe and secure enclosure for the electrical connections.
First, choose a suitable location on the wall where you will install the junction box. Ensure that the location is accessible and meets local electrical codes. Use a stud finder to locate any studs in the wall to avoid mounting the junction box on them.
Once you have determined the location, trace the outline of the junction box on the wall using a pencil or marker. Use a jigsaw or a utility knife to carefully cut out the opening for the junction box following the traced lines.
After cutting the opening, insert the junction box into the wall, ensuring that it fits securely and flush with the surface. Use screws or nails, depending on the type of junction box, to secure it in place. Make sure the junction box is firmly attached to the wall to prevent any movement or instability.
Inside the junction box, there are terminals or wire connectors to make the necessary electrical connections between the old and new wire. Arrange the wires neatly and strip the insulation from the end of each wire using wire strippers.
Before proceeding to the next step of extending the wire, it is crucial to ensure that the junction box is properly prepared and securely mounted in place. This will provide a stable foundation for the electrical connections and maintain the safety of your electrical system.
When extending electrical wire in a wall, always use wire connectors and electrical tape to secure the connection. Make sure to turn off the power before working on the wires to avoid any accidents.
Read more: How To Extend Chandelier Wire
Step 5: Extend the wire
With the junction box prepared, it’s time to extend the wire from the existing cut end to the desired location. This step requires careful attention to detail to ensure a successful and safe extension.
Start by measuring the length of the wire needed to reach the desired location. Add a few extra inches to account for any necessary adjustments or future modifications.
Using wire strippers, carefully strip the insulation from the end of the new wire that will be connected to the existing wire. Ensure that the exposed conductor is clean and free from any frayed strands.
Insert the stripped end of the new wire into the junction box, routing it through any wire connectors or terminals according to the manufacturer’s instructions. Make sure the wire is securely fastened and properly aligned.
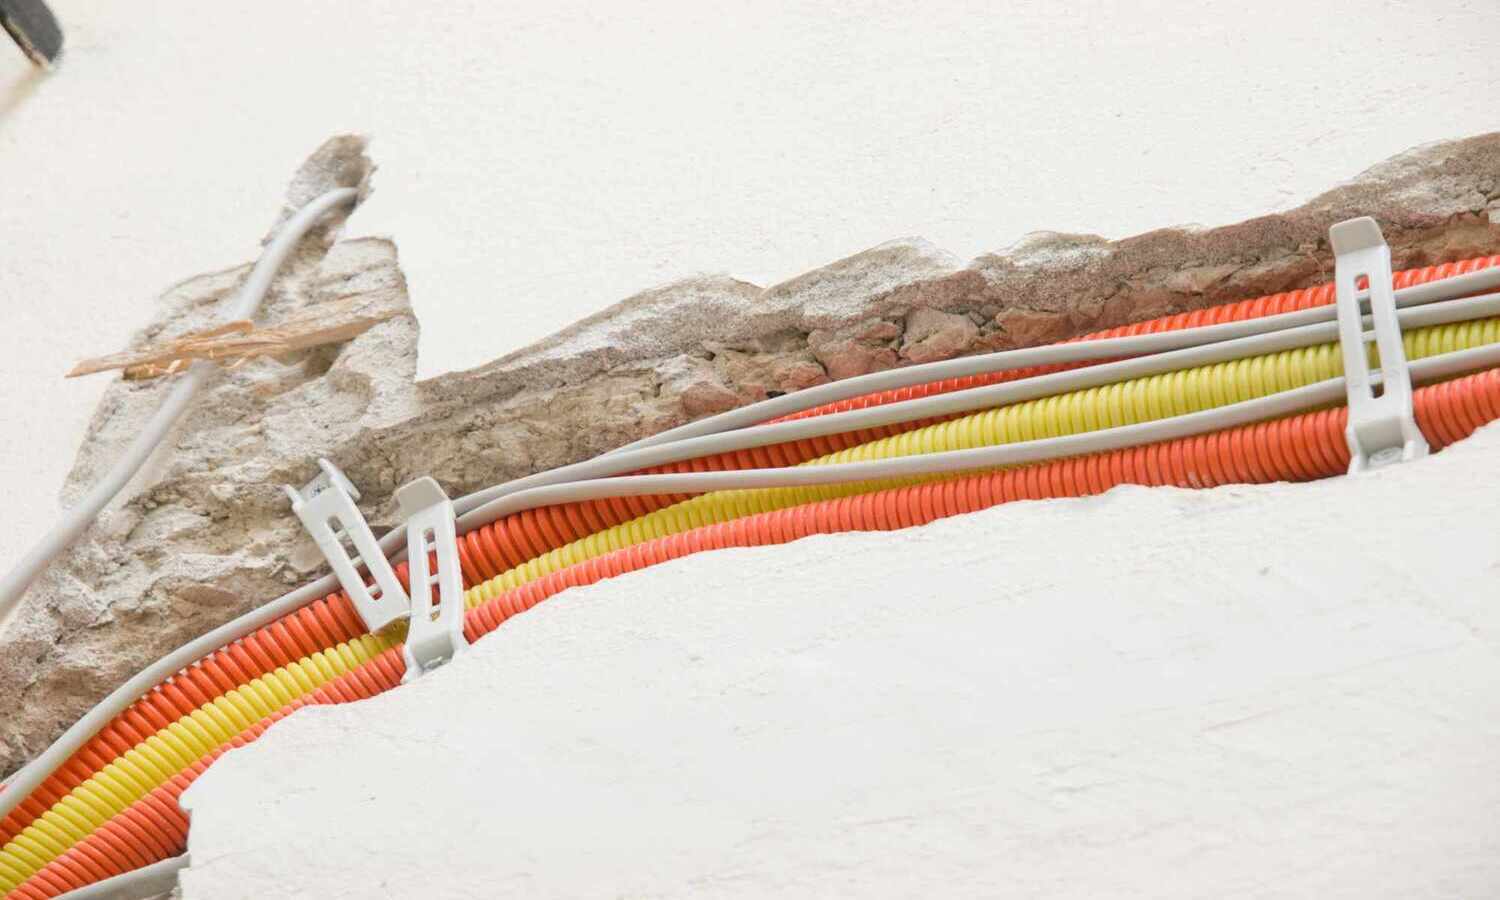
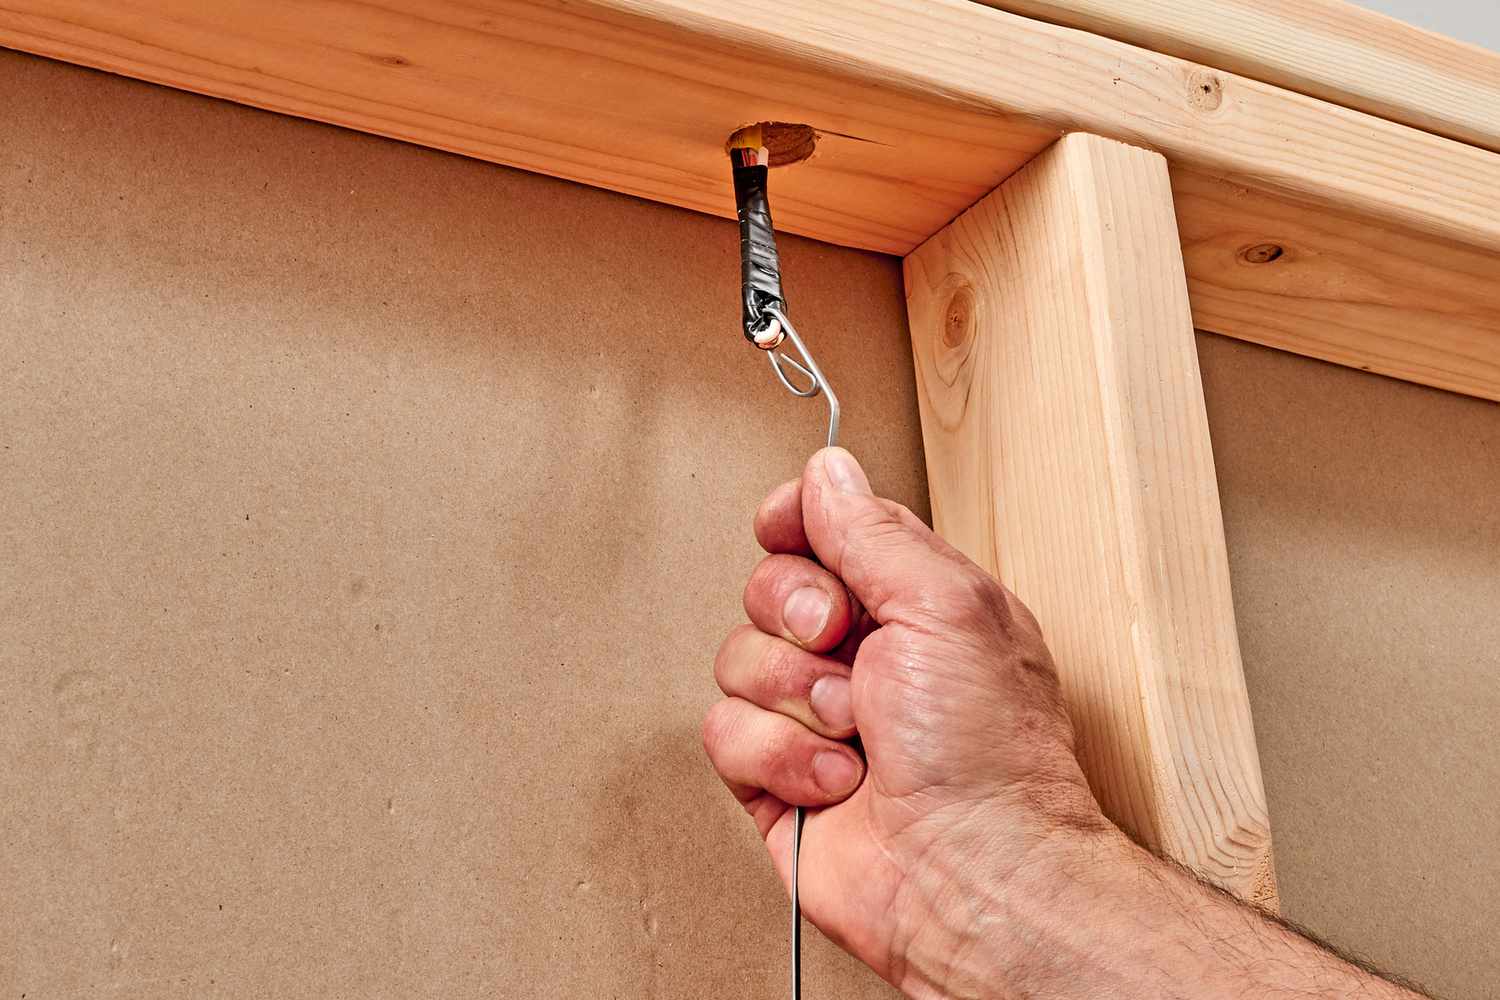
Next, feed the extended wire through the wall, making sure to protect it from any sharp edges or obstructions that could damage the insulation. Use a fish tape or a coat hanger to guide the wire through the wall if needed.
Take your time to carefully route the wire along the desired path, ensuring that it is concealed and out of sight. Use plastic conduit or cable clips to secure and protect the wire, if necessary.
Continue extending the wire until you reach the desired location, keeping in mind the electrical code requirements for wire routing and clearance from other utilities or fixtures.
Once the wire is extended to the desired location, you are ready to move on to the next step of connecting the wires in the junction box.
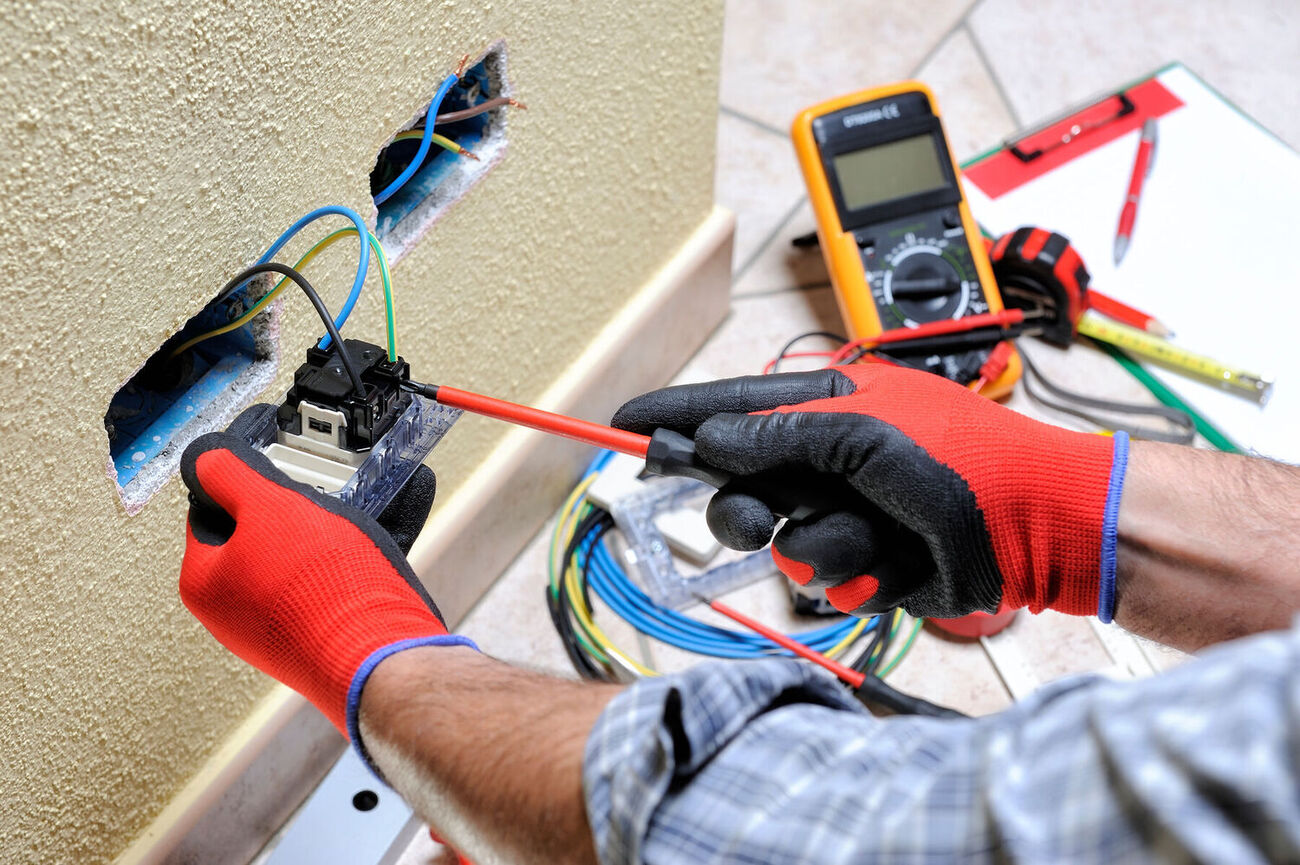
Step 6: Connect the wires
Now that the wire has been successfully extended to the desired location, it is time to make the necessary connections in the junction box. Properly connecting the wires is crucial for the safe and efficient operation of your electrical system.
Begin by stripping the insulation from the end of the existing wire in the junction box, ensuring that the exposed conductor is clean and undamaged. Repeat the same process for the extended wire.
To connect the wires, you have a few options depending on the type of junction box and wire connectors available:
- Wire connectors: Use wire connectors, such as twist-on wire nuts or push-in connectors, to join the corresponding wires together. Make sure to match the correct wire colors and securely fasten the connectors.
- Terminal blocks: If your junction box has terminal blocks, insert the stripped ends of the wires into the appropriate terminals and tighten the screws to secure the connections.
- Soldering: In some cases, soldering may be required to create a secure and permanent connection. This method is typically used for higher voltage or complex wiring installations.
Regardless of the method used, it is important to ensure that the wire connections are tight, properly insulated, and free from any loose strands or exposed wires.
After making the connections, gently tuck the wires into the junction box, making sure they are organized and not compressed or damaged by the cover of the junction box. Close and secure the junction box cover, ensuring that it is properly aligned and firmly attached.
Remember to follow all local electrical codes and safety guidelines when making wire connections. If you’re unsure about any aspect of the connection process, it’s best to consult a licensed electrician for assistance.
Once the wires are connected, you can move on to securing the junction box in the next step.
Step 7: Secure the junction box
Securing the junction box is a crucial step to ensure the stability and safety of your electrical installation. The junction box needs to be properly anchored to the wall to prevent any movement or accidental damage to the wires and connections inside.
Start by checking that the junction box is securely mounted in place. Tighten any screws or nails that may have loosened during the previous steps, ensuring that the junction box is firmly attached to the wall.
Next, inspect the junction box to ensure that all the wires and connections are properly contained within the box. Arrange the wires neatly, avoiding any cross-connections or tangles that could cause electrical issues or hazards.
If necessary, use cable ties or wire clips to secure and organize the wires within the junction box. This will help maintain a clean and organized setup, preventing any accidental loosening of connections or interference with other components.
Double-check that all wire connectors, terminal blocks, or soldered connections are properly tightened and insulated. Ensure there are no exposed wires or loose connections that could lead to electrical shorts or potential hazards.
Once you have ensured that the junction box is securely mounted and the connections are properly contained, it’s time to perform the final step of restoring power to the circuit.
Remember, if you are unsure about any aspect of securing the junction box or encounter any difficulties, it’s best to consult a licensed electrician for guidance and assistance.
Step 8: Turn on the power
Now that you have completed the necessary steps to extend the electrical wire in the wall and secure the junction box, it’s time to restore power to the circuit. However, before turning on the power, it is imperative to perform a few final safety checks.
First, double-check that all wire connections in the junction box are properly tightened and insulated. Ensure that there are no exposed wires or loose connections that could pose a risk of electrical short circuits or potential hazards.
Inspect the junction box to confirm that all wires are neatly organized, properly contained, and not interfering with any other components or structural elements.
Next, verify that any tools or materials used during the installation process have been safely removed from the work area. It is important to clean up and ensure that the space is free from any potential trip hazards or hazards that could compromise the functioning of the electrical system.
Once you have completed these safety checks, you can proceed to restore power to the circuit. Return to the electrical panel or circuit breaker box and locate the corresponding circuit breaker for the area you were working on.
Flip the circuit breaker switch to the “on” position to restore power to the circuit. Take note of any indicators or lights that confirm power restoration.
After turning on the circuit breaker, it is recommended to test the newly extended electrical wire and any connected devices or outlets to ensure that everything is functioning as expected.
If you come across any issues or concerns, such as outlets not working or any signs of electrical malfunctions, immediately turn off the power and seek the assistance of a professional electrician to address the problem.
By following these steps and taking the necessary safety precautions, you have successfully extended an electrical wire in the wall and restored power to the circuit.
Remember, if you are unsure about any aspect of the process or lack experience working with electrical systems, it is always best to consult a licensed electrician for guidance and assistance.
Read more: How To Find Electrical Wire In Wall
Conclusion
Extending an electrical wire in a wall may initially seem like a daunting task, but with the right knowledge and tools, it can be accomplished safely and efficiently. By following the step-by-step process outlined in this article, you can successfully extend electrical wires while ensuring the integrity and safety of your electrical system.
From gathering the necessary tools and materials to turning off the power and cutting the existing wire, each step plays a crucial role in the overall process. Properly preparing the junction box and extending the wire to the desired location are key aspects that require attention to detail and adherence to electrical codes.
Connecting the wires within the junction box and securing the box itself are vital steps to maintain proper electrical connections and prevent any movement or damage. Safety precautions, such as wearing protective gear and double-checking all connections, should always be followed to minimize the risk of accidents or electrical issues.
Lastly, turning on the power and conducting final safety checks ensure that the extended wire and electrical system are in proper working order. Testing the functionality of outlets and devices can provide peace of mind, and any concerns or malfunctions should be addressed by a professional electrician.
Remember, if you are unsure about any aspect of extending electrical wire in a wall or lack experience, it is always best to seek the guidance of a licensed electrician. Their expertise and knowledge can ensure that the job is done safely and efficiently.
By following this comprehensive guide and prioritizing safety throughout the process, you can successfully extend electrical wire in a wall, making it possible to accommodate your electrical needs and improvements.
Now that you've mastered extending electrical wiring inside walls, why not tackle another handy project? If your garage feels a bit disconnected, learning how to run overhead electrical wiring to your garage could be the next rewarding challenge. This guide offers practical advice for safely powering up spaces outside your main home. So grab your tools once more, and let's light up every corner of your property!
Frequently Asked Questions about How To Extend Electrical Wire In Wall
Was this page helpful?
At Storables.com, we guarantee accurate and reliable information. Our content, validated by Expert Board Contributors, is crafted following stringent Editorial Policies. We're committed to providing you with well-researched, expert-backed insights for all your informational needs.


0 thoughts on “How To Extend Electrical Wire In Wall”