Home>Furniture>Outdoor Furniture>How To Sand Patio Pavers

Outdoor Furniture
How To Sand Patio Pavers
Modified: March 7, 2024
Learn how to sand patio pavers and revamp your outdoor furniture. Get expert tips and tricks on restoring your outdoor oasis.
(Many of the links in this article redirect to a specific reviewed product. Your purchase of these products through affiliate links helps to generate commission for Storables.com, at no extra cost. Learn more)
Introduction
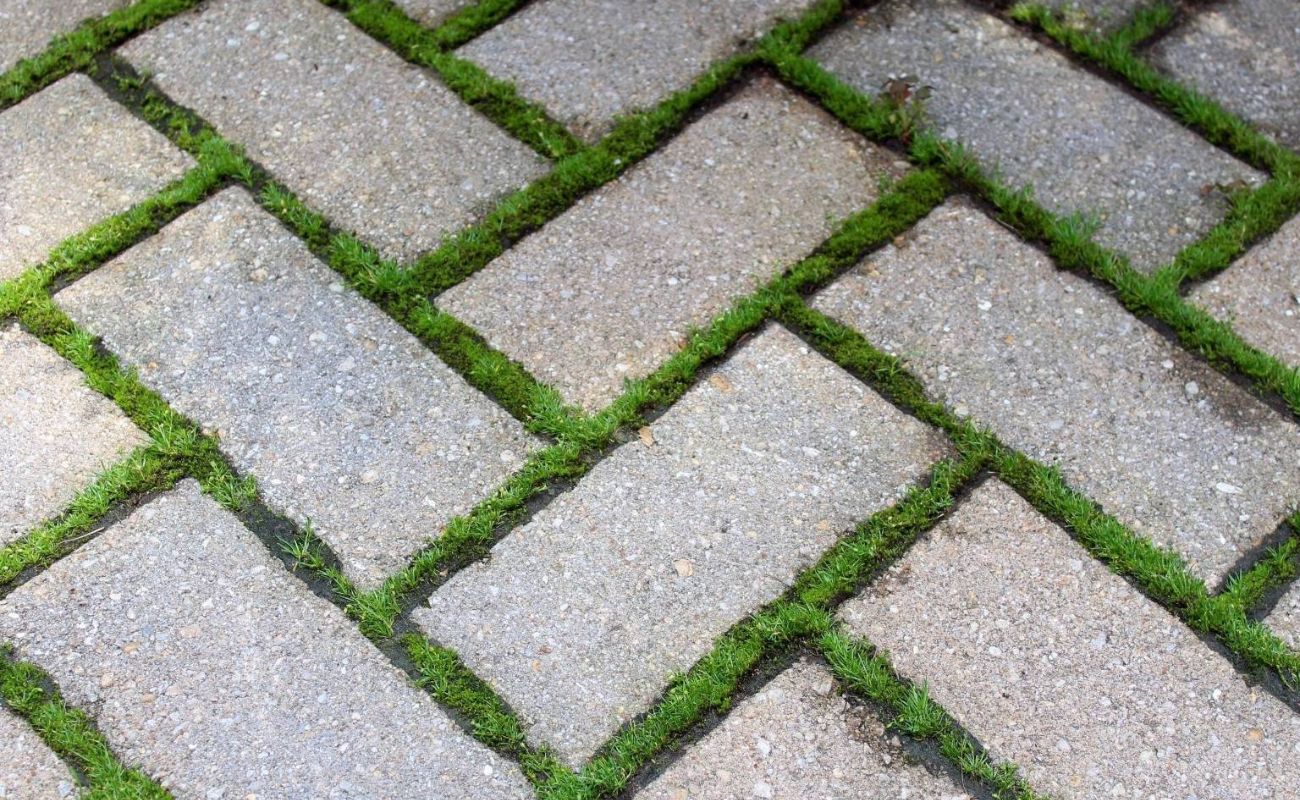
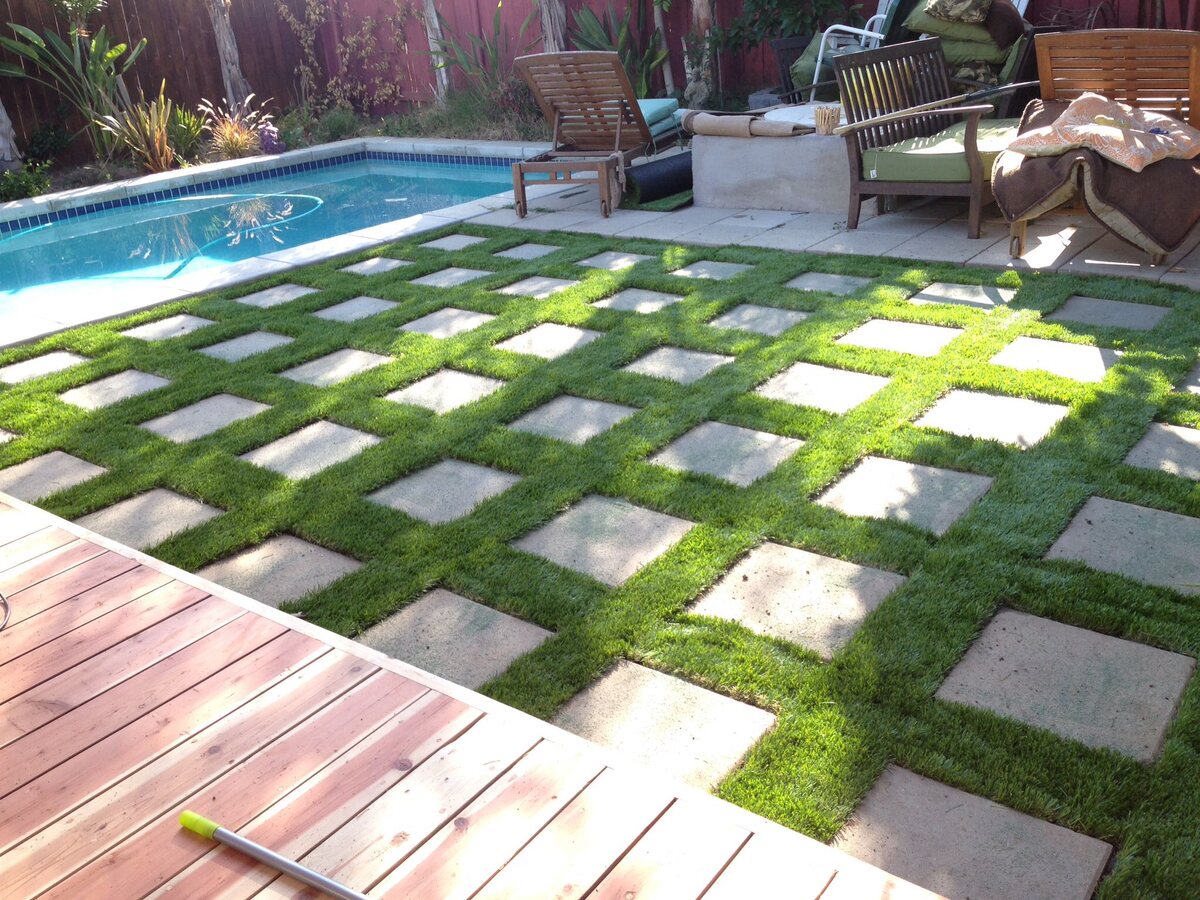
Welcome to our comprehensive guide on how to sand patio pavers. Whether you are a seasoned DIY enthusiast or a novice looking to tackle your first outdoor renovation project, this article will provide you with all the information you need to successfully sand your patio pavers. Sanding is an essential step in maintaining and enhancing the appearance of your outdoor space. It not only removes imperfections and restores the pavers’ natural beauty but also helps to prevent weed growth and improve overall durability.
In this guide, we will walk you through the process step-by-step, highlighting the materials you will need and providing valuable tips and techniques along the way. So, let’s dive in and get your patio looking its best!
Key Takeaways:
- Transform your outdoor space by sanding patio pavers to enhance their appearance, prevent weed growth, and improve durability. Proper preparation, cleaning, repairing, sanding, and sealing are essential for a successful transformation.
- Sealing the patio pavers provides added protection against staining, weed growth, and the damaging effects of the elements, maintaining their appearance and prolonging their lifespan. Enjoy your newly transformed patio!
Read more: What Is A Paver Patio
Materials Needed
Before you begin sanding your patio pavers, it’s important to gather all the necessary materials. Having everything on hand will save you time and ensure a smooth and efficient process. Here are the materials you will need:
- Pressure washer or hose
- Paver cleaner or mild detergent
- Stiff-bristle brush or broom
- Garden sprayer (optional)
- Paver repair kit (if needed)
- Coarse sand
- Fine sand
- Paver sealer
- Paintbrush or roller
- Protective gloves
- Safety goggles
- Dust mask
- Knee pads or cushion
Having these materials readily available will ensure a hassle-free sanding process, allowing you to focus on achieving the best results.
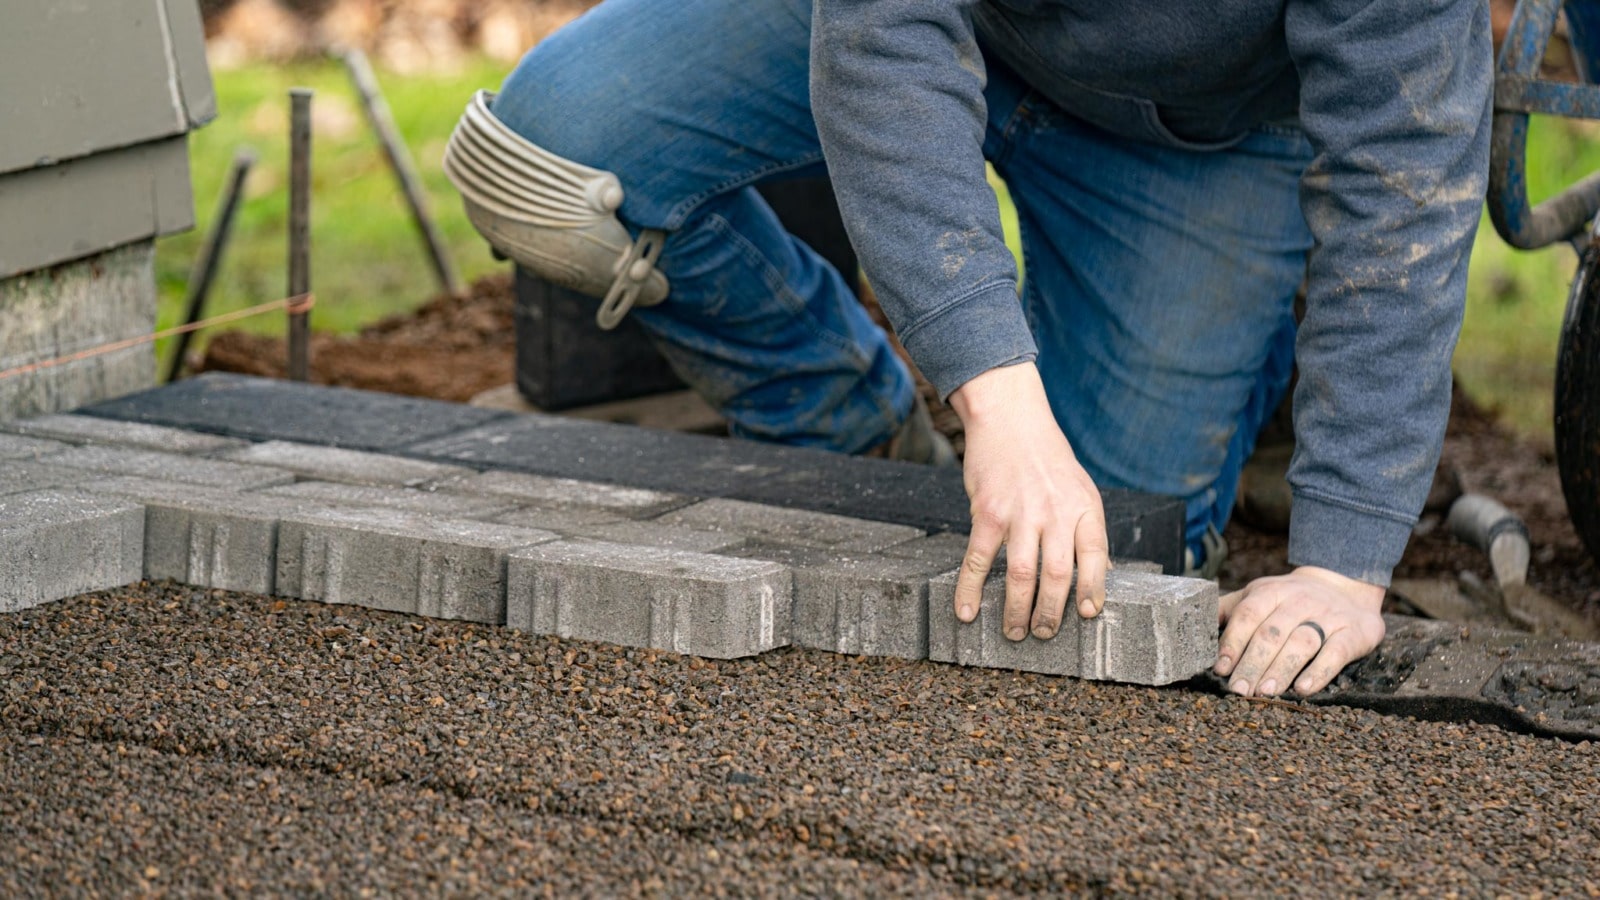
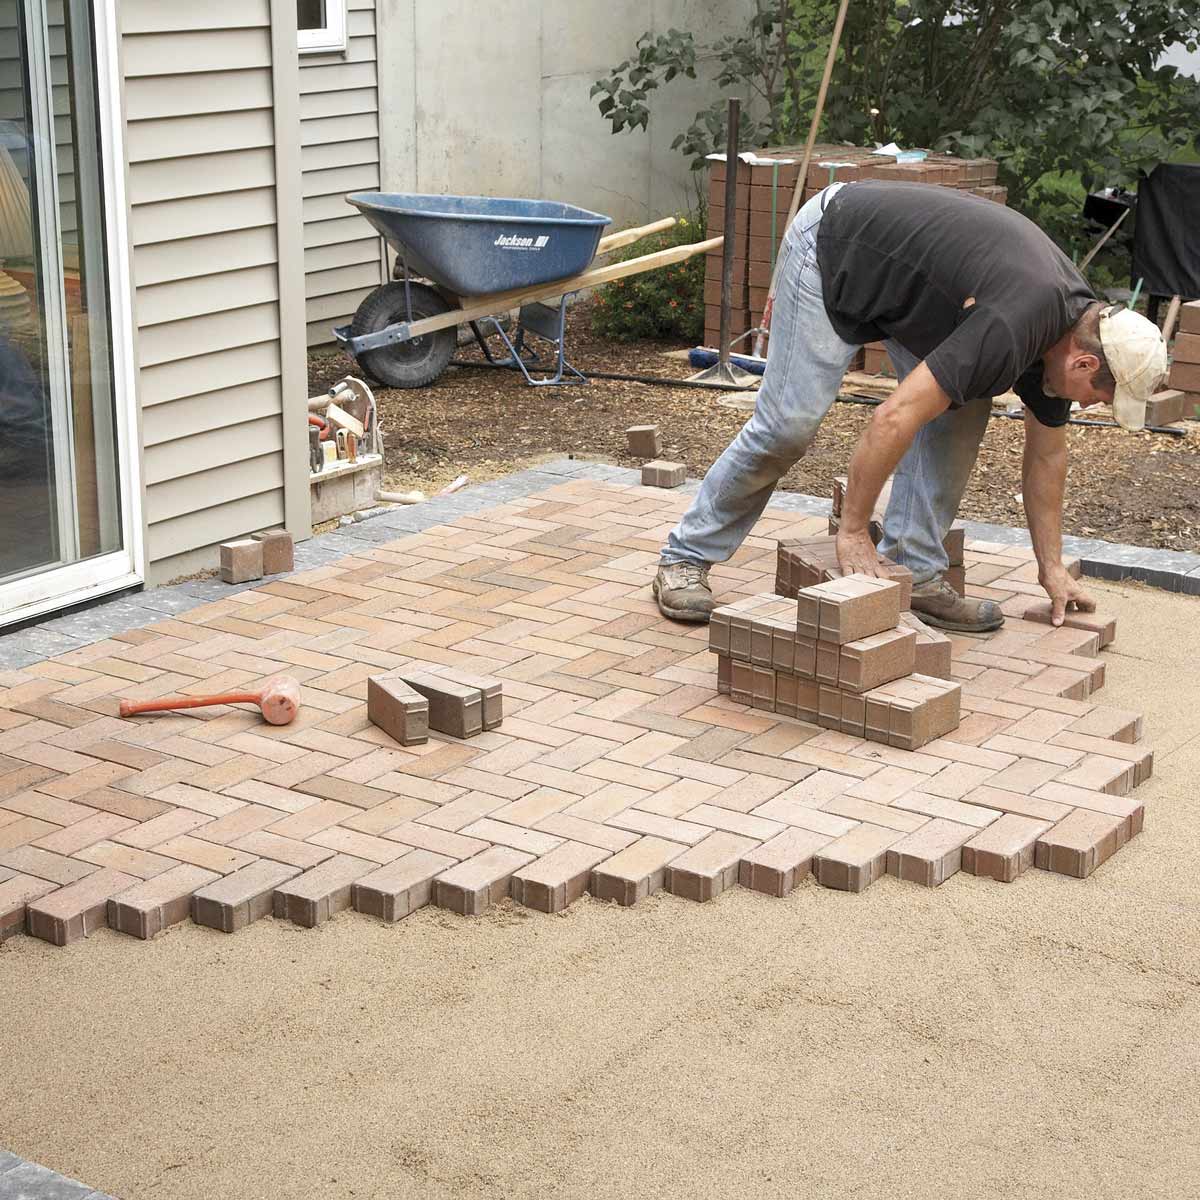
Step 1: Preparation
Before you start sanding your patio pavers, it’s crucial to prepare the area properly. This will ensure that the sanding process goes smoothly and that you achieve the desired results. Here’s what you need to do:
- Clear the area: Remove any furniture, plants, or decorative items from the patio. This will give you clear access to the pavers and prevent them from getting damaged during the sanding process.
- Inspect the pavers: Take a close look at the pavers and identify any damaged or broken ones. These will need to be repaired before you proceed with sanding. Cracked or loose pavers can compromise the integrity of the patio and should be replaced or fixed.
- Clean the surface: Use a pressure washer or hose to thoroughly clean the surface of the patio pavers. Remove any dirt, debris, or loose particles that may hinder the sanding process. If necessary, use a paver cleaner or mild detergent to tackle stubborn stains or discoloration. Scrub the pavers with a stiff-bristle brush or broom to ensure a thorough cleaning.
- Optional: Apply a weed killer: If you have issues with weed growth between the pavers, consider applying a weed killer solution. This will help prevent weeds from reappearing after the sanding process. Use a garden sprayer to apply the weed killer evenly, following the product instructions carefully.
- Allow proper drying time: After cleaning the patio pavers, allow sufficient drying time before moving on to the next steps. This will ensure that the surface is completely dry and ready for sanding.
By properly preparing the area and ensuring the pavers are in good condition, you are setting the stage for a successful sanding process. Now that you’ve completed the necessary preparation steps, it’s time to move on to the next phase: cleaning the pavers.
Step 2: Cleaning the Pavers
Now that you’ve prepared the area, it’s time to clean the patio pavers. Cleaning is an essential step before sanding as it removes any dirt, grime, or residue that may interfere with the sanding process. Follow these steps to ensure a thorough clean:
- Sweep: Use a broom or a stiff-bristle brush to sweep away any loose dirt or debris on the surface of the pavers. This will help prevent scratching and provide a clean starting point.
- Apply cleaning solution: Dilute a paver cleaner or mild detergent according to the manufacturer’s instructions. Apply the solution to the pavers, ensuring even coverage. You can use a garden sprayer for an efficient application or a bucket and brush for smaller areas.
- Scrub: Use a stiff-bristle brush or a scrub brush to agitate the cleaning solution and remove any stains or stubborn dirt. Pay extra attention to heavily soiled areas or stains caused by oil, grease, or mildew. Apply more cleaning solution if necessary.
- Rinse: After scrubbing, thoroughly rinse the pavers with clean water. Use a hose or a pressure washer on a low setting to remove any remaining cleaning solution and dirt. Ensure that all detergent residue is completely washed away.
- Allow drying time: Give the patio pavers sufficient time to dry completely before moving on to the next step. This will help prevent any moisture-related issues during the sanding process.
By following these cleaning steps, you will have a clean and debris-free surface ready for the next stage of the process. Cleaning the pavers not only improves their appearance but also ensures better adhesion of the sanding material. Now that you’ve completed the cleaning, it’s time to address any damaged pavers before moving on to the sanding step.
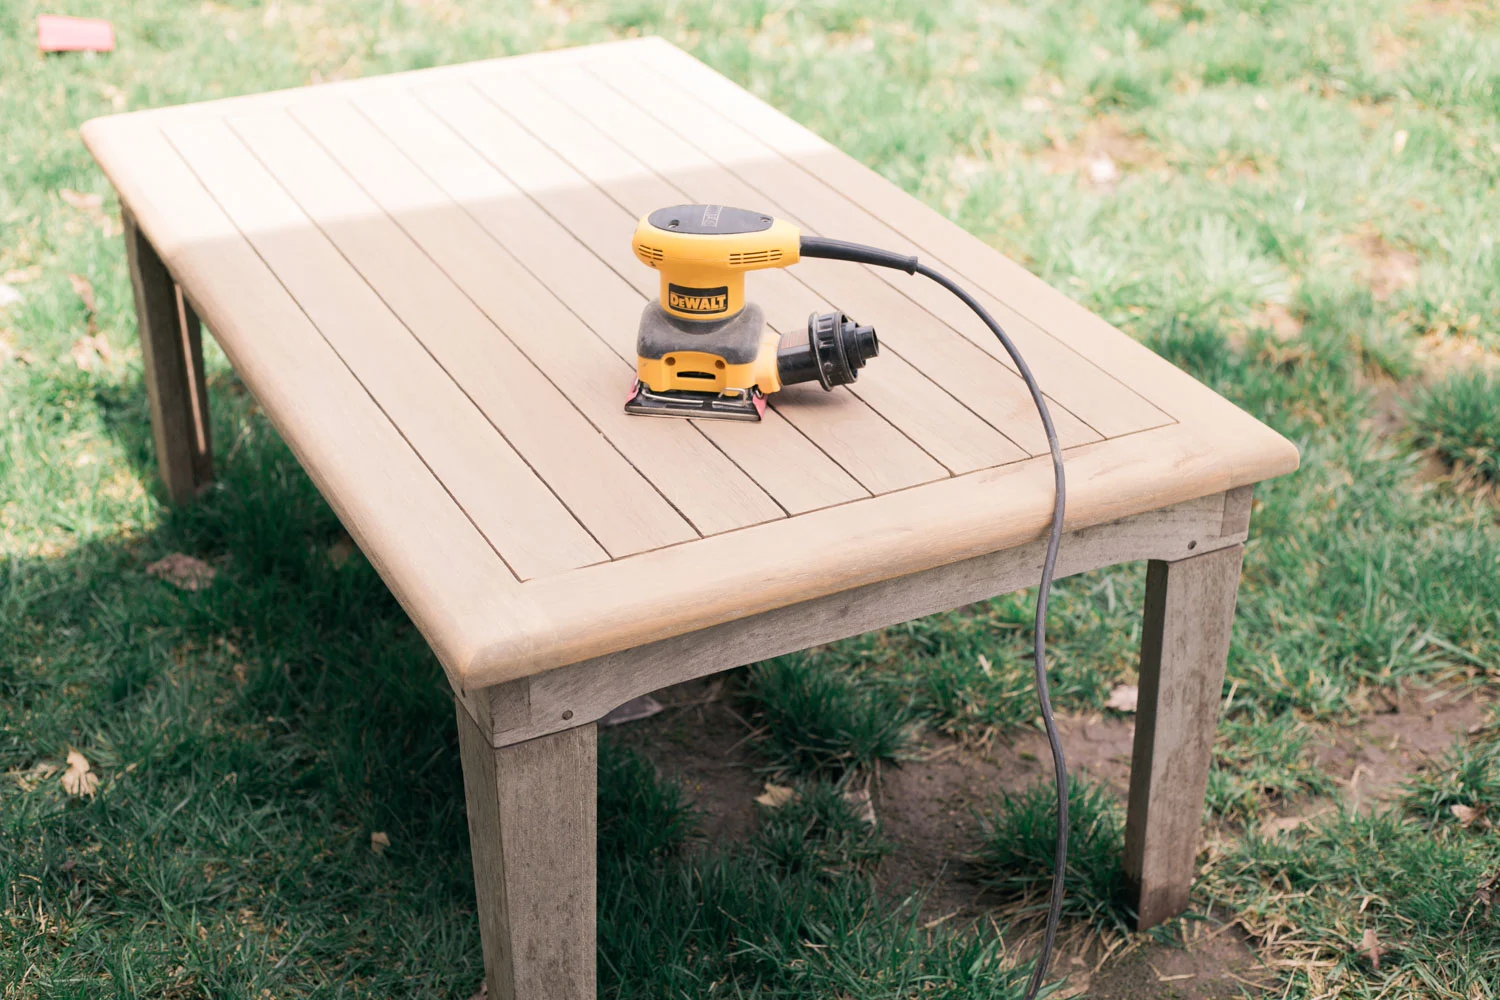
Use a coarse-grit sandpaper to remove any uneven areas or stains on the patio pavers. Work in a circular motion to ensure even sanding.
Step 3: Repairing Damaged Pavers
Before you proceed with sanding, it’s important to address any damaged or broken patio pavers. Repairing these issues will not only improve the overall appearance of your patio but also ensure a smooth and even surface for sanding. Follow these steps to repair damaged pavers:
- Assess the damage: Inspect the pavers and identify any cracks, chips, or loose pieces. Determine if the damage can be repaired or if the paver needs to be replaced entirely.
- Remove damaged pavers: If you have pavers that are severely damaged and cannot be repaired, carefully remove them from the patio using a pry bar or a chisel. Take care not to damage the surrounding pavers.
- Repair small cracks or chips: For minor cracks or chips in the pavers, use a paver repair kit. Follow the manufacturer’s instructions to mix and apply the repair compound to the damaged areas. Smooth out the compound using a putty knife or a trowel, and allow it to dry according to the recommended time frame.
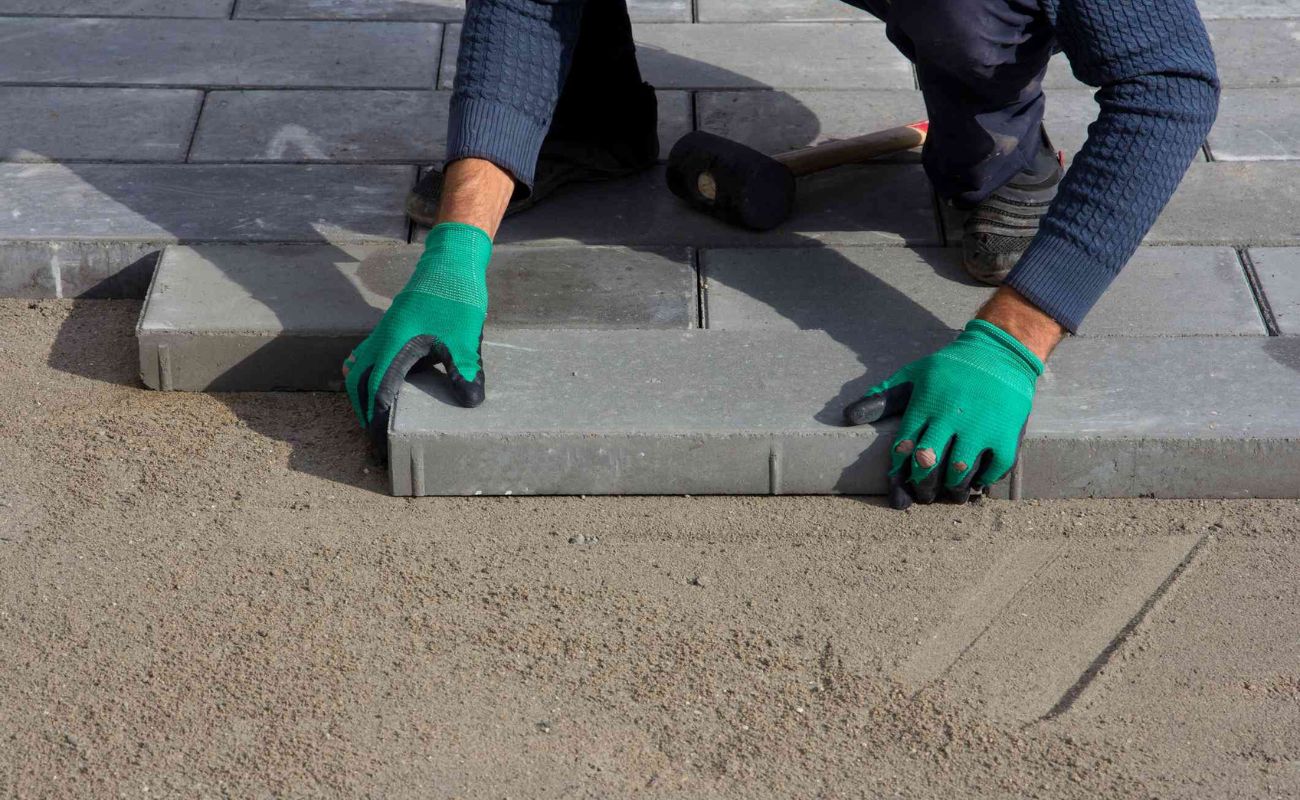
- Replace broken pavers: If you need to replace a paver, measure the dimensions of the existing space and find a replacement that matches in size, shape, and color. Carefully insert the new paver into the vacant spot, ensuring it fits snugly with the surrounding pavers. Use a rubber mallet to gently tap it into place.
- Allow curing time: After completing the repairs, allow sufficient time for any repair compound or adhesive to cure or dry completely. Follow the instructions provided with the repair kit or adhesive for the recommended curing time.
By addressing any damaged pavers before sanding, you are ensuring a smooth and visually appealing surface. Repairing or replacing the damaged pavers will prevent any safety hazards and allow for better sanding results. With the repairs complete, it’s time to move on to the next step: sanding the pavers.
Read more: How To Make A Patio With Pavers
Step 4: Sanding the Pavers
Now that you have prepared and cleaned the patio pavers, it’s time to move on to the sanding process. Sanding helps to level the surface, remove any imperfections, and create a uniform look across the entire patio. Follow these steps to sand your patio pavers:
- Gather your supplies: Ensure that you have the coarse sand and fine sand on hand. The coarse sand will be used to fill the gaps between the pavers and provide stability, while the fine sand will create a smooth surface.
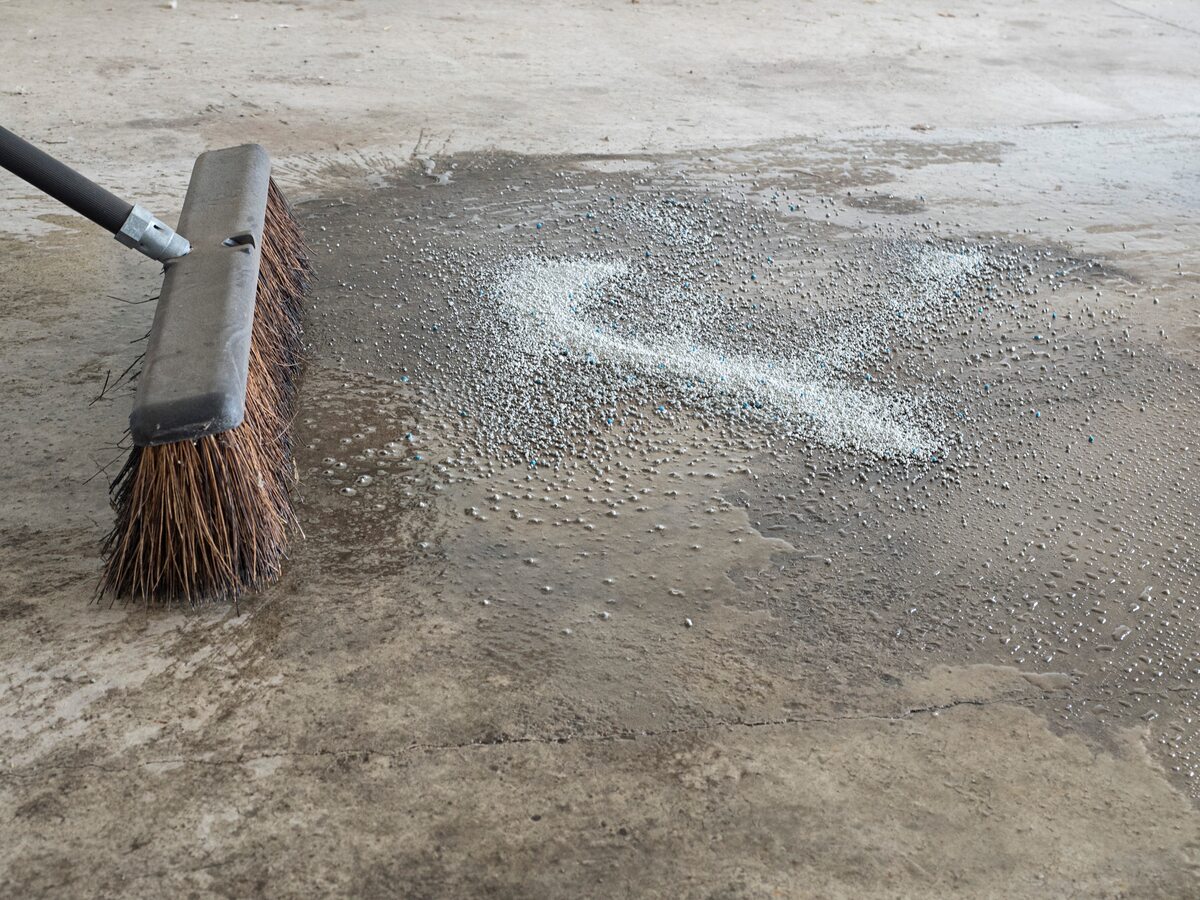
- Start with the coarse sand: Begin by spreading the coarse sand over the patio surface, ensuring that it reaches all the gaps between the pavers. Use a broom or a brush to sweep the sand into the gaps, ensuring that it is evenly distributed.
- Compact the sand: To secure the sand and create a stable foundation, use a tamper or a compactor to gently press down on the sand. This will help to eliminate any air pockets and ensure a solid base.
- Remove excess sand: After compacting, sweep away any excess sand from the surface of the pavers. Use a broom to brush off any loose sand, ensuring a clean and tidy appearance.
- Apply the fine sand: Once the coarse sand is evenly distributed and compacted, it’s time to apply the fine sand. Pour the fine sand over the patio surface, spreading it evenly with a broom or a brush.
- Sweep and brush: After applying the fine sand, use a broom or a brush to sweep and brush the sand across the entire patio surface. This will help to fill any remaining gaps and create a level and uniform appearance.
- Repeat if necessary: If there are any areas with gaps that still need to be filled, repeat the process of applying the coarse sand, compacting, and then adding the fine sand. Ensure that all gaps are adequately filled.
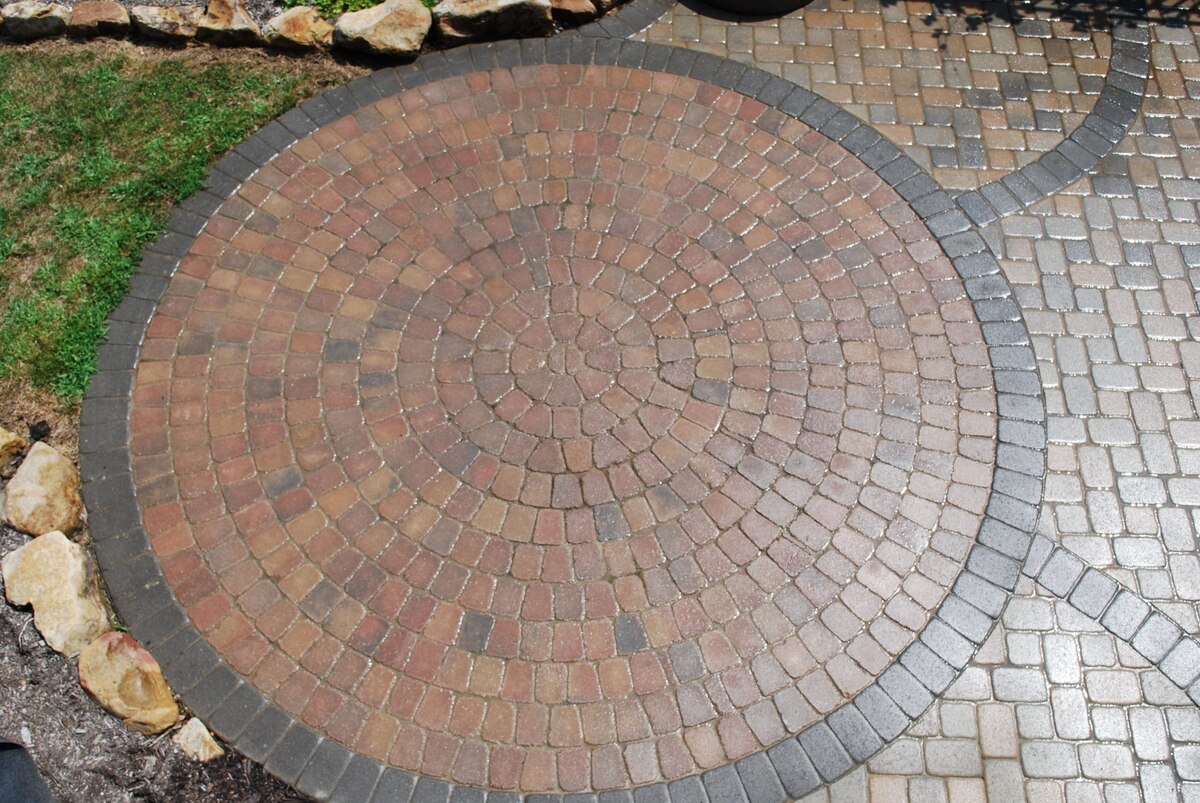
By following these steps, you will achieve a smooth and even surface for your patio pavers. The sanding process not only enhances the appearance of the patio but also improves stability and prevents weed growth. With the sanding complete, let’s move on to the final step: sealing the pavers.
Step 5: Sealing the Pavers
After sanding the patio pavers, it is highly recommended to seal them to enhance their longevity and protect them from the elements. Sealing the pavers will help to prevent staining, reduce weed growth, and maintain their appearance over time. Follow these steps to seal your patio pavers:
- Select the right sealer: Choose a high-quality paver sealer that is suitable for your specific type of pavers. There are various types of sealers available, including water-based and solvent-based options. Read the product instructions and select the appropriate sealer for your needs.
- Clean the pavers (if necessary): If there is any dirt or debris on the pavers after sanding, clean them thoroughly before applying the sealer. Use a broom or a blower to remove loose particles and then wash the pavers with water and mild detergent. Allow them to dry completely.
- Prepare the area: Before applying the sealer, ensure that the surrounding area is protected from overspray. Cover nearby plants, furniture, and other items with drop cloths or plastic sheets. This will prevent any accidental damage to these belongings.
- Apply the sealer: Follow the manufacturer’s instructions to apply the sealer to the pavers. Use a paintbrush or a roller to ensure even coverage. Start from one edge and work your way across the entire surface, applying a thin and even coat. Avoid applying excessive sealer, as it can lead to a cloudy or tacky finish.
- Allow drying time: Once the sealer is applied, allow it to dry according to the manufacturer’s instructions. This can typically take a few hours or longer. Avoid walking on the sealed pavers until they are completely dry to prevent any damage or footprints.
- Apply additional coats (optional): If desired, you can apply multiple coats of sealer for enhanced protection and longevity. Allow each coat to dry before applying the next. However, be mindful of the recommended drying time between coats specified by the manufacturer.
By properly sealing your patio pavers, you will ensure their long-lasting beauty and durability. The sealer acts as a barrier, protecting the pavers from stains, moisture, and UV damage. With the sealing process complete, step back and admire your newly sanded and sealed patio pavers!
Conclusion
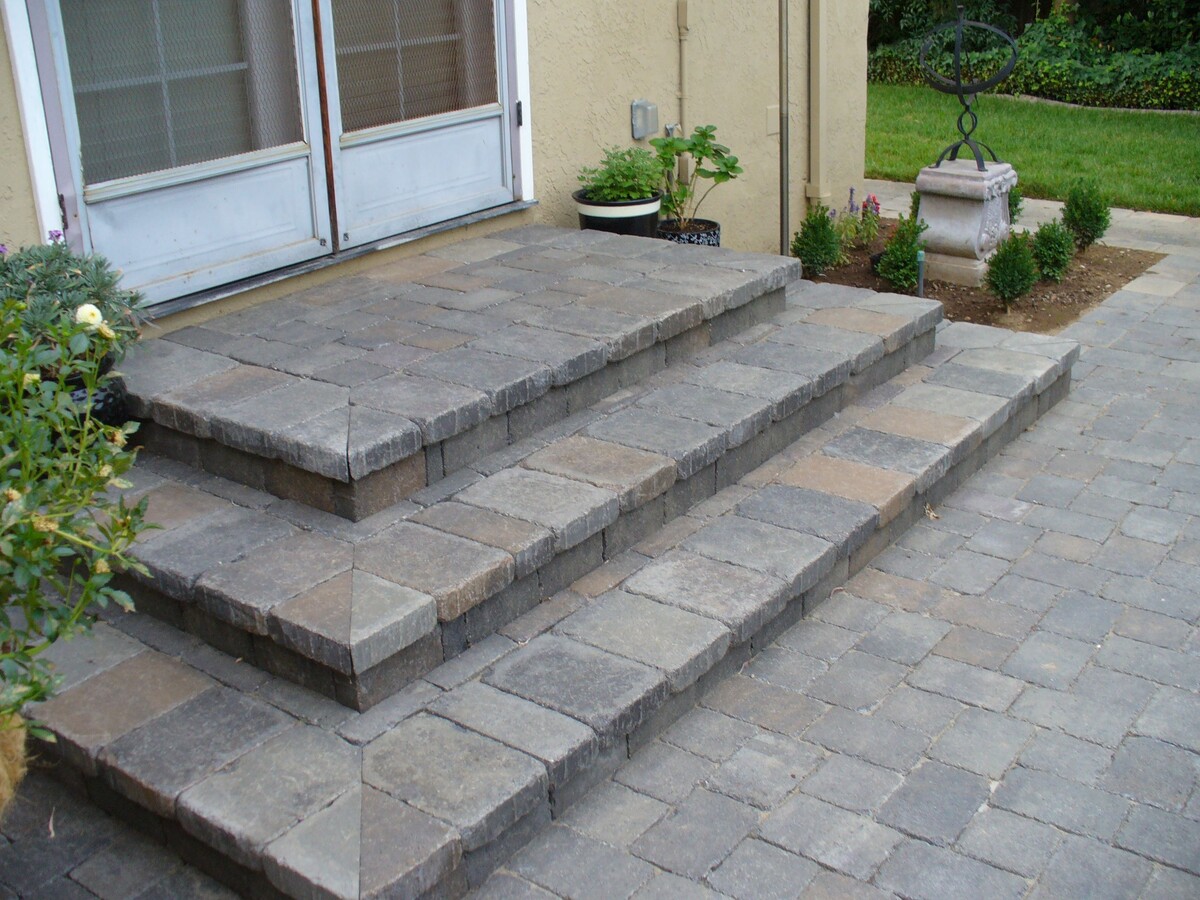
Congratulations! You have successfully learned how to sand patio pavers and transform your outdoor space. By following the steps outlined in this guide, you have achieved a clean, level, and visually appealing patio. Sanding the pavers not only enhances their appearance but also helps to prevent weed growth and improve overall durability.
Remember, proper preparation is key to a successful sanding project. Clearing the area, inspecting and repairing damaged pavers, and thoroughly cleaning the surface are crucial steps that lay the foundation for a smooth sanding process.
Once the patio is prepared, the sanding process involves filling the gaps between the pavers with coarse sand, compacting it for stability, and then applying fine sand for a smooth finish. This creates a level and uniform surface that is ready for sealing.
Sealing the patio pavers provides an added layer of protection against staining, weed growth, and the damaging effects of the elements. It helps to maintain the pavers’ appearance and prolong their lifespan.
With your patio pavers sanded and sealed, you can now enjoy an inviting and beautiful outdoor space. Whether you’re hosting gatherings, relaxing with a book, or simply enjoying the fresh air, your newly transformed patio will be a source of pride.
Remember to periodically inspect and maintain your patio to keep it in optimal condition. This includes resealing as needed and attending to any repairs promptly to ensure long-lasting beauty and functionality.
Thank you for following our comprehensive guide on how to sand patio pavers. We hope you found it informative and helpful in your outdoor renovation journey. Enjoy your newly transformed patio!
Frequently Asked Questions about How To Sand Patio Pavers
Was this page helpful?
At Storables.com, we guarantee accurate and reliable information. Our content, validated by Expert Board Contributors, is crafted following stringent Editorial Policies. We're committed to providing you with well-researched, expert-backed insights for all your informational needs.


0 thoughts on “How To Sand Patio Pavers”