Articles
How To Fix A Bathroom Sink Leak
Modified: October 19, 2024
Learn how to fix a bathroom sink leak with these helpful and informative articles. Find step-by-step guides, tips, and tricks to solve your plumbing issues.
(Many of the links in this article redirect to a specific reviewed product. Your purchase of these products through affiliate links helps to generate commission for Storables.com, at no extra cost. Learn more)
Introduction
A leaky bathroom sink can be a frustrating problem to deal with. Not only does it waste water, but it can also cause damage to your sink and surrounding areas. Fortunately, fixing a bathroom sink leak is something that can be done with just a few tools and some basic knowledge. In this article, we will guide you through the process of identifying and repairing common causes of bathroom sink leaks.
Before we delve into the step-by-step guide, let’s discuss some of the common causes of bathroom sink leaks. By understanding the underlying issues, you can better diagnose and fix the problem effectively.
One of the most common causes of a bathroom sink leak is a faulty or worn-out faucet cartridge. Over time, the cartridge can become worn down, causing water to leak around the base of the faucet. Another culprit of sink leaks is a loose or deteriorated sink drain assembly. If the drain components are not properly sealed or have deteriorated, water can escape and cause leaks.
Additionally, leaky sink supply lines can be another cause of bathroom sink leaks. These are the small flexible hoses that connect the water supply to the sink faucet. If they are old or damaged, they can develop cracks or loose connections, leading to water leakage.
Now that we have discussed some of the common causes, let’s move on to the tools and materials you will need to fix your bathroom sink leak.
Key Takeaways:
- Identifying the specific cause of a bathroom sink leak, such as a faulty faucet cartridge or deteriorated sink drain assembly, is crucial for effective repair. Gathering the right tools and materials beforehand will streamline the process and minimize disruptions.
- Following a step-by-step guide to fixing a bathroom sink leak, including turning off the water supply, inspecting the sink, and testing for leaks, can help restore proper functionality. However, it’s important to know your limits and seek professional assistance if needed.
Read more: How To Fix Leaking Faucet In Bathroom Sink
Common Causes of Bathroom Sink Leaks
Understanding the common causes of bathroom sink leaks is essential for effectively diagnosing and repairing the problem. Here are some of the main culprits:
- Faulty Faucet Cartridge: The faucet cartridge controls the flow of water in your sink. Over time, it can wear out or become defective, resulting in water leakage around the base of the faucet.
- Loose or Deteriorated Sink Drain Assembly: If the components of your sink drain assembly, such as the drain flange, gasket, or tailpiece, are loose or deteriorated, water can escape and cause leaks. Common signs of a problem include water pooling around the drain or a foul odor.
- Leaky Sink Supply Lines: The flexible hoses that connect the water supply to the sink faucet, known as sink supply lines, can develop leaks. Cracks, loose connections, or worn-out washers can all contribute to water leakage. Keep an eye out for dampness or water accumulation under the sink.
- Improperly Sealed Sink Basin: If the sink basin is not properly sealed to the countertop, water can seep through the gaps and cause leaks. This is commonly seen with drop-in or self-rimming sinks. Check for water pooling around the edges of the sink.
- Cracked Sink Bowl: A cracked sink bowl is another potential cause of leaks. Cracks can develop from impact or age, allowing water to seep through. Inspect the sink bowl for any visible cracks or signs of water damage.
Identifying the specific cause of the bathroom sink leak will help you determine the most appropriate solution. In the next section, we will discuss the tools and materials you will need for repairing the leak.
Tools and Materials Needed
Before you can begin fixing a bathroom sink leak, it’s important to gather the necessary tools and materials. Having everything prepared in advance will make the repair process smoother and more efficient. Here are the tools and materials you will need:
- Adjustable wrench: This versatile tool will come in handy for loosening and tightening various plumbing connections.
- Screwdriver set: A set of screwdrivers, including both flathead and Phillips head, will be needed to remove screws and disassemble certain parts of the sink.
- Plumber’s tape: Also known as Teflon tape, plumber’s tape is used to create a watertight seal on threaded connections. It helps prevent leaks in the future.
- Caulking gun and silicone caulk: If your sink basin is improperly sealed, you will need a caulking gun and silicone caulk to create a tight seal around the edges of the sink.
- Plunger: A plunger can be useful for clearing clogs in the sink drain, which may contribute to leaks.
- Pliers: Pliers may be required for tightening or loosening certain plumbing connections, such as sink supply lines or drain nuts.
- Bucket or basin: Having a bucket or basin nearby will be useful for catching any water that may be released during the repair process.
- Replacement parts: Depending on the cause of the leak, you may need to purchase replacement parts such as a new faucet cartridge, sink drain assembly, or sink supply lines.
- Clean cloth or towel: Keeping a clean cloth or towel handy will help you wipe away excess water and keep your work area clean.
By gathering these tools and materials in advance, you will be well-prepared to tackle the bathroom sink leak and minimize any potential disruptions. In the next section, we will provide a step-by-step guide on how to fix a bathroom sink leak.
Check the sink drain and trap for any signs of corrosion or damage. Tighten any loose connections and replace any worn out parts to fix the leak.
Step-by-Step Guide to Fixing a Bathroom Sink Leak
Now that you have the necessary tools and materials, let’s walk through the step-by-step process of fixing a bathroom sink leak:
- Turn off the water: Before beginning any repairs, make sure to turn off the water supply to the sink. You can usually find the shut-off valves underneath the sink. Turn them clockwise to shut off the water flow.
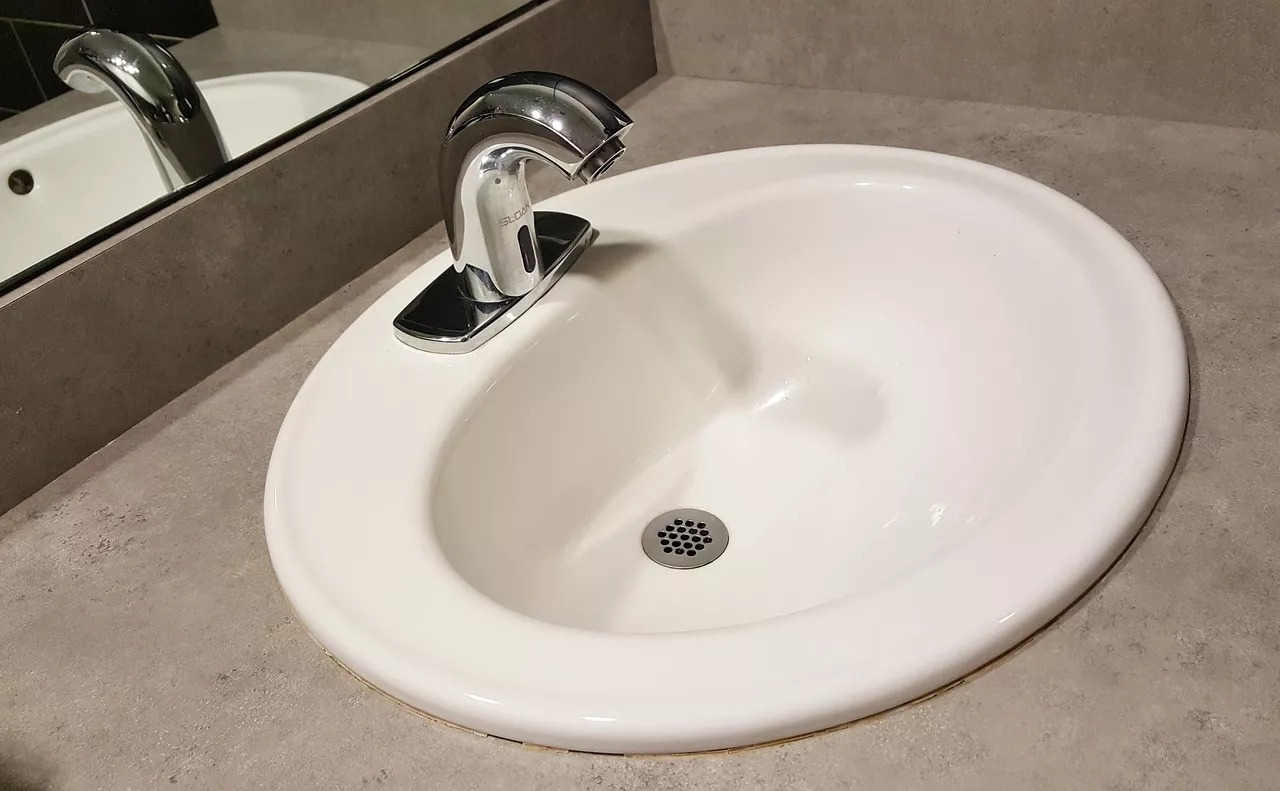
- Inspect the sink: Carefully examine the sink and surrounding areas to pinpoint the source of the leak. Check for any visible cracks, loose connections, or signs of water accumulation.
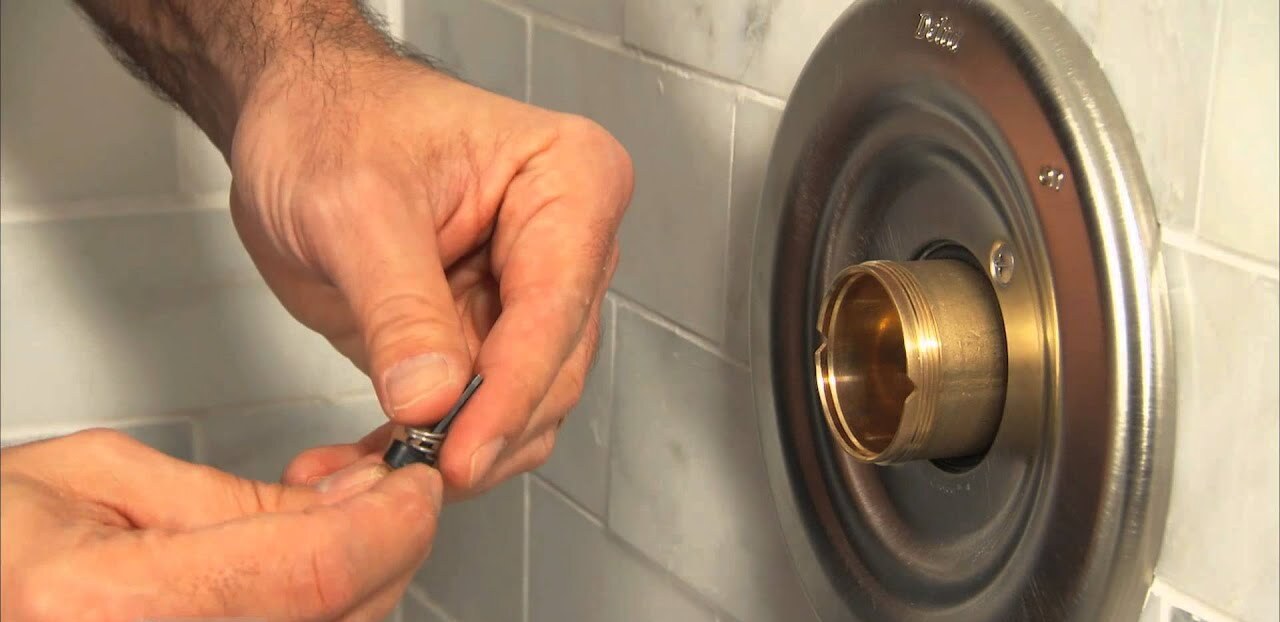
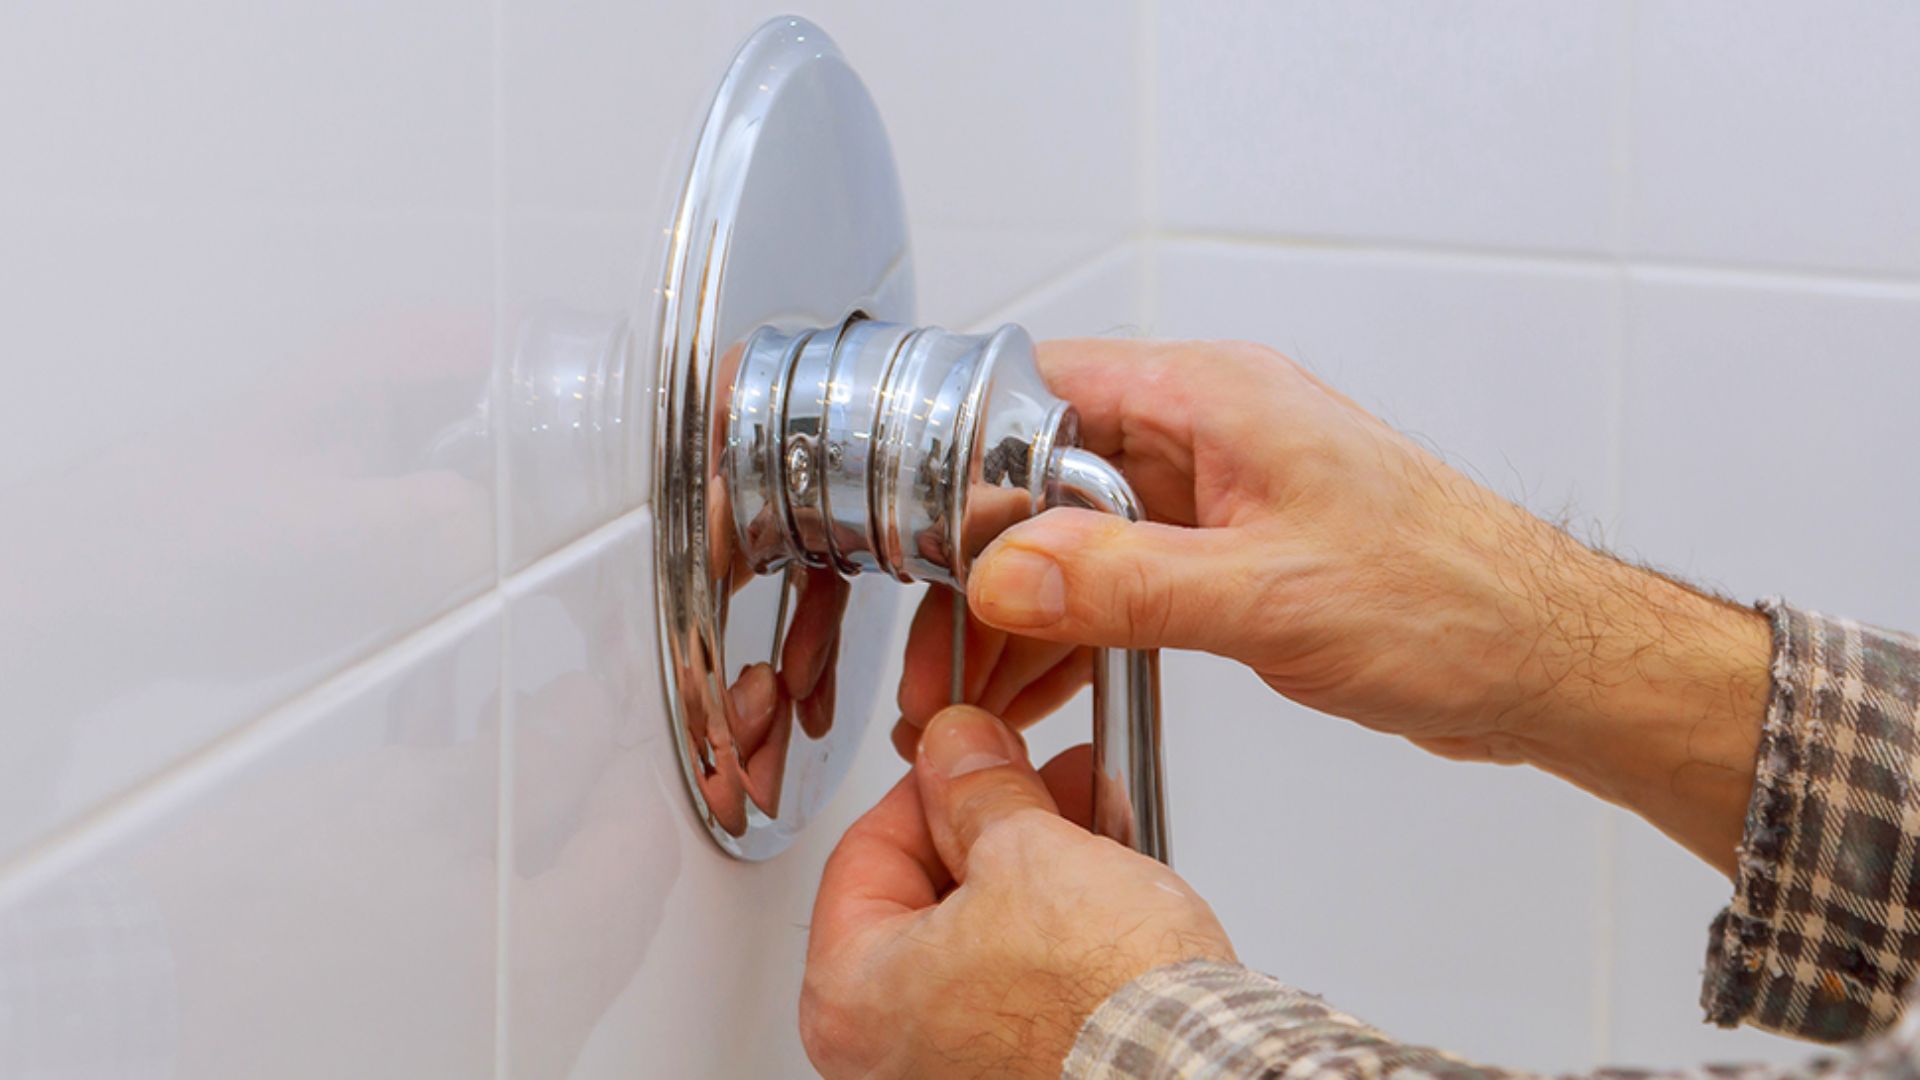
- Repair a faulty faucet cartridge: If the leak is coming from the faucet, you may need to replace the cartridge. Remove the handle and other components, following the manufacturer’s instructions, and install a new cartridge. Use plumber’s tape on any threaded connections to ensure a tight seal.
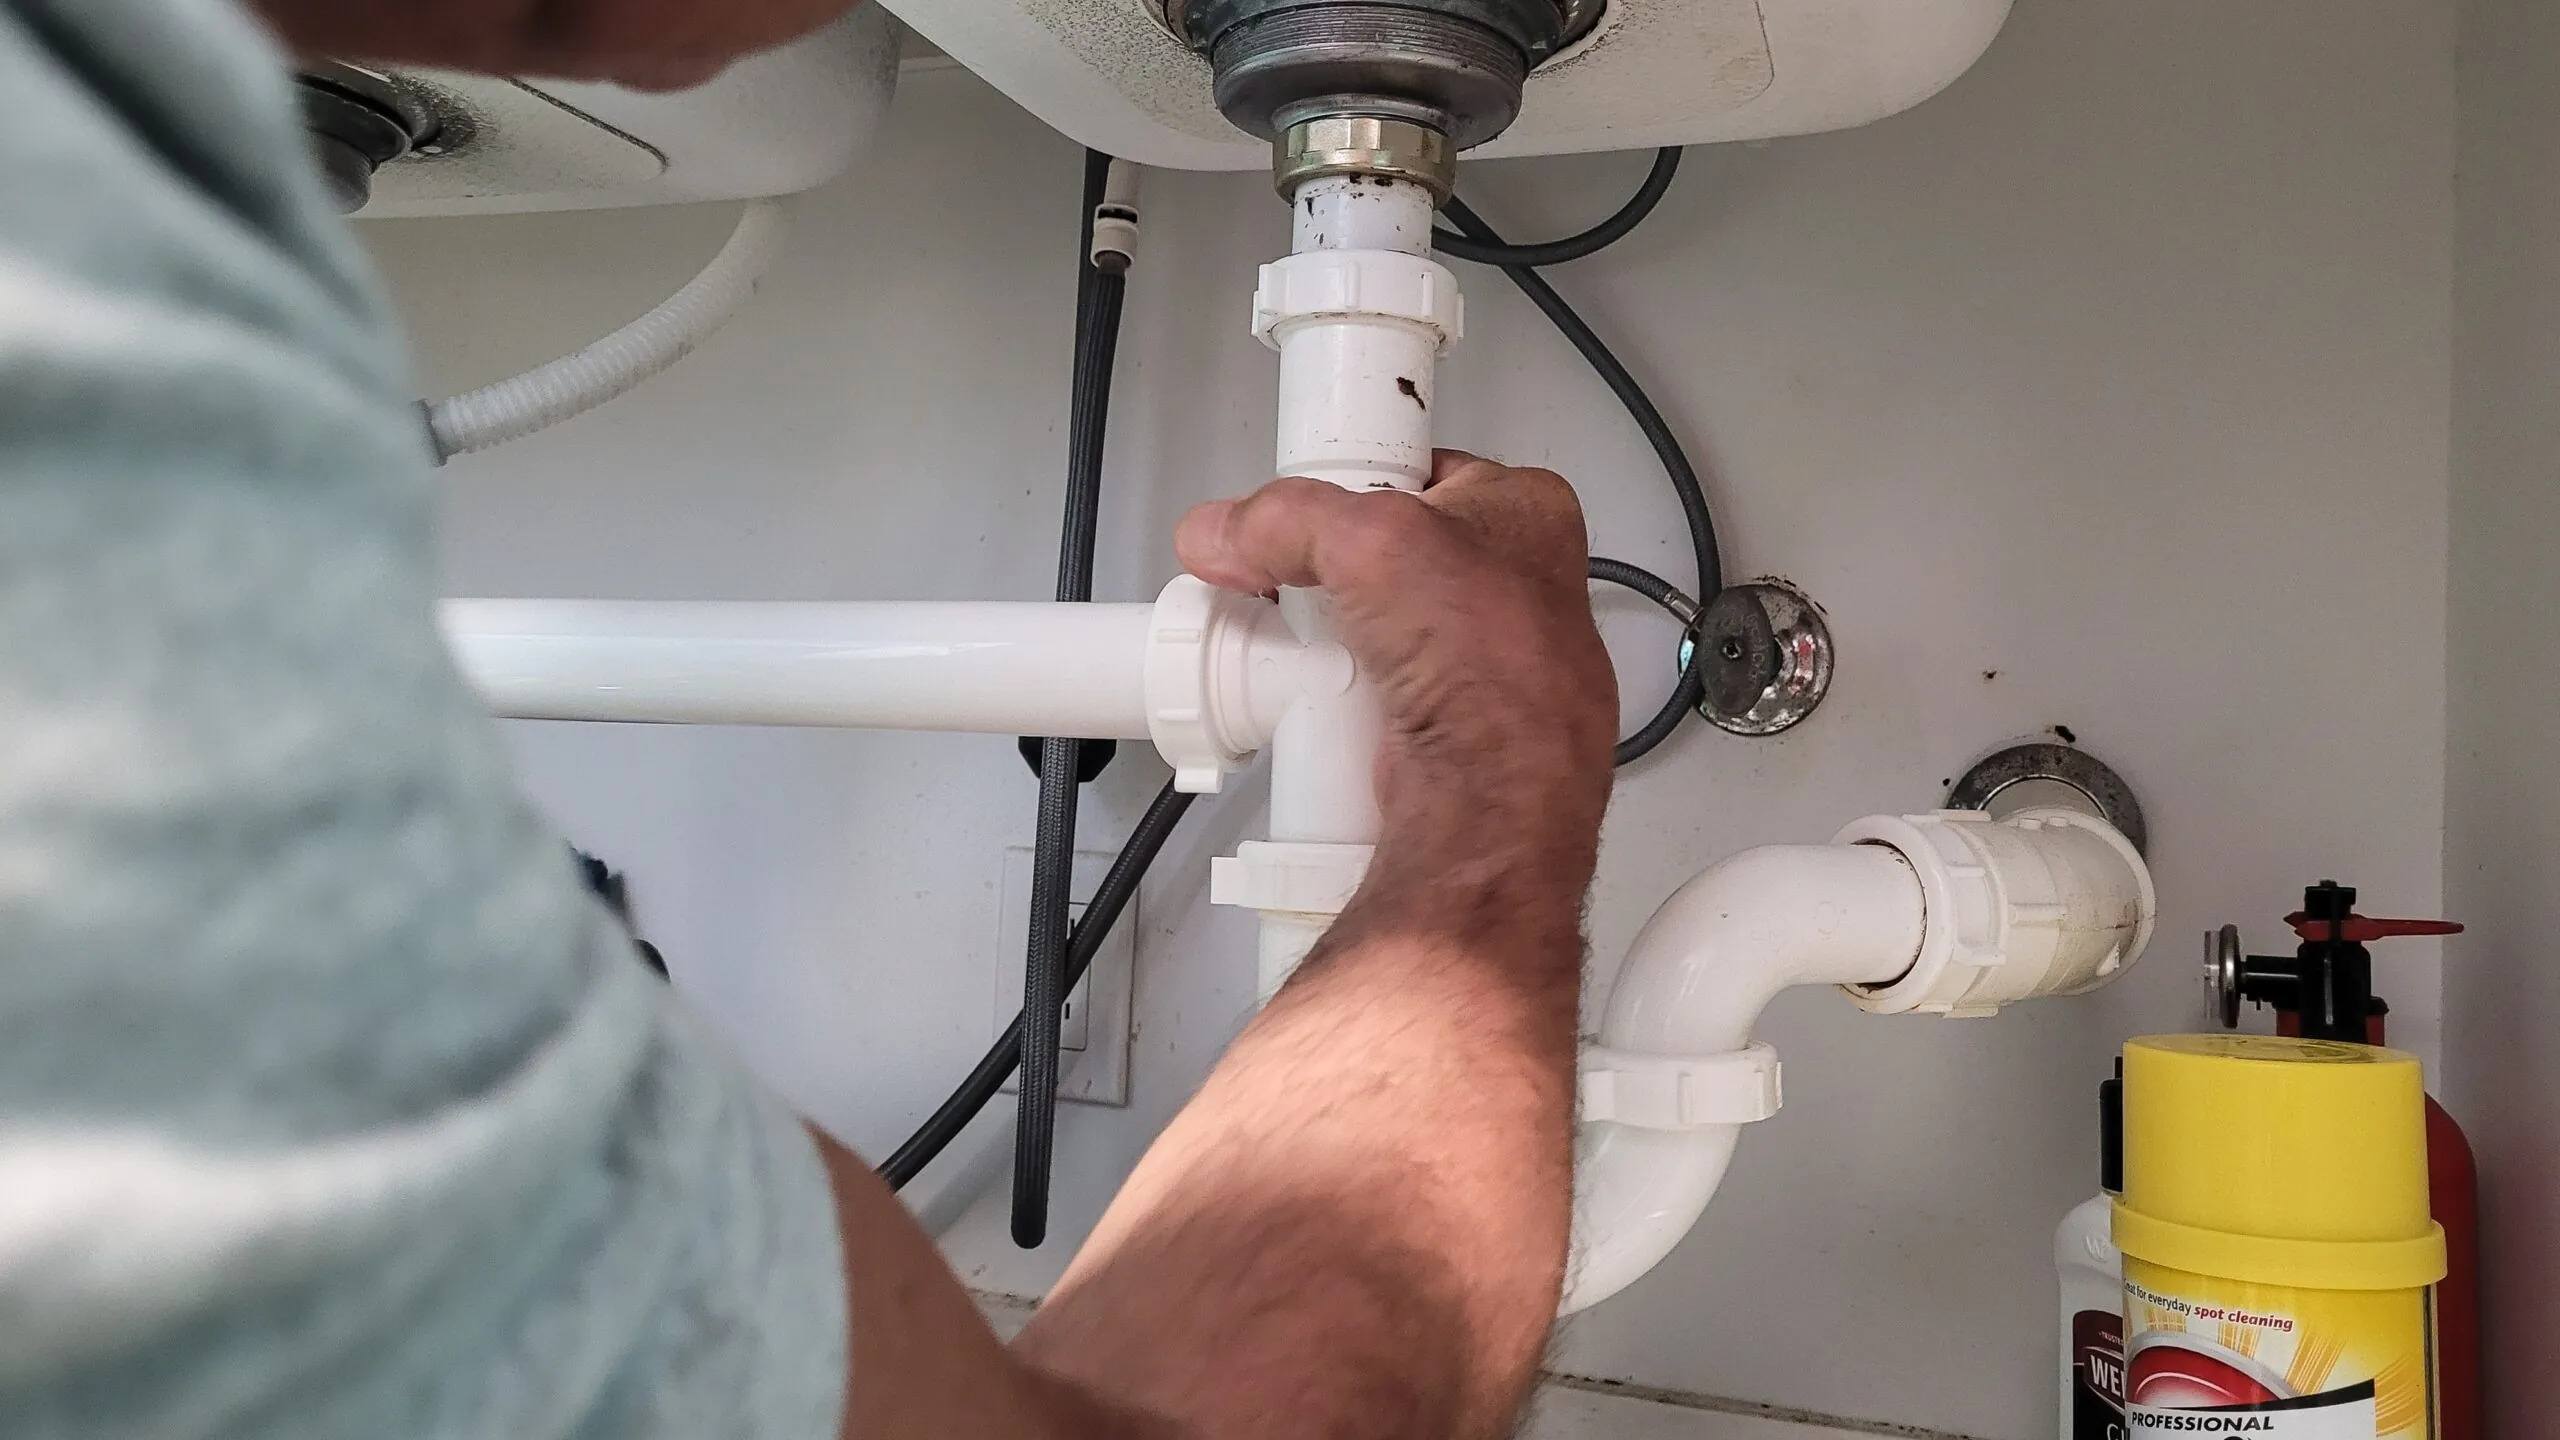
- Replace a leaky sink drain assembly: To fix a leaky sink drain assembly, you will need to disassemble the components. This typically involves removing the P-trap and drain flange. Inspect the parts for any signs of damage or wear and replace as necessary. Apply plumber’s tape to the threads and tighten the connections snugly.
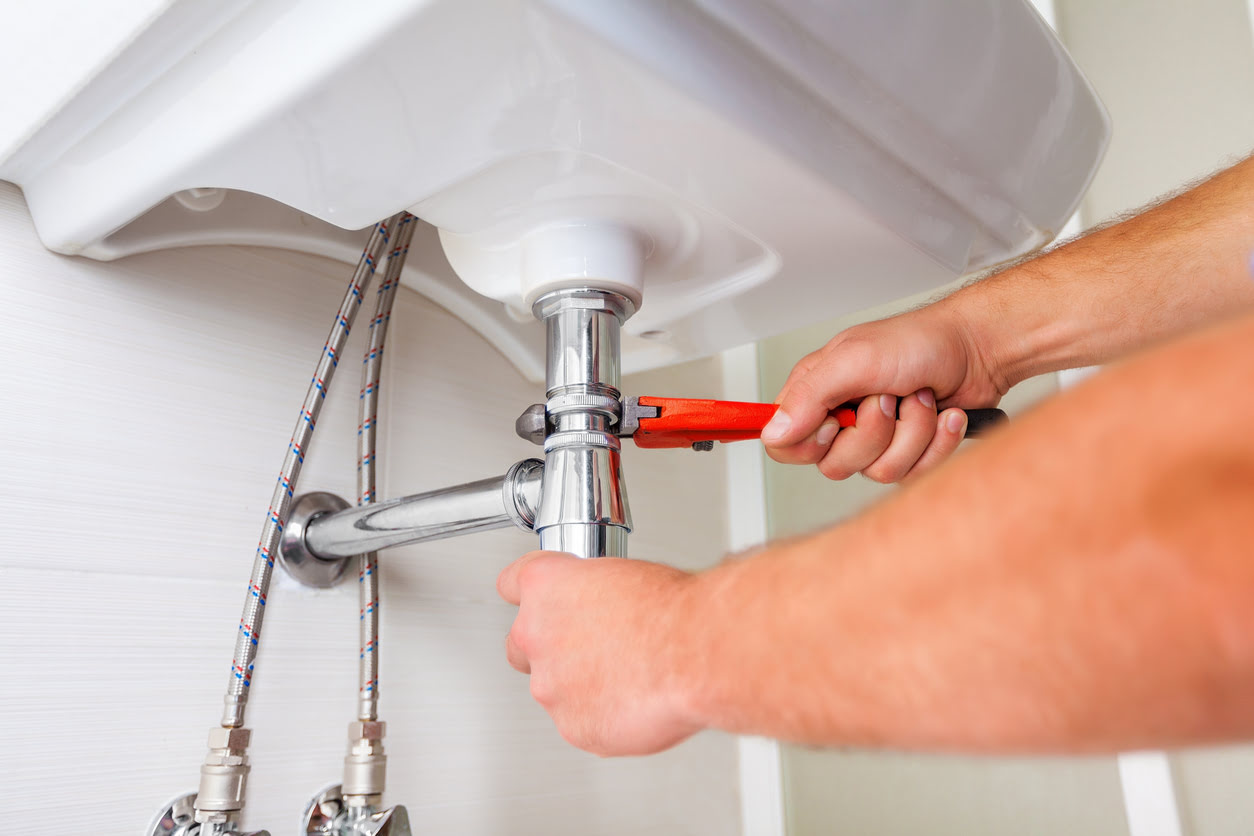
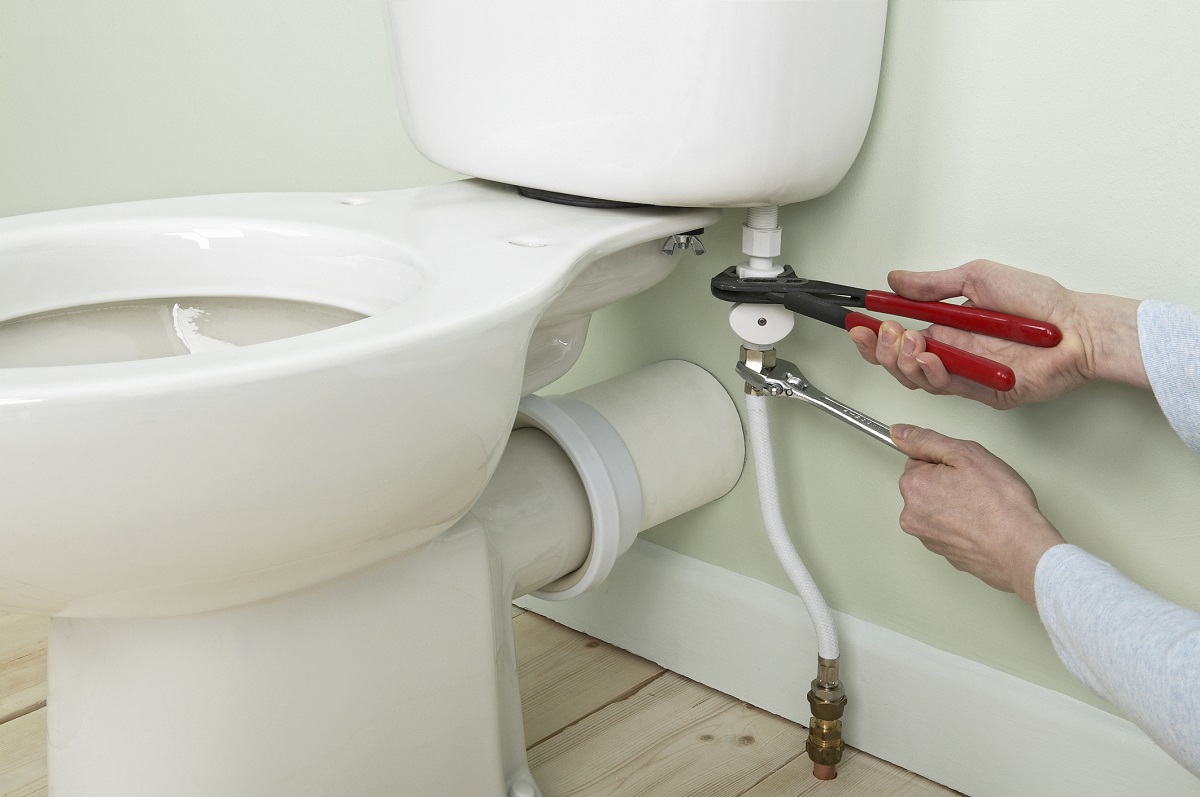
- Tighten or replace sink supply lines: If the leak is originating from the supply lines, use an adjustable wrench or pliers to tighten them. If they are cracked or damaged, replace them with new supply lines, making sure to use plumber’s tape on the threaded connections.
- Seal the sink basin: If the sink basin is improperly sealed, use a caulking gun and silicone caulk to create a watertight seal along the edges. Smooth the caulk with your finger or a caulk smoothing tool for a neat finish.
- Test for leaks: After completing the repairs, turn the water supply back on and check for any leaks. Run water in the sink and inspect the connections and areas that were previously leaking. If you notice any leaks, make further adjustments or replacements as needed.
- Clean up: Once you are confident that the leak has been resolved, clean up any excess water and tidy the area. Dispose of any old or damaged parts properly.
By following these step-by-step instructions, you can successfully fix a bathroom sink leak and restore proper functionality to your sink. Remember to exercise caution and seek professional assistance if you encounter any difficulties or are unsure about any aspect of the repair process.
With the leak fixed, you can now enjoy a fully functional bathroom sink without the annoyance and potential damage of water leakage. In the next section, we will conclude our article.
Conclusion
Dealing with a bathroom sink leak can be a frustrating experience, but with the right tools and knowledge, you can successfully fix the problem. By understanding the common causes of bathroom sink leaks, you can accurately diagnose the issue and choose the appropriate repair method. Whether it’s a faulty faucet cartridge, a leaky sink drain assembly, or loose supply lines, following a step-by-step guide can help you address the problem effectively.
Remember to gather all the necessary tools and materials before starting the repair process. An adjustable wrench, screwdriver set, plumber’s tape, caulking gun, and replacement parts may all be necessary for the job. Taking the time to gather everything you need beforehand will save you from any unnecessary delays or trips to the store.
As you tackle the repairs, take care to turn off the water supply and inspect the sink carefully. Replacing a faulty faucet cartridge, addressing a leaky sink drain assembly, tightening or replacing sink supply lines, and sealing the sink basin are all potential solutions to consider. After completing the repairs, don’t forget to test for leaks and clean up any excess water.
While fixing a bathroom sink leak can be a DIY project, it’s important to know your limits. If you are unsure about any aspect of the repair process or encounter difficulties along the way, it’s best to seek professional assistance. They can provide expert guidance and ensure the job is done correctly, saving you time and potential headaches in the long run.
By following this comprehensive guide, you can successfully fix a bathroom sink leak and enjoy a fully functional and leak-free sink. Saving water, preventing damage, and restoring functionality – these are the benefits of addressing a bathroom sink leak promptly and effectively.
We hope this article has provided you with the knowledge and confidence to tackle your bathroom sink leak. Remember, a little DIY effort can go a long way in maintaining the functionality and longevity of your bathroom fixtures.
Frequently Asked Questions about How To Fix A Bathroom Sink Leak
Was this page helpful?
At Storables.com, we guarantee accurate and reliable information. Our content, validated by Expert Board Contributors, is crafted following stringent Editorial Policies. We're committed to providing you with well-researched, expert-backed insights for all your informational needs.


0 thoughts on “How To Fix A Bathroom Sink Leak”