Home>Furniture & Design>Kitchen Furniture>How To Fix A Wobbly Lazy Susan
Kitchen Furniture
How To Fix A Wobbly Lazy Susan
Modified: February 27, 2024
Learn how to stabilize a wobbly lazy susan in your kitchen. Follow our step-by-step guide to fix the wobbling issue and enjoy a sturdy kitchen furniture.
(Many of the links in this article redirect to a specific reviewed product. Your purchase of these products through affiliate links helps to generate commission for Storables.com, at no extra cost. Learn more)
Introduction
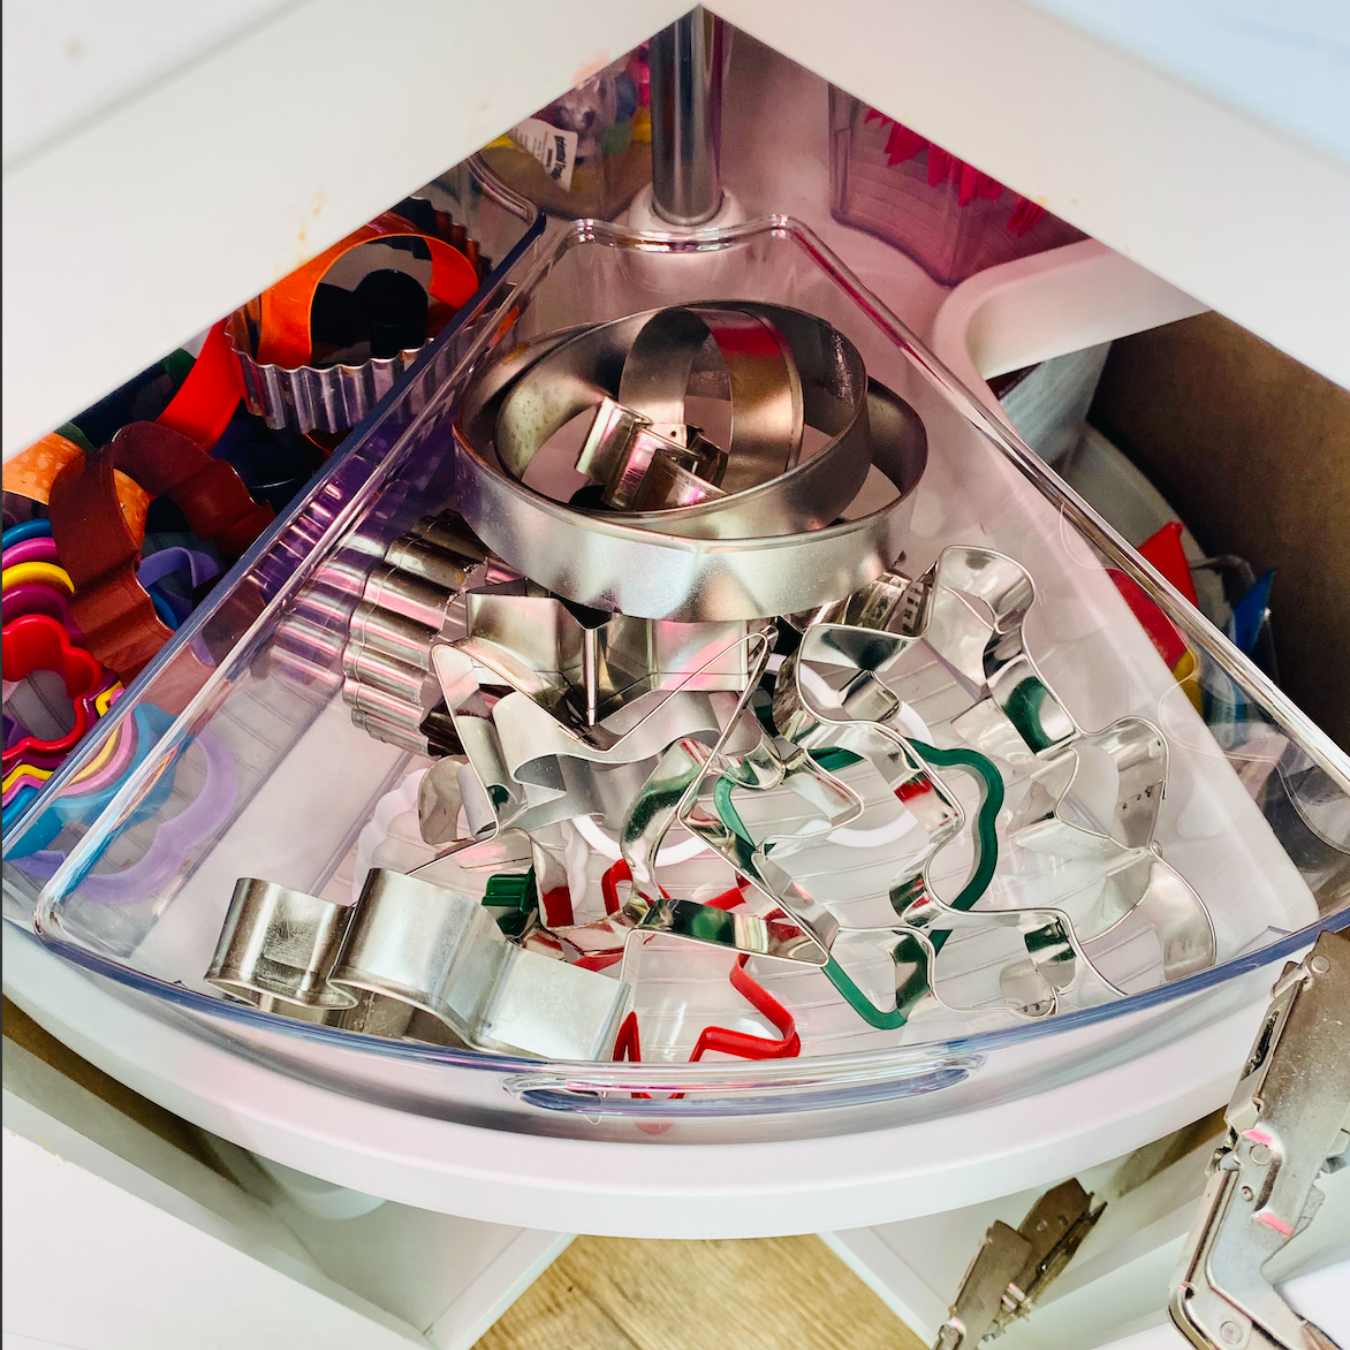
A wobbly lazy Susan can be a frustrating nuisance in any kitchen. The constant wobbling and instability can make accessing items on the rotating shelf a precarious endeavor. Fortunately, fixing a wobbly lazy Susan is a manageable task that can be accomplished with just a few simple steps and basic tools. Whether it's a result of loose screws, worn bearings, or inadequate lubrication, addressing the issue promptly can restore the functionality and convenience of this kitchen essential.
In this guide, we'll walk through the step-by-step process of resolving the wobbling issue, allowing you to regain the smooth rotation and stability of your lazy Susan. By following these straightforward instructions, you can eliminate the annoyance of a wobbly lazy Susan and ensure that it continues to serve its purpose effectively. Let's dive into the practical solutions for remedying this common problem and restoring the functionality of your lazy Susan.
Key Takeaways:
- Say goodbye to wobbly frustration! Tighten screws and lubricate bearings to restore stability and smooth rotation to your lazy Susan, making kitchen organization a breeze.
- Keep your lazy Susan in top shape! Regular maintenance, including tightening screws and lubricating bearings, ensures long-term stability and convenience for accessing kitchen essentials.
Read more: How To Fix A Lazy Susan Cabinet
Step 1: Remove Lazy Susan
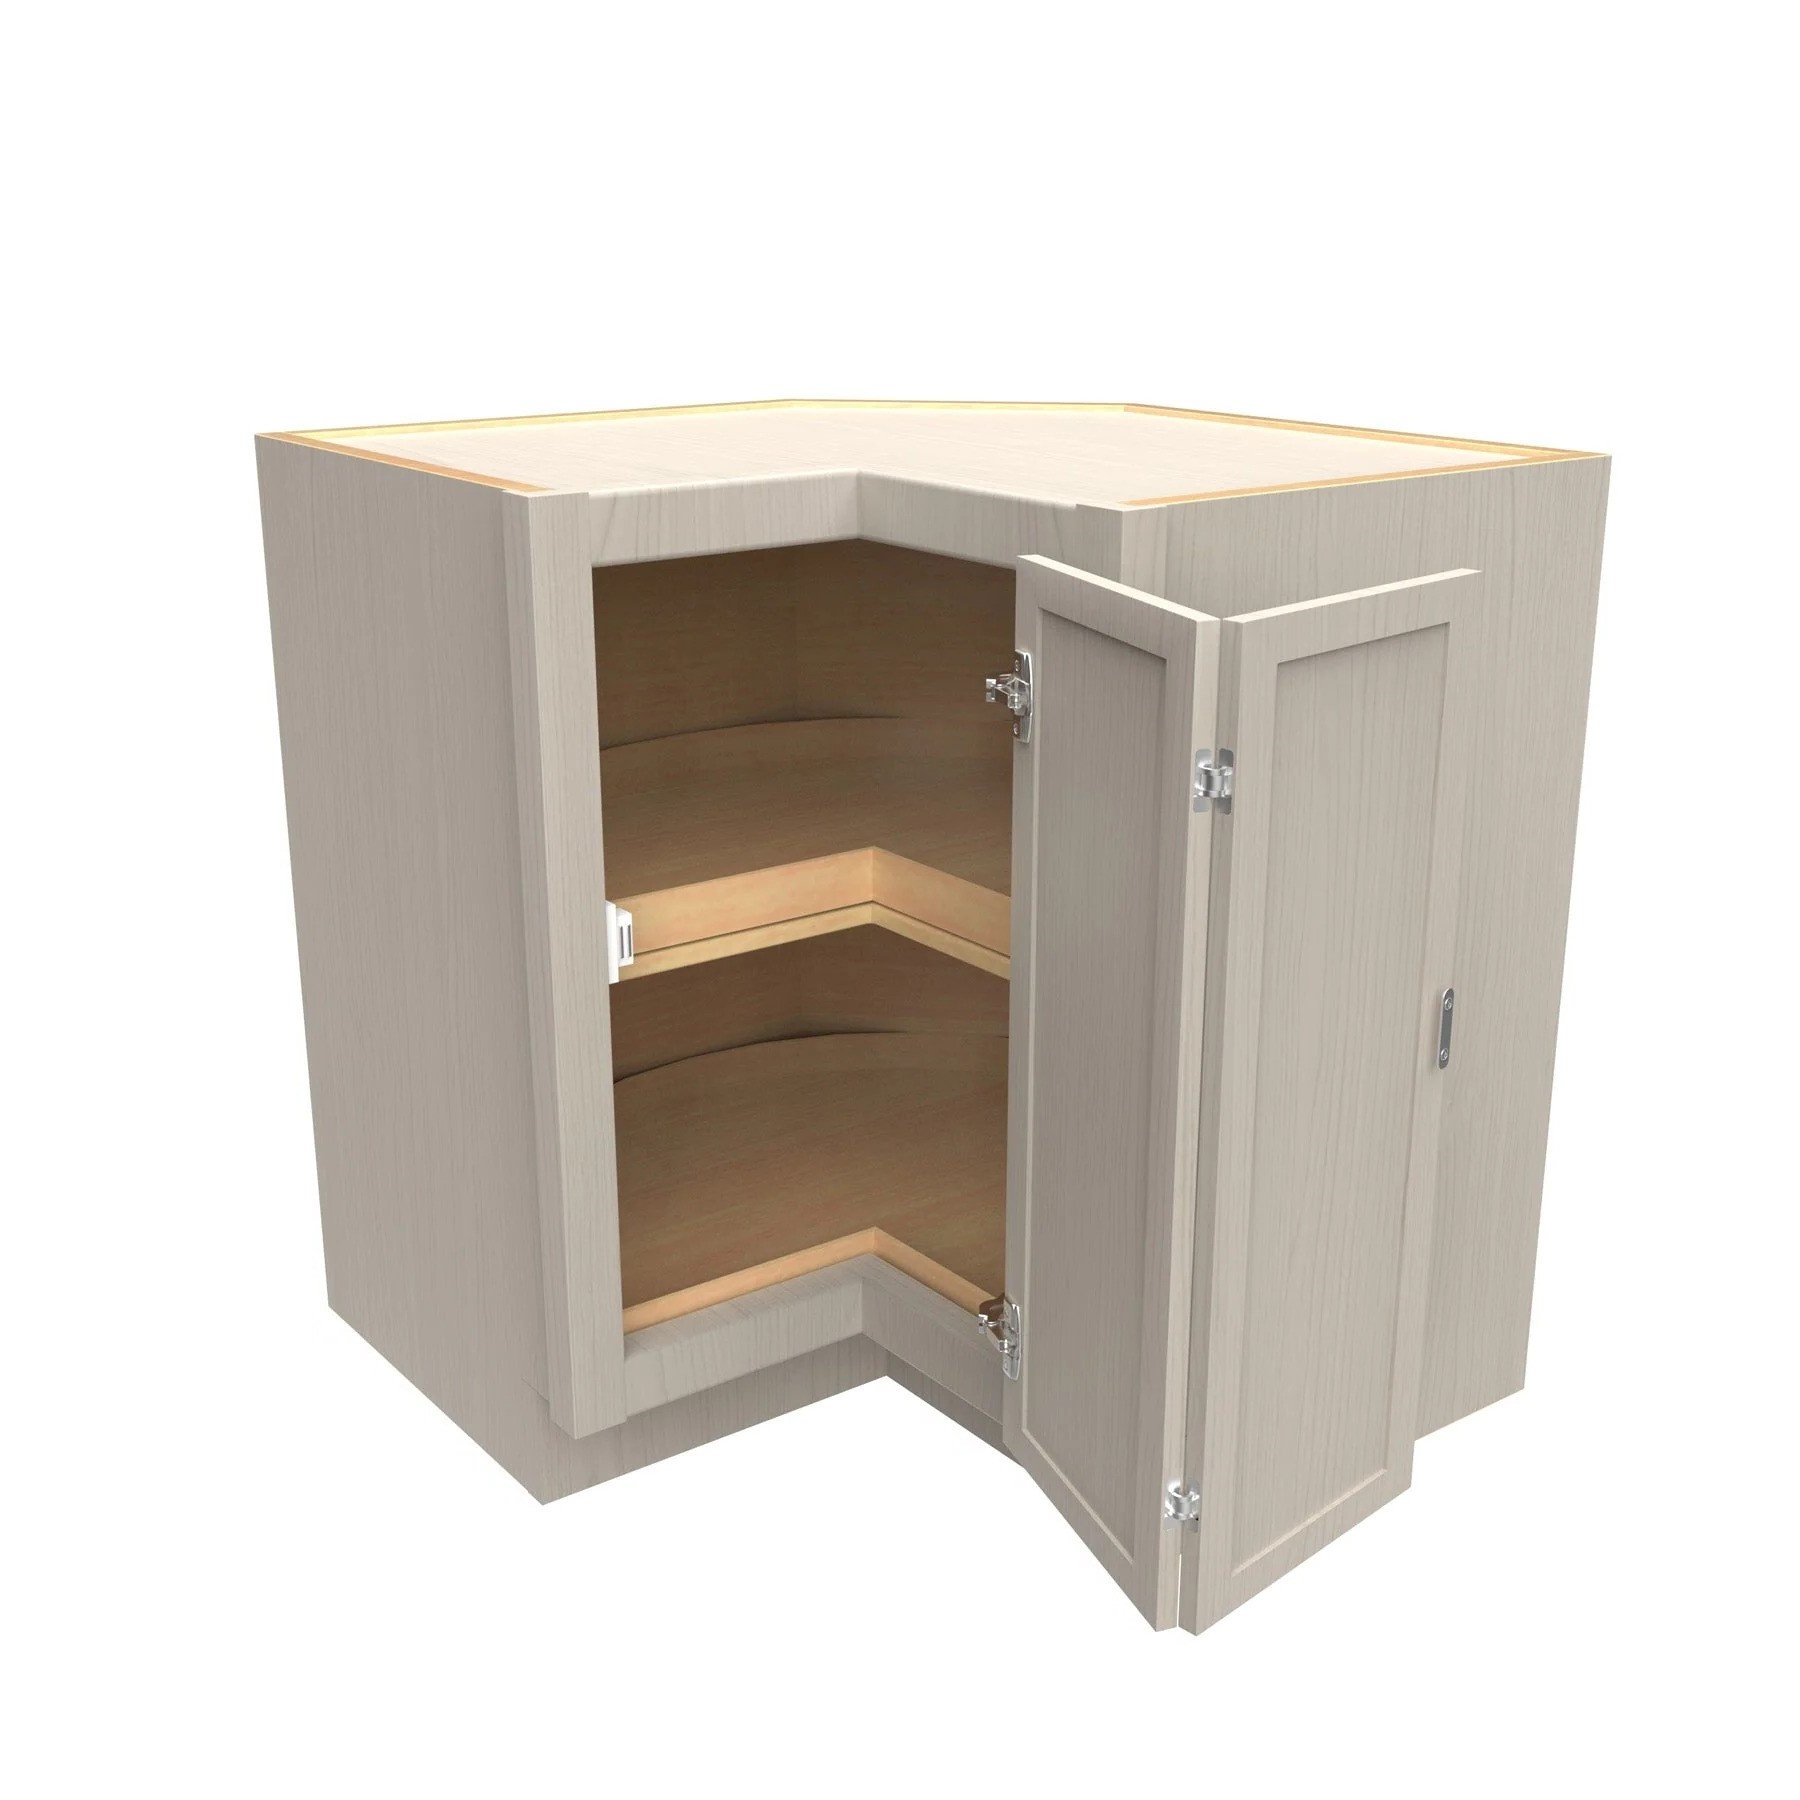
Before addressing the wobbling issue, it’s essential to remove the lazy Susan from its position within the cabinet. This step allows for a thorough inspection and easy access to the components that may be causing the instability. To begin, clear the contents from the lazy Susan to ensure a safe and unobstructed workspace. Once the shelf is empty, follow these steps to safely remove the lazy Susan:
- Locate the Mounting Screws: Open the cabinet doors to access the area beneath the lazy Susan. Identify the mounting screws securing the rotating shelf to the cabinet base. These screws are typically located at the center of the shelf and may be concealed beneath decorative caps.
- Remove the Mounting Screws: Utilize a screwdriver to carefully remove the mounting screws. It’s important to support the lazy Susan shelf as the final screws are loosened to prevent it from dropping unexpectedly.
- Lift Out the Lazy Susan: Once the mounting screws are removed, carefully lift the entire lazy Susan assembly out of the cabinet. Take care to lift it straight up to avoid any unnecessary strain on the components.
With the lazy Susan safely removed from the cabinet, you can proceed to the next steps in diagnosing and remedying the wobbling issue. This clear access will facilitate a thorough inspection and the implementation of the necessary adjustments to restore stability to the rotating shelf.
Step 2: Check for Loose Screws
Upon removing the lazy Susan from the cabinet, the next crucial step is to inspect the assembly for any loose screws or fasteners that may be contributing to the wobbling. Over time, the constant rotation and weight placed on the lazy Susan can cause screws to loosen, leading to instability and an unsteady shelf. To identify and address this common issue, follow these steps:
- Examine Mounting Screws: Thoroughly inspect the mounting screws that secure the lazy Susan to the cabinet base. Check for any visible signs of looseness or irregularities in the attachment points.
- Inspect Additional Fasteners: In addition to the mounting screws, examine any additional fasteners or brackets that contribute to the stability of the lazy Susan assembly. Ensure that all components are securely fastened and free from any signs of wear or damage.
- Test for Movement: Gently wiggle the lazy Susan shelf to assess any noticeable movement or play. Pay close attention to any areas where the shelf connects to the support structure, as these points are common areas for loose screws to cause instability.
Identifying and tightening any loose screws or fasteners is a fundamental step in resolving the wobbling issue. By addressing this potential cause of instability, you can effectively restore the structural integrity of the lazy Susan and lay the groundwork for a stable and smoothly rotating shelf.
Step 3: Tighten Screws
After identifying any loose screws or fasteners during the inspection, the next critical task is to tighten these components to eliminate the wobbling and restore stability to the lazy Susan. This step involves securing all screws and fasteners to ensure a secure and rigid connection, preventing any unnecessary movement that contributes to the wobbling issue. Follow these steps to effectively tighten the screws and fasteners:
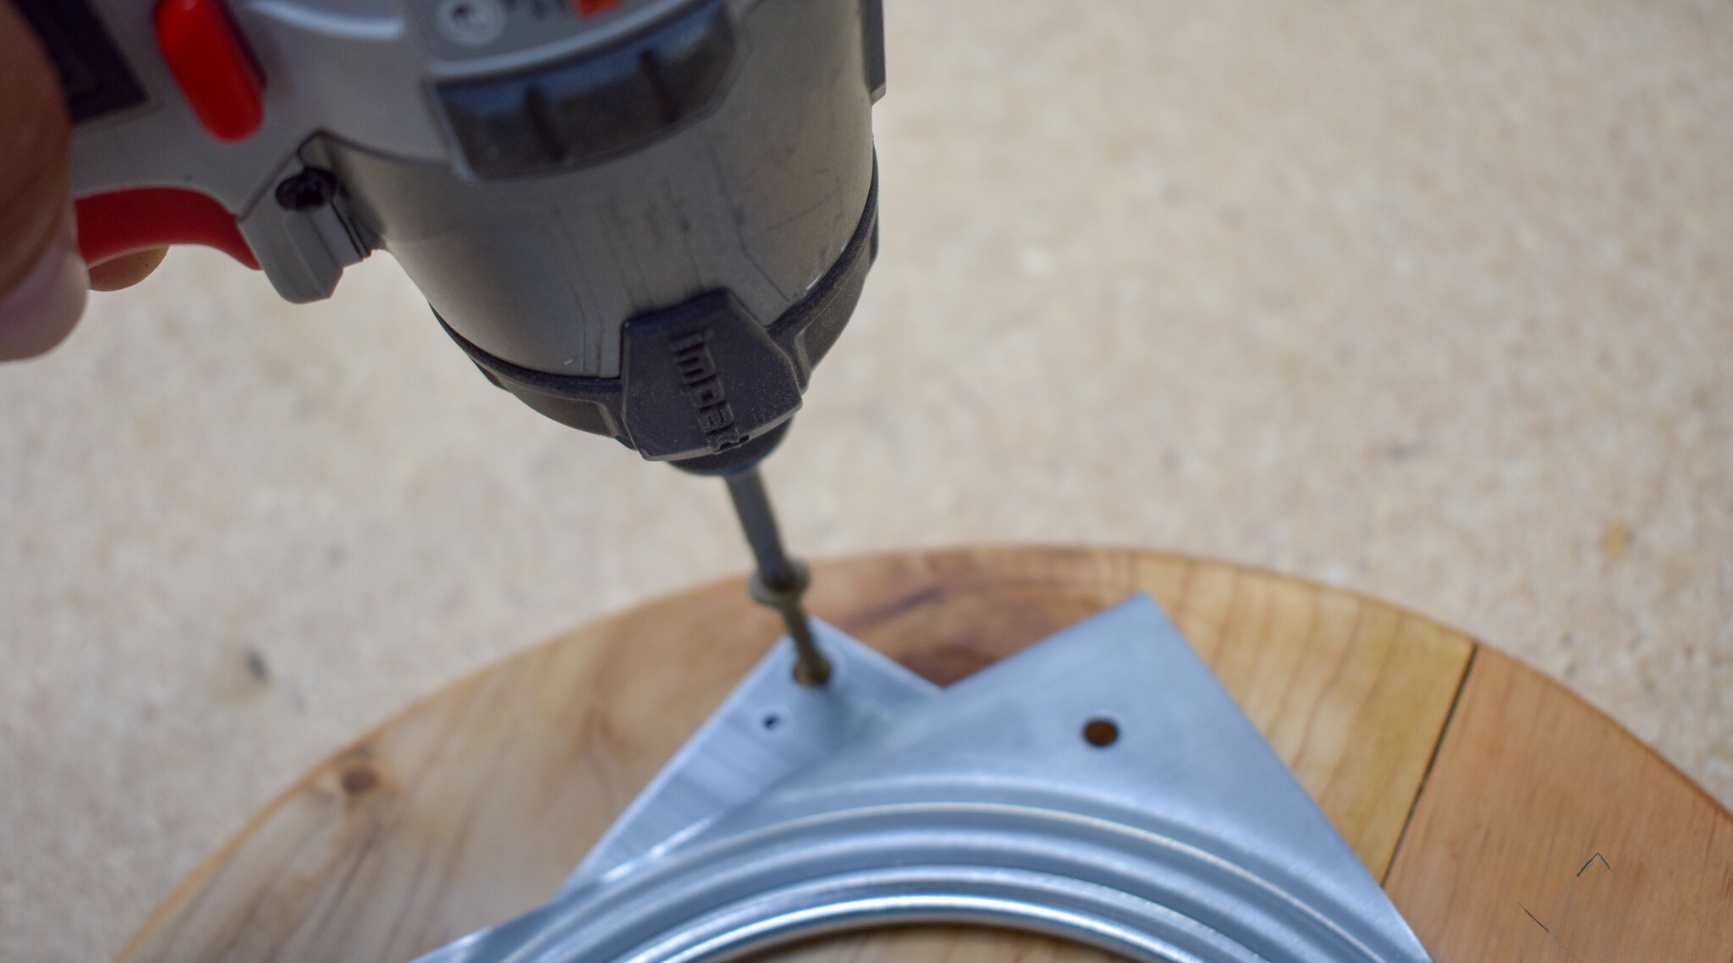
- Use the Appropriate Tools: Ensure you have the necessary tools, such as a screwdriver or drill with the appropriate bit, to tighten the screws and fasteners securely. Select a tool that provides a firm grip and allows for precise control during the tightening process.
- Tighten Mounting Screws: Starting with the mounting screws that secure the lazy Susan to the cabinet base, systematically tighten each screw to the manufacturer’s recommended torque specifications. Work in a crosswise pattern to evenly distribute the pressure and ensure a balanced connection.
- Secure Additional Fasteners: If the lazy Susan assembly includes additional fasteners or brackets, carefully tighten each one to eliminate any play or movement. Pay close attention to the attachment points and confirm that all fasteners are firmly secured.
- Recheck for Stability: After tightening all screws and fasteners, perform a final check to confirm that the lazy Susan is now stable and free from wobbling. Gently test the shelf’s rotation and apply slight pressure to assess its firmness.
By methodically tightening all screws and fasteners, you can address one of the most common causes of a wobbly lazy Susan. This proactive approach ensures that the rotating shelf is securely anchored, allowing for smooth and stable operation without the annoyance of unwanted movement.
Check the screws and bolts on the lazy susan to ensure they are tight. If they are loose, use a screwdriver or wrench to tighten them. If the lazy susan still wobbles, consider adding shims or felt pads under the base to stabilize it.
Step 4: Lubricate Bearings
Another potential contributor to a wobbly lazy Susan is inadequate lubrication of the bearings, which can result in friction and resistance that compromise the smooth rotation of the shelf. To address this issue and ensure that the lazy Susan operates seamlessly, it is essential to apply lubrication to the bearings. Proper lubrication reduces friction, minimizes wear on the components, and promotes effortless rotation. Follow these steps to effectively lubricate the bearings of the lazy Susan:
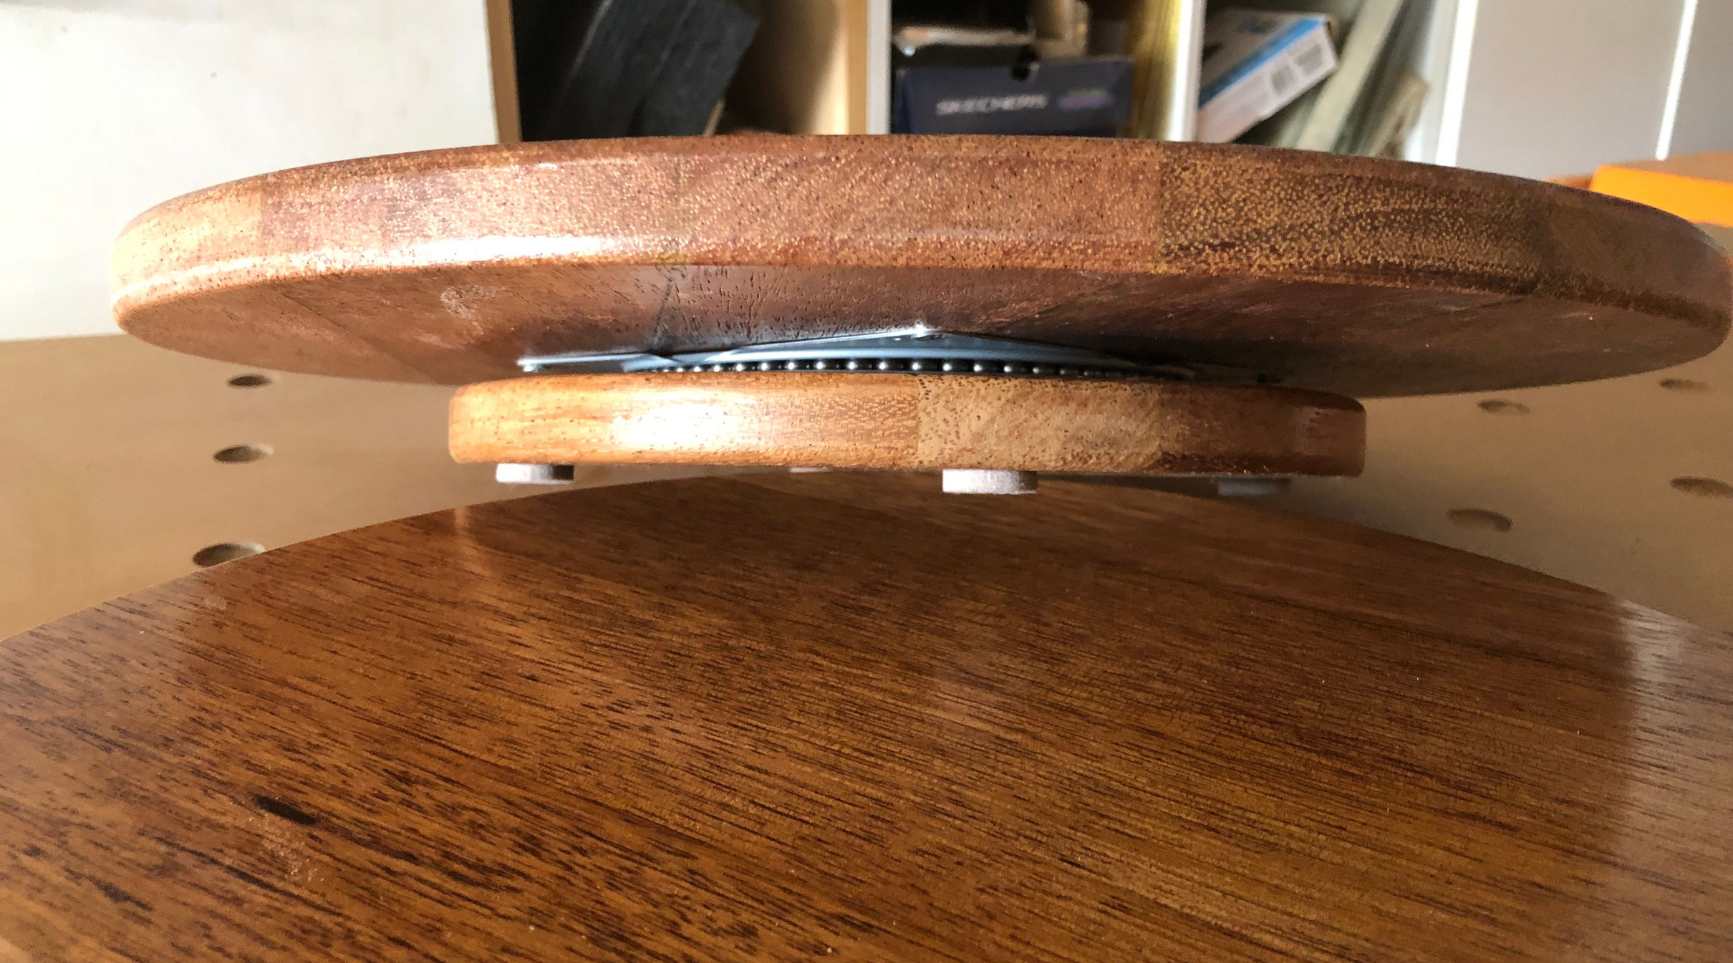
- Access the Bearings: Locate the bearings of the lazy Susan assembly, typically positioned at the top and bottom of the central shaft. Depending on the design of the lazy Susan, the bearings may be visible and accessible without disassembling the entire assembly.
- Clean the Bearings: Before applying lubricant, ensure that the bearings are free from debris and residue. Use a clean cloth or paper towel to gently wipe away any dirt or grime that may impede the effectiveness of the lubrication.
- Apply Lubricant: Select a high-quality, multi-purpose lubricant suitable for metal bearings. Apply a small amount of lubricant to each bearing, ensuring even coverage and distribution. Rotate the lazy Susan to facilitate the penetration of the lubricant into the bearings.
- Distribute Excess Lubricant: After applying the lubricant, rotate the lazy Susan several times to distribute the lubricant evenly and allow it to penetrate the bearings. Wipe away any excess lubricant to prevent drips or accumulation on the shelf.
By properly lubricating the bearings, you can reduce friction and resistance, allowing the lazy Susan to rotate smoothly and effortlessly. This simple yet vital maintenance task enhances the longevity and performance of the rotating shelf, addressing one of the key factors that contribute to wobbling and instability.
Read more: How To Fix Lazy Susan Bearing
Step 5: Reassemble Lazy Susan
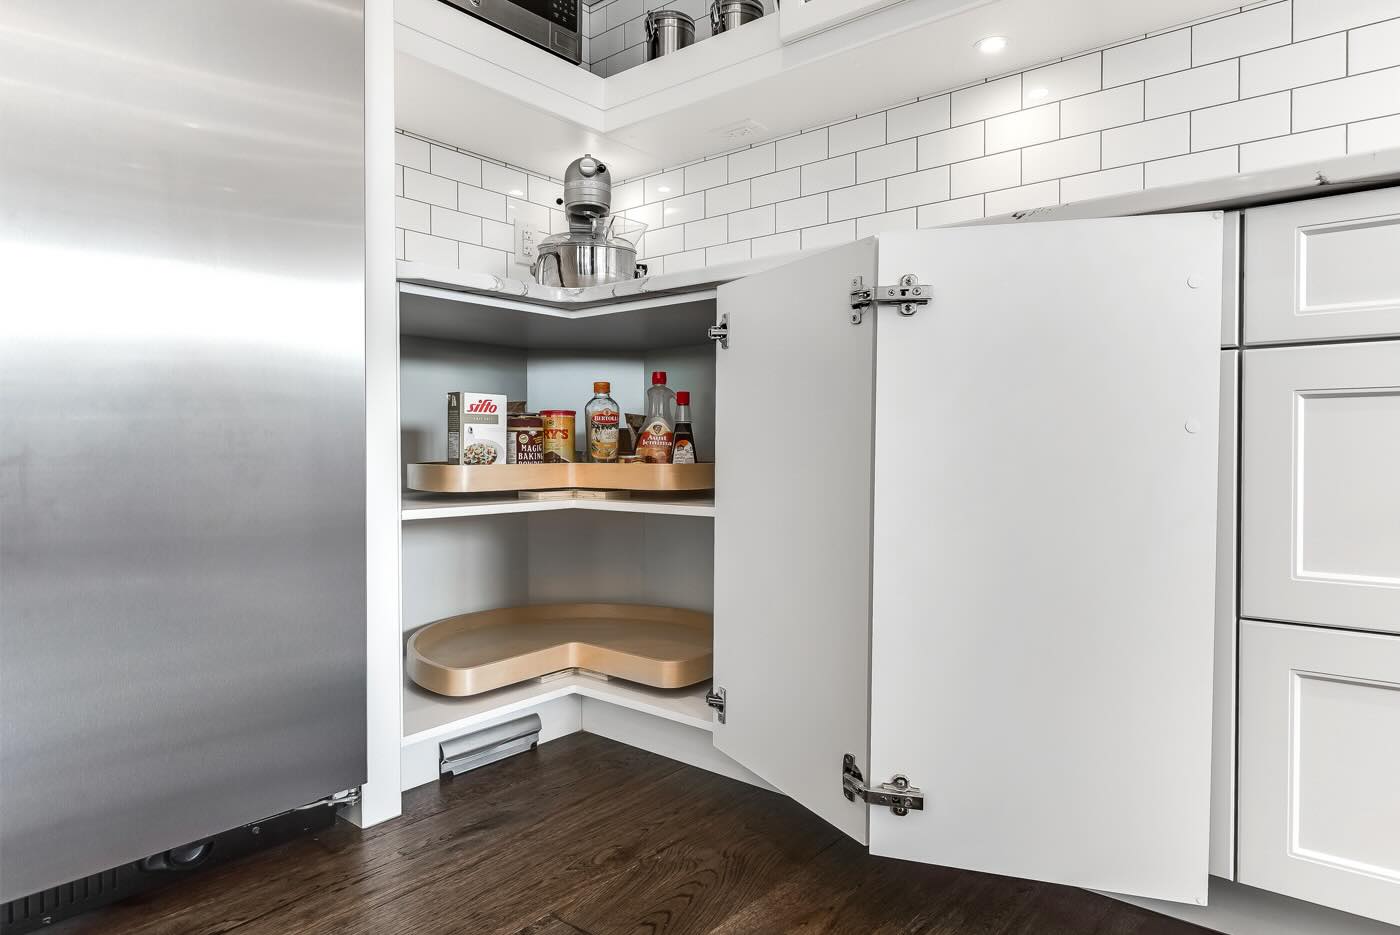
With the necessary adjustments and maintenance tasks completed, it’s time to reassemble the lazy Susan and restore it to its position within the cabinet. This final step involves carefully reinstalling the rotating shelf and ensuring that it is securely mounted, allowing for smooth and stable operation. Follow these steps to effectively reassemble the lazy Susan:
- Position the Lazy Susan: Carefully place the lazy Susan assembly back into the cabinet, aligning it with the mounting points on the cabinet base. Ensure that the central shaft is properly aligned and that the assembly sits flush and level within the cabinet.
- Secure Mounting Screws: Using the appropriate tool, reattach the mounting screws that secure the lazy Susan to the cabinet base. Tighten the screws evenly and securely to establish a stable connection between the rotating shelf and the cabinet.
- Test Rotation and Stability: Once the lazy Susan is reinstalled, test its rotation and stability by gently rotating the shelf and applying slight pressure to assess its firmness. Confirm that the wobbling issue has been effectively resolved and that the lazy Susan operates smoothly.
- Replenish Contents: After confirming the stability and functionality of the lazy Susan, return the contents that were previously removed from the shelf. Organize the items as desired, taking advantage of the convenient access provided by the smoothly rotating lazy Susan.
By carefully reassembling the lazy Susan and ensuring a secure and level installation, you can complete the process of addressing the wobbling issue and restore the functionality of this essential kitchen component. With the shelf securely mounted and operating smoothly, you can once again enjoy the convenience and accessibility that a properly functioning lazy Susan provides.
Conclusion
Addressing a wobbly lazy Susan is a manageable task that can significantly improve the functionality and convenience of this essential kitchen feature. By following the step-by-step process outlined in this guide, you can effectively resolve the wobbling issue and restore stability to the rotating shelf. From inspecting for loose screws to lubricating the bearings and reassembling the lazy Susan, each step plays a crucial role in eliminating the annoyance of an unsteady shelf.
By taking proactive measures to tighten screws, apply lubrication, and ensure a secure reassembly, you can enhance the performance and longevity of the lazy Susan while regaining the smooth rotation and stability it was designed to provide. With these straightforward maintenance tasks, you can eliminate the frustration of a wobbly lazy Susan and enjoy the seamless accessibility it offers for storing and accessing kitchen essentials.
Remember that regular maintenance and periodic inspections can help prevent the recurrence of wobbling issues, ensuring that the lazy Susan continues to operate smoothly and reliably. By incorporating these simple maintenance tasks into your kitchen care routine, you can prolong the life of the lazy Susan and maximize its utility in keeping your kitchen organized and efficient.
With a stable and smoothly rotating lazy Susan back in action, you can make the most of its space-saving design and effortless accessibility, enhancing the functionality of your kitchen and simplifying daily tasks. By addressing the wobbling issue promptly and effectively, you can enjoy the convenience and practicality of a well-maintained lazy Susan for years to come.
Frequently Asked Questions about How To Fix A Wobbly Lazy Susan
Was this page helpful?
At Storables.com, we guarantee accurate and reliable information. Our content, validated by Expert Board Contributors, is crafted following stringent Editorial Policies. We're committed to providing you with well-researched, expert-backed insights for all your informational needs.


0 thoughts on “How To Fix A Wobbly Lazy Susan”