
Furniture
How To Fix A Wobbly Dresser
Modified: August 17, 2024
Learn how to fix a wobbly dresser with our easy-to-follow guide. Strengthen your furniture and prevent accidents with these simple steps.
(Many of the links in this article redirect to a specific reviewed product. Your purchase of these products through affiliate links helps to generate commission for Storables.com, at no extra cost. Learn more)
Introduction
A wobbly dresser can be a frustrating sight in any home. Not only does it compromise the stability of your furniture, but it can also be a safety hazard. Imagine waking up in the middle of the night to the sound of your dresser crashing to the ground! However, there’s no need to panic just yet. With a little bit of know-how and some basic tools, you can easily fix a wobbly dresser and restore it to its former sturdy self.
In this article, we’ll guide you through the step-by-step process of assessing, troubleshooting, and fixing a wobbly dresser. Whether it’s a loose screw, a broken component, or misaligned legs, we’ve got you covered. So, let’s dive right in and get your dresser back on solid ground.
Before we begin, it’s essential to ensure your safety during the repair process. Make sure you have a stable work area, wear appropriate safety gear such as gloves and eye protection, and keep any tools out of the reach of children. It’s also a good idea to have a helper assist you with heavy or cumbersome components. Now that we’ve covered the basics, let’s move on to the first step: assessing the dresser.
Key Takeaways:
- Assess, troubleshoot, and fix a wobbly dresser by tightening loose screws, repairing broken components, and adjusting the dresser legs. Realign and stabilize the dresser for long-lasting stability and functionality.
- Prioritize safety, follow step-by-step instructions, and enjoy the satisfaction of DIY furniture repair. Save money and enhance the longevity of your dresser while adding a personal touch to your living space.
Read more: How To Fix Wobbly Toilet
Step 1: Assessing the dresser
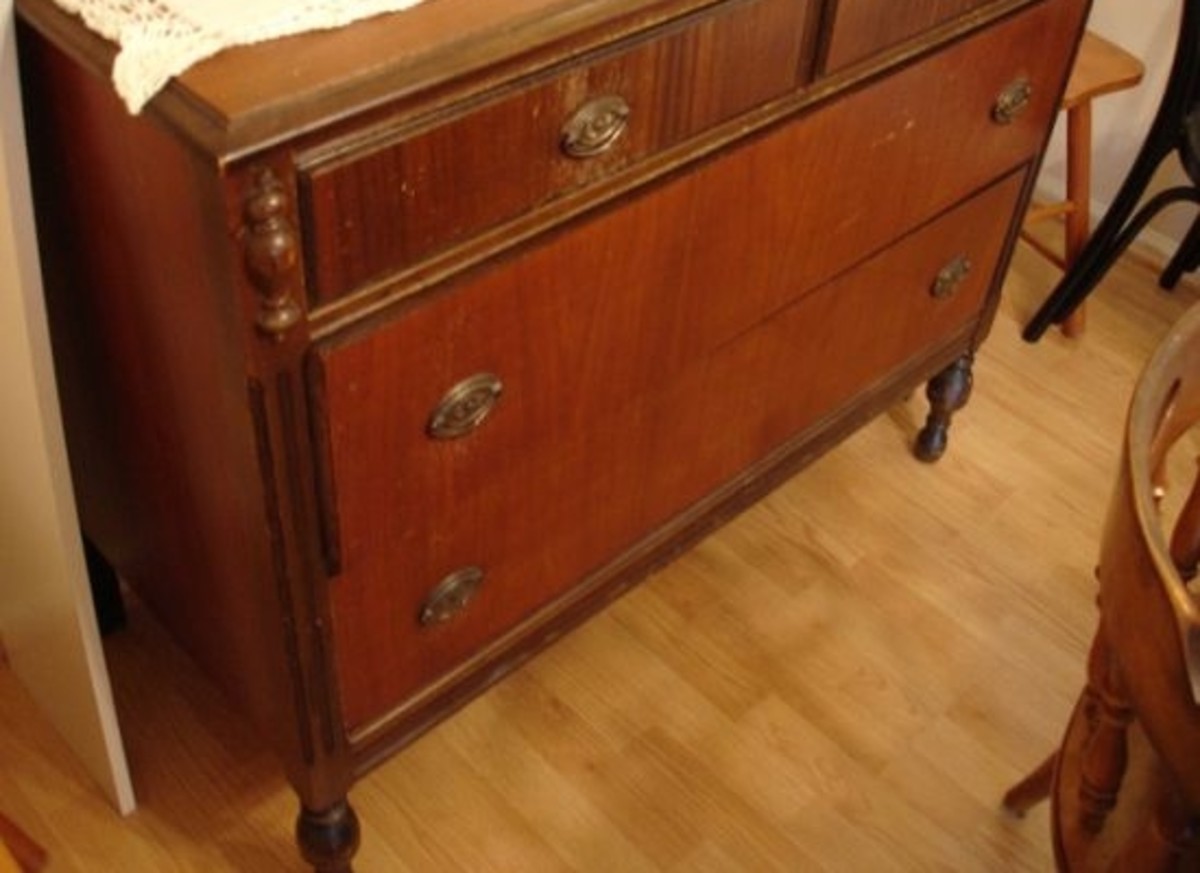
Before diving into any repairs, it’s important to assess the dresser’s condition and identify the source of the wobbliness. Start by removing all items from the dresser’s surface and emptying the drawers. This will not only make it easier to work on the dresser but also allow you to inspect it more thoroughly.
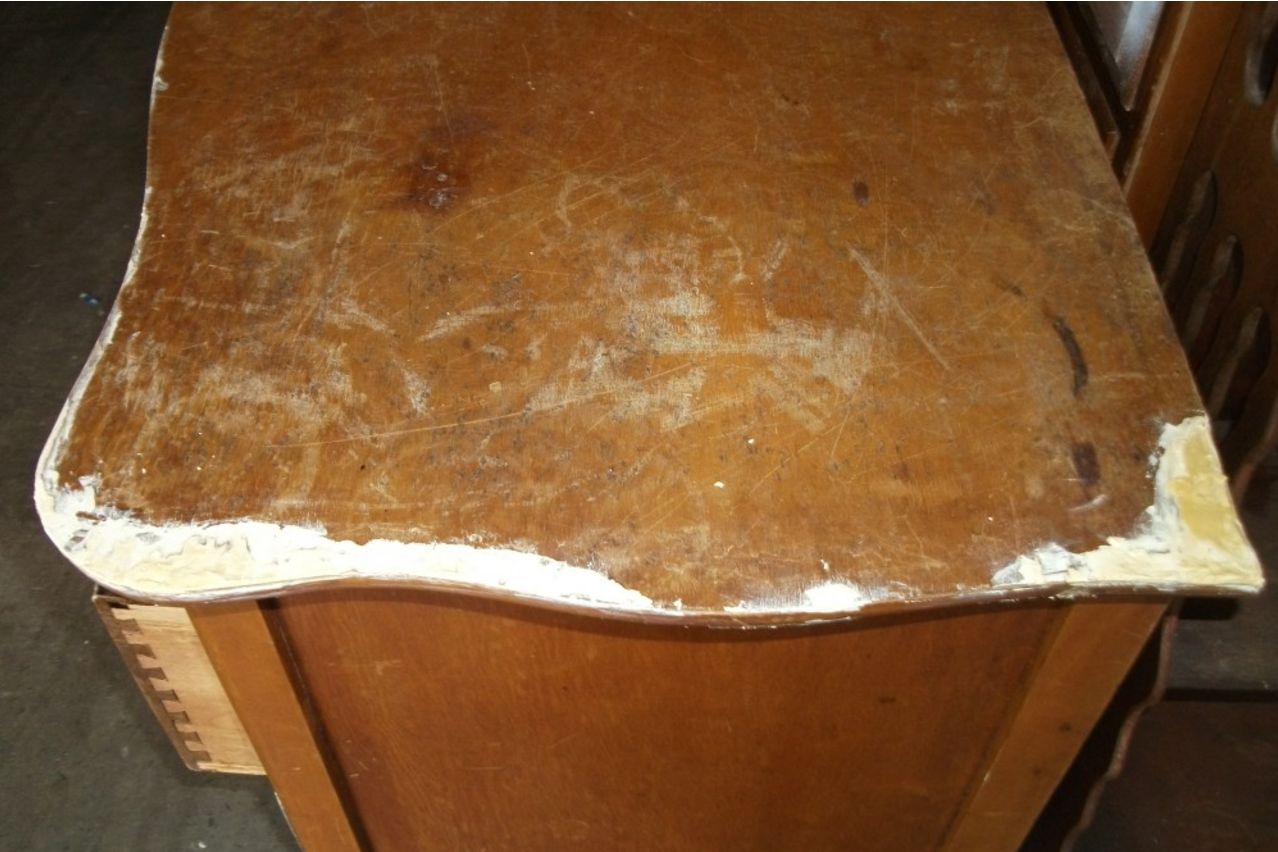
Next, visually inspect the dresser for any obvious signs of damage, such as cracked or broken wood, loose joints, or missing screws. Pay attention to any particular areas that seem to be causing the wobbliness, such as a specific leg or drawer section.
Once you have identified these problem areas, it’s time to do a hands-on assessment. Gently shake the dresser back and forth and side to side to determine the degree of movement and instability. Listen for any creaking or grinding sounds that might indicate loose or damaged components.
If the dresser wobbles significantly, the issue may be with the legs. Place a stack of magazines or a small piece of wood underneath the wobbly side to stabilize it temporarily. This will help to isolate the problem and make it easier to troubleshoot.
As you assess the dresser, take note of any specific parts or hardware that may need attention. This will help you create a list of materials and tools you may need for the subsequent steps of the repair process.
Once you have thoroughly assessed the dresser and identified the areas of concern, you are ready to move on to step 2: removing the drawers.
Step 2: Removing the drawers
Before you can delve into fixing the wobbliness of your dresser, you’ll need to remove the drawers to gain better access and maneuverability. Removing the drawers will also prevent any accidental damage during the repair process.
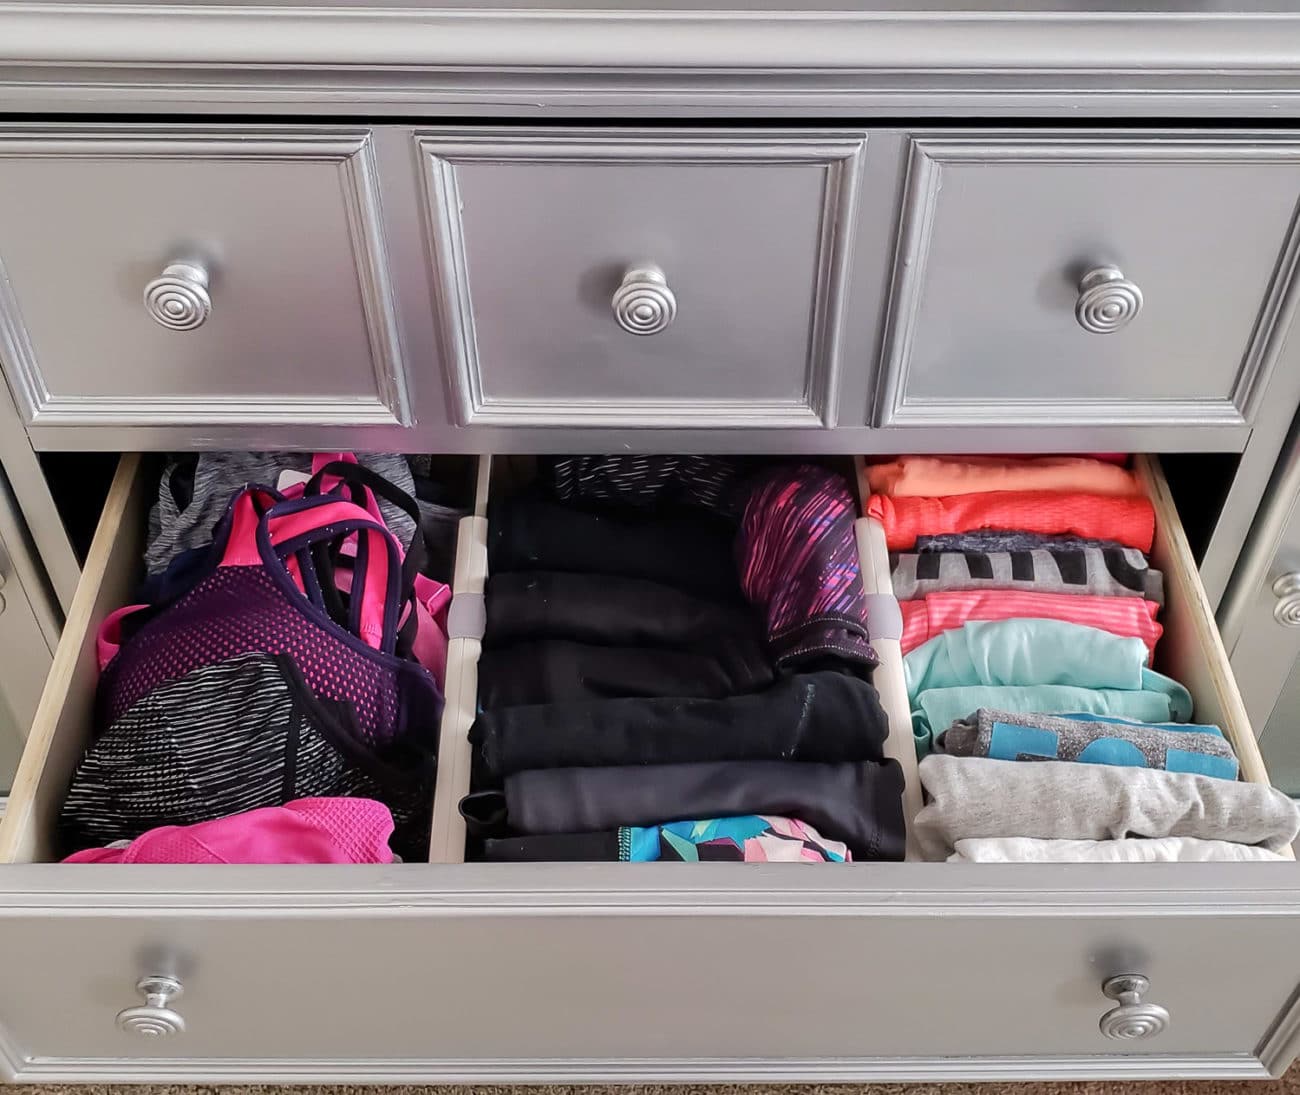
Start by emptying all the contents of the drawers and setting them aside in a safe place. Clearing out the drawers will make them easier to handle and prevent any items from getting in the way.
Now, carefully inspect the drawers to determine how they are secured in the dresser. Typically, drawers are held in place by a combination of wooden tracks or metal glides. Look for any screws or fasteners that are attaching the drawer slides to the dresser frame.
Using either a screwdriver or power drill with the appropriate bit, remove the screws that secure the drawer slides to the dresser. Some dressers may have additional support brackets or mechanisms that you’ll need to detach before you can fully remove the drawers. Take your time and be careful not to strip the screws or damage the tracks or glides in the process.
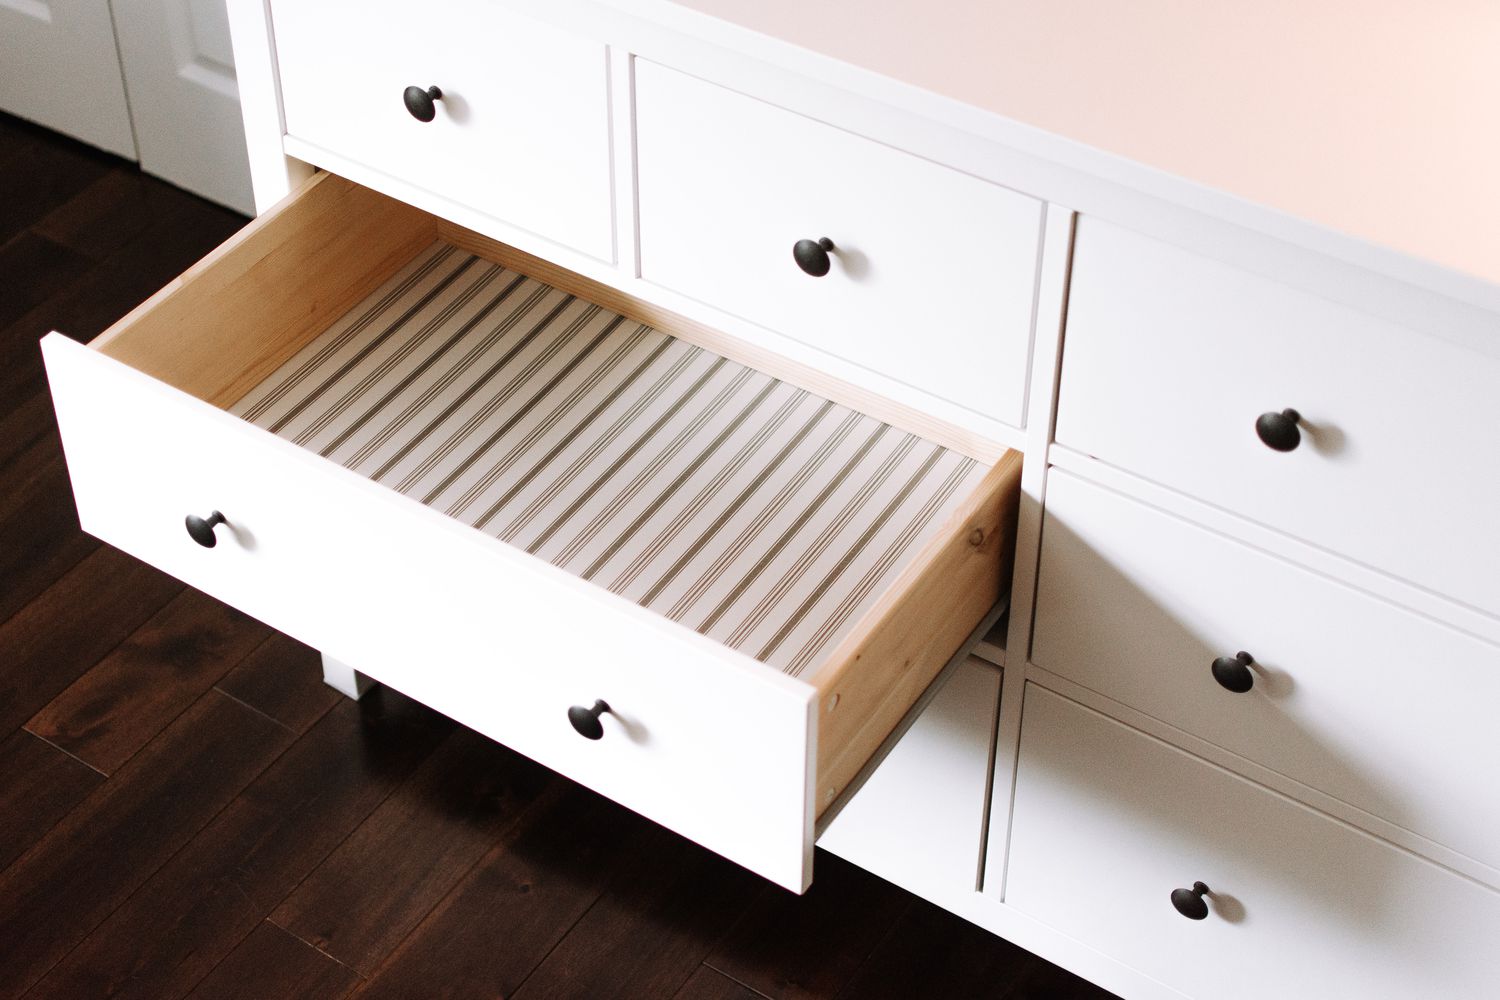
Once all the screws and attachments have been removed, gently lift each drawer and pull it out of the dresser. Place the drawers in a safe location where they won’t be in the way while you work on the dresser itself.
With the drawers removed, you now have a clear workspace to focus on repairing the wobbliness of the dresser. It’s also a good opportunity to clean and organize the drawers as you go along.
Now that you have successfully removed the drawers, it’s time to move on to step 3: tightening loose screws and bolts.
Step 3: Tightening loose screws and bolts
Loose screws and bolts are a common cause of dresser wobbliness. Over time, the constant use and movement of the dresser can cause these fasteners to become loose, compromising the stability of the furniture. In this step, we’ll focus on tightening and securing any loose screws and bolts.
Start by inspecting the dresser for any visible screws or bolts. This includes those on the legs, frame, and any additional components. It’s important to note that screws can be hidden beneath decorative caps or plugs, so be sure to check thoroughly.
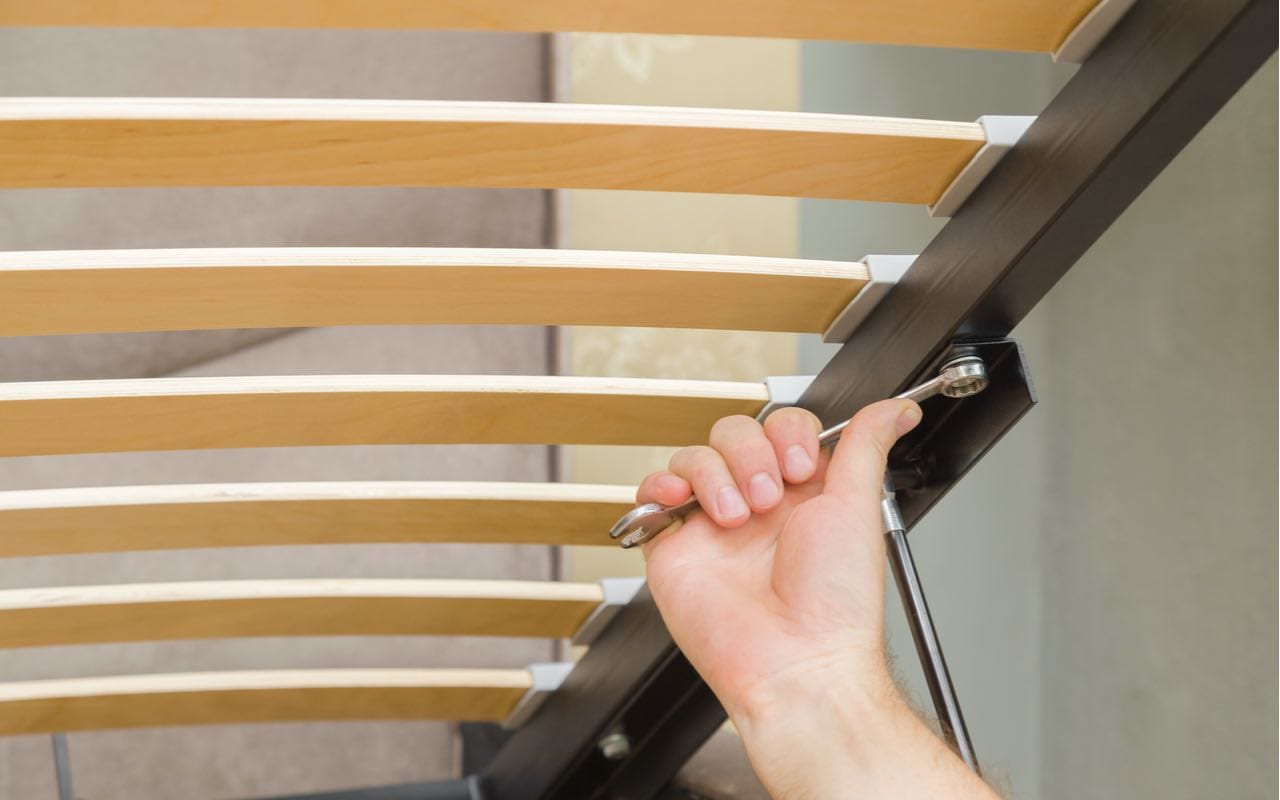
Using a screwdriver or power drill with the appropriate bit, begin tightening any loose screws or bolts you come across. Start with the ones that are visibly loose or wobbly. Apply gentle pressure while tightening, making sure not to overtighten and strip the screw or bolt.
If you encounter any stripped or damaged screws or bolts, they may need to be replaced. Remove the damaged fastener and replace it with a new one of the same size and type.
Continue checking and tightening all the screws and bolts throughout the dresser, paying close attention to areas where the wobbliness was most noticeable during the initial assessment. Don’t forget to check the back panel of the dresser as well, as it can sometimes become loose and contribute to the wobbling.
Once you have tightened all the screws and bolts, give the dresser a gentle shake to test its stability. If it still wobbles, continue investigating for any other issues that may be causing the instability.
In cases where you are unable to tighten a loose bolt or screw, you may need to reinforce the area with additional hardware, such as corner brackets or braces. These can provide extra support and stability to the dresser.
Tightening loose screws and bolts is often an effective solution for fixing a wobbly dresser. However, if the wobbliness persists, it’s time to move on to step 4: repairing or replacing broken components.
Step 4: Repairing or replacing broken components
If tightening screws and bolts didn’t completely resolve the wobbliness of your dresser, it’s possible that there are broken or damaged components contributing to the instability. In this step, we’ll focus on repairing or replacing any broken parts to restore the dresser’s stability.
Start by carefully examining the dresser for any visibly broken or damaged components. This could include cracked wood, broken drawer slides, or damaged joints. Pay close attention to areas that showed excessive movement during the initial assessment.
If you come across any broken or cracked wood, you can attempt to repair it using wood glue and clamps. Apply a generous amount of wood glue to the cracked area, then carefully align the pieces and apply pressure with clamps until the glue sets. Follow the manufacturer’s instructions for drying times and curing.
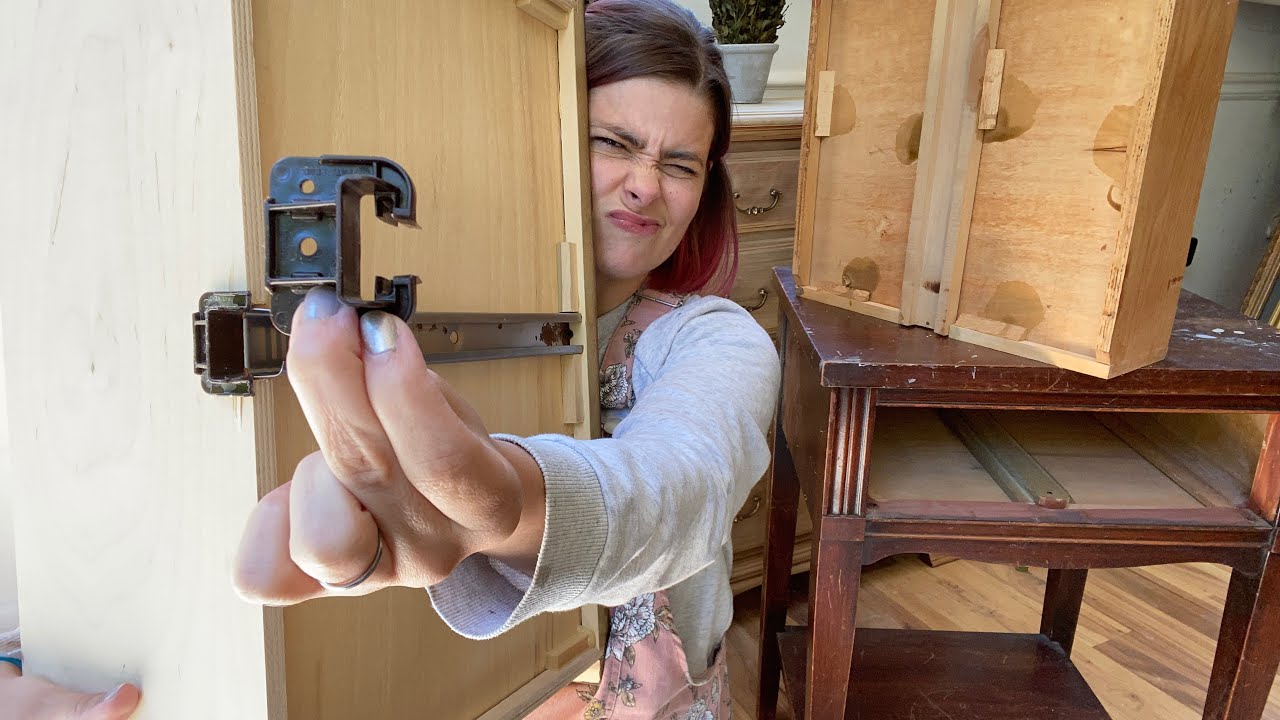
If a component, such as a drawer slide or cabinet hinge, is broken beyond repair, you may need to replace it with a new one. Take note of the specific hardware that needs to be replaced and measure the dimensions to ensure you purchase the correct replacement parts.
Before making any repairs or replacements, it’s a good idea to consult the dresser’s instruction manual or contact the manufacturer for guidance. They may be able to provide specific instructions or recommend authorized service providers if needed.
Once you have the necessary replacement parts, carefully remove the broken components using a screwdriver or appropriate tools. Install the new parts according to the manufacturer’s instructions, taking care to align and secure them properly.
After making the necessary repairs or replacements, test the dresser’s stability by giving it a gentle shake. If it still wobbles, it’s time to move on to the next step.
Repairing or replacing broken components can be a more involved and time-consuming process. However, it is crucial for restoring the stability and functionality of your dresser. If this step didn’t fully resolve the wobbliness, don’t worry, there are still additional steps to take. Let’s move on to step 5: adjusting the dresser legs.
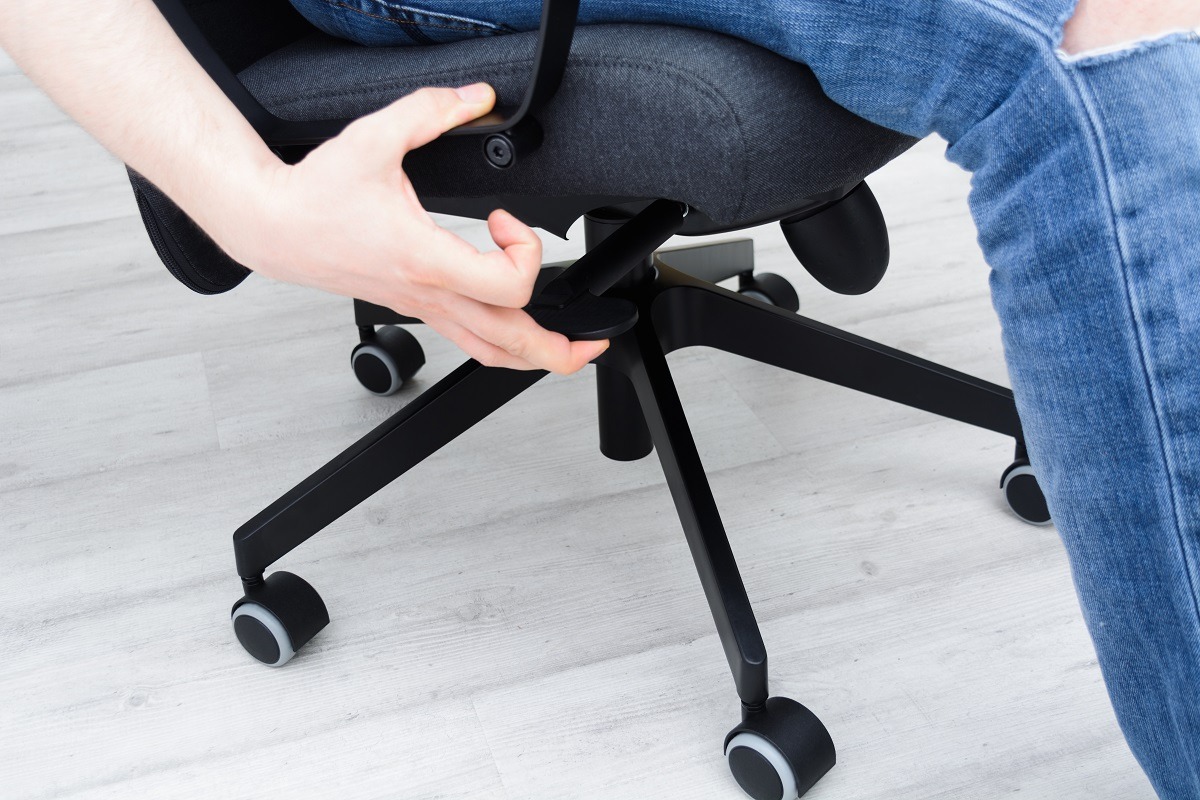
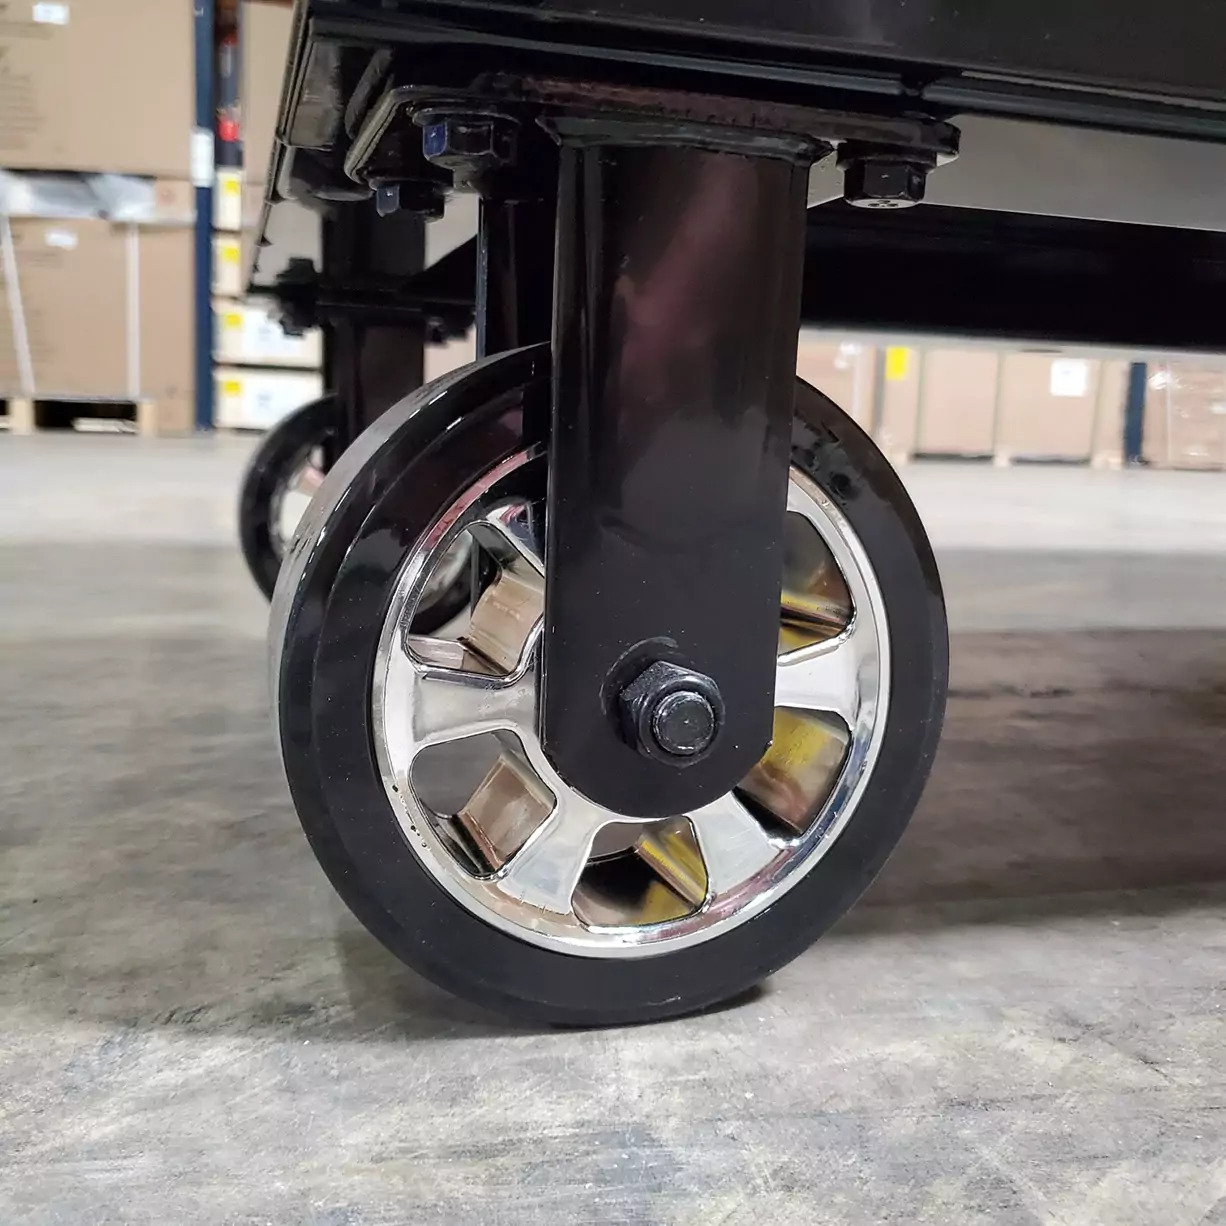
Check the dresser’s legs and make sure they are all securely attached. If any are loose, tighten the screws or replace them if necessary. You can also use furniture shims to stabilize the dresser on uneven floors.
Read more: How To Fix A Wobbly Lamp Shade
Step 5: Adjusting the dresser legs
If your dresser is still wobbly after tightening screws, repairing broken components, and conducting the previous steps, the issue may lie in the alignment of the dresser legs. Misaligned legs can cause uneven weight distribution and result in instability. In this step, we’ll focus on adjusting the dresser legs to achieve proper alignment and stability.
Begin by thoroughly examining the dresser legs for any visible signs of damage or misalignment. Check for loose or missing screws, cracked wood, or uneven leg lengths. It’s important to address any underlying issues before proceeding with the adjustment.
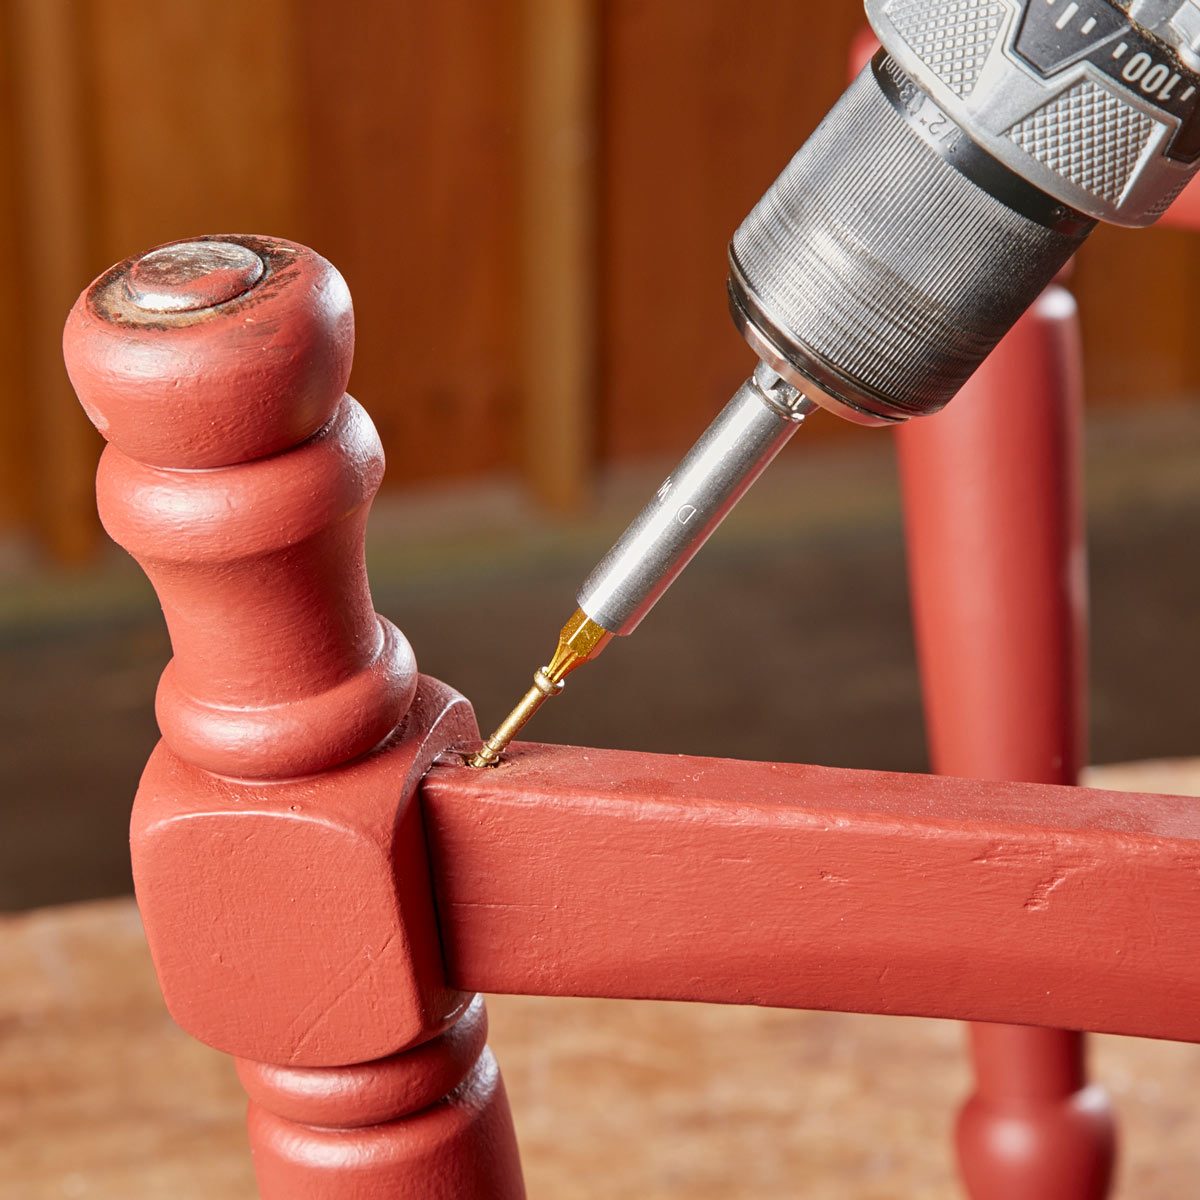
If the legs are attached with screws, use a screwdriver or power drill with the appropriate bit to tighten any loose screws. Ensure that all screws are securely fastened and that the leg is firmly attached to the dresser frame. Consider replacing any missing or damaged screws with new ones of the same size and type.
If the legs are adjustable, check if they are set on equal heights. Use a measuring tape or ruler to measure the length from the bottom of the dresser to each leg, ensuring they are equal. Adjust the legs accordingly by twisting or extending them until they are of the same length. This will help ensure even weight distribution and stability.
If the legs are not adjustable or are still misaligned after tightening, you can consider using shims to level them. Shims are thin pieces of material, such as wood or plastic, that can be inserted between the leg and the floor to provide stability and balance. Place the shim under the leg that needs adjustment, gradually adding or removing shims until the dresser sits evenly on the floor.
Once you have adjusted the legs to the best of your ability, give the dresser a gentle shake to test its stability. If it no longer wobbles, congratulations! You have successfully fixed the wobbly dresser. However, if the wobbliness persists, continue with the following steps to ensure that the dresser is properly reassembled and stabilized.
With the dresser legs adjusted, it’s time to move on to step 6: reassembling the drawers.
Step 6: Reassembling the drawers
Now that you have addressed the wobbliness of the dresser itself, it’s time to reassemble the drawers and ensure they are properly aligned. The proper alignment of the drawers is crucial for smooth operation and overall stability of the dresser. Follow these steps to reassemble the drawers correctly.
Start by inspecting the drawers for any signs of damage or misalignment. Check the tracks or glides for any obstructions, debris, or wear and tear. If necessary, clean the tracks or glides to ensure smooth movement.
Align the slides or glides of each drawer with the corresponding tracks inside the dresser. Gently insert the drawer, making sure it glides smoothly without any resistance. If a drawer doesn’t fit or slides unevenly, double-check the alignment and make any necessary adjustments.
Once all the drawers are properly aligned, push them in completely so that they are flush with the front of the dresser. Test the movement by opening and closing each drawer to ensure they operate smoothly without any sticking or jamming.
If you had to make adjustments to the drawer slides or glides during the reassembly process, tighten any screws or bolts that secure them in place. This will help maintain their alignment and prevent future wobbliness.
With the drawers reassembled and operating smoothly, give the dresser a gentle shake to test its stability. If the wobbliness is now completely resolved, you are almost done. However, if the dresser still wobbles, you’ll need to proceed to the final step: realigning and stabilizing the dresser.
Reassembling the drawers not only ensures their proper functioning but also contributes to the overall stability of the dresser. With this step complete, you can move on to the final step: realigning and stabilizing the dresser.
Step 7: Realigning and stabilizing the dresser
If your dresser is still wobbly after going through the previous steps, it’s time to focus on realigning and stabilizing the dresser as a whole. This step will ensure that all components work together harmoniously, leading to a sturdy and stable piece of furniture.
Start by inspecting the dresser for any signs of misalignment, such as uneven gaps between drawers or sections that don’t align properly. This could be an indication of a structural issue or an incorrect assembly. Look for any visible gaps, uneven edges, or components that appear out of place.
If you identify any misaligned sections, gently push them into place or adjust the surrounding components to align with the rest of the dresser. Check for any loose screws, bolts, or brackets that may be contributing to the misalignment and tighten them as necessary.
Consider using wood shims or furniture leveling pads to stabilize the dresser. Place the shims or pads underneath the legs or any uneven areas to help balance the dresser and eliminate wobbliness. Adjust them as needed, making sure the dresser sits evenly and securely on the floor.
If you are still experiencing wobbliness, you may need to strengthen the dresser’s structure. This can be done by adding additional support brackets or braces to reinforce weak areas. These can be found at hardware stores and should be installed according to the manufacturer’s instructions.
Once you have finished realigning and stabilizing the dresser, give it a final shake or gentle push to test its stability. If it no longer wobbles and feels solid, congratulations! You have successfully fixed your wobbly dresser.
Remember to periodically check and tighten screws, bolts, and other components to maintain the stability of your dresser. Proper care and maintenance will help ensure that it stays sturdy and safe for years to come.
With the wobbliness resolved, you can now enjoy a beautifully restored dresser that not only looks great but also provides you with functionality and stability.
As a final note, it’s important to remember that if you feel unsure or uncomfortable about doing any repairs yourself, it’s always best to consult a professional furniture repair expert. They have the knowledge and experience to handle more complex situations and can ensure that your dresser is repaired properly.
Now, sit back and enjoy your stable and sturdy dresser, knowing that you’ve successfully fixed its wobbliness with your own hands!
Conclusion
Fixing a wobbly dresser is a rewarding project that allows you to restore stability and functionality to your furniture. By following the steps outlined in this guide, you can confidently tackle the task and achieve impressive results.
Remember, the key to fixing a wobbly dresser is to methodically assess, troubleshoot, and address the underlying issues. Start by assessing the dresser’s condition, tightening loose screws and bolts, and repairing or replacing broken components. Adjusting the dresser legs and reassembling the drawers will further enhance stability.
If the wobbliness persists, realigning and stabilizing the dresser as a whole will help eliminate any remaining instability. Use shims, furniture leveling pads, and additional support brackets or braces as needed to ensure a solid and sturdy piece of furniture.
Throughout the repair process, it’s important to prioritize safety and seek professional assistance if needed. Always work in a safe environment, wear appropriate protective gear, and follow the manufacturer’s instructions.
By successfully fixing a wobbly dresser, not only do you enhance its longevity and functionality, but you also save money by avoiding the need to purchase a new piece of furniture. Plus, you gain the satisfaction of completing a DIY project and adding a personal touch to your living space.
So, don’t let a wobbly dresser ruin the aesthetics and functionality of your home. Take the time to assess, troubleshoot, and fix the issue, and enjoy the stability and beauty of a well-maintained piece of furniture.
Remember, a sturdy dresser is not only an essential element of your home’s decor but also an investment in comfort and organization. Take care of your furniture, and it will serve you well for years to come.
Now that your dresser stands firm and steady, why stop there? Dive into our latest guide on woodworking techniques and discover tools, tips, and projects perfect for both beginners and seasoned crafters. Whether you're aiming to create bespoke furniture or small decorative items, this guide offers something for everyone. Don’t miss out on crafting exceptional pieces from scratch—get started today!
Frequently Asked Questions about How To Fix A Wobbly Dresser
Was this page helpful?
At Storables.com, we guarantee accurate and reliable information. Our content, validated by Expert Board Contributors, is crafted following stringent Editorial Policies. We're committed to providing you with well-researched, expert-backed insights for all your informational needs.


0 thoughts on “How To Fix A Wobbly Dresser”