Articles
How To Put Up Fence Panels
Modified: February 23, 2024
Learn step-by-step articles on how to put up fence panels. Discover the best techniques and tips to ensure a successful installation.
(Many of the links in this article redirect to a specific reviewed product. Your purchase of these products through affiliate links helps to generate commission for Storables.com, at no extra cost. Learn more)
Introduction
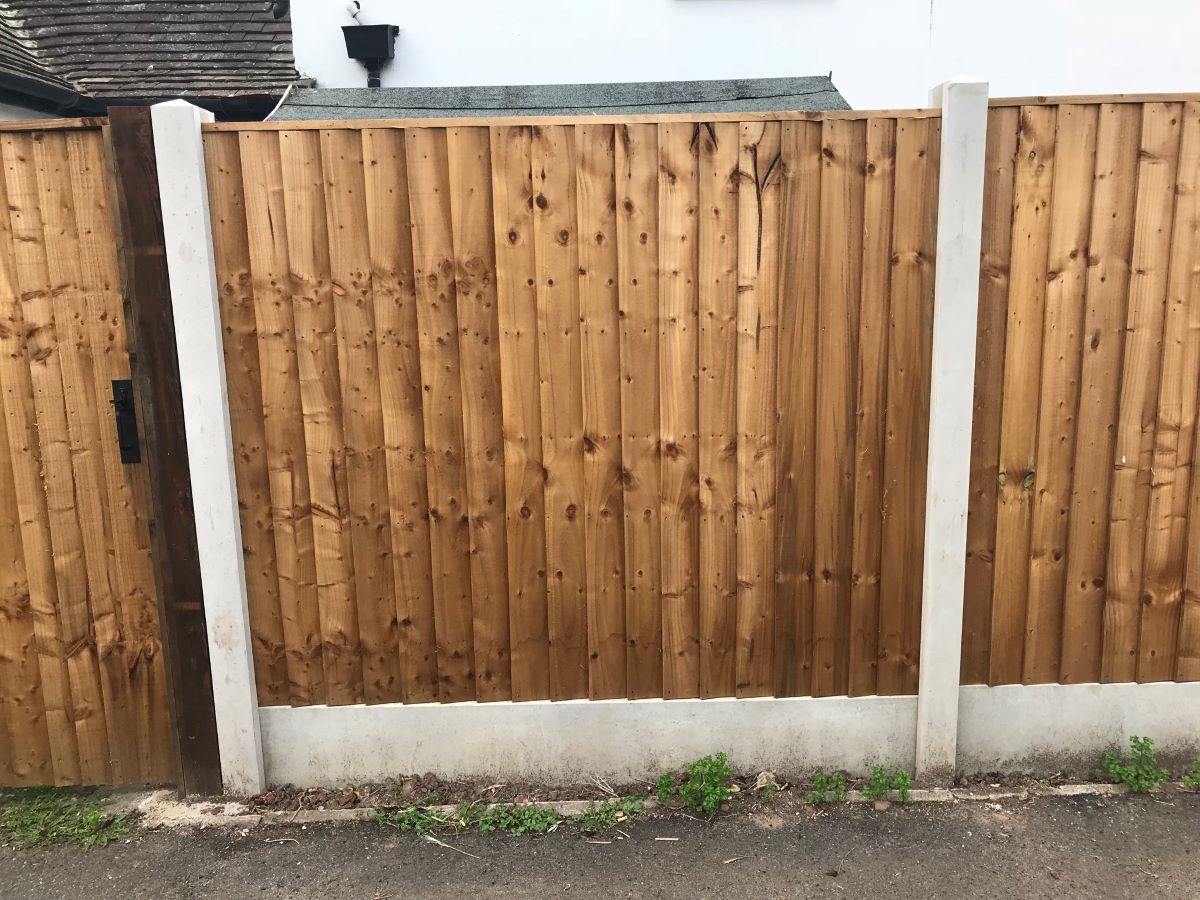
Putting up fence panels is a common task for homeowners and property owners looking to add privacy, security, or aesthetic appeal to their outdoor spaces. Whether you’re enclosing a backyard, marking property boundaries, or creating a safe space for pets and children, knowing how to properly install fence panels is essential.
In this comprehensive guide, we will walk you through the step-by-step process of putting up fence panels. We will cover everything from gathering the necessary tools and materials to securing the panels in place. By following this guide, you can ensure a successful and durable fence installation that will enhance your property for years to come.
Before diving into the installation process, it’s important to note that the specifics of your fence panel installation may vary depending on the type of fence you choose, such as wood, vinyl, or metal. Additionally, factors like local building codes, ground conditions, and weather patterns in your area may also influence the installation process. However, the general principles outlined in this guide can be applied to most types of fence panels.
Now, let’s get started with the first step: gathering the necessary tools and materials.
Key Takeaways:
- Properly installing fence panels involves gathering essential tools, determining placement, digging post holes, installing posts, attaching panels, and adding finishing touches. Following these steps ensures a sturdy, visually appealing fence.
- Regular maintenance and inspections are crucial for preserving the longevity and integrity of a newly installed fence. By addressing wear or damage promptly, homeowners can enjoy the benefits for years to come.
Read more: How To Put Up Garden Fence
Step 1: Gather the Necessary Tools and Materials
Before you begin the installation process, it’s important to make sure you have all the tools and materials required to put up fence panels. Having everything prepared beforehand will help streamline the installation process and ensure that you don’t encounter any delays or setbacks along the way.
Here’s a list of the essential tools and materials you’ll need:
- Fence panels: Choose the type and style of fence panels that best suit your needs and preferences. These can be purchased from a local home improvement store or delivered to your location.
- Fence posts: The number of posts you’ll need depends on the length of the fence and the distance between each panel. Typically, you’ll need one post for every 6 to 8 feet of fencing.
- Post hole digger: This tool is essential for digging holes to install the fence posts. Manual post hole diggers are commonly used, but if you have a large project or rocky soil, you may consider renting a power auger.
- Level: A level will help ensure that your fence panels are installed straight and level. This is crucial for both the appearance and stability of the fence.
- Tape measure: Accurate measurements are essential for positioning the fence panels and aligning the fence posts correctly. A tape measure will be your best friend throughout the installation process.
- Hammer: You’ll need a hammer for various tasks, including driving nails or screws into the fence panels, securing the panels to the posts, and making adjustments as needed.
- Screwdriver or drill: Depending on the type of fasteners used for your fence panels, you’ll need either a screwdriver or a drill to attach the panels to the posts securely.
- Fasteners: Choose the appropriate fasteners for your fence panels, such as nails, screws, or brackets. Make sure they are weather-resistant to ensure the longevity of your fence.
- Concrete (optional): If you want to add extra stability and durability to your fence installation, you can use concrete to secure the fence posts in the ground. This is especially recommended for taller fences or areas with soft or sandy soil.
- Safety equipment: Don’t forget to prioritize safety during the installation process. Wear gloves, safety glasses, and sturdy footwear to protect yourself from potential hazards.
Once you have gathered all the necessary tools and materials, you’ll be ready to move on to the next step: determining the placement of the fence panels.
Step 2: Determine the Fence Panel Placement
Before you start digging post holes and installing your fence panels, it’s crucial to plan and determine the exact placement of each panel. This will ensure that your fence is properly aligned, follows the property boundaries, and meets any local zoning or building code requirements.
Here’s how you can determine the placement of your fence panels:
- Check property boundaries: Begin by identifying and marking the property boundaries. Use a property survey, if available, or consult with a professional to ensure that you are aware of and adhere to the correct property lines. This will help avoid any issues or disputes with neighbors in the future.
- Consider privacy and security: Determine your desired level of privacy and security. Assess whether you want the fence to be positioned closer to your house or at a greater distance. Consider factors such as visibility from neighboring properties or busy streets.
- Measure and mark panel placement: Measure the distance between each fence panel based on the width of the panels and the desired gap between them. Use tape or marking spray to mark the placement of each panel on the ground. Make sure the panels are evenly spaced for a balanced and aesthetically pleasing look.
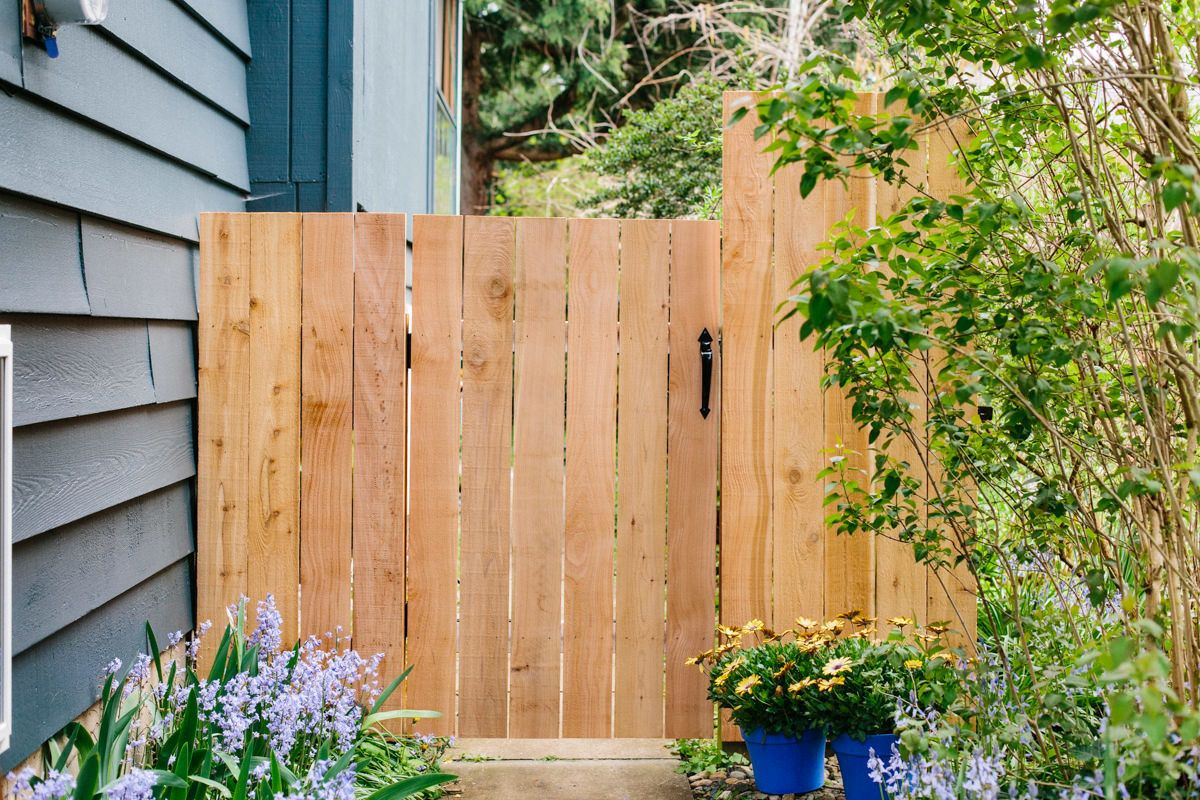
- Account for gate placement: If your fence will include a gate, make sure to allocate space for it within the panel placement. Determine the appropriate width for the gate based on your needs, ensuring that it can accommodate the passage of people, pets, or vehicles.
- Check local regulations: Consult with your local zoning department or homeowner’s association to verify any specific regulations or restrictions regarding fence placement. Some areas may have setback requirements or restrictions on fence heights or styles, so it’s important to comply with these guidelines.
By carefully considering these factors and following the appropriate guidelines, you can determine the optimal placement for your fence panels. This will ensure a well-designed and functional fence that meets your specific needs.
Once you have determined the placement of the fence panels, you can proceed to the next step: marking the post locations.
Step 3: Mark the Post Locations
Now that you have determined the placement of your fence panels, it’s time to mark the locations where the fence posts will be installed. Properly marking the post locations is crucial for ensuring that your fence panels are evenly and securely positioned.
Here’s how you can mark the post locations:
- Start at the corners: Begin by marking the post locations at the corners of your fence line. These will serve as the starting and ending points of your fence installation. Use a tape measure to ensure that the corner posts are accurately positioned.
- Measure the distance between posts: Calculate the distance between each fence post based on the length of your fence panels. Typically, you will place a post every 6 to 8 feet, but adjust the spacing based on the specific requirements of your fence style and local regulations.
- Mark the post positions: Use a spray paint or stakes and string to mark the positions of the remaining fence posts along the proposed fence line. Make sure the marks are visible and aligned with the planned placement of the fence panels.
- Double-check for accuracy: Double-check the accuracy of your post markings by measuring the distance between each mark. Ensure that the spacing is consistent and matches your initial plans. Adjust the markings if necessary.
- Verify straightness: Use a level or a long, straight board to verify that the post locations are in a straight line. This is essential for maintaining the integrity and visual appeal of your fence.
By following these steps, you can accurately mark the post locations for your fence installation. Taking the time to properly mark the positions will ensure that your fence panels are installed securely and uniformly.
Once you have marked the post locations, you can move on to the next step: digging the post holes.
Step 4: Dig the Post Holes
With the post locations marked, it’s time to start digging the post holes. Properly dug post holes are essential for the stability and longevity of your fence. The size and depth of the holes will depend on the type of fence and the specific requirements of your project.
Here’s how you can dig the post holes:
- Use the right tools: Depending on the soil conditions and the number of holes you need to dig, you may choose between a manual post hole digger or a power auger. A manual post hole digger is suitable for smaller projects and softer soil, while a power auger is more efficient for larger projects or harder soil conditions.
- Measure the hole depth: Measure the desired depth of each post hole. The general rule of thumb is to dig a hole that is one-third of the total length of the fence post, plus an additional 6 inches for gravel or concrete fill at the bottom.
- Start digging: Begin digging the first post hole using your chosen tool. Work methodically, removing soil and debris as you go. Ensure that the hole diameter is wider at the bottom than at the top to provide stability for the fence post.
- Check hole depth and levelness: Regularly check the depth of the hole using a tape measure or by comparing it to the length of the fence post. Use a level to ensure that the hole is straight and level. Make any necessary adjustments to the hole depth or alignment as you dig.
- Repeat for each post hole: Continue digging the remaining post holes, following the same process. Take breaks as needed and stay hydrated, especially if you’re working on a larger project.
- Remove excess debris: Once all the post holes have been dug, remove any excess debris or rocks from the holes. This will ensure a clean and stable base for the fence posts.
Remember to follow safety guidelines while digging the post holes, such as wearing gloves and using caution to avoid injuries. If you encounter any challenges during the process, consider seeking professional assistance or advice.
Now that you have dug the post holes, you are ready for the next step: installing the fence posts.
When putting up fence panels, make sure to measure and mark the exact locations for the posts before digging. This will ensure that the panels are evenly spaced and the fence is straight.
Read more: How To Put Up A Fence Post
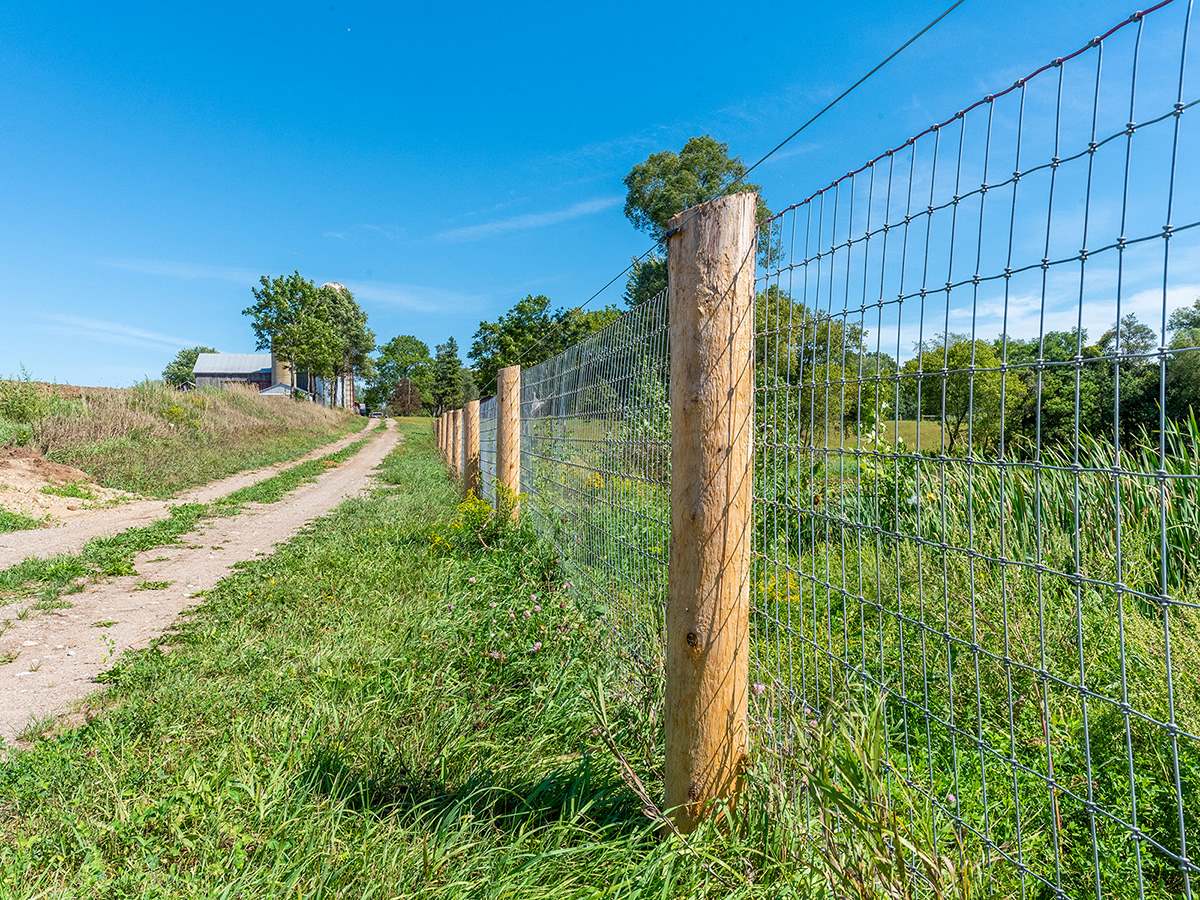
Step 5: Install the Fence Posts
Now that the post holes have been dug, it’s time to install the fence posts. Fence posts play a crucial role in providing stability and support to your fence panels, so it’s important to ensure they are properly installed and securely in place.
Here’s how you can install the fence posts:
- Prepare the posts: Before installing the fence posts, it’s essential to prepare them by applying a weather-resistant sealant or paint. This will protect the posts from moisture damage, rot, and insects, ensuring their longevity.
- Add gravel or concrete (optional): For added stability and durability, you may choose to add a layer of gravel or pour concrete into the bottom of each post hole. This will help prevent the posts from shifting or sinking over time. Follow the manufacturer’s instructions for mixing and pouring concrete if you choose this option.
- Insert the posts: Carefully lower each fence post into its respective hole, ensuring that it is aligned with the post markings and level with the ground surface. Have a helper hold the post steady, or use temporary braces to keep it in place during installation.
- Backfill the hole: Begin backfilling the hole with soil, tamping it down firmly around the post to provide stability. Use a level to ensure that the post remains straight and plumb as you fill in the hole. Repeat this process for each fence post.
- Check for alignment: Once all the fence posts are installed, take a step back and check for proper alignment. Ensure that the posts are evenly spaced, level, and align with the planned placement of the fence panels. Make any necessary adjustments before proceeding.
- Allow for curing time (if using concrete): If you have used concrete to secure the fence posts, allow adequate time for curing, as specified by the manufacturer. This will ensure that the concrete sets and provides maximum strength and stability.
By following these steps, you can install the fence posts correctly and ensure that they are securely in place. Properly installed posts will contribute to the overall structural integrity and longevity of your fence.
With the fence posts installed, you are now ready to move on to the next step: attaching the fence panels to the posts.
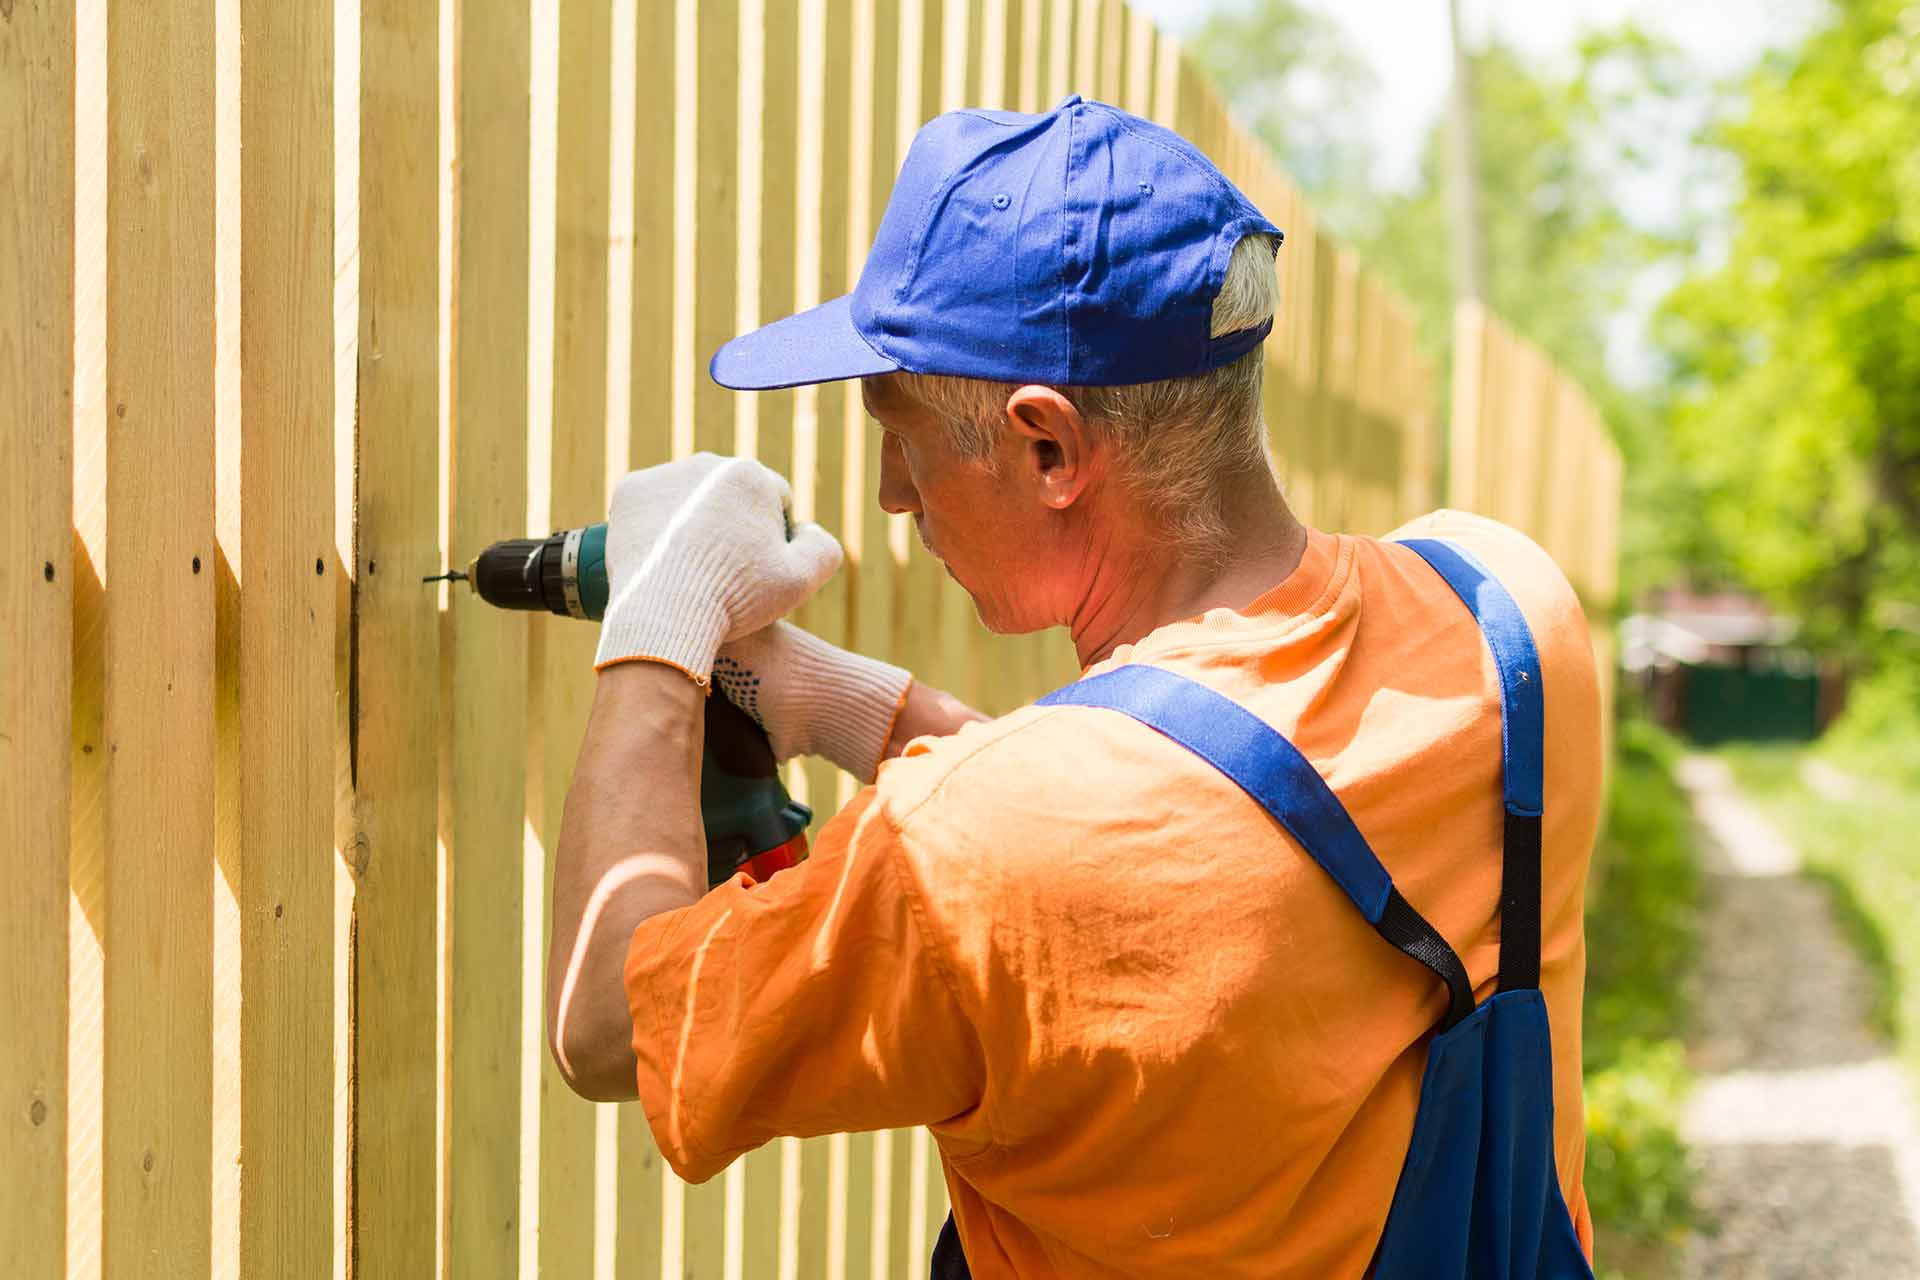
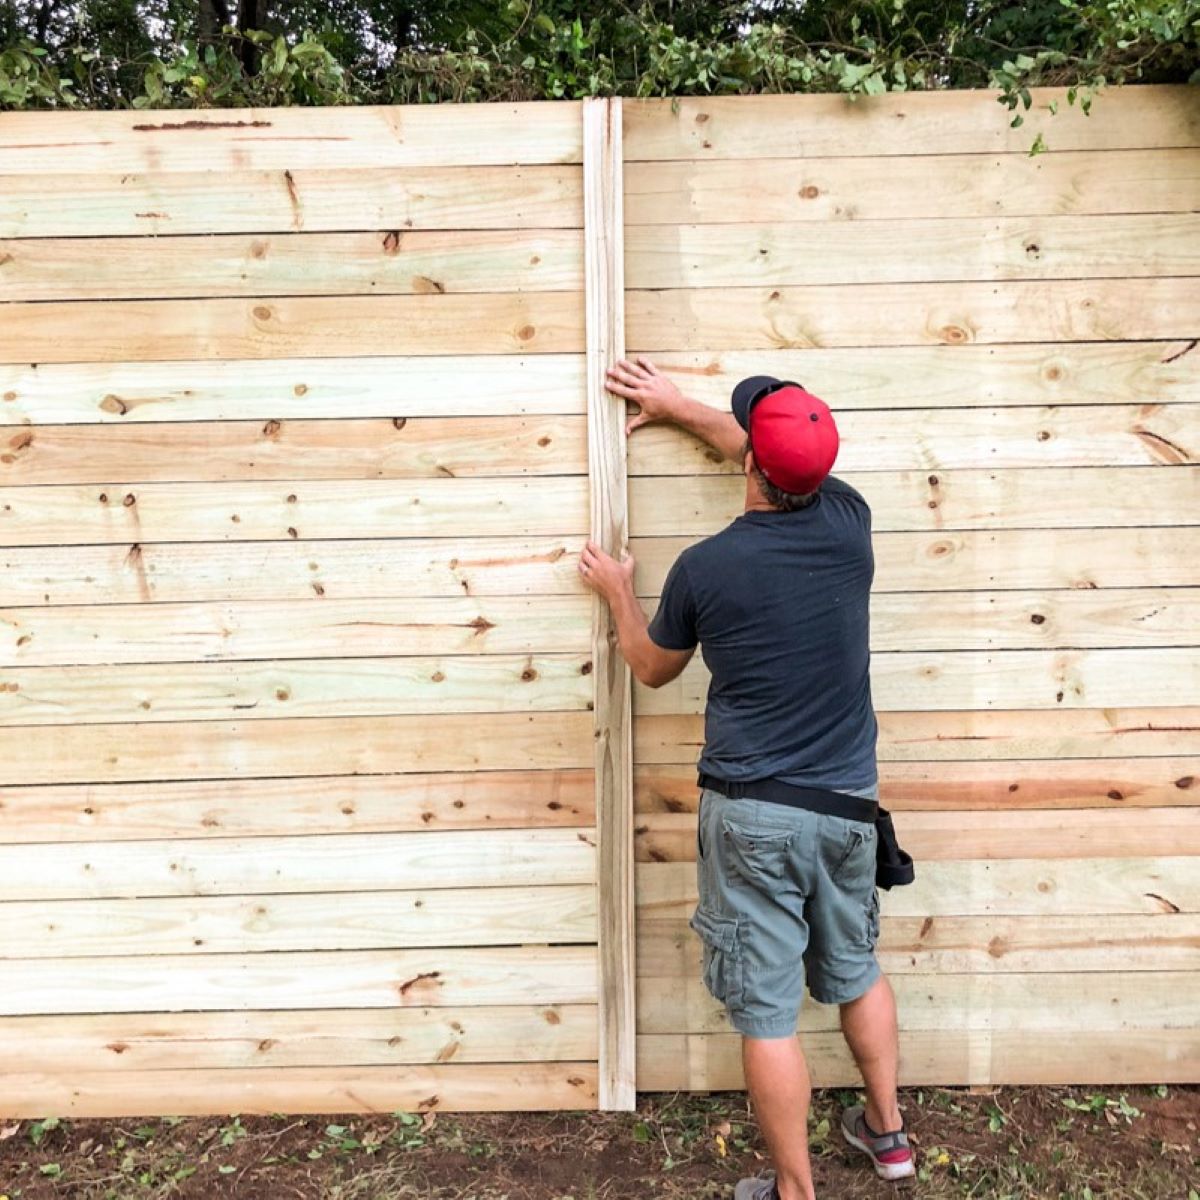
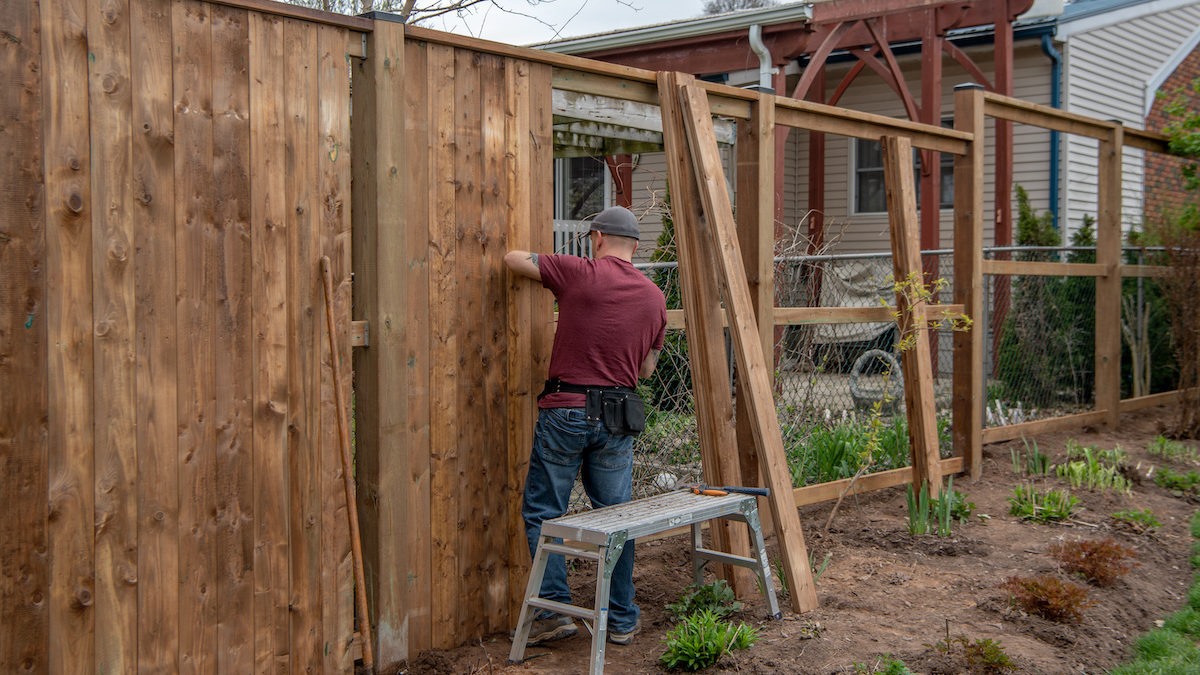
Step 6: Attach the Fence Panels to the Posts
With the fence posts securely installed, the next step is to attach the fence panels to the posts. This is where your vision for a beautiful and functional fence starts to take shape. Properly attaching the fence panels ensures that they are stable, level, and aligned with the desired placement.
Here’s how you can attach the fence panels to the posts:
- Set the first fence panel: Begin by setting the first fence panel against the first two posts. Ensure that the panel is aligned with the ground surface and plumb with the posts, using a level to check both vertical and horizontal alignment.
- Secure the panel to the posts: Use appropriate fasteners, such as nails, screws, or brackets, to secure the fence panel to the posts. Follow the manufacturer’s instructions for the specific type of fasteners you are using. Drive the fasteners through the panel and into the posts, making sure they are tight and secure.
- Repeat for remaining panels: Continue the process by attaching each fence panel to the posts, working your way along the fence line. Ensure that each panel is properly aligned with the previous one and secured to the posts.
- Check for levelness and alignment: Regularly check the levelness and alignment of the fence panels as you install them. Use a level and eyeball the overall appearance of the fence to ensure that it looks straight and visually pleasing.
- Make adjustments as necessary: If any panels are uneven or misaligned, make the necessary adjustments by loosening the fasteners and repositioning the panel. Take your time to ensure that each panel is properly aligned and leveled.
- Trim panels if needed: Depending on the specific layout of your fence and the available space, you may need to trim down some fence panels to fit properly. Use a saw or appropriate cutting tool to make the necessary adjustments.
By following these steps, you can effectively attach the fence panels to the posts, ensuring a secure and visually appealing fence. Take your time during this step to ensure accuracy and precision.
With the fence panels securely attached to the posts, you are one step closer to completing your fence installation. The next step is to secure the fence panels in place.
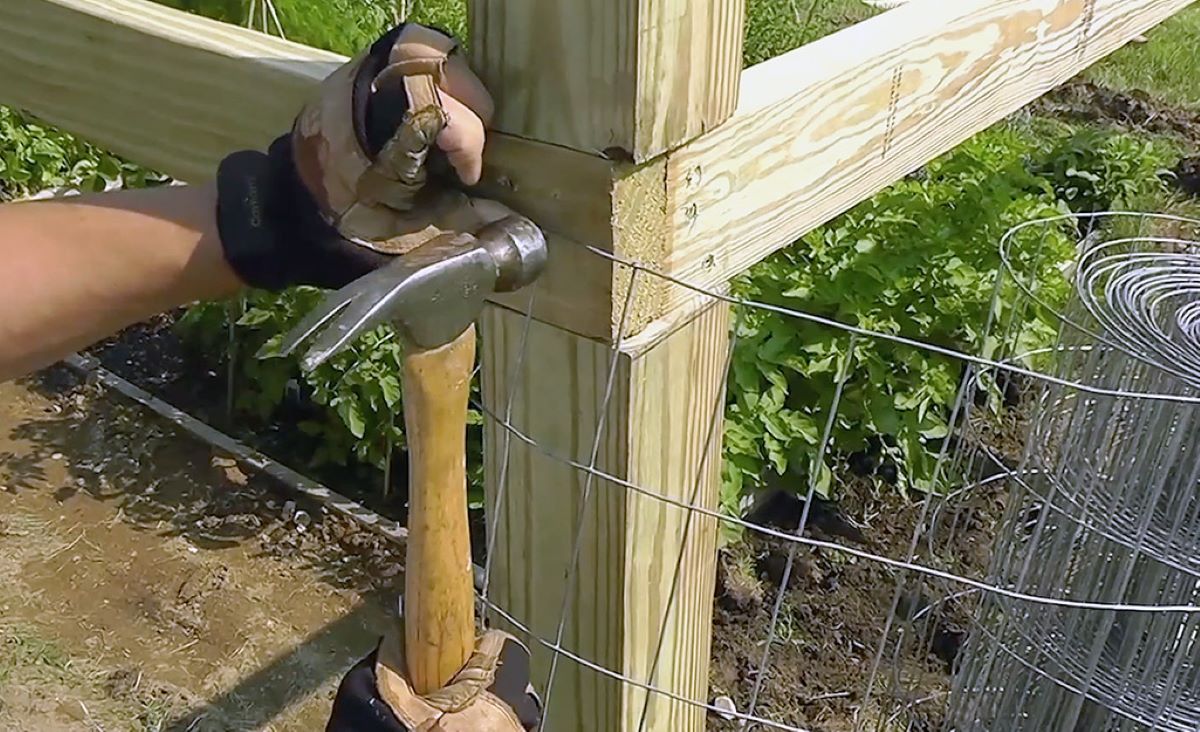
Step 7: Secure the Fence Panels
Once the fence panels are attached to the posts, the next step is to secure them in place. Securing the fence panels ensures that they remain stable and resistant to external forces such as wind, ensuring the integrity and longevity of your fence.
Here’s how you can secure the fence panels:
- Strengthen the connections: Check the connections between the fence panels and the posts to ensure they are secure. If necessary, add additional screws or nails to reinforce the attachment and prevent any potential movement.
- Stabilize the panels: Install braces or supports, especially for longer fence panels or in areas prone to high winds. These braces provide added stability and prevent the panels from sagging or becoming misaligned over time.
- Add cross supports (if applicable): Depending on the type of fence and design, you may need to install additional cross supports between the fence panels for added stability. These supports can be made of wood or metal and should be securely attached to both the panels and the posts.
- Check and tighten fasteners: Regularly inspect the fasteners on the fence panels and ensure they are properly tightened. Over time, the vibration and movement of the fence may cause the fasteners to loosen. By tightening them periodically, you help maintain the stability and integrity of the fence.
- Inspect for gaps or damage: Check the fence panels for any gaps or damage that may compromise the integrity of the fence. Repair any visible issues promptly by replacing damaged panels or making necessary repairs to prevent further damage or deterioration.
- Consider weatherproofing: Apply a weatherproofing treatment or sealant to the fence panels if desired. This will help protect the panels from the elements, such as rain, UV rays, and temperature fluctuations, further enhancing their durability and lifespan.
By following these steps, you can ensure that your fence panels are securely in place and protected against any potential vulnerabilities. Taking the time to properly secure the fence panels will help maintain the structural integrity and appearance of your fence for years to come.
With the fence panels securely in place and properly secured, you’re almost done with the installation process. The final step involves adding the finishing touches to complete your fence.
Step 8: Finishing Touches
As you near the completion of your fence installation, it’s time to add the finishing touches that will enhance the overall appearance and functionality of your fence. These final steps ensure that your fence is not only sturdy and secure but also visually appealing.
Here are some finishing touches to consider:
- Trim and clean up: Trim any excess or uneven edges of the fence panels to create a neat and polished look. Clean up any debris or dirt around the fence area to create a clean and well-maintained appearance.
- Apply a protective coating: Depending on the material of your fence panels, consider applying a protective coating or sealant to enhance their durability and protect them from the elements. This can help prevent rot, fading, or damage from UV rays or moisture.
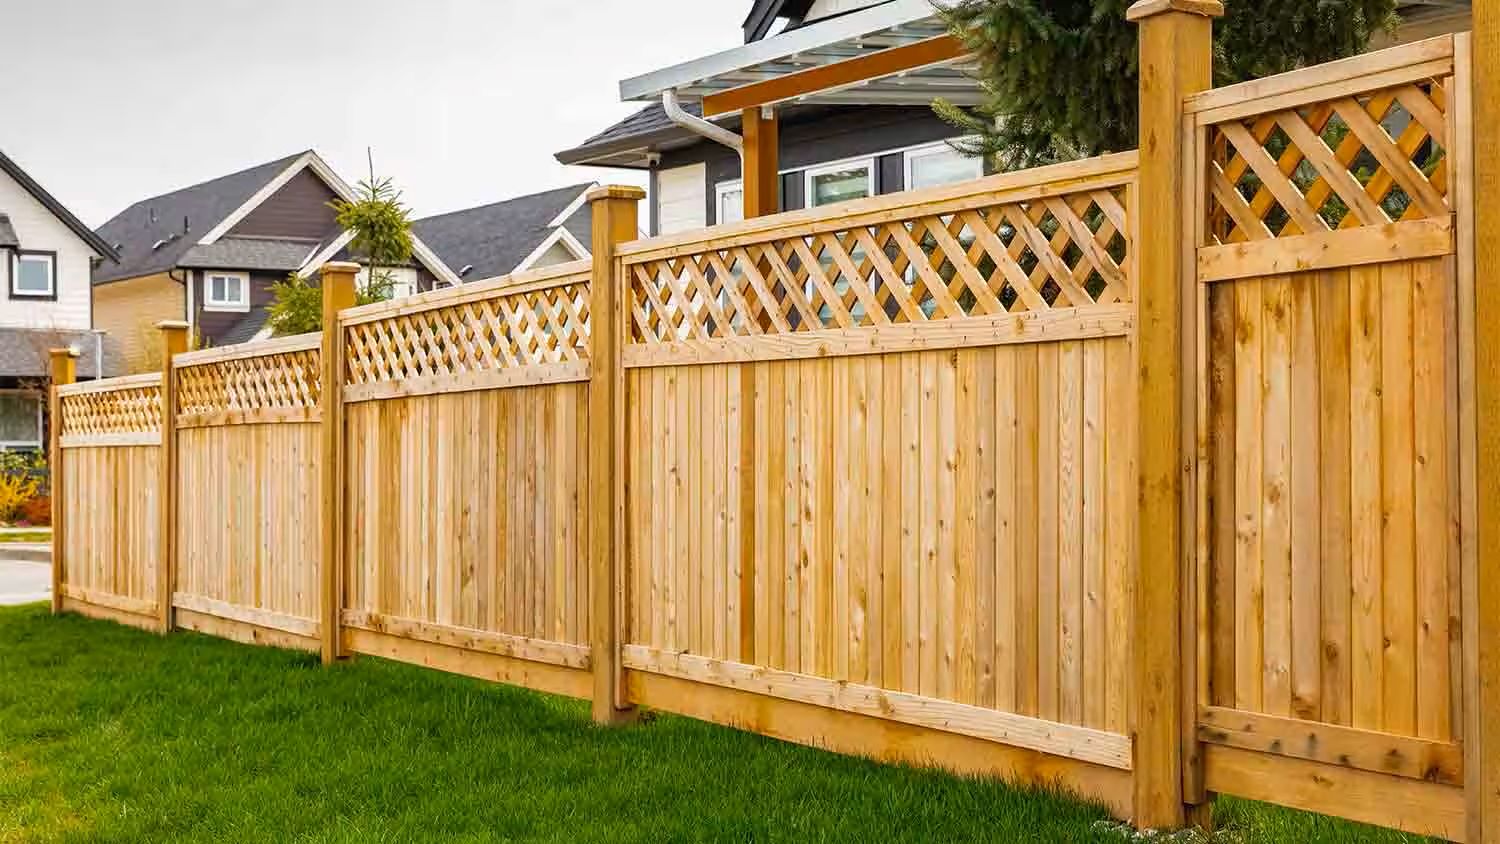
- Add decorative elements: If desired, consider adding decorative elements to your fence to reflect your personal style or complement the overall aesthetic of your property. This could include decorative caps for the fence posts, ornamental accents, or climbing plants for a natural touch.
- Install gates and hardware: If your fence includes gates, ensure that they are properly installed and securely attached. Install gate hardware, such as hinges, latches, and locks, to ensure smooth operation and to provide security and convenience.
- Secure landscaping and access points: Assess the landscape around your fence and make any necessary adjustments. Ensure that plants, trees, or shrubs are not pressing against the fence, as this can cause damage over time. Also, check the access points, such as pathways or driveways, to ensure they align with your fencing needs.
- Maintain regular inspections: After completing the installation and applying finishing touches, remember to conduct regular inspections of your fence. Check for any signs of wear, damage, or needed maintenance. Address any issues promptly to prevent further damage or deterioration.
By following these finishing touches, you can add the final elements that complete your fence installation and ensure that it is not only functional but also visually appealing. These steps contribute to the overall beauty and longevity of your fence.
Congratulations! You have successfully completed the fence installation process, from gathering the necessary tools and materials to adding the finishing touches. Now you can enjoy the privacy, security, and aesthetic appeal that your new fence brings to your outdoor space.
Read more: How To Put Up A Snow Fence
Conclusion
Putting up fence panels is a rewarding project that allows you to enhance the privacy, security, and visual appeal of your outdoor space. By following the step-by-step process outlined in this guide, you can confidently navigate the fence installation process and achieve a successful outcome.
Throughout the installation process, we covered key steps such as gathering the necessary tools and materials, determining the fence panel placement, marking the post locations, digging the post holes, installing the fence posts, attaching the fence panels, securing them in place, and adding the finishing touches. Each step played a crucial role in ensuring a sturdy, level, and visually appealing fence.
Remember, while the guidelines provided are comprehensive, the specific details of your fence installation may vary based on factors such as the type of fence panels, local regulations, and the desired outcome. It’s always a good idea to consult with professionals or refer to additional resources to address any specific concerns or unique circumstances that may arise during the installation process.
Regular maintenance and inspections are key to preserving the longevity and integrity of your new fence. Keep an eye out for any signs of wear or damage and address them promptly to prevent further issues. By properly maintaining your fence, you can enjoy its benefits for years to come.
Putting up fence panels can be a challenging but rewarding endeavor. Whether you’re looking to enhance your home’s curb appeal, create a safe area for your family and pets, or increase the privacy of your outdoor space, a well-installed fence is a valuable asset.
Now that you have the knowledge and guidance to put up fence panels, it’s time to roll up your sleeves and begin your project. Good luck, and enjoy the benefits of your new fence!
Frequently Asked Questions about How To Put Up Fence Panels
Was this page helpful?
At Storables.com, we guarantee accurate and reliable information. Our content, validated by Expert Board Contributors, is crafted following stringent Editorial Policies. We're committed to providing you with well-researched, expert-backed insights for all your informational needs.


0 thoughts on “How To Put Up Fence Panels”