Articles
How To Fix A Wire Fence
Modified: October 20, 2024
Learn how to fix a wire fence with our comprehensive articles. Get step-by-step instructions and expert tips to make the process easy and efficient.
(Many of the links in this article redirect to a specific reviewed product. Your purchase of these products through affiliate links helps to generate commission for Storables.com, at no extra cost. Learn more)
Introduction
Wire fences are a common and practical choice for many property owners. They provide security, boundary marking, and containment for livestock. However, over time, wire fences may succumb to damage caused by weather, animals, or general wear and tear. A broken or damaged wire fence not only compromises its functionality but also affects the aesthetic appeal of the property.
In this article, we will guide you through the process of fixing a wire fence. Whether you are dealing with a broken wire, damaged posts, loose wires, or weak areas, we will provide step-by-step instructions on how to perform the necessary repairs. By following these guidelines and investing a little time and effort, you can bring your wire fence back to its former strength and integrity.
Before diving into the repair process, it is crucial to thoroughly assess the damage. This initial evaluation will help determine the extent of the repairs needed and the materials and tools required. It’s also important to prioritize safety during the repair process, wearing protective gloves and eyewear to avoid potential injuries.
Once you have evaluated the damage, you should gather the necessary tools and materials. Typical tools include wire cutters, pliers, a hammer, a staple gun, and a shovel. Depending on the specific repairs needed, you may also require additional materials such as new wire, fence posts, concrete, and staples.
In the following sections, we will discuss the specific repair techniques for different types of wire fence issues. We will cover the steps to repair a broken wire, replace a damaged post, tighten loose wires, fix bent or misaligned posts, and strengthen weak areas. By understanding these techniques and executing them properly, you can effectively restore your wire fence to its original functionality and appearance.
It is important to note that the process of fixing a wire fence may vary depending on the type of wire and the design of the fence. Following the manufacturer’s instructions, when available, is always recommended. Additionally, regular maintenance and periodic inspections can prevent major damages and prolong the lifespan of your wire fence.
Now that we have covered the basics, let’s dive into the specific repair techniques for your wire fence.
Key Takeaways:
- Proper assessment and proactive maintenance are crucial for effective wire fence repairs. By identifying damage, gathering the right tools, and addressing issues promptly, property owners can restore the strength and integrity of their wire fences.
- Repairing a wire fence requires attention to detail and the right techniques for fixing broken wires, replacing damaged posts, tightening loose wires, fixing bent posts, and strengthening weak areas. Prioritizing safety and regular maintenance ensures a resilient and long-lasting fence.
Read more: How To Stretch Wire Fence
Assessing the Damage
Before you start fixing your wire fence, it is important to assess the damage thoroughly. This initial evaluation will help you determine the scope of the repairs needed and the materials and tools required. Here are the steps to assess the damage:
- Walk the perimeter: Take a walk along the entire length of your wire fence. Look for any visible signs of damage such as broken wires, loose wires, bent or misaligned posts, or weak areas.
- Check for structural issues: Examine the posts and crossbars for any signs of damage or weakness. Look for cracks, rot, or leaning posts. These could indicate a need for post replacement.
- Inspect the wires: Check the wires for any breaks, tears, or rust. Look for areas where the wires have come loose from the posts or staples. Make note of the extent of the damage.
- Assess the tension: Test the tension of the wires by pressing on them with your hand. The wires should have a firm tension and should not sag or feel loose. Note any areas where the tension is weak.
- Consider environmental factors: Take into account environmental factors such as weather conditions, animal activity, and nearby vegetation. These factors can contribute to fence damage and may require additional repairs or preventive measures.
Based on your assessment, prioritize the repairs according to the severity of the damage. Focus on addressing any major issues that compromise the integrity of the fence, such as broken wires or damaged posts. Plan your repairs in a logical and efficient manner to ensure a successful restoration of your wire fence.
It is important to note that while you may be able to handle minor repairs yourself, extensive damage or structural issues may require professional assistance. In such cases, consult with a fencing expert or a contractor to ensure the repairs are done properly.
By taking the time to thoroughly assess the damage, you will be better prepared to tackle the repairs effectively. This evaluation will also help you determine the necessary tools and materials required for each specific repair, saving you time and effort in the long run.
Now that you have assessed the damage, you are ready to gather the necessary tools and materials for fixing your wire fence.
Gathering the Necessary Tools and Materials
Once you have assessed the damage to your wire fence, the next step is to gather the necessary tools and materials to complete the repairs. Having the right tools and materials on hand will ensure a smooth and efficient repair process. Here are the essential tools and materials you may need:
Tools:
- Wire cutters: These are essential for cutting and removing damaged or broken wire sections.
- Pliers: Pliers will come in handy for bending and twisting wires, as well as securing them in place.
- Hammer: You will need a hammer for driving in fence staples or nails to reinforce the wire fence.
- Staple gun: A staple gun will make it easier to attach wires to wooden posts or crossbars securely.
- Shovel: If you need to replace a damaged post, a shovel will help you dig out the old post and dig a hole for the new one.
- Level: A level will ensure the posts are properly aligned and plumb during installation.
- Tape measure: A tape measure is essential for accurately measuring the lengths and heights of wire sections, posts, and crossbars.
- Post driver or mallet: If you are replacing posts, a post driver or mallet will help you drive them securely into the ground.
- Wire tensioning tool: This tool is useful for tightening loose wires and maintaining proper tension.
Materials:
- Replacement wire: Depending on the extent of the damage, you may need to purchase new wire to replace broken or badly damaged sections.
- Fence posts: If you have posts that are leaning, cracked, or rotted, you will need to replace them with new posts.
- Concrete: If you are replacing posts, you may need concrete to secure them in place and ensure stability.
- Staples or nails: These will be necessary for attaching the wire to wooden posts or crossbars.
- Wire grips or tensioners: Wire grips or tensioners are used to maintain proper tension in the wires and prevent sagging.
- Protective gloves and eyewear: It is important to prioritize safety during the repair process, so make sure to have protective gloves and eyewear on hand.
It is essential to ensure that the tools and materials you gather are suitable for the specific repairs you will be undertaking. Check the condition of your tools to ensure they are in working order, and purchase any necessary materials from a reliable supplier.
By having all the necessary tools and materials organized and readily accessible, you will save time during the repair process and minimize the need for repeated trips to the hardware store.
Now that you have gathered the necessary tools and materials, it’s time to move on to the specific repair techniques based on the type of damage your wire fence has suffered.
Read more: How To Install A Barb Wire Fence
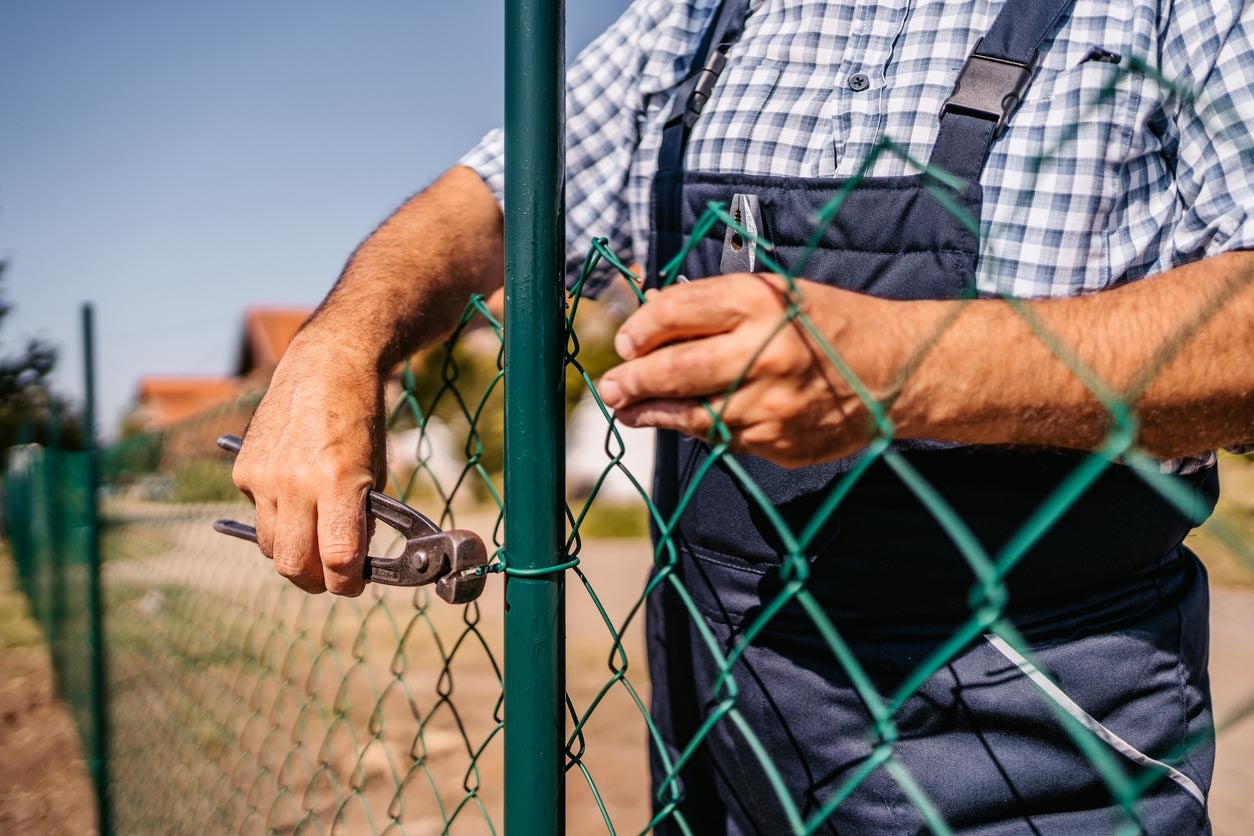
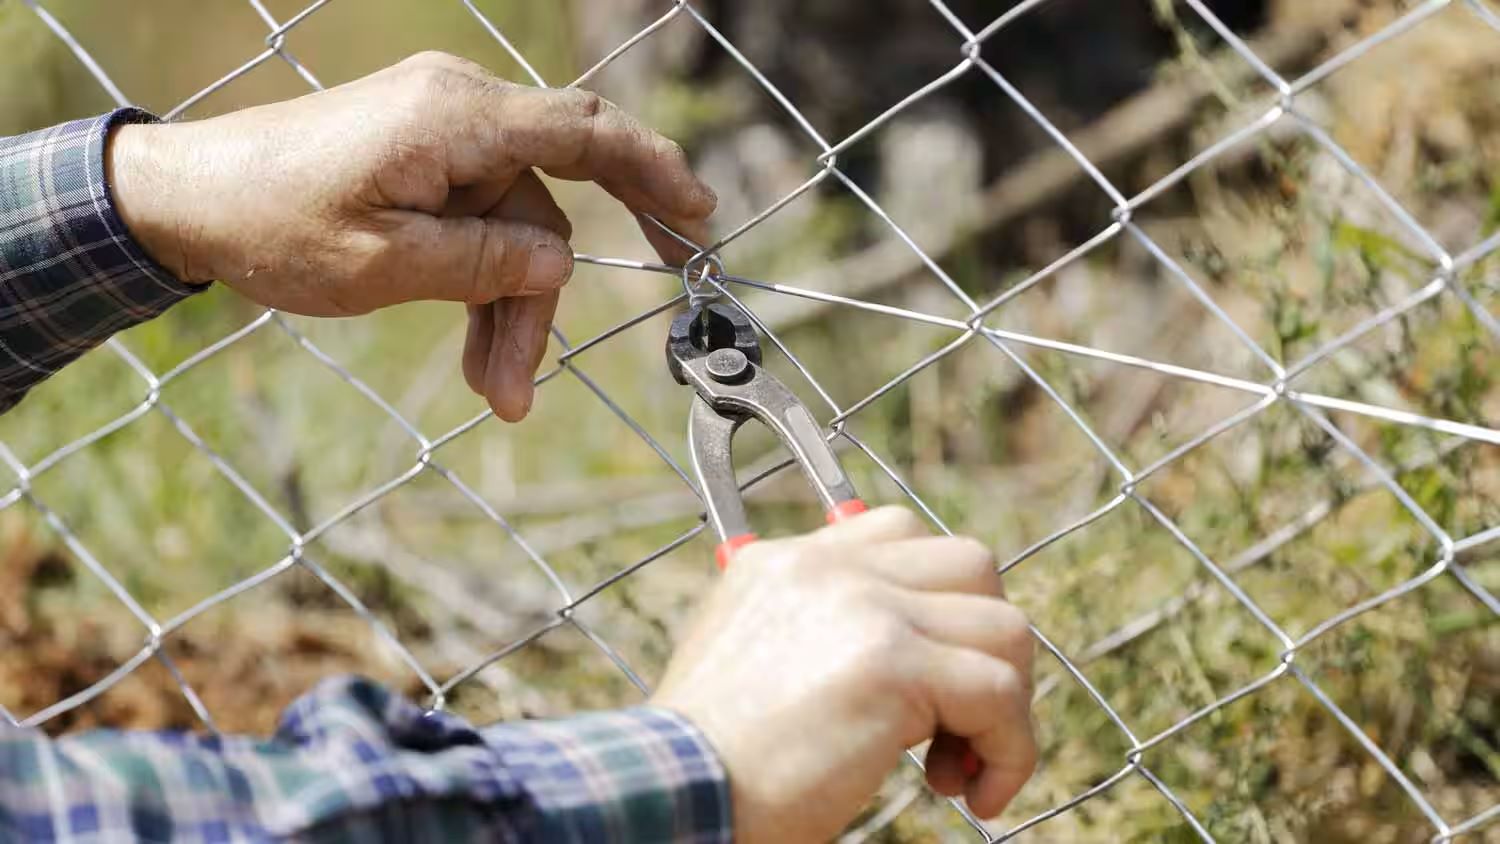
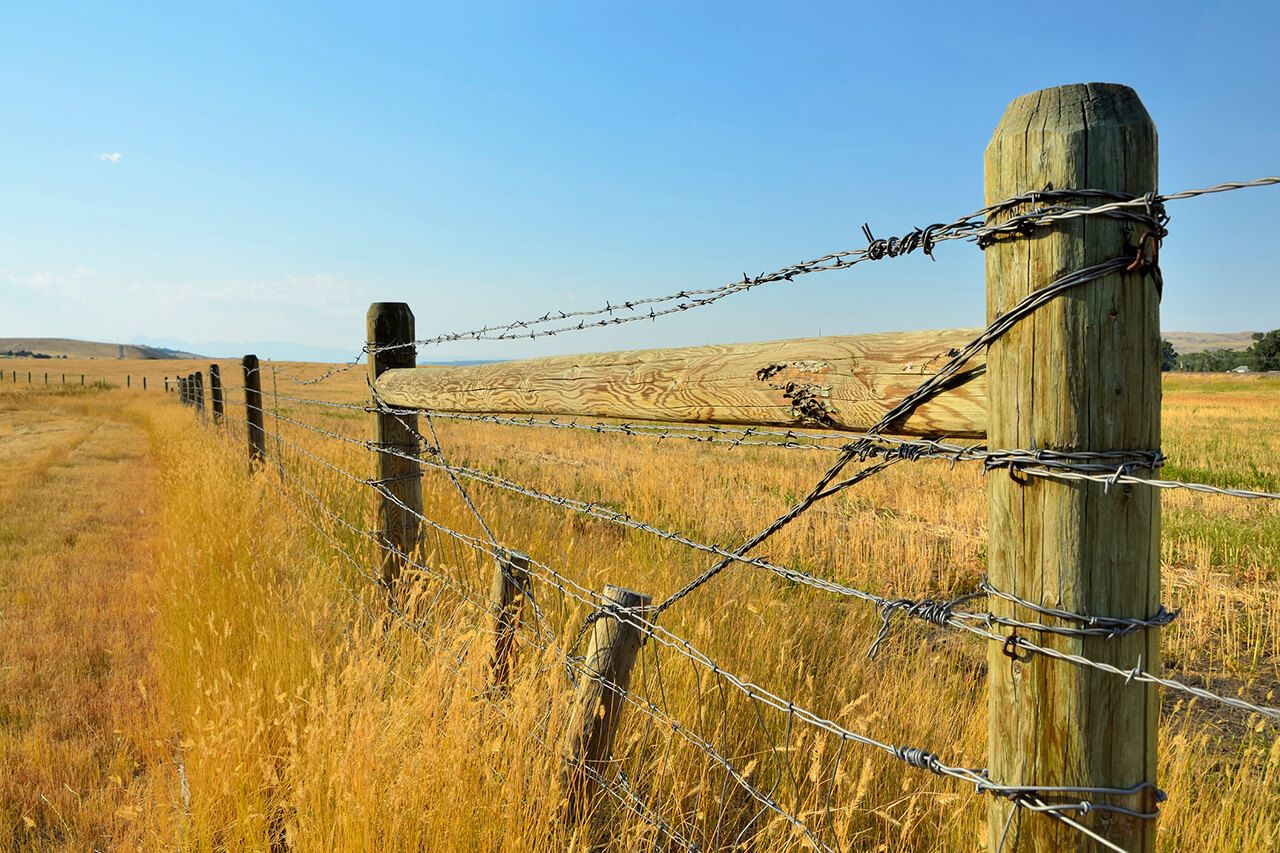
Repairing a Broken Wire
One of the most common issues with wire fences is a broken wire. Whether it’s due to wear and tear, animal damage, or severe weather conditions, a broken wire compromises the integrity of the fence. Here’s a step-by-step guide on how to repair a broken wire:
- Locate the broken section: Identify the exact location of the broken wire. Look for any visible signs of damage or separation in the wire.
- Prepare the wire ends: Using wire cutters, carefully remove the damaged section of the wire. Ensure you have a clean, straight cut on both ends of the wire.
- Strip the wire insulation: If your wire has insulation, strip off a small section of it at both ends using wire cutters or a wire stripper. This will expose the bare wire for connection.
- Prepare a wire connector: Take a wire connector or crimp sleeve that matches the wire gauge and insert it onto one end of the wire. Make sure the connector is securely attached and covering the bare wire.
- Connect the wire ends: Bring the stripped ends of the wire together, fitting them inside the wire connector or crimp sleeve. Use pliers to squeeze the connector, securing the wire ends together tightly.
- Inspect the repair: Check the connection for firmness and ensure the wires are properly joined. Give the repaired section a gentle tug to confirm its stability.
- Test the wire tension: Once the repair is complete, test the tension of the wire by pressing on it with your hand. It should feel firm and taut, like the rest of the fence.
- Protect the repair: To prevent further damage and ensure longevity, cover the wire connector or crimp sleeve with electrical tape, heat shrink tubing, or wire caps.
It is important to note that for larger or more complex wire fence systems, you might need professional assistance or specialized tools to repair the broken wire. Consulting with a fencing expert can help ensure a proper and effective repair.
If you have multiple broken wire sections, repeat the above steps to repair each one individually. Regularly inspect your wire fence and fix any broken wires promptly to prevent further damage and ensure the fence’s overall stability.
Now that you know how to repair a broken wire, let’s move on to the next repair technique, which is replacing a damaged post.
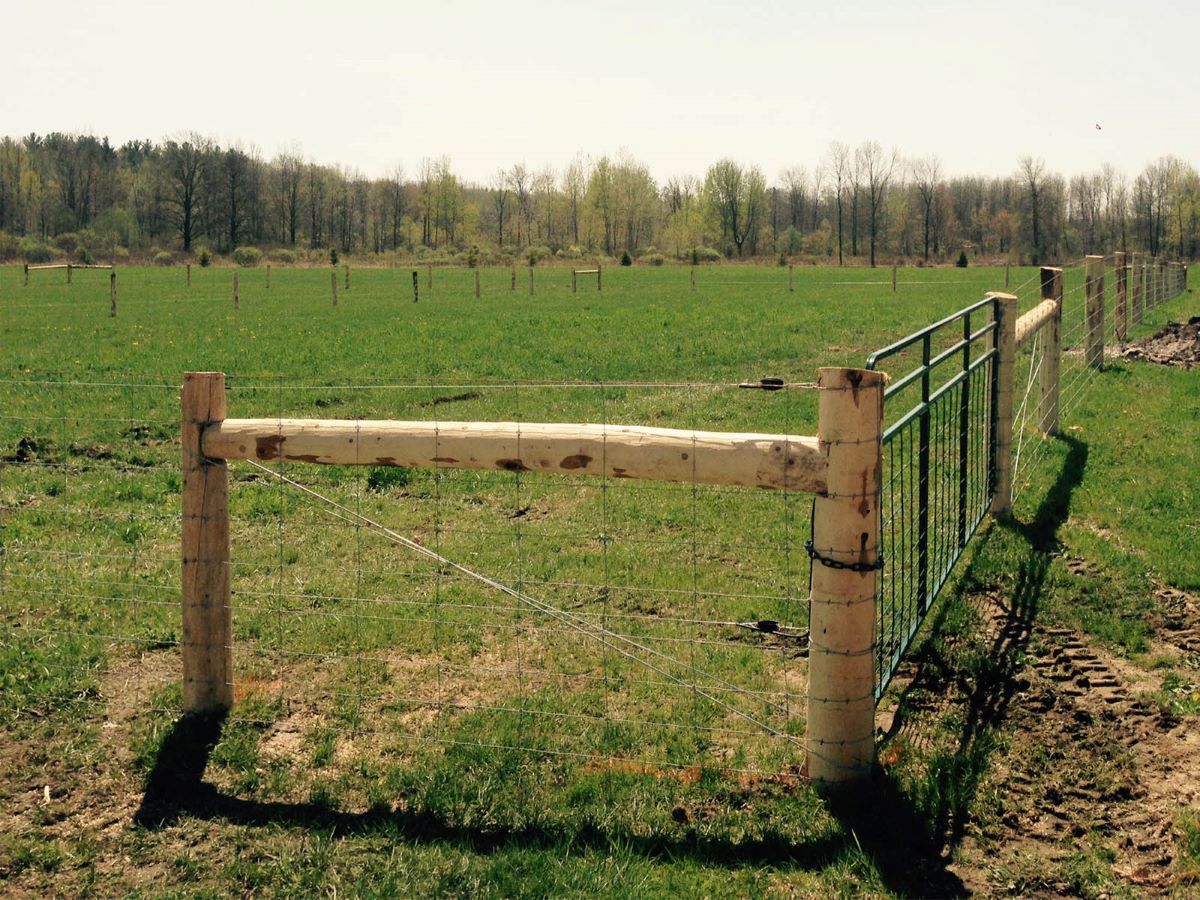
Replacing a Damaged Post
When a fence post becomes damaged or compromised, it can weaken the entire structure of the wire fence. Whether it’s due to rot, leaning, or physical damage, replacing a damaged post is essential to maintain the stability and functionality of the fence. Follow these steps to replace a damaged post:
- Identify the damaged post: Locate the post that needs to be replaced. Check for any signs of rot, leaning, or damage, such as cracks or breaks.
- Remove the wire attachments: Before removing the post, detach any wires connected to it. Use pliers to remove staples or clips, carefully ensuring that the wires remain intact.
- Prepare the replacement post: Select a new post that matches the dimensions and material of the existing posts. If necessary, cut the replacement post to the appropriate length using a saw.
- Remove the damaged post: Dig around the damaged post using a shovel, exposing the base. If the post was set in concrete, break up the concrete using a sledgehammer or chisel and remove any debris.
- Install the new post: Place the replacement post into the hole, making sure it is level and plumb. You may need an assistance of another person to hold the post steady while you fill in the hole.
- Secure the new post: Backfill the hole with soil or gravel, firmly packing it around the new post. Tamp the soil down to ensure stability.
- Reattach the wires: Once the new post is secure, reattach the wires to it. Use staples or clips to secure the wires in place, ensuring they are taut and properly aligned.
- Test the stability: Give the fence a gentle shake to test the stability of the new post. If it feels secure and holds up well, you have successfully replaced the damaged post.
If your fence has multiple damaged posts, repeat the above steps for each one. Ensure that all the posts are evenly spaced and aligned for a well-structured fence.
It is important to note that replacing a damaged post may require additional materials such as concrete to secure the new post. Follow the manufacturer’s instructions for mixing and pouring concrete if needed.
Remember to periodically inspect your fence posts for any signs of damage and address them promptly. By proactively replacing damaged posts, you can maintain the long-term stability and functionality of your wire fence.
Now that you know how to replace a damaged post, let’s move on to the next repair technique, which is tightening loose wires.
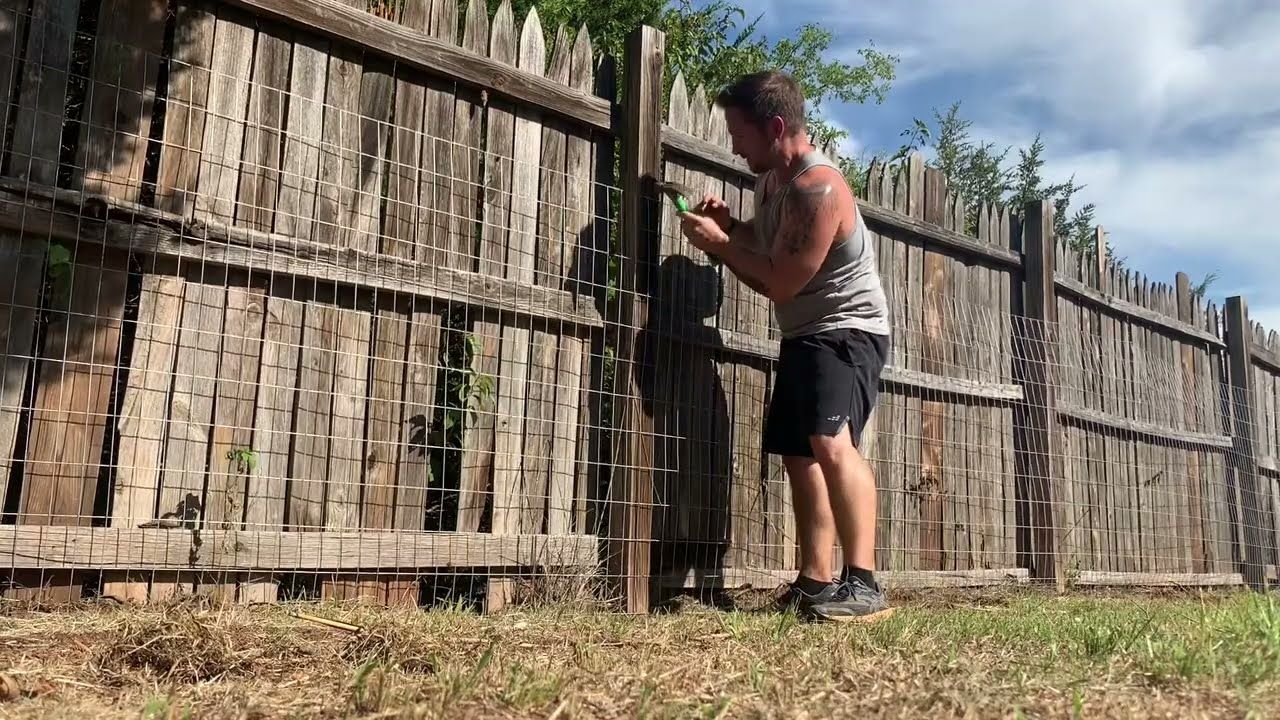
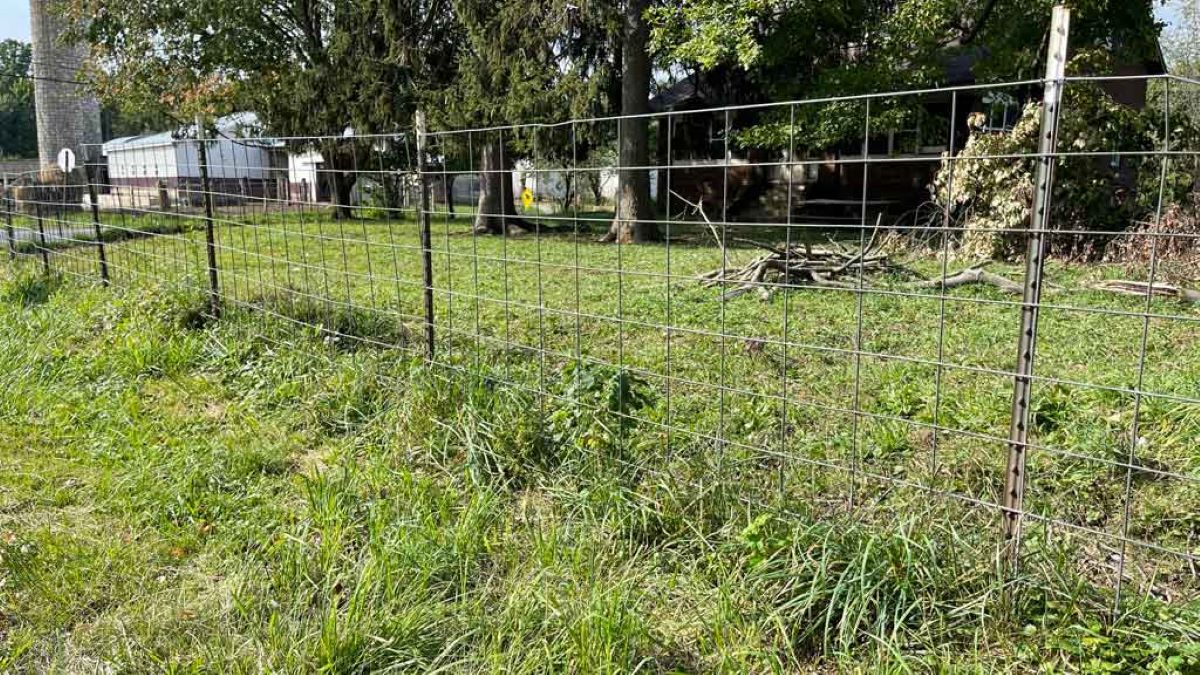
Tightening Loose Wires
Over time, wire fences can experience loose wires due to stretching, weather conditions, or animal activity. Loose wires not only compromise the appearance of the fence but also decrease its effectiveness as a barrier. Here’s a step-by-step guide on how to tighten loose wires:
- Identify the loose wire sections: Walk along the fence and identify the areas where the wires are loose or sagging. These sections will require tightening.
- Locate the tensioning points: Determine the anchor points along the fence where the tensioning hardware is attached. These are typically located at the ends and corners of the fence.
- Choose the appropriate tensioning method: Depending on your fence design, choose the appropriate method to tighten the loose wires. Common methods include using a wire strainer, wire tensioner, or a come-along tool.
- Attach the tensioning hardware: Attach the tensioning hardware to the anchor points, ensuring they are securely fastened. This will serve as the starting point for tightening the wires.
- Begin tightening the wires: Starting at one end of the loose wire section, pull the wire taut towards the tensioning hardware. Use the chosen tensioning method to gradually increase the tension in the wire.
- Secure the tension: Once the wire is adequately tensioned, secure it in place using staples or clips, ensuring it is properly aligned and parallel to the other wires.
- Repeat for other loose wire sections: Move along the fence, repeating the tightening process for all the loose wire sections identified earlier. Ensure consistent tension among all the wires.
- Test the tension: After tightening all the loose wires, test the tension by gently pushing on the wires with your hand. They should feel firm and have minimal sagging.
Keep in mind that over-tightening the wires can lead to excessive stress on the posts and may cause damage. Aim for a balanced tension that keeps the wires taut without putting unnecessary strain on the fence structure.
Regularly inspect your wire fence for any signs of loose wires and tighten them promptly. By maintaining proper tension, you can ensure the longevity and effectiveness of your wire fence as a barrier.
Now that you know how to tighten loose wires, let’s move on to the next repair technique, which involves fixing bent or misaligned posts.
Inspect the entire fence line for any damaged or broken wires. Use a fence stretcher to pull the wire tight and secure it with new staples or clips. Regular maintenance will prevent future issues.
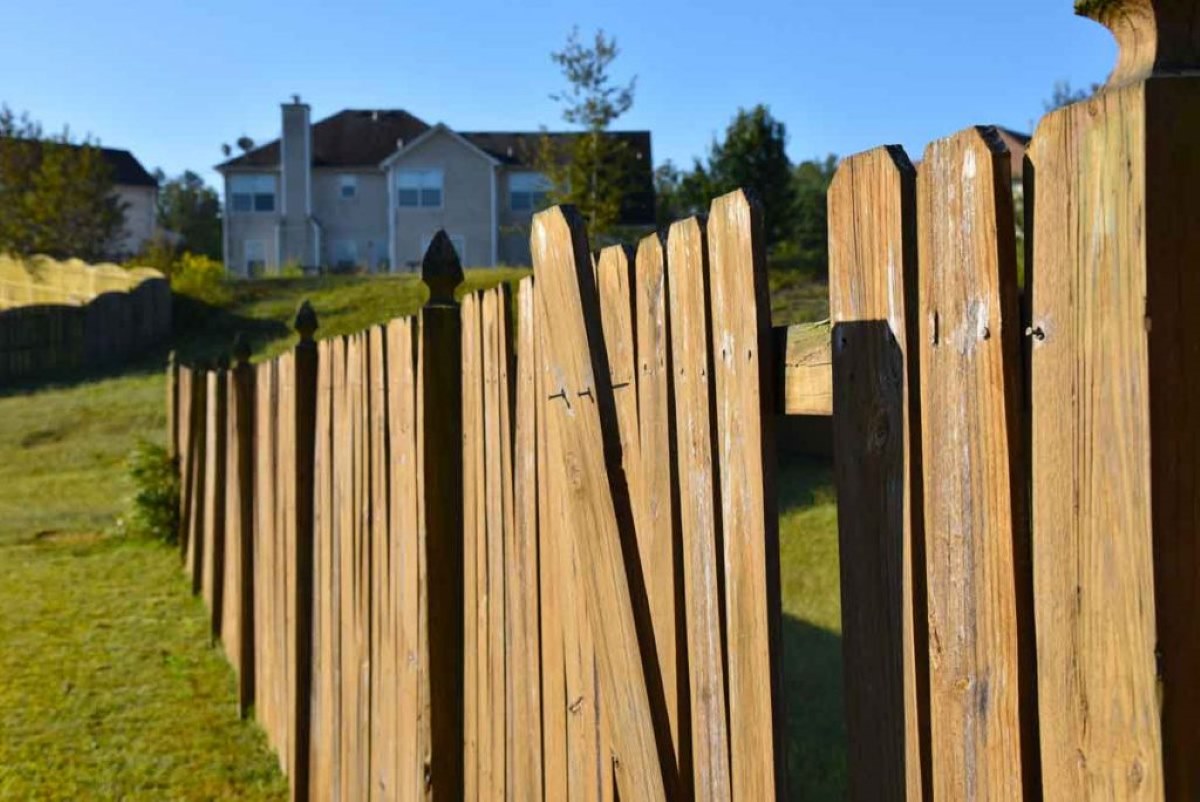
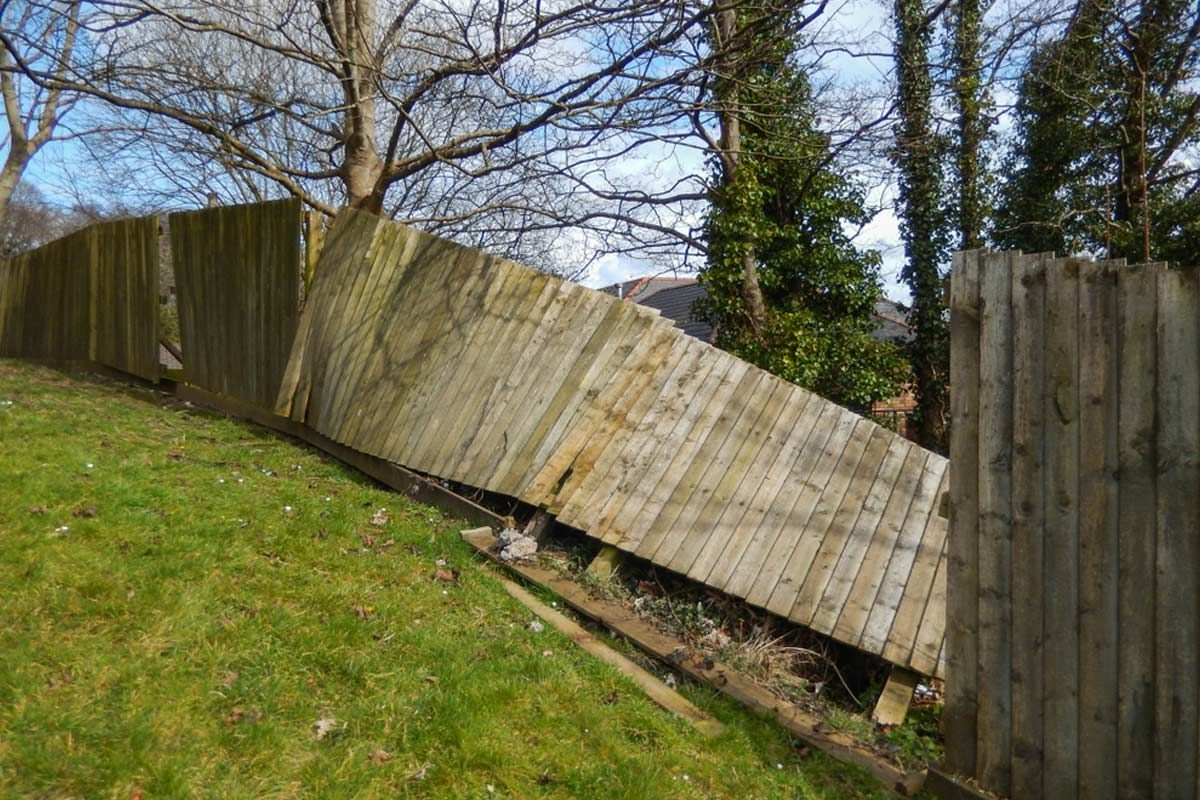
Fixing Bent or Misaligned Posts
Bent or misaligned posts can significantly impact the overall strength and stability of a wire fence. They can result from various factors, including weather conditions, accidents, or gradual wear and tear. Here’s a step-by-step guide on how to fix bent or misaligned posts:
- Assess the extent of the damage: Inspect the bent or misaligned post to determine the severity of the issue. Assess whether it can be repaired or requires complete replacement.
- Support the fence: Securely prop up the fence on either side of the affected post using sturdy stakes or temporary supports. This will prevent further stress on the damaged post during the repair process.
- Remove wire attachments: Carefully remove any wires attached to the bent or misaligned post. Use pliers to remove staples or clips and detach the wires without damaging them.
- Straighten a bent post: If the post is bent, use a lever, such as a long metal rod or a sturdy board, to straighten it. Apply gradual, steady pressure to the bent section, carefully bending it back into the correct position.
- Realign a misaligned post: If the post is misaligned, enlist the help of a partner to hold the fence while you excavate around the base of the post. Use a shovel to carefully dig around the post until you can manipulate it back into alignment.
- Secure the post in place: Once the post is straightened or realigned, reinforce its position by packing the surrounding soil tightly. Use a tamper to compact the soil, ensuring stability and support for the post.
- Reattach the wires: Once the post is securely in place, reattach the wires using staples, clips, or wire connectors. Ensure the wires are properly aligned and tensioned.
- Test the stability: Give the fence a gentle shake to test the stability and integrity of the repaired post. If it feels sturdy and securely in place, you have successfully fixed the bent or misaligned post.
It is important to note that some severe cases of bent or misaligned posts may require complete replacement. If you encounter such instances, follow the steps for replacing a damaged post as outlined earlier.
Regularly inspect your wire fence for any signs of bent or misaligned posts, and address them promptly to maintain the overall stability and functionality of your fence.
Now that you know how to fix bent or misaligned posts, let’s move on to the next repair technique, which involves strengthening weak areas of the fence.
Read more: How To Build A Wire Fence With T-Posts
Strengthening Weak Areas
As wire fences age, certain areas may become weaker due to factors such as weather conditions, animal activity, or natural wear and tear. Strengthening weak areas is crucial to maintaining the integrity and durability of your fence. Follow these steps to strengthen weak areas:
- Identify the weak areas: Carefully inspect your fence to identify any sections that appear weak, sagging, or vulnerable. These weak areas may be caused by loose wires, damaged posts, or other factors.
- Tighten loose wires: If you come across any loose wires, follow the steps outlined earlier to tighten them and restore proper tension.
- Reinforce posts: Add extra support to weak posts by attaching sturdy braces or supports. These can be made from metal or wood and should be firmly anchored in the ground. Secure the braces to the weak posts using screws or bolts.
- Replace damaged posts: If weak areas are caused by rotten or damaged posts, replace them with new ones following the steps provided earlier.
- Install additional crossbars: If your fence lacks sufficient crossbars in certain areas, consider adding additional ones. These crossbars will help distribute the weight and tension along the fence, reducing the strain on individual components.
- Use tensioning devices: Install wire tensioners or ratchets along the weak areas to help maintain proper tension in the wires. These devices can be adjusted periodically to compensate for any loosening over time.
- Consider reinforcing with wire mesh or panels: In areas where the fence is particularly weak, you may choose to reinforce it with wire mesh or panels. These can be attached to the existing fence to provide an extra layer of strength and stability.
- Regular maintenance: To prevent weak areas from recurring, conduct regular inspections and perform necessary maintenance tasks. Trim vegetation that may be weighing down the fence, check for signs of damage or deterioration, and address any issues promptly.
By identifying and strengthening weak areas in your wire fence, you can prolong its lifespan and ensure its effectiveness as a barrier. Regular maintenance and proactive reinforcement will help maintain the fence’s strength and prevent further damage.
Now that you know how to strengthen weak areas, it’s time to wrap up and conclude our guide to fixing a wire fence.
Conclusion
Repairing a wire fence may seem like a daunting task, but with the right knowledge and tools, you can successfully restore its strength and functionality. Whether you’re dealing with a broken wire, damaged posts, loose wires, or weak areas, following the proper repair techniques will ensure a resilient and long-lasting fence.
Start by assessing the damage to identify the scope of repairs needed. Gather the necessary tools and materials, including wire cutters, pliers, a hammer, staple gun, and shovel, to properly address the specific issues. With these in hand, you can proceed to repair a broken wire by cutting and reconnecting it securely.
For damaged posts, it’s crucial to choose appropriate replacement posts and ensure proper alignment and stability during installation. Tightening loose wires is essential to maintain proper tension and prevent sagging, while fixing bent or misaligned posts requires careful straightening and realignment.
Strengthening weak areas involves reinforcing posts, adding additional crossbars, using tensioning devices, and considering wire mesh or panels for added support. Regular maintenance and proactive inspections will help identify issues before they worsen and prolong the lifespan of your wire fence.
By investing a little time and effort in these repairs, you can rejuvenate your wire fence and enjoy the benefits of enhanced security, boundary marking, and containment for your property or livestock.
Remember to prioritize safety throughout the repair process by wearing protective gloves and eyewear. If you encounter extensive damage or lack the necessary skills, do not hesitate to seek professional assistance to ensure the repairs are done properly.
In conclusion, a well-maintained wire fence can have a significant impact on the overall aesthetics and functionality of your property. With the knowledge and techniques provided in this guide, you can confidently fix a wire fence and restore its strength, durability, and visual appeal.
Now, it’s time to roll up your sleeves, grab your tools, and start repairing your wire fence back to its former glory. Happy repairing!
Frequently Asked Questions about How To Fix A Wire Fence
Was this page helpful?
At Storables.com, we guarantee accurate and reliable information. Our content, validated by Expert Board Contributors, is crafted following stringent Editorial Policies. We're committed to providing you with well-researched, expert-backed insights for all your informational needs.
0 thoughts on “How To Fix A Wire Fence”