Articles
How To Fix Leak Under Kitchen Sink
Modified: February 26, 2024
Learn effective ways to fix a leak under your kitchen sink with our informative articles on plumbing solutions.
(Many of the links in this article redirect to a specific reviewed product. Your purchase of these products through affiliate links helps to generate commission for Storables.com, at no extra cost. Learn more)
Introduction
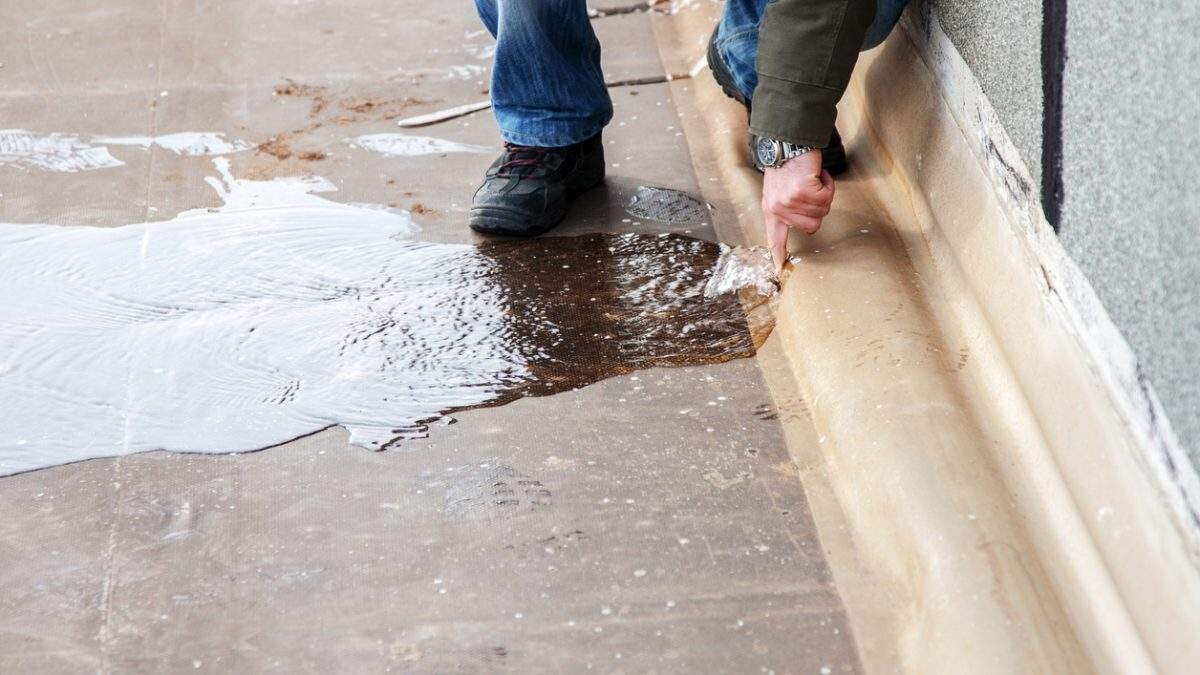
Dealing with a leak under your kitchen sink can be a frustrating problem. Not only can it cause water damage and potential mold growth, but it can also disrupt your daily activities in the kitchen. However, with the right knowledge and a few handy tools, you can easily fix the leak under your kitchen sink and restore peace and functionality to your kitchen.
In this article, we will guide you through a step-by-step process to identify the source of the leak, turn off the water supply, prepare the necessary tools, inspect and tighten connections, and replace any faulty parts. By following these steps, you will be able to effectively fix the leak under your kitchen sink.
Before we dive into the specific steps, it’s important to note that safety should always be a priority. Make sure to wear protective gloves and eyewear when working with water and potentially hazardous materials. If you encounter a more complex or severe leak, it’s recommended to seek professional help.
Now, without further ado, let’s get started on fixing that pesky leak under your kitchen sink!
Key Takeaways:
- Easily fix kitchen sink leaks by identifying, tightening, and replacing faulty parts. Remember safety first, and regular maintenance prevents future leaks. Enjoy a fully functional and leak-free kitchen sink!
- Turn off water supply, gather tools, and inspect P-trap to fix kitchen sink leaks. Test for remaining leaks and enjoy a fully restored kitchen sink.
Read more: How To Fix Leaking Pipe Under Sink
Step 1: Identify the Source of the Leak
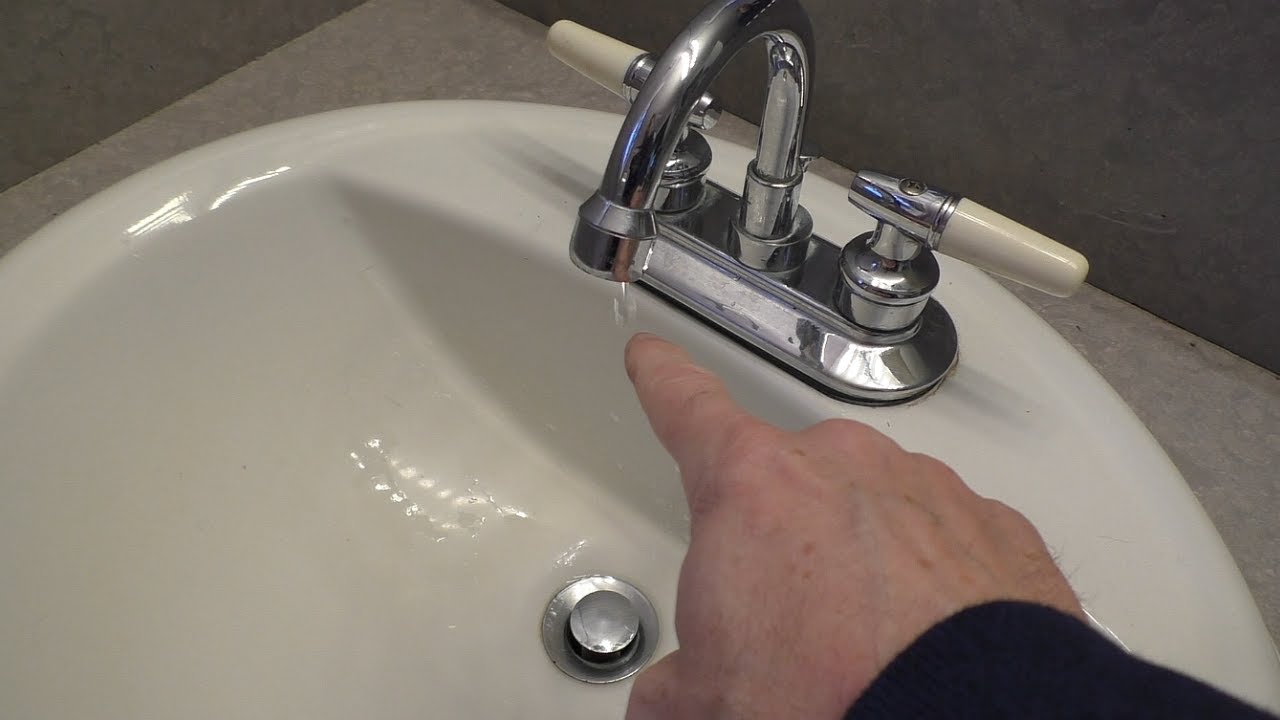
The first step in fixing a leak under your kitchen sink is to identify the source of the leak. This may require some detective work, as leaks can occur from various areas such as the faucet, pipes, drain, or even the disposal unit.
Start by examining the cabinets beneath your sink. Look for any signs of water stains, puddles, or dripping water. These indications will give you a clue about the location of the leak. If the area is dry, you can also try running water from the faucet to observe if any leaks occur.
Once you’ve identified the general area of the leak, inspect specific components such as the supply lines, P-trap, and connections. Check for any loose fittings, cracks, or corrosion. Sometimes, a leaking faucet may just require a new washer or O-ring, while a leaking pipe might need a more thorough repair.
If you’re having trouble pinpointing the exact source of the leak, try placing a dry paper towel or newspaper beneath different components. This will help absorb any water and reveal the point of origin.
Remember, it’s important to accurately identify the source of the leak to ensure that you focus your efforts on the correct area during the repair process. Once you have a clear understanding of where the leak is coming from, you can proceed to the next step.
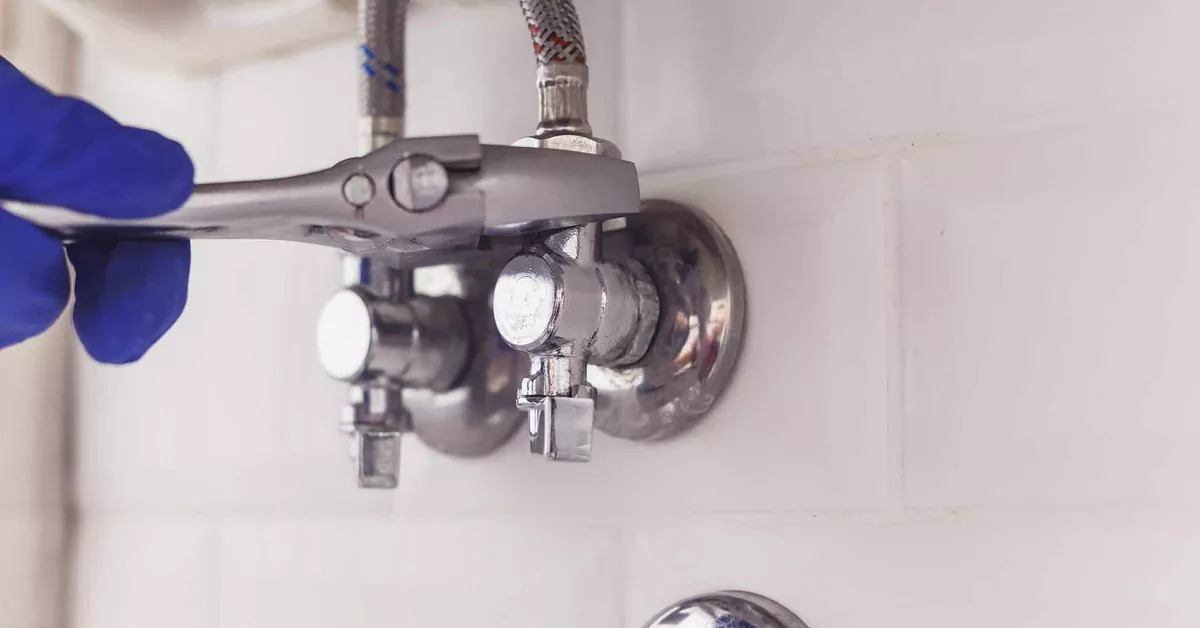
Step 2: Turn Off the Water Supply
Before you begin any repairs or adjustments, it is crucial to turn off the water supply to your kitchen sink. This ensures that you won’t have water flowing while you work, preventing further damage and making the process much easier and safer.
To turn off the water supply, locate the shut-off valves underneath your sink. There may be two valves – one for hot water and one for cold water. Turn these valves clockwise until they are fully closed. You can test if the water supply has been successfully shut off by turning on the faucet. If no water comes out, you have successfully turned off the water supply.
If you are unable to locate the shut-off valves under the sink, you may need to shut off the main water supply to your entire house. This is usually done at the water meter, which is typically located outside your home. Consult your local water utility company or a professional plumber for guidance if you are unsure of how to proceed.
Always double-check that the water supply is completely turned off before proceeding with any repair work. This will minimize the risk of accidental water damage and ensure a smooth and efficient repair process.
Step 3: Clear the Area and Prepare Tools
Now that you have turned off the water supply, it’s time to clear the area under your kitchen sink and gather the necessary tools for the repair.
Start by removing any items stored in the cabinet beneath your sink. This will give you easy access to the plumbing components and make it easier to maneuver during the repair process. You may want to place these items in a safe spot temporarily to keep them out of the way.
Next, gather the following tools that you will likely need for the repair:
- Adjustable wrench
- Pipe wrench
- Plumber’s tape
- Screwdrivers (both flathead and Phillips)
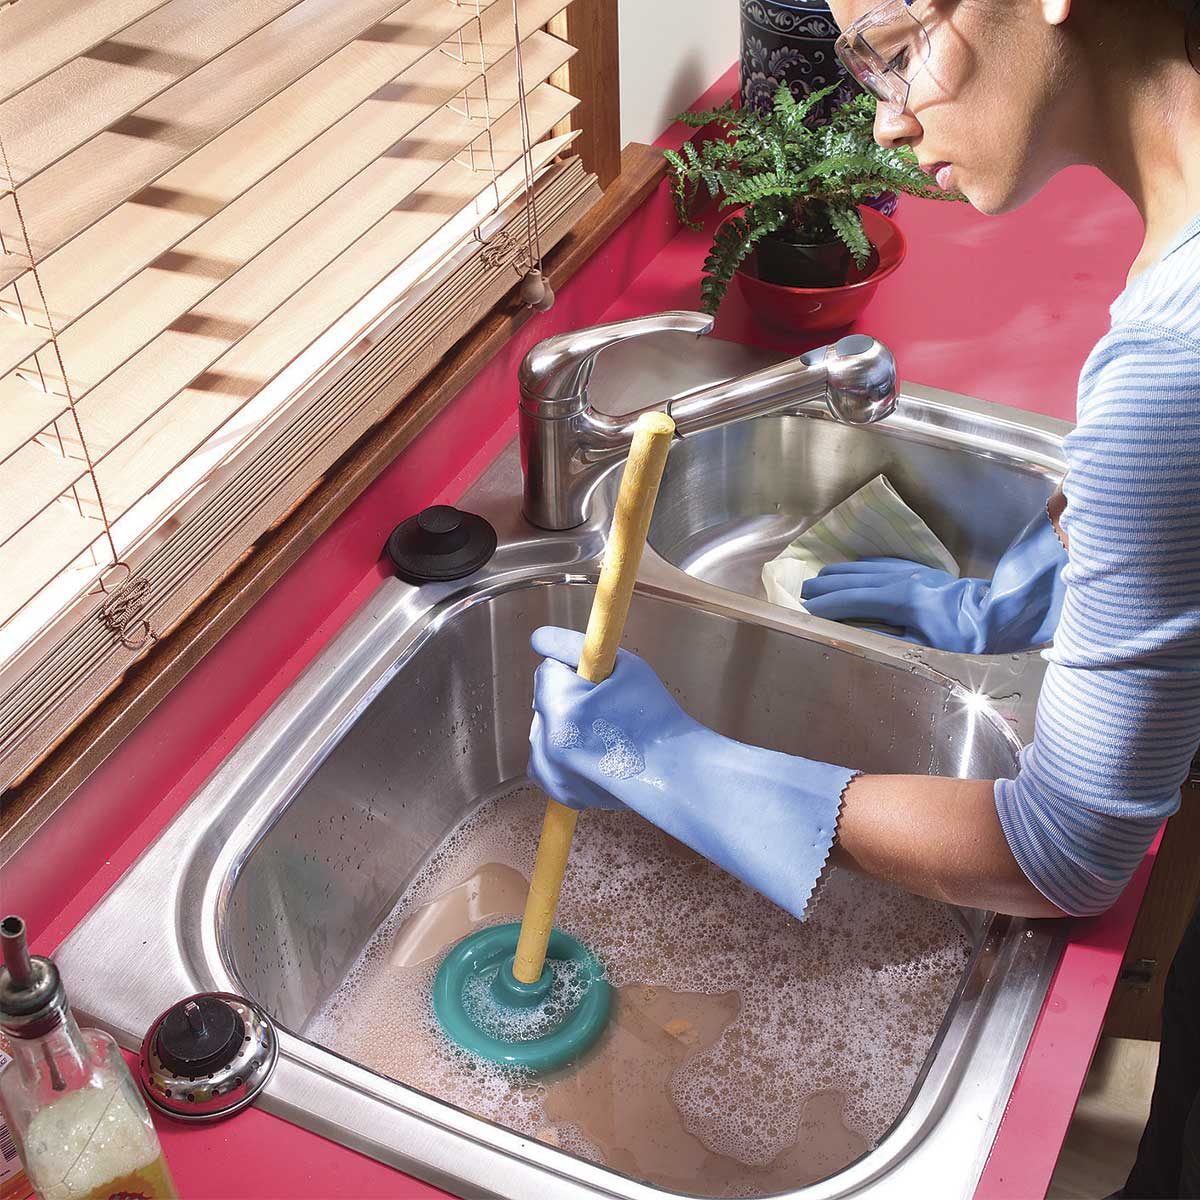
- Plunger or plumbing snake (depending on the nature of the leak)
- Dry towels or rags
- Bucket or basin to catch any water that may drip during the repair
Having these tools readily available will save you time and ensure that you can tackle the repair efficiently. If you don’t already have these tools, you can find them at your local hardware store or consider borrowing them from a neighbor or friend.
Once you have cleared the area and gathered your tools, you’re ready to move on to the next step. It’s time to inspect and potentially repair the plumbing components that may be causing the leak under your kitchen sink.
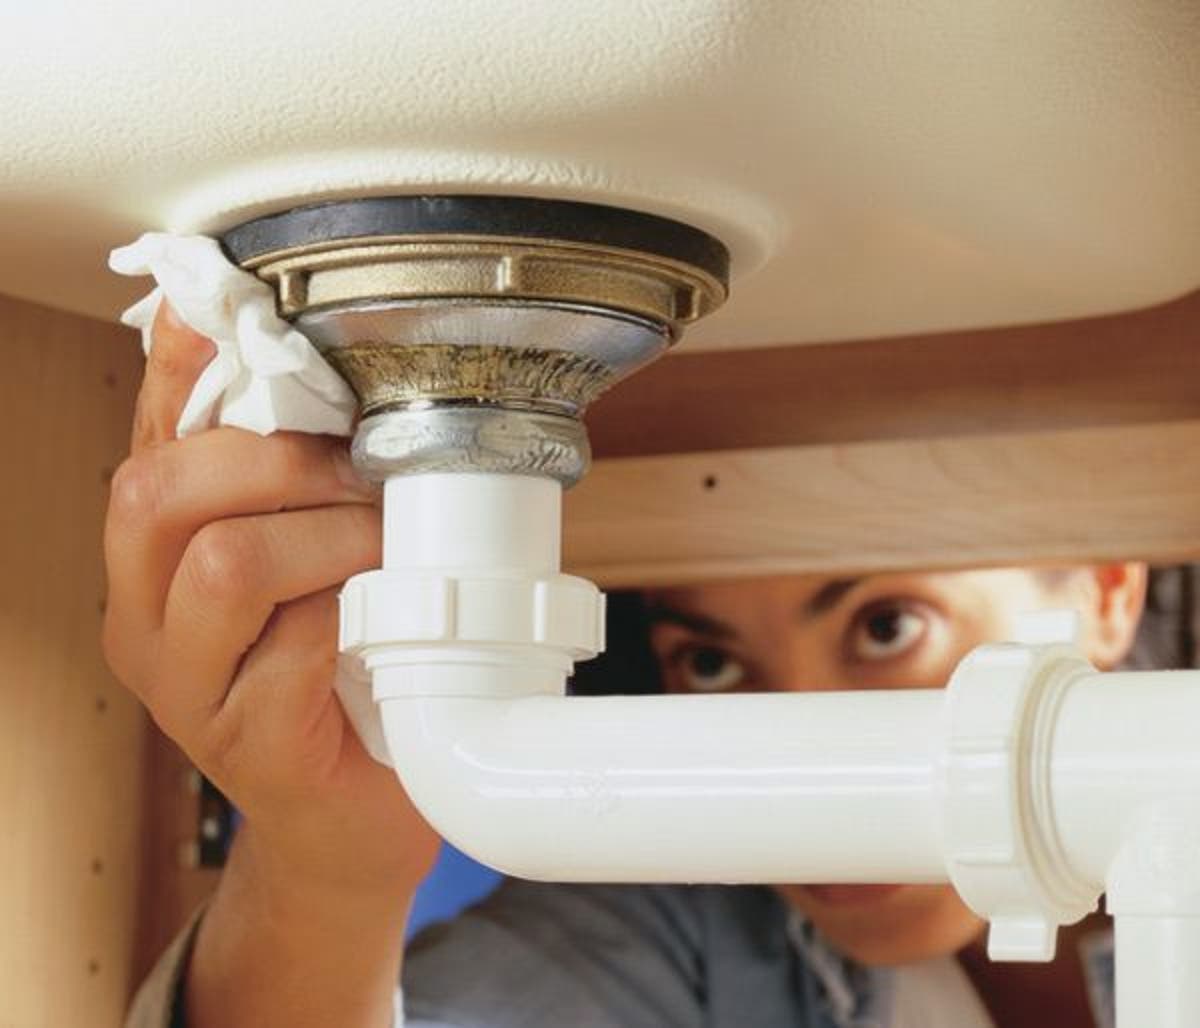
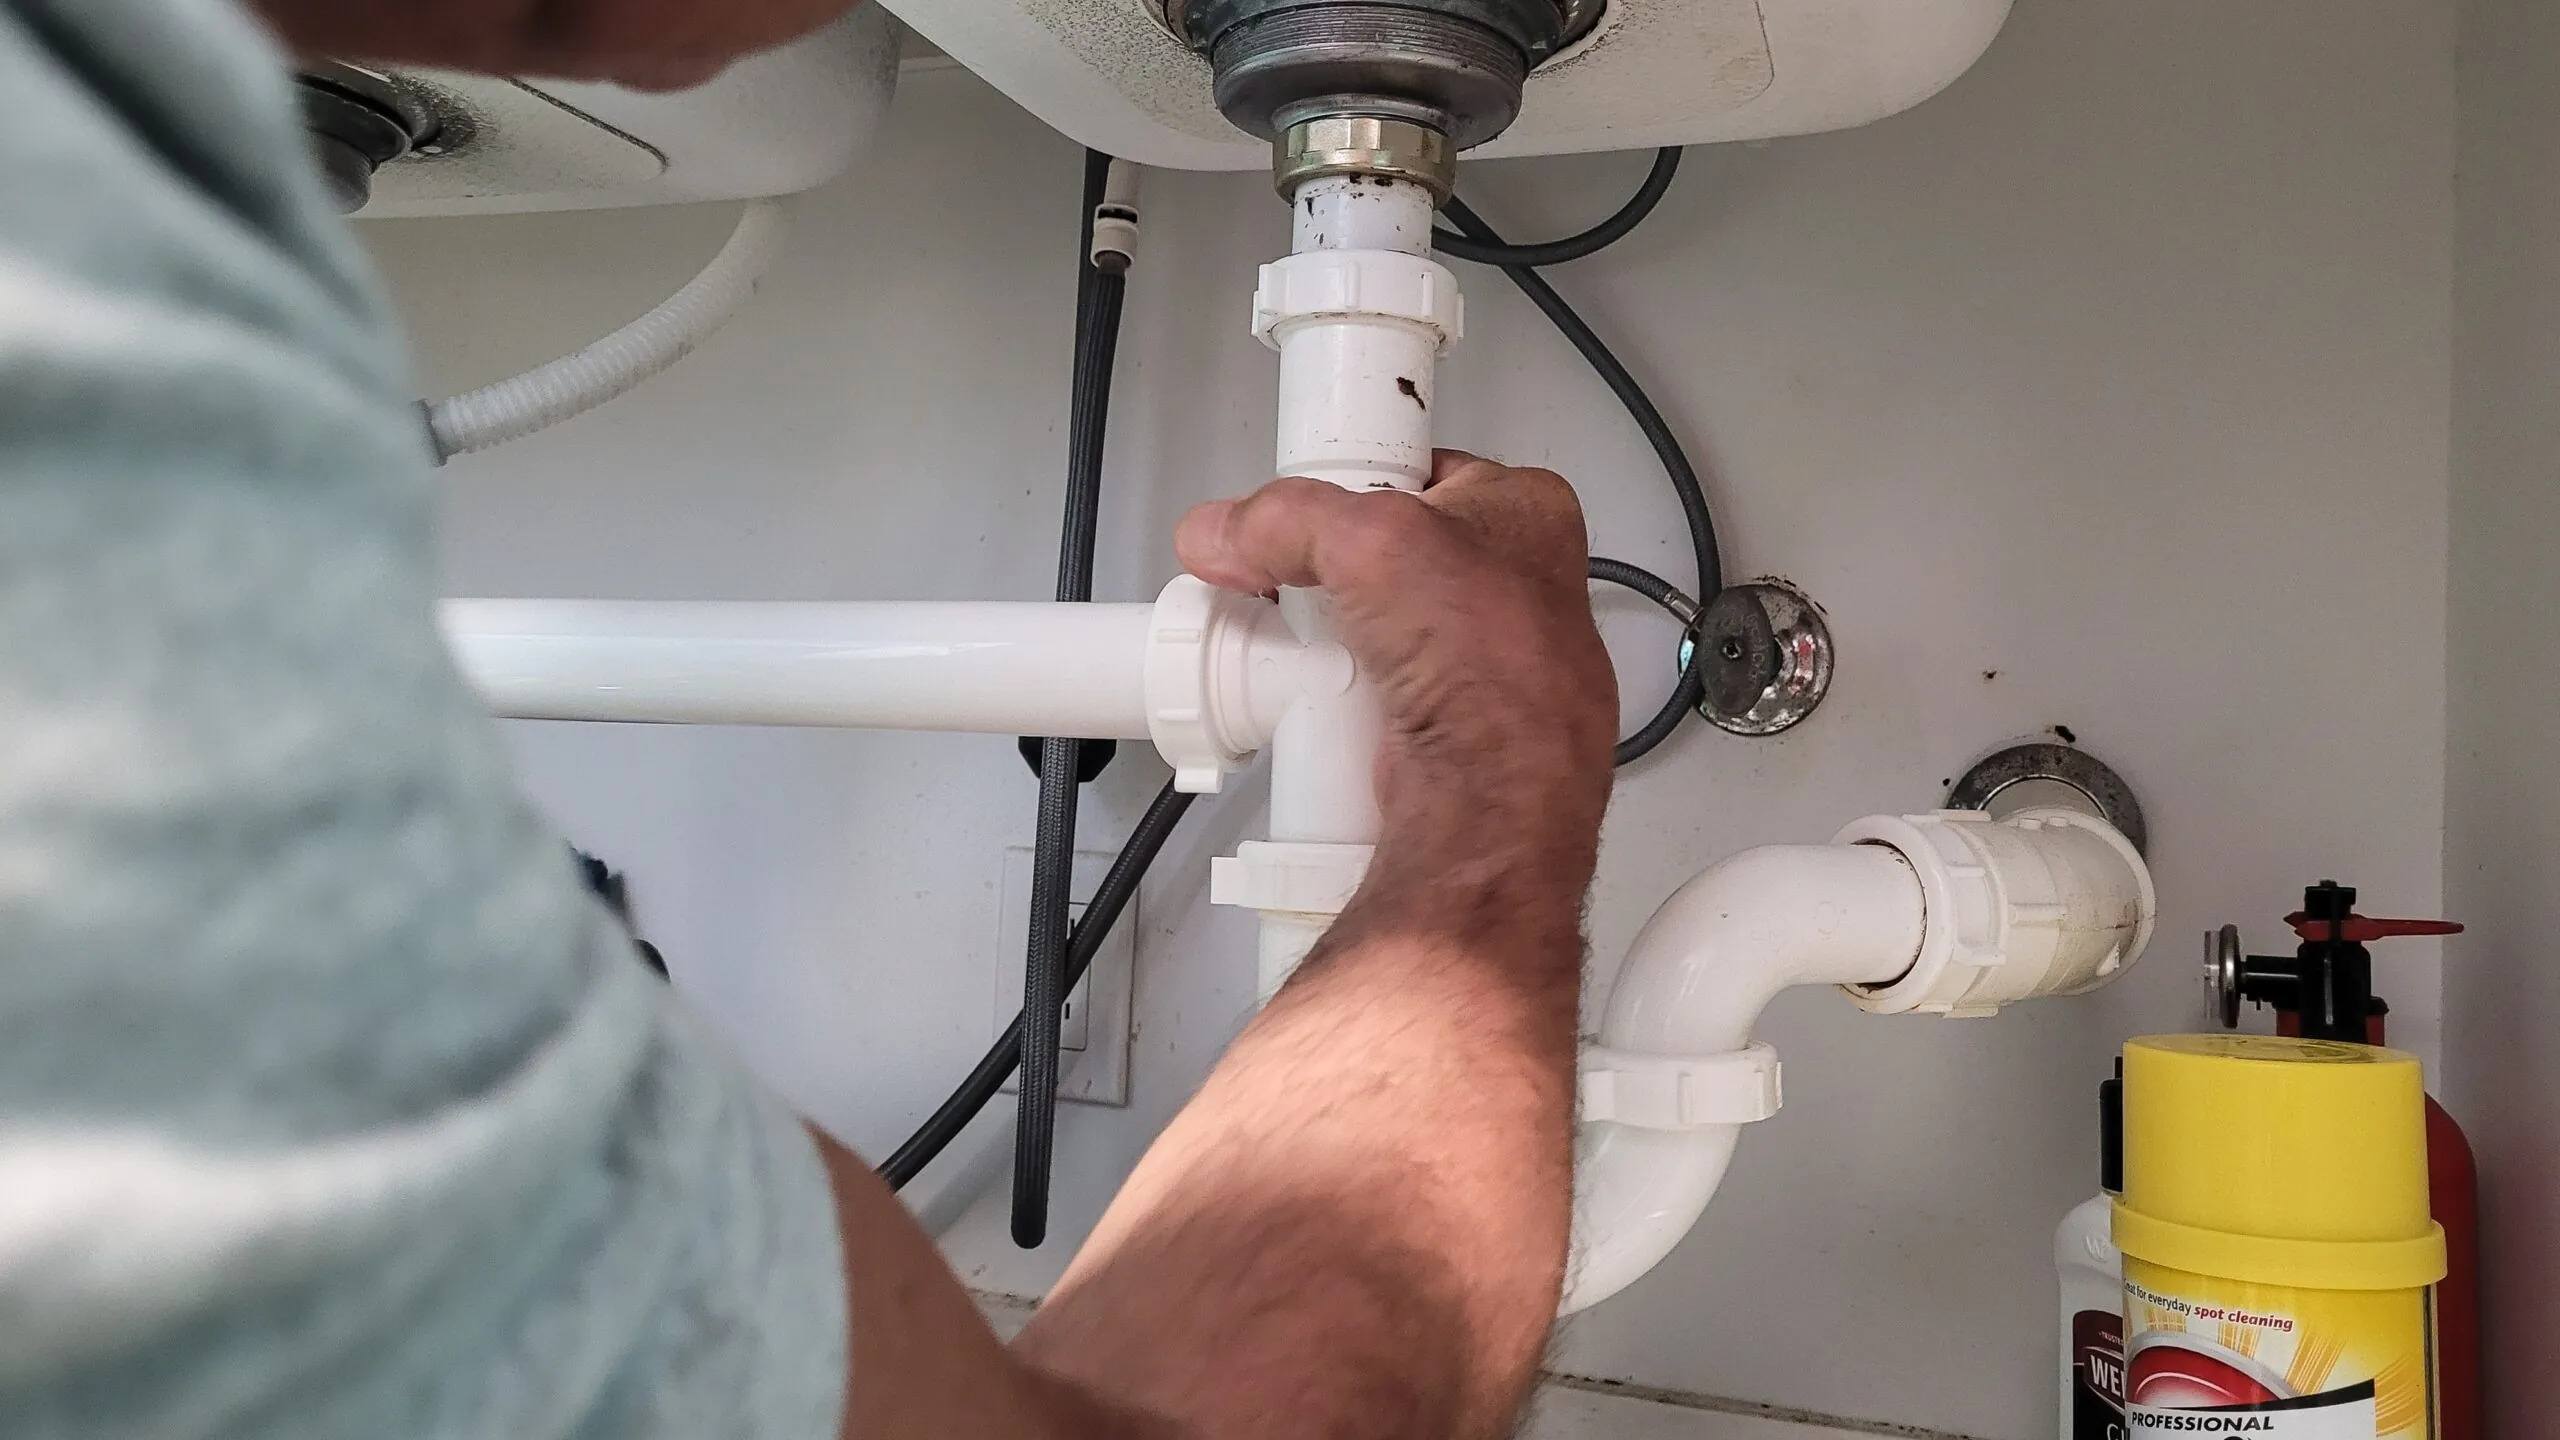
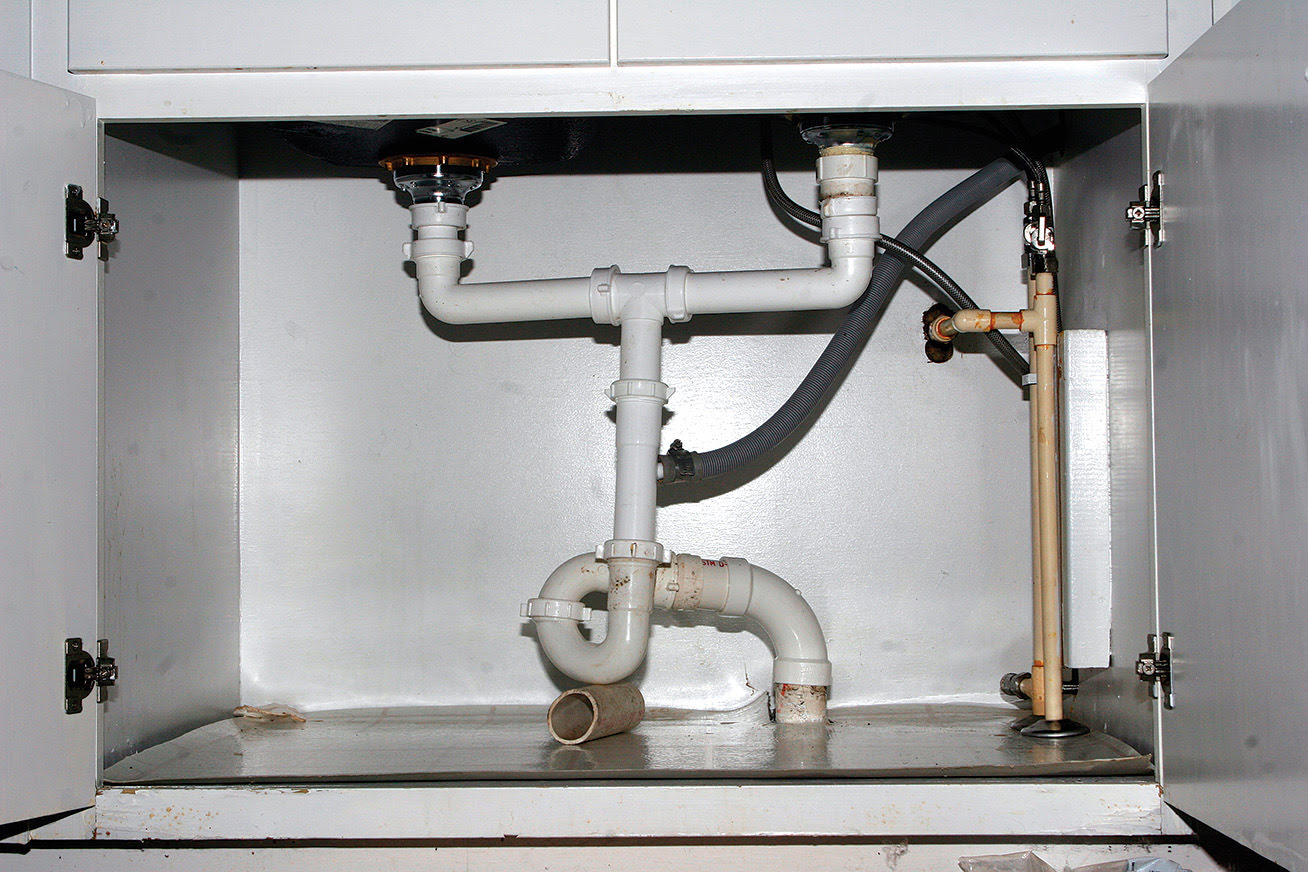
Step 4: Inspect the P-Trap
The P-trap is a U-shaped pipe located beneath your kitchen sink that helps prevent odors from rising back into your home. It is a common area for leaks to occur, so it’s important to inspect it thoroughly as part of your repair process.
To inspect the P-trap, place a bucket or basin underneath it to catch any water that may spill out during the inspection. Use an adjustable wrench to loosen the slip nuts on both ends of the P-trap, and carefully remove the trap from the pipes.
As you remove the P-trap, inspect it for any signs of cracks, corrosion, or damage. Additionally, check the rubber washers or gaskets on both ends of the P-trap for wear or deterioration. These washers are crucial for creating a watertight seal, so if they are damaged, they will need to be replaced.
If you notice any cracks or damage to the P-trap, it is best to replace it with a new one. P-traps are relatively inexpensive and can be found at most hardware stores. Make sure to choose the correct size and type for your specific plumbing system.
While the P-trap is detached, it’s a good idea to clean it thoroughly. Use a scrub brush and warm soapy water to remove any buildup or debris that may have accumulated inside the trap. This will help maintain proper drainage and prevent future clogs.
Once you have inspected, repaired, or replaced the P-trap, reattach it to the pipes using an adjustable wrench. Be careful not to overtighten the slip nuts, as this can cause the washers to crack or create leaks.
With the P-trap properly inspected and secured, you can now move on to tightening connections and ensuring that all fittings are snug and leak-free.
Check the connections and seals for any signs of wear or damage. Tighten any loose connections and replace any worn or damaged seals to fix the leak under the kitchen sink.
Read more: How To Fix A Leaking Kitchen Sink Drain
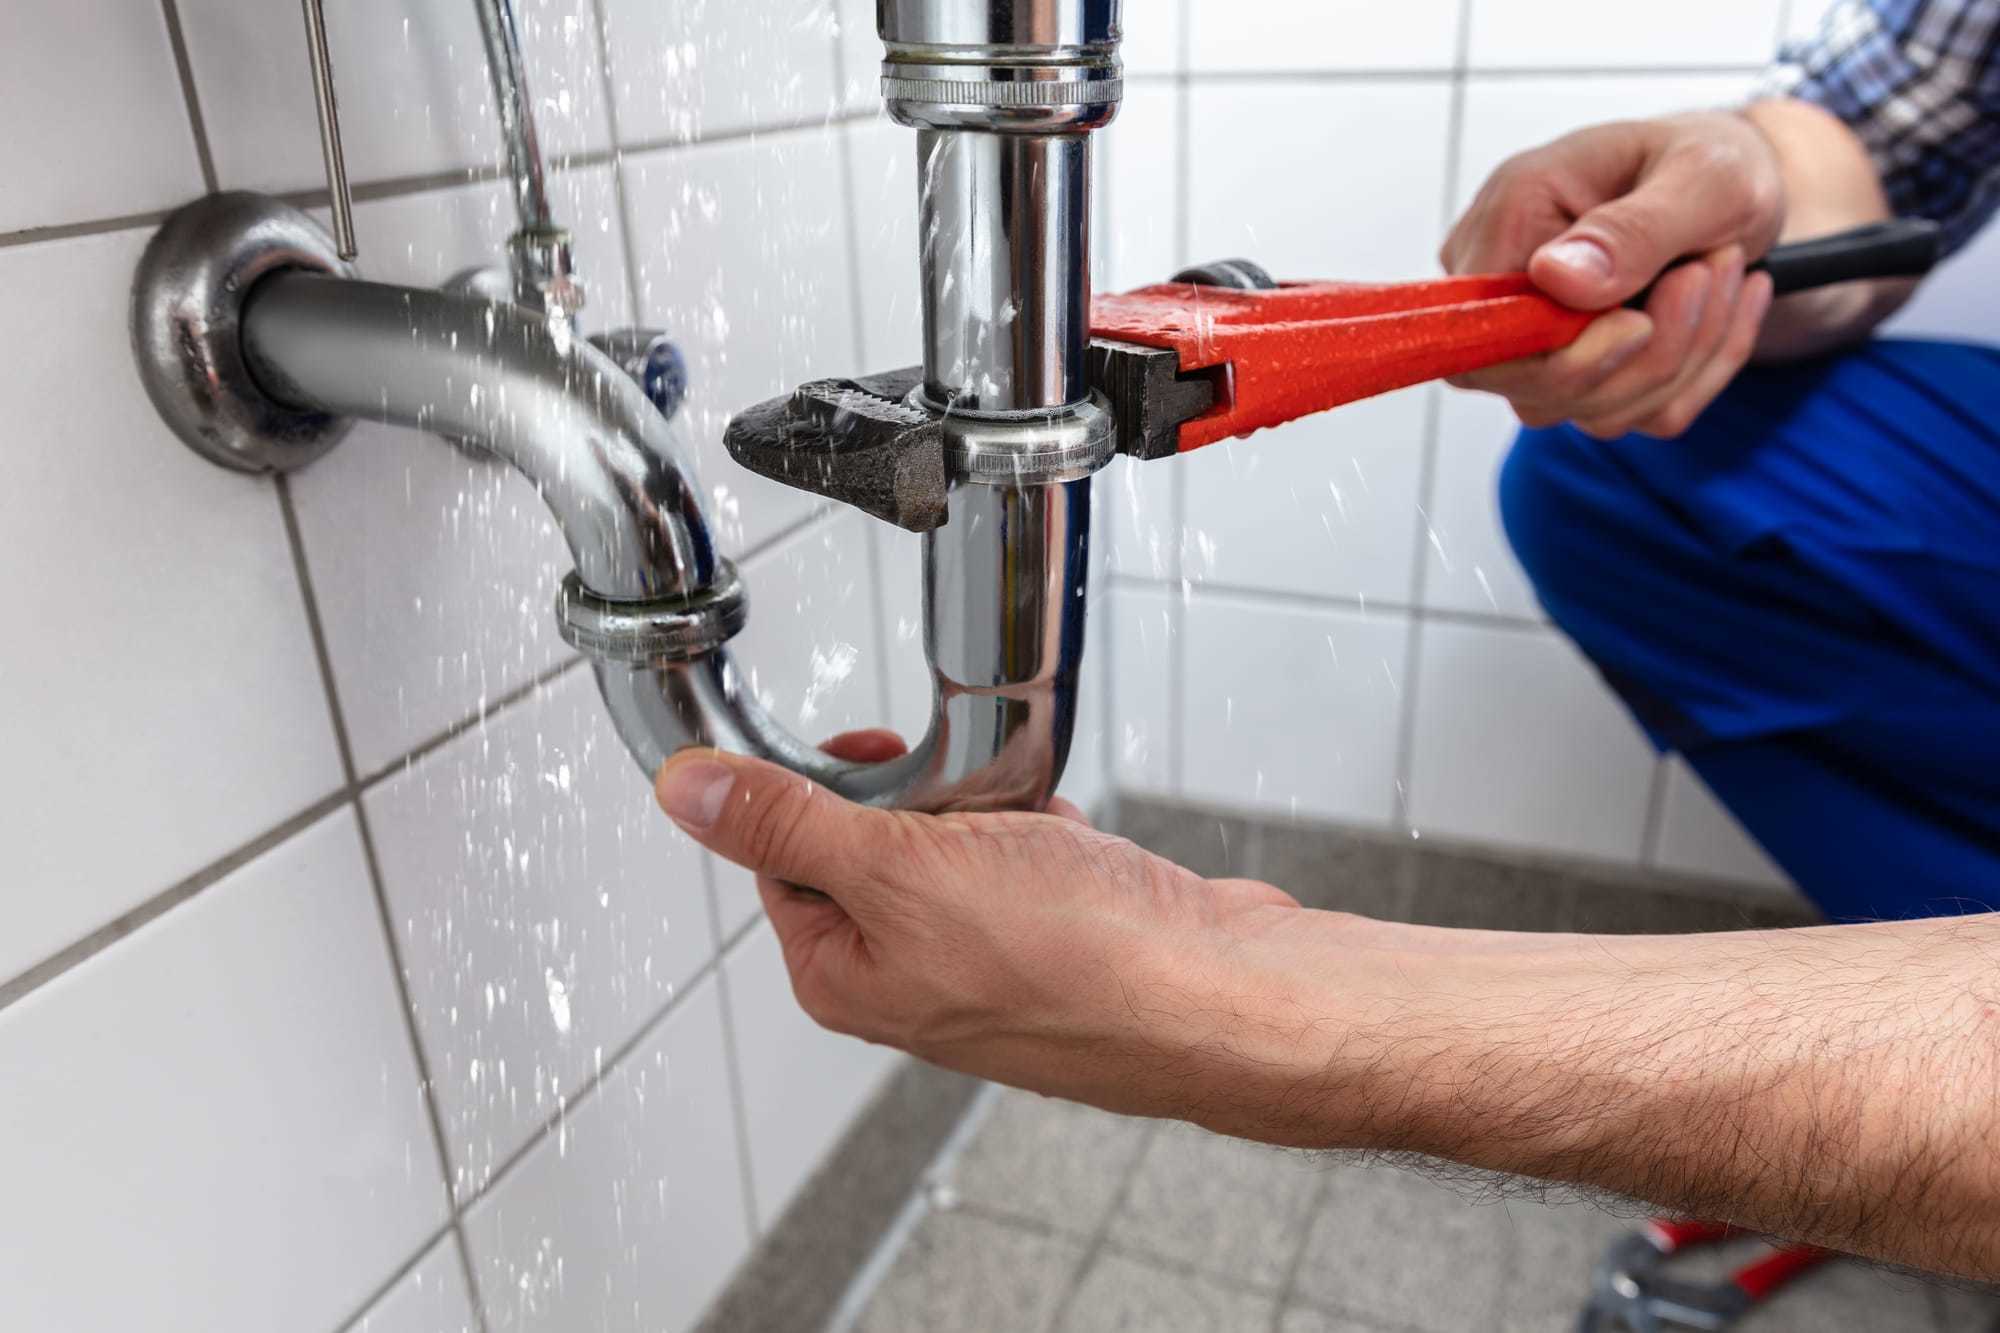
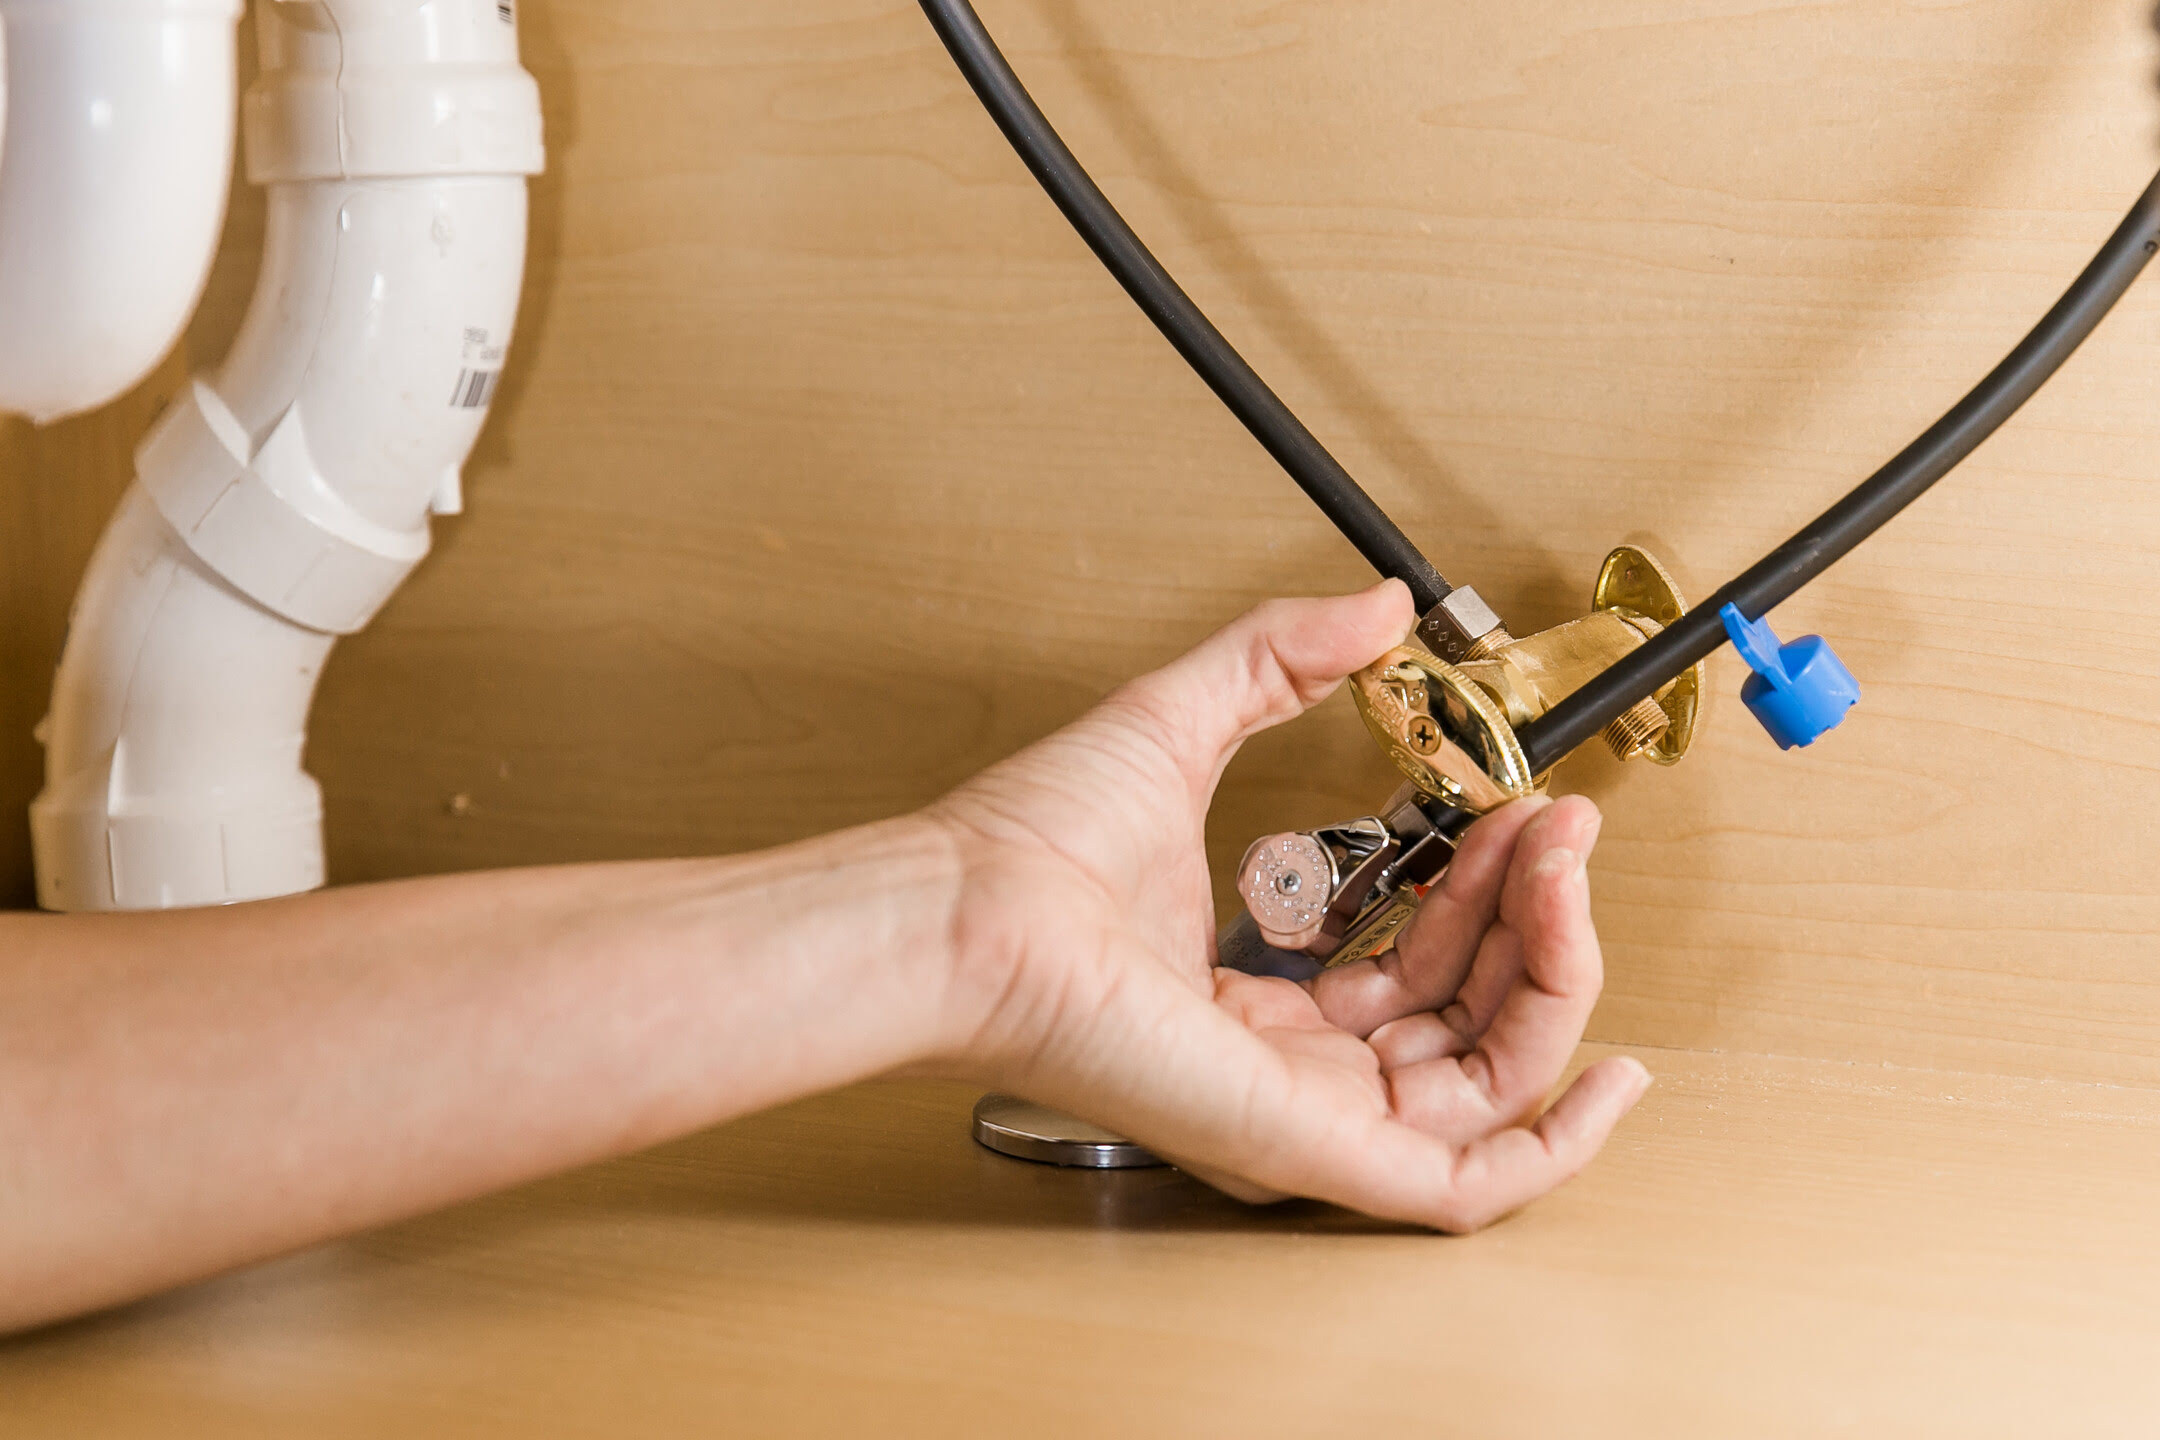
Step 5: Tighten Connections
After inspecting the P-trap, it’s time to move on to tightening the connections under your kitchen sink. Loose fittings and connections can often cause leaks, so ensuring that everything is properly tightened is an essential step in the repair process.
Start by visually inspecting all the connections, including the supply lines, drain pipes, and any other fittings in the area. Look for any signs of looseness or gaps between the connections.
Using an adjustable wrench, carefully tighten any loose connections by turning them clockwise. Be cautious not to overtighten, as this can damage the fittings or cause them to crack. Use your judgment and stop tightening once the connections feel snug.
If you notice any damaged or deteriorated washers or gaskets in the connections, consider replacing them. These small components play a crucial role in creating a watertight seal, so if they are worn or damaged, they may be contributing to the leak.
Additionally, check for any cracked or damaged pipes. If you notice any, it may be necessary to replace the affected pipe to prevent future leaks.
As you tighten the connections, it’s a good idea to have a dry towel or rag on hand to wipe away any excess water or moisture. This will allow you to spot any newly-formed leaks and ensure that everything is properly sealed.
Once you have tightened all the connections under your kitchen sink, it’s time to move on to the next step – addressing any faulty or damaged parts that may be causing the leak.
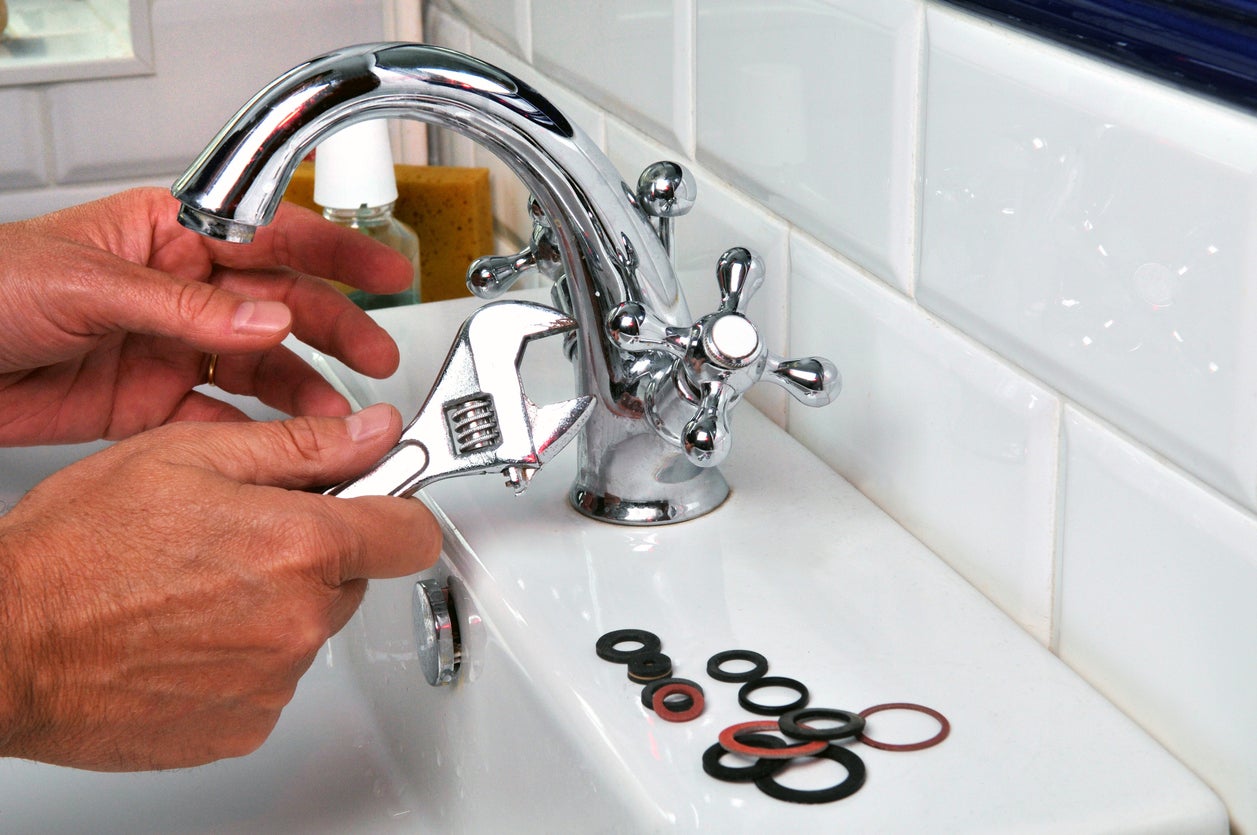
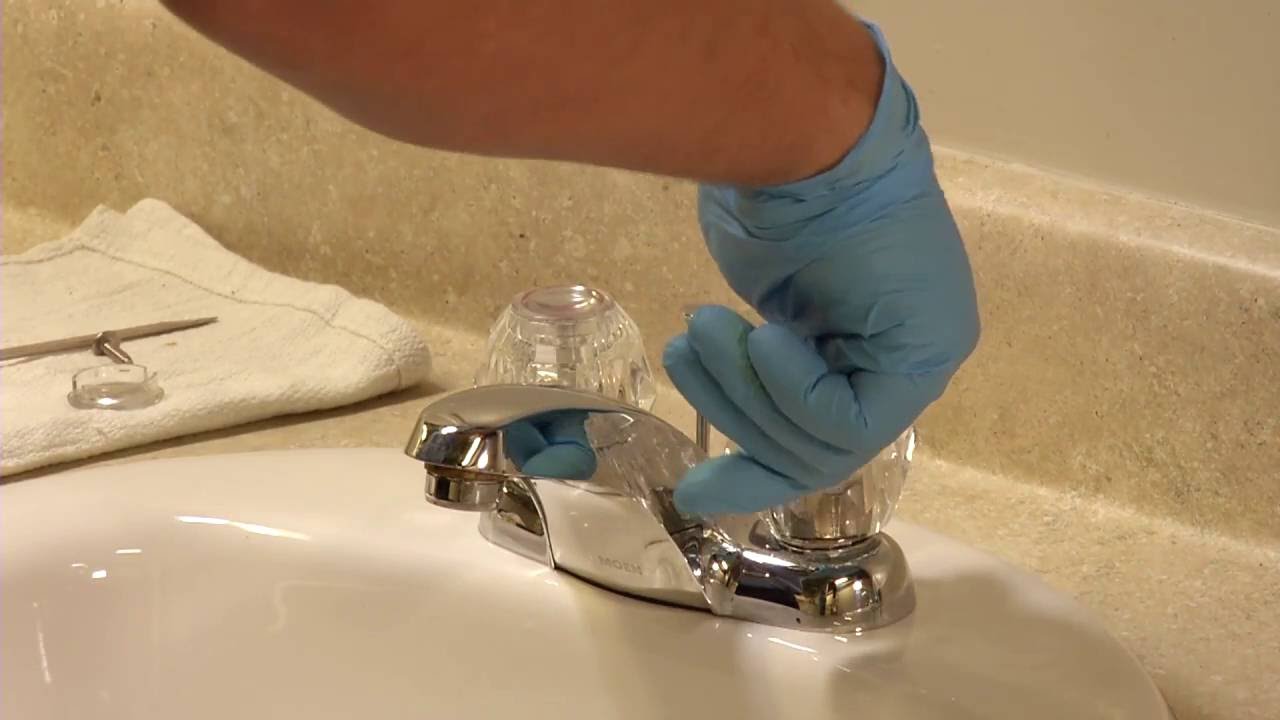
Step 6: Replace Faulty or Damaged Parts
If tightening the connections didn’t resolve the leak under your kitchen sink, it’s possible that you may have faulty or damaged parts that need to be replaced. This step is crucial in ensuring a complete and long-lasting repair.
Start by identifying the specific component or part that is causing the leak. This could be a worn-out washer, a cracked pipe, a malfunctioning valve, or any other part that is visibly damaged or not functioning properly.
If you are unsure which part is causing the leak, consult a plumbing professional for guidance. They can help diagnose the issue and recommend the appropriate replacement parts.
Once you have identified the faulty or damaged part, turn off the water supply to your kitchen sink again. Follow the manufacturer’s instructions or use appropriate tools to remove the old part.
Before installing the new part, make sure to clean the area and remove any debris or buildup that may affect the seal. Apply plumber’s tape to the threaded connections to ensure a tight and secure fit.
Install the new part according to the manufacturer’s instructions, taking care not to overtighten. Use the appropriate tools to secure the connections and ensure a proper seal.
After installing the new part, turn on the water supply and carefully inspect for any leaks. Allow the water to flow for a few minutes to ensure that the repairs are effective and the leak has been resolved.
If you still notice a leak after replacing the faulty part, double-check that all connections are properly tightened. If the issue persists, it may be time to consider consulting a professional plumber for further assistance.
With the faulty or damaged parts replaced, you can now move on to the final step – testing for leaks and ensuring a successful repair.
Step 7: Test for Leaks
After completing the necessary repairs and replacements, it’s important to thoroughly test for any remaining leaks to ensure that your fix is effective and long-lasting. Testing for leaks will give you peace of mind and confirm that your kitchen sink is functioning properly again.
Before testing for leaks, make sure that the water supply to your kitchen sink is turned on. Slowly turn on the faucet and let the water flow for a few minutes. Pay close attention to the areas that were previously leaking to see if any new leaks occur.
Inspect all the connections, including the repaired or replaced parts, to ensure that they are dry and no water is seeping through. Run your fingers along the connections to check for any signs of moisture.
If you notice any leaks or moisture, tighten the connections a bit more to see if that resolves the issue. If the leak persists, you may need to revisit the specific component or connection that is causing the problem and address it accordingly.
Furthermore, watch for any signs of dripping water or pooling under the sink. These can be indications of hidden leaks or ongoing issues that need to be addressed.
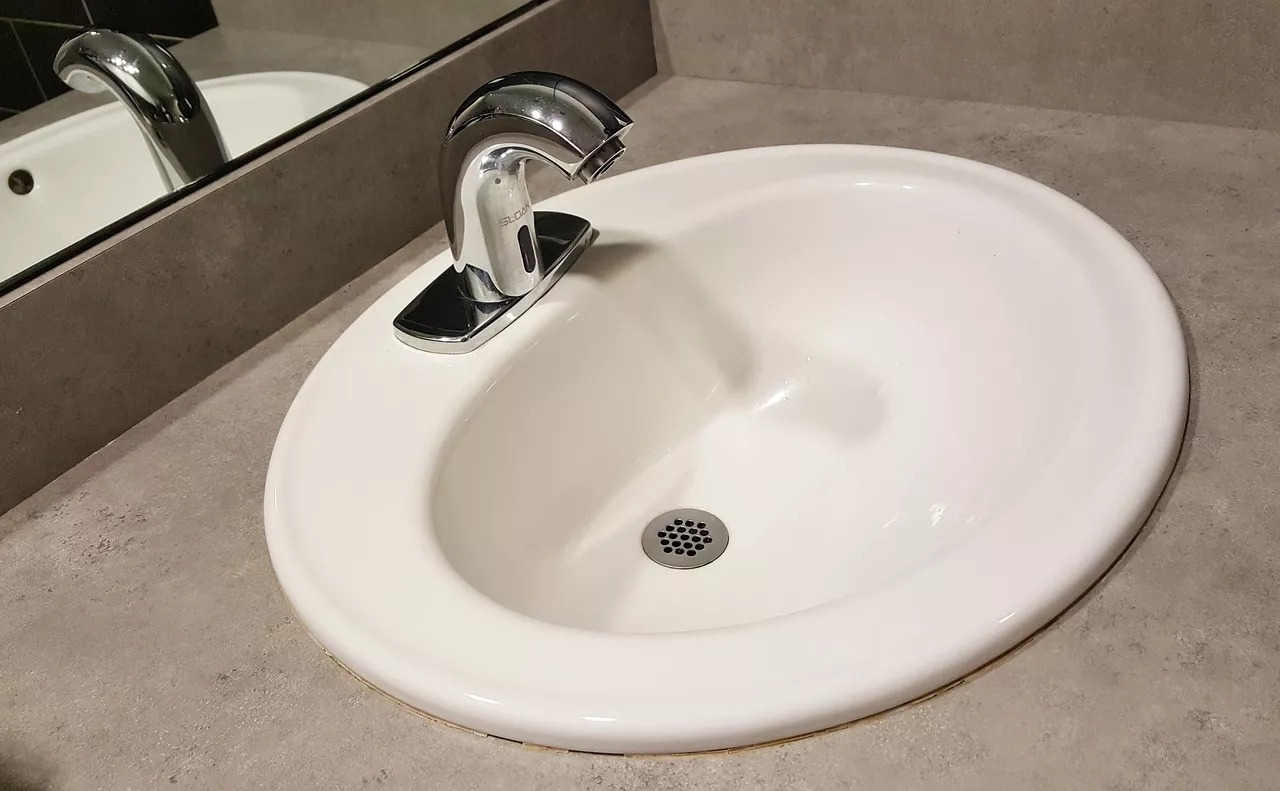
In addition to checking the connections, don’t forget to inspect the sink itself. Look for any cracks or damage around the edges, drain, or faucet. If you notice any issues, consider contacting a plumber or replacing the sink if necessary.
If everything looks dry and there are no signs of leaks, congratulations! You have successfully fixed the leak under your kitchen sink. It’s important to keep an eye on the area in the coming days and weeks to ensure that the repairs continue to hold up and that no new leaks develop.
Remember, prevention is key to avoiding future leaks. Regularly inspect your kitchen sink and plumbing components for any signs of wear or deterioration. Fixing small issues promptly can prevent larger and more costly repairs down the line.
With the testing complete and the leak resolved, you can now enjoy a fully functional and leak-free kitchen sink. Well done!
Conclusion
Dealing with a leak under your kitchen sink can be frustrating, but with the right knowledge and approach, you can fix the issue and regain a fully functional and leak-free kitchen. By following the steps outlined in this guide – from identifying the source of the leak to testing for any remaining leaks – you have taken the necessary actions to address and resolve the problem.
Remember, safety should always be a priority. Wear protective gear, turn off the water supply, and exercise caution when working with plumbing components. If you encounter a complex or severe leak, don’t hesitate to seek the assistance of a professional plumber.
Regular maintenance and inspection are crucial in preventing future leaks. Check your kitchen sink and plumbing components periodically for any signs of wear, corrosion, or damage. Addressing small issues promptly can save you from larger and more costly repairs in the future.
With your leak fixed and your kitchen sink restored, you can enjoy the peace of mind that comes with knowing your plumbing system is in good shape. Take pride in your DIY skills and know that you have the ability to tackle household maintenance tasks.
So, say goodbye to that annoying leak under your kitchen sink and embrace a functional and dry kitchen!
Frequently Asked Questions about How To Fix Leak Under Kitchen Sink
Was this page helpful?
At Storables.com, we guarantee accurate and reliable information. Our content, validated by Expert Board Contributors, is crafted following stringent Editorial Policies. We're committed to providing you with well-researched, expert-backed insights for all your informational needs.


0 thoughts on “How To Fix Leak Under Kitchen Sink”