Articles
How To Fix The Kitchen Sink
Modified: October 20, 2024
Learn effective strategies and practical tips from our articles on how to fix your kitchen sink. Transform your kitchen with our step-by-step guides and expert advice.
(Many of the links in this article redirect to a specific reviewed product. Your purchase of these products through affiliate links helps to generate commission for Storables.com, at no extra cost. Learn more)
Introduction
Having a functional and well-maintained kitchen sink is essential for any household. Whether you’re washing dishes, preparing food, or simply washing your hands, a properly working kitchen sink is vital for a smooth and efficient daily routine. However, like any other household fixture, kitchen sinks are prone to problems such as clogs, leaks, and drain issues.
In this article, we will guide you through the common problems encountered with kitchen sinks and provide you with step-by-step instructions on how to fix them. From unclogging a stubborn sink to repairing a leaking faucet, we will cover all the necessary information to help you tackle these issues effectively.
Before we dive into the solutions, it’s important to ensure that you have the necessary tools and materials on hand. This will save you time and effort during the repair process.
Key Takeaways:
- Keep your kitchen sink in optimal condition by addressing common issues like clogged drains and leaky faucets with simple DIY solutions and regular maintenance.
- Equip yourself with the right tools and materials to tackle kitchen sink problems effectively, but don’t hesitate to seek professional help for complex issues.
Read more: How To Fix A Bathroom Sink
Common Kitchen Sink Problems
Kitchen sinks experience a range of common problems that can disrupt their functionality. Recognizing these issues will help you address them promptly. Here are some of the most common kitchen sink problems:
- Clogged Drain: A clogged drain is one of the most frustrating issues that can occur in a kitchen sink. This can be caused by food particles, grease buildup, or foreign objects obstructing the pipes.
- Leaky Faucet: A leaky faucet not only wastes water but can also lead to increased water bills. The constant dripping can be irritating and indicate a problem with the faucet’s seal or cartridge.
- Damaged Sink Basin: Over time, the sink basin may develop cracks or chips, compromising its structural integrity and causing leaks.
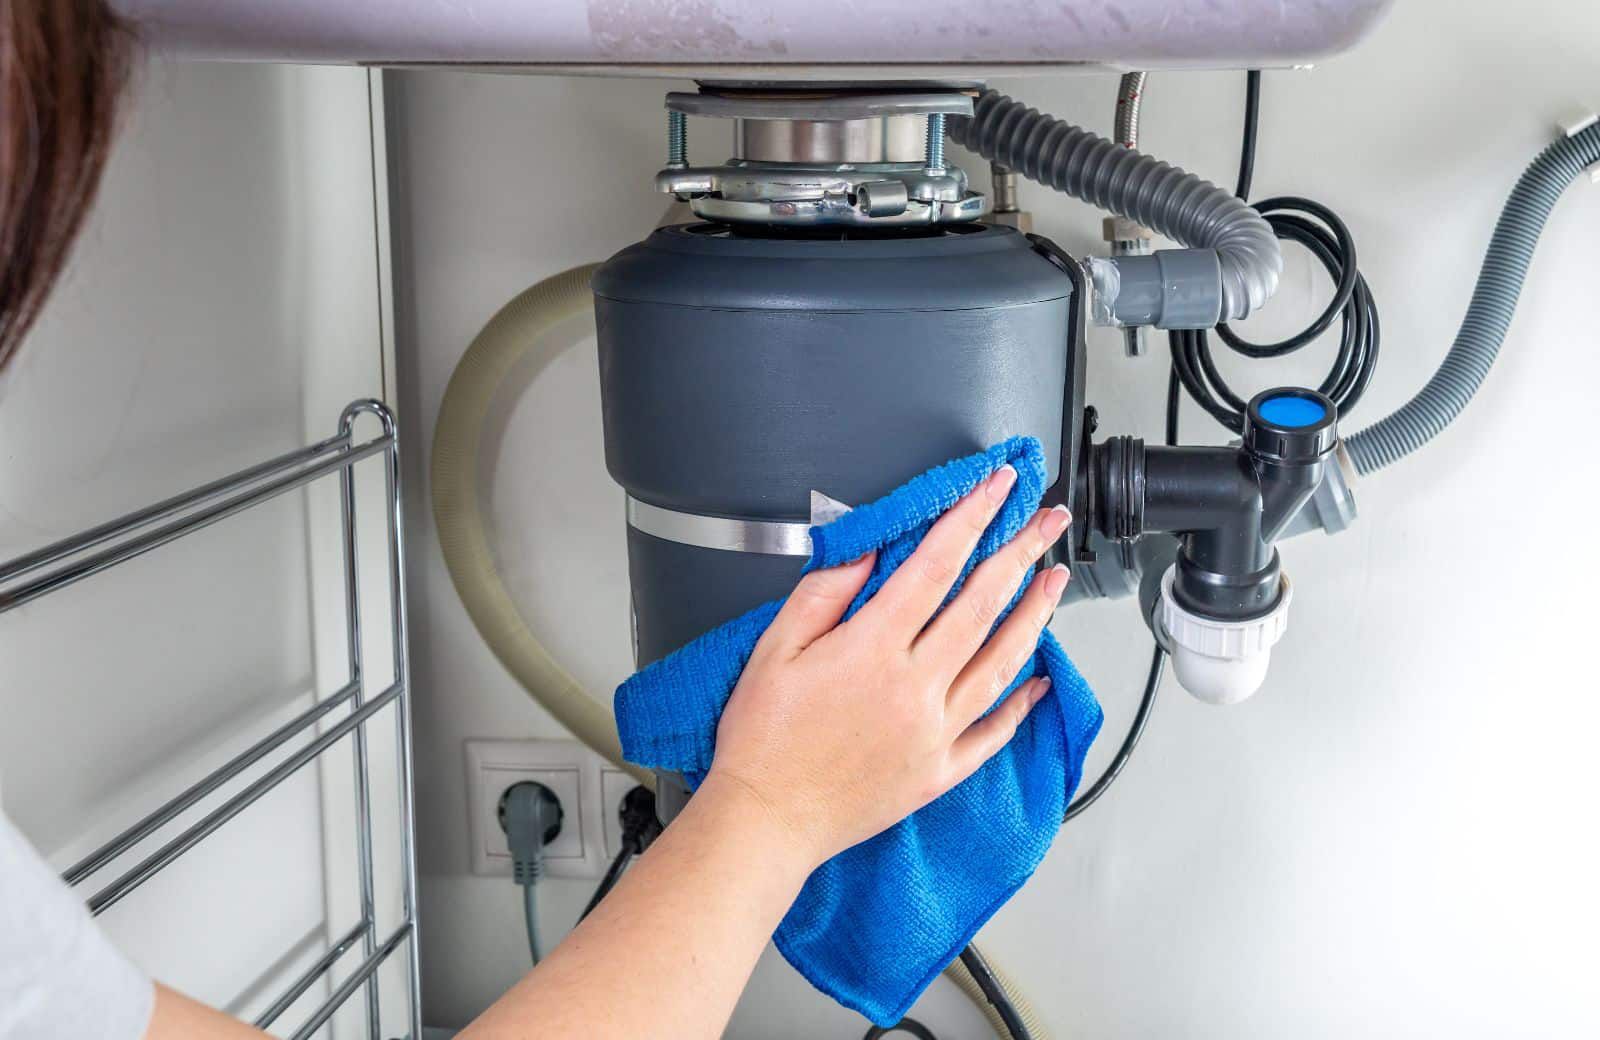
- Malfunctioning Garbage Disposal: If your kitchen sink is equipped with a garbage disposal, it can become jammed or malfunction due to food waste or foreign objects.
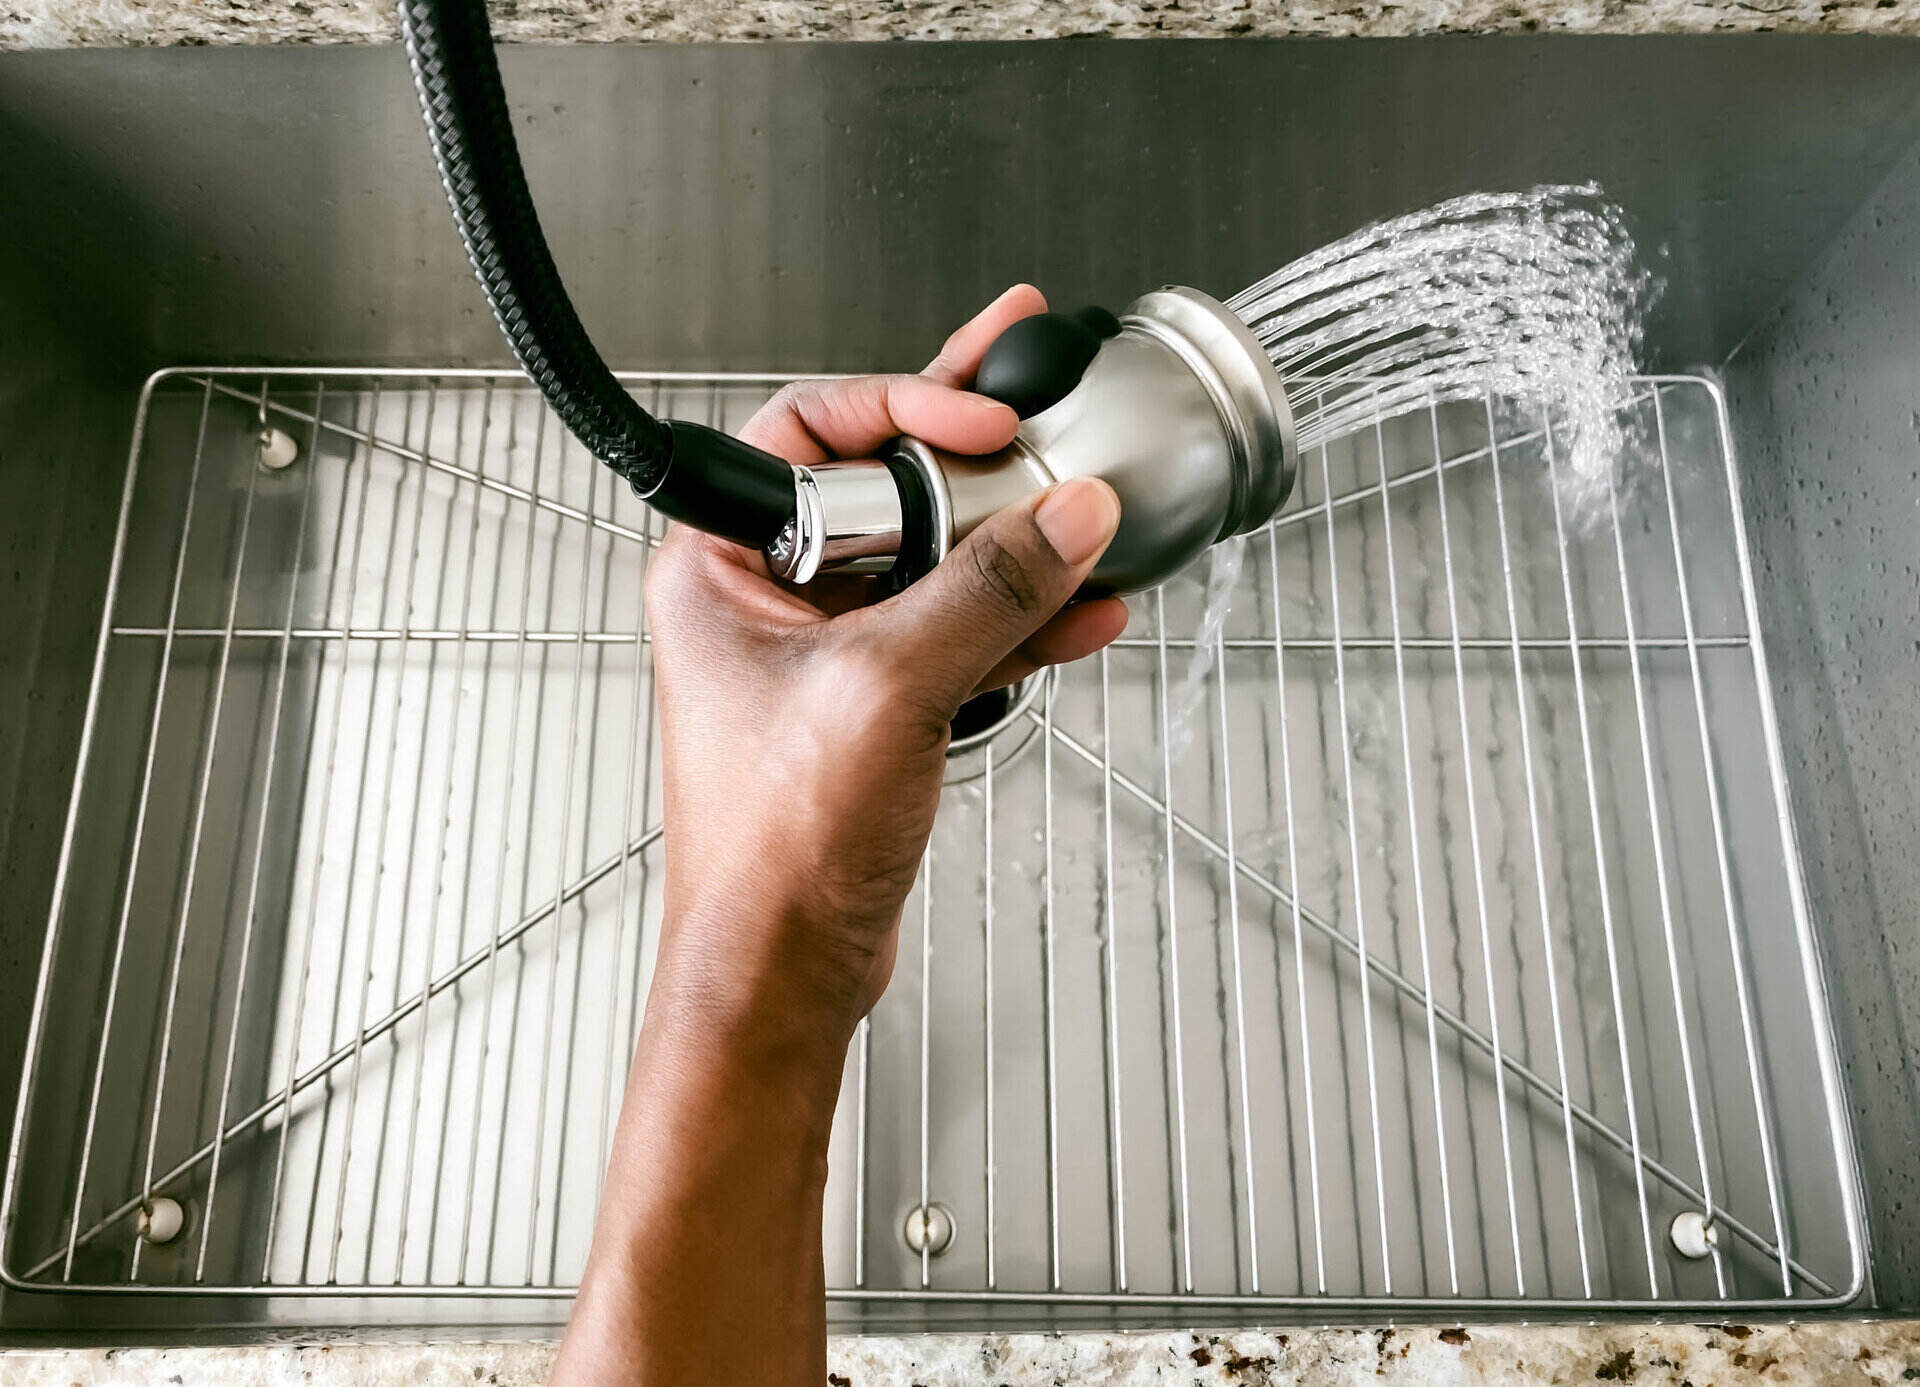
- Low Water Pressure: If your kitchen sink has low water pressure, it can make tasks such as dishwashing and filling pots take longer and be less efficient.
- Strange Odors: Unpleasant odors emanating from the kitchen sink can be caused by trapped food particles, stagnant water, or a clogged drain.
Identifying the specific problem with your kitchen sink will allow you to implement the appropriate solution. Let’s move on to the tools and materials you’ll need to fix these issues.
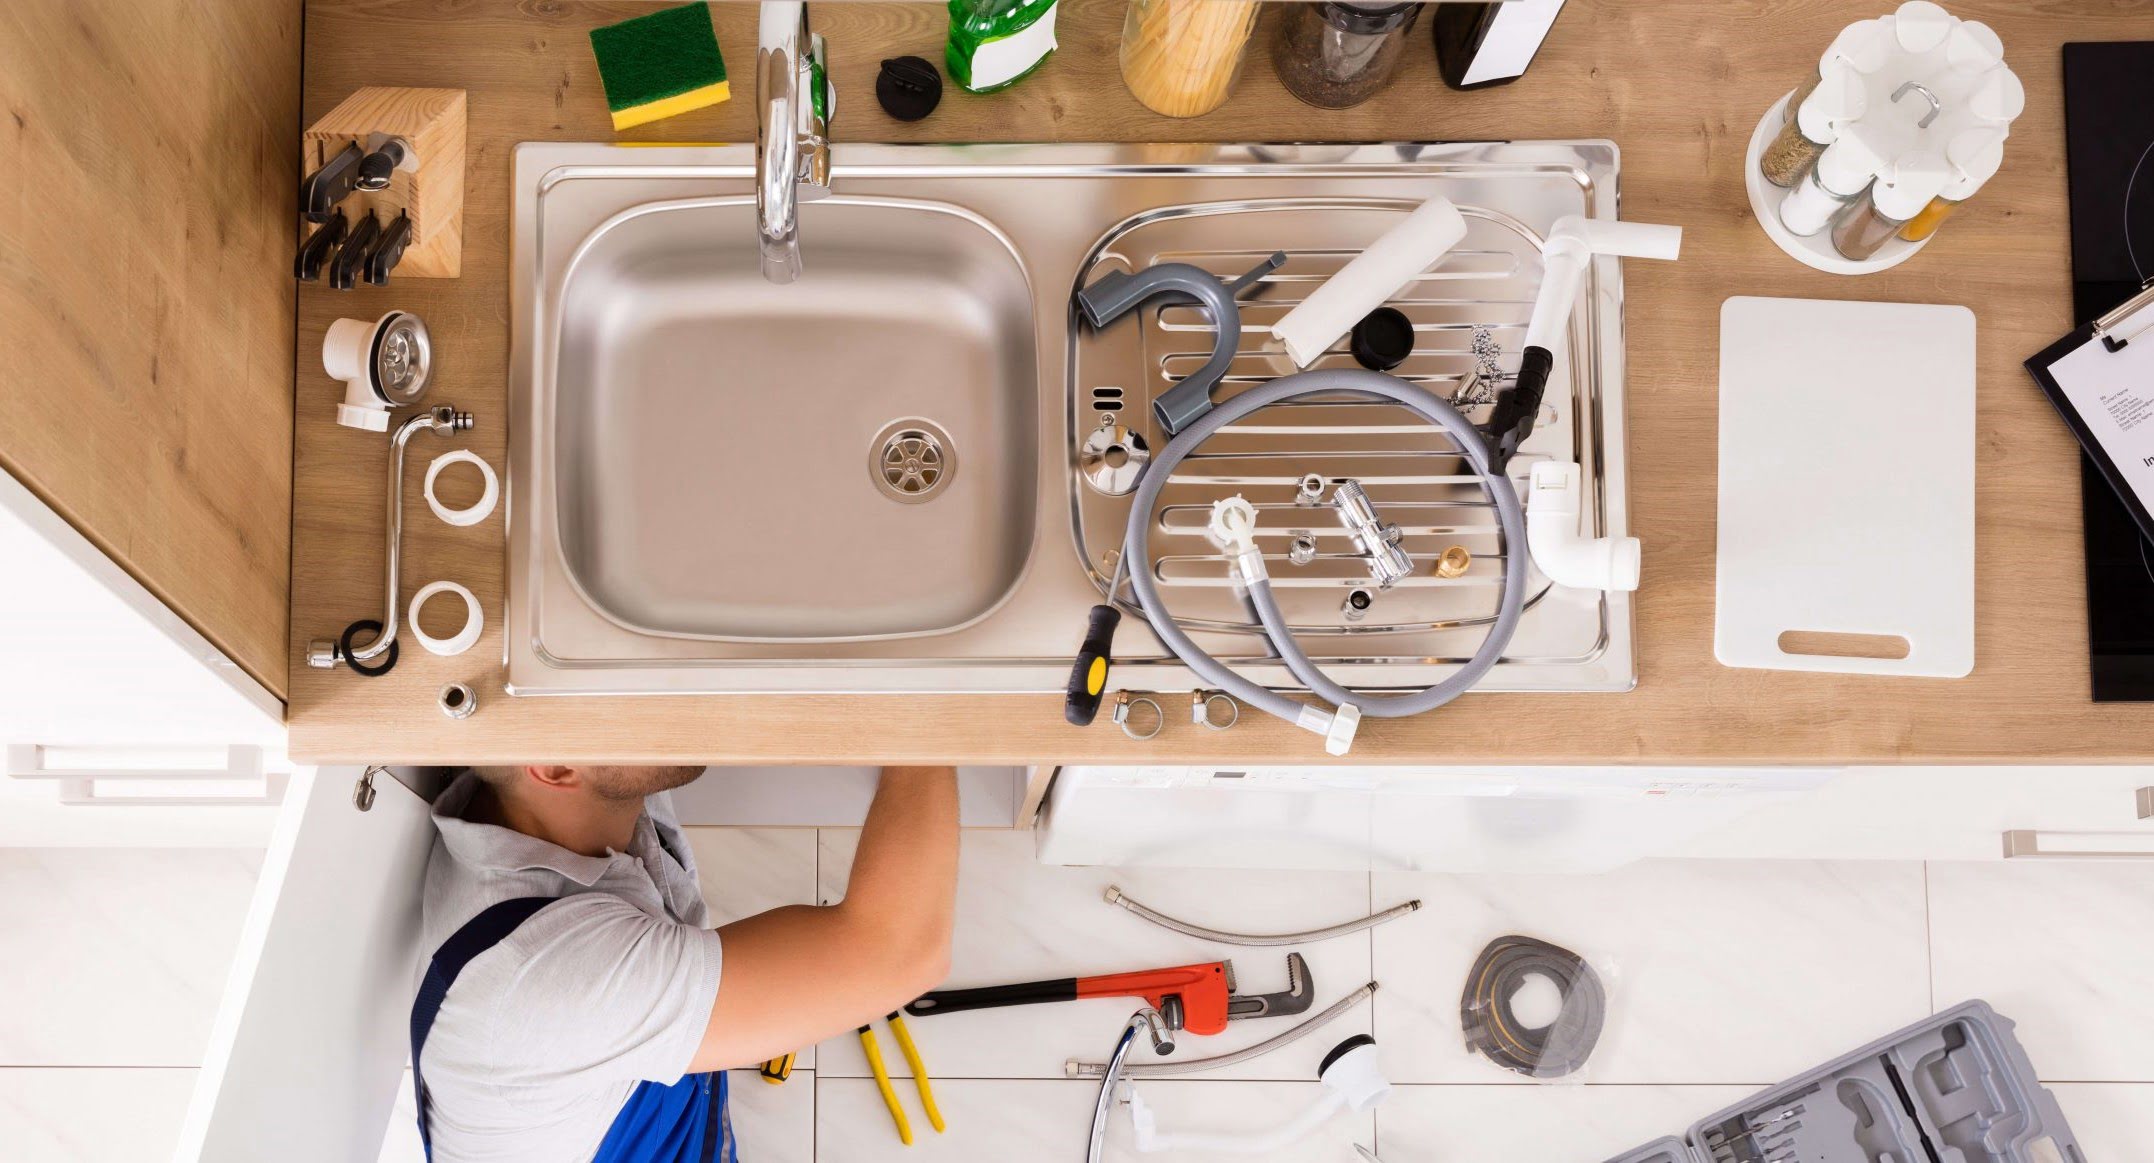
Tools and Materials Needed
Before you begin fixing your kitchen sink, it’s important to gather the necessary tools and materials. Having these items on hand will ensure a smooth and efficient repair process. Here’s a list of the essential tools and materials you may need:
- Adjustable Wrench: This versatile tool will help you loosen or tighten various plumbing connections.
- Plunger: A plunger is a must-have tool for unclogging a kitchen sink. It creates a vacuum that helps clear minor blockages.
- Plumber’s Snake: Also known as a drain auger, a plumber’s snake is useful for tackling stubborn clogs deep within the pipes.
- Bucket: Having a bucket nearby is essential for catching water or debris during the repair process.
- Pipe Wrench: This tool is ideal for gripping and turning pipes when disassembling or connecting plumbing components.
- Teflon Tape: Teflon tape, also known as plumber’s tape, is used for sealing pipe threads to prevent leaks.
- Plumber’s Putty: Plumber’s putty is a soft, malleable material used to create a watertight seal around faucet bases and drain assemblies.
- Caulking Gun: If you need to replace or repair the seal around your sink’s edges, a caulk gun will come in handy.
- Replacement Parts: Depending on the specific problem you’re addressing, you may need replacement parts such as O-rings, washers, or a new faucet cartridge.
Having these tools and materials readily available will save you time and frustration during the repair process. Now that you’re equipped with the necessary supplies, let’s move on to the step-by-step guide for fixing your kitchen sink.
Step-by-Step Guide to Fixing the Kitchen Sink
Now that you have your tools and materials ready, it’s time to dive into fixing your kitchen sink. Follow these step-by-step instructions to address the most common issues:
- Unclogging a Kitchen Sink:
- Start by using a plunger to create suction and loosen the clog. Place the plunger over the drain and push and pull it vigorously.
- If the plunger doesn’t work, try a plumber’s snake. Insert the snake into the drain and rotate it to break up the clog.
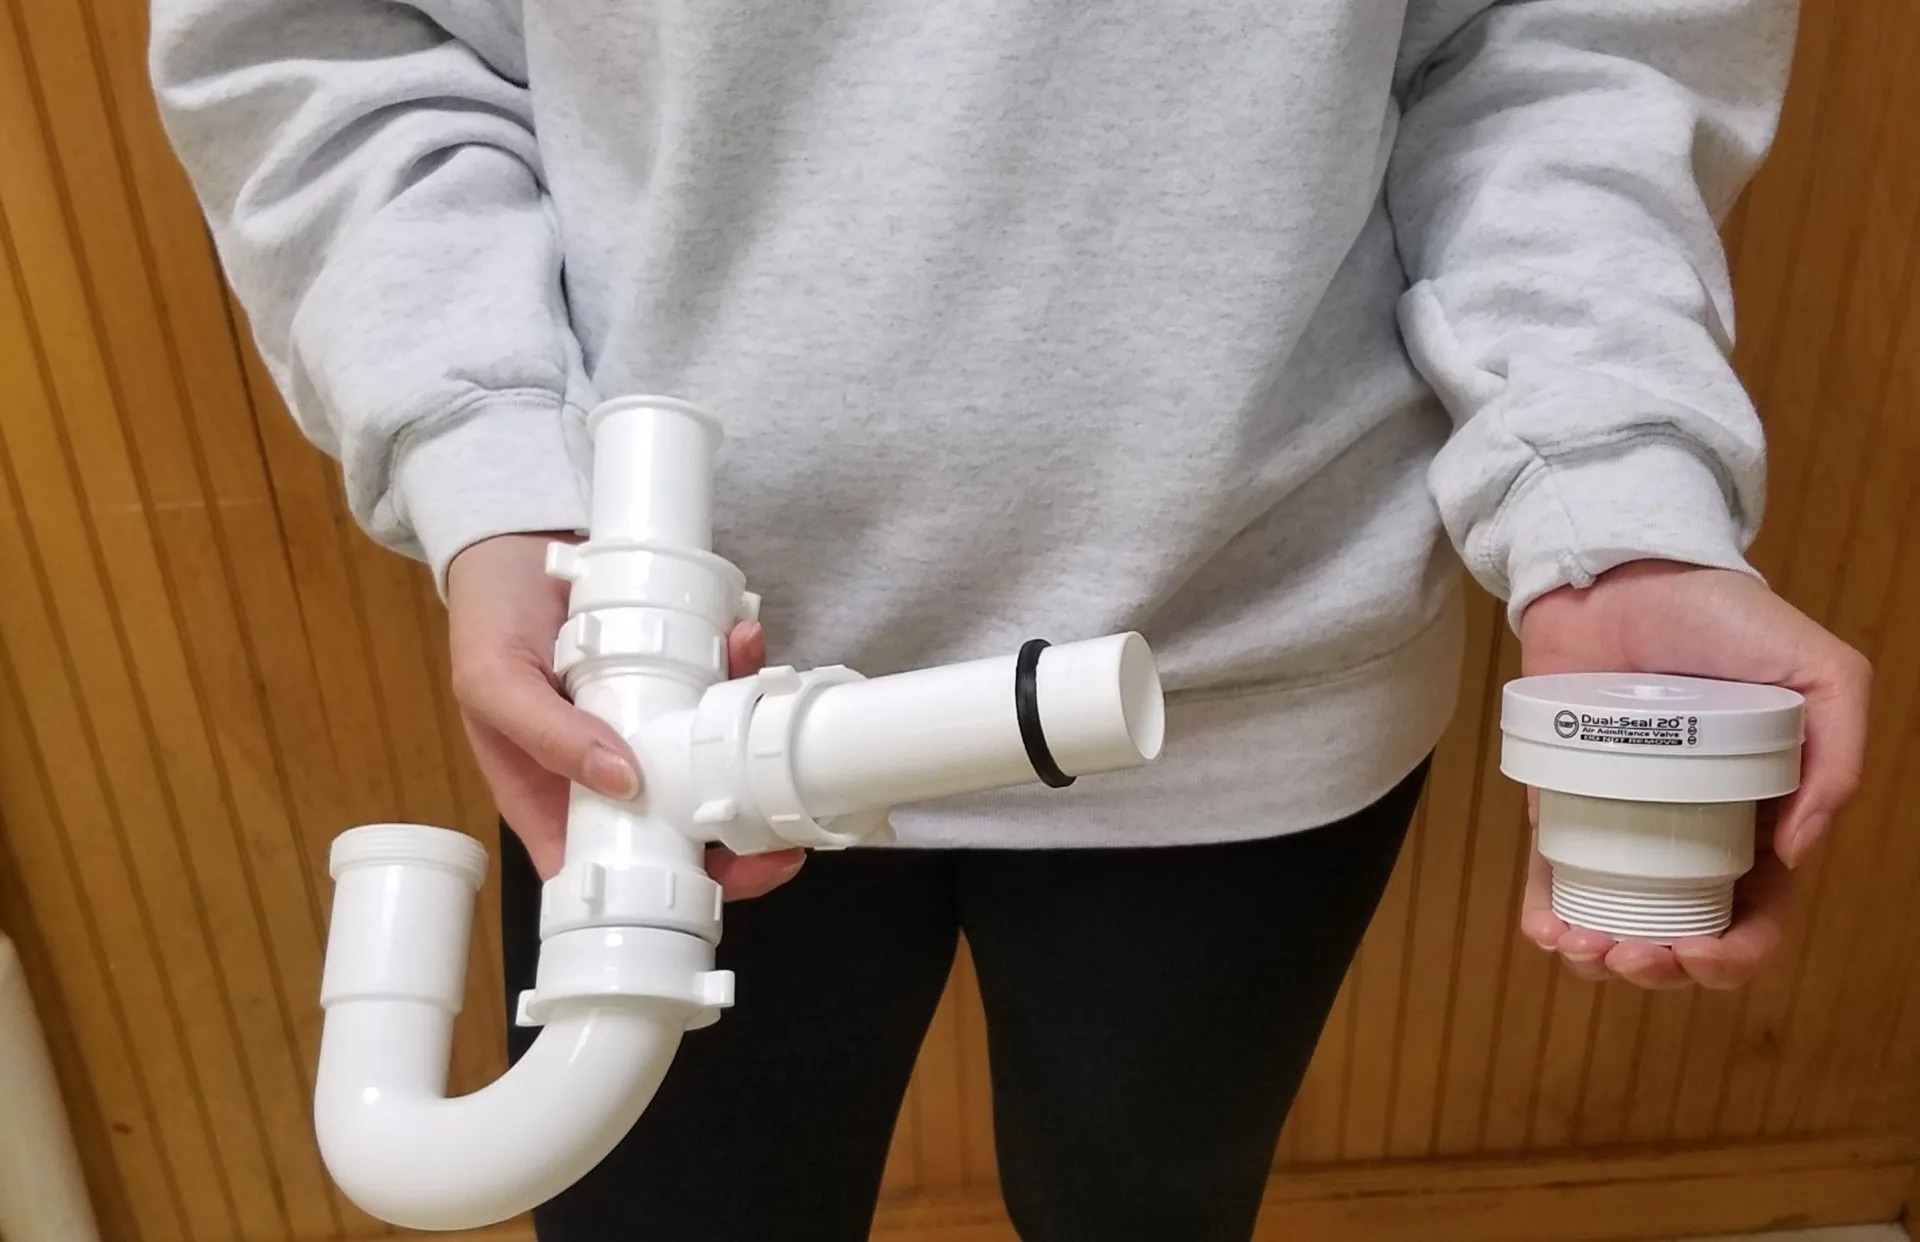
- For stubborn clogs, you may need to remove the P-trap. Place a bucket beneath the sink to catch any water, then unscrew the nuts holding the P-trap in place. Clean out any debris and reassemble the trap.
- Repairing a Leaky Kitchen Sink:
- Turn off the water supply to the sink. This is usually done by shutting off the valves beneath the sink or turning off the main water supply.
- Inspect the faucet for any visible leaks or damaged parts. Replace any worn-out O-rings, washers, or cartridges.
- Apply plumber’s putty or replace the faucet’s sealant to create a watertight seal around the base.
- Replacing a Kitchen Sink Drain:
- Start by removing the old drain assembly. Use a pipe wrench to loosen the locking nut beneath the sink and disconnect the drain pipe.
- Clean the area thoroughly and apply a layer of plumber’s putty around the new drain’s flange.
- Insert the new drain assembly into the sink and tighten the locking nut from beneath.
- Reconnect the drain pipe and check for any leaks. If necessary, use Teflon tape to secure the connections.
- Maintaining a Healthy Kitchen Sink:
- Prevent future clogs by using a sink strainer to catch food particles and debris.
- Regularly clean the sink and drain to remove buildup and prevent odors.
- Avoid pouring grease or oil down the drain, as it can solidify and cause blockages.
- Run hot water through the drain regularly to help prevent grease and debris buildup.
By following these step-by-step instructions, you’ll be able to address and fix common kitchen sink problems. Remember to always exercise caution when working with plumbing systems and consider seeking professional help if you’re unsure or facing more complex issues. With a little effort and the right tools, you can keep your kitchen sink in optimal working condition.
Unclogging a Kitchen Sink
One of the most common issues with kitchen sinks is a clogged drain. Food particles, grease, and other debris can accumulate over time, leading to slow drainage or complete blockage. Here is a step-by-step guide to help you unclog your kitchen sink:
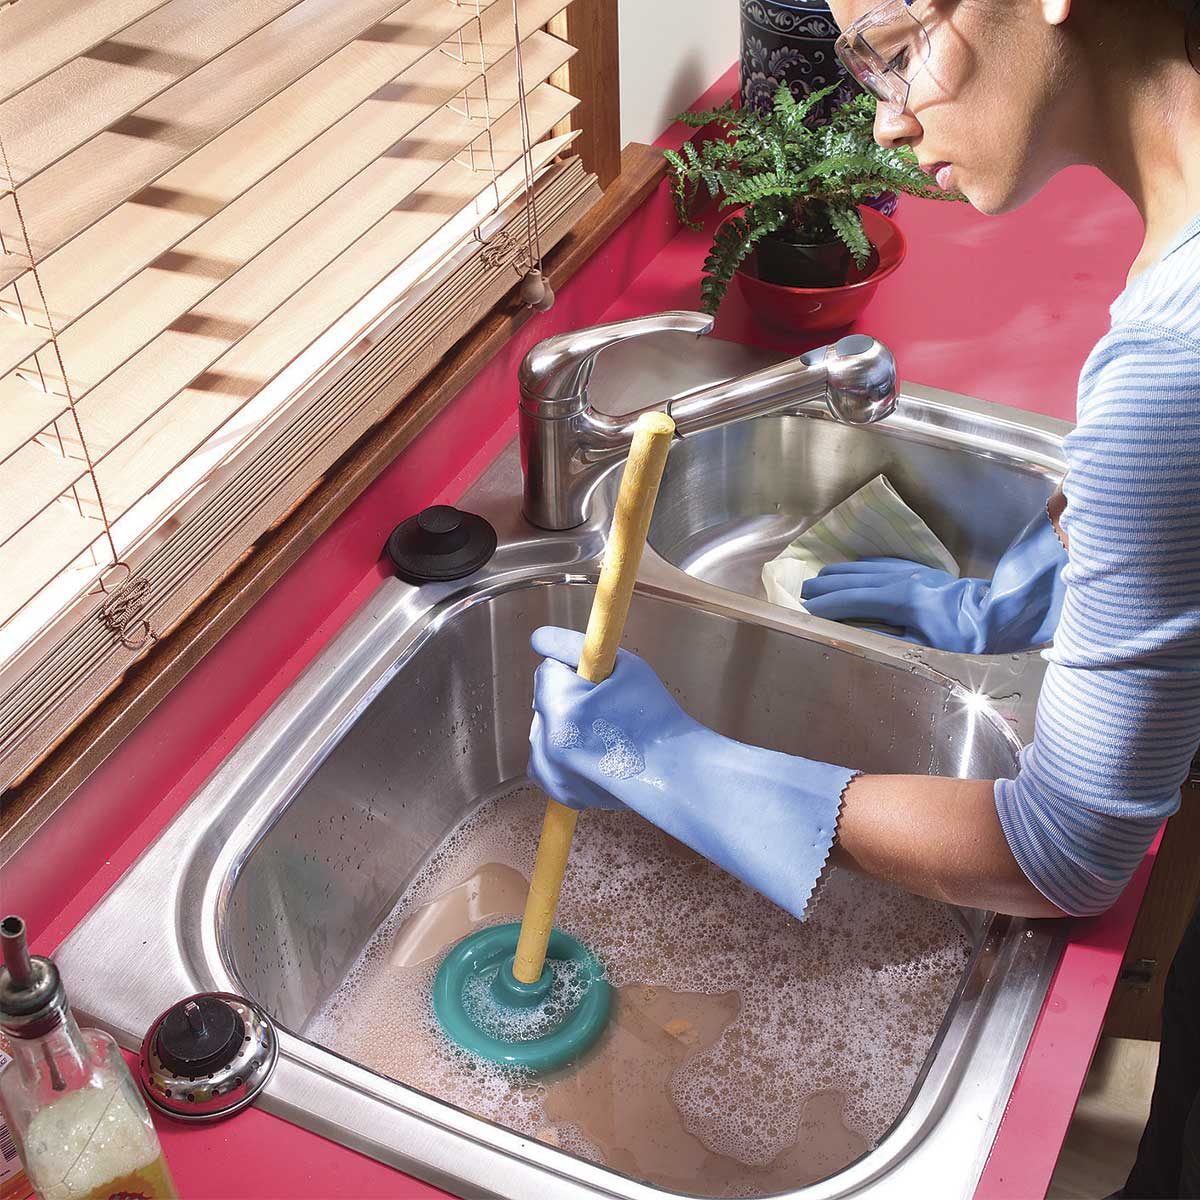
- Start by using a plunger. Ensure that the sink is filled with enough water to cover the plunger. Place the plunger over the drain, making sure it forms a tight seal.
- Push and pull the plunger vigorously, creating suction to loosen the clog. Repeat this motion several times, and then quickly pull the plunger off the drain. If the water drains, you have successfully unclogged the sink. If not, proceed to the next step.
- If the plunger doesn’t work, try using a plumber’s snake or drain auger. Insert the snake into the drain and rotate it to break up the clog. Push the snake further into the pipe until you feel resistance, and then rotate it again to dislodge the obstruction. Continue this process until the clog is cleared.
- If the clog persists, you may need to remove the P-trap. Place a bucket beneath the sink to catch any water or debris. Locate the P-trap, which is a U-shaped pipe beneath the sink.
- Use a pipe wrench to loosen the nuts on either end of the P-trap and remove it. Be careful as water and debris may spill out. Clean out any accumulated debris from the trap.
- Inspect the drain pipe and remove any debris or clogs. Once cleaned, reassemble the P-trap, ensuring the nuts are securely tightened.
- Once you’ve cleared the clog, run hot water down the drain to flush out any remaining debris.
Preventing future clogs can be as simple as using a sink strainer to catch food particles and regularly cleaning the sink and drain. Avoid pouring grease or oil down the drain, as they can solidify and cause blockages. Additionally, running hot water through the drain regularly can help prevent grease and debris buildup.
If you’re unable to unclog the sink using these methods or if the clog is recurring, it may be necessary to consult a professional plumber to address the issue more comprehensively.
If your kitchen sink is clogged, try using a plunger to clear the blockage. Make sure to cover the overflow opening with a wet cloth before plunging to create a strong seal.
Read more: How To Fix A Sink
Repairing a Leaky Kitchen Sink
A leaky kitchen sink can be a frustrating and wasteful problem. Fortunately, many leaks can be fixed relatively easily. Here is a step-by-step guide to help you repair a leaky kitchen sink:
- Turn off the water supply to the sink. This can typically be done by shutting off the valves located beneath the sink or by turning off the main water supply.
- Inspect the faucet for any visible signs of leakage. Look for dripping water, water pooling around the base of the faucet, or moisture on the handles.
- If the leak is coming from the faucet spout, you may need to replace the cartridge or the O-rings. Consult the manufacturer’s instructions or the faucet manual to identify the specific parts that need replacement.
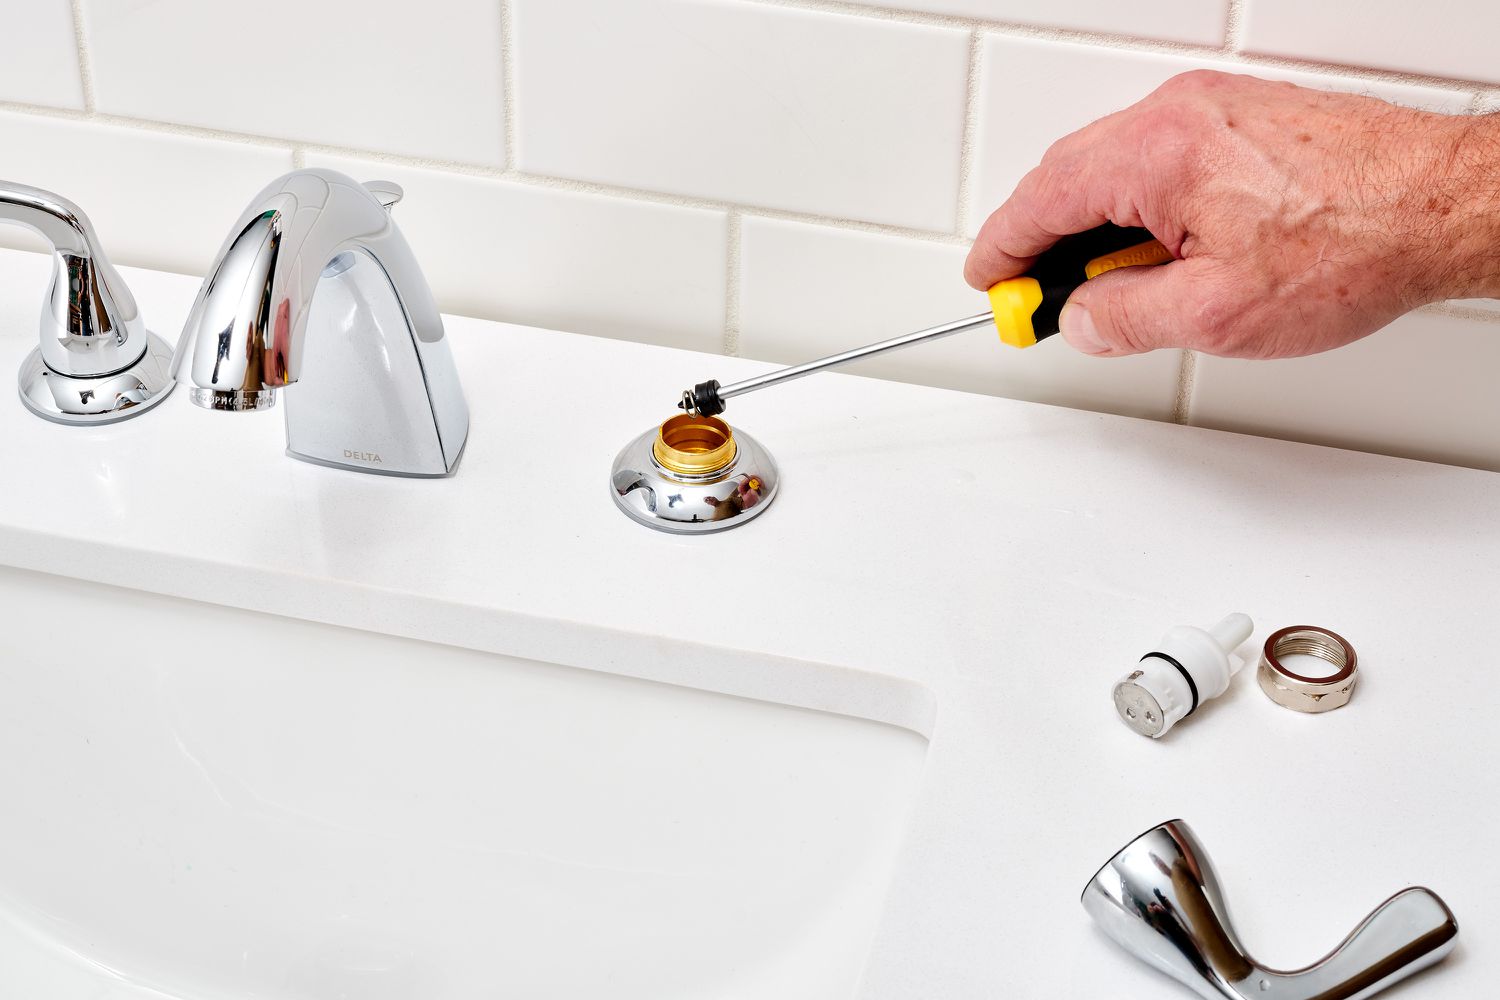
- To replace the cartridge, start by removing the handle. This may involve unscrewing a decorative cap or lever. Use an Allen wrench or a screwdriver to remove the handle’s retaining screw.
- Once the handle is removed, unscrew the bonnet nut or retaining ring. This will allow you to access and remove the cartridge. Pull out the old cartridge and replace it with a new one of the same model.
- For a leaking base or handles, you may need to reseal or replace the faucet’s O-rings. To do this, remove the handle and unscrew the bonnet nut or retaining ring to access the O-rings. Replace them with new ones and reassemble the faucet.
- If the leak is occurring around the edges of the sink, you may need to repair the sealant. Use a putty knife to remove the old caulk or sealant around the sink’s edge. Clean the area thoroughly and apply a fresh layer of plumber’s putty or silicone caulk to create a watertight seal.
- Once you have made the necessary repairs, turn on the water supply and check for any leaks. If you notice any leaks, tighten the connections or repeat the repair steps as needed.
If you’re unsure about which parts to replace or are dealing with a complex leak, it may be best to consult a professional plumber. They can provide expert guidance and ensure that the leak is repaired correctly.
Regularly maintaining your kitchen sink and addressing leaks promptly can help prevent further damage and save water in the long run. Remember to periodically check for leaks and address them promptly to keep your kitchen sink in optimal working condition.
Replacing a Kitchen Sink Drain
If you’re experiencing issues with your kitchen sink drain, such as leaks or improper functioning, it may be necessary to replace the drain assembly. Here is a step-by-step guide to help you replace a kitchen sink drain:
- Before starting any work, turn off the water supply to the sink. You can usually find shut-off valves beneath the sink or turn off the main water supply.
- Place a bucket or pan beneath the sink to catch any water that may spill out during the process.
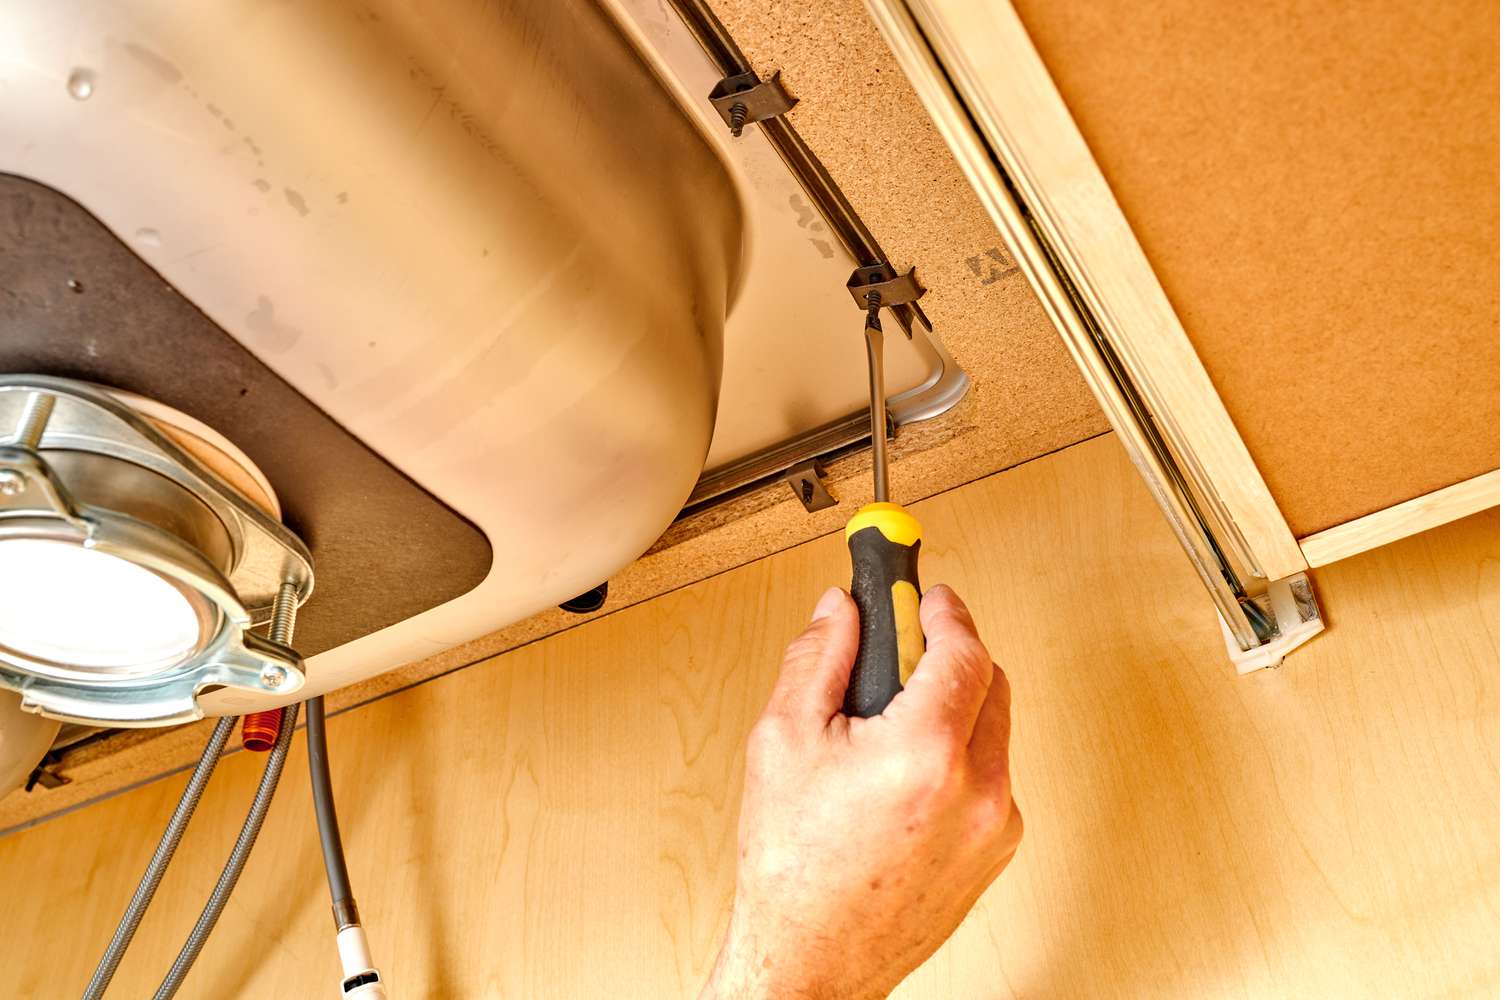
- Underneath the sink, locate the locking nut that secures the drain assembly in place. Use a pipe wrench to loosen and remove the nut, turning it counterclockwise.
- Gently separate the drain assembly from the sink basin. You may need to apply some pressure or wiggle it to loosen it completely. Be careful not to damage the sink or surrounding pipes.
- Inspect the area around the sink drain for any residual putty or old sealing material. Use a putty knife or scraper to clean the surface thoroughly.
- Apply a layer of plumber’s putty or silicone sealant around the flange of the new drain assembly. This will create a watertight seal when it’s installed.
- Insert the new drain assembly into the sink basin, ensuring that the flange sits flush against the sink surface.
- From underneath the sink, secure the drain assembly by fastening the locking nut. Use a pipe wrench to tighten the nut securely, but avoid overtightening, as this could damage the sink or drain.
- Reconnect the drain pipe to the new drain assembly. Check for any leaks and ensure that all connections are tight.
- Turn on the water supply and test the sink drain for proper functionality. Run water down the drain and inspect for any leaks around the newly installed drain assembly.
If you’re uncomfortable performing this task or encounter any complications, it’s always a good idea to consult a professional plumber. They can ensure that the replacement is done correctly and troubleshoot any issues that may arise.
Maintaining a healthy kitchen sink includes proper installation and maintenance. By replacing a faulty drain, you can restore the functionality of your sink and prevent any potential water damage in your kitchen.
Maintaining a Healthy Kitchen Sink
A clean and well-maintained kitchen sink not only enhances the overall appearance of your kitchen but also ensures the optimal functioning of the sink. Here are some essential tips for maintaining a healthy kitchen sink:
- Use a Sink Strainer: Install a sink strainer in the drain to catch food particles, debris, and other solids. This will prevent them from clogging the drain and causing potential plumbing issues.
- Clean Regularly: Clean the sink regularly to remove any buildup or residue. Use a mild soap or dishwashing liquid and a non-abrasive sponge or cloth to gently scrub the sink’s surface.
- Prevent Stains and Scratches: Avoid using harsh chemicals, abrasive cleaners, or scrub brushes that can cause stains or scratches on the sink’s surface. Opt for non-abrasive cleaners and soft cloths or sponges instead.
- Address Odors: If you notice unpleasant odors emanating from your kitchen sink, it could be due to food particles trapped in the drain. Pour boiling water down the drain or use a mixture of baking soda and vinegar to eliminate odors.
- Keep it Dry: After each use, wipe down your sink with a clean, dry cloth to prevent water spots and mineral buildup. Standing water can also attract bacteria and lead to mold or mildew growth.
- Avoid Pouring Grease or Oil: Pouring grease, oil, or fat down the drain can lead to clogs and cause damage to your plumbing system. Dispose of these substances in a separate container and throw them in the trash.
- Regularly Check for Leaks: Inspect your kitchen sink periodically for any signs of leaks. Check the faucets, handles, and pipe connections for any drips or pooling water. Repair leaks promptly to prevent further damage.
- Run Hot Water: To help prevent grease and debris buildup in the pipes, run hot water down the drain regularly. This can help flush out any lingering particles and keep your sink drain clear.
- Be mindful of what goes in the Sink: Avoid putting hard or fibrous substances, such as coffee grounds, bones, vegetable peels, or pasta, down the sink. Dispose of them in the trash or compost them instead.
Following these simple maintenance tips will ensure that your kitchen sink remains in optimal condition. By keeping your sink clean and well-maintained, you can minimize the risk of clogs, leaks, and other plumbing issues, and enjoy a hygienic and functional kitchen environment.
Conclusion
Maintaining a well-functioning and clean kitchen sink is essential for a smooth and efficient daily routine. By understanding common kitchen sink problems and having the knowledge to address them, you can keep your sink in optimal condition and avoid costly repairs. From unclogging a stubborn drain to repairing a leaky faucet, you now have the necessary information to tackle these issues with confidence.
Remember, prevention is key to maintaining a healthy kitchen sink. Using a sink strainer, cleaning the sink regularly, and avoiding pouring grease or oil down the drain will go a long way in preventing clogs and other plumbing complications. Additionally, being vigilant and addressing leaks promptly can help prevent further damage and save water in the long run.
Don’t forget to equip yourself with the right tools and materials, such as an adjustable wrench, plunger, and plumber’s snake, to make the repair process smoother and more efficient. However, if you’re unsure or encounter complex issues, it’s always best to seek the assistance of a professional plumber.
Maintaining a healthy kitchen sink is not just about functionality; it also contributes to the overall cleanliness and hygiene of your kitchen. By following the maintenance tips outlined in this article, you can ensure that your kitchen sink remains in optimal condition, allowing you to enjoy a clean and functional sink for years to come.
So, roll up your sleeves, gather your tools, and tackle those kitchen sink problems head-on. With the knowledge and guidelines provided here, you’ll be able to fix common issues and maintain a healthy and efficient kitchen sink for the long term.
Frequently Asked Questions about How To Fix The Kitchen Sink
Was this page helpful?
At Storables.com, we guarantee accurate and reliable information. Our content, validated by Expert Board Contributors, is crafted following stringent Editorial Policies. We're committed to providing you with well-researched, expert-backed insights for all your informational needs.


0 thoughts on “How To Fix The Kitchen Sink”