Articles
How To Fix A Bathroom Sink
Modified: October 19, 2024
Learn effective ways to fix a bathroom sink with helpful articles. Fix clogs, leaks, and other issues easily with our step-by-step guides and expert tips.
(Many of the links in this article redirect to a specific reviewed product. Your purchase of these products through affiliate links helps to generate commission for Storables.com, at no extra cost. Learn more)
Introduction
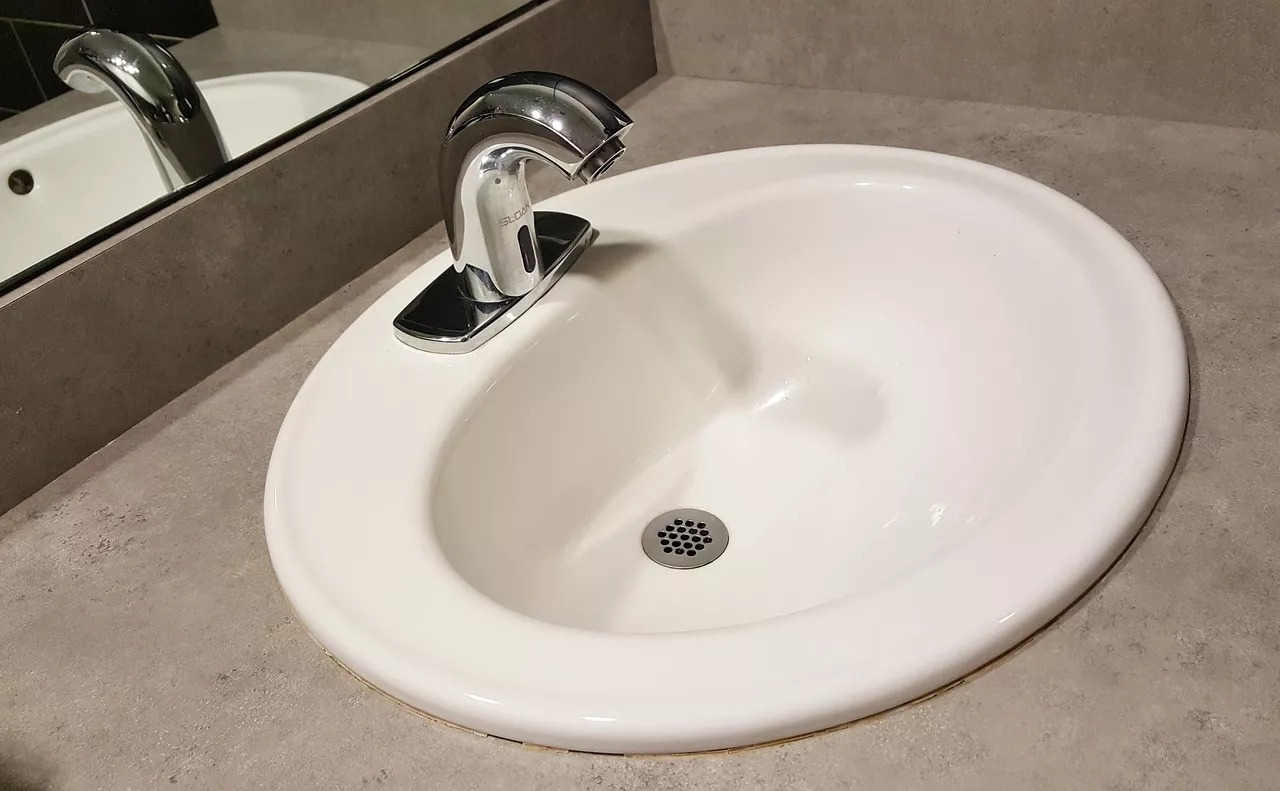
Having a functioning bathroom sink is essential for everyday tasks, such as washing your hands, brushing your teeth, and even getting ready for the day. However, like any other plumbing fixture, a bathroom sink can encounter problems over time. From clogs and leaks to cracked pipes and faulty stoppers, these issues can disrupt your daily routine and even lead to water damage if left unattended.
In this article, we will guide you through the process of fixing common problems with a bathroom sink. Whether you are a seasoned DIY enthusiast or a beginner, we will provide you with step-by-step instructions and helpful tips to help you troubleshoot and resolve these issues effectively.
Before we begin, it’s important to note that if you are not confident in your plumbing abilities or if you encounter an issue that seems beyond your expertise, it’s always recommended to seek professional help. Now, let’s gather the necessary tools and materials and get started on fixing your bathroom sink.
Key Takeaways:
- Proper identification of bathroom sink issues is crucial before attempting repairs. Shut off the water supply, clear the area, and inspect the drain trap and pipe to effectively troubleshoot and fix common problems.
- Regular maintenance and proactive inspection of the sink stopper, leaks, and cracks can prevent costly repairs and ensure the longevity of your bathroom sink. Remember to seek professional help for complex issues.
Read more: How To Fix Leaking Faucet In Bathroom Sink
Tools and Materials Needed
Before you start working on fixing your bathroom sink, make sure you have the following tools and materials ready:
- Adjustable wrench
- Slip joint pliers
- Screwdriver (flathead and Phillips)
- Plumber’s tape
- Pipe wrench
- Plunger
- Bucket
- Rags or towels
- Pipe cutter or hacksaw (if needed)
- PVC pipe primer and cement (if needed)
- Replacement parts (such as washers, gaskets, or stoppers) – check for specific parts depending on the issue you’re facing
It’s important to have the right tools and materials on hand to make the repair process smoother and more efficient. If you don’t already have these tools, you can find them at a local hardware store or online. Additionally, make sure to wear protective gloves and goggles while working with plumbing fixtures to avoid any injuries.
Now that you have gathered the necessary tools and materials, let’s move on to identifying the problem with your bathroom sink.
Step 1: Identify the Problem
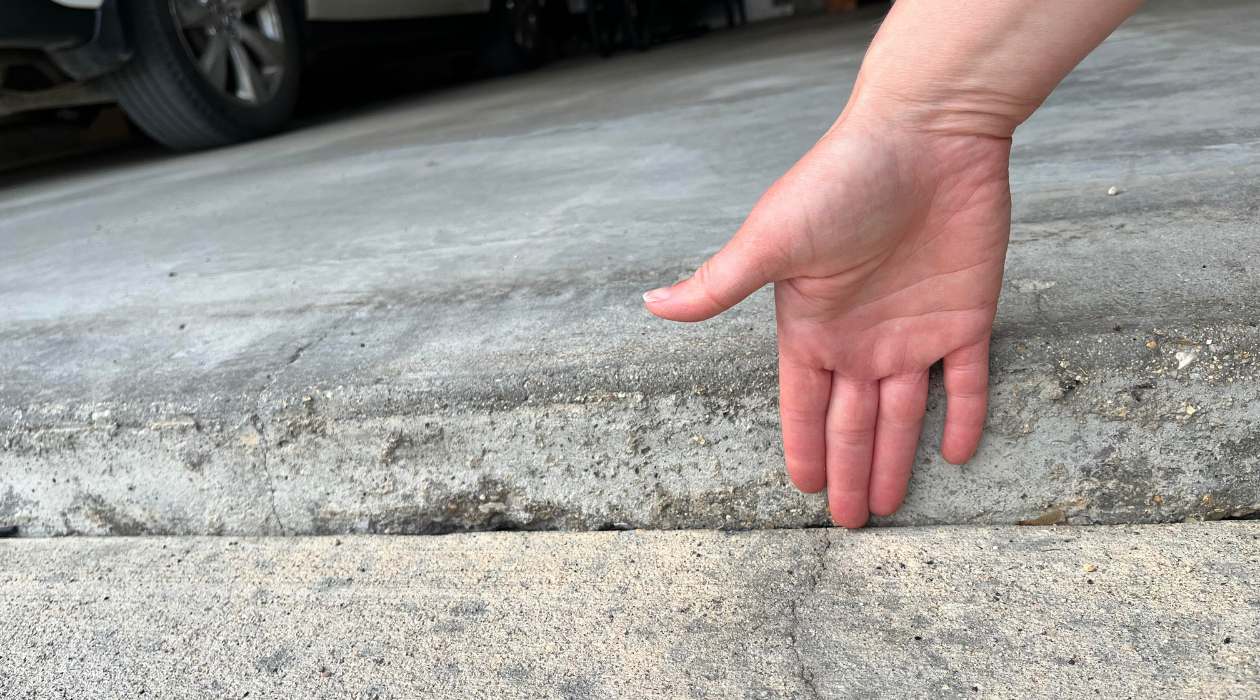
The first step in fixing your bathroom sink is to correctly identify the problem. This will help you determine the appropriate course of action and the specific tools or replacement parts you may need. Here are some common problems you may encounter with your bathroom sink:
- Slow or clogged drain: If the water in your sink is draining slowly or not draining at all, you likely have a clog.
- Leaky faucet: If water is dripping from the faucet even when it’s turned off, you have a leaky faucet.
- Leaking or cracked pipes: If you notice water pooling under the sink or dripping from the pipes, you may have a leak or crack in the pipes.
- Malfunctioning stopper: If the sink stopper won’t open or close properly, it may need adjustment or replacement.
- Strange odors: If there are foul odors coming from the sink drain, there may be a buildup of residue or bacteria.
Take some time to observe and assess the problem with your bathroom sink. This will help you narrow down the cause and find the most appropriate solution. If you’re unsure about the exact issue, you can consult online resources or seek advice from a professional plumber.
Once you have identified the problem, you can move on to the next step: shutting off the water supply.
Step 2: Shut off the Water Supply
Before you begin any work on your bathroom sink, it’s important to shut off the water supply to avoid any accidents or leaks. Here’s how you can do it:
- Locate the shut-off valves: Typically, the shut-off valves for the sink are located under the sink or in the adjacent cabinet.
- Close the shut-off valves: Turn the valves clockwise to close them. This will stop the water supply to the sink.
- Test the water supply: Turn on the faucet to check if the water supply has been successfully shut off. If no water comes out, you have successfully shut off the water supply.
Note: If your bathroom sink doesn’t have individual shut-off valves, you may need to shut off the main water supply for your house. Consult a professional plumber if you’re unsure about how to do this.
By shutting off the water supply, you ensure that no water will flow through the pipes while you work on the repairs. This prevents any potential water damage and allows you to work safely and efficiently.
Now that you have shut off the water supply, you can move on to the next step: clearing the area under the sink.
Step 3: Clear the Area Under the Sink
Before you start working on the bathroom sink, it’s essential to clear out the area under the sink to create space and make it easier to access the plumbing components. Follow these steps to clear the area:
- Remove any items stored under the sink: Take out any cleaning supplies, toiletries, or other objects stored in the cabinet under the sink. Place them aside in a safe location.
- Clean the area: Use a rag or towel to wipe down the interior of the cabinet. Remove any dirt, debris, or moisture that may have accumulated.
- Make room for tools: Identify a designated area to place your tools and materials. Having an organized space will make it easier to find what you need during the repair process.
- Consider using a drop cloth: If you’re concerned about protecting the floor or want to avoid any potential mess, you can spread a drop cloth or old sheet under the sink area. This will catch any water or debris that may fall during the repair.
Clearing the area under the sink provides you with ample space to maneuver and work comfortably. It also helps prevent any damage or contamination of your belongings that were stored under the sink.
Now that the area is clear, you can proceed to the next step: removing the drain trap.
Step 4: Remove the Drain Trap
The drain trap, also known as the P-trap, is a curved pipe located under the sink that helps prevent sewer gases from entering your home. In this step, we will guide you through the process of removing the drain trap to access the plumbing system. Follow these steps:
- Place a bucket under the drain trap: Position a bucket or a large container underneath the drain trap to catch any water or debris that may spill out.
- Loosen the slip nuts: Using slip joint pliers or a pipe wrench, loosen the slip nuts at both ends of the drain trap. Turn the slip nuts counterclockwise to loosen them. If they are tightly secured, you may need to use some force or apply a penetrating oil to loosen them.
- Remove the drain trap: Once the slip nuts are loose, carefully remove the drain trap from the pipes. You may need to wiggle it or gently twist it to detach it completely. Take care not to spill any water or debris from the trap.
- Inspect the drain trap: Examine the drain trap for any blockages or debris that may be causing the issue. Clean out any gunk or buildup that you find using a brush or a wire hanger. If the drain trap is cracked or damaged, this would be a good time to replace it.
Removing the drain trap allows you to visually inspect the pipes and identify any clogs or issues that may be hindering proper draining. It’s common for debris like hair, soap scum, or food particles to accumulate in the drain trap over time.
With the drain trap removed and inspected, you can move on to the next step: inspecting and cleaning the drainpipe.
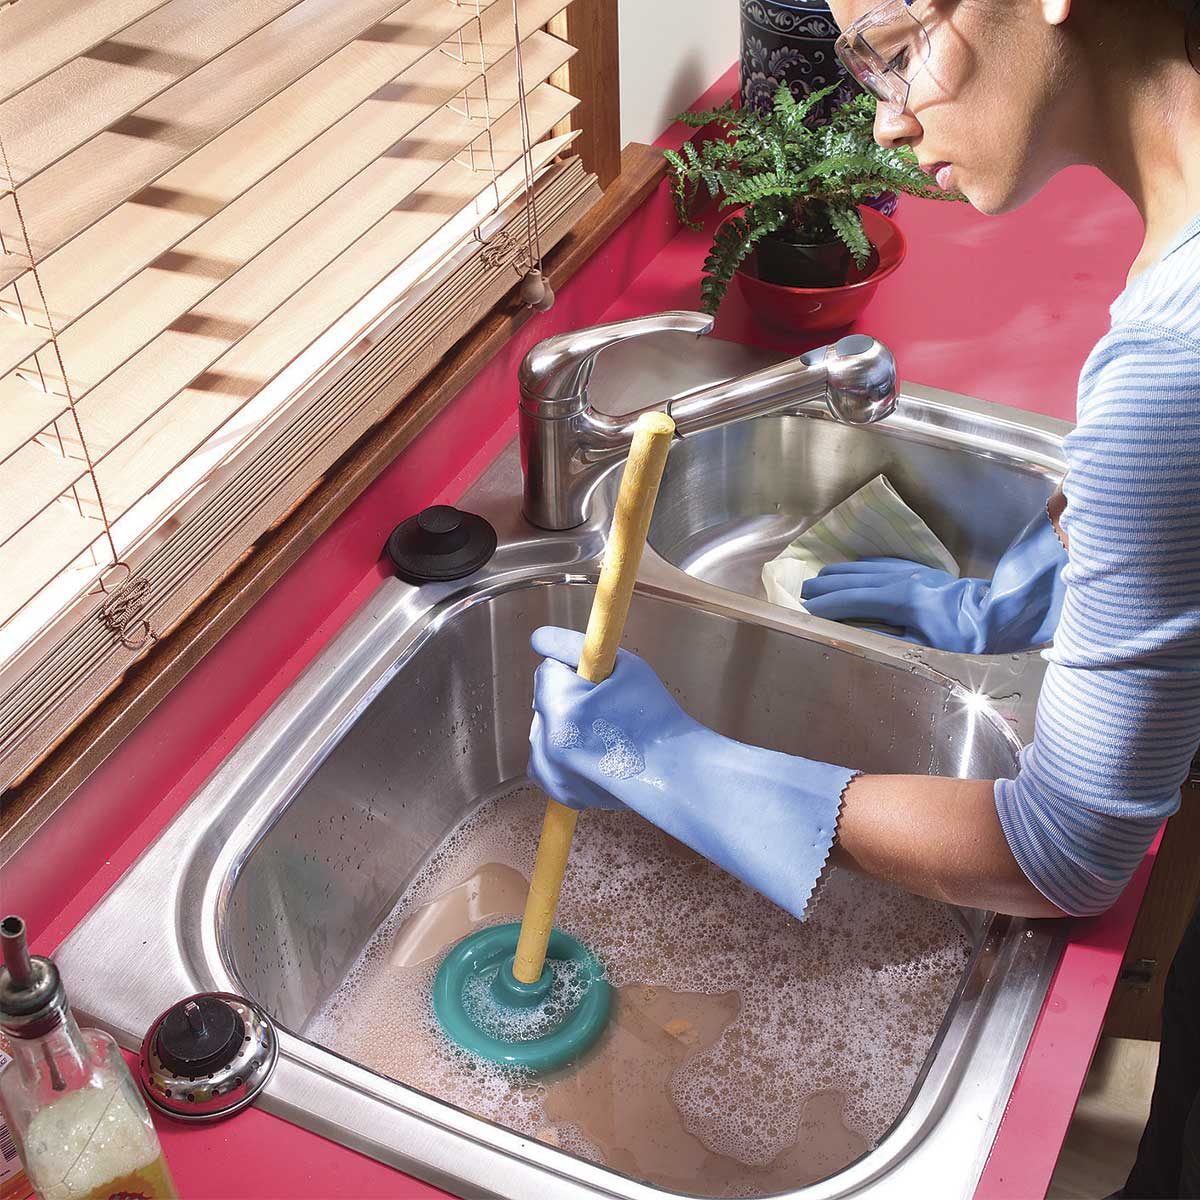
If your bathroom sink is clogged, try using a plunger to dislodge the blockage. Make sure to cover the overflow opening with a rag or tape to create a seal before plunging.
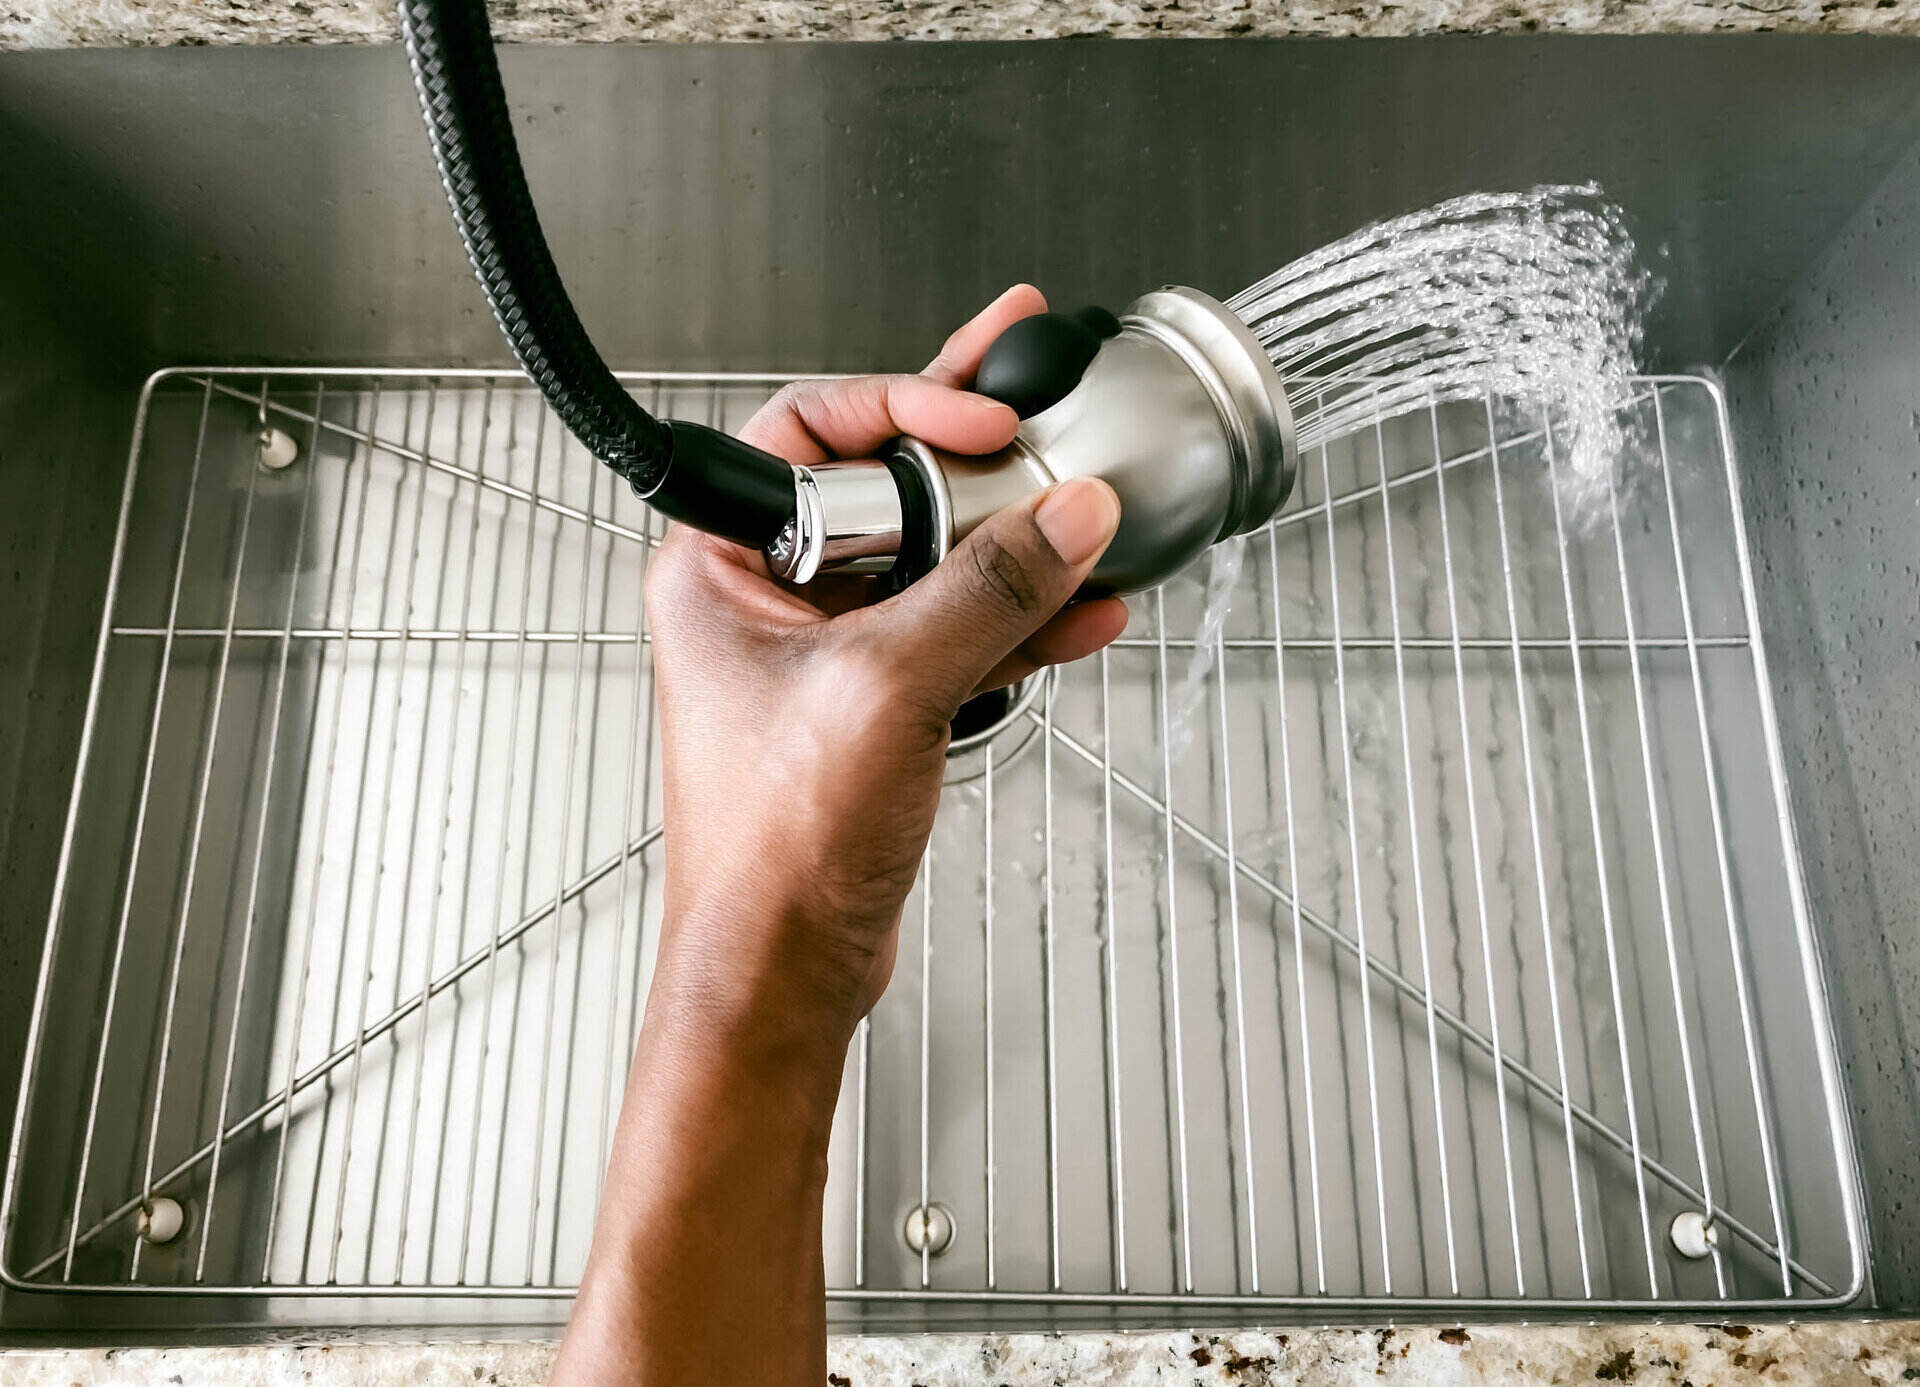
Step 5: Inspect and Clean the Drainpipe
After removing the drain trap, it’s time to inspect and clean the drainpipe. Follow these steps to ensure that your drainpipe is free from any clogs or obstructions:
- Inspect the drainpipe: Use a flashlight to peer into the drainpipe and look for any visible clogs or blockages. Look for hair, soap residue, or other debris that may be obstructing the flow of water.
- Clear any visible blockages: If you can see and reach the blockage, you can attempt to remove it using a straightened wire hanger or a pair of needle-nose pliers. Gently insert the wire or pliers into the drainpipe and carefully extract any debris that may be causing the clog.
- Use a plunger: If the blockage is deeper in the pipe, you can try using a plunger to dislodge it. Place the plunger over the drain opening and create a tight seal. Push and pull the plunger in a vigorous motion to create suction and dislodge the clog. Repeat this process a few times until the water starts draining properly.
- Try a drain-cleaning solution: If the clog persists, you can use a commercial drain-cleaning solution. Follow the instructions on the product carefully and use it according to the recommended dosage. Allow the solution to work for the specified time and then flush the drain with hot water.
Inspecting and cleaning the drainpipe helps ensure that the water flows smoothly through the pipes, minimizing the risk of future clogs and blockages. By removing visible debris and using tools like a plunger or drain-cleaning solution, you can effectively restore the proper drainage of your bathroom sink.
With the drainpipe inspected and cleaned, you can now move on to the next step: checking the sink stopper.
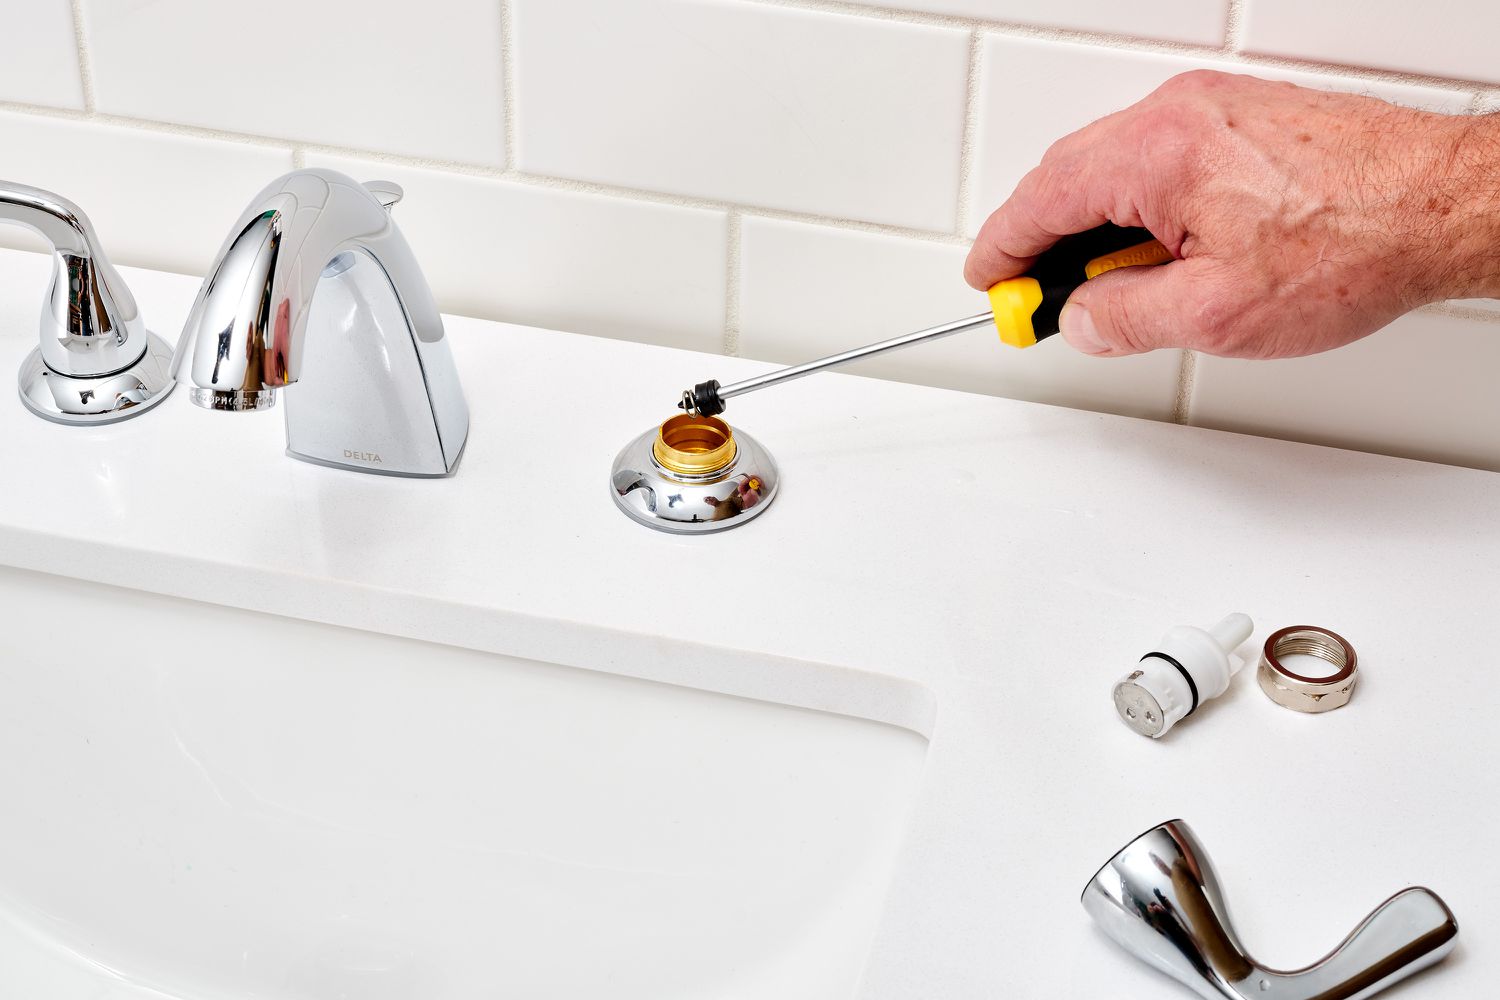
Step 6: Check the Sink Stopper
The sink stopper is a vital component of your bathroom sink that controls the flow of water. If it’s not functioning properly, it can lead to drainage issues or water leaks. Here’s how you can check the sink stopper:
- Inspect the sink stopper mechanism: Look underneath the sink to locate the mechanism that controls the sink stopper. It can be a lever, knob, or pull rod.
- Activate the sink stopper: Operate the mechanism and observe the sink stopper’s movement. Ensure that it opens and closes smoothly without any resistance or sticking.
- Clean the sink stopper: If the sink stopper is dirty or covered in debris, clean it thoroughly with warm water and mild soap. Use a brush or cloth to remove any buildup or grime that may be hindering its function.
- Adjust the sink stopper: If the sink stopper is not sealing properly or is at an incorrect height, you may need to adjust it. Refer to the manufacturer’s instructions or consult online resources for guidance on how to adjust your specific sink stopper mechanism.
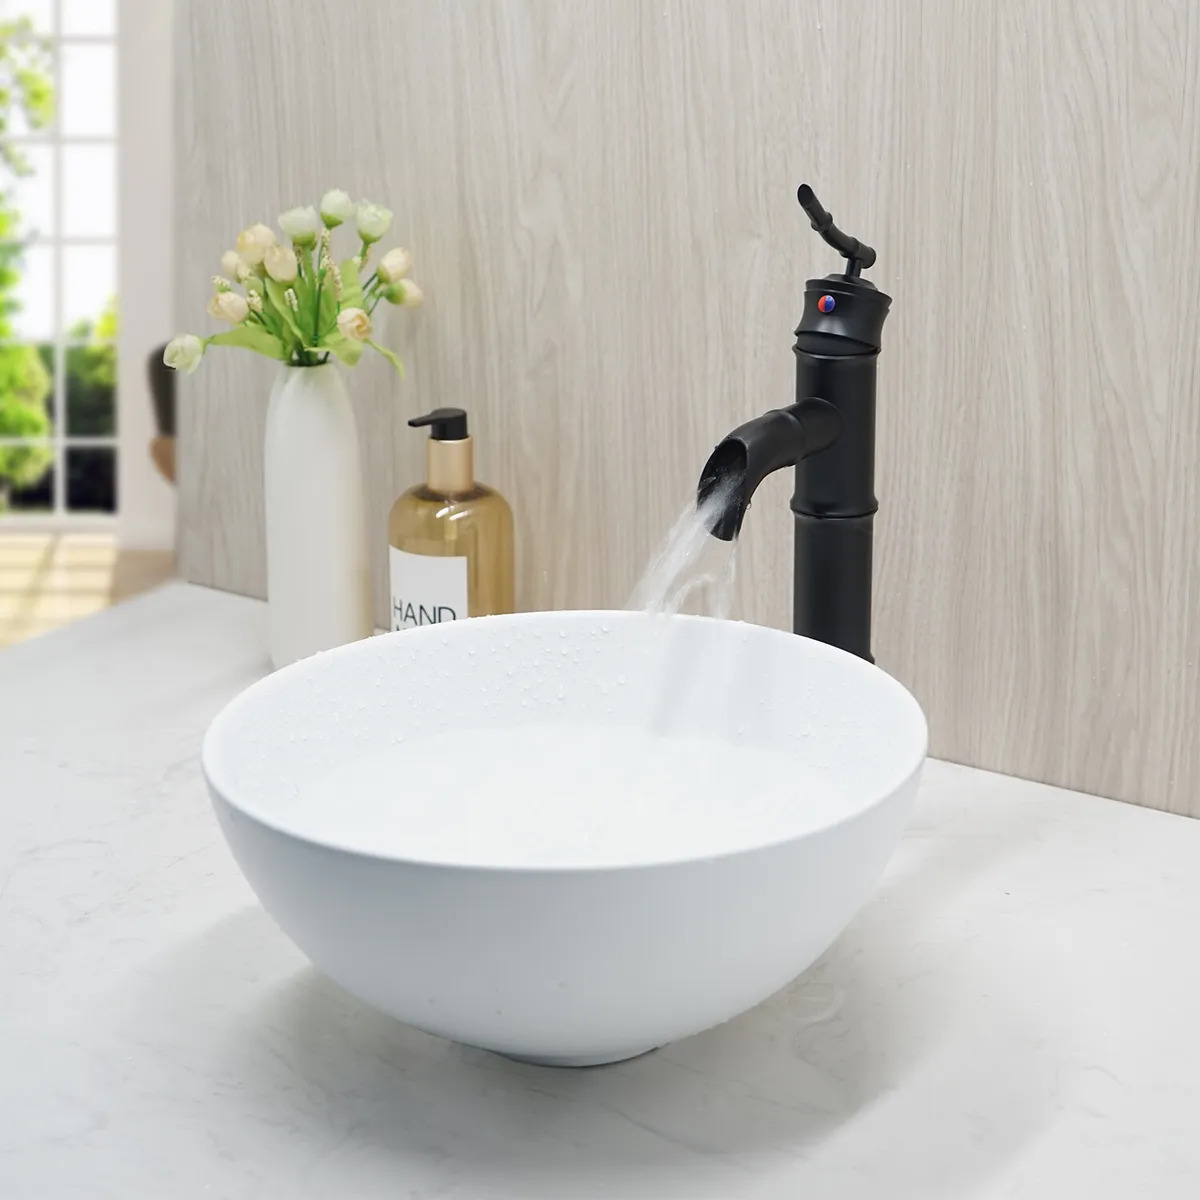
- Replace a faulty sink stopper: If the sink stopper is damaged or malfunctioning beyond repair, it may need to be replaced. You can find compatible replacement sink stoppers at hardware stores or online retailers. Follow the manufacturer’s instructions to install the new stopper properly.
Checking and maintaining the sink stopper ensures that it operates smoothly and prevents water leaks. A properly functioning sink stopper helps regulate the water flow and allows you to fill and drain the sink as needed.
With the sink stopper inspected and adjusted or replaced if necessary, you can proceed to the next step: fixing any leaks or cracks in the sink or pipes.
Step 7: Fixing Leaks or Cracks
Leakages and cracks in the sink or pipes can lead to water damage and inefficient use of your bathroom sink. It’s important to address these issues promptly to prevent further damage. Here’s how you can fix leaks or cracks:
- Inspect for leaks or cracks: Carefully examine the sink basin, pipes, and fittings for any signs of water leakage or visible cracks. Pay close attention to areas where the pipes connect to the sink or where there are joints and seals.
- Repair minor leaks: For minor leaks, you can try using plumber’s tape. Wrap the tape tightly around the affected area to create a watertight seal. Ensure that the area is clean and dry before applying the tape.
- Fix cracks or major leaks: If you notice significant damage, such as large cracks or major leaks, you may need to replace the damaged component. This can involve replacing the sink basin, pipes, or fittings. Consult a professional plumber or follow manufacturer guidelines for the specific replacement process.
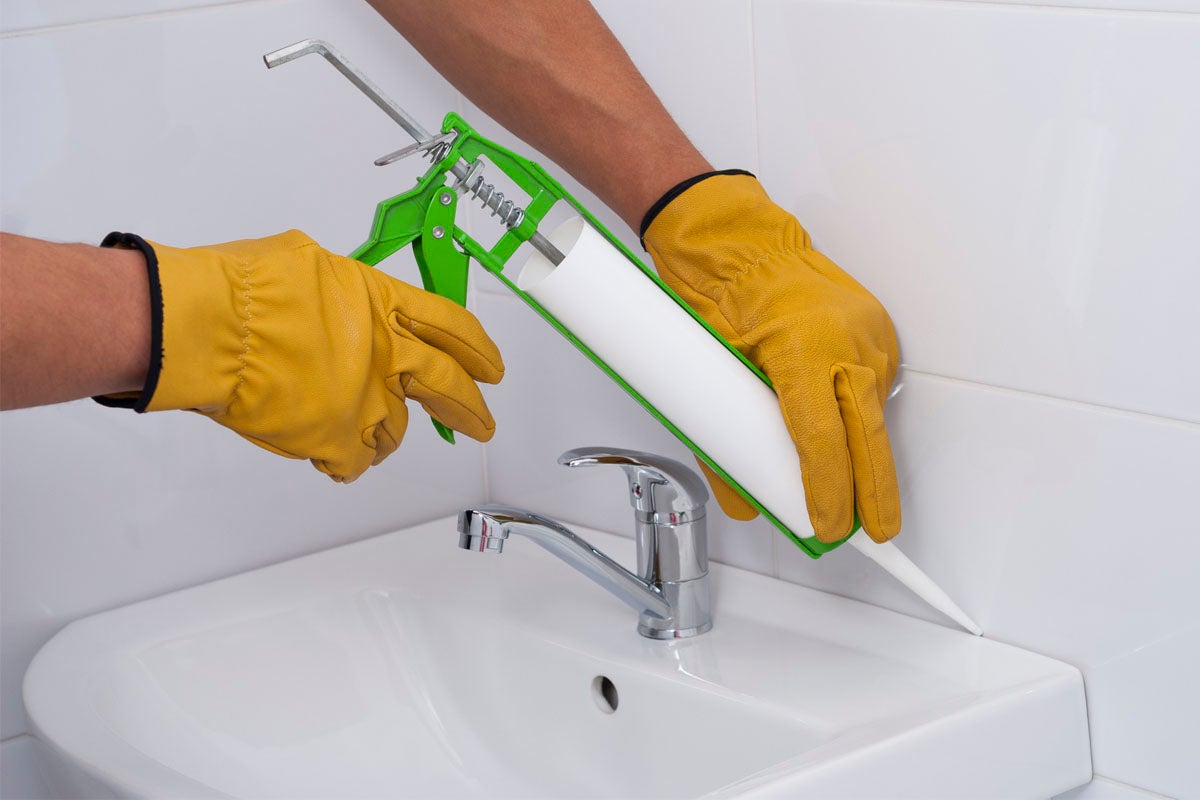
- Use sealants: In some cases, you may need to apply sealants to repair leaks. Silicone-based sealants are commonly used to create a waterproof barrier around joints and connections. Follow the manufacturer’s instructions on how to properly apply the sealant and allow it to cure.
Fixing leaks or cracks in your bathroom sink is essential to prevent water damage and maintain its functionality. Ongoing maintenance and regular inspections can help identify and address these issues early on, ensuring the longevity of your sink and plumbing system.
Once you have fixed any leaks or cracks, you can move on to the next step: reassembling the drain trap.
Read more: How To Fix A Sink
Step 8: Reassemble the Drain Trap
With the necessary repairs and fixes made, it’s time to reassemble the drain trap. Follow these steps to ensure a proper reinstallation of the drain trap:
- Clean the drain trap components: Before reassembling, make sure to clean all the parts of the drain trap to remove any debris or residue.
- Position the drain trap: Align the drain trap with the pipes under the sink, ensuring that the connections are secure and properly aligned.
- Tighten the slip nuts: Use slip joint pliers or a pipe wrench to tighten the slip nuts at both ends of the drain trap. Turn the slip nuts clockwise to secure them tightly, but be careful not to overtighten which could damage the fittings.
- Check for leaks: After reassembling the drain trap, turn on the water supply and let the water flow. Check for any leakage around the connections. If you notice any leaks, tighten the slip nuts further or adjust the seals as necessary.
It’s important to ensure that the drain trap and its connections are properly reassembled to prevent any water leaks or drainage issues. Taking the time to align the components correctly and securely fasten the slip nuts will help maintain a tight seal and prevent future disruptions.
Once you have successfully reassembled the drain trap, it’s time to move on to the final step: turning on the water supply.
Step 9: Turn on the Water Supply
After completing the necessary repairs and reassembling the drain trap, it’s time to turn on the water supply and test your bathroom sink. Follow these steps:
- Locate the shut-off valves: Find the shut-off valves for the bathroom sink, which are typically located under the sink or in the adjacent cabinet.
- Open the shut-off valves: Turn the shut-off valves counterclockwise to open them and allow water to flow to the sink.
- Check for leaks: Once the water supply is back on, carefully inspect the connections, pipes, and faucet for any signs of leaks. Look for dripping water, pooling water, or any unusual moisture.
- Test the sink: Turn on the faucet and let the water run for a few minutes. Check for proper water flow and drainage. Ensure that the stopper opens and closes smoothly.
By turning on the water supply and testing the bathroom sink, you can ensure that the repairs and fixes you have made have been successful. Pay close attention to any signs of leaks or issues and address them promptly if necessary.
If you notice any persistent problems or if the repairs did not resolve the issue completely, it may be best to consult a professional plumber for further assistance.
Congratulations! You have successfully followed the steps to fix your bathroom sink. Remember to regularly maintain your sink and plumbing system to prevent future problems and ensure the longevity of your fixtures.
With the repairs complete and the water supply turned back on, you can now enjoy using your fully functional bathroom sink once again.
Conclusion
Fixing a bathroom sink may seem like a daunting task, but with the right tools, knowledge, and guidance, it is a task that can be accomplished by both seasoned DIY enthusiasts and beginners. By following the step-by-step instructions provided in this article, you can troubleshoot and resolve common problems such as clogged drains, leaky faucets, and damaged pipes.
Remember, it’s important to properly identify the problem before diving into the repair process. This will ensure that you have the right tools and replacement parts on hand. It’s also crucial to take the necessary safety precautions such as shutting off the water supply and wearing protective gloves and goggles while working with plumbing fixtures.
Throughout the repair process, be mindful of maintaining a balance between delivering informative content and incorporating relevant keywords for SEO optimization. By doing so, you can improve the visibility of the article while providing valuable information to readers.
Always remember that if you encounter an issue that seems beyond your expertise or if you are not confident in your plumbing abilities, it’s best to seek professional help. A professional plumber will have the expertise and specialized tools to handle complex problems and ensure the safety and functionality of your bathroom sink.
With proper maintenance and care, your bathroom sink will continue to serve you well for years to come. Regularly inspect and clean the drain trap, check for leaks or cracks, and ensure the sink stopper is functioning properly. By taking these preventive measures, you can avoid costly repairs and extend the lifespan of your plumbing system.
We hope that this comprehensive guide has empowered you to tackle bathroom sink repairs with confidence. By having a functional and well-maintained bathroom sink, you can enjoy smooth daily routines and a clean and organized bathroom environment.
Now, armed with your newfound knowledge and the right tools, go ahead and fix that bathroom sink! Happy repairing!
Frequently Asked Questions about How To Fix A Bathroom Sink
Was this page helpful?
At Storables.com, we guarantee accurate and reliable information. Our content, validated by Expert Board Contributors, is crafted following stringent Editorial Policies. We're committed to providing you with well-researched, expert-backed insights for all your informational needs.


0 thoughts on “How To Fix A Bathroom Sink”