
Articles
How To Fix LED Light Bulb
Modified: August 26, 2024
Looking for articles on how to fix LED light bulbs? Find helpful tips and step-by-step guides on troubleshooting and repairing LED bulbs for your home or office.
(Many of the links in this article redirect to a specific reviewed product. Your purchase of these products through affiliate links helps to generate commission for Storables.com, at no extra cost. Learn more)
Introduction
Welcome to our guide on how to fix LED light bulbs. LED (Light Emitting Diode) light bulbs are known for their energy efficiency, long lifespan, and eco-friendly nature. However, just like any other electronic device, LED bulbs can encounter issues that may require some troubleshooting and repair. In this article, we will walk you through the steps to identify common problems with LED light bulbs and provide solutions to fix them.
LED light bulbs have become increasingly popular in households and commercial spaces due to their many advantages over traditional incandescent or fluorescent bulbs. They consume less energy, produce less heat, and can last for years without needing replacement. However, they are not immune to occasional malfunctions or failures.
Before resorting to buying a new LED light bulb, it’s worth trying to fix the problem yourself. Not only will this save you money but also reduce electronic waste. So, let’s dive into the steps to identify and fix LED light bulb issues.
Key Takeaways:
- Troubleshoot and repair LED light bulbs to save money, reduce electronic waste, and enjoy the benefits of energy efficiency and long lifespan. Prioritize safety and seek professional assistance if unsure.
- Regular maintenance and proper installation can extend the lifespan and maximize the performance of LED light bulbs, ensuring quality illumination for years to come.
Read more: What Is A Light Bulb
Step 1: Identifying the Issue
The first step in fixing a LED light bulb is to identify the issue. LED bulbs can experience various problems, such as flickering, dimming, or complete failure. By understanding the underlying cause, you can determine the appropriate solution.
Start by observing the behavior of the LED light bulb. Is it flickering intermittently? Does it stay dimmer than usual? Or has it completely stopped working? These observations will help you narrow down the problem.
If the LED light bulb is flickering, it may indicate an issue with the power source or the bulb itself. Flickering can be caused by incompatible dimmer switches, electronic interference, or a faulty driver in the bulb. On the other hand, if the bulb is consistently dim or not reaching its full brightness, it could be due to a voltage mismatch or a damaged driver.
If the LED light bulb is completely unresponsive and not working at all, it may be a sign of a burnt-out bulb or a faulty connection. It’s important to note that LED bulbs have a much longer lifespan than traditional bulbs, but they can still fail prematurely.
Once you have determined the nature of the issue, you can proceed to the next steps to troubleshoot and fix the specific problem with your LED light bulb.
Step 2: Troubleshooting Common Problems
Now that you have identified the issue with your LED light bulb, it’s time to troubleshoot and try to fix common problems. The following are some common LED light bulb issues and their possible solutions:
- Flickering or intermittent lighting: If your LED light bulb is flickering or the light output is inconsistent, start by checking the compatibility of the bulb and the dimmer switch. Some LED bulbs are not compatible with certain types of dimmers. If that’s the case, consider replacing the dimmer switch with one designed for LED bulbs. Additionally, make sure there are no loose connections in the wiring or the bulb socket.
- Dim or low brightness: If your LED light bulb is not reaching its full brightness or appears dimmer than usual, it could be a voltage compatibility issue. LED bulbs require a specific voltage range to operate optimally. Use a multimeter to measure the voltage at the bulb socket. If the voltage is too high or too low, consult an electrician to adjust the wiring or install a voltage stabilizer.
- Bulb not turning on: If your LED light bulb is not turning on at all, start by checking the power supply. Make sure the switch is on and the circuit breaker is not tripped. If the power supply is fine, remove the bulb and inspect it for any visible signs of damage, such as burnt-out components or loose connections. If the bulb appears to be faulty, replace it with a new one.
- Excessive heat: LED light bulbs are designed to produce minimal heat, but if you notice excessive heat coming from the bulb, it could be a sign of a problem. Ensure that the bulb is properly ventilated and not enclosed in a fixture that restricts airflow. Excessive heat can shorten the lifespan of the bulb, so consider replacing it if the issue persists.
- Buzzing or humming noise: If your LED light bulb emits a buzzing or humming noise, it could indicate an issue with the driver or the power supply. Check for loose connections and ensure that the bulb is securely screwed into the socket. If the noise persists, it may be necessary to replace the bulb or seek professional assistance.
Remember to exercise caution when troubleshooting LED light bulbs. Always switch off the power supply before inspecting or working on the bulbs to avoid electrical shock. If you are unsure or uncomfortable with performing the troubleshooting steps yourself, it’s best to seek assistance from a qualified electrician.
Step 3: Checking the Power Supply
One of the main reasons for LED light bulb issues is a problem with the power supply. Before assuming that the bulb is faulty, it’s essential to check the power supply to rule out any potential issues. Here’s how you can do it:
- Ensure the power is turned on: It may sound obvious, but sometimes the issue with a LED light bulb not working is simply that the power switch is turned off. Double-check that the switch is in the “on” position before proceeding.
- Check the circuit breaker: If the LED light bulb is not turning on, there may be a tripped circuit breaker. Locate the electrical panel in your home or office and check if any breakers have been tripped. If you find a tripped breaker, flip it back into the “on” position and test the bulb again.
- Inspect the wiring: Loose or faulty wiring can cause LED light bulb issues. Carefully examine the wiring connected to the bulb socket, looking for any signs of damage or loose connections. If you find any, tighten the connections or replace the wiring if necessary.
- Test with another bulb: To determine if the problem lies with the power supply or the bulb itself, try using another working LED light bulb in the same socket. If the replacement bulb works, then the issue is with the original bulb. However, if the replacement bulb doesn’t work either, it indicates that there is a power supply problem that needs to be addressed.
- Consult an electrician: If you have exhausted all troubleshooting steps and the LED light bulb still doesn’t function, it may be time to seek professional help. An electrician will have the expertise to diagnose and repair any underlying electrical issues, ensuring a proper and safe power supply for your LED light bulb.
By checking the power supply and ruling out any problems, you can have a better understanding of the issue with your LED light bulb. This will help you determine the most appropriate solution, whether it involves replacing the bulb, adjusting the power supply, or seeking professional assistance.
Remember, dealing with electrical components can be dangerous, especially if you are not experienced. Always prioritize your safety and consult a professional if you are unsure or uncomfortable with performing any electrical work.
When fixing an LED light bulb, first try turning it off and on again to reset it. If that doesn’t work, check the connections and replace the bulb if necessary.
Step 4: Replacing the LED Light Bulb
If you have determined that the issue lies with the LED light bulb itself and not the power supply or any other external factors, it may be necessary to replace the bulb. Here’s how you can go about doing it:
- Purchase a replacement bulb: Before removing the defective LED light bulb, make sure you have a suitable replacement on hand. LED bulbs come in various shapes, sizes, and wattages, so ensure you choose one that matches the specifications of your previous bulb.
- Turn off the power: As a safety precaution, switch off the power supply to the socket where the faulty LED light bulb is installed. This will help prevent any accidental electric shock during the replacement process.
- Allow the bulb to cool down: If the faulty LED light bulb was recently in use, it may be hot to the touch. To avoid burning yourself, give it some time to cool down before attempting to remove it.
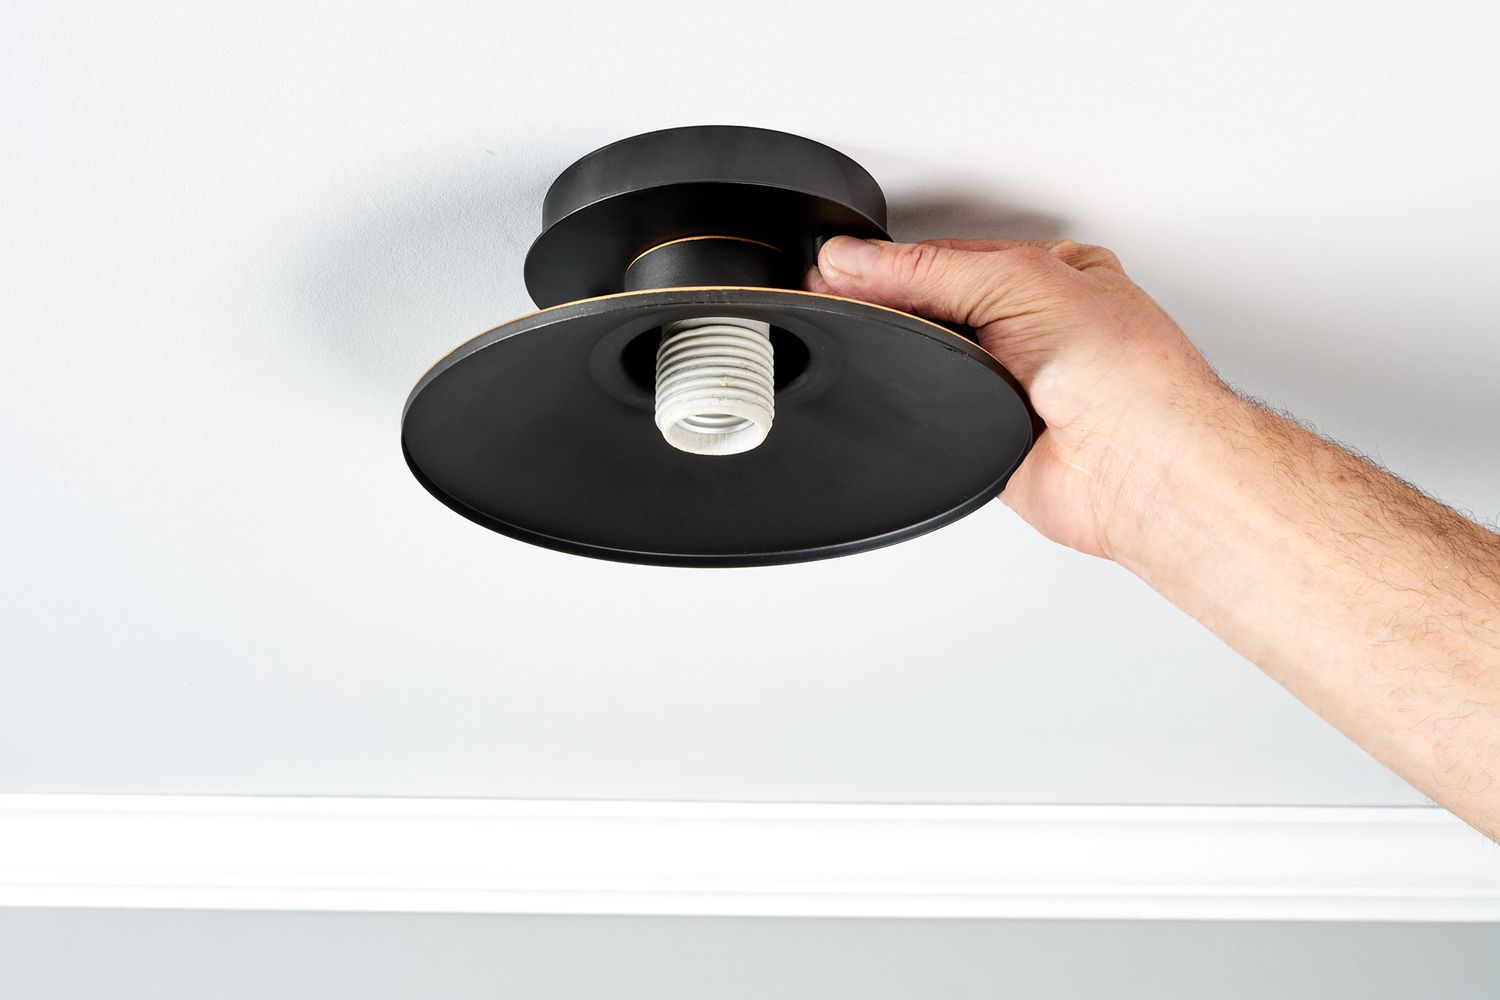
- Remove the old bulb: Gently twist the defective LED light bulb counterclockwise to loosen it from the socket. Once it is loose, carefully pull it straight out of the socket. Be cautious not to force or break the bulb during removal.
- Insert the new bulb: Take the replacement LED light bulb and align the base with the socket. Firmly push the bulb into the socket while twisting it clockwise. Ensure that it is securely in place and doesn’t wobble.
- Test the new bulb: Once the new LED light bulb is installed, turn on the power supply and test it. Check if the bulb functions properly and produces the expected light output. If everything works as intended, you have successfully replaced the LED light bulb.
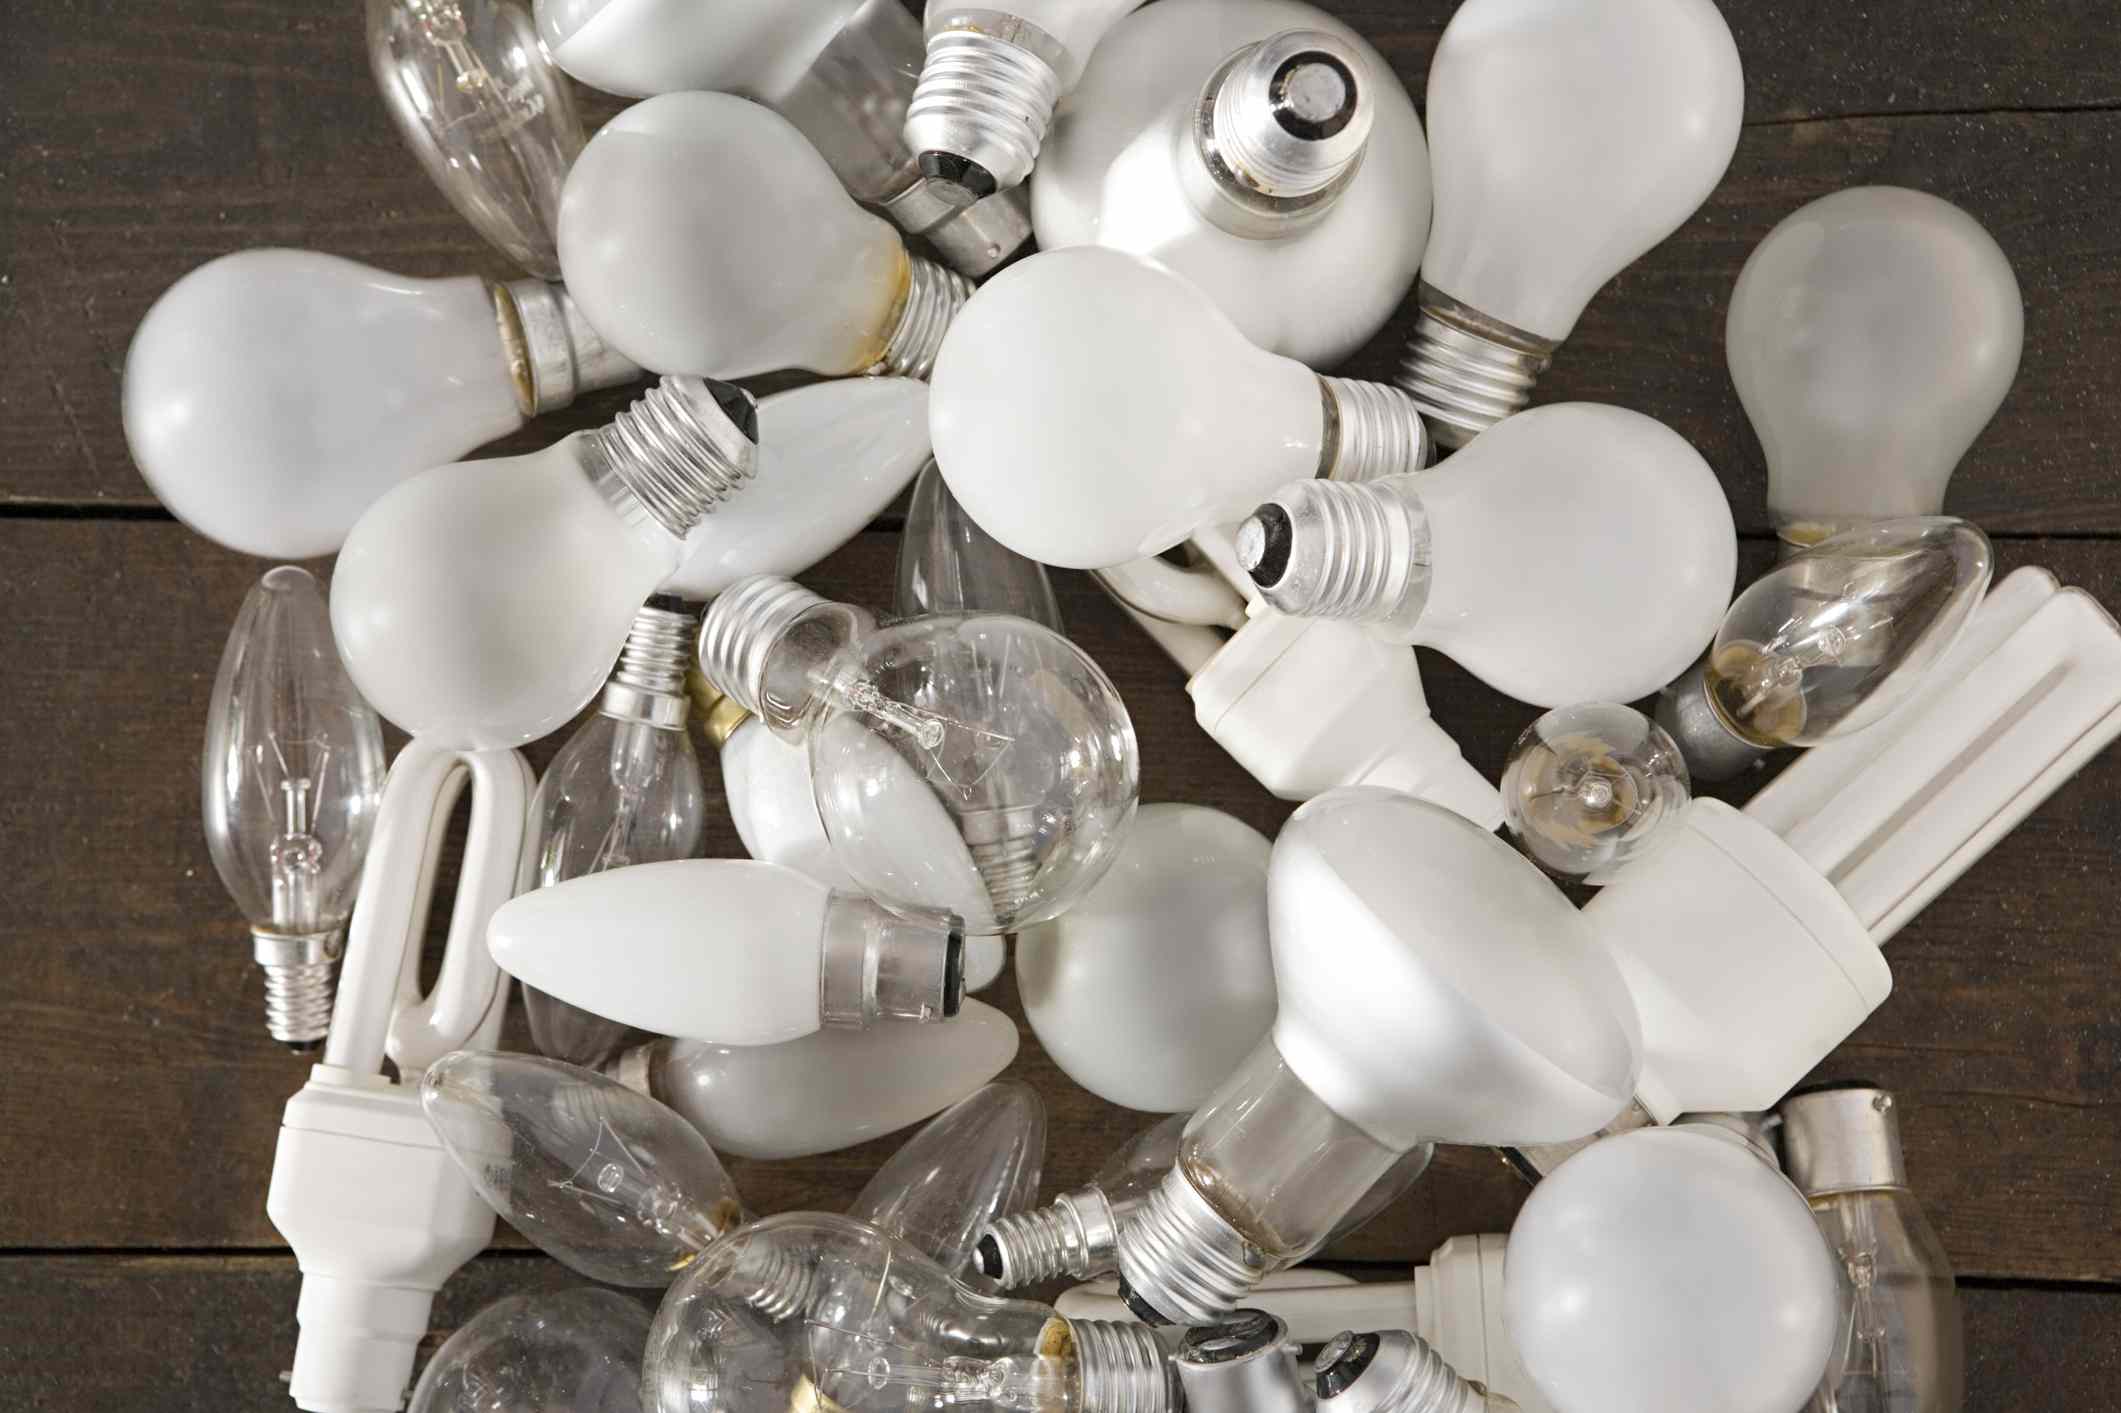
Remember to dispose of the old LED light bulb responsibly. LED bulbs contain small amounts of hazardous materials, such as lead or mercury, and should be recycled according to your local regulations.
Replacing a LED light bulb is usually a straightforward process. However, if you encounter any difficulties or the new bulb does not function correctly, it’s advisable to consult the manufacturer’s guidelines or seek professional assistance.
By replacing the faulty LED light bulb, you will restore proper lighting and functionality to your space while enjoying the energy efficiency and longevity that LED bulbs have to offer.
Read more: How To Make A Light Bulb
Step 5: Adjusting the Bulb Socket
If you’ve replaced the LED light bulb and it still doesn’t work properly, the issue may lie with the bulb socket itself. Here’s how you can adjust the bulb socket to potentially fix the problem:
- Turn off the power: Before working on the bulb socket, switch off the power supply to ensure your safety during the adjustment process.
- Clean the socket: Over time, dirt, dust, or corrosion can build up in the bulb socket, affecting the connection with the bulb. Use a soft, dry cloth or a small brush to clean any debris or residue inside the socket.
- Inspect for bent pins or contacts: Carefully examine the socket for any bent or misaligned pins or contacts. Use a pair of tweezers or a small tool to gently straighten any bent parts, ensuring they align properly with the bulb.
- Check for proper alignment: Sometimes, the bulb socket may not be properly aligned, preventing a secure connection with the bulb. Use a flashlight to inspect the socket and ensure that the center contact aligns with the base of the bulb.
- Tighten loose connections: Loose connections within the bulb socket can also cause issues. If you notice any loose wires or connections, use a screwdriver or pliers to tighten them carefully. Be cautious not to overtighten and risk damaging the socket.
- Test the bulb: Once you’ve made the necessary adjustments to the bulb socket, reinsert the LED light bulb and switch on the power supply. Test if the bulb now functions properly and produces the desired light output.
If adjusting the bulb socket doesn’t resolve the issue, it’s possible that there is a deeper electrical problem or a defect in the socket itself. In such cases, it’s recommended to consult a qualified electrician to assess and repair the issue.
Remember to always prioritize your safety when working with electrical components. If you’re unsure or uncomfortable with adjusting the bulb socket, it’s best to seek professional assistance to avoid any potential risks or further damage.
By making the necessary adjustments to the bulb socket, you may be able to establish a secure connection with the LED light bulb, resolving any lighting issues you have been experiencing.
Step 6: Seeking Professional Assistance
If you have gone through the previous steps and are still unable to resolve the issue with your LED light bulb, it may be time to seek professional assistance. An experienced electrician will have the knowledge and expertise to diagnose and fix more complex problems. Here’s what you need to consider:
- Research and find a reputable electrician: Look for electricians in your local area who specialize in lighting or residential electrical services. Read reviews and ask for recommendations from friends or family to ensure you choose a reliable professional.
- Explain the problem: When contacting the electrician, clearly describe the issue you’re facing with your LED light bulb. Mention any troubleshooting steps you have already taken to help them assess the situation better.
- Arrange an appointment: Schedule a convenient time for the electrician to visit and inspect the problem. Make sure you’re available during the appointment to provide any necessary information or access to the area where the LED light bulb is installed.
- Allow the electrician to assess the issue: The electrician will conduct a thorough evaluation of the LED light bulb, wiring, and overall electrical system to pinpoint the underlying problem. They may use specialized equipment or perform tests to identify any faults or malfunctions.
- Follow the electrician’s recommendations: Based on their assessment, the electrician will provide recommendations for repairing or replacing the LED light bulb or addressing any other electrical issues. Follow their advice and ask any questions you may have to fully understand the recommended course of action.
- Authorizing repairs or replacements: If repairs or replacements are necessary, the electrician will proceed with your consent. They will ensure that the work is conducted safely and adheres to local electrical codes and regulations.
- Check warranties and guarantees: Inquire about any warranties or guarantees offered by the electrician or the manufacturer of the LED light bulb. This will provide you with peace of mind in case any further issues arise after the repair or replacement.
Seeking professional assistance not only ensures that the problem with your LED light bulb is properly addressed but also eliminates the risk of potential electrical hazards or errors. Electricians are trained to handle electrical systems safely and efficiently, providing a reliable solution to your lighting problem.
Remember to inquire about the cost of the electrician’s services upfront and ensure that you’re comfortable with the pricing before proceeding. Additionally, keep in mind that for some complex issues, it may be more cost-effective in the long run to replace the entire fixture instead of attempting extensive repairs.
By seeking professional assistance, you can rely on the expertise of a trained electrician to resolve the issue with your LED light bulb, allowing you to enjoy adequate lighting and the benefits of energy-efficient technology.
Conclusion
Fixing LED light bulbs doesn’t have to be a daunting task. With the right knowledge and guidance, you can troubleshoot and resolve common issues that may arise with these efficient lighting solutions. By following the steps outlined in this guide, you can identify the problem, troubleshoot it, and potentially fix the LED light bulb.
Remember to start by identifying the issue, whether it’s flickering, dimming, or complete failure. Then, proceed to troubleshoot common problems, such as checking the power supply, adjusting the bulb socket, or seeking professional assistance if needed.
Taking the time to troubleshoot and repair LED light bulbs not only saves you money but also reduces electronic waste and promotes a more sustainable approach to lighting. Additionally, it allows you to enjoy the benefits of energy efficiency and long lifespan that LED bulbs offer.
However, it’s important to prioritize safety while working with electrical components. If you’re unsure or uncomfortable with any step, it’s best to seek professional assistance from a qualified electrician. They have the expertise and knowledge to diagnose and fix complex issues, ensuring the safety and functionality of your LED light bulbs.
By understanding how to fix LED light bulbs, you can extend their lifespan and maximize their performance. So, the next time you encounter an issue with your LED light bulb, feel confident in your ability to troubleshoot and resolve the problem, or know when it’s time to seek professional help.
Remember, regular maintenance and proper installation can also contribute to the longevity and performance of LED light bulbs. By taking care of these energy-efficient lighting solutions, you can enjoy quality illumination in your space for years to come.
Frequently Asked Questions about How To Fix LED Light Bulb
Was this page helpful?
At Storables.com, we guarantee accurate and reliable information. Our content, validated by Expert Board Contributors, is crafted following stringent Editorial Policies. We're committed to providing you with well-researched, expert-backed insights for all your informational needs.


0 thoughts on “How To Fix LED Light Bulb”