Articles
How To Install Skylight In Metal Roof
Modified: January 18, 2024
Learn how to install a skylight in a metal roof with our comprehensive articles. Ensure proper installation for optimum natural light and ventilation.
(Many of the links in this article redirect to a specific reviewed product. Your purchase of these products through affiliate links helps to generate commission for Storables.com, at no extra cost. Learn more)
Introduction
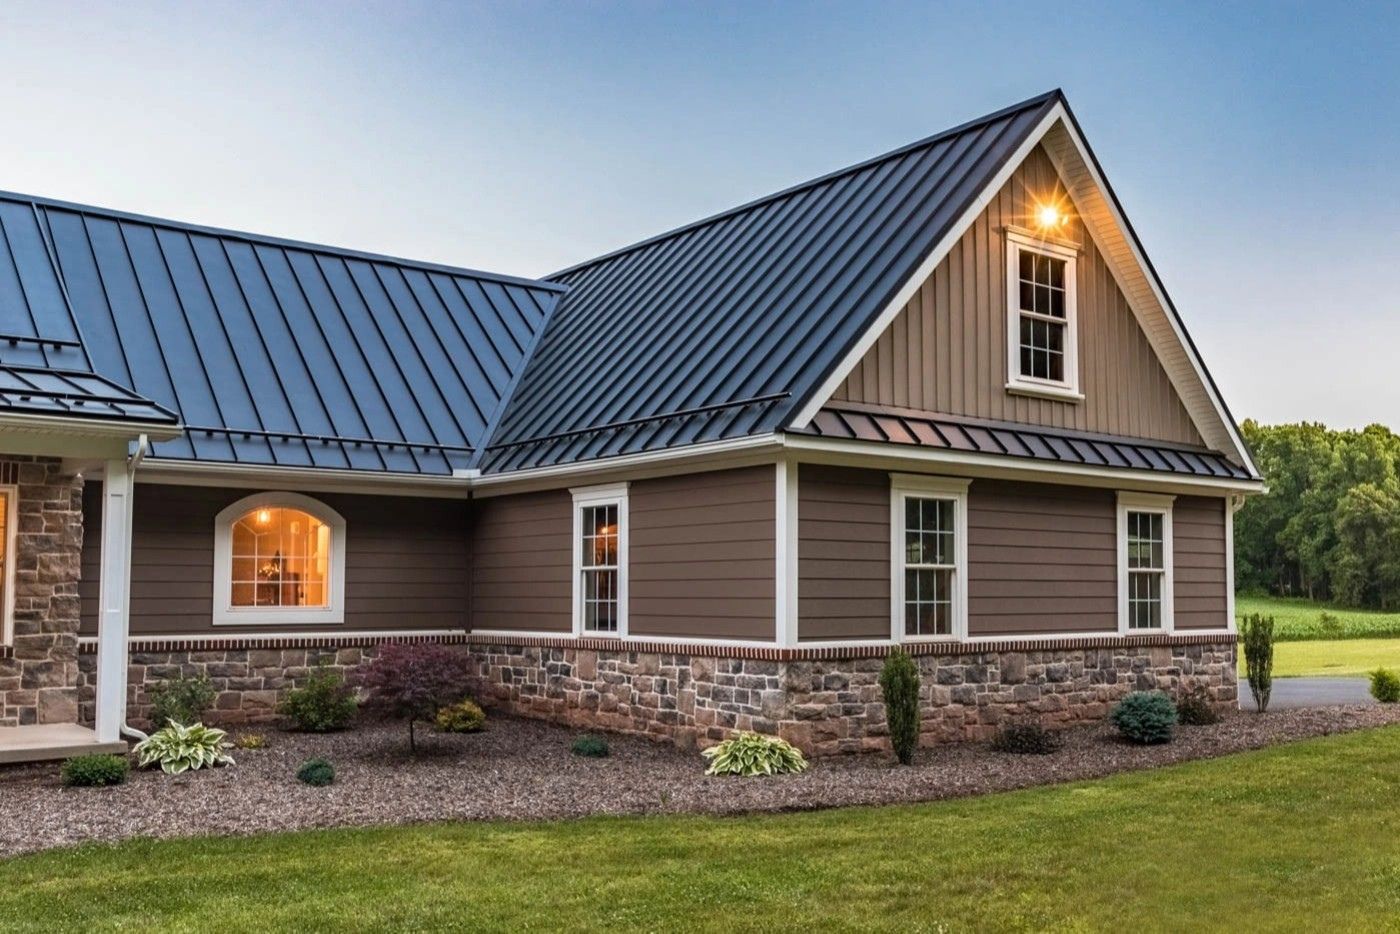
Adding a skylight to your metal roof can be a great way to bring in natural light and enhance the aesthetics of your space. Whether you’re looking to brighten up a room or create a unique architectural feature, installing a skylight in a metal roof requires careful planning and execution.
In this article, we will guide you through the step-by-step process of how to install a skylight in a metal roof. From preparation to finishing touches, we will provide you with all the information you need to successfully complete this project.
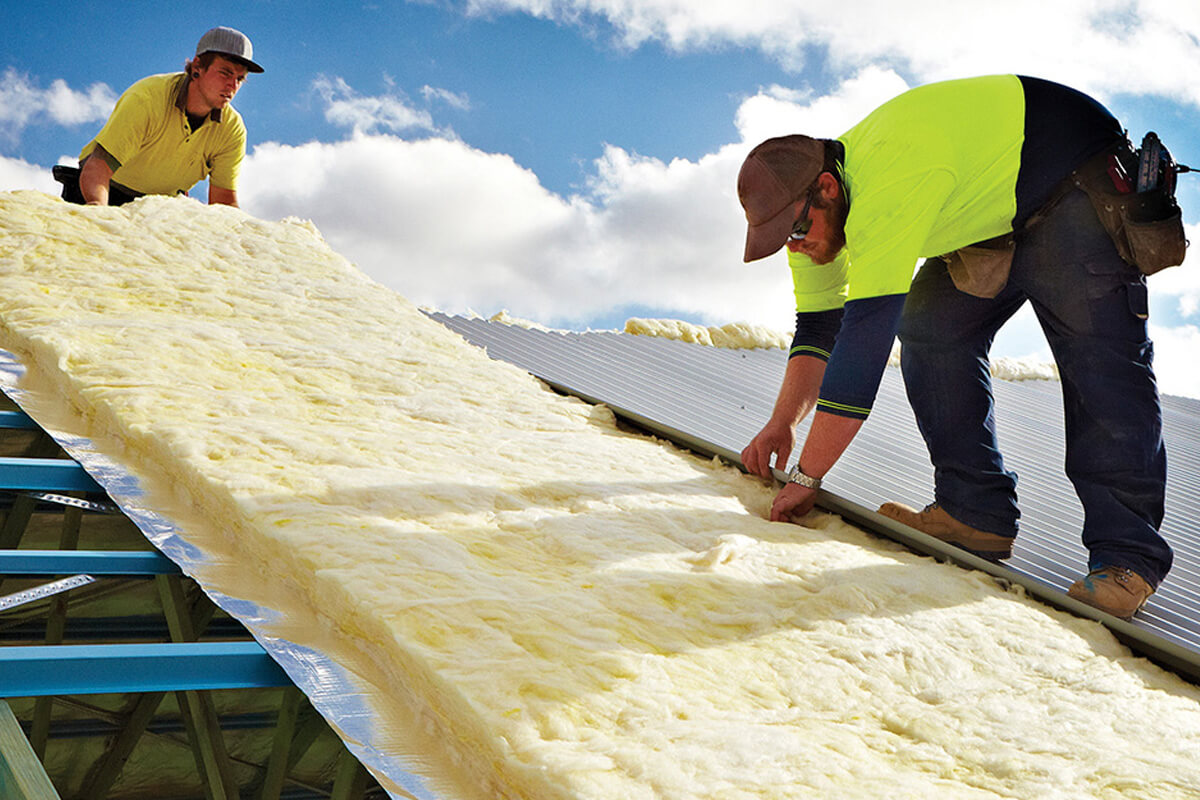
Before we dive into the installation process, it’s important to note that working on a metal roof can be challenging and potentially dangerous. It’s crucial to take proper safety precautions and, if necessary, seek professional assistance. Now, let’s get started!
Key Takeaways:
- Proper preparation is key to successful skylight installation on a metal roof. From choosing the location to securing the frame, attention to detail ensures a stable and watertight result.
- After installing a skylight, don’t forget the finishing touches. Cleaning, inspecting for leaks, and considering energy efficiency will ensure a functional and visually appealing addition to your space.
Read more: How To Install A Metal Roof On A Shed
Materials Needed
Before you begin installing a skylight in your metal roof, gather the following materials:
- Safety Equipment: Safety should be your top priority. Make sure to have appropriate safety gear, such as goggles, gloves, a hard hat, and non-slip shoes.
- Skylight Kit: Purchase a skylight kit that is specifically designed for metal roofs. The kit should include the skylight frame, flashing, and any necessary hardware.
- Roofing Tools: Have a variety of roofing tools on hand, including a drill with metal drill bits, a reciprocating saw or circular saw, wrenches, and a tape measure.
- Sealant: Choose a high-quality sealant that is compatible with both the skylight frame material and the metal roof. Silicone-based sealants are often recommended.
- Screws: Depending on the skylight kit, you may need screws to secure the skylight frame to the roof. Check the manufacturer’s instructions for the recommended type and size of screws.
- Caulk Gun: A caulk gun will be useful for applying sealant around the skylight frame and flashing.
- Ladder: Select a sturdy ladder that provides safe access to the roof. Make sure it is tall enough to reach the installation area comfortably.
- Measuring Tools: Have a tape measure, level, and chalk line or marking pen to accurately mark the skylight opening.
It’s essential to have all these materials ready before you start the installation process. This will ensure a smooth and efficient process without any interruptions to gather supplies.
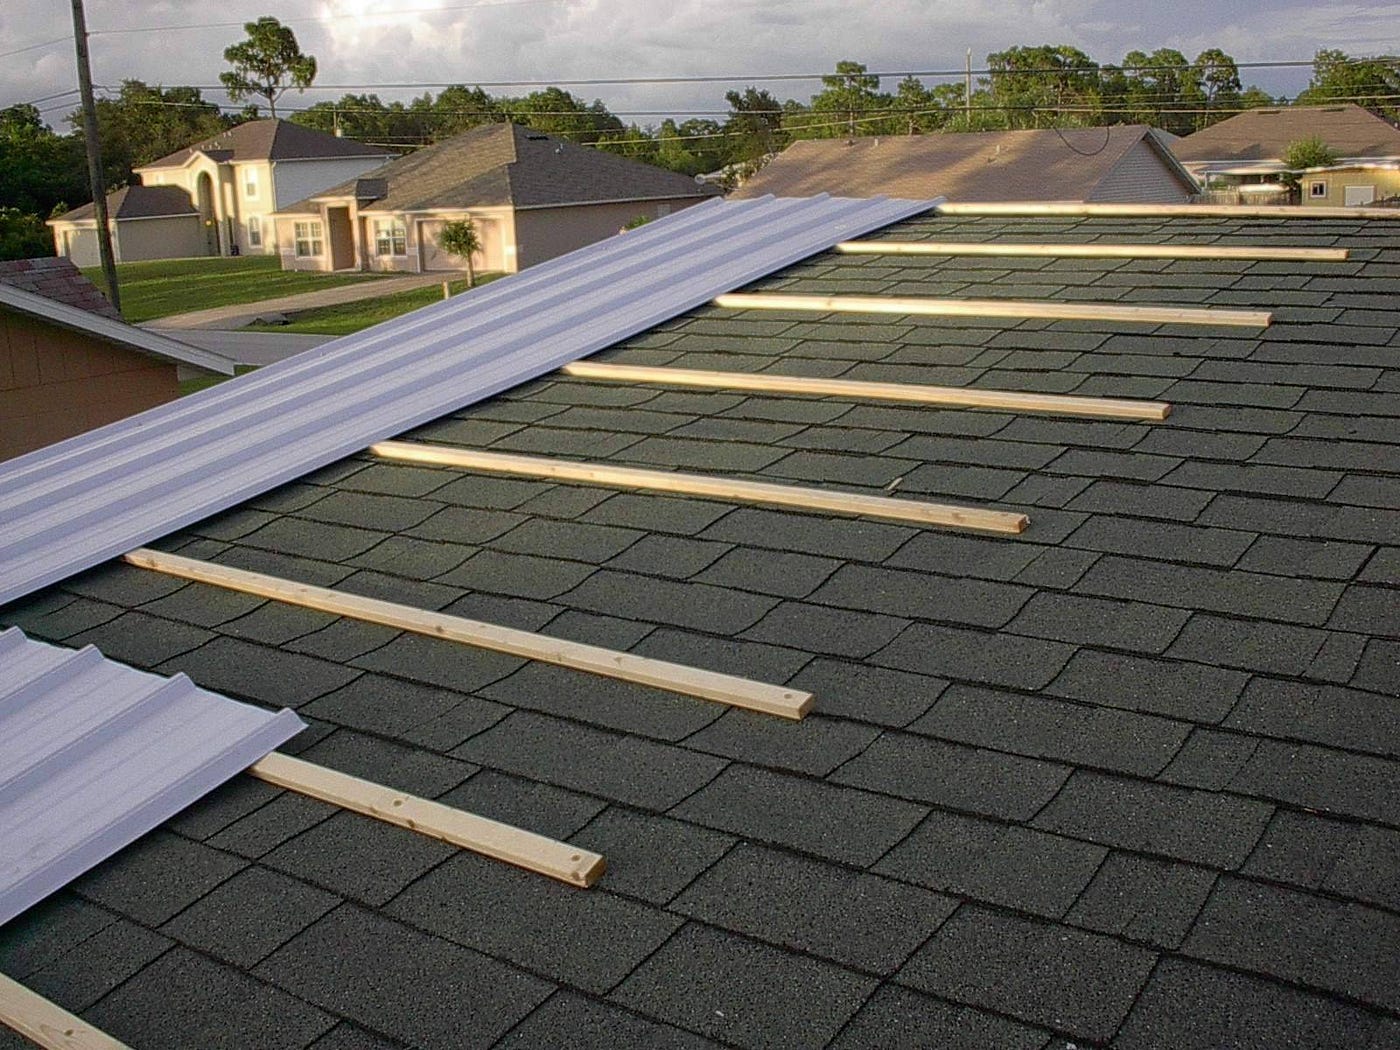
Step 1: Preparing the Roof
Before you begin cutting into your metal roof, it’s crucial to prepare the area properly. Taking the time to prepare the roof will help ensure a successful installation and minimize any potential damage. Here’s how:
- Choose the Location: Determine the ideal location for the skylight on your metal roof. Consider factors like the desired amount of natural light and the structural integrity of the roof. Mark the exact location where you want the skylight to be installed.
- Inspect the Roof: Carefully examine the area where the skylight will be installed. Look for any signs of damage, such as rust, leaks, or loose panels. Address any issues before proceeding with the installation.
- Clean the Roof: Remove any debris, dirt, or moss from the roof surface around the marked area. A clean surface will ensure better adhesion of the flashing and sealant.
- Prepare the Flashing: Follow the manufacturer’s instructions to prepare the flashing that will be used to waterproof the skylight. Cut the flashing to the appropriate size, ensuring proper coverage around the skylight opening.
- Secure the Flashing: Using screws or nails, secure the flashing to the roof surface surrounding the marked skylight area. Make sure it is secure and properly aligned.
- Apply Primer: If the skylight kit includes a primer, apply it to the roof surface according to the manufacturer’s instructions. This will enhance the bonding of the flashing and ensure a watertight seal.
By properly preparing the roof, you will create a stable and secure foundation for the skylight installation. It’s important not to rush this step, as it sets the stage for the rest of the process. Once you have completed the preparation, you can move on to marking the skylight opening.
Step 2: Marking the Skylight Opening
Once you have prepared the roof, the next step is to mark the exact location and size of the skylight opening. Accurate markings ensure that the skylight will fit properly and align with the interior space. Follow these steps to mark the skylight opening:
- Measure and Mark: Using a tape measure, determine the dimensions of the skylight frame. Transfer these measurements onto the roof, ensuring that the markings are clear and accurate.
- Double-Check: Before proceeding, double-check that the marked area aligns with the chosen location and meets your desired dimensions. Make any adjustments as needed.
- Mark the Cutting Line: Use a chalk line or marking pen to draw a precise cutting line around the marked area. This line will guide you during the cutting process.
- Create Ventilation Holes: Along the sides of the skylight opening, make small pilot holes using a drill with a metal drill bit. These holes will serve as ventilation points during the cutting process.
- Remove Panels: Using a reciprocating saw or circular saw, carefully cut along the marked cutting line. Start at one corner and work your way around. Remove the metal panels and set them aside.
By taking the time to accurately mark the skylight opening, you will ensure a precise fit and make the installation process smoother. Remember to exercise caution when cutting the metal panels, and always wear appropriate safety gear.
Once the skylight opening is marked and panels are removed, you can proceed to the next step: cutting the metal roof.
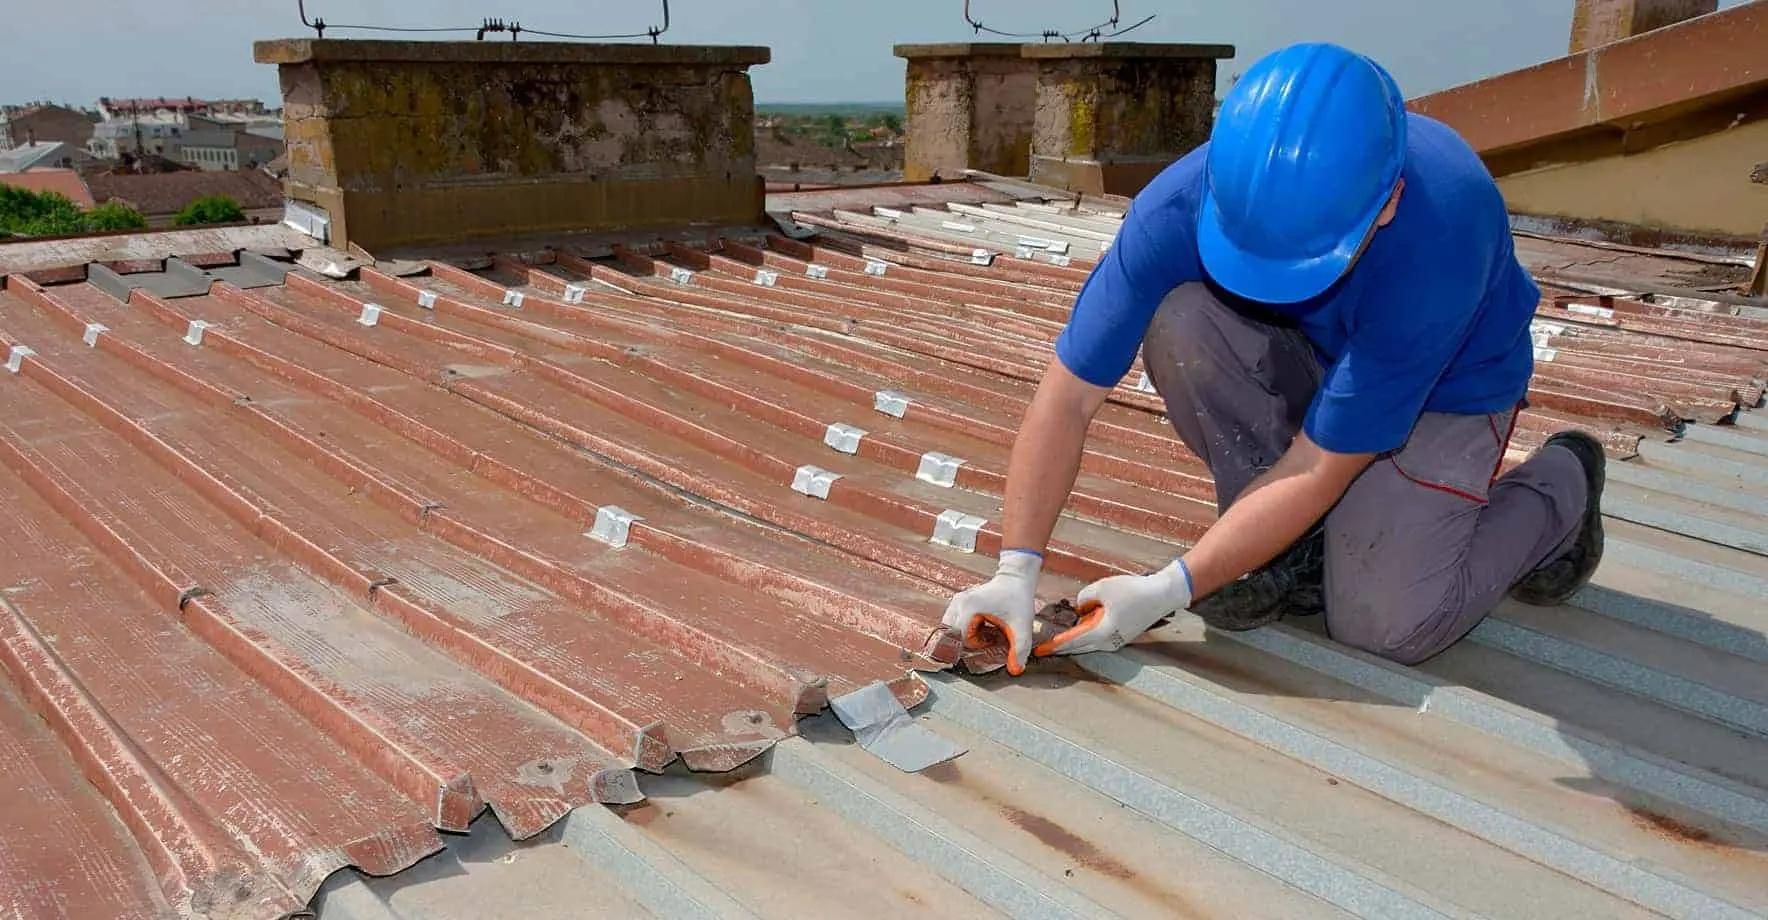
Step 3: Cutting the Metal Roof
With the skylight opening marked and panels removed, it’s time to cut through the metal roof. Proper cutting techniques will ensure a clean and precise opening for the skylight installation. Follow these steps to cut the metal roof:
- Measure and Mark Internal Corners: Measure and mark the internal corners of the skylight opening. This will guide the cutting process and ensure accurate corners.
- Make Relief Cuts: To create relief cuts, use a reciprocating saw or circular saw to cut from the corner marks towards the skylight opening. These cuts will help prevent the metal from buckling during the final cut.
- Cut Along the Lines: Using the appropriate tool, carefully cut along the marked cutting lines. Take it slow and steady, ensuring smooth and controlled cutting motions.
- Remove Metal Shavings: After completing the final cut, remove any metal shavings or debris from the skylight opening. This will prevent them from interfering with the installation process.
- Smooth Edges: Use a file or sandpaper to smooth the edges of the skylight opening. This step helps prevent any sharp edges that could potentially cause injury during the installation or in the future.
It’s essential to exercise caution during the cutting process and use appropriate safety measures. Ensure that you have a firm grip on the tool and maintain proper stability on the roof. Take breaks if needed to prevent fatigue and maintain focus.
Once the metal roof is cut and the edges are smoothed, you’re ready to move on to the next step: installing the skylight frame.
When installing a skylight in a metal roof, be sure to use a flashing kit specifically designed for metal roofs to ensure a watertight seal and prevent leaks.
Read more: How To Install Gutters On Metal Roof
Step 4: Installing the Skylight Frame
With the skylight opening cut, it’s time to install the skylight frame. The frame provides support and stability for the skylight and ensures a proper fit. Follow these steps to install the skylight frame:
- Prepare the Frame: Before installation, ensure that the skylight frame is clean and free from any debris or dirt. This will help promote proper adhesion and a secure fit.
- Apply Sealant: Apply a generous amount of sealant around the perimeter of the skylight frame. This will create a watertight seal between the frame and the metal roof.
- Position the Frame: Carefully position the skylight frame into the skylight opening. Ensure that it is aligned properly and flush with the metal roof surface.
- Secure the Frame: Using the screws provided in the skylight kit, secure the skylight frame to the metal roof. Make sure to follow the manufacturer’s instructions for proper placement and tightening.
- Check for Level: Use a level to ensure that the skylight frame is installed horizontally and vertically. Adjust if necessary to ensure a level installation.
- Tighten the Screws: Go back and double-check that all screws are tightened securely. This will ensure the stability and longevity of the skylight frame.
Take your time during this step, ensuring that the skylight frame is properly aligned and securely fastened. The sealant will help prevent any water ingress, so be thorough with its application. Once the skylight frame is securely installed, it’s time to move on to the next step: securing the skylight to the roof.
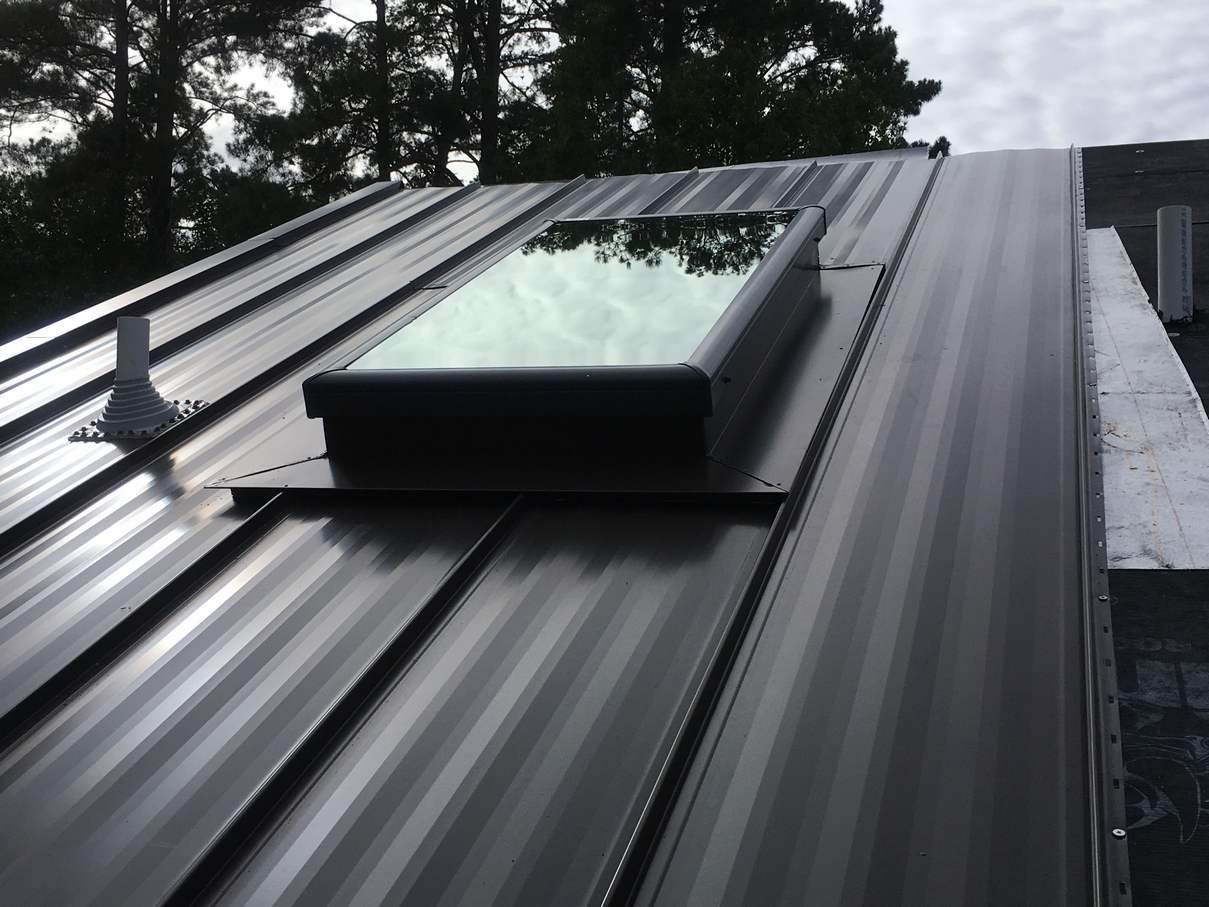
Step 5: Securing the Skylight to the Roof
Now that the skylight frame is in place, the next step is to secure the skylight itself to the roof. This ensures a tight seal and prevents any leaks or drafts. Follow these steps to secure the skylight to the roof:
- Place the Skylight: Carefully position the skylight onto the frame. Ensure that it is centered within the frame and fits securely.
- Attach the Skylight: Depending on the skylight design, there may be specific instructions for attaching it to the frame. Follow the manufacturer’s guidelines to securely fasten the skylight in place.
- Tighten the Fasteners: Use the appropriate tools, such as a screwdriver or wrench, to tighten any screws or fasteners provided with the skylight kit. Be careful not to overtighten and damage the skylight or the frame.
- Ensure a Proper Seal: Inspect the skylight and frame for any gaps or areas where the sealant may have been displaced. Apply additional sealant as needed to ensure a proper seal against water and air infiltration.
- Check for Movement: Gently push and pull on the skylight to ensure that it is securely attached and doesn’t move or shift. If any movement is detected, tighten the fasteners further or seek professional assistance.
Securing the skylight to the roof is a critical step in ensuring its stability and longevity. Take your time to ensure a proper fit and that all fasteners are tightened securely. Once the skylight is securely in place, you can proceed to the next step: sealing the skylight.
Step 6: Sealing the Skylight
Sealing the skylight is a crucial step in preventing any leaks or water damage. A proper seal will ensure that the skylight is watertight and able to withstand various weather conditions. Follow these steps to effectively seal the skylight:
- Inspect the Seal: Before applying any new sealant, inspect the existing seal around the skylight frame. Remove any old or damaged sealant using a scraper or putty knife.
- Clean the Surface: Use a cleaning solution and a cloth to thoroughly clean the skylight frame and surrounding metal roof surface. Remove any dirt, dust, or debris that may interfere with the sealant application.
- Apply the Sealant: Use a caulking gun to apply a continuous bead of sealant around the entire perimeter of the skylight frame. Make sure to cover any gaps or areas where water might penetrate.
- Smooth the Sealant: Use a wet finger or a smoothing tool to smooth and shape the applied sealant. This will help improve its appearance and ensure a proper seal.
- Check for Complete Coverage: Inspect the sealant to ensure that it completely covers the gaps between the skylight frame and the metal roof. Fill in any missed spots or areas of insufficient coverage.
- Allow for Drying Time: Follow the sealant manufacturer’s instructions regarding drying time. It’s important to allow sufficient time for the sealant to cure and form a strong bond.
Properly sealing the skylight is essential for preventing water leaks and maintaining the integrity of your metal roof. Take your time to ensure thorough coverage and a neat application. Once the sealant has dried, you can proceed to the final step: adding the finishing touches.
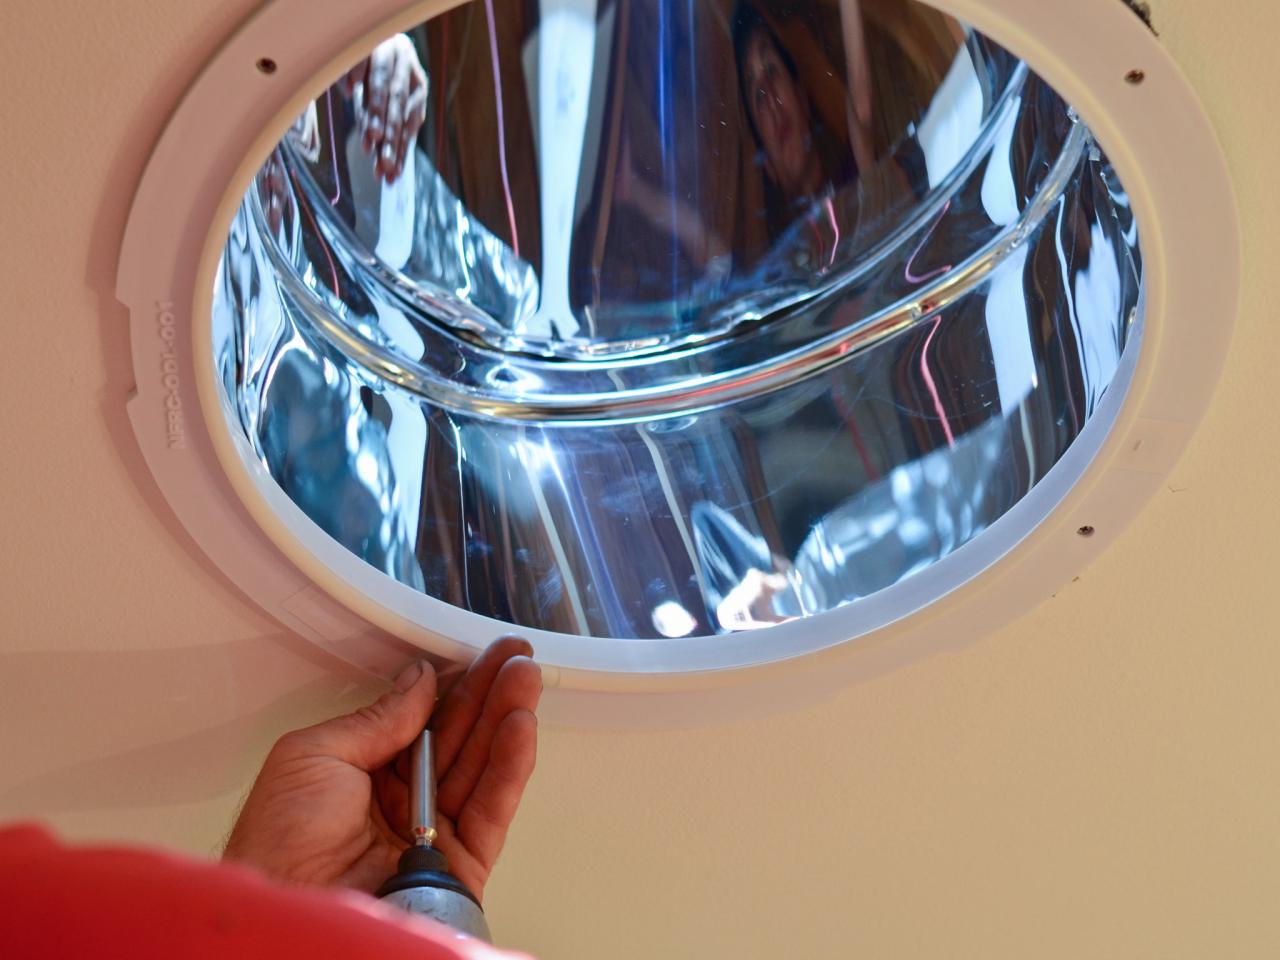
Step 7: Finishing Touches
With the skylight installed and sealed, it’s time to add the finishing touches. These final steps will ensure that your skylight looks aesthetically pleasing and is functional for years to come. Follow these steps to complete the installation:
- Clean the Skylight: Use a gentle glass cleaner and a soft cloth to clean the skylight’s surface. Remove any fingerprints, smudges, or dirt that may have accumulated during the installation process.
- Apply Trim or Flashing: If desired or specified by the skylight kit, apply trim or flashing around the skylight frame. This will provide additional protection against water intrusion and enhance the visual appeal.
- Inspect for Leaks: After the sealant has dried, carefully inspect the skylight and its surrounding area for any signs of leaks or water damage. Address any issues immediately to prevent further damage.
- Test the Skylight Operation: Open and close the skylight to ensure that it operates smoothly. Check the locking mechanism, hinges, and any other moving parts to ensure proper functionality.
- Check for Interior Finish: Inside the room, inspect the area around the skylight for any interior finish that may need to be touched up or adjusted. This includes paint, trim, or ceiling materials.
- Consider Energy Efficiency: To maximize energy efficiency, consider adding blinds or shades to the skylight. This will allow you to control the amount of light and heat that enters the space.
- Maintain Regular Inspections: Periodically inspect the skylight and its surrounding area for any signs of wear, damage, or potential issues. Address any maintenance or repair needs promptly to prolong the lifespan of your skylight.
By completing these finishing touches, your skylight installation will be complete. Enjoy the natural light and enhanced ambiance that it brings to your space while also benefiting from increased energy efficiency. Regular maintenance and inspections will help ensure that your skylight remains in optimal condition for years to come.
Remember, when working on your metal roof or installing a skylight, safety should always be a top priority. If you’re unsure about any aspect of the installation process, it’s recommended to seek professional assistance.
Frequently Asked Questions about How To Install Skylight In Metal Roof
Was this page helpful?
At Storables.com, we guarantee accurate and reliable information. Our content, validated by Expert Board Contributors, is crafted following stringent Editorial Policies. We're committed to providing you with well-researched, expert-backed insights for all your informational needs.


0 thoughts on “How To Install Skylight In Metal Roof”