Articles
How To Fix Uneven Concrete Walkway
Modified: January 5, 2024
Learn effective techniques and methods to fix your uneven concrete walkway with our comprehensive articles. Expert tips and step-by-step instructions.
(Many of the links in this article redirect to a specific reviewed product. Your purchase of these products through affiliate links helps to generate commission for Storables.com, at no extra cost. Learn more)
<
Introduction
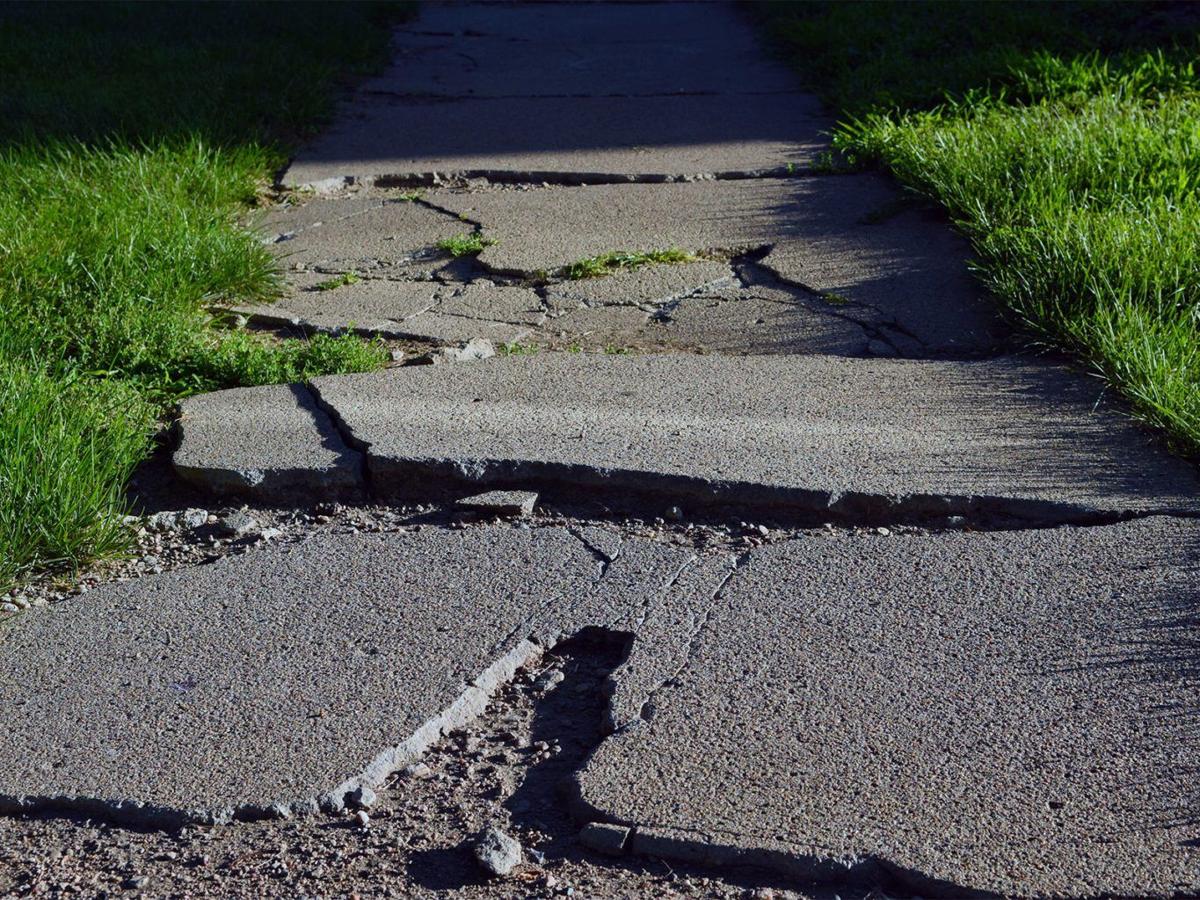
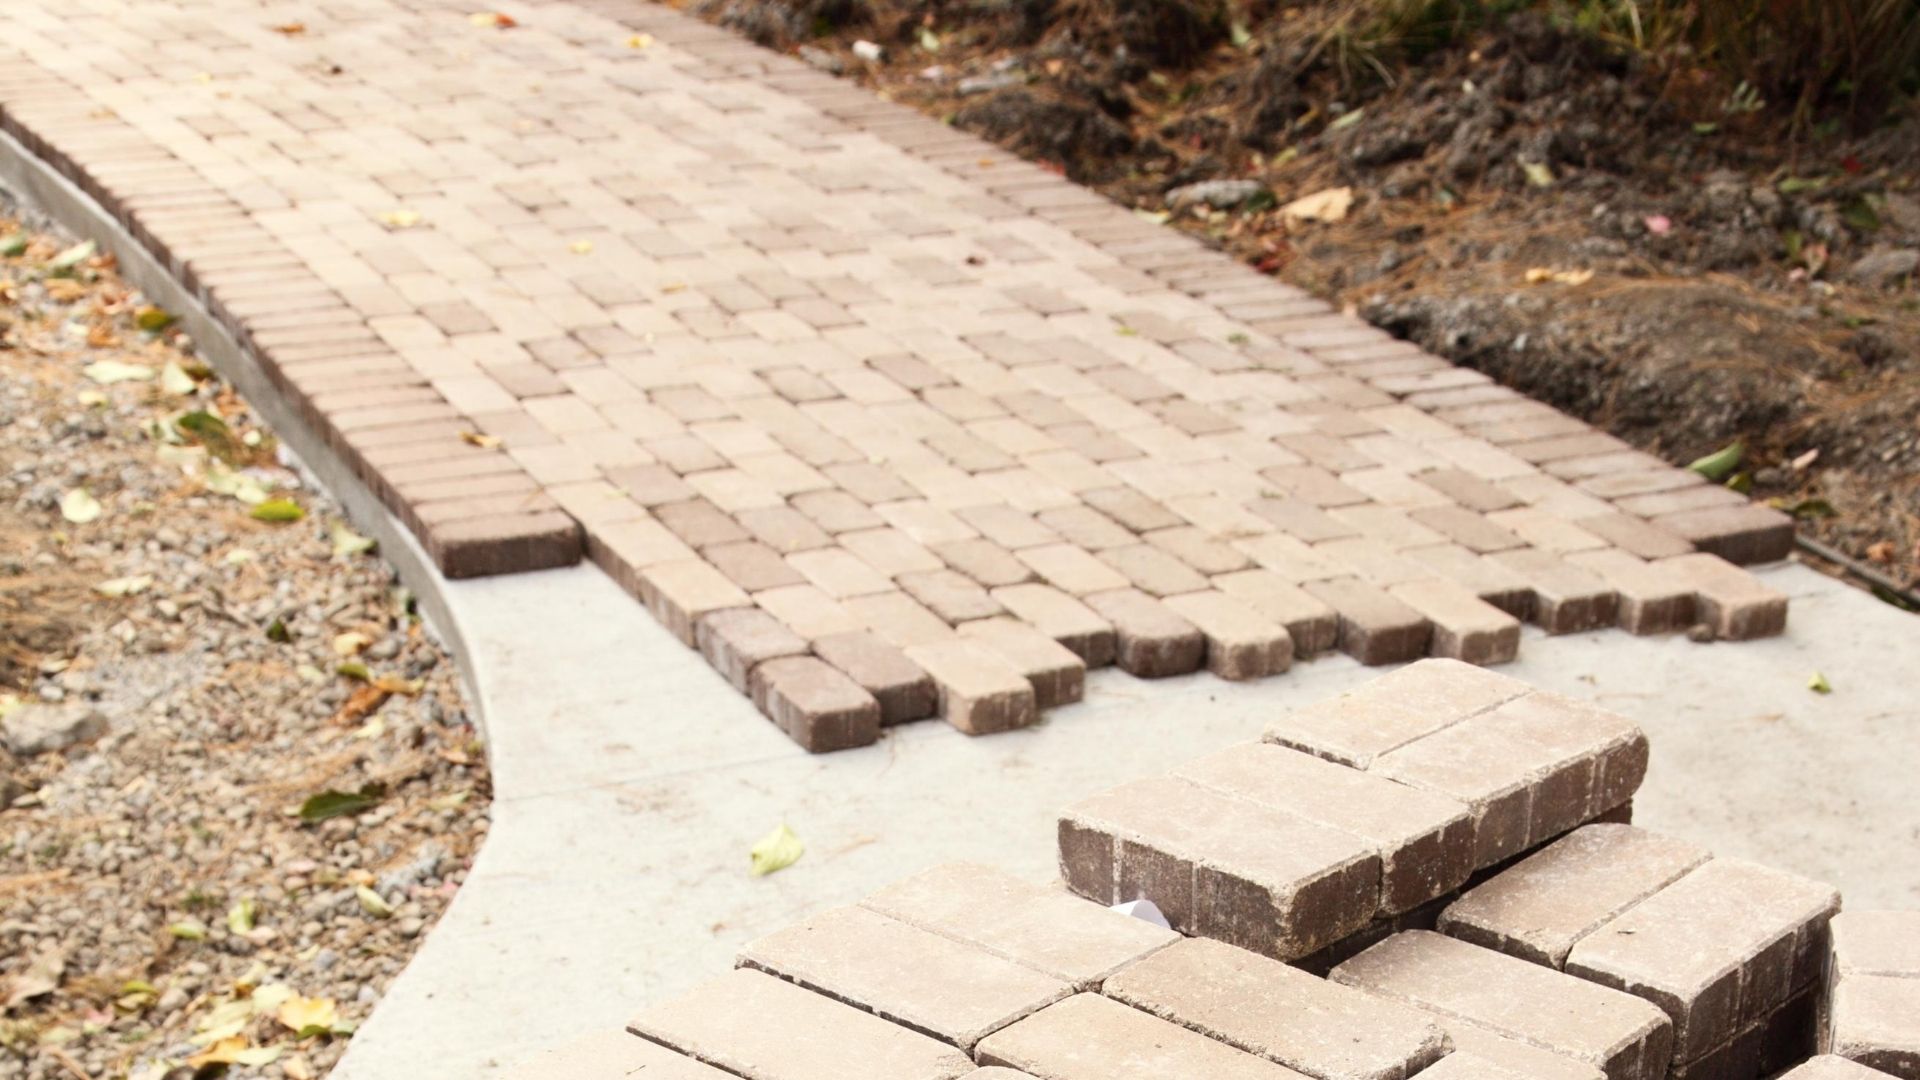
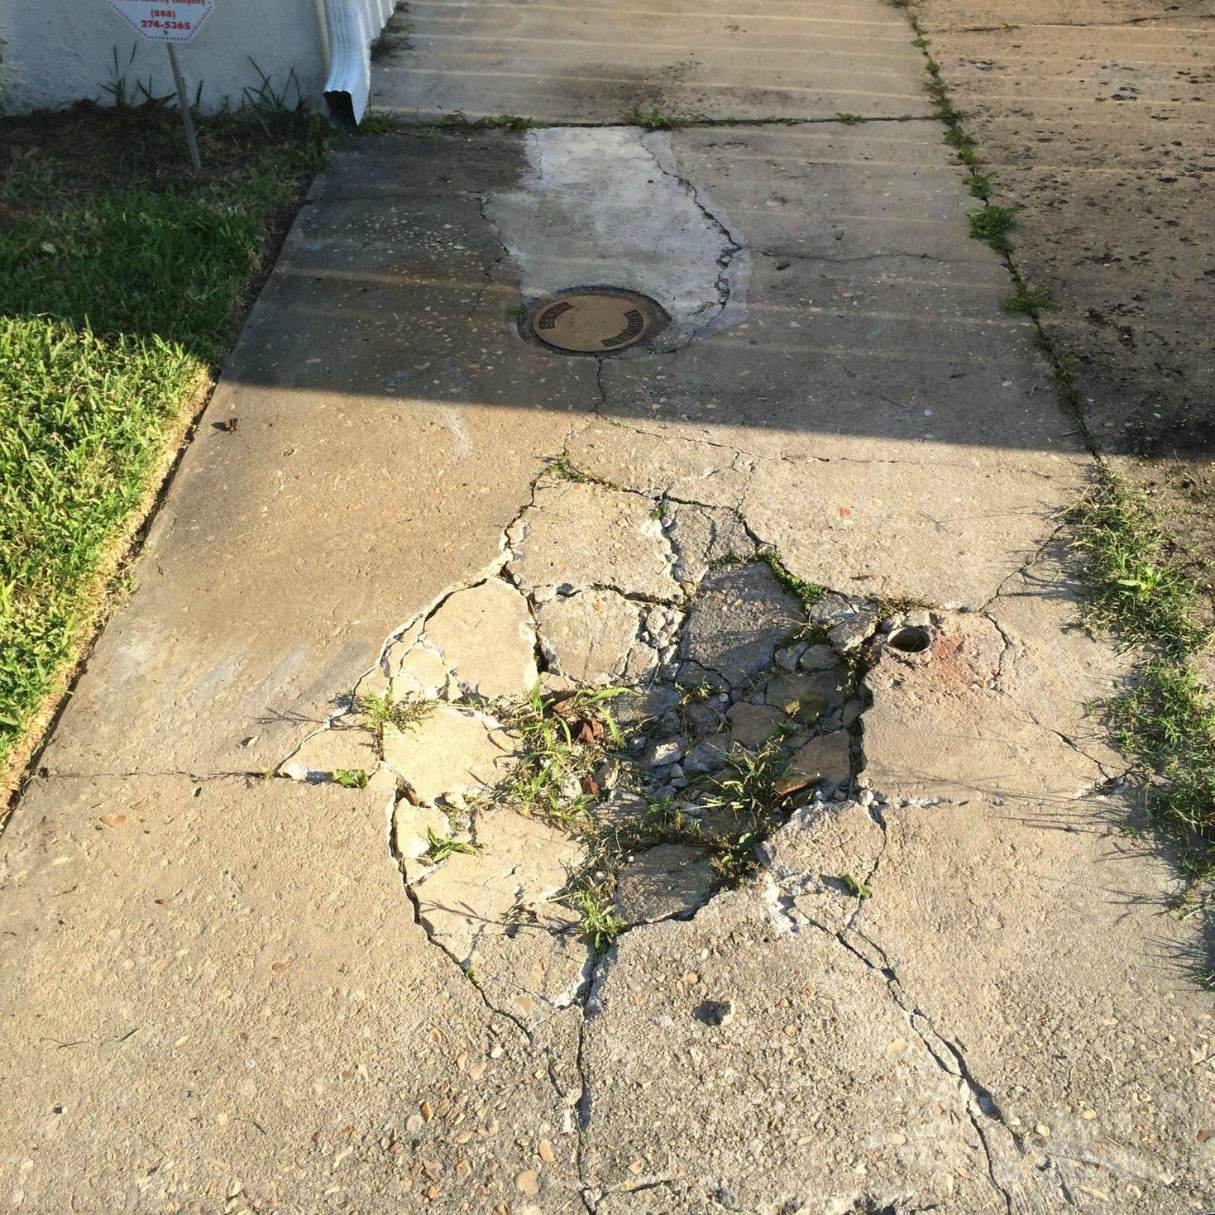
Uneven concrete walkways can not only be unsightly but also pose a safety hazard. Whether caused by settling, weather conditions, or poor installation, it is crucial to address the issue promptly to maintain the integrity and functionality of the walkway.
In this article, we will guide you on how to fix an uneven concrete walkway, providing step-by-step instructions to help you achieve a level and visually appealing surface. You don’t need to be a professional contractor to tackle this project – with the right tools and materials, you can complete the job yourself.
Before we dive into the specifics, it’s important to note that assessing the extent of the unevenness and determining the underlying cause is crucial. Identifying the root cause will help prevent future issues and ensure a long-lasting repair.
In the following sections, we will discuss the assessment process, the tools and materials you will need, and the steps to follow to level and restore your concrete walkway.
So, let’s get started and transform that uneven and potentially dangerous walkway into a smooth and beautiful path that you can enjoy for years to come.
Key Takeaways:
- Assessing the unevenness and understanding the root cause is crucial for an effective repair. By accurately measuring and identifying problem areas, you can plan and execute the leveling process with precision, ensuring a long-lasting solution.
- Properly preparing the work area, leveling the concrete walkway with precision, and finishing with a durable sealer are essential for achieving a polished and visually appealing result. Following these steps will ensure a safe and aesthetically pleasing walkway for years to come.
Read more: How To Fix An Uneven Concrete Floor
Assessing the Unevenness
Before you begin repairing your uneven concrete walkway, it’s important to assess the extent of the problem. By identifying the areas that require attention, you can efficiently plan and execute the repair process. Here are a few steps to help you assess the unevenness:
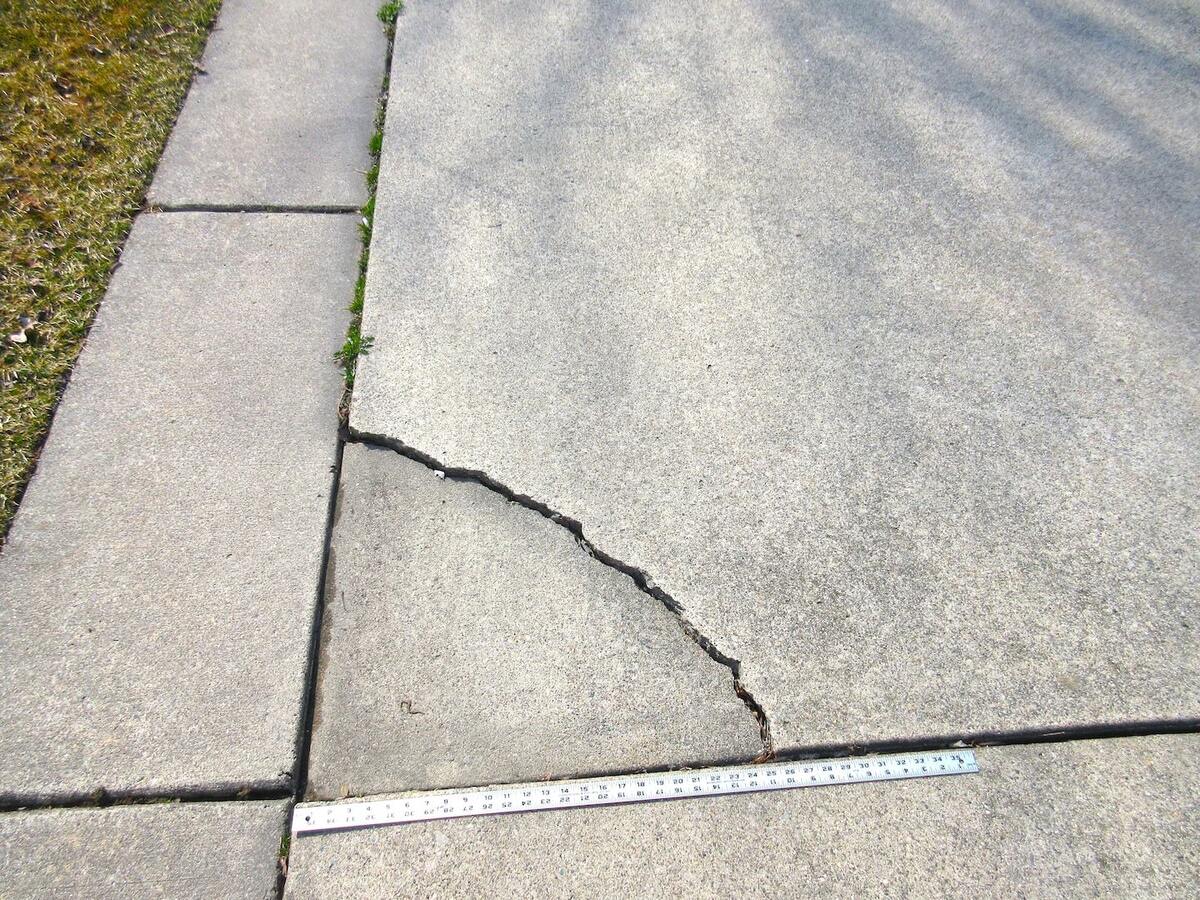
1. Visual Inspection: Start by visually inspecting the walkway to identify any obvious uneven areas. Look for cracks, gaps, or sections that appear higher or lower than the rest of the surface. Take note of these areas as they will require specific attention during the repair process.
2. Leveling Tools: To accurately measure the unevenness, you’ll need a straightedge or a level. Place the straightedge or level across the surface of the walkway, focusing on the identified areas. Observe if there are any gaps or spaces between the straightedge and the surface. This will give you a better understanding of the degree of unevenness.
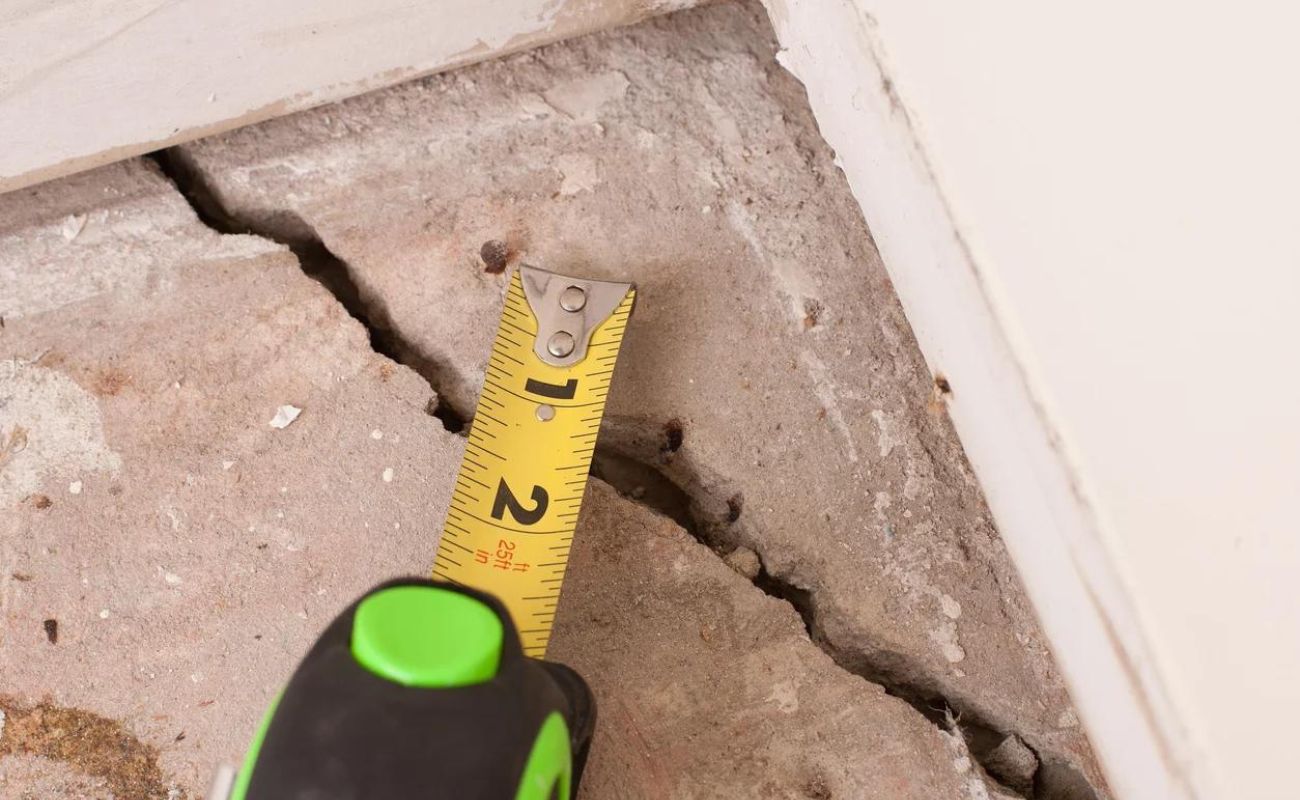
3. Measurement: To quantify the unevenness, measure the depth of any gaps or height differences. Use a tape measure or ruler to determine the exact measurements. Record these measurements as they will guide you in deciding the appropriate repair method.
4. Determine the Cause: It’s important to understand the underlying cause of the unevenness to prevent future recurring issues. Unevenness can be caused by various factors, including settling, weather conditions, or incorrect installation. Assessing the cause will help you address the root problem and ensure a lasting solution.
By thoroughly assessing the unevenness, you can develop a clear plan of action for repairing your concrete walkway. Understanding the extent of the problem and the underlying cause will enable you to choose the appropriate repair method and acquire the necessary tools and materials. Let’s now move on to the next step: gathering the required tools and materials for the repair process.
Gathering the Required Tools and Materials
Once you have assessed the unevenness of your concrete walkway, it’s time to gather the necessary tools and materials for the repair process. Having everything you need on hand will make the job more efficient and ensure a smooth execution. Here is a list of essential tools and materials you’ll need:
1. Safety Gear: Before you begin any repair work, prioritize your safety by wearing the appropriate gear. This includes safety goggles, work gloves, and a dust mask to protect yourself from concrete dust and debris.
2. Concrete Patching Compound: To level out the uneven areas, you will need a high-quality concrete patching compound. This compound is specifically designed to fill in gaps and smooth out rough surfaces. Make sure to choose a compound that is compatible with your existing concrete.
3. Trowel: A trowel is a must-have tool for applying and smoothing the concrete patching compound. Look for a sturdy and durable trowel with a comfortable grip for ease of use.
4. Mixing Bucket and Mixing Tool: You’ll need a large bucket for mixing the concrete patching compound. A 5-gallon bucket is usually sufficient for most repair jobs. Additionally, a mixing tool, such as a drill with a mixing paddle, will help you achieve a consistent and well-mixed compound.
5. Concrete Cleaner: Before applying the patching compound, it’s essential to thoroughly clean the surface of the walkway. Use a concrete cleaner that is suitable for removing dirt, stains, and any loose debris from the concrete.
6. Pressure Washer: For stubborn stains or deep cleaning, a pressure washer can be a valuable tool. It will effectively remove any dirt or grime, leaving the concrete surface clean and ready for repair.
7. Concrete Bonding Agent: A bonding agent is used to ensure a strong bond between the existing concrete and the patching compound. It enhances adhesion and helps prevent future cracks or separation.
8. Leveling Compound (Optional): In some cases, the unevenness may be more severe, requiring the use of a leveling compound. This compound is self-leveling and can be used to address larger height differences. Check the instructions on the leveling compound product for specific usage guidelines.
9. Broom or Brush: A broom or brush will be useful for preparing the work area and removing any loose debris or dust after cleaning.
10. Plastic Sheeting and Tape: Depending on the size of the repair area, you may need plastic sheeting and tape to create a barrier and protect surrounding surfaces from the patching compound.
Once you have gathered all the necessary tools and materials, you will be well-prepared to start the repair process. In the next section, we will discuss the steps to prepare the work area before applying the concrete patching compound.
Preparing the Work Area
Before you can begin leveling your concrete walkway, it’s crucial to properly prepare the work area. By doing so, you’ll ensure that the surface is clean, the surrounding area is protected, and the patching compound adheres properly. Follow these steps to prepare the work area:
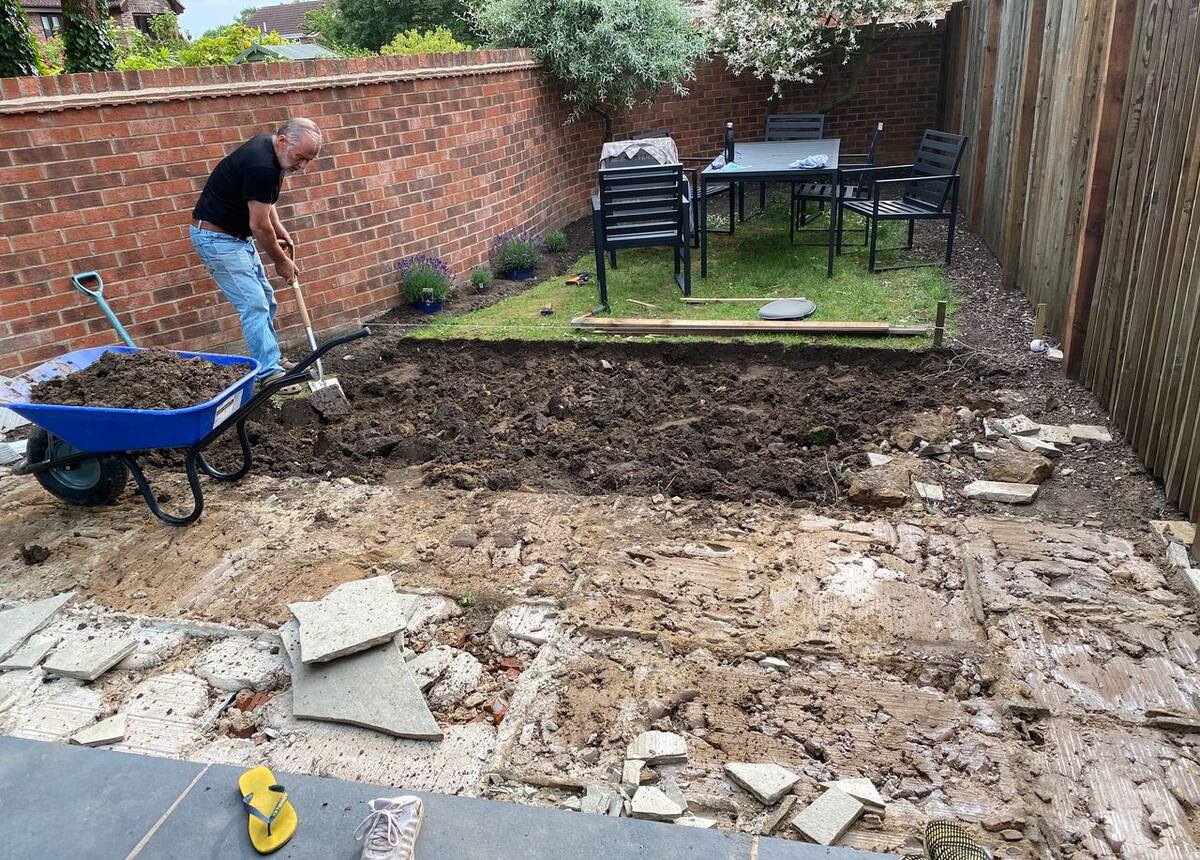
1. Clear the Work Area: Start by removing any objects or obstacles from the walkway. This includes furniture, plants, and any other items that may obstruct your work or get in the way. Clearing the area will provide you with a clean and unobstructed space to work in.
2. Protect Surrounding Surfaces: If there are adjacent surfaces, such as flower beds, grass, or walls, that you want to protect from the patching compound, use plastic sheeting and tape to create a barrier. Secure the plastic sheeting with tape to ensure it stays in place during the repair process.
3. Clean the Surface: Thoroughly clean the concrete surface by removing any dirt, debris, or loose particles. Use a broom or brush to sweep away the loose material. For deeper cleaning or stubborn stains, consider using a pressure washer. Ensure that the surface is completely clean and free of any contaminants before proceeding with the repair.
4. Repair Cracks (If Necessary): If you notice any cracks during the assessment phase, now is the time to address them. Use a concrete crack filler or a suitable patching compound to repair the cracks. Follow the instructions provided by the manufacturer for the specific product you are using. Allow the crack repairs to fully cure before moving on to the leveling process.
5. Apply a Concrete Bonding Agent: A concrete bonding agent is essential for ensuring proper adhesion between the existing concrete and the patching compound. Follow the manufacturer’s instructions for applying the bonding agent. Typically, you will need to brush or spray the bonding agent onto the prepared concrete surface.
By taking the time to prepare the work area properly, you’ll create an ideal foundation for the leveling process. A clean and well-protected surface, along with the use of a bonding agent, will ensure that the patching compound adheres correctly and provides a long-lasting repair. In the next section, we will discuss the steps to level the concrete walkway using the patching compound.
One tip for fixing an uneven concrete walkway is to use a concrete leveling compound to fill in the low spots and create a smooth, even surface. Be sure to follow the manufacturer’s instructions for best results.
Leveling the Concrete Walkway
Now that you have assessed the unevenness, gathered the necessary tools and materials, and prepared the work area, it’s time to level your concrete walkway. Follow these steps to achieve a smooth and level surface:
1. Mix the Patching Compound: Follow the instructions provided by the manufacturer to mix the concrete patching compound. Use a mixing bucket and a mixing tool, such as a drill with a mixing paddle, to ensure a consistent and well-mixed compound. Aim for a smooth and workable consistency.
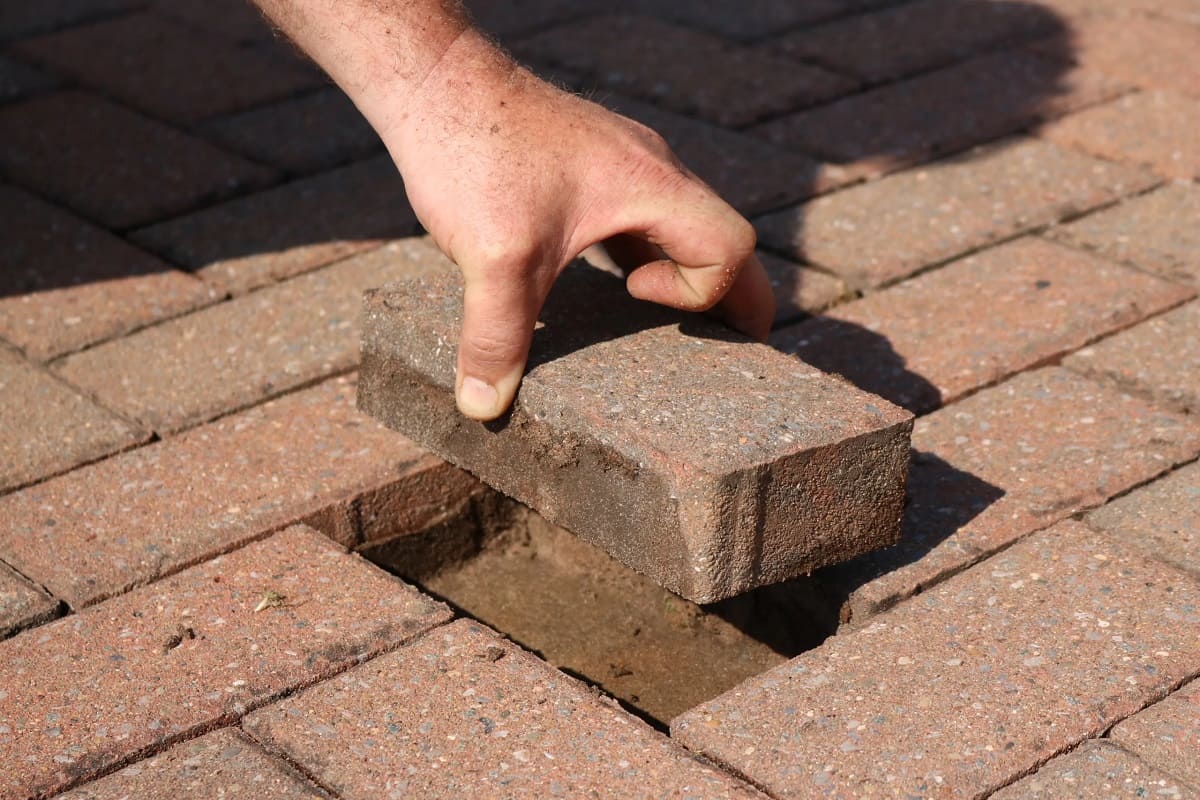
2. Apply the Patching Compound: Start by applying a small amount of the patching compound to the lowest or most uneven areas of the walkway. Use a trowel to spread and level the compound evenly. Work in small sections to ensure optimal control and accuracy.
3. Smooth the Surface: After applying the patching compound, use the trowel to smooth the surface and make it level with the surrounding area. Feather the edges of the compound to blend it seamlessly with the existing concrete. Continue spreading and smoothing the compound until you have covered all the uneven areas.
4. Check for Level: As you work, periodically use a level or straight edge to check the levelness of the repaired sections. Adjust the compound as needed to achieve a level surface. Pay extra attention to areas that were significantly uneven during the assessment phase.
5. Blend the Surface: To create a seamless transition between the repaired sections and the rest of the walkway, blend the surface by lightly feathering the edges. This will help create a natural and visually appealing result.
6. Allow for Curing: Follow the manufacturer’s instructions to determine the curing time for the patching compound. Typically, it will require a few hours or even a full day to fully cure. During this time, avoid walking on the repaired areas or applying any additional weight to prevent damage or interruptions in the leveling process.
By carefully following these steps, you can effectively level your concrete walkway and achieve a smooth and visually appealing surface. However, the work doesn’t end here. In the next section, we will discuss the importance of finishing and smoothing the surface to ensure a professional-looking result.
Read more: How To Repair Uneven Concrete Driveway
Finishing and Smoothing the Surface
After leveling your concrete walkway, it’s important to take the time to finish and smooth the surface to achieve a professional-looking result. This will enhance the appearance of the repair and create a seamless transition between the repaired sections and the rest of the walkway. Follow these steps to finish and smooth the surface:
1. Wait for Partial Curing: Before you begin the finishing process, allow the patching compound to partially cure. This typically takes around 1-2 hours, depending on the specific product and environmental conditions. Partial curing will make the compound firm enough to work with but still malleable for the finishing touches.
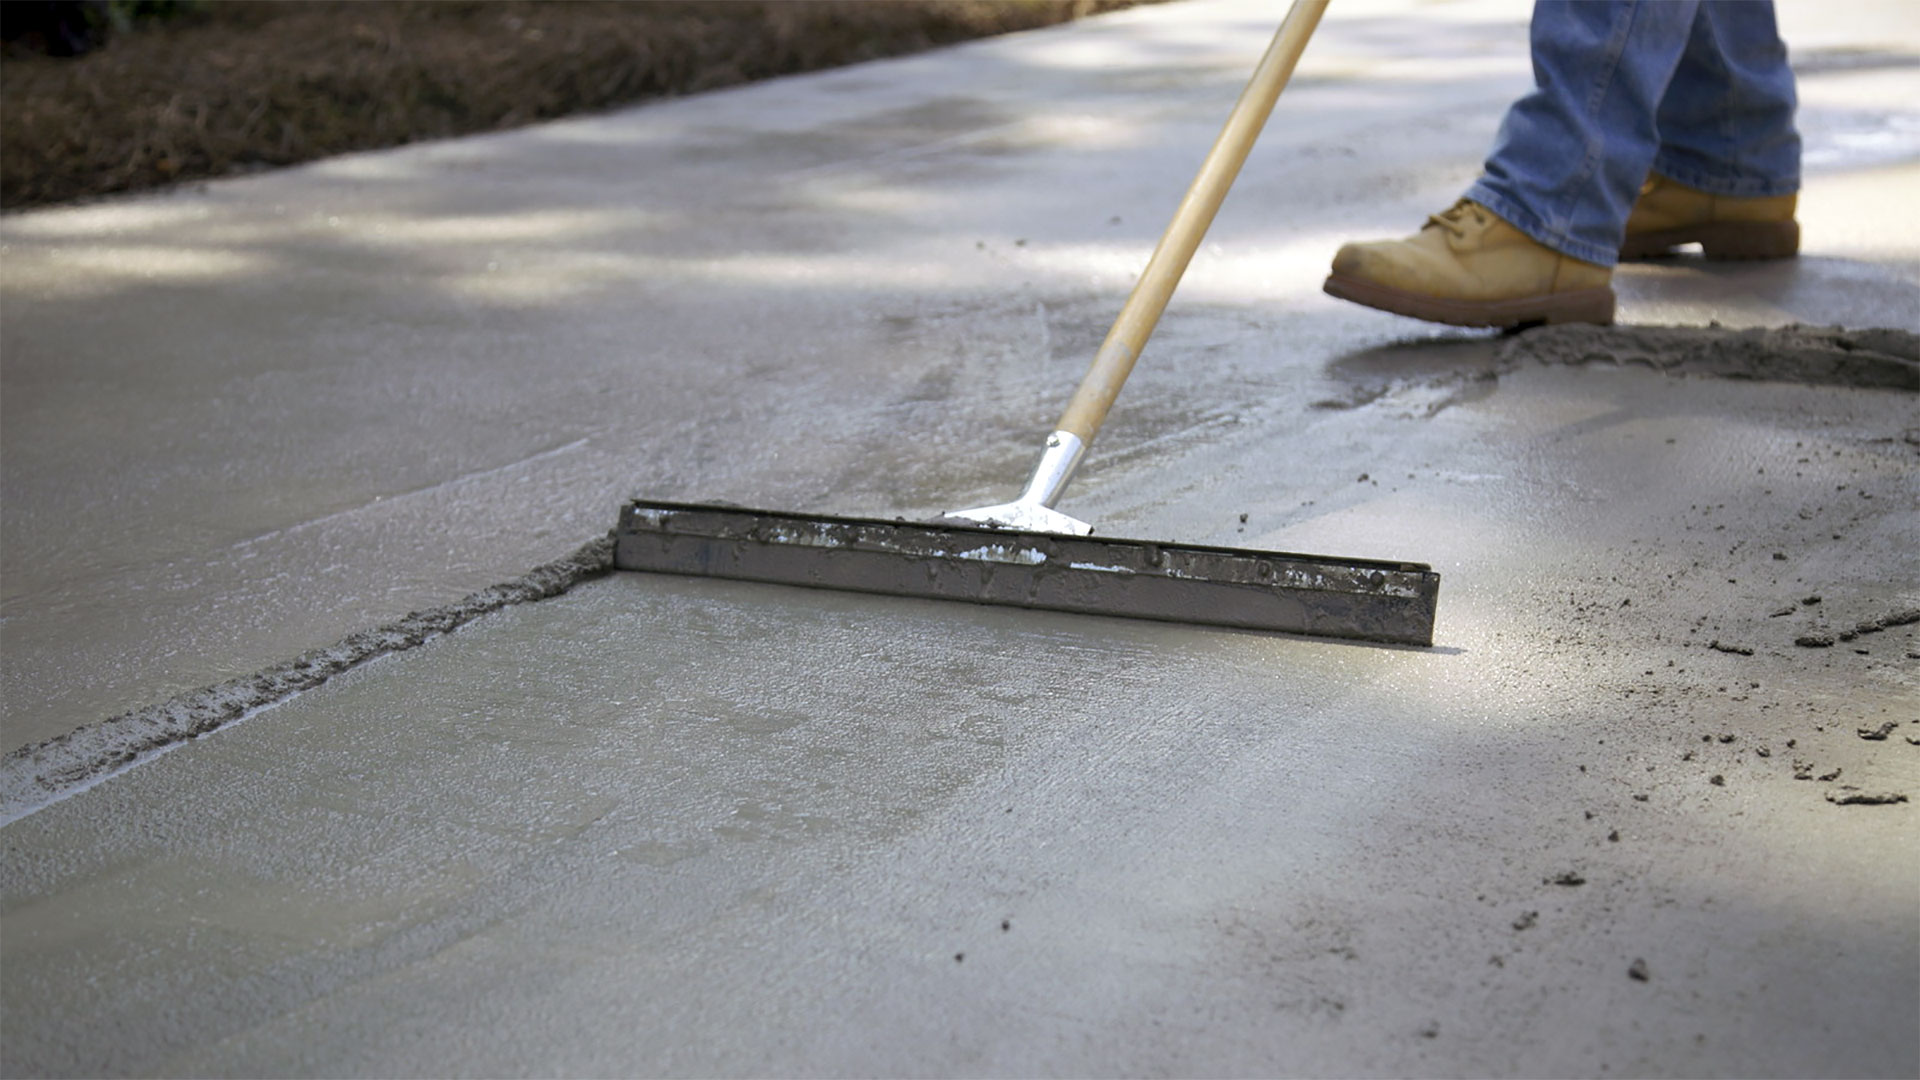
2. Use a Concrete Float: Start by using a concrete float to smooth the surface of the repaired areas. A float is a flat rectangular tool with a handle, usually made of wood or magnesium. Hold the float at a slight angle and move it in a sweeping motion over the surface to level out any imperfections and create a smooth finish.
3. Feather the Edges: Pay special attention to feathering the edges of the repaired areas. This means gradually blending the repaired sections with the surrounding concrete to create a seamless transition. Use the float to gently feather the edges, working in small circular motions and applying light pressure.
4. Finish with a Trowel: Once you have used the float to smooth and feather the edges, switch to a trowel for the final finish. Hold the trowel at a slight angle and apply even pressure as you make long, sweeping motions across the surface. This will further smooth and level the repaired areas.
5. Check for Consistency: Throughout the finishing process, periodically use a straight edge or level to check the consistency and levelness of the surface. Make any necessary adjustments as you go to ensure a uniform and professional finish.
6. Allow for Full Curing: After finishing and smoothing the surface, it’s important to allow the patching compound to fully cure. Follow the manufacturer’s instructions for the recommended curing time, which can vary but is typically around 24-48 hours. During this time, avoid walking on the repaired areas or applying any weight to prevent damage and ensure a durable finish.
By taking the time to finish and smooth the surface, you can achieve a polished and aesthetically pleasing result. The next step in the process is to cure and seal the concrete to enhance its durability and longevity, which we will discuss in the following section.
Curing and Sealing the Concrete
Curing and sealing the concrete walkway is a crucial step in the repair process. It helps to enhance the strength, durability, and appearance of the surface, as well as protect it from external elements and damage. Follow these steps to properly cure and seal the concrete:
1. Allow Sufficient Curing Time: After the patching compound has fully cured, it’s important to allow the entire repaired area to further cure before applying a sealer. This can take approximately 28 days, although curing times may vary depending on the specific product used. During this period, avoid placing heavy objects or applying excessive stress on the walkway to allow for proper strength development.
2. Clean the Surface: Before applying a sealer, ensure that the surface is clean and free from any dust, dirt, or debris. Use a broom or brush to sweep away loose particles. For more thorough cleaning, you can also use a mild detergent or concrete cleaner followed by rinsing with water. Allow the surface to dry completely before proceeding.
3. Choose a Sealer: Select a high-quality concrete sealer that is suitable for outdoor use and compatible with the patching compound. There are different types of sealers available, including penetrating sealers and acrylic sealers. Read the manufacturer’s instructions and choose a sealer that best suits your specific needs and preferences.
4. Apply the Sealer: Follow the manufacturer’s instructions for applying the sealer. Typically, it is recommended to use a roller or sprayer for even application. Start at one end of the walkway and work your way to the other, making sure to coat the entire surface evenly. Take care to avoid applying excess sealer, as this can result in a thick and uneven finish.
5. Allow for Drying and Curing: After applying the sealer, allow it to dry and cure according to the manufacturer’s instructions. This usually takes around 24-48 hours, but drying times may vary based on the product and environmental factors. Keep the walkway clear and avoid any foot traffic during this time to ensure proper bonding and curing of the sealer.
6. Maintain the Sealed Surface: To prolong the life and effectiveness of the sealer, it’s important to regularly maintain the sealed surface. This includes routine cleaning with mild detergents or specific concrete cleaners and avoiding the use of harsh chemicals or abrasive cleaners. Additionally, consider reapplying a sealer every few years to maintain optimal protection and appearance.
By properly curing and sealing the repaired concrete walkway, you are ensuring its long-term durability and visual appeal. The final step is to enjoy your restored and safe walkway for years to come.
Conclusion
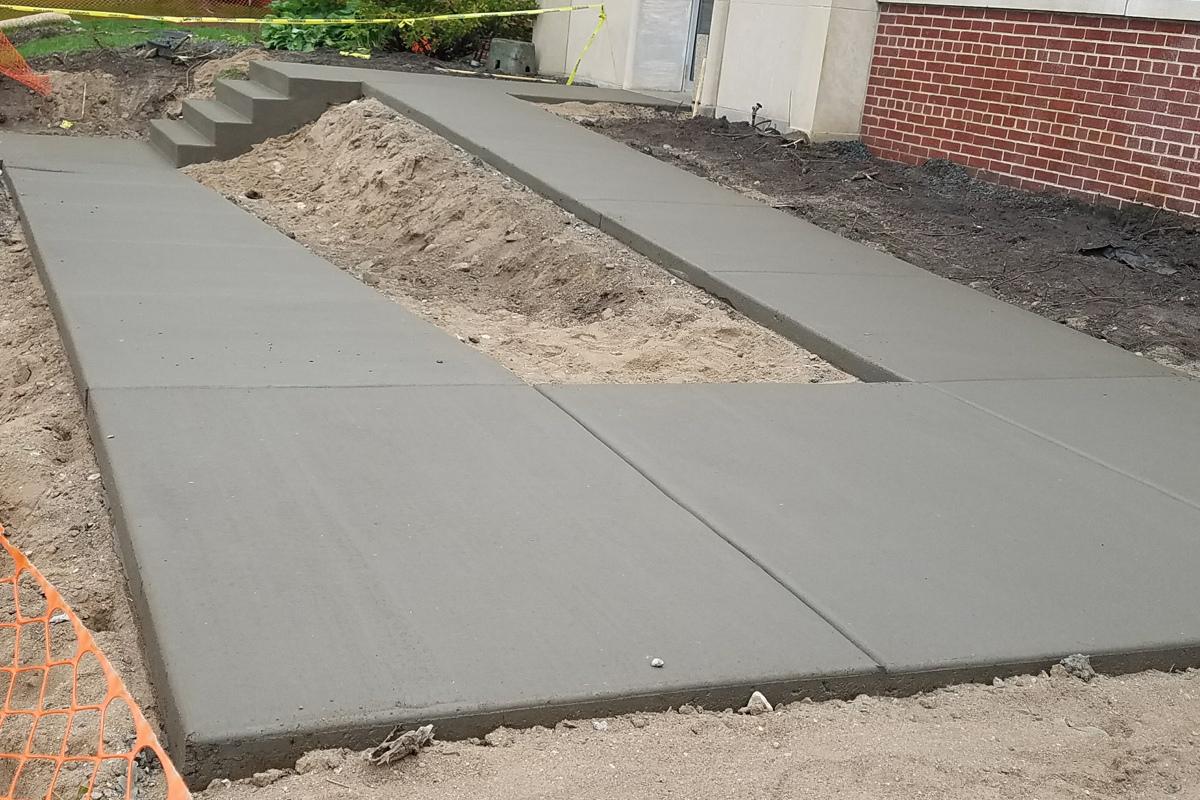
Fixing an uneven concrete walkway is a task that can be accomplished by anyone with the right tools, materials, and determination. By following the steps outlined in this article, you can successfully level and restore your walkway, enhancing its safety, functionality, and aesthetic appeal.
Assessing the unevenness of the walkway and understanding the underlying cause is crucial for effective repair. By accurately measuring and identifying the problem areas, you can plan and execute the leveling process with precision.
Gathering the necessary tools and materials is essential to ensure a smooth repair process. From concrete patching compounds and trowels to safety gear and cleaning solutions, having everything on hand will make the job more efficient.
Preparing the work area by clearing obstacles, protecting surrounding surfaces, and thoroughly cleaning the concrete surface is important for optimal results. Additionally, addressing any cracks before leveling the walkway will prevent future problems.
Leveling the concrete walkway requires applying the patching compound, smoothing the surface, and ensuring a level and uniform result. Taking the time to feather the edges and using tools like a concrete float and trowel will help achieve a professional finish.
Finishing and smoothing the surface completes the repair process, ensuring a polished and seamless look. Checking for consistency and allowing for proper curing time are important steps in achieving a durable and visually appealing result.
Curing and sealing the concrete walkway is the final step to enhance its strength, durability, and protection against external elements. By choosing a suitable sealer and following the manufacturer’s instructions, you can ensure long-term performance and a maintained appearance.
In conclusion, fixing an uneven concrete walkway is a manageable task that can greatly improve the safety and aesthetics of your outdoor space. By following the steps provided in this article and being diligent in your approach, you can achieve a level and visually appealing walkway that will serve you well for years to come. Take pride in your DIY repair and enjoy the benefits of a restored and safe concrete walkway.
Frequently Asked Questions about How To Fix Uneven Concrete Walkway
Was this page helpful?
At Storables.com, we guarantee accurate and reliable information. Our content, validated by Expert Board Contributors, is crafted following stringent Editorial Policies. We're committed to providing you with well-researched, expert-backed insights for all your informational needs.


0 thoughts on “How To Fix Uneven Concrete Walkway”