Articles
How To Build A Paver Walkway On A Slope
Modified: October 20, 2024
Learn step by step how to build a durable and beautiful paver walkway on a slope. Our articles provide expert tips and guidance for a successful project!
(Many of the links in this article redirect to a specific reviewed product. Your purchase of these products through affiliate links helps to generate commission for Storables.com, at no extra cost. Learn more)
Introduction
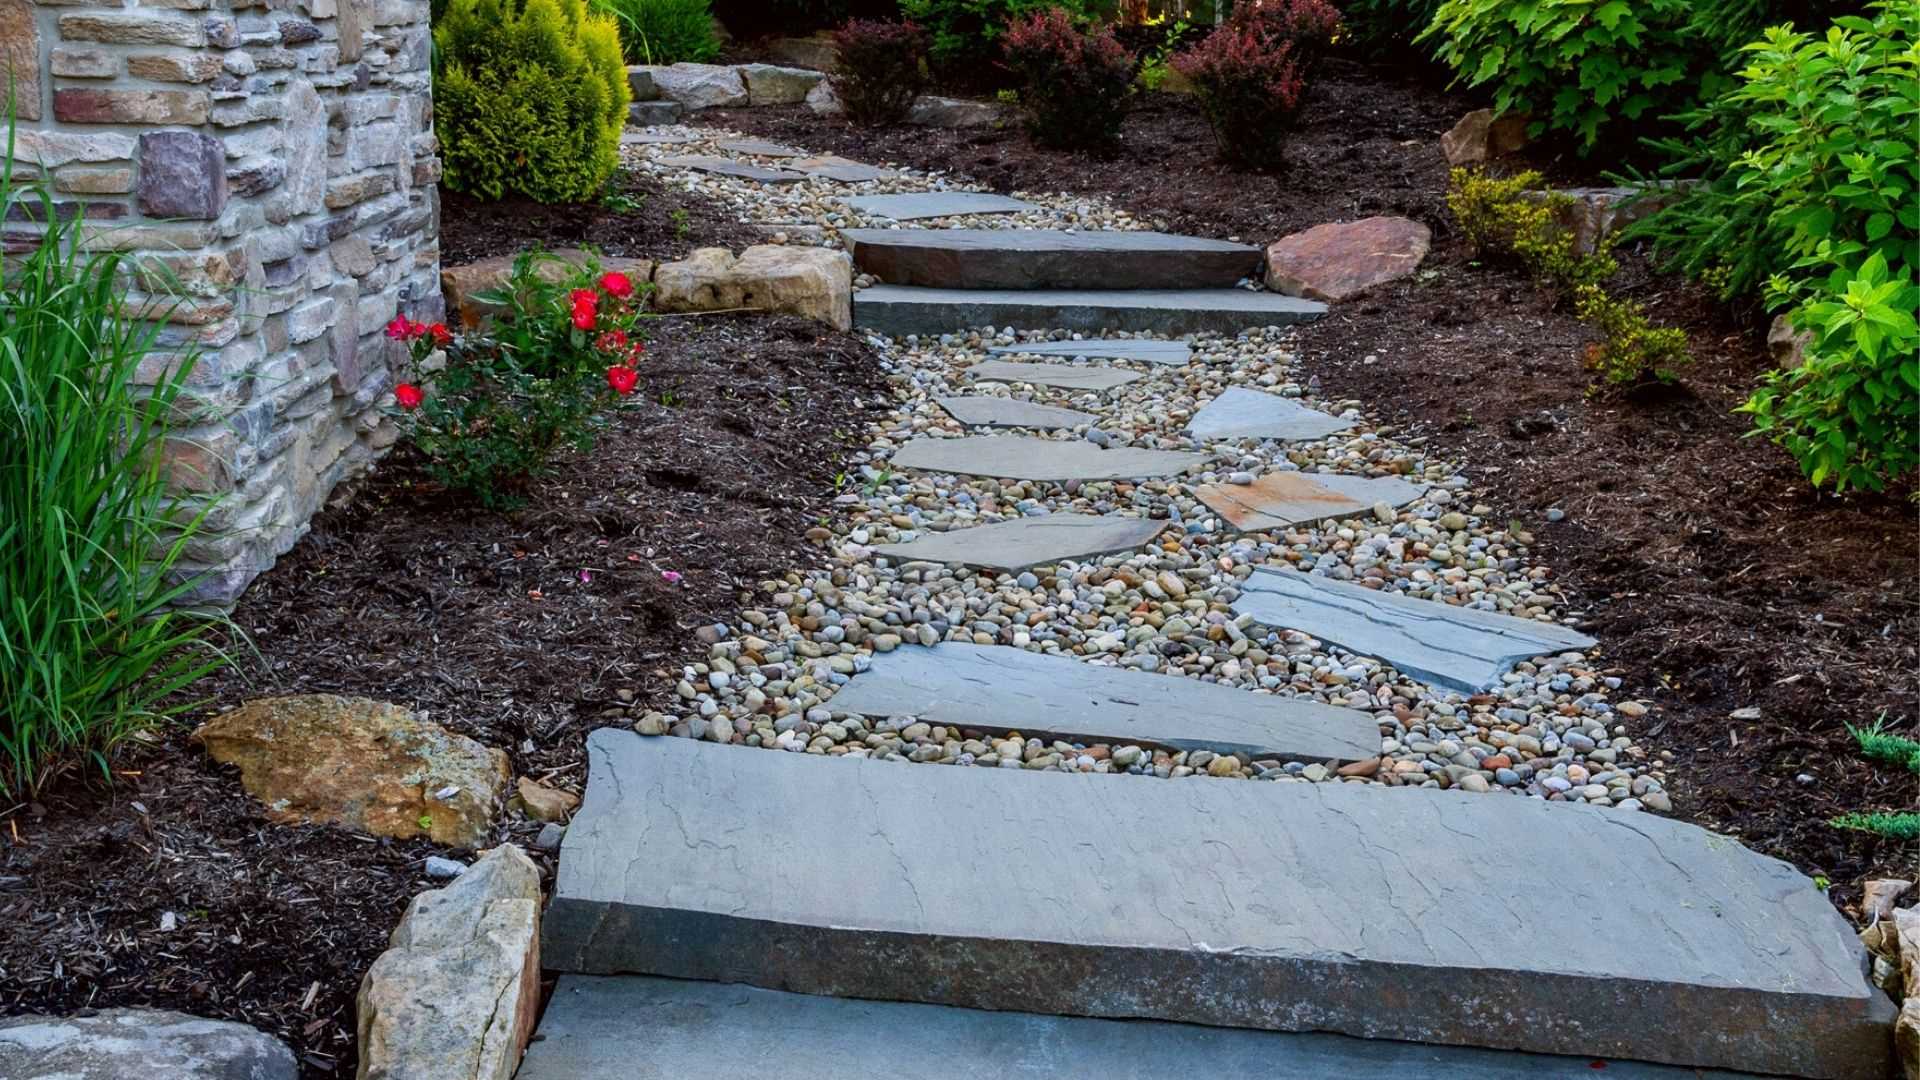
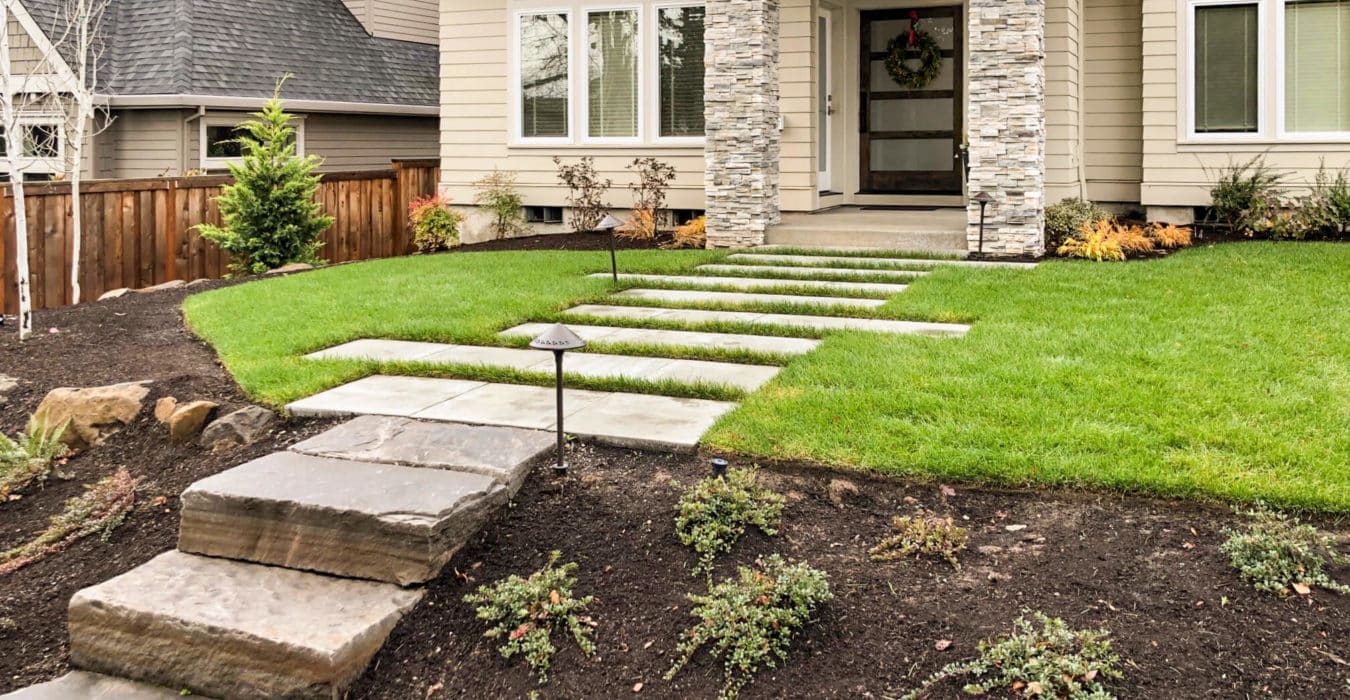
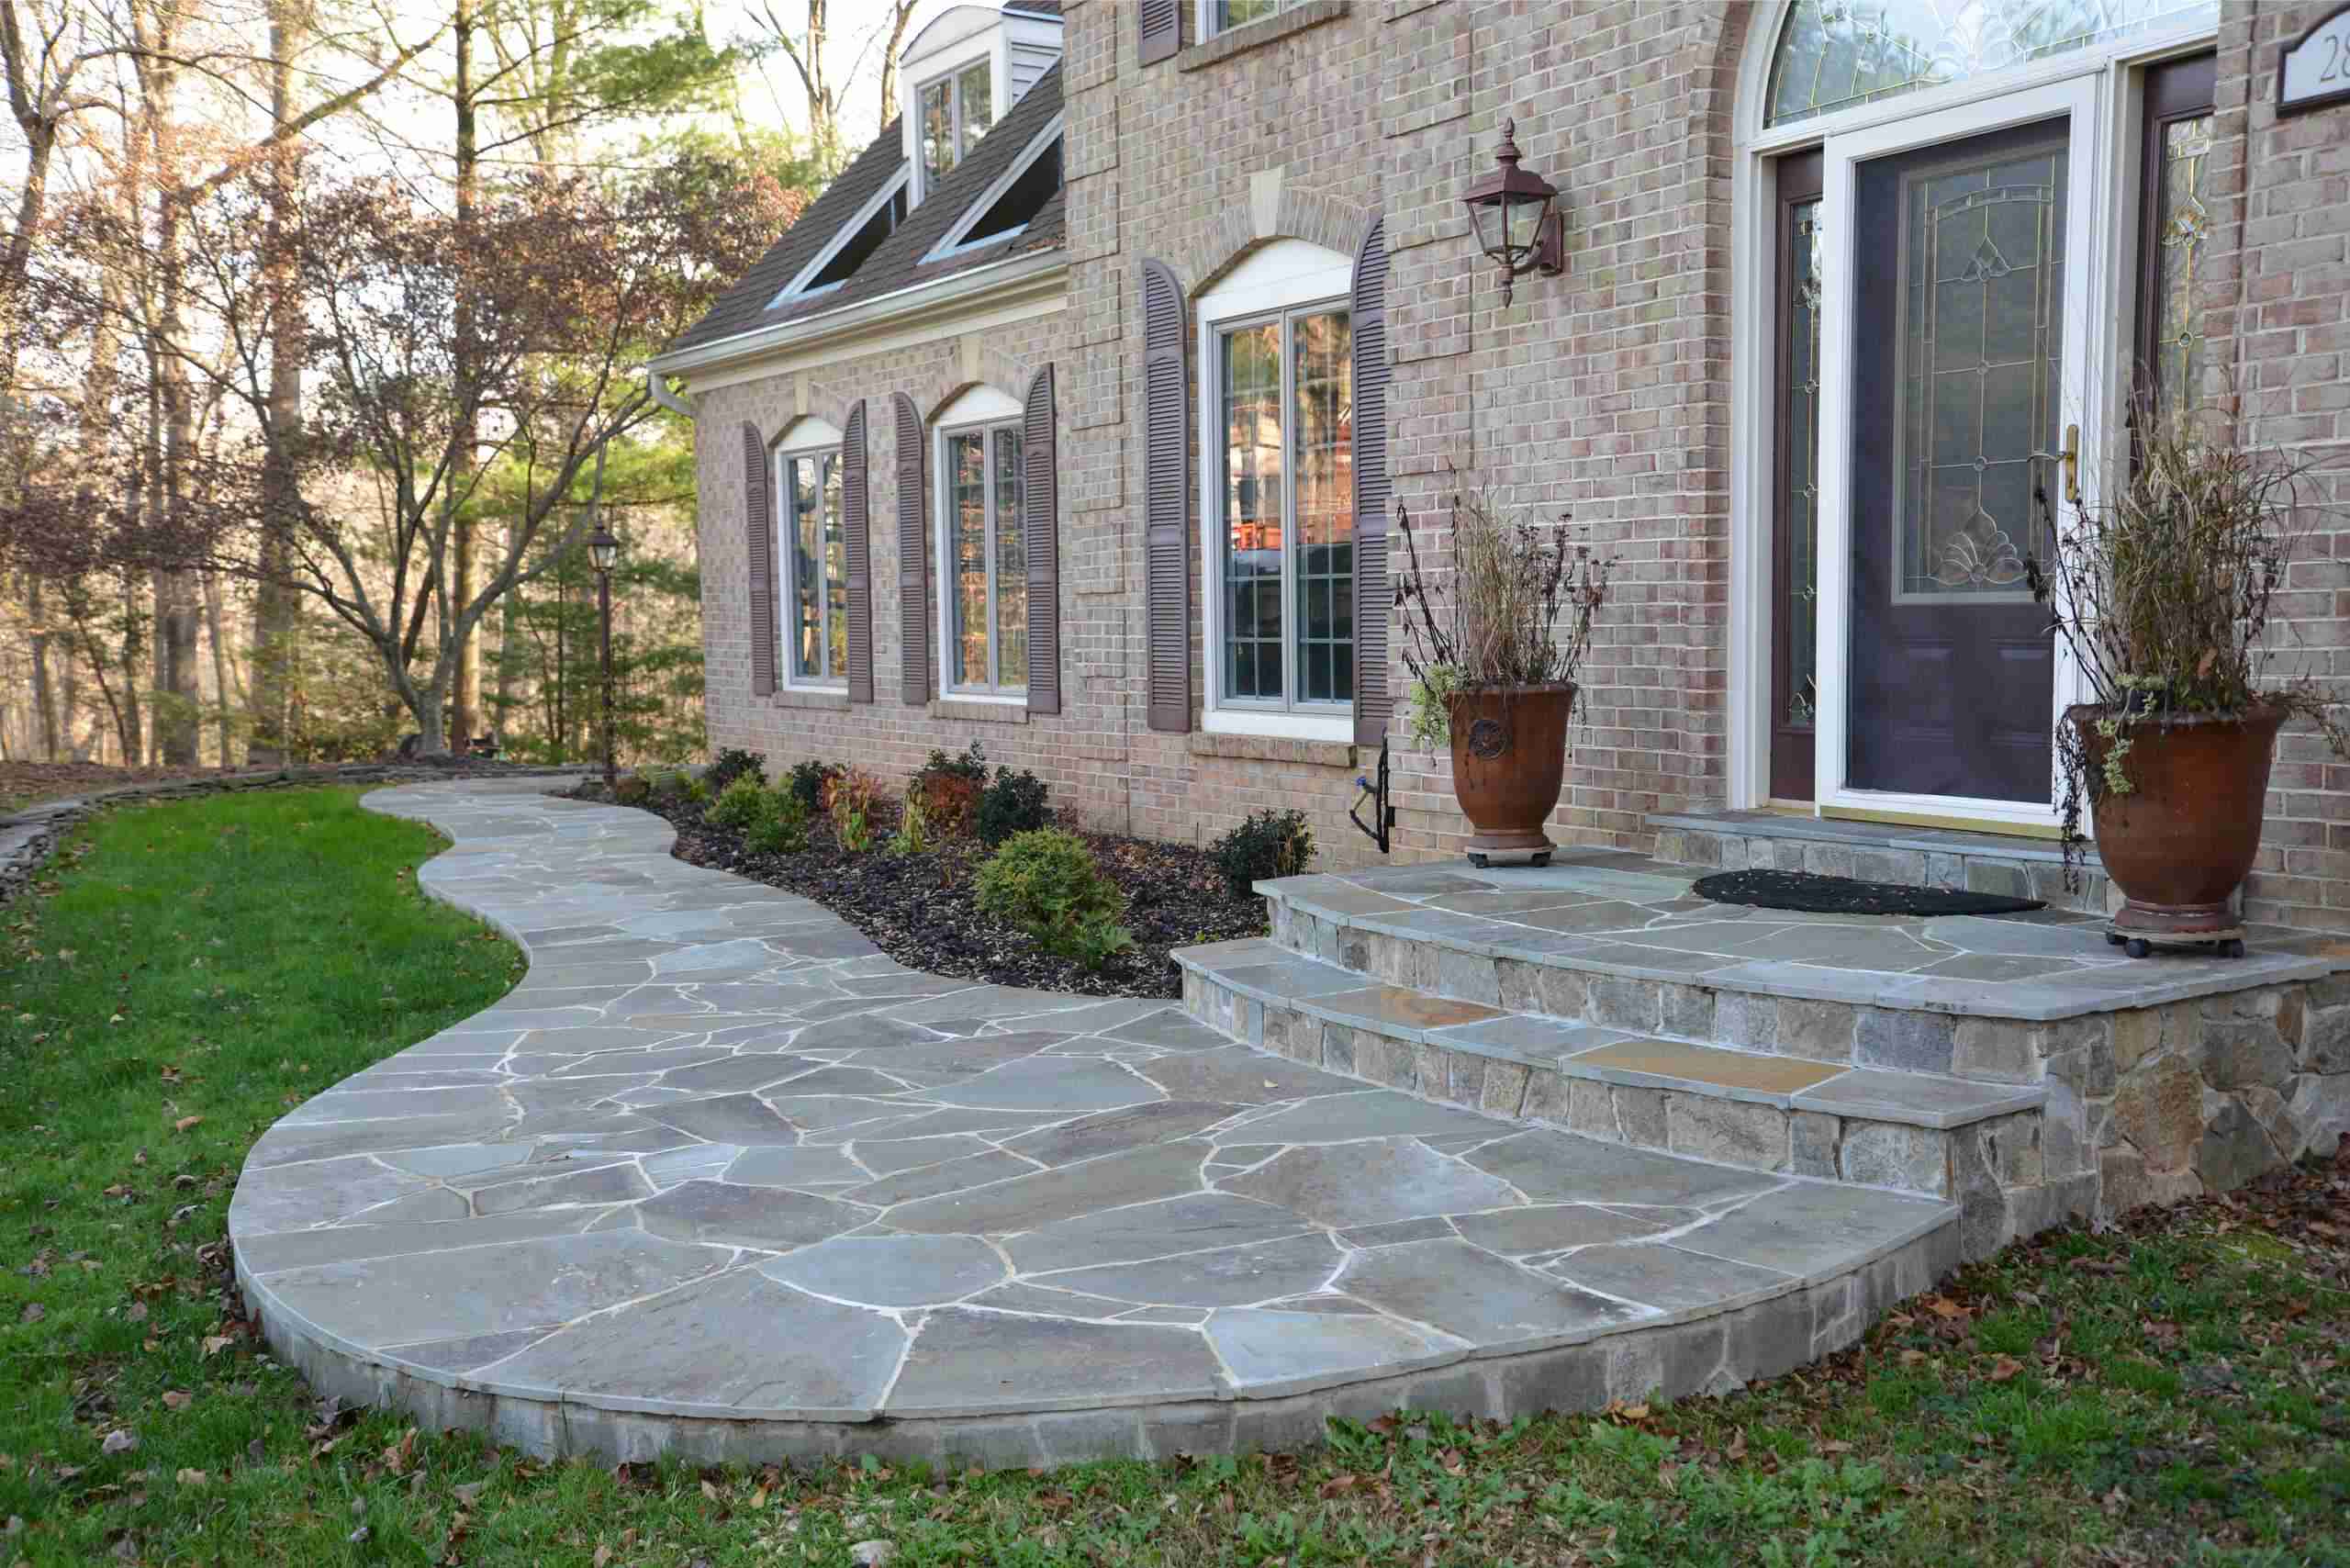
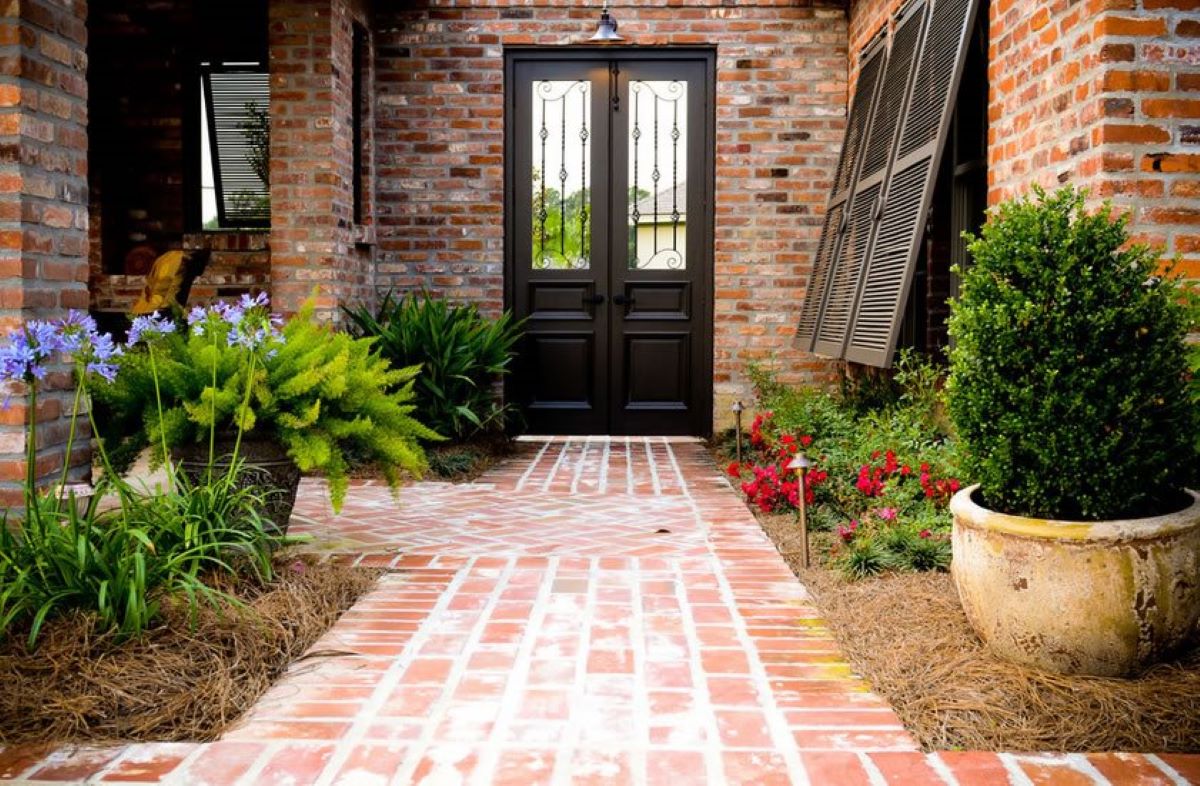
Building a paver walkway on a slope can be a challenging yet rewarding DIY project. Whether you want to add a touch of elegance to your garden or create a functional pathway on a hilly terrain, a paver walkway is a versatile and durable solution.
When properly planned and executed, a paver walkway not only enhances the aesthetic appeal of your outdoor space but also provides a safe and stable surface for walking. However, constructing a walkway on a slope requires careful consideration of the landscape, proper installation techniques, and the right materials.
In this article, we will guide you through the step-by-step process of building a paver walkway on a slope. From initial planning and preparation to the final touches, we will cover everything you need to know to create a stunning and functional walkway that will stand the test of time.
Before we dive into the details, it’s important to note that safety should always be your top priority. If you are unsure about your ability to complete this project or if you are dealing with a particularly steep slope, it is best to consult a professional. They will have the necessary expertise and equipment to ensure a successful and safe installation.
Now, let’s get started on creating your beautiful paver walkway on a slope!
Key Takeaways:
- Building a paver walkway on a slope requires thorough planning, precise installation, and regular maintenance. From evaluating the slope to securing the pavers with polymeric sand, each step contributes to a durable and visually appealing walkway.
- Prioritizing safety, obtaining necessary permits, and consulting professionals when needed are essential for a successful DIY paver walkway project. With careful attention to detail and adherence to local regulations, you can create a stunning and functional walkway on a slope.
Read more: How To Slope A Paver Patio
Step 1: Planning and Preparation
The first and most crucial step in building a paver walkway on a slope is careful planning and preparation. This stage will set the foundation for a successful installation and help you avoid potential issues later on. Here’s what you need to consider:
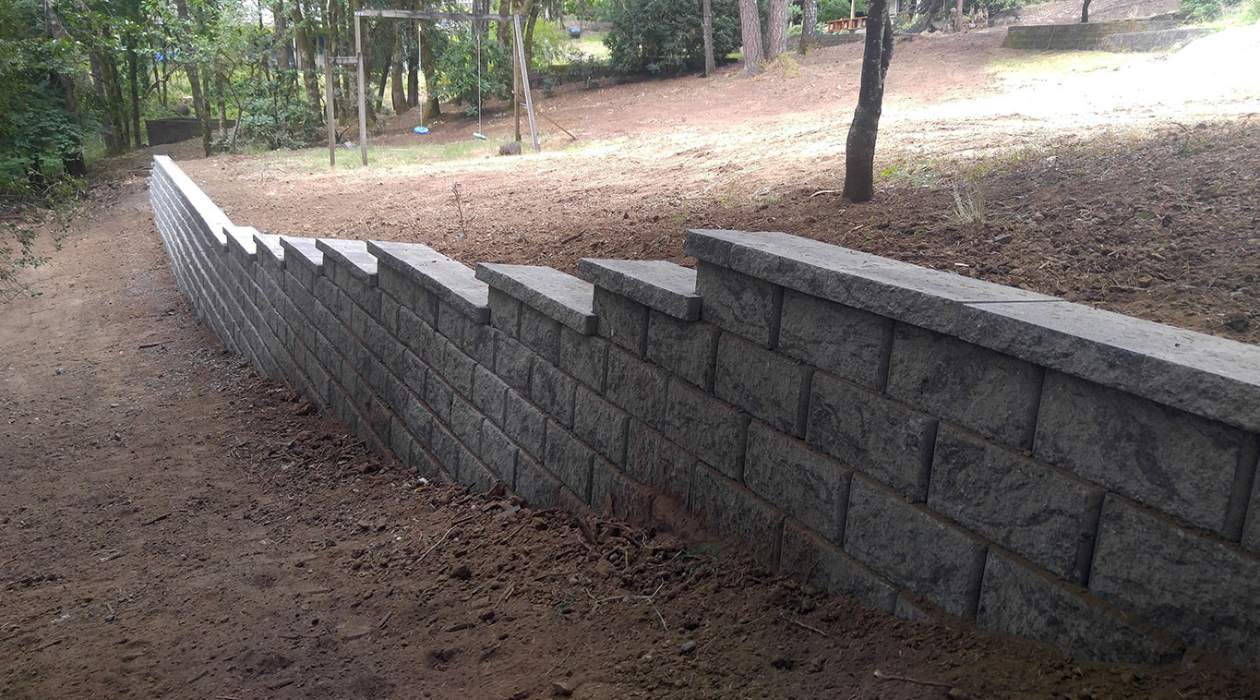
- Evaluate the slope: Assess the degree of slope and determine if any adjustments need to be made. Keep in mind that steeper slopes may require additional measures such as terracing or retaining walls to create a level surface for your walkway.
- Define the path: Decide where you want your walkway to go and mark the route with stakes and string. Consider factors such as accessibility, natural pathways, and any existing landscape features.
- Measure and estimate: Measure the length and width of the intended walkway to determine the amount of materials you will need. This includes pavers, base material, edge restraints, and polymeric sand.
- Research and select materials: Research different types and sizes of pavers to find the best match for your aesthetic preferences and budget. Choose materials that are suitable for sloped surfaces and provide slip resistance.
- Check local regulations: Ensure compliance with any local building codes or regulations regarding walkway construction. Obtain any necessary permits before starting the project.
- Consider drainage: Take into account the natural drainage patterns of the slope and plan for proper water runoff. This can be achieved through grading and the installation of drainage systems if necessary.
- Prepare the work area: Clear the area of any obstacles such as rocks, debris, or vegetation. Ensure there is enough space for the width of the walkway and consider any landscaping features or plants that may need to be temporarily relocated.
- Create a timeline and budget: Determine a realistic timeline for the project and allocate a budget for materials, tools, and any professional assistance that may be required. It’s important to factor in extra time and resources for any unexpected challenges or delays.
By thoroughly planning and preparing for your project, you will minimize potential setbacks and ensure a smooth construction process. Taking the time to consider these essential factors will lead to a functional and visually pleasing paver walkway on a slope.
Step 2: Gather Materials and Tools
Once you have completed the planning and preparation stage, it’s time to gather all the materials and tools you will need for building your paver walkway on a slope. Having everything ready will facilitate a smooth construction process. Here is a list of essential items:
- Pavers: Choose pavers that are suitable for outdoor use and can withstand the weight and foot traffic. Consider the size, color, and texture that best complements your landscape design.
- Base material: Select a suitable base material such as crushed stone or gravel. This provides stability and drainage for your walkway. The quantity required will depend on the size and length of your walkway.
- Edge restraints: Install edge restraints to keep the pavers in place and prevent shifting. These can be made of plastic, metal, or concrete and should be long enough to span the entire length of your walkway.
- Polymeric sand: Polymeric sand is used to fill the joints between the pavers, locking them into place and preventing weed growth. Be sure to purchase enough sand to cover the entire walkway area.
- Grading tools: Depending on the slope of your walkway, you may need grading tools such as a shovel, rake, and level to create a smooth and even surface.
- Cutting tools: If you need to trim or cut the pavers to fit specific areas, you will need cutting tools such as a wet saw or a masonry chisel.
- Compactor: A compactor or plate compactor is essential for compacting the base material and ensuring a stable foundation for your pavers.
- Safety equipment: Don’t forget to prioritize safety. Invest in safety goggles, gloves, and knee pads to protect yourself during the construction process.
In addition to these essential materials, it’s always helpful to have a few extra items on hand, such as a measuring tape, a wheelbarrow for moving materials, and a broom for cleaning the walkway.
Before purchasing your materials, double-check your measurements to ensure you get the right quantity. Consider consulting with a local home improvement store or landscaping professional for guidance on the best materials for your specific project and climate.
By gathering all the necessary materials and tools ahead of time, you will save valuable time during the construction process and have everything you need within reach as you build your paver walkway on a slope.
Step 3: Clear the Area and Prepare the Base
With your materials and tools gathered, it’s time to clear the area and prepare the base for your paver walkway on a slope. This step is crucial for creating a solid foundation that will support the weight of the pavers and ensure long-term stability. Follow these steps:
- Clear the area: Start by removing any grass, plants, or debris from the designated walkway area. Use a shovel or a garden hoe to cut through the vegetation and dig it out, ensuring you clear at least 6 inches down to expose the bare soil.
- Grade the slope: If the slope is uneven or has any high spots, use a shovel or a rake to smooth out the surface. Create a gradual slope by removing excess soil or adding soil as needed. The goal is to create a gentle slope that allows for proper drainage and a level walkway.
- Compact the soil: Once the slope is graded, use a plate compactor to compact the soil. This will ensure a stable base for your walkway by eliminating any loose or soft areas. Compact the soil in layers, working from the bottom upward, until you achieve a firm and solid surface.
- Add landscape fabric: Lay landscape fabric over the compacted soil to prevent weed growth and maintain a cleaner walkway. Overlap the edges of the fabric to create a continuous barrier. Use landscape fabric pins to secure it in place.
- Add a layer of crushed stone: Spread a layer of crushed stone or gravel over the landscape fabric. This layer acts as a permeable base that promotes proper water drainage and prevents the pavers from sinking into the soil. Aim for a thickness of 2-4 inches.
- Compact the base material: Use the compactor to firmly compact the crushed stone layer. This will ensure a stable and level surface for your pavers. Pay attention to any low spots and add more crushed stone if necessary.
By clearing the area and preparing the base properly, you create a solid foundation that will support the weight of the pavers and prevent shifting and settlement over time. Proper compaction is key to achieving a stable and long-lasting paver walkway on a slope.
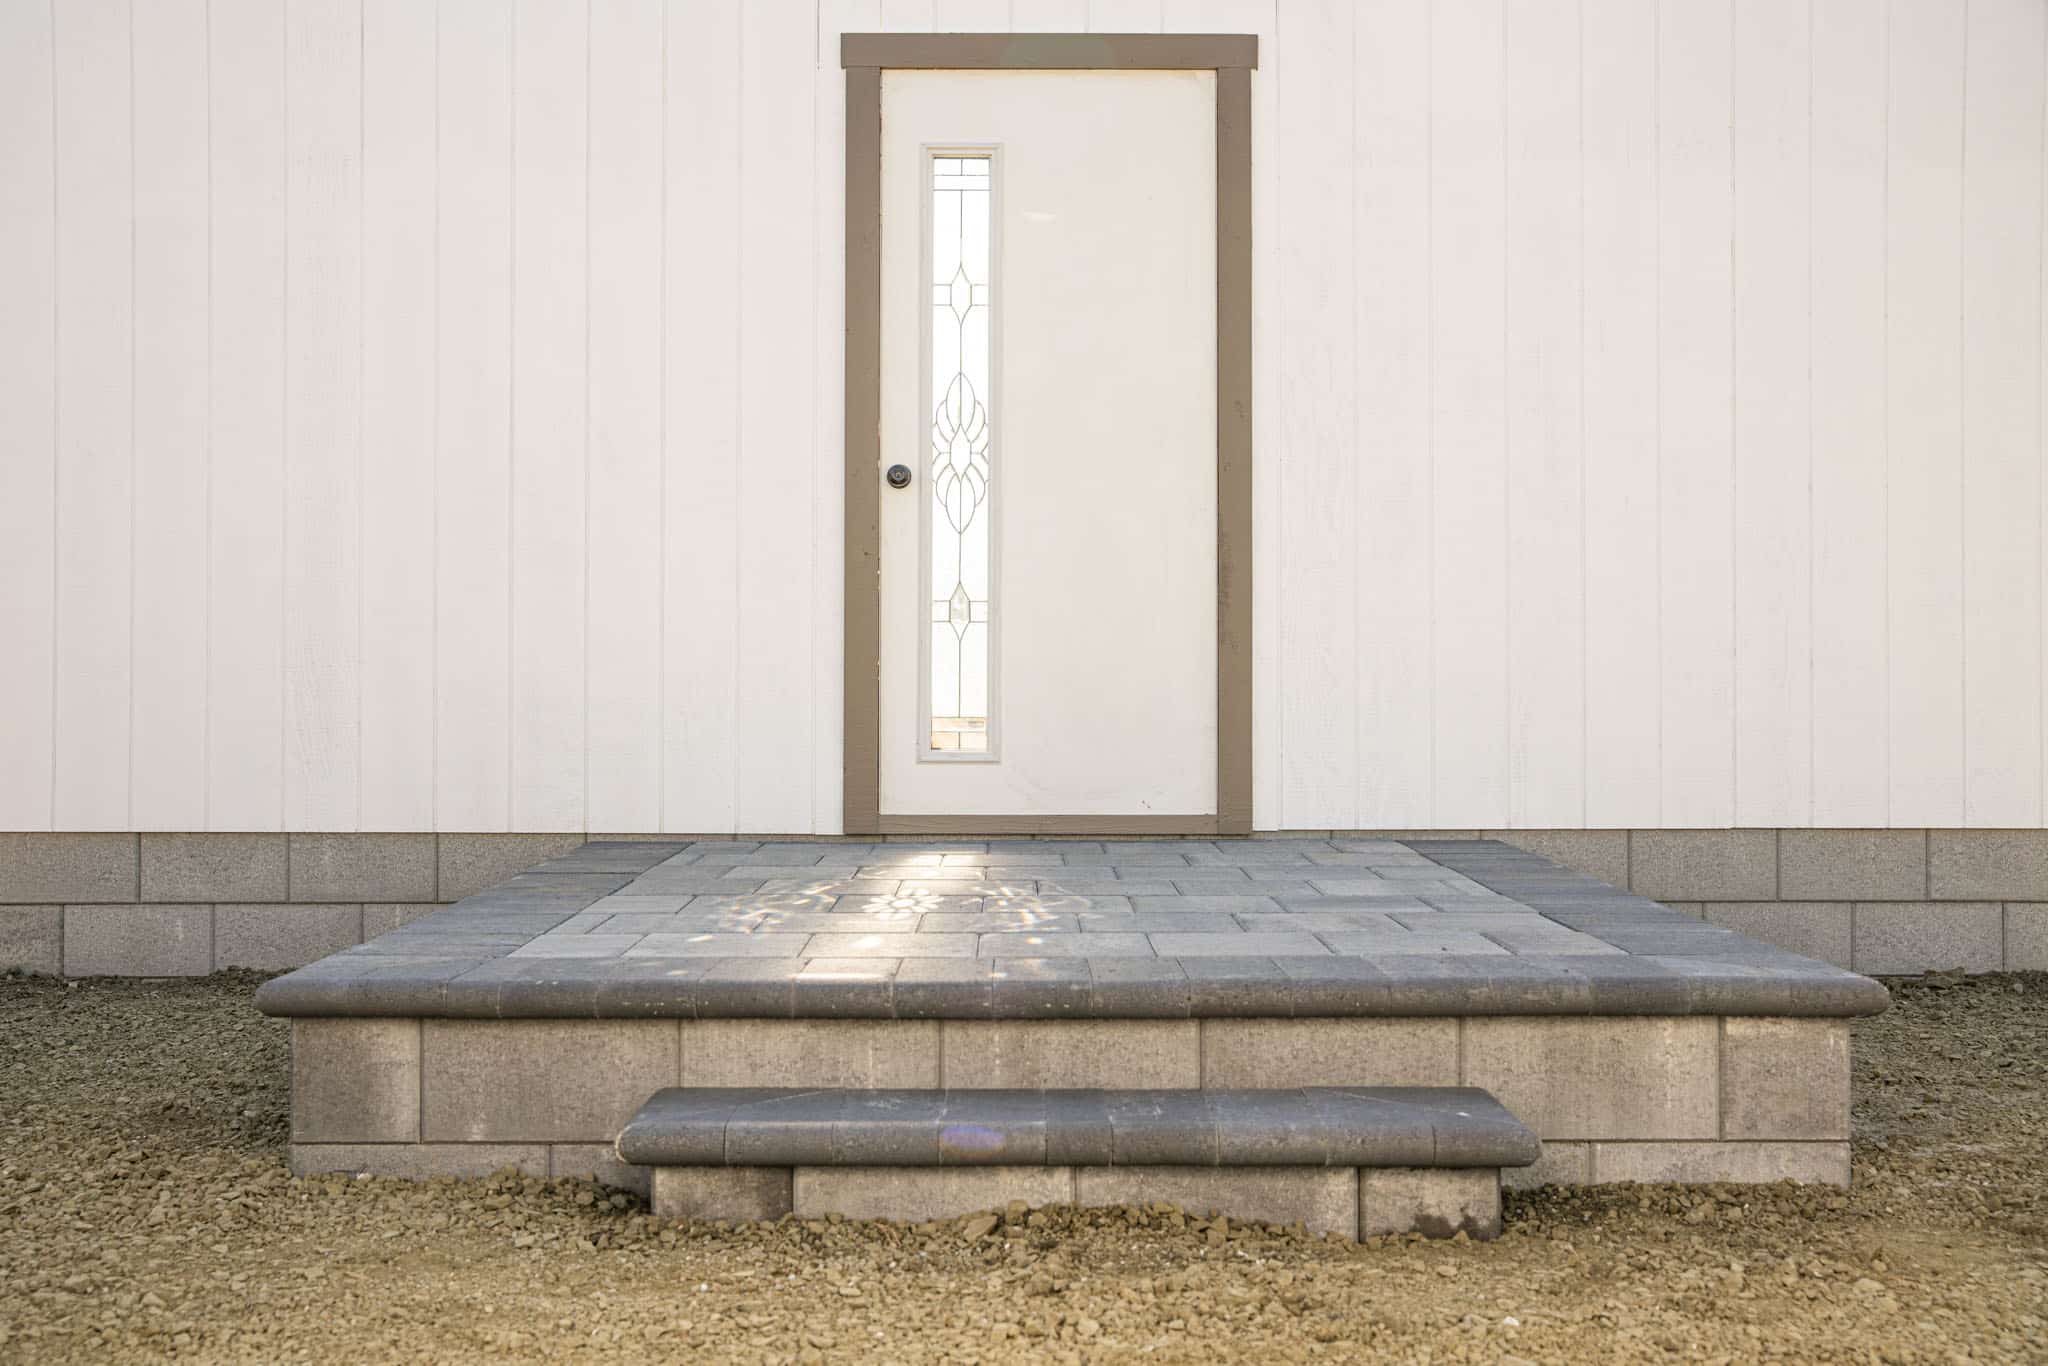
Step 4: Install Edge Restraints
With the base prepared, the next step in building your paver walkway on a slope is to install edge restraints. These restraints will help keep the pavers in place, provide stability, and prevent any shifting over time. Follow these steps to install edge restraints:
- Choose the type of edge restraints: There are various options for edge restraints, including plastic, metal, or concrete. Consider the style and durability that best fits your landscape design and personal preferences.
- Measure and mark the placement: Use a tape measure to determine the length of each edge restraint needed. Mark the placement with a chalk line or stakes and string for accuracy.
- Excavate the edges: Dig a narrow trench along the marked lines to accommodate the depth of the edge restraints. The trench should be slightly wider than the restraints to allow for proper installation.
- Place the edge restraints: Lay the edge restraints into the excavated trench, positioning them against the outer edge of the walkway. Ensure they are level and align with the desired width of the walkway.
- Secure the restraints: Use plastic stakes or metal spikes to anchor the edge restraints into the ground. Place the stakes or spikes at regular intervals, approximately 12-18 inches apart, and hammer them into the soil until they are firmly secured.
- Check for level and alignment: Use a level to ensure the edge restraints are evenly placed and properly aligned. Adjust as needed before proceeding to the next step.
- Backfill and compact: Backfill the trenches on both sides of the edge restraints with crushed stone or gravel. Compact the backfill material to secure the restraints in place and provide additional stability.
Installing edge restraints is crucial for preventing the pavers from shifting or spreading out over time. They create a defined border for your walkway and help maintain its integrity. Properly installed edge restraints will ensure a durable and long-lasting paver walkway on a slope.
Read more: How To Install A Walkway With Pavers
Step 5: Lay the Base Material
After installing the edge restraints, it’s time to lay the base material for your paver walkway on a slope. The base material provides a stable foundation for the pavers and helps with drainage. Here’s how to proceed:
- Prepare the base: Ensure that the edge restraints are secure and in the correct position. Remove any excess debris or dirt from the area to create a clean surface.
- Add a layer of sand: Before laying the base material, spread a layer of sand over the compacted crushed stone. This sand layer will help facilitate the leveling process and provide additional stability.
- Distribute the base material: Start by placing the base material, such as crushed stone or gravel, at the farthest end of the walkway and work your way back. Use a shovel or a wheelbarrow to evenly distribute the material along the width of the walkway.
- Level the base material: Use a rake or a screed board to level the base material. Move it back and forth in a gentle motion to ensure an even and smooth base. Check the slope and adjust the base material as needed to maintain a consistent grade.
- Rake and compact: Once the base material is spread and leveled, use a rake to remove any excess material or high spots. Then, use a plate compactor to compact the base material. This compaction process will create a firm and stable base for the pavers.
- Check for evenness: Use a long, straight board or a level to check for evenness across the walkway. Adjust the base material as necessary to achieve a consistent surface.
By properly laying the base material, you will create a solid foundation that supports the weight of the pavers and ensures a level and stable walkway. Take your time during this step to ensure a quality base for your paver walkway on a slope.
When building a paver walkway on a slope, make sure to use a sturdy base material like crushed stone and install edge restraints to prevent shifting.
Step 6: Compact the Base
Once the base material is laid, the next step in building your paver walkway on a slope is to compact the base. Compacttion is essential to create a stable and level surface that will support the weight of the pavers. Here’s how to properly compact the base material:
- Inspect the base material: Before compacting, visually inspect the base material to ensure it is evenly spread and properly leveled. Remove any debris or excess material that may interfere with compaction.
- Begin compacting: Start by positioning the plate compactor at one end of the walkway. It’s recommended to start from the farthest end and work your way back towards the edge restraints.
- Compact in small sections: Divide the walkway into small sections, usually around 2-3 feet wide, and compact each section individually. Start at the edge of the section and slowly move the compactor back and forth, overlapping each pass.
- Apply even pressure: Apply even and consistent pressure when compacting the base material. This will ensure uniform compaction and a level surface. Avoid excessive pressure that may cause the base material to shift or become uneven.
- Cross-compact: After completing a section, move the plate compactor in a crosswise pattern over the compacted area to further enhance compaction and eliminate any potential weak spots.
- Check for evenness: Use a level or a straight board to check the surface for evenness. If there are any low or high spots, add or remove base material accordingly and re-compact the area.
- Continue in sections: Repeat the process of compacting and checking for evenness in small sections until the entire walkway is compacted.
Proper compaction of the base material is crucial for establishing a sturdy and level foundation for your paver walkway. Take your time and be diligent in the compacting process to ensure the best results. A well-compacted base will prevent settling and shifting of the pavers, ensuring a durable and long-lasting walkway on a slope.
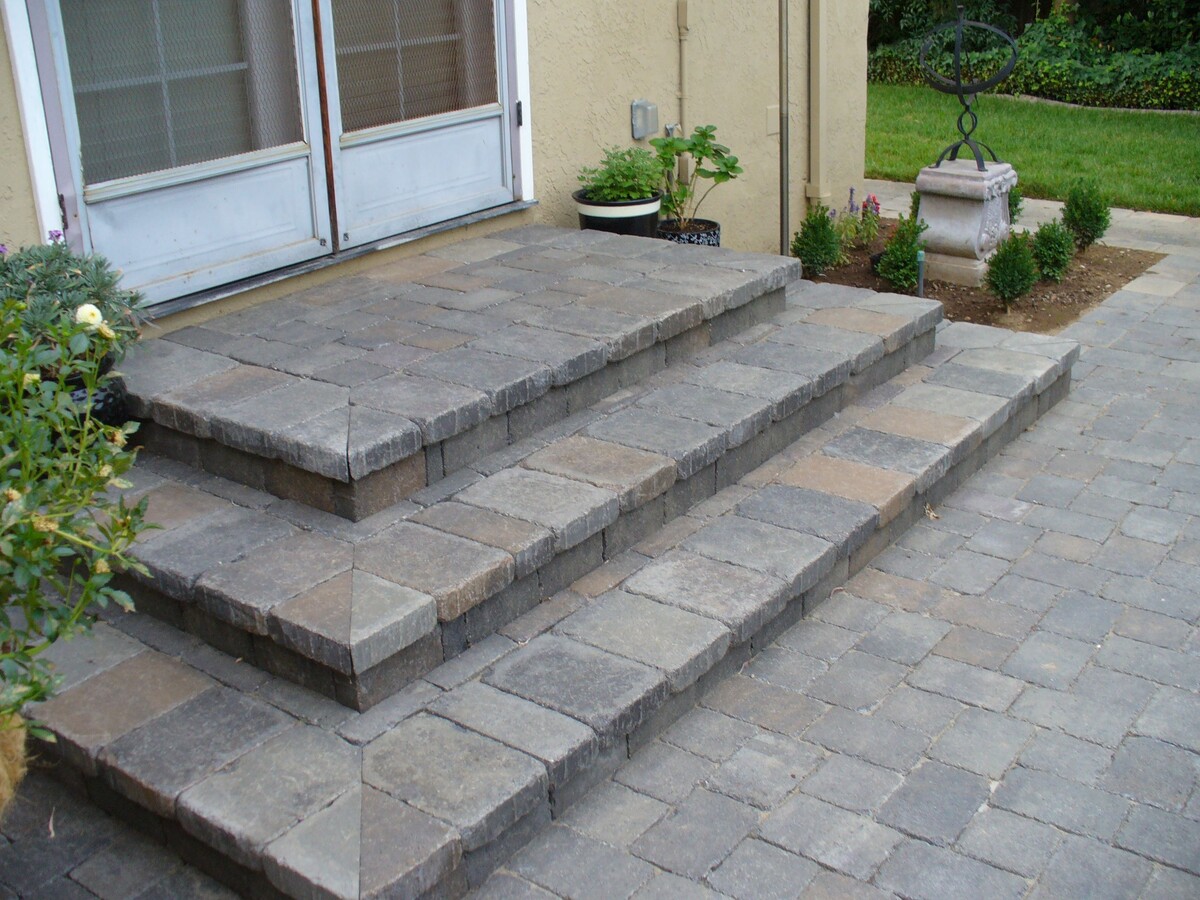
Step 7: Lay the Pavers
After compacting the base, it’s time to lay the pavers and start bringing your paver walkway on a slope to life. This step requires precision and attention to detail to ensure a visually appealing and functional walkway. Follow these steps to correctly lay the pavers:
- Start from one end: Begin at one end of the walkway and work your way towards the other end. This ensures a systematic and organized installation.
- Place the first paver: Carefully position the first paver at the starting point of your walkway. Place it snug against the edge restraints and press it firmly onto the base material.
- Continue with subsequent pavers: Place the next paver beside the first one, creating a tight fit with minimal gaps. Use a rubber mallet or a wooden block and a hammer to gently tap the paver into place. Check for level and alignment as you go, making necessary adjustments.
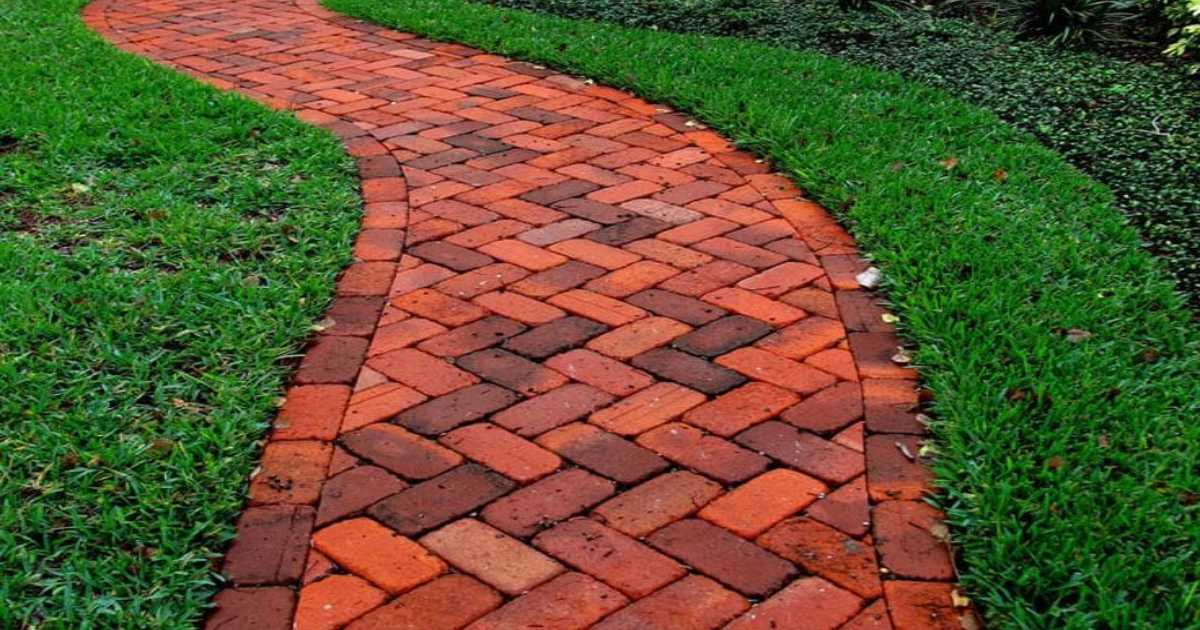
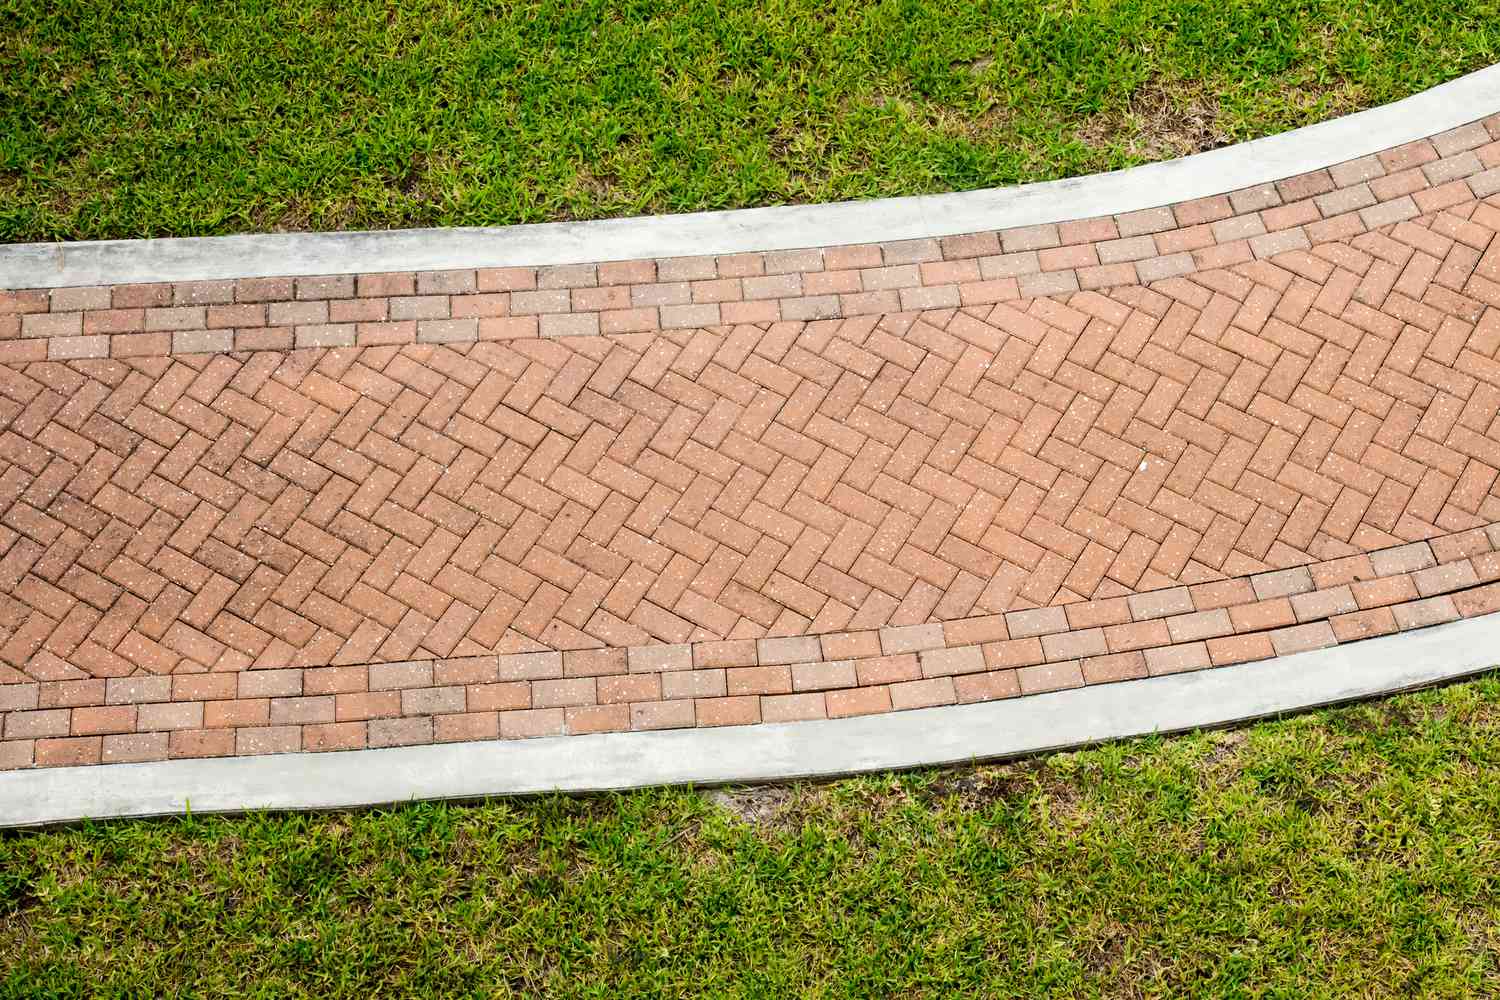
- Create a pattern: Depending on the design you desire, you may choose to lay the pavers in a simple running bond pattern or get creative with other patterns such as herringbone or basket weave. Follow the chosen pattern consistently throughout the walkway.
- Use a string line: To ensure straight lines and uniform spacing, stretch a string line along the edge of the walkway and use it as a guide to align the pavers.
- Fill gaps with sand: As you lay the pavers, pay attention to the gaps between them. Fill these gaps with polymeric sand using a broom or a trowel. Sweep the sand over the paver surface, making sure it fills the joints completely. This sand will stabilize the pavers and prevent weed growth.
- Check for evenness: Use a level or a straight board to check the surface for evenness and adjust as necessary. Pavers should be flush with each other and maintain a consistent height throughout.
- Cut pavers if needed: If you come across areas where full-size pavers won’t fit, use a wet saw or a chisel to cut the pavers to the required size and shape. This will allow you to maintain the desired pattern and achieve a seamless walkway.
- Continue laying until complete: Repeat the process of placing the pavers, checking for level, filling gaps with sand, and making any necessary cuts until you have laid all the pavers for the entire walkway.
By following these steps, you will achieve a professionally laid paver walkway on a slope. Taking the time to ensure proper alignment, levelness, and spacing will result in a visually pleasing and structurally sound walkway that will withstand the test of time.
Step 8: Cut Pavers as Needed
During the process of laying the pavers for your walkway on a slope, you may encounter areas where full-size pavers won’t fit due to curves, corners, or irregular shapes. In these cases, you will need to cut the pavers to the required size and shape. Follow these steps to cut pavers as needed:
- Gather the necessary tools: Prepare the tools needed for cutting pavers, such as a wet saw with a diamond blade or a chisel and hammer. Ensure that you are following the manufacturer’s instructions and safety guidelines for using these tools.
- Measure and mark: Measure the area where the paver needs to be cut and mark the cutting line using a pencil or chalk. Double-check your measurements to ensure accuracy.
- Wet saw method: If using a wet saw, set it up according to the manufacturer’s instructions. Slowly and steadily feed the paver into the wet saw, following the marked cutting line. Use gentle pressure and let the blade do the work. Keep your fingers clear of the blade and wear safety goggles and gloves.
- Chisel and hammer method: If using a chisel and hammer, score the cutting line on the paver using a masonry chisel. Place the chisel on the scored line and strike it gently with a hammer to break the paver along the line. Repeat this process if necessary to achieve the desired shape.
- Smooth the edges: After cutting the paver, use a stone file or a rubbing stone to smooth any rough edges or uneven surfaces. This will ensure a clean and seamless fit with the other pavers.
- Test the fit: Place the cut paver in the desired location and check its fit. Make any additional adjustments, if needed, to ensure a precise and snug fit.
- Continue with the installation: Once the paver is cut to the appropriate size and shape, proceed with the layout and placement as you would for the other pavers. Position the cut paver in its designated spot and continue laying the rest of the pavers, ensuring proper alignment and spacing.
By carefully cutting the pavers as needed, you can achieve a seamless and custom look for your walkway on a slope. Take your time and use the appropriate tools to ensure accurate cuts and a professional finish.
Step 9: Secure the Pavers with Polymeric Sand
Once all the pavers are laid in place, the next step in building your paver walkway on a slope is to secure them using polymeric sand. Polymeric sand is a specially formulated mixture that hardens when exposed to water, creating a solid and stable surface. Here’s how to secure the pavers with polymeric sand:
- Check the joints: Before applying polymeric sand, ensure that the joints between the pavers are free of debris, dust, and excess sand. Use a broom or a leaf blower to remove any loose materials.
- Prep the area: Mist the entire walkway with water to slightly dampen the pavers and the joints. This aids in the activation of the polymeric sand.
- Pour the sand: Pour the polymeric sand directly onto the paver surface, ensuring that it fills the joints completely. Use a broom or a rubber mallet to push the sand into the joints, filling them up to the top.
- Compact the sand: Use a plate compactor on low settings to gently compact the polymeric sand into the joints. This helps to achieve maximum stability and minimize any potential settling.
- Follow the manufacturer’s instructions: Polymeric sand typically requires activation by water. Refer to the manufacturer’s instructions for the specific waiting time and water-activation process. It usually involves misting the entire walkway with water, allowing the sand to set and harden.
- Remove excess sand: After the sand has set, use a broom to sweep away any excess sand from the paver surface, ensuring a clean and finished appearance. Take care not to disturb or displace the sand in the joints.
By securing the pavers with polymeric sand, you create a cohesive bond between the pavers, preventing the individual units from shifting or separating. The hardened sand provides stability and durability to your walkway, allowing it to withstand foot traffic and the forces of nature.
It’s important to note that polymeric sand requires proper installation and curing to achieve optimal results. Be sure to carefully follow the manufacturer’s instructions and consult with experts if needed.
Step 10: Clean and Maintain the Walkway
After completing the construction of your paver walkway on a slope, it’s important to establish a routine cleaning and maintenance schedule to keep it looking its best. Regular upkeep will help prolong the lifespan of your walkway and ensure its continued functionality. Here’s how to clean and maintain your paver walkway:
- Sweep regularly: Use a broom or a leaf blower to remove dirt, leaves, and debris from the surface of the walkway. Regular sweeping prevents the buildup of dirt and helps maintain the overall cleanliness of the pavers.
- Remove stains promptly: Address any spills, oil stains, or other stubborn stains on the pavers as soon as possible. Use a mild detergent and a scrub brush to gently clean the affected area. Rinse thoroughly with water afterward.
- Control weed growth: Inspect the joints between the pavers regularly for any weed growth. Pull out any weeds that may have sprouted and use a preventive weed control product to discourage future growth.
- Apply sealer (optional): Consider applying a sealer to the pavers to enhance their color and protect against staining. Follow the manufacturer’s instructions for proper application and maintenance of the sealer.
- Inspect for damage: Regularly inspect the pavers for any signs of damage, such as cracks, loose or sunken pavers, or damage caused by freeze-thaw cycles. Repair or replace any damaged pavers promptly to maintain the structural integrity of the walkway.
- Address drainage issues: Ensure that the walkway is properly draining after rainfall. If you notice any pooling or standing water, address the drainage issue promptly to prevent water damage to the pavers and subbase.
- Reapply polymeric sand (if necessary): Over time, the polymeric sand between the joints may erode or dislodge. If you notice significant gaps or movement, consider reapplying the polymeric sand to ensure the stability of the walkway.
- Be cautious with de-icing agents: If you live in an area with freezing temperatures, exercise caution when using de-icing agents on your paver walkway. Some chemicals can cause damage to the pavers or compromise the integrity of the sand joints. Opt for sand or a non-corrosive de-icing alternative when needed.
- Seek professional maintenance (if needed): If you are unsure about how to properly clean or maintain your paver walkway on a slope, it’s advisable to consult with a professional. They can provide guidance and perform any necessary maintenance tasks to keep your walkway in optimal condition.
By following these cleaning and maintenance practices, you can ensure that your paver walkway on a slope remains in excellent condition for years to come. Regular care and attention will help preserve its functionality, appearance, and overall longevity.
Conclusion
Building a paver walkway on a slope can transform your outdoor space, adding both functionality and beauty to your landscape. While it may seem like a daunting task, following the step-by-step process outlined in this guide can help you successfully create a durable and visually appealing walkway.
From careful planning and preparation to the final touches, each step plays a crucial role in ensuring the stability and longevity of your walkway. By evaluating the slope, gathering the necessary materials and tools, and properly preparing the base, you set the foundation for a solid and level surface.
Laying the pavers with precision and securing them with polymeric sand provides stability and prevents shifting. Cutting pavers as needed and maintaining the walkway through regular cleaning and upkeep ensures its long-lasting beauty and functionality.
Remember to prioritize safety throughout the construction process and consult with professionals if needed. It’s also essential to consider local regulations and obtain any necessary permits before starting the project.
With a well-built paver walkway on a slope, you can enjoy a safe and inviting path in your outdoor space. The walkway will not only enhance the aesthetics of your landscape but also provide a functional and durable surface for years to come.
Take pride in your DIY project and admire the beauty and functionality of your paver walkway on a slope. Whether it leads to a charming garden, a peaceful patio, or an inviting entrance, your walkway will be a testament to your hard work and attention to detail.
Now, go ahead and start building your dream walkway on a slope. Enjoy the satisfaction of completing a successful project and revel in the beauty and functionality of your new paver walkway.
Ready to enhance your outdoor space even further? Dive into our comprehensive guide on landscaping with some creative garden fence ideas. These designs not only add charm but also boost your home's privacy and security. For those who love hands-on projects, our collection of DIY outdoor projects will certainly inspire you. From simple fixes to more elaborate transformations, these activities are perfect for increasing your property's curb appeal and making your neighbors turn green with envy.
Frequently Asked Questions about How To Build A Paver Walkway On A Slope
Was this page helpful?
At Storables.com, we guarantee accurate and reliable information. Our content, validated by Expert Board Contributors, is crafted following stringent Editorial Policies. We're committed to providing you with well-researched, expert-backed insights for all your informational needs.

0 thoughts on “How To Build A Paver Walkway On A Slope”