Home>Construction & Tools>Building Materials>How To Lay A Brick Walkway Over Concrete
Building Materials
How To Lay A Brick Walkway Over Concrete
Modified: October 19, 2024
Learn how to lay a brick walkway over concrete with our step-by-step guide. Find the building materials and techniques you need for a successful project.
(Many of the links in this article redirect to a specific reviewed product. Your purchase of these products through affiliate links helps to generate commission for Storables.com, at no extra cost. Learn more)
Introduction
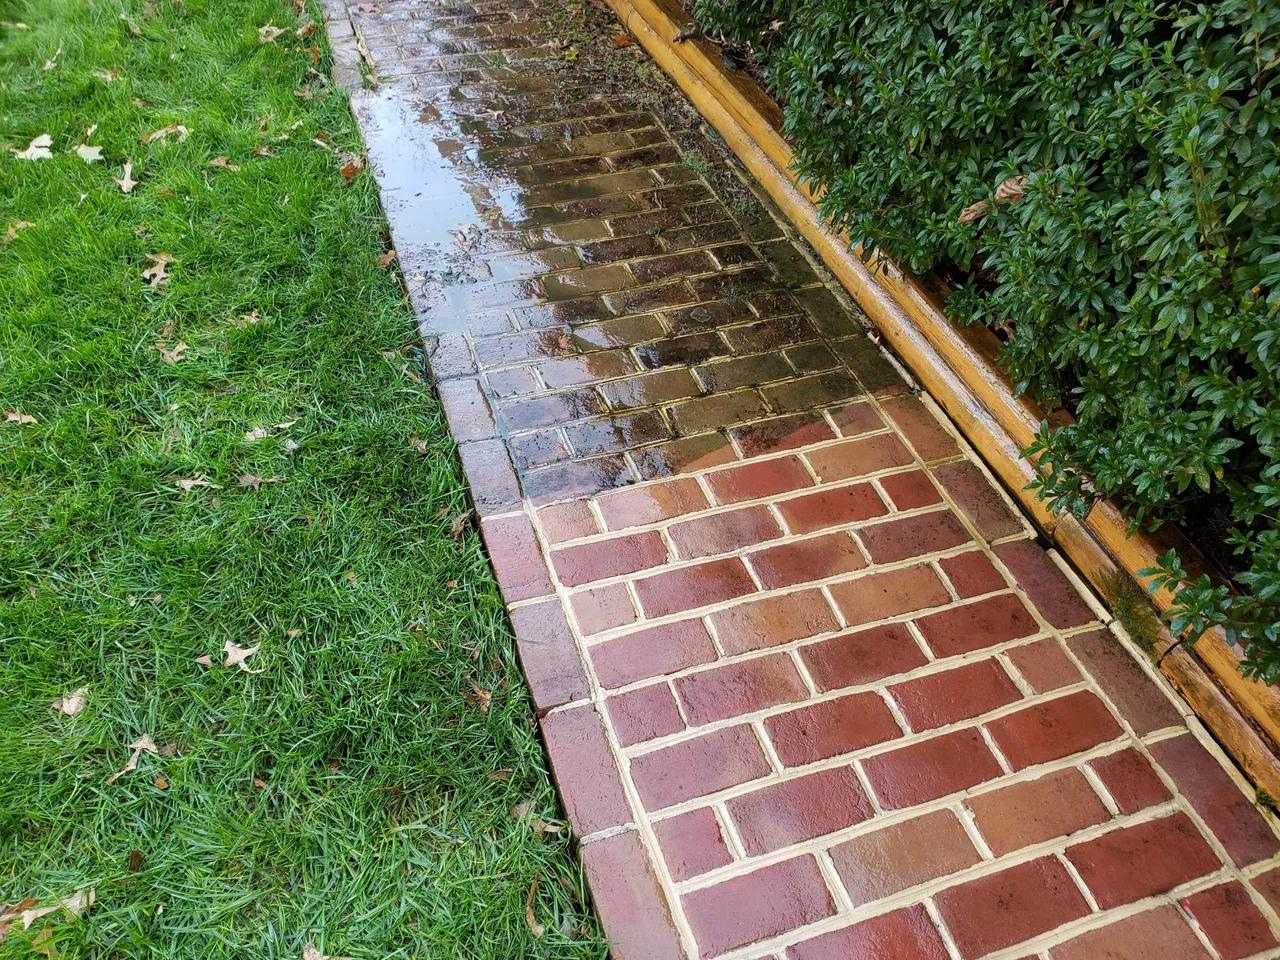
Laying a brick walkway over concrete can breathe new life into your outdoor space, adding charm and functionality to your home. Whether you want to upgrade an existing concrete walkway or create a new one, this project can enhance the aesthetic appeal of your property while providing a durable and low-maintenance pathway. By following the proper steps and utilizing the right materials and tools, you can transform a plain concrete surface into a stunning brick walkway that complements your landscape.
This comprehensive guide will walk you through the process of laying a brick walkway over concrete, offering valuable insights and practical tips to ensure a successful outcome. From preparing the concrete surface to planning the layout and laying the bricks, each step is crucial in achieving a professional-looking result. By the end of this article, you will have the confidence and know-how to tackle this rewarding project and elevate the visual impact of your outdoor environment. Let's dive into the details of the materials and tools you'll need to get started.
Key Takeaways:
- Transforming a plain concrete surface into a charming brick walkway is a rewarding project that enhances outdoor spaces with durability and visual appeal.
- Attention to detail, careful planning, and quality materials are essential for creating a professional-looking brick walkway that complements your home and withstands the test of time.
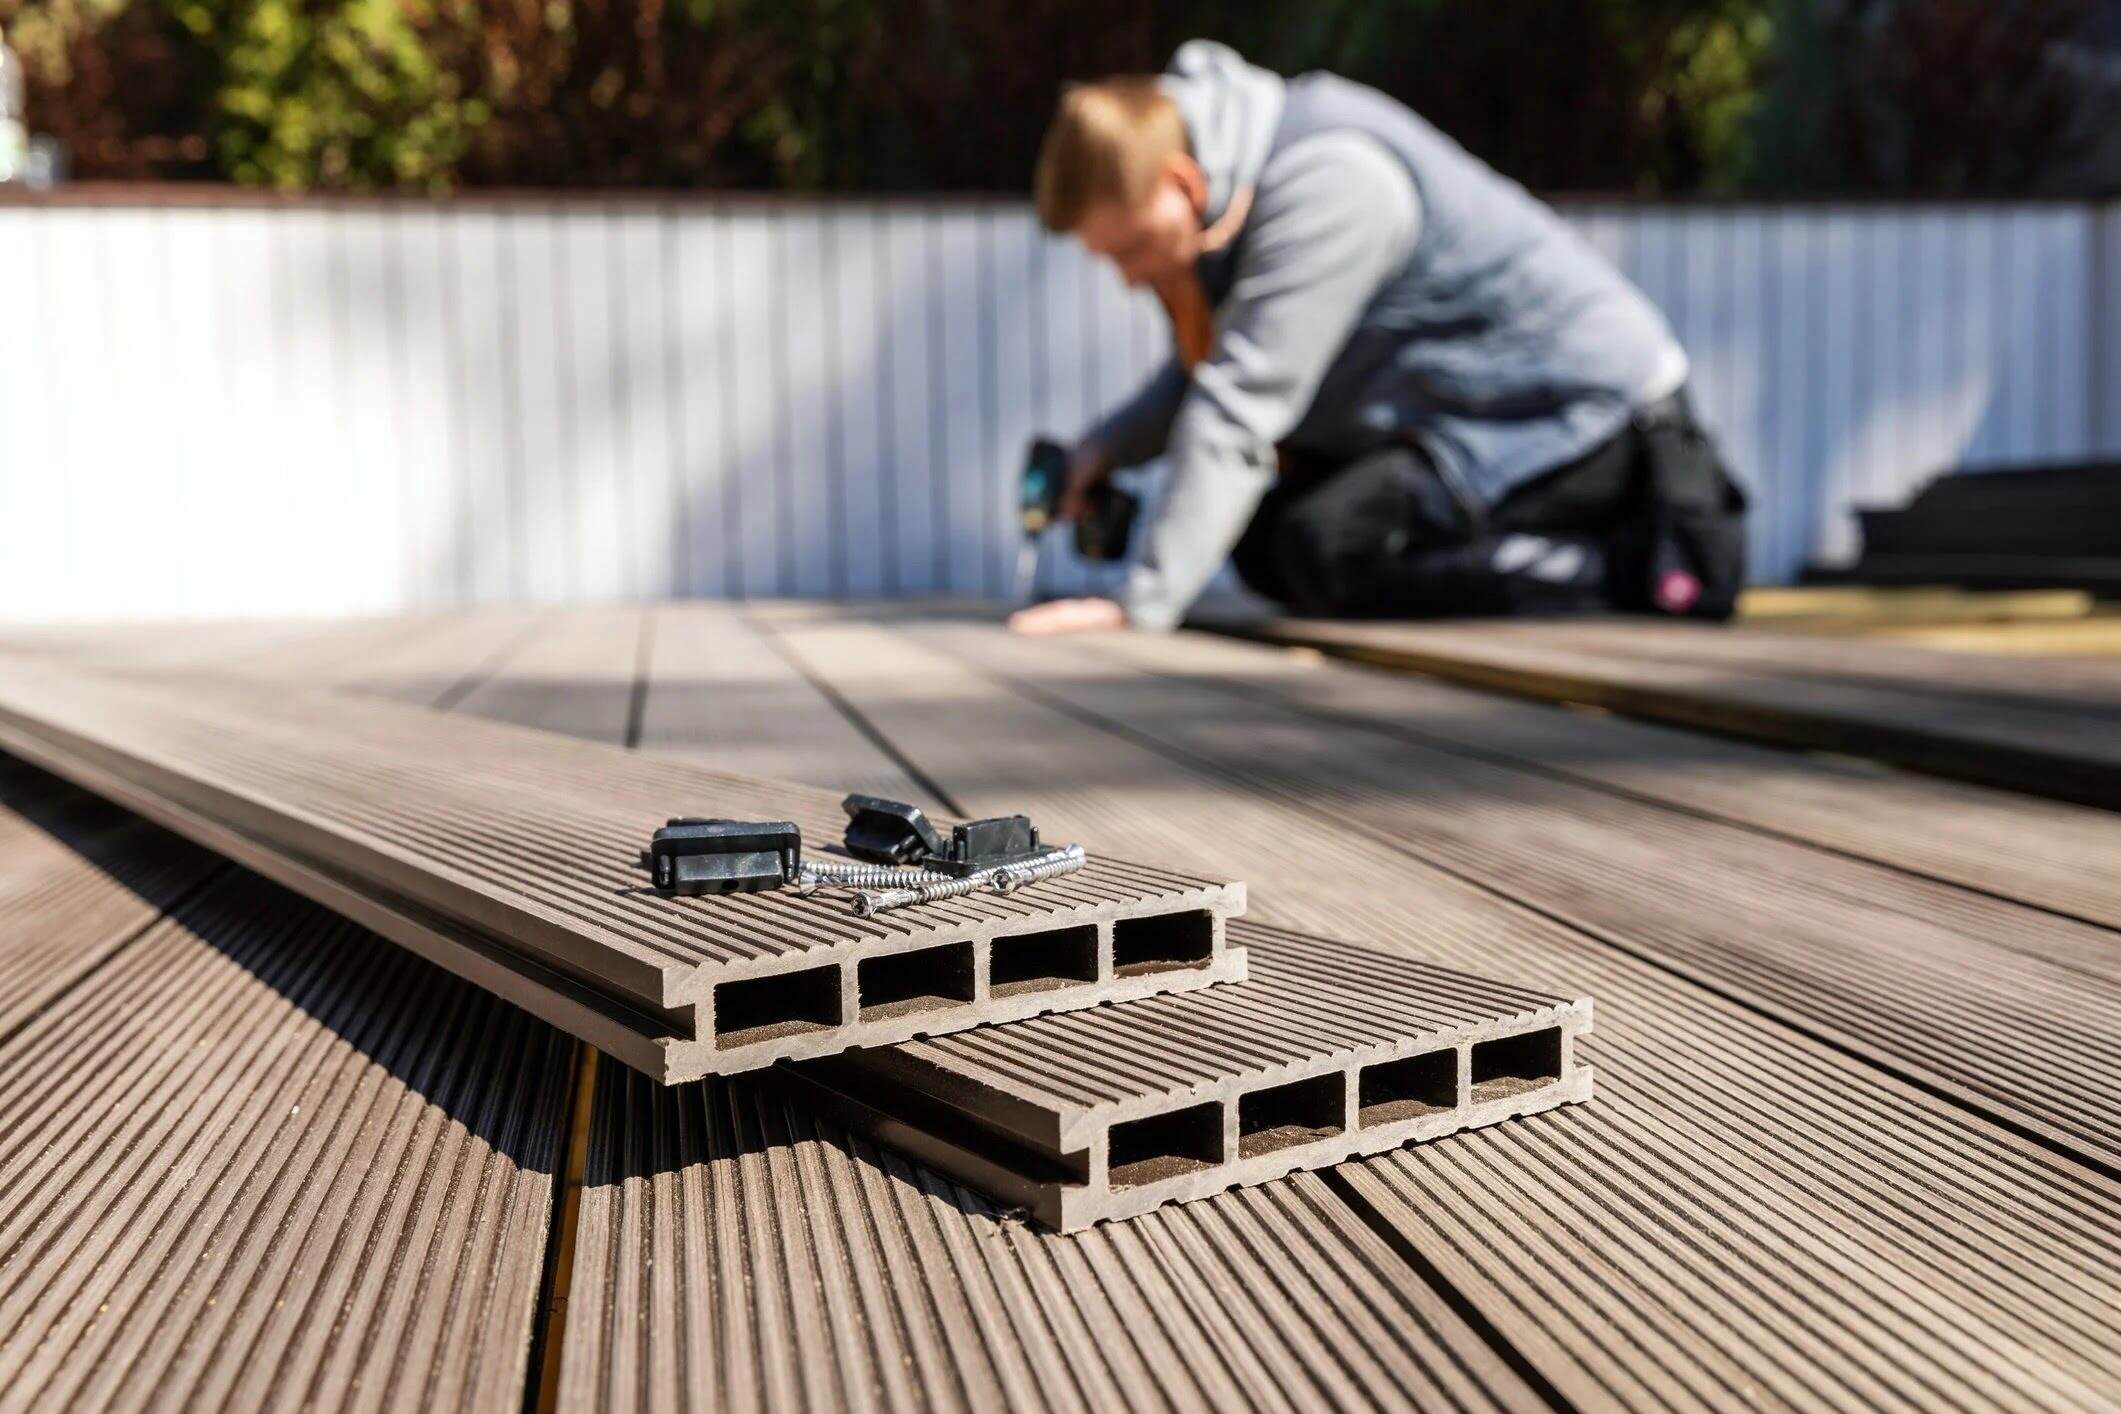
Read more: How To Lay Decking Over Concrete
Materials and Tools Needed
Before embarking on the project of laying a brick walkway over concrete, it’s essential to gather the necessary materials and tools to ensure a smooth and efficient process. Here’s a list of items you’ll need:
Materials:
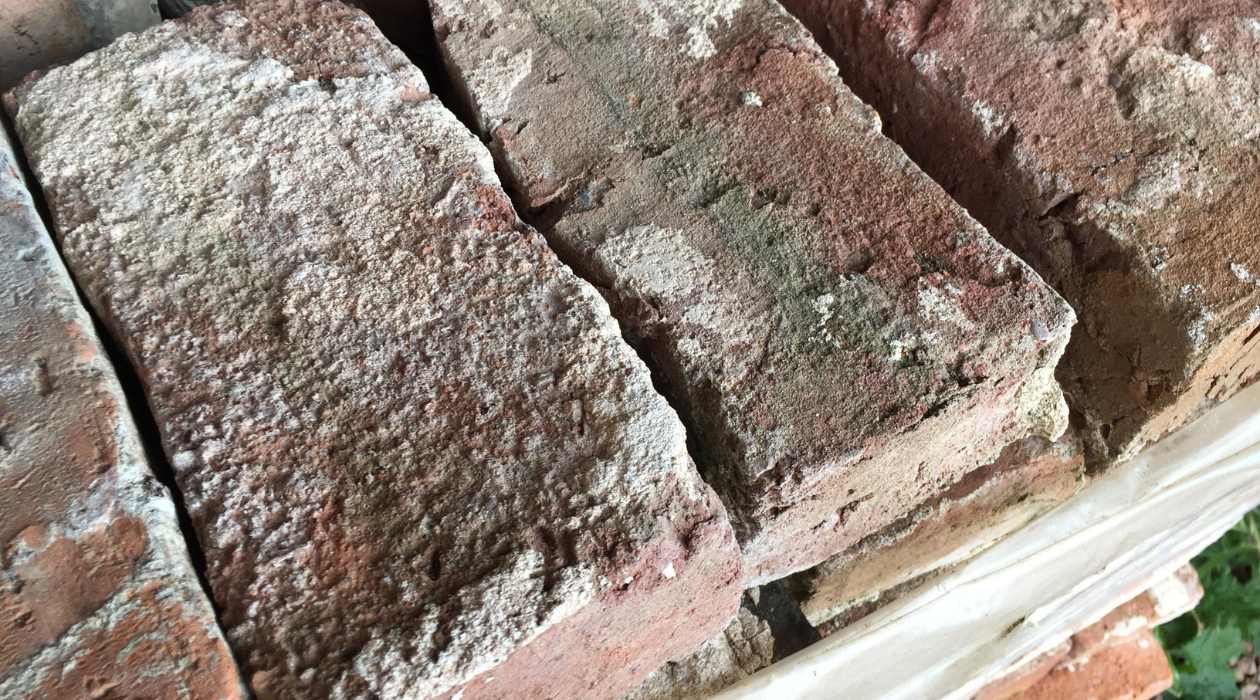
- Bricks: Choose durable, weather-resistant bricks in the style and color of your preference.
- Masonry sand: Used for creating the base and filling gaps between the bricks.
- Portland cement: Essential for making mortar to secure the bricks in place.
- Masonry sealer: Protects the finished walkway from moisture and enhances its longevity.
- Gravel: Provides a stable base for the walkway and aids in drainage.
- Edging material: Options include metal or plastic paver restraints to keep the bricks in place.
Tools:
- Shovel: For removing debris and excavating the area.
- Rake: Used to level the surface and spread materials evenly.
- Tape measure and string: Essential for marking the layout and ensuring straight lines.
- Mason's line: Helps maintain alignment and guide the brick placement.
- Mixing container and trowel: For preparing and applying mortar.
- Level: Ensures the bricks are laid evenly and consistently.
- Rubber mallet: Used to tap the bricks into place without damaging them.
- Broom: For sweeping sand into the gaps between the bricks.
- Protective gear: Includes gloves, safety glasses, and a dust mask for personal safety.
By having these materials and tools on hand, you’ll be well-equipped to tackle each phase of the project effectively. With the groundwork laid, it’s time to prepare the concrete surface for the transformation ahead.
Preparing the Concrete Surface
Before laying the bricks, it’s crucial to prepare the existing concrete surface to ensure a solid foundation for the walkway. Follow these steps to ready the area for the transformation:
Clean the Surface: Begin by thoroughly cleaning the concrete surface, removing any dirt, debris, and vegetation that may have accumulated over time. Use a pressure washer or a stiff-bristled brush and a mild detergent to scrub the concrete clean. Rinse the surface with water and allow it to dry completely before proceeding.
Repair Cracks and Imperfections: Inspect the concrete for any cracks, holes, or uneven areas. Fill in any gaps or imperfections with a suitable concrete patching compound, following the manufacturer’s instructions. Allow the patched areas to cure completely before moving on to the next step.
Apply a Bonding Agent: To enhance the adhesion between the concrete and the mortar used for laying the bricks, consider applying a bonding agent. This product helps create a strong bond between the two surfaces, promoting long-term stability for the walkway.
Create a Slope: To prevent water from pooling on the walkway, it’s essential to ensure proper drainage. Slope the concrete surface slightly away from any nearby structures, such as the house or garage, to direct water away from the foundation. A gentle slope of approximately 1/4 inch per foot is typically sufficient for effective drainage.
By taking the time to clean, repair, and prepare the concrete surface, you’ll set the stage for a successful brick walkway installation. With the foundation primed and ready, the next step involves planning the layout of the walkway to ensure a visually appealing and structurally sound design.
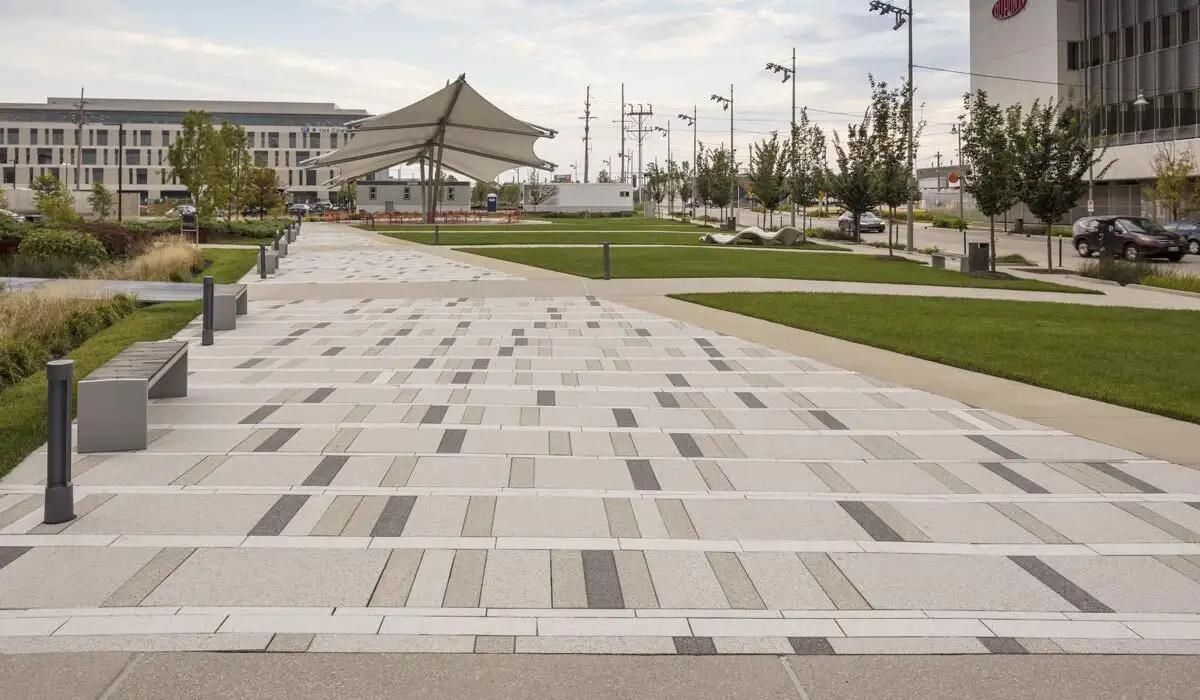
Planning the Layout
Creating a well-thought-out layout is essential for a visually appealing and structurally sound brick walkway. Before proceeding with the installation, consider the following steps to plan the layout effectively:
Measure and Mark: Begin by measuring the dimensions of the walkway area and marking the boundaries using stakes and string. This step helps visualize the layout and ensures that the walkway aligns with your landscaping and architectural features.
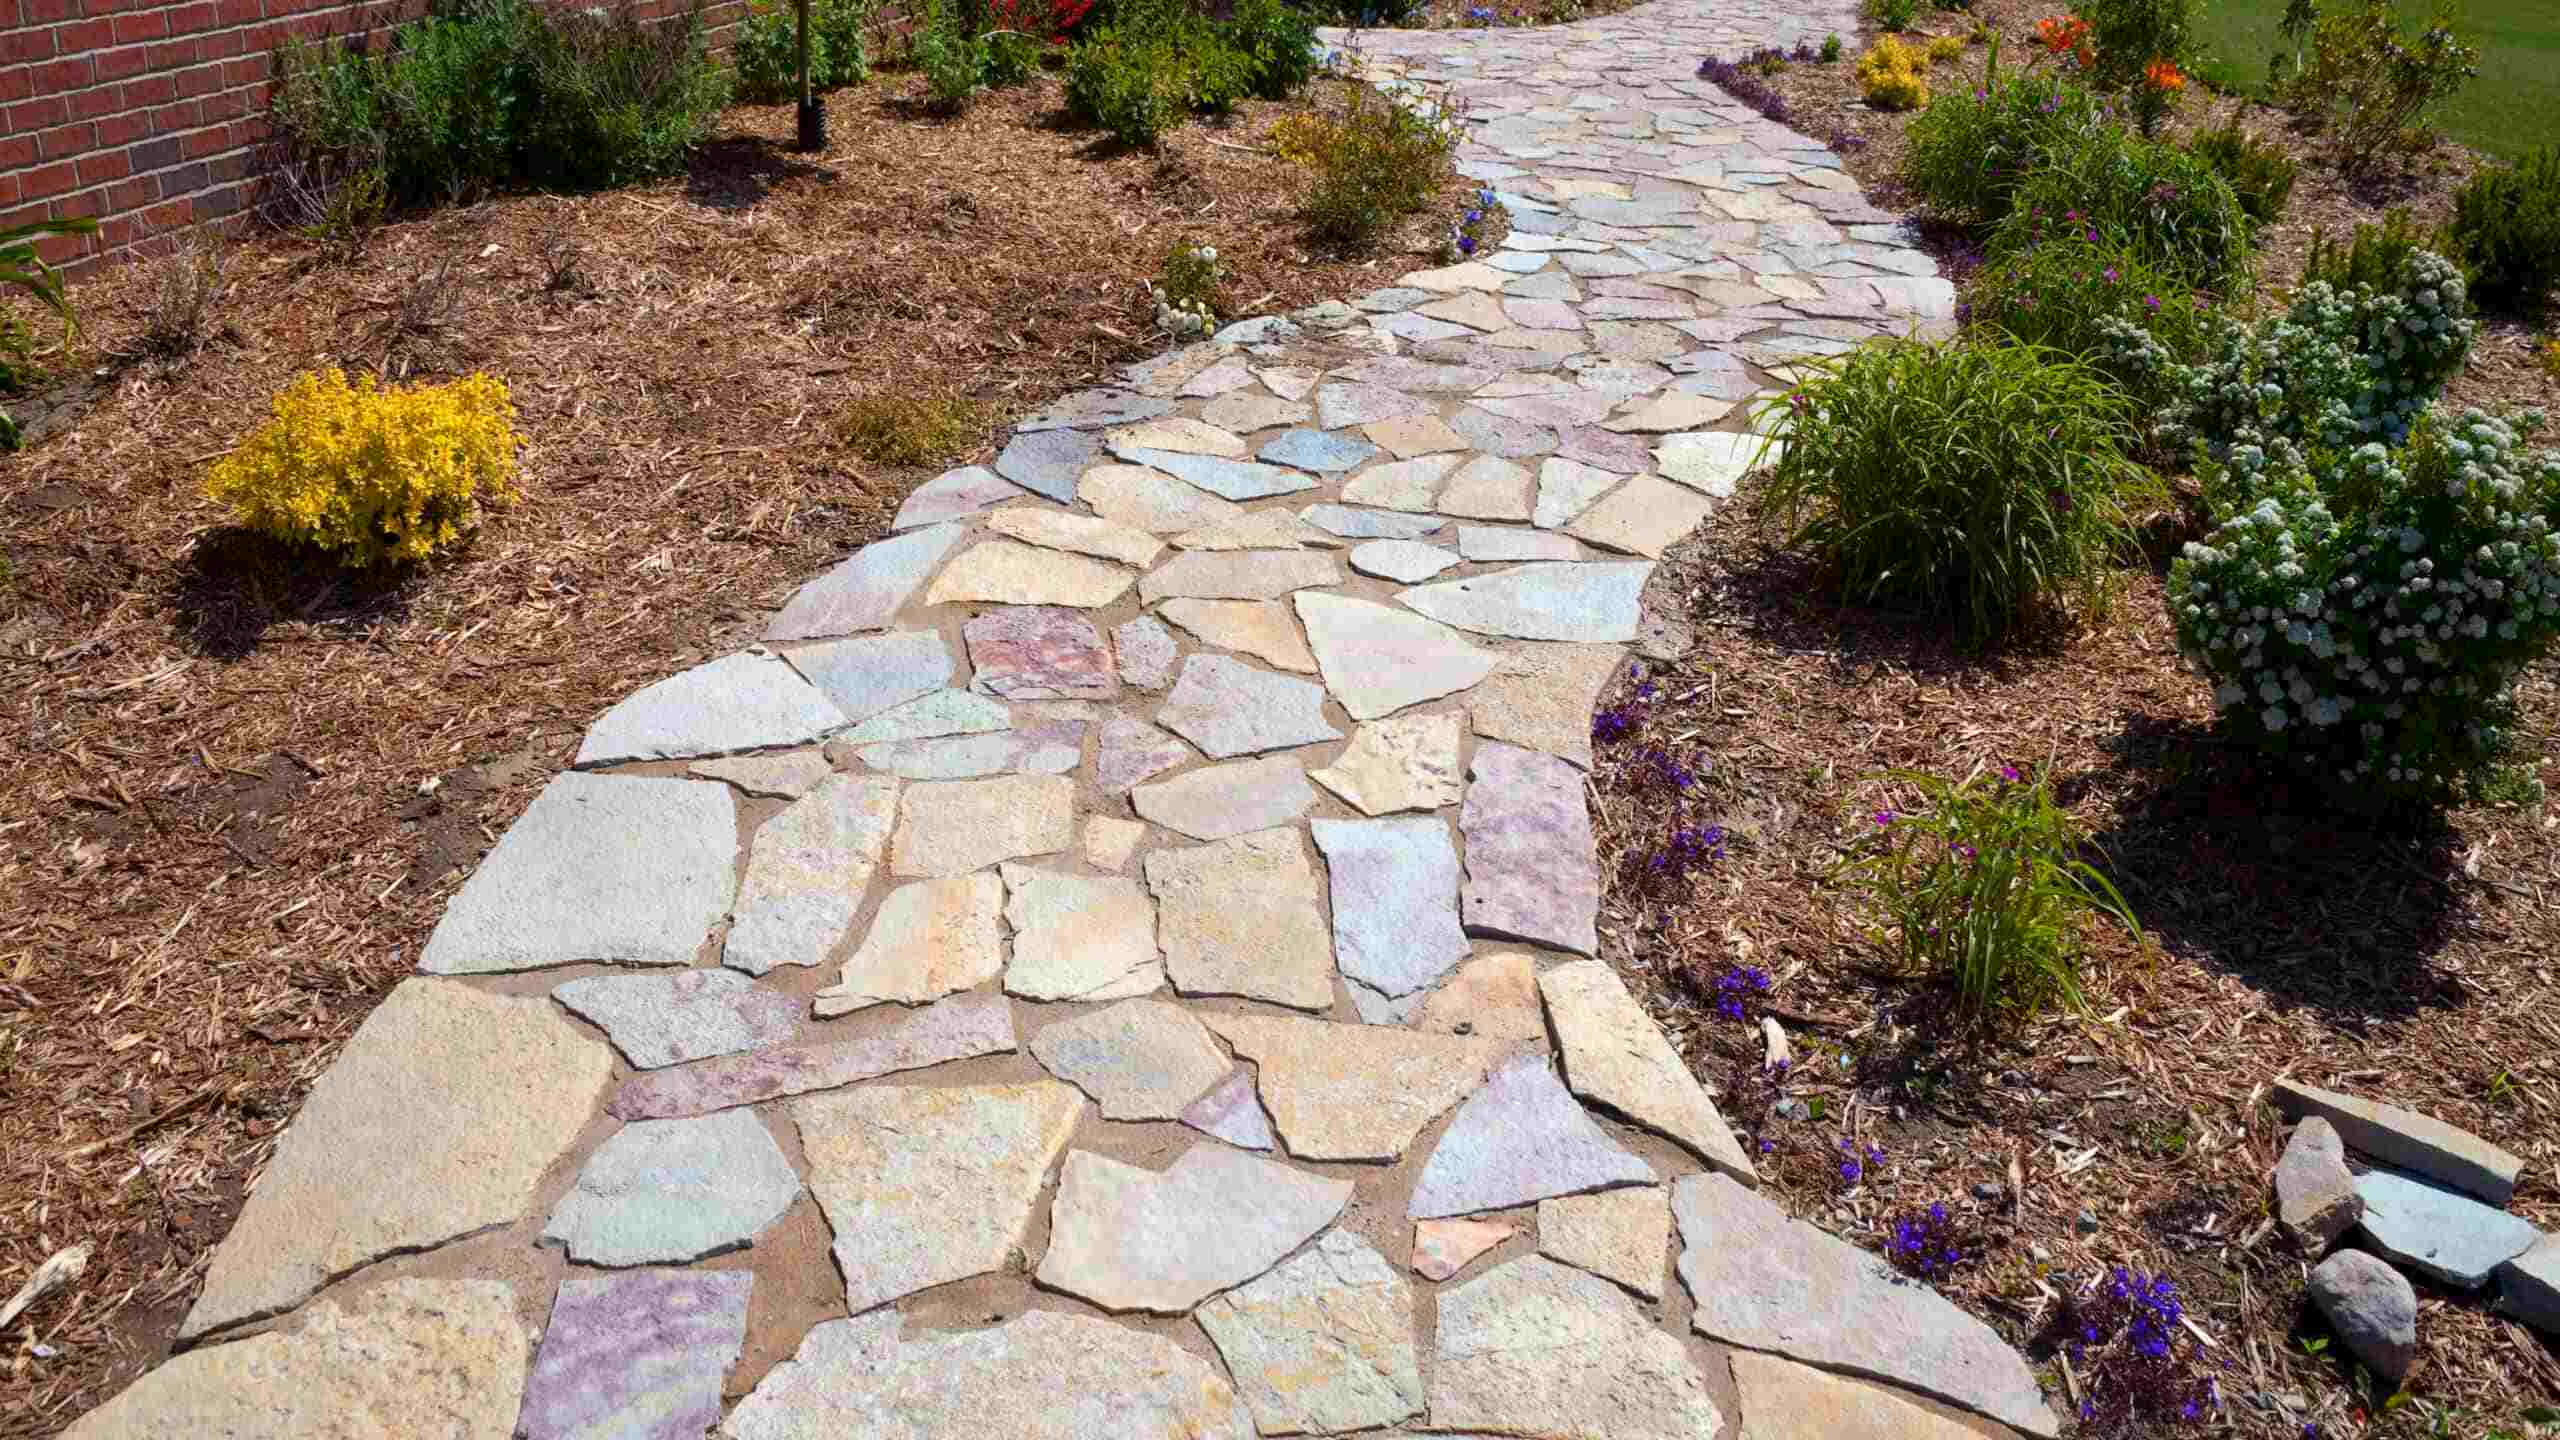
Choose a Pattern: Select a brick laying pattern that complements the style of your home and outdoor space. Common patterns include running bond, herringbone, and basket weave. Experiment with different arrangements to find the most visually appealing option for your walkway.
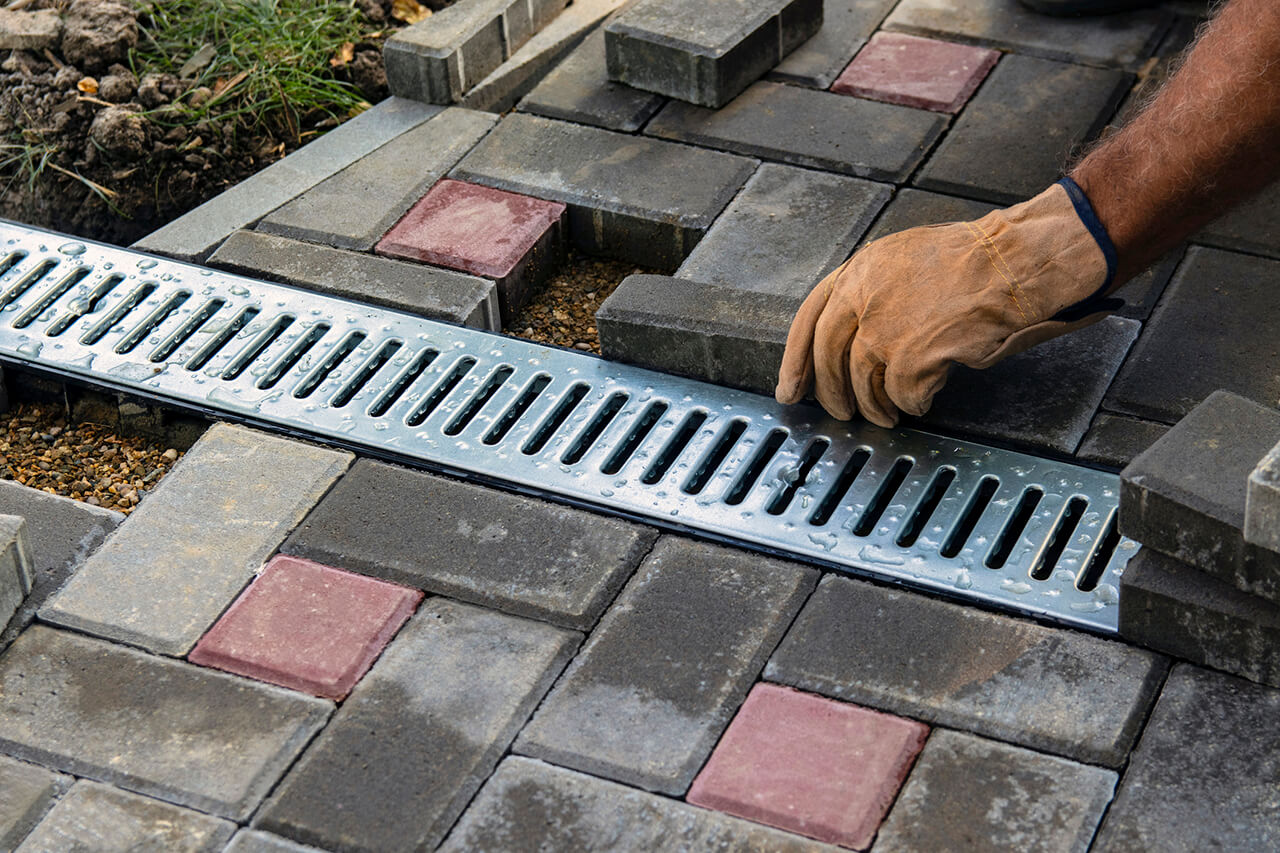
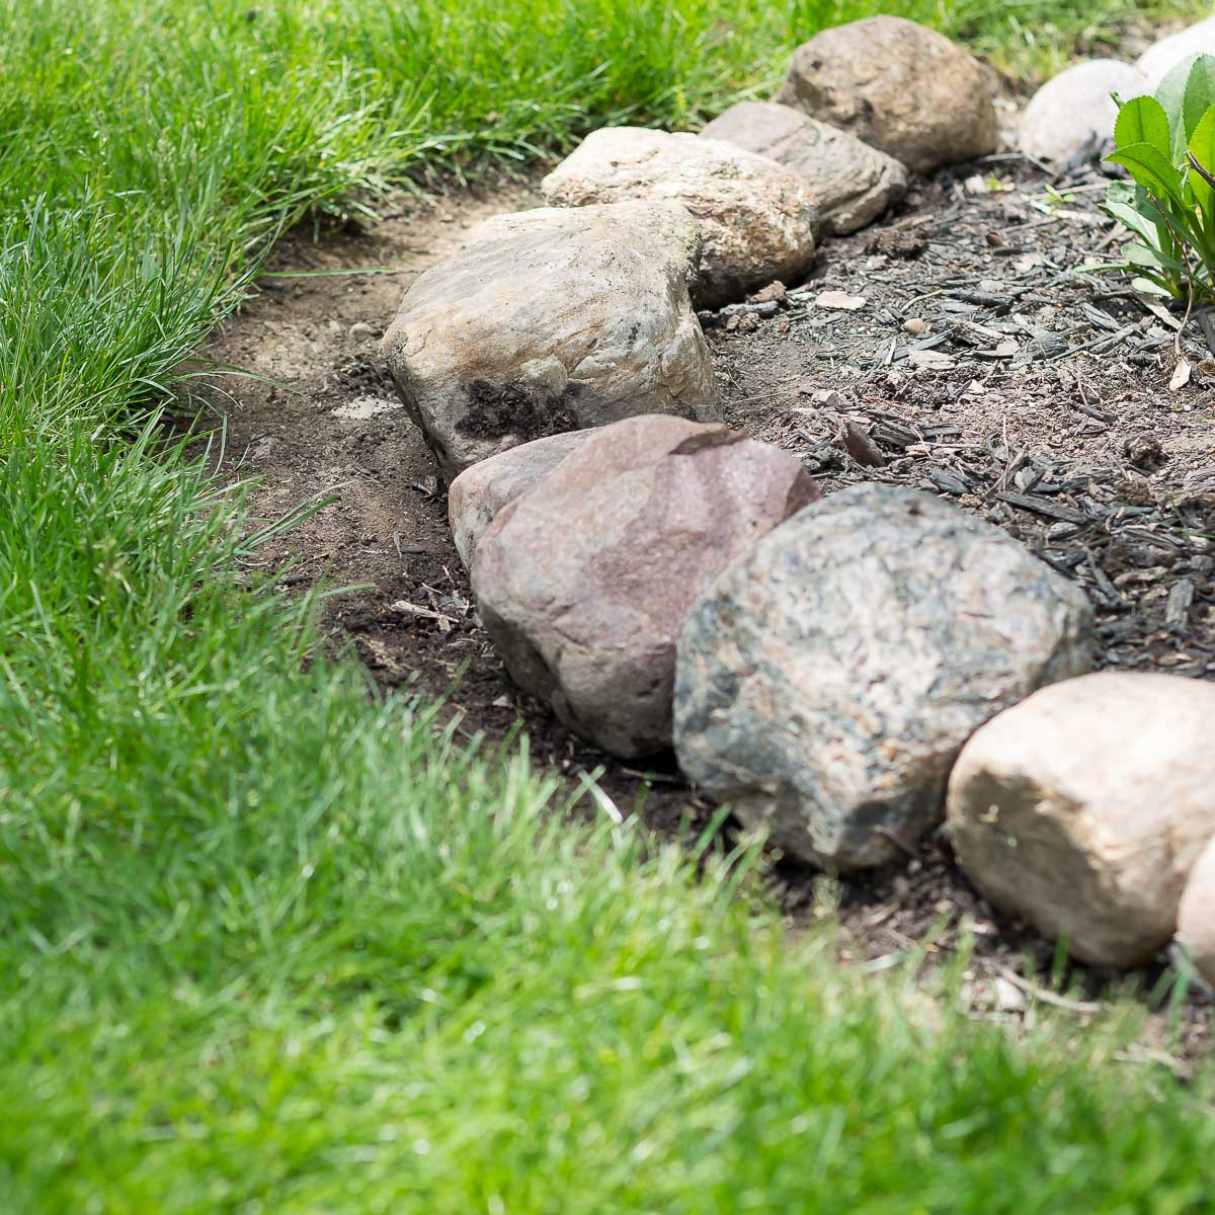
Account for Edging: Determine the type of edging material you’ll use to contain the bricks. Whether it’s metal or plastic paver restraints, factor in the edging’s dimensions and placement during the layout planning to ensure a seamless and secure border for the walkway.
Consider Expansion Joints: To accommodate natural ground movement and prevent the formation of unsightly cracks in the walkway, incorporate expansion joints into the layout. These joints allow for controlled movement and expansion of the bricks, contributing to the walkway’s long-term durability.
Ensure Proper Alignment: Use a string or mason’s line to establish straight and parallel lines for the walkway. This step is crucial for maintaining a uniform layout and ensuring that the bricks are aligned correctly throughout the installation process.
By carefully planning the layout, you’ll set the stage for a visually striking and structurally resilient brick walkway. With the design finalized, the next step involves preparing the mortar for securing the bricks in place.
Mixing Mortar
Creating a high-quality mortar mix is essential for securing the bricks in place and ensuring the long-term stability of the walkway. Follow these steps to prepare the mortar for the brick installation:
Choose the Right Mix: Opt for a mortar mix that is suitable for outdoor applications and compatible with the type of bricks you’re using. A standard mortar mix typically consists of Portland cement, masonry sand, and water. Follow the manufacturer’s recommendations for the proportions and mixing instructions.
Measure the Ingredients: Accurately measure the Portland cement and masonry sand based on the specifications provided by the mortar mix manufacturer. Use a shovel or a mixing container to combine the dry ingredients thoroughly, ensuring a uniform blend.
Add Water Gradually: Gradually add water to the dry mix while continuously stirring the ingredients. Aim for a consistency that is workable but not overly wet. The mortar should hold its shape when scooped with a trowel and not slump or slide off the bricks when applied.
Test the Consistency: Perform a trial run by applying a small amount of mortar to a test brick. The mortar should adhere firmly to the brick without oozing excessively. Adjust the water content or add more dry mix if necessary to achieve the desired consistency.
Work in Batches: Mix the mortar in manageable batches to ensure that it remains workable throughout the brick laying process. Avoid mixing more mortar than you can use within a reasonable timeframe, as it may begin to set before all the bricks are in place.
By following these guidelines, you’ll be able to prepare a reliable mortar mix that provides the necessary bond and support for the brick walkway. With the mortar ready, it’s time to embark on the exciting phase of laying the bricks and bringing the walkway to life.
Before laying a brick walkway over concrete, make sure the surface is clean and level. Use a layer of sand or mortar to create a base for the bricks, and then lay the bricks in the desired pattern, making sure they are evenly spaced. Finally, fill the gaps between the bricks with sand or mortar to secure them in place.
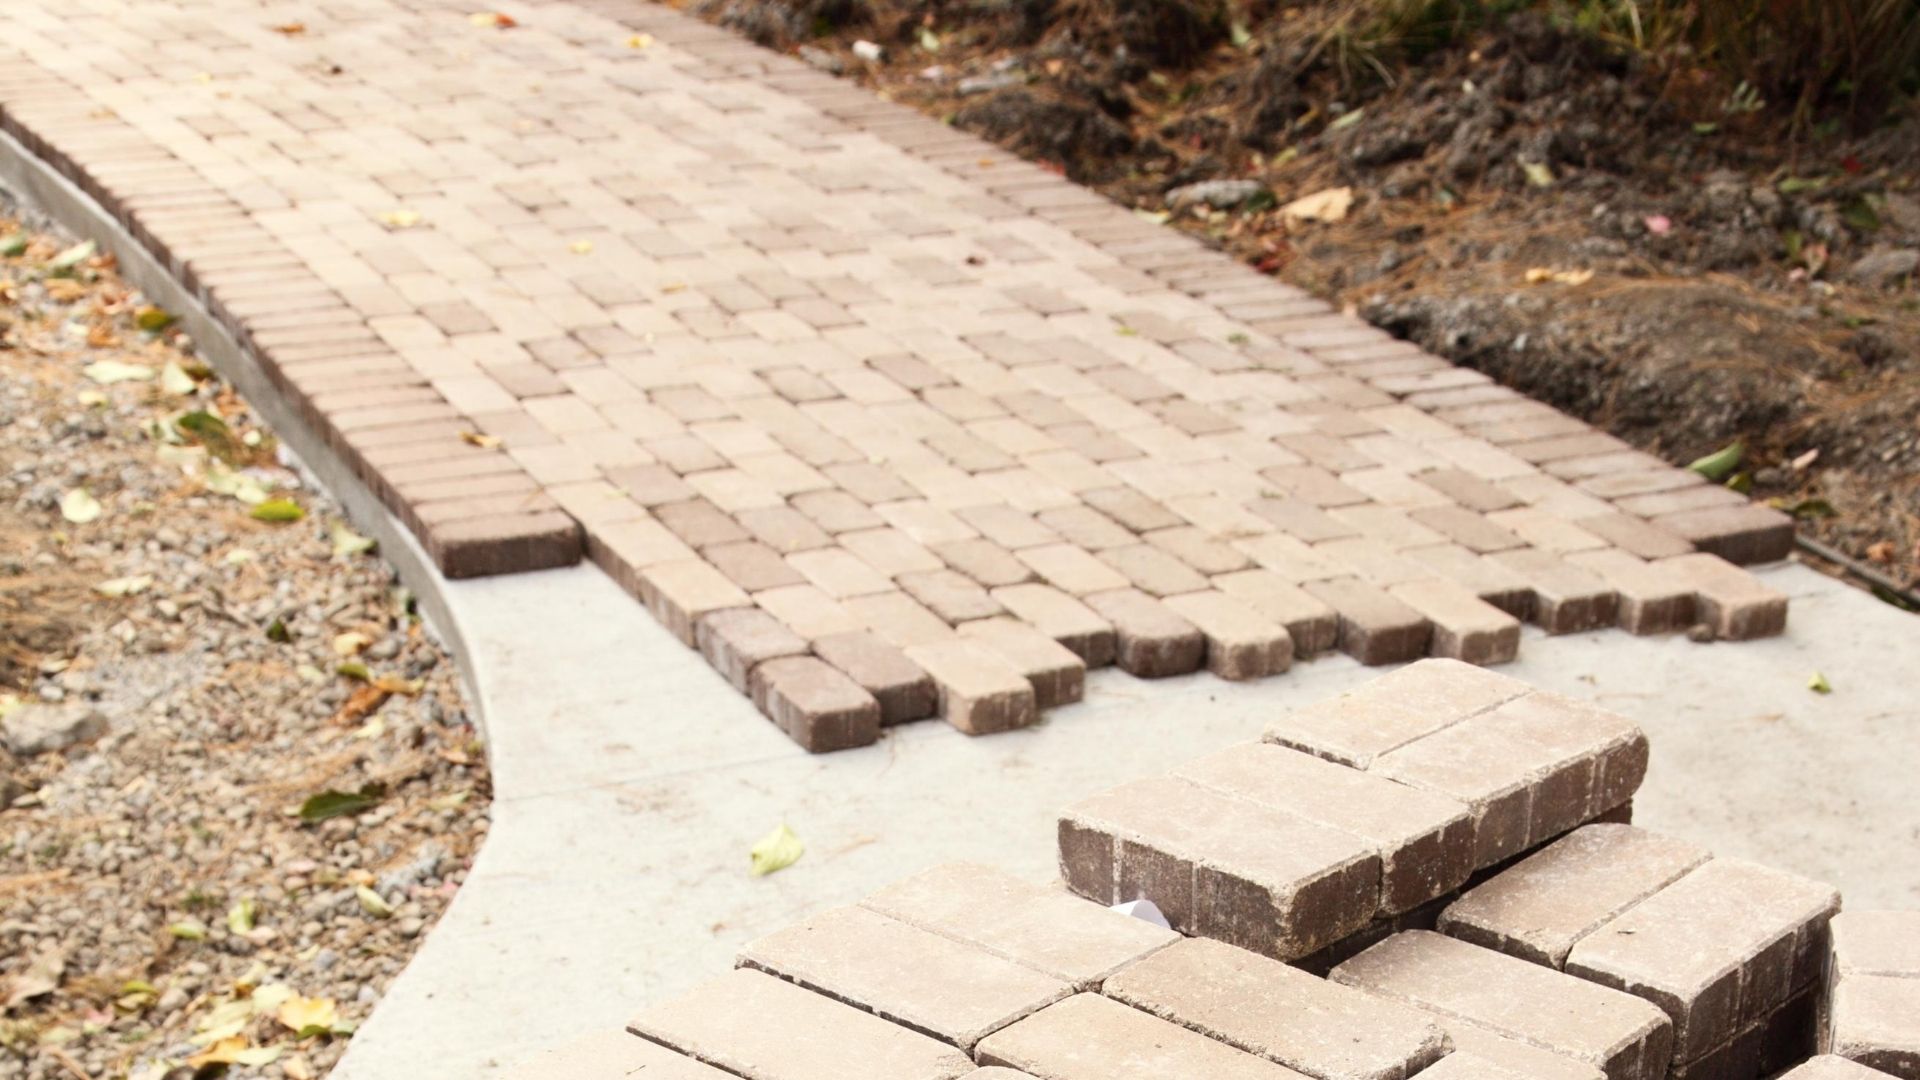
Laying the Bricks
With the concrete surface prepared, the layout planned, and the mortar mixed, it’s time to embark on the exciting phase of laying the bricks to create the walkway. Follow these steps to ensure a successful and visually appealing brick installation:
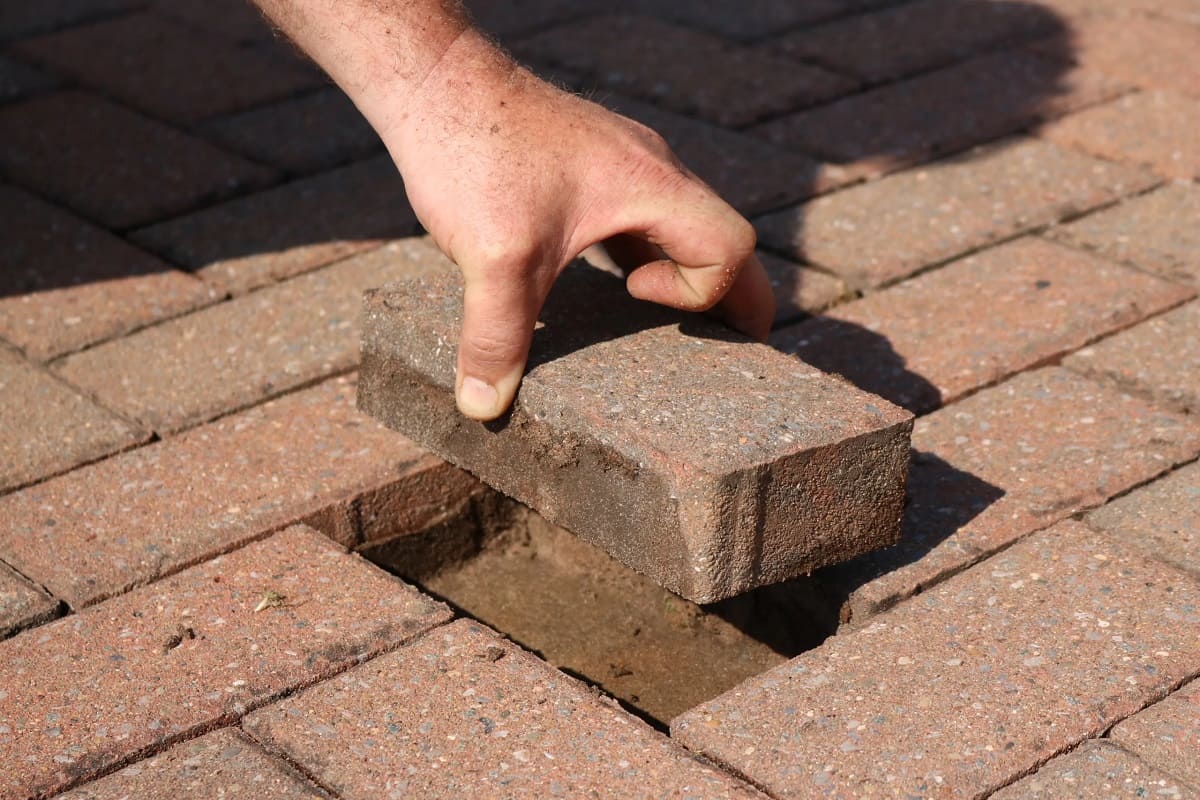
Begin at the Starting Point: Identify the starting point of the walkway, typically near a structure such as a porch or a driveway. This serves as the reference point for laying the first row of bricks and establishing the overall alignment of the walkway.
Apply Mortar Methodically: Using a trowel, apply a layer of mortar to the concrete surface within the marked boundaries of the walkway. Work in small sections to prevent the mortar from drying out before the bricks are laid. Ensure that the mortar bed is even and of consistent thickness.
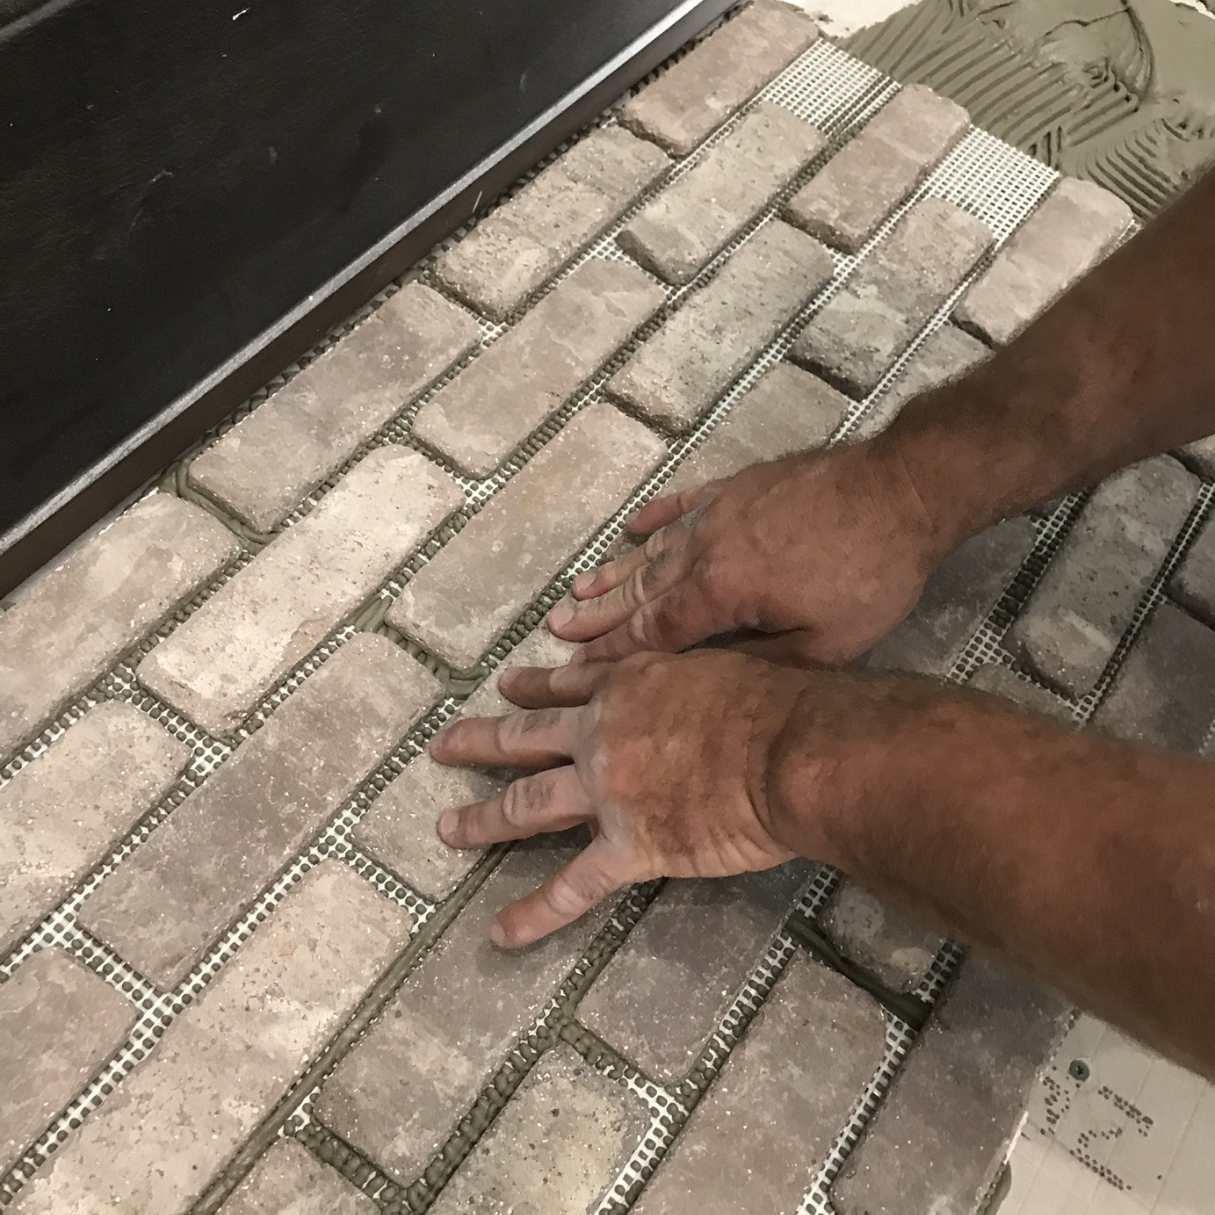
Set the Bricks: Carefully place the bricks on the mortar bed, pressing them down gently and wiggling them slightly to set them in place. Maintain consistent spacing between the bricks, using spacers if necessary to achieve uniform gaps. Periodically check the alignment and level of the bricks as you work.
Cut Bricks as Needed: When reaching the edges or corners of the walkway, you may need to cut the bricks to fit the desired layout. Use a brick saw or chisel to trim the bricks accurately, ensuring a seamless fit within the design.
Tap and Settle the Bricks: Use a rubber mallet to tap the bricks gently and ensure they are firmly embedded in the mortar. This process helps achieve a level surface and enhances the bond between the bricks and the mortar bed.
Fill the Gaps: Once the bricks are in place, fill the gaps between them with masonry sand, using a broom to sweep the sand into the joints. This step helps secure the bricks and prevents shifting while providing a finished look to the walkway.
By following these steps and exercising care and precision, you’ll be able to lay the bricks methodically and create a stunning brick walkway over the concrete surface. With the bricks in place, the final phase involves adding the finishing touches to complete the transformation.
Finishing Touches
As the brick walkway takes shape, attending to the finishing touches will elevate its visual appeal and ensure its long-term durability. Consider the following steps to complete the project with finesse:
Compact the Bricks: Once the bricks are in place, use a compactor or a hand tamper to firmly press them into the mortar bed. This process helps settle the bricks and ensures a stable, level surface for the walkway.
Apply Masonry Sealer: Protect the brick walkway from moisture, staining, and wear by applying a suitable masonry sealer. Choose a sealer that is designed for use on brick surfaces and follow the manufacturer’s instructions for application. This step enhances the walkway’s longevity and preserves its aesthetic appeal.
Install Edging Material: Secure the perimeter of the walkway by installing the chosen edging material, such as metal or plastic paver restraints. This step helps contain the bricks and prevents them from shifting over time, contributing to the walkway’s structural integrity.
Perform a Final Inspection: Take the time to inspect the entire walkway, checking for any uneven bricks, gaps, or imperfections. Make any necessary adjustments, such as tapping individual bricks into place or adding additional sand to fill gaps, to ensure a flawless finish.
Clean the Surface: Once the walkway is complete, clean the surface to remove any residual mortar, debris, or footprints. A gentle rinse with water and a soft brush can help restore the bricks to their full luster, showcasing the beauty of the finished walkway.
Enjoy the New Walkway: With the finishing touches complete, take a moment to admire and appreciate the transformed outdoor space. Your new brick walkway not only enhances the visual appeal of your home but also provides a welcoming and functional pathway for years to come.
By tending to these finishing touches, you’ll ensure that your brick walkway over concrete stands as a testament to craftsmanship and attention to detail. With the project now complete, you can take pride in the enhanced beauty and functionality of your outdoor environment.
Read more: How To Lay Cobblestone Walkway
Conclusion
Laying a brick walkway over a concrete surface is a rewarding endeavor that can significantly enhance the aesthetic appeal and functionality of your outdoor space. By following the comprehensive steps outlined in this guide, you’ve gained the knowledge and confidence to undertake this project with skill and precision. From preparing the concrete surface and planning the layout to mixing mortar, laying the bricks, and adding the finishing touches, each phase contributes to the creation of a visually striking and durable walkway.
As you embark on this journey, remember that attention to detail and careful execution are key to achieving a professional-looking result. By selecting high-quality materials, adhering to best practices, and infusing your personal touch into the design, you can create a brick walkway that not only complements your home but also withstands the test of time.
Furthermore, the transformation of a plain concrete surface into a charming brick walkway demonstrates the power of creativity and craftsmanship in shaping your living environment. Your new walkway serves as a testament to your dedication to enhancing your home’s outdoor appeal while providing a practical pathway for everyday use.
As you enjoy the fruits of your labor, take pride in the beauty and functionality of your newly installed brick walkway. Whether it’s a welcoming path to your front door or a meandering trail through your garden, your walkway stands as a testament to your vision and determination to create a space that reflects your unique style and enhances your daily life.
With the completion of this project, you’ve not only added value to your property but also created a lasting feature that enriches your outdoor living experience. Embrace the sense of accomplishment and the joy of seeing your vision come to life as you savor the beauty and practicality of your new brick walkway.
Congratulations on successfully completing this transformative project, and may your new brick walkway bring you years of delight and admiration.
Frequently Asked Questions about How To Lay A Brick Walkway Over Concrete
Was this page helpful?
At Storables.com, we guarantee accurate and reliable information. Our content, validated by Expert Board Contributors, is crafted following stringent Editorial Policies. We're committed to providing you with well-researched, expert-backed insights for all your informational needs.


0 thoughts on “How To Lay A Brick Walkway Over Concrete”