Articles
How To Repair A Concrete Walkway
Modified: February 28, 2024
Learn how to repair a concrete walkway with our informative articles. Find step-by-step guides and expert advice to ensure a successful DIY project.
(Many of the links in this article redirect to a specific reviewed product. Your purchase of these products through affiliate links helps to generate commission for Storables.com, at no extra cost. Learn more)
Introduction
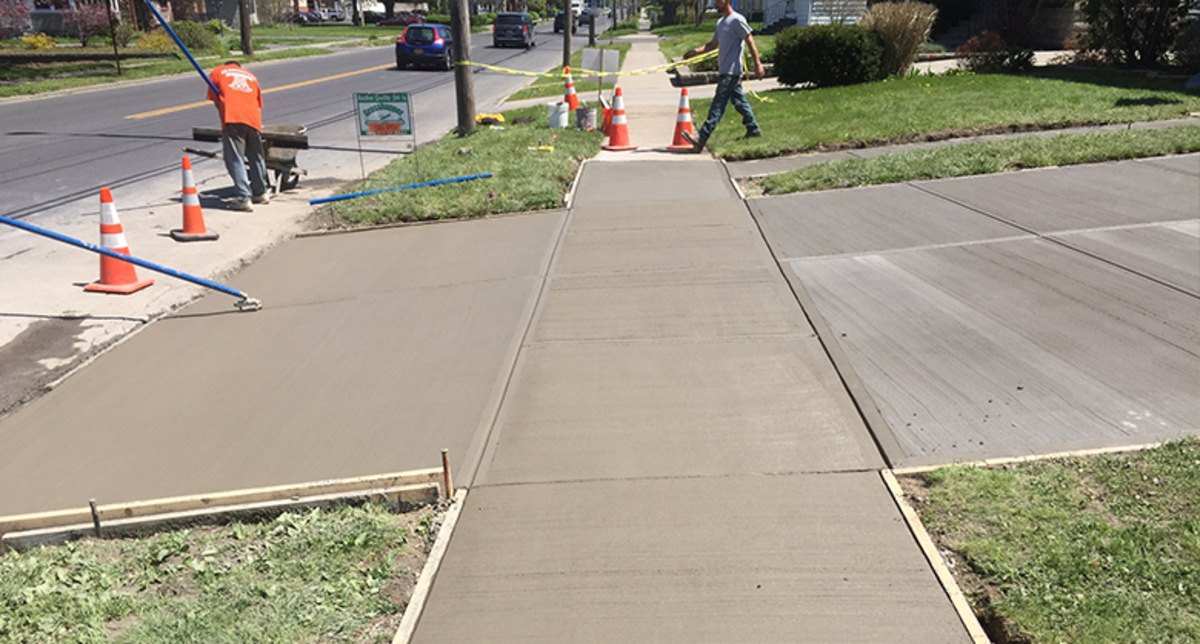
Welcome to our comprehensive guide on how to repair a concrete walkway. Concrete walkways are a durable and long-lasting addition to any property. However, over time, they can develop cracks, chips, or uneven surfaces due to wear and tear, weather conditions, or improper installation.
Repairing a concrete walkway can seem like a daunting task, but with the right tools, materials, and guidance, you can restore its functionality and aesthetic appeal without having to hire a professional. In this article, we will walk you through the step-by-step process of assessing the damage, gathering the necessary materials, and executing the repair job effectively.
Whether you’re a seasoned DIY enthusiast or a complete beginner, this guide will equip you with the knowledge and skills needed to tackle common concrete walkway issues and restore the usability and beauty of your outdoor space. So, let’s get started on transforming your worn-out concrete walkway into a smooth, safe, and visually appealing pathway that you’ll be proud to show off to visitors.
Key Takeaways:
- Transform your worn-out concrete walkway into a safe and visually appealing path with the right tools, materials, and step-by-step repair process outlined in this comprehensive guide.
- Save money and gain satisfaction by revitalizing and preserving your concrete walkway through DIY repair, while adding value to your property and enhancing curb appeal.
Read more: How To Remove Concrete Walkway
Assessing the Damage
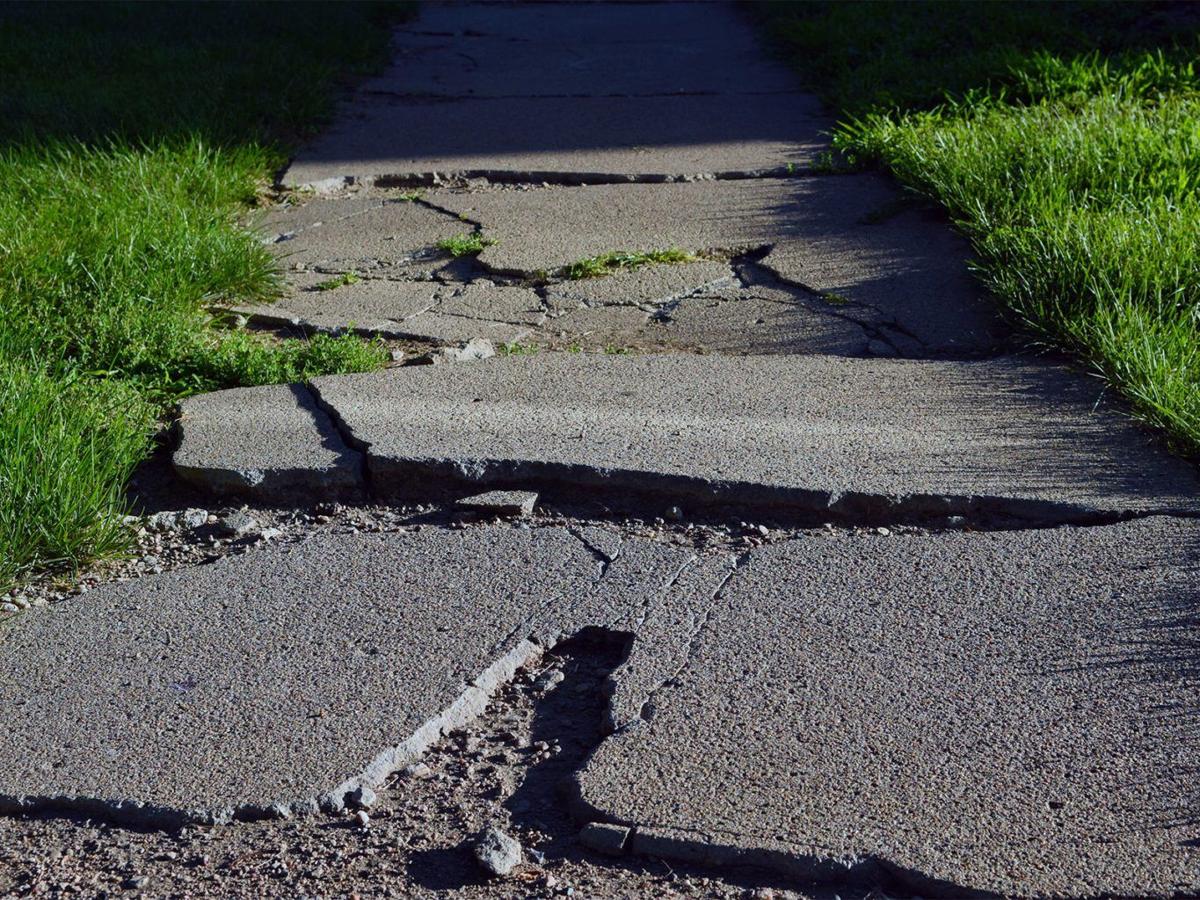
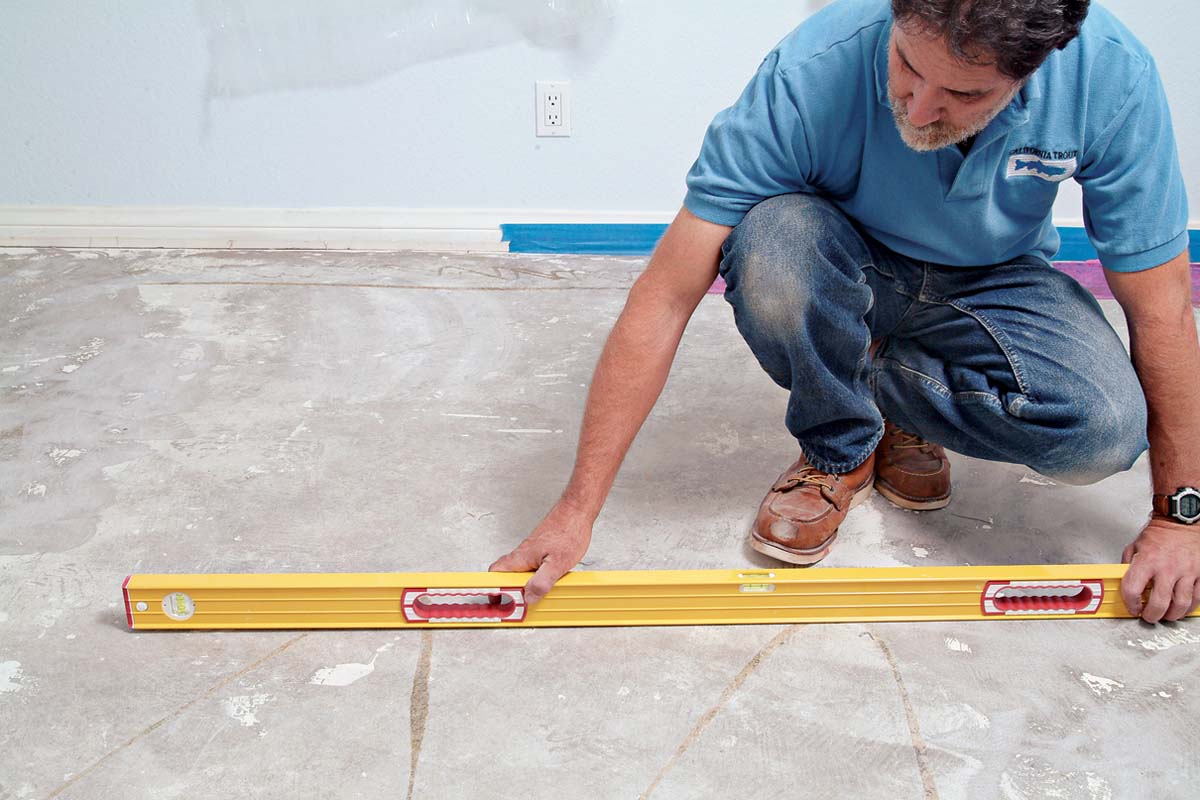
The first step in repairing a concrete walkway is to assess the extent of the damage. This will help you determine the best course of action and the materials you will need for the repair process.
Start by inspecting the walkway for any visible cracks, chips, or areas with uneven surfaces. Use a flashlight and get down at eye level to spot any minor cracks that may not be immediately apparent. Note down the location and size of each affected area.
Next, evaluate the severity of the damage. Small cracks that are less than 1/4 inch wide and superficial chips can often be repaired easily. However, larger cracks, deep chips, or sections with significant deterioration may require more intensive repair techniques.
Additionally, check for any signs of underlying issues that may have caused the damage, such as poor drainage, tree roots, or ground settlement. Identifying these issues will help prevent future damage and ensure a more long-lasting repair.
Once you have thoroughly assessed the damage, take photographs to document the condition of the walkway. These photos will serve as a reference point throughout the repair process and can be useful in case you need to consult with professionals or suppliers.
By carefully assessing the damage, you’ll have a clear understanding of what needs to be repaired and will be able to plan accordingly. This will save you time, effort, and resources in the long run by ensuring that you address all problem areas effectively.
Gathering Materials and Tools
Once you have assessed the damage to your concrete walkway, it’s time to gather the necessary materials and tools for the repair job. Having the right supplies on hand will ensure a smooth and successful repair process.
Here are the materials and tools you will need:
- Concrete patching compound: Choose a high-quality patching compound that is specifically designed for outdoor use and can withstand a range of weather conditions.
- Concrete bonding agent: This adhesive helps to create a strong bond between the existing concrete and the patching material.
- Trowel: A trowel is essential for applying the patching compound and smoothing it out.
- Wire brush: Use a wire brush to remove loose debris, dirt, and any loose chunks of concrete from the affected areas.
- Chisel: A chisel will be useful for widening cracks and removing any damaged edges or loose concrete that may hinder the bonding process.
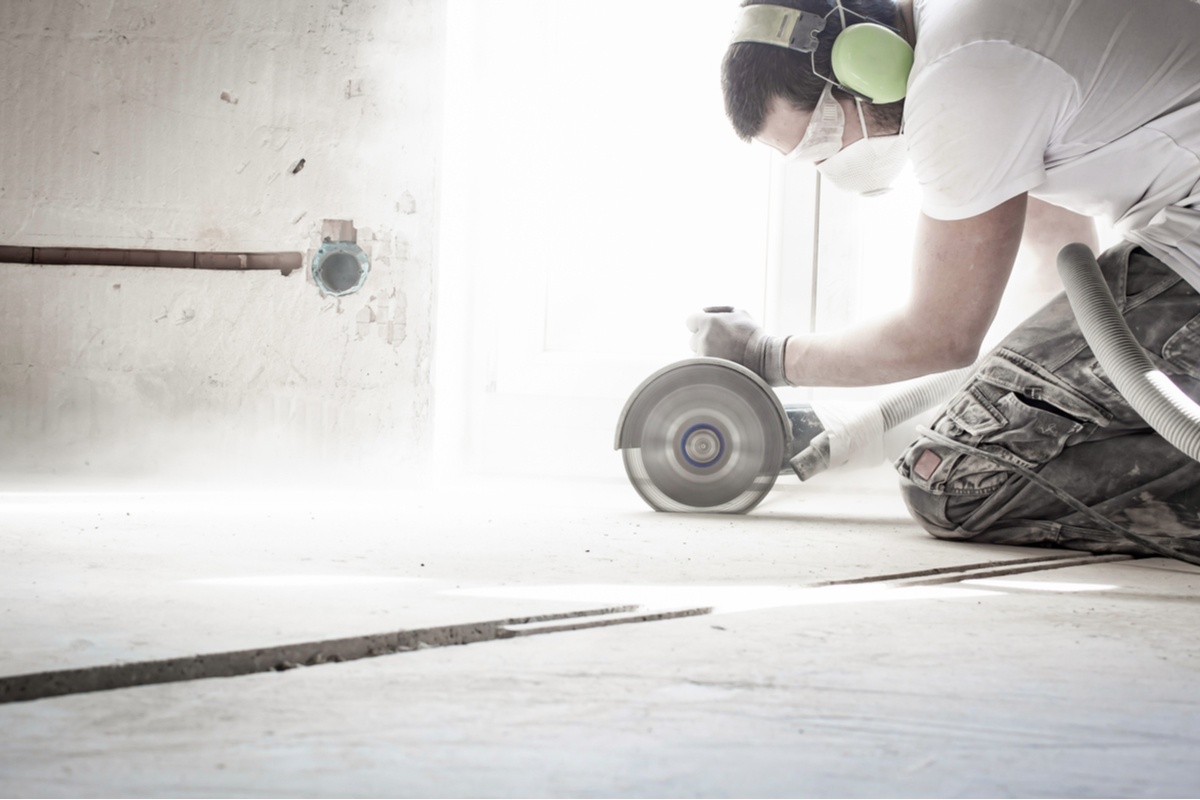
- Protective gear: Wear safety goggles, gloves, and a dust mask to protect yourself from any potential hazards.
- Pressure washer or hose: Cleaning the walkway thoroughly before repair is crucial. Use a pressure washer or a garden hose with a high-pressure nozzle to remove dirt, grime, and loose particles.
- Bucket and mixing tools: You’ll need a bucket for mixing the patching compound and appropriate tools like a drill with a mixing attachment or a trowel for stirring.
- Sealer (optional): If you plan on sealing your walkway after the repair, gather the appropriate sealer for your specific needs.
Make sure to read the instructions on each product you purchase and follow the manufacturer’s guidelines. Additionally, consider the size and scope of your repair job when determining the quantity of materials you will need.
By gathering all the necessary materials and tools in advance, you’ll be well-prepared and able to complete the repair process efficiently and effectively.
Cleaning the Walkway
Before you can proceed with repairing your concrete walkway, it is essential to thoroughly clean the surface to ensure proper adhesion of the patching compound and achieve the best possible results.
Here’s a step-by-step guide on how to clean your walkway:
- Remove any loose debris: Use a wire brush to sweep away dirt, dust, and loose particles from the affected areas. Pay special attention to cracks and chipped sections, as these areas tend to accumulate more debris.
- Pre-soak the walkway: If your walkway is particularly dirty or stained, pre-soak the surface with water. This will help loosen any stubborn dirt or grime and make it easier to clean.
- Use a pressure washer or hose: If you have a pressure washer, set it to a medium pressure setting and spray the entire walkway, focusing on the damaged areas. Move the nozzle back and forth to ensure even cleaning. If you don’t have a pressure washer, a garden hose with a high-pressure nozzle can also be effective.
- Scrub stubborn stains: For tough stains, mix a solution of warm water and mild detergent. Use a stiff-bristled brush to scrub the stains gently. Rinse the area thoroughly afterward to remove any soap residue.
- Allow the walkway to dry: After cleaning, give the walkway ample time to dry completely. This may take several hours or even a full day, depending on the weather conditions.
By cleaning the walkway thoroughly, you remove dirt, grime, and any loose material that could hinder the bonding of the patching compound. This will create a clean and stable surface for the repair process.
Remember, it’s crucial to follow safety precautions when using a pressure washer or handling cleaning chemicals. Wear appropriate protective gear, such as safety goggles and gloves, to protect yourself.
Once the walkway is clean and completely dry, you’re ready to move on to the next step: filling in small cracks.
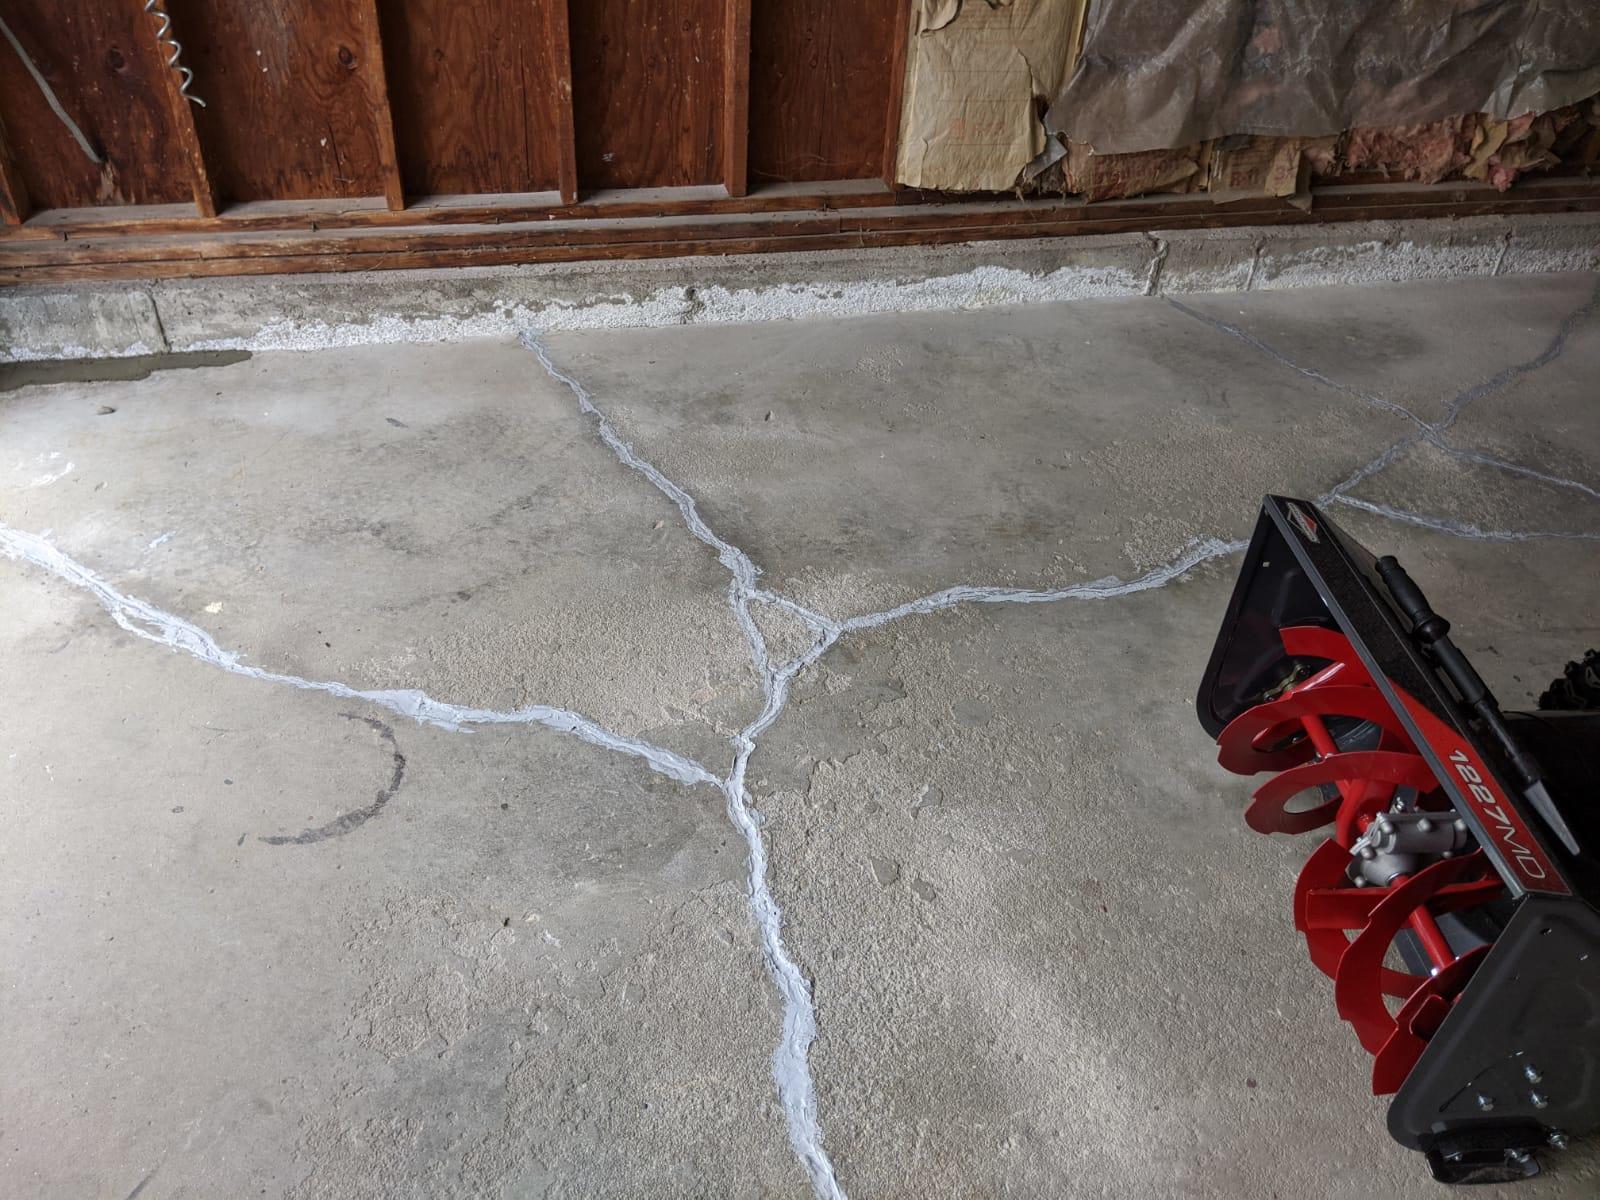
Filling Small Cracks
Small cracks, typically those less than 1/4 inch wide, are common issues in concrete walkways. Filling these cracks is essential to prevent further damage and maintain the structural integrity of the walkway. Here’s a step-by-step guide on how to fill small cracks in your concrete walkway:
- Prepare the crack: Use a wire brush or a chisel to remove any loose debris or dirt from the crack. This will ensure proper adhesion of the patching compound.
- Apply a bonding agent: Use a concrete bonding agent to enhance the adhesion between the existing concrete and the patching compound. Apply the bonding agent to the crack using a brush or a small paintbrush, following the manufacturer’s instructions.
- Mix the patching compound: Prepare the patching compound according to the manufacturer’s instructions. Use a bucket and a mixing tool, such as a trowel or a drill with a mixing attachment, to achieve a smooth and workable consistency.
- Fill the crack: With the patching compound ready, use a trowel or a putty knife to fill the crack completely. Press the compound firmly into the crack, ensuring it is level with the surrounding surface. Smooth out the surface with the trowel, feathering the edges for a seamless finish.
- Allow it to cure: Give the patching compound ample time to cure. This typically takes around 24 to 48 hours, but follow the guidelines provided by the manufacturer. Avoid walking on the repaired area until it is fully cured.
- Inspect and repeat if necessary: After the compound has cured, inspect the filled crack. If necessary, apply a second layer of patching compound to ensure a completely filled and smooth surface.
Once the small cracks are filled, they will be less prone to further damage and will blend seamlessly with the rest of the walkway. Remember to work efficiently, as the patching compound may start to set quickly.
With the small cracks addressed, you can now move on to patching larger areas on your concrete walkway.
Clean the damaged area thoroughly before starting the repair. Use a wire brush to remove loose debris and a pressure washer to ensure a clean surface for the new concrete to adhere to.
Read more: How Much Is A Concrete Walkway
Patching Larger Areas
When dealing with larger areas of damage on your concrete walkway, such as chips, deep cracks, or sections with significant deterioration, a more intensive patching technique is required. Follow these steps to effectively patch larger areas:
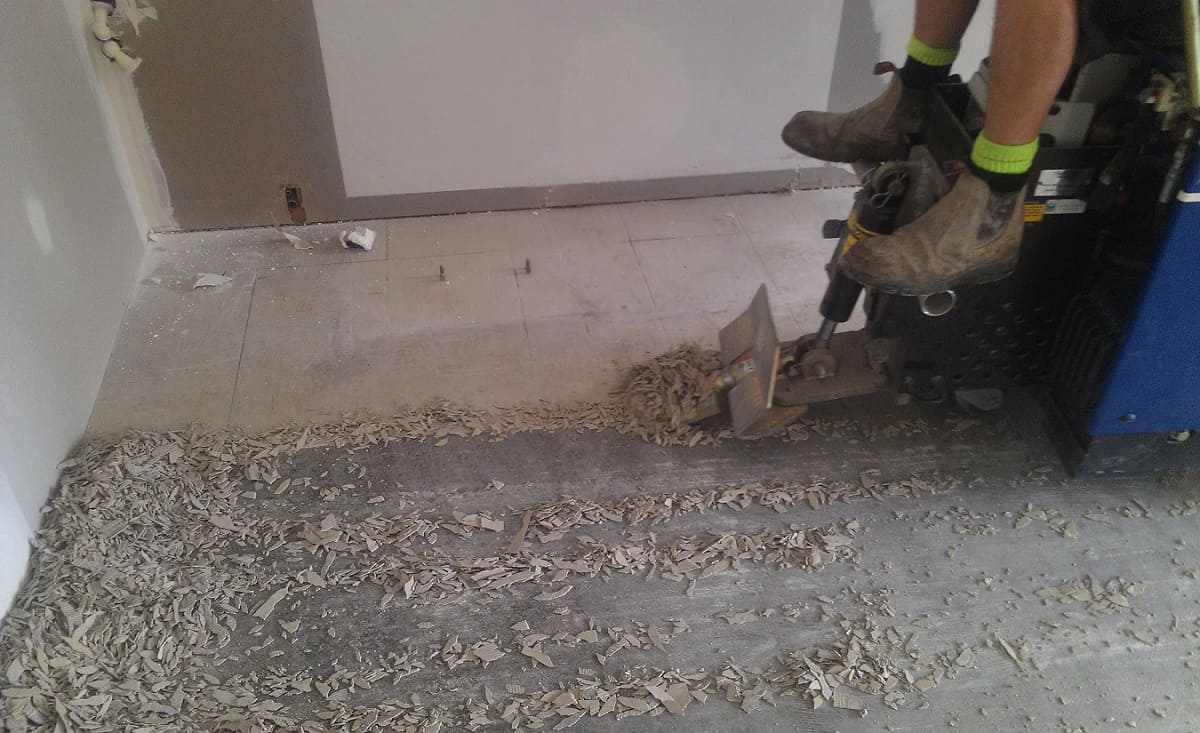
- Prepare the area: Use a wire brush or a chisel to clean out any loose debris, dirt, or deteriorated concrete from the affected area. It’s important to create a clean and stable surface for the patching compound.
- Moisten the area: Before applying the patching compound, slightly moisten the area with water. This will help to prevent rapid drying and improve the bond between the existing concrete and the patch.
- Add a bonding agent: Similar to filling small cracks, apply a concrete bonding agent to the damaged area using a brush or a small paintbrush. Follow the manufacturer’s instructions for the specific product you are using.
- Mix the patching compound: Mix the patching compound according to the manufacturer’s instructions. Use a bucket and a mixing tool, such as a drill with a mixing attachment or a trowel, to achieve a smooth and workable consistency.
- Apply the patching compound: Using a trowel or a putty knife, apply the patching compound to the damaged area. Make sure to fill the area completely and level it with the surrounding surface. For deep cracks or larger chips, you may need to apply the compound in layers, allowing each layer to partially dry before adding the next.
- Smooth and blend: Once the compound is applied, use a trowel or a float to smooth and flatten the surface. Feather the edges of the patch to seamlessly blend it with the surrounding concrete.
- Allow it to cure: Allow the patching compound to cure for the recommended time provided by the manufacturer. This may take 24 to 48 hours, but it can vary depending on the specific product and environmental conditions. Avoid walking on the patched area until it is fully cured.
- Inspect and refine: After the compound has cured, inspect the patched area. Use sandpaper or a rubbing stone to refine the surface, if necessary, to achieve a consistent texture and appearance.
Patching larger areas requires attention to detail and precision to ensure a strong and seamless repair. Take your time during the application and follow the manufacturer’s instructions for the best results.
Now that the larger areas are patched, we can move on to addressing any uneven surfaces on your concrete walkway.
Repairing Uneven Surfaces
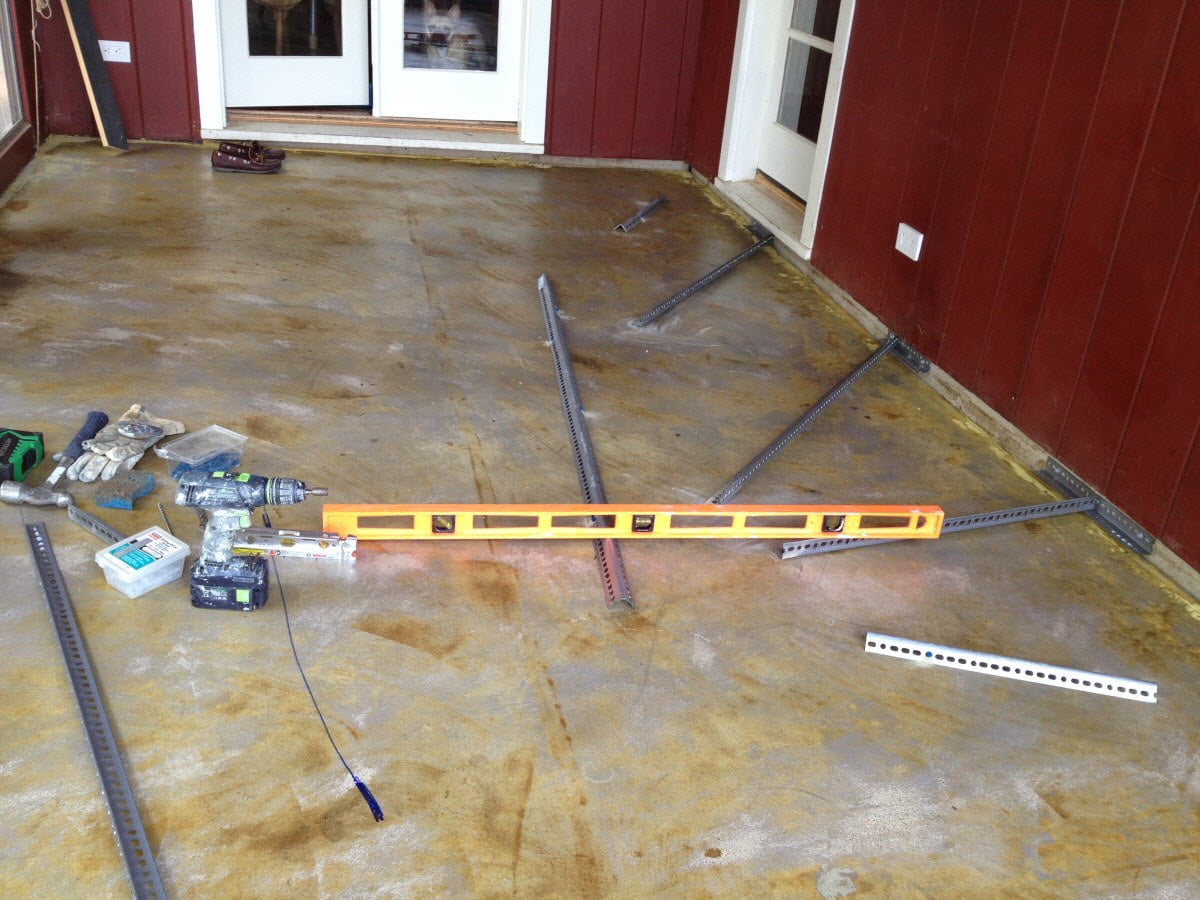
Uneven surfaces on a concrete walkway not only pose a tripping hazard but also detract from its overall appearance. Whether it’s due to settling, improper installation, or years of wear and tear, repairing these uneven areas is crucial for both safety and aesthetics. Follow these steps to level out the surface of your walkway:
- Assess the uneven areas: Identify the sections of the walkway that require leveling. This may include sunken areas, humps, or low spots.
- Prepare the area: Clean the uneven surface by removing dirt, debris, and loose concrete. Use a wire brush and a chisel to create a clean and stable base for the repair.
- Apply a bonding agent: Similar to previous steps, use a concrete bonding agent to enhance the adhesion between the existing concrete and the leveling material.
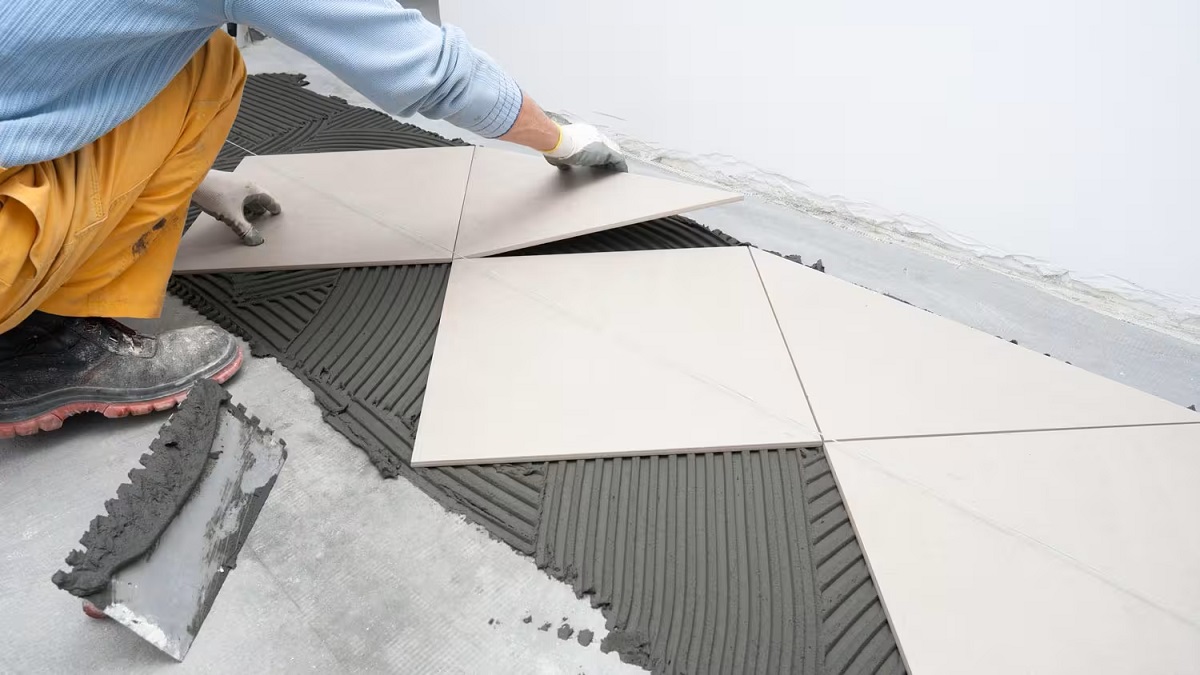
- Choose a leveling product: There are different types of leveling materials available, such as self-leveling compounds or concrete overlays. Select the product that best suits your specific needs and follow the manufacturer’s instructions.
- Mix the leveling material: Prepare the leveling material according to the manufacturer’s instructions. Use a mixing bucket and appropriate tools to achieve the recommended consistency.
- Apply the leveling material: Pour the leveling material onto the uneven surface, starting from the lowest point and working towards the higher areas. Use a trowel or a straightedge to spread and level the material, ensuring it fills in the uneven areas.
- Smooth and feather edges: After applying the leveling material, use a trowel or a float to smooth and feather the edges, blending the patch with the surrounding concrete. Pay attention to achieving a seamless transition between the leveled area and the rest of the walkway.
- Allow it to cure: Give the leveling material ample time to cure as per the manufacturer’s instructions. This may vary depending on the product, but it typically takes several hours or even a day.
- Inspect and refine: Once the leveling material is cured, inspect the repaired surface. Use sandpaper or a rubbing stone to refine any rough spots or imperfections, ensuring a smooth and even finish.
Repairing uneven surfaces requires patience and precision to achieve a professional-looking result. Proper surface preparation and following manufacturer guidelines are essential for a successful repair.
Now that the surface is leveled, it’s important to allow the walkway to properly cure before adding additional protection by sealing the concrete.
Ensuring Proper Curing
After completing the repair work on your concrete walkway, it is crucial to allow it to properly cure. Curing is the process by which the patching and leveling materials harden and gain strength, ensuring a long-lasting and durable repair. Follow these steps to ensure proper curing:
- Follow manufacturer’s instructions: Each product used in the repair process may have specific curing requirements. It is important to carefully read and follow the instructions provided by the manufacturer.
- Avoid foot traffic: After applying the patching compound, leveling material, or any other repair material, it is essential to avoid walking on the repaired areas until they are fully cured. Foot traffic can disrupt the curing process and compromise the integrity of the repair. Refer to the product instructions for the recommended curing time.
- Keep the area moist: Maintaining the repaired area at an optimal moisture level can promote proper curing. It is recommended to cover the repaired section with plastic sheeting or use a curing compound to prevent moisture loss. This will help the material to cure evenly and prevent it from drying too quickly.
- Monitor weather conditions: Ambient temperature and weather conditions can affect the curing process. Extreme heat or cold can hinder proper curing. If the weather is extremely hot or cold, it may be necessary to take additional measures to protect the repaired area and ensure adequate curing.
- Allow sufficient time for curing: Curing times can vary depending on the product used, temperature, humidity, and other factors. It is essential to be patient and allow the recommended curing time to ensure the repair fully sets and gains its maximum strength.
- Inspect for full curing: Once the recommended curing time has elapsed, visually inspect the repaired areas. Check for any signs of moisture, softness, or areas that do not appear fully hardened. If any concerns arise, consult the manufacturer’s instructions or seek professional advice.
Proper curing is essential to achieve a strong and durable repair. Taking the time to ensure the repair fully cures will help maintain the integrity of the concrete walkway and increase its longevity.
With the walkway properly cured, you can now consider adding an extra layer of protection by sealing the surface.
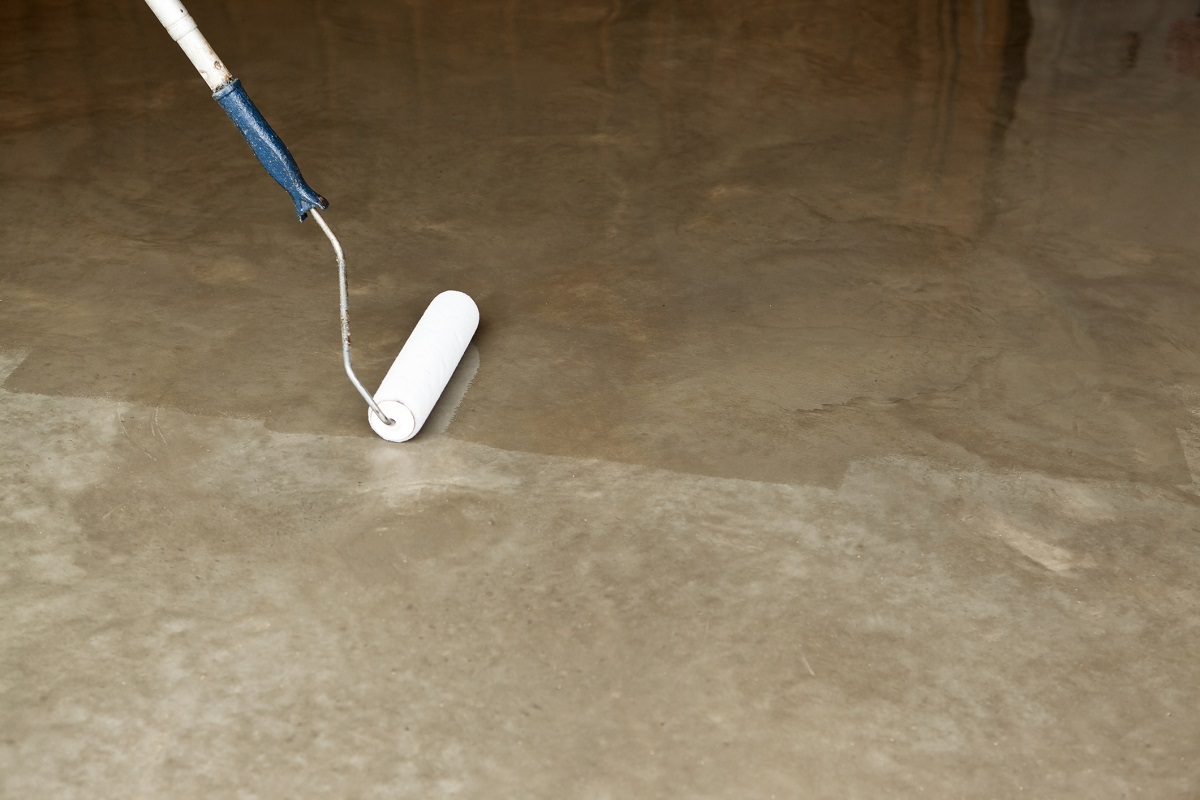
Sealing the Walkway
Sealing your concrete walkway is an important final step in the repair process. It provides an added layer of protection against moisture, UV rays, stains, and general wear and tear. Sealing also enhances the appearance of the walkway, giving it a fresh and polished look. Follow these steps to seal your concrete walkway:
- Clean the surface: Before sealing, ensure that the walkway is clean and free of dirt, debris, and any loose material. Use a broom, brush, or pressure washer to thoroughly clean the surface. Allow it to dry completely before proceeding.
- Choose the right sealer: There are different types of sealers available, including acrylic sealers, penetrating sealers, and epoxy sealers. Select the one that suits your specific needs, considering factors such as durability, appearance, and weather conditions.
- Apply the sealer: Follow the manufacturer’s instructions for the specific sealer you have chosen. Use a paint roller or a sprayer to evenly apply the sealer in thin coats. Be sure to work in small sections and avoid overlapping or puddling. Take breaks between coats to allow each layer to dry before applying the next.
- Allow it to cure: Refer to the manufacturer’s guidelines for the recommended curing time. It is important to allow the sealer to fully dry and cure before allowing foot traffic or exposing it to moisture or harsh conditions.
- Maintain the sealed walkway: Once the sealer has cured, follow proper maintenance practices to preserve the longevity and appearance of the walkway. This may include regular cleaning, avoiding harsh chemicals, and promptly addressing any stains or spills.
Sealing your concrete walkway is not only a protective measure but also a way to enhance its overall appearance and ensure its longevity. The type of sealer you choose will depend on your specific preferences and the level of protection needed for your walkway.
By taking the time to seal your walkway, you can enjoy a beautiful and durable surface that will withstand the elements and provide long-lasting functionality.
Now that you have completed the repair and sealing process, your concrete walkway is restored and ready to be enjoyed for years to come. Remember to periodically inspect and maintain the walkway to prevent any future damage and ensure its continued beauty and functionality.
Read more: How To Make A Concrete Walkway
Conclusion
Repairing a concrete walkway may seem like a daunting task, but with the right knowledge, tools, and materials, it can be a manageable and rewarding DIY project. By following the step-by-step guide outlined in this article, you can successfully repair and restore your concrete walkway, improving both its functionality and visual appeal.
From assessing the damage and gathering the necessary materials to cleaning the walkway, filling cracks, patching larger areas, repairing uneven surfaces, ensuring proper curing, and sealing the walkway, each step plays a crucial role in achieving a professional-quality repair.
Remember to take your time during each stage of the repair process, ensuring that you follow manufacturer guidelines and safety precautions. This will ensure the best possible results and a long-lasting repair.
Not only can you save money by repairing your concrete walkway yourself, but you also gain the satisfaction of knowing that you’ve revitalized and preserved an essential element of your property. A well-maintained and attractive walkway adds value to your home and enhances the overall curb appeal.
Regular inspection and maintenance are key to preventing future damage. Keep an eye out for any signs of wear and tear, address minor issues promptly, and follow proper cleaning and maintenance practices to extend the life of your concrete walkway.
Whether you’re a seasoned DIY enthusiast or a beginner, this comprehensive guide equips you with the necessary knowledge to tackle concrete walkway repair with confidence. Remember, safety should always be a priority, so wear appropriate protective gear and exercise caution throughout the repair process.
With the proper techniques and materials, you can transform your worn-out concrete walkway into a smooth, safe, and visually appealing path that will serve you well for years to come. So, roll up your sleeves and get ready to give your concrete walkway the repair and care it deserves!
Frequently Asked Questions about How To Repair A Concrete Walkway
Was this page helpful?
At Storables.com, we guarantee accurate and reliable information. Our content, validated by Expert Board Contributors, is crafted following stringent Editorial Policies. We're committed to providing you with well-researched, expert-backed insights for all your informational needs.

0 thoughts on “How To Repair A Concrete Walkway”