Articles
How To Fix An Uneven Concrete Floor
Modified: January 8, 2024
Learn how to fix an uneven concrete floor with our helpful articles. Find step-by-step guides and expert advice to level your flooring easily and efficiently.
(Many of the links in this article redirect to a specific reviewed product. Your purchase of these products through affiliate links helps to generate commission for Storables.com, at no extra cost. Learn more)
Introduction
An uneven concrete floor can be a major inconvenience and safety hazard. Whether it’s a trip hazard or causing issues with the installation of flooring materials, addressing and fixing the problem is essential. Fortunately, there are several solutions available to correct an uneven concrete floor and restore its stability and functionality.
In this article, we will explore the common causes of an uneven concrete floor, how to assess the severity of the problem, and the steps involved in fixing it. By following these guidelines, you can tackle this issue and create a level surface that will provide a sturdy foundation for any future flooring projects.
So, let’s delve into the world of concrete repair and discover how to fix an uneven concrete floor!
Key Takeaways:
- Addressing the causes of uneven concrete floors, assessing severity, and proper preparation are crucial for successful repairs. Filling low spots, grinding high areas, and applying self-leveling compounds are key steps for achieving a level and stable floor surface.
- Properly curing the repaired floor and implementing finishing touches and maintenance tips are essential for preserving the longevity and quality of the repaired concrete surface. Regular upkeep and preventative measures can ensure a safe, functional, and visually appealing space for years to come.
Read more: How To Fix Uneven Concrete Walkway
Causes of an uneven concrete floor
An uneven concrete floor can be the result of various factors. Understanding the causes behind the unevenness is crucial in determining the appropriate repair method. Here are some common causes:
- Poor initial installation: One of the main causes of an uneven concrete floor is improper installation during the initial pouring process. Insufficient compaction or leveling can lead to variations in the surface level.
- Settlement: Over time, the ground beneath the concrete floor may settle, causing the floor to become uneven. This can occur due to changes in soil composition, moisture levels, or inadequate soil preparation before construction.
- Moisture-related issues: Excessive moisture can wreak havoc on a concrete floor. When the ground beneath the floor becomes saturated or experiences significant temperature fluctuations, it can lead to expansion and contraction, resulting in cracks and unevenness.
- Structural issues: In some cases, an uneven concrete floor may be a symptom of underlying structural problems. Issues such as foundation settlement, shifting soil, or inadequate support can cause the floor to become uneven.
- Wear and tear: Over time, heavy foot traffic, machinery, or other factors can cause sections of a concrete floor to wear out unevenly. This can result in depressions or bumps that make the floor surface uneven.
Identifying the specific cause of the unevenness is essential for determining the appropriate repair approach. It may be necessary to consult with a professional contractor or engineer to accurately diagnose the underlying issue and devise the best course of action.
Assessing the severity of the unevenness
Before you can effectively address and fix an uneven concrete floor, it’s important to assess the severity of the problem. This will help determine the extent of the repair required and the most suitable approach to take. Here are some steps to follow when assessing the unevenness:
- Visual inspection: Start by visually examining the floor for any visible signs of unevenness, such as noticeable slopes, cracks, or bulges. Pay attention to areas where water tends to pool or where flooring materials may not lay flat.
- Measurements: Use a long straightedge, like a level or a laser level, to check for deviations from a level surface. Place the straightedge at various points across the floor and note any gaps or inconsistencies.
- Tape and ball test: To further evaluate the floor’s flatness, place small pieces of tape at regular intervals on the floor. Then roll a small ball, like a golf ball, across the surface. Observe how the ball moves, and if it consistently veers off course or gets stuck in certain areas, these are indications of unevenness.
- Professional assistance: If you are uncertain about the severity of the problem or suspect underlying structural issues, it is advisable to seek professional assistance. An experienced contractor or engineer can conduct a more detailed assessment using specialized tools and techniques.
By thoroughly assessing the unevenness of the concrete floor, you will have a better understanding of the magnitude of the problem and can proceed with the appropriate repair methods. Keep in mind that minor irregularities may only require simple self-leveling techniques, while more significant issues may necessitate more extensive repairs or professional interventions.
Preparing the floor for repairs
Before you can effectively repair an uneven concrete floor, it is crucial to prepare the surface properly. Proper preparation ensures that the repair materials bond well and create a durable and level floor. Here are the steps to follow when preparing the floor:
- Clean the surface: Start by removing any debris, dust, or loose particles from the surface of the concrete floor. Use a broom, vacuum, or pressure washer to thoroughly clean the floor. This will allow the repair materials to adhere better to the concrete.
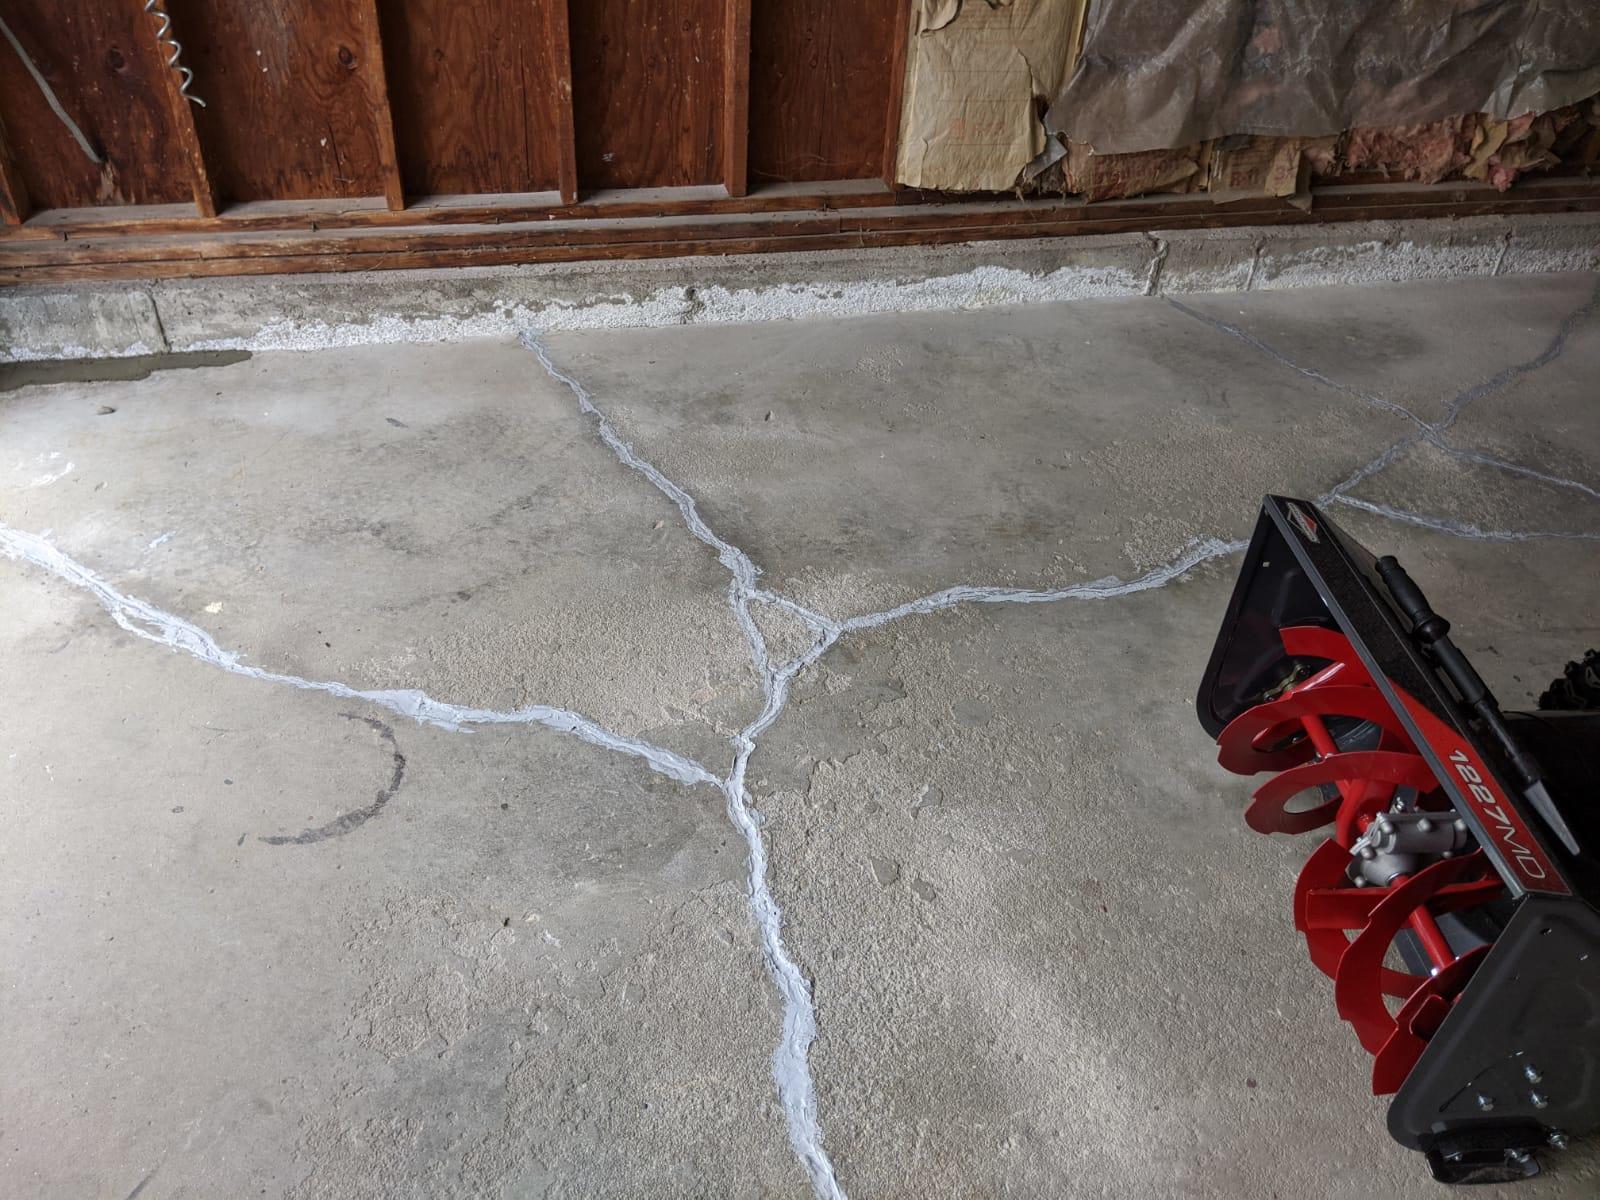
- Repair cracks and holes: Inspect the floor for any cracks or holes and repair them prior to addressing the overall unevenness. Use a concrete patching compound or epoxy filler to fill in any damaged areas. Follow the manufacturer’s instructions for the specific product you are using.
- Remove any protrusions: If there are any high spots or protruding edges on the floor, they need to be smoothed down. Use a grinder or chisel to carefully remove these uneven areas. Take care not to create further damage to the concrete surface while doing this.
- Consider moisture barriers: If moisture is a recurring issue in the area or if you plan to install certain types of flooring, it may be beneficial to apply a moisture barrier. This could be a concrete sealer or a specialized moisture-resistant primer. Consult with a professional to determine the most suitable product for your specific needs.
- Check for levelness: After cleaning and repairing the floor, use a level or straightedge to check for any remaining unevenness. If you still notice significant deviations, mark the areas that require further attention.
- Provide proper ventilation: During the repair process, ensure proper ventilation in the area. Open windows, use fans, or provide adequate air circulation to assist in the drying and curing of the repair materials.
By thoroughly preparing the floor, you lay the groundwork for a successful and long-lasting repair. Taking the time to clean the surface, address any cracks or holes, and eliminate protrusions will help create a smooth and even base for the subsequent repair steps.
Filling and leveling the low spots
Once you have prepared the floor, it’s time to tackle the low spots and uneven areas. Filling and leveling these areas will help create a smooth and even surface for your repaired concrete floor. Here are the steps involved in filling and leveling the low spots:
- Mix the appropriate filler material: Choose a suitable filler material based on the depth of the low spots. This can be a self-leveling compound, concrete resurfacer, or a mixture of cement and sand. Follow the manufacturer’s instructions for mixing the material to achieve the desired consistency.
- Apply the filler material: Using a trowel or a wide putty knife, apply the filler material to the low spots on the floor. Smooth it out evenly, ensuring that it fills the gaps and brings the surface level with the rest of the floor. Work in small sections to maintain control and avoid the filler drying out before you can spread it properly.
- Feather the edges: To create a seamless transition between the filled areas and the surrounding floor, feather the edges of the filler material. Use a trowel or a straightedge to blend the edges, tapering the material gradually towards the adjacent floor surface.
- Allow proper drying time: Depending on the filler material used, allow sufficient time for it to dry and cure. Follow the manufacturer’s instructions for the specific product you are using. It is essential not to rush this step to ensure the filler properly sets and hardens.
- Sand and smooth the filled areas: Once the filler material has dried, use a fine-grit sandpaper or sanding block to smooth out any rough edges or imperfections. Sand in a circular or back-and-forth motion, gradually blending the filled areas with the rest of the floor surface.
- Clean the surface: After sanding, remove any dust or debris from the floor surface. This will provide a clean canvas for further repairs or finishing touches.
By carefully filling and leveling the low spots, you can achieve a more even and consistent surface. Taking the time to properly apply the filler material, feather the edges, and allow for adequate drying will ensure a seamless and professional-looking repair.
Consider using a self-leveling compound to fix an uneven concrete floor. This material can be poured over the existing floor and will level itself out, providing a smooth and even surface.
Read more: How To Repair Uneven Concrete Driveway
Grinding down the high spots
In addition to filling and leveling low spots, it is equally important to address high spots on an uneven concrete floor. Grinding down these elevated areas will help create a smoother and more even surface. Here’s how you can go about grinding down the high spots:
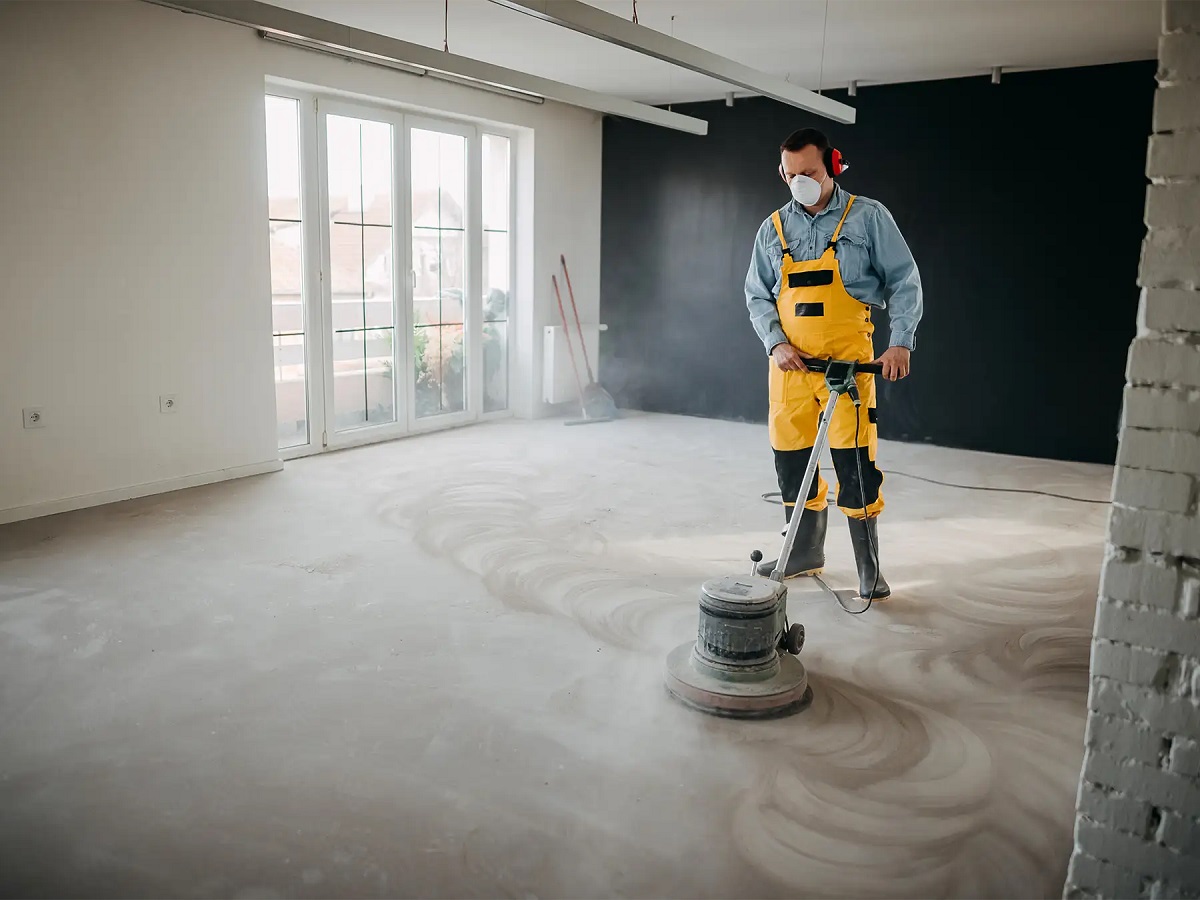
- Tools and safety: Make sure you have the necessary tools for the job, including a concrete grinder or sander with diamond grinding pads. Wear appropriate safety gear like goggles, gloves, and a dust mask to protect yourself from dust and debris.
- Identify the high spots: Inspect the floor to locate the areas where the concrete is elevated. These can be identified by visual cues or by running your hand across the surface to feel for any unevenness.
- Begin grinding: Start the grinding process by attaching the appropriate diamond grinding pad to the grinder. Position the grinder above the high spot and turn it on. Move the grinder in a side-to-side motion, applying even pressure to gradually grind down the high area. Keep the grinder moving continuously to avoid creating deep depressions.
- Check progress frequently: Pause periodically to assess the progress and check the levelness of the floor surface. Use a level or straightedge to ensure that the high spot is being ground down evenly with the rest of the floor. Continue grinding until the high spot is leveled, but be mindful not to over-grind and create an uneven surface.
- Clean the surface: After grinding down the high spots, clean the floor surface thoroughly. Use a broom or a vacuum to remove any dust and debris resulting from the grinding process.
- Inspect and repeat if necessary: Once the surface is clean, inspect the floor to determine if any high spots still remain. If needed, repeat the grinding process for those areas until the entire floor surface is leveled.
Grinding down high spots is a crucial step in achieving a level concrete floor. By using the right tools and following the proper technique, you can effectively eliminate the elevated areas and ensure a consistent and smooth surface.
Applying a self-leveling compound
Applying a self-leveling compound is an effective method to further enhance the levelness and smoothness of an uneven concrete floor. This compound is specially designed to flow and settle into low spots, creating a flat and seamless surface. Here’s a step-by-step guide on how to apply a self-leveling compound:
- Prepare the surface: Before applying the self-leveling compound, ensure that the floor is clean and free from any debris or loose particles. Sweep or vacuum the surface thoroughly to create a clean and even base.
- Mix the compound: Follow the manufacturer’s instructions to mix the self-leveling compound. Add the recommended amount of water to the compound powder and mix it thoroughly until it forms a smooth and pourable consistency. Use a mixing paddle and a drill to achieve a uniform blend.
- Prime the floor: Before pouring the self-leveling compound, it may be necessary to apply a primer to the floor surface. Refer to the manufacturer’s guidelines to determine if primer application is necessary for the specific self-leveling compound you are using.
- Pour the compound: Start pouring the self-leveling compound onto the floor surface. Begin at the farthest end of the room and work your way towards the exit to avoid stepping on the freshly poured compound. Pour the compound in a continuous flow, allowing it to self-level and fill in the low spots as it spreads across the floor.
- Spread and feather: Use a long-handled squeegee or a gauge rake to spread and feather the self-leveling compound evenly across the floor. This will help ensure a consistent thickness and a smooth transition between the compound and the surrounding floor surface.
- Remove air bubbles: To remove any trapped air bubbles, use a spiked roller to roll over the surface of the freshly poured self-leveling compound. This will help release any air pockets and ensure a more solid and even floor.
- Allow for curing time: Follow the manufacturer’s instructions for the recommended curing time of the self-leveling compound. It is crucial to allow sufficient time for the compound to dry and set before proceeding with any further steps or installations.
- Inspect and make final adjustments: Once the compound has cured, inspect the floor for any remaining imperfections or unevenness. If necessary, sand down any rough spots or apply additional coats of the self-leveling compound to achieve the desired level and smoothness.
Applying a self-leveling compound is a cost-effective and efficient way to create a level surface on an uneven concrete floor. By following these steps and adhering to the manufacturer’s instructions, you can achieve a smooth and even floor ready for the installation of any desired flooring materials.
Curing the repaired floor
After applying the necessary repairs and leveling the uneven concrete floor, it is crucial to properly cure the surface to ensure its long-term durability and strength. Curing is the process of allowing the repaired floor to dry and harden, allowing the materials used to fully bond and solidify. Here’s how you can effectively cure a repaired floor:
- Protect the area: After completing the repairs, it is essential to protect the area from foot traffic or any heavy loads that may damage the fresh repair work. Install cautionary signs, barriers, or temporary flooring to prevent accidental damage and ensure that the repaired area remains undisturbed during the curing process.
- Control moisture: Proper moisture control is crucial in the curing process. Keep the repaired floor damp by lightly misting it with water or covering it with plastic sheeting. This will prevent evaporation of moisture from the repair materials and promote proper hydration and curing.
- Maintain optimal temperature: To facilitate proper curing, maintain an optimal temperature in the repaired area. Follow the manufacturer’s recommendations or general guidelines for temperature requirements during the curing process. Avoid extreme heat or cold, as it can negatively impact the curing of the repair materials.
- Allow sufficient curing time: Depending on the repair materials used, the curing time may vary. It is essential to follow the manufacturer’s instructions for the recommended curing time. Typically, the curing process can take several days or even weeks, so be patient and allow sufficient time for the repair to fully set and harden.
- Monitor the curing process: Regularly inspect the repaired floor during the curing period. Look for any signs of cracking, shrinkage, or other issues that may require additional attention. If necessary, take corrective measures or consult with a professional to address any problems that arise during the curing process.
- Gradually reintroduce foot traffic: Once the curing period is complete, gradually reintroduce foot traffic to the repaired floor. Start with light traffic and gradually increase the load-bearing capacity over time. This will help ensure that the repaired floor fully stabilizes and is ready for regular use.
- Follow any additional care instructions: Depending on the specific repair materials used, there may be additional care instructions to follow. This can include specific cleaning or maintenance guidelines to ensure the longevity and quality of the repaired floor. Adhere to these instructions to maximize the lifespan of the repair work.
Properly curing the repaired floor is essential in achieving a durable and long-lasting result. By following these guidelines and allowing sufficient time for the repair materials to fully cure, you can ensure that the repaired surface is strong, stable, and ready for regular use.
Finishing touches and maintenance tips
After fixing an uneven concrete floor, there are a few finishing touches and maintenance tips to consider to ensure the longevity and aesthetic appeal of the repaired surface. Here are some essential steps to take:
- Smooth and polish the surface: Once the repaired floor has fully cured, you can enhance its appearance by smoothing and polishing the surface. Use a concrete grinder or a polishing machine with appropriate grit pads to achieve a desired level of sheen and smoothness.
- Apply a protective coating: To protect the repaired surface from stains, moisture, and wear, consider applying a protective coating. Choose a coating specifically designed for concrete surfaces and follow the manufacturer’s instructions for application. This will help prolong the life of the repaired floor and make it easier to clean and maintain.
- Maintain proper cleaning practices: Regularly clean the repaired floor using mild, non-abrasive cleaners and a soft bristle brush or mop. Avoid using harsh chemicals or abrasive scrubbers that can damage the surface. Promptly clean up any spills to prevent staining.
- Prevent impact or heavy loads: To minimize the risk of future damage or unevenness, avoid dropping heavy objects or subjecting the repaired floor to excessive impact. Use furniture pads or mats under heavy furniture or equipment to distribute the weight evenly.
- Monitor the floor for any signs of damage: Regularly inspect the repaired floor for any signs of cracking, chipping, or unevenness. Address any issues promptly to prevent further damage and ensure the longevity of the repair work. If you notice any significant issues, consult with a professional for proper assessment and repair.
- Consider preventative measures: Depending on the cause of the original unevenness, take preventative measures to avoid future problems. This can include addressing drainage issues around the concrete floor, maintaining proper moisture levels, or implementing proactive maintenance practices to prevent soil settlement or shifting.
- Consult with professionals when needed: If you are unsure about any aspect of repairing or maintaining the concrete floor, do not hesitate to seek advice from professionals. They can provide expert guidance, assess the condition of the floor, and recommend the most suitable solutions for your specific situation.
By implementing these finishing touches and adhering to proper maintenance practices, you can ensure that your repaired concrete floor remains in excellent condition for years to come. Regular upkeep and attentiveness will help preserve the levelness and overall quality of the repaired surface.
Read more: How To Fix A Crack In Concrete Floor
Conclusion
Fixing an uneven concrete floor is a crucial step in creating a safe, functional, and visually appealing space. Whether it’s for residential, commercial, or industrial purposes, addressing the unevenness of a concrete floor is essential for its longevity and the success of any flooring installation. By understanding the causes of unevenness, assessing the severity of the problem, and following the appropriate repair methods, you can achieve a level and stable floor surface.
Throughout this article, we have explored the common causes of an uneven concrete floor, the steps involved in assessing the severity of the problem, and the necessary preparations before repairs. We have covered techniques such as filling and leveling low spots, grinding down high areas, applying self-leveling compounds, and properly curing the repaired floor. Additionally, we have discussed the importance of finishing touches and provided maintenance tips to ensure the longevity and quality of the repaired surface.
While repairing an uneven concrete floor may require some effort and attention to detail, the end result is a level and functional surface that provides a solid foundation for any future flooring projects. By following the guidelines and seeking professional advice when needed, you can transform an uneven concrete floor into a smooth and visually appealing space.
Remember, proper maintenance practices and regular inspections are key to preserving the repaired floor’s integrity. By proactive steps to prevent damage, addressing issues promptly, and following a regular cleaning routine, you can extend the life of the repaired floor and minimize the need for future repairs.
In conclusion, fixing an uneven concrete floor is a worthwhile investment that will enhance the safety, functionality, and aesthetic appeal of any space. With the right knowledge, tools, and techniques, you can successfully repair and maintain a level and stable concrete floor for years to come.
Frequently Asked Questions about How To Fix An Uneven Concrete Floor
Was this page helpful?
At Storables.com, we guarantee accurate and reliable information. Our content, validated by Expert Board Contributors, is crafted following stringent Editorial Policies. We're committed to providing you with well-researched, expert-backed insights for all your informational needs.


0 thoughts on “How To Fix An Uneven Concrete Floor”