Articles
How To Install An Exterior Door Frame Molding
Modified: August 27, 2024
Learn how to install exterior door frame molding with this detailed step-by-step guide. Transform your home's appearance with our helpful articles.
(Many of the links in this article redirect to a specific reviewed product. Your purchase of these products through affiliate links helps to generate commission for Storables.com, at no extra cost. Learn more)
Introduction
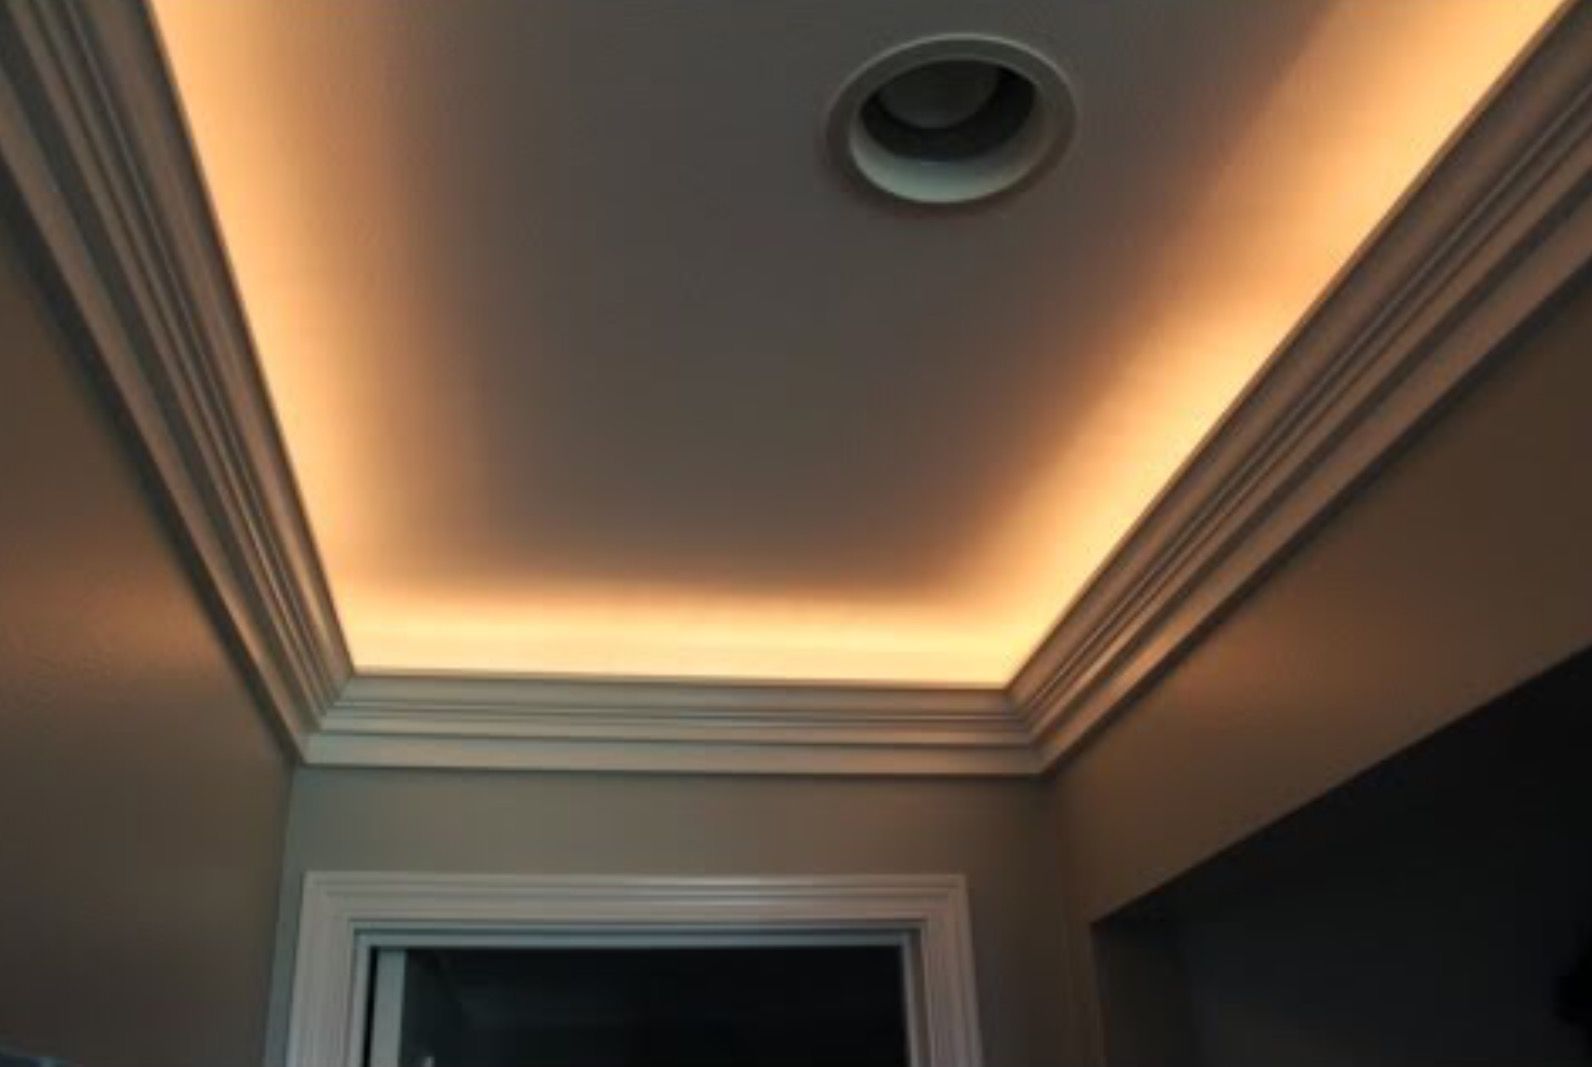
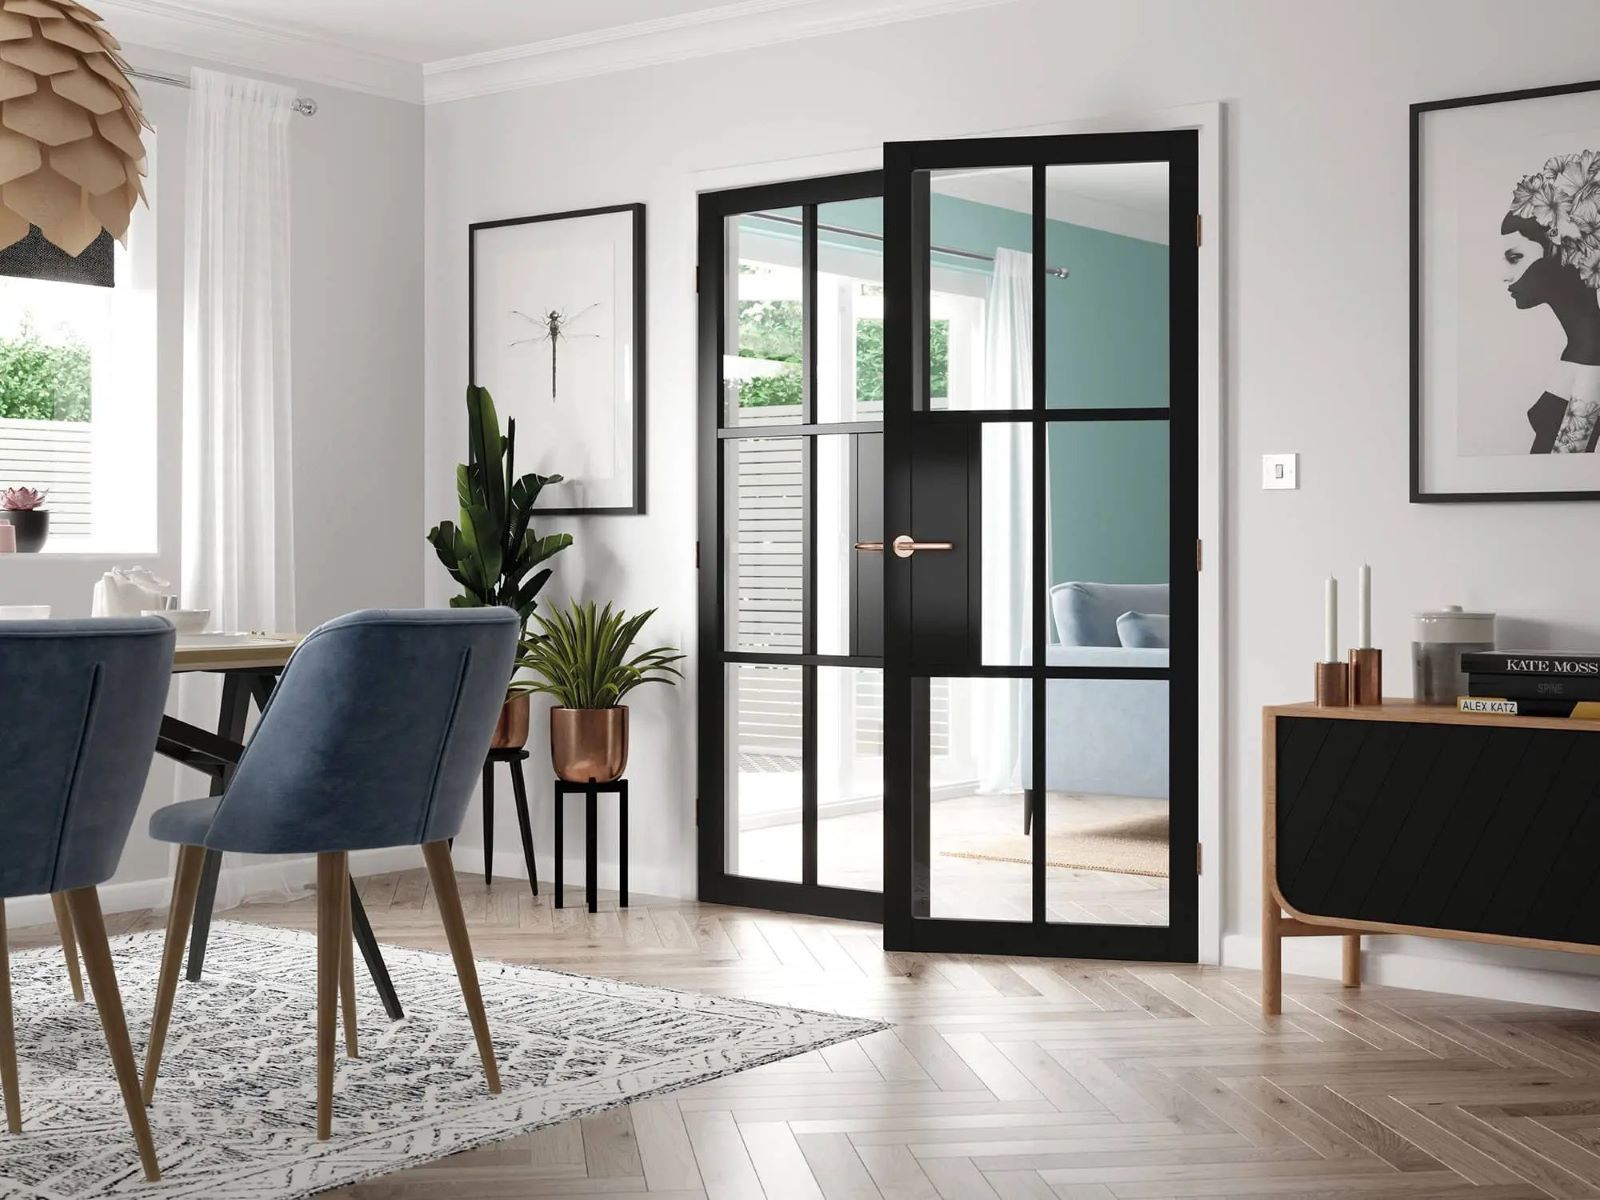
Installing exterior door frame molding is a simple yet effective way to update the look of your home. Whether you’re looking to add a touch of elegance or just want to freshen up the appearance of your front door, installing molding can make a significant difference in the overall aesthetic appeal of your house.
In this article, we will guide you through the step-by-step process of installing exterior door frame molding. With the right tools and materials, this project can be completed quickly and easily.
Not only does exterior door frame molding improve the visual appeal of your home, but it also serves a practical purpose. It helps to seal gaps between the door frame and the wall, preventing drafts and enhancing energy efficiency. Additionally, it provides added protection to the door frame against wear and tear.
Before you begin, it’s essential to gather all the necessary tools and materials. This will ensure a smooth installation process without any interruptions. Let’s take a look at what you’ll need:
Key Takeaways:
- Enhance Your Home’s Aesthetic and Functionality
Installing exterior door frame molding not only elevates your home’s visual appeal but also improves insulation and protects the door frame from wear and tear. Follow the step-by-step guide for a stylish and practical upgrade. - Transform Your Entryway with Ease
With the right tools and materials, installing exterior door frame molding is a straightforward project that can make a significant difference in your home’s appearance. Follow the simple steps to achieve a quick and stylish update.
Read more: How To Build Exterior Door Framing
Tools and Materials Needed
Before you start the installation process, gather the following tools and materials:
- Measuring tape
- Miter saw or handheld saw
- Nail gun or hammer and finishing nails
- Level
- Safety glasses
- Caulk gun
- Silicone caulk
- Pry bar
- Pencil
- Spackle
- Sanding block
- Paint or stain (optional)
- Paintbrush or stain applicator (optional)
Make sure you have all these tools and materials before you proceed with the installation process. This will save you time and prevent any unnecessary delays.
Once you have gathered all the necessary tools and materials, you’re ready to move on to the next step: measuring and cutting the molding.
Step 1: Measure and Cut the Molding
The first step in installing exterior door frame molding is to measure and cut the molding to fit your door frame. Here’s how to do it:
- Start by measuring the dimensions of your door frame. Use a tape measure to measure the length and width of each side, as well as the top and bottom.
- Based on your measurements, mark the cutting lines on the molding. Use a pencil to make accurate marks.
- Next, use a miter saw or handheld saw to cut the molding at the marked lines. Make sure to cut at a 45-degree angle for corners and 90-degree angle for straight pieces.
- Double-check the measurements and cuts to ensure they align with the dimensions of your door frame.
Once you have measured and cut the molding, you’re ready to proceed to the next step: preparing the door frame.
Step 2: Prepare the Door Frame
Before you begin installing the molding, it’s important to ensure that the door frame is clean and free from any debris or obstructions. Follow these steps to prepare the door frame:
- Start by removing any existing molding or trim from the door frame. Use a pry bar to gently lift and remove the old molding.
- Inspect the door frame for any damage or cracks. If you notice any, repair them using spackle. Allow the spackle to dry, then use a sanding block to smooth it out.
- Next, clean the door frame thoroughly using a damp cloth or sponge. This will remove any dust or dirt that may interfere with the adhesion of the molding.
- Check the door frame for any protruding nails or screws. If you find any, use a hammer or screwdriver to secure them or remove them completely.
Once the door frame is clean and free from any damage or obstructions, you’re ready to move on to the next step: installing the bottom piece of molding.
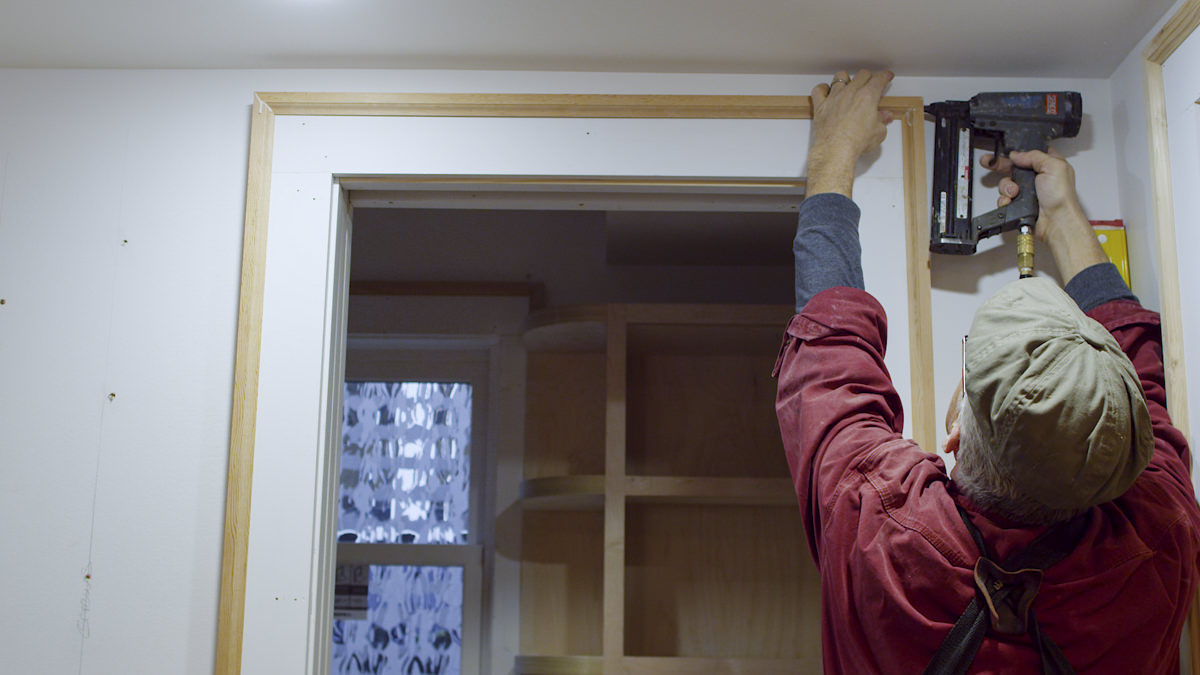
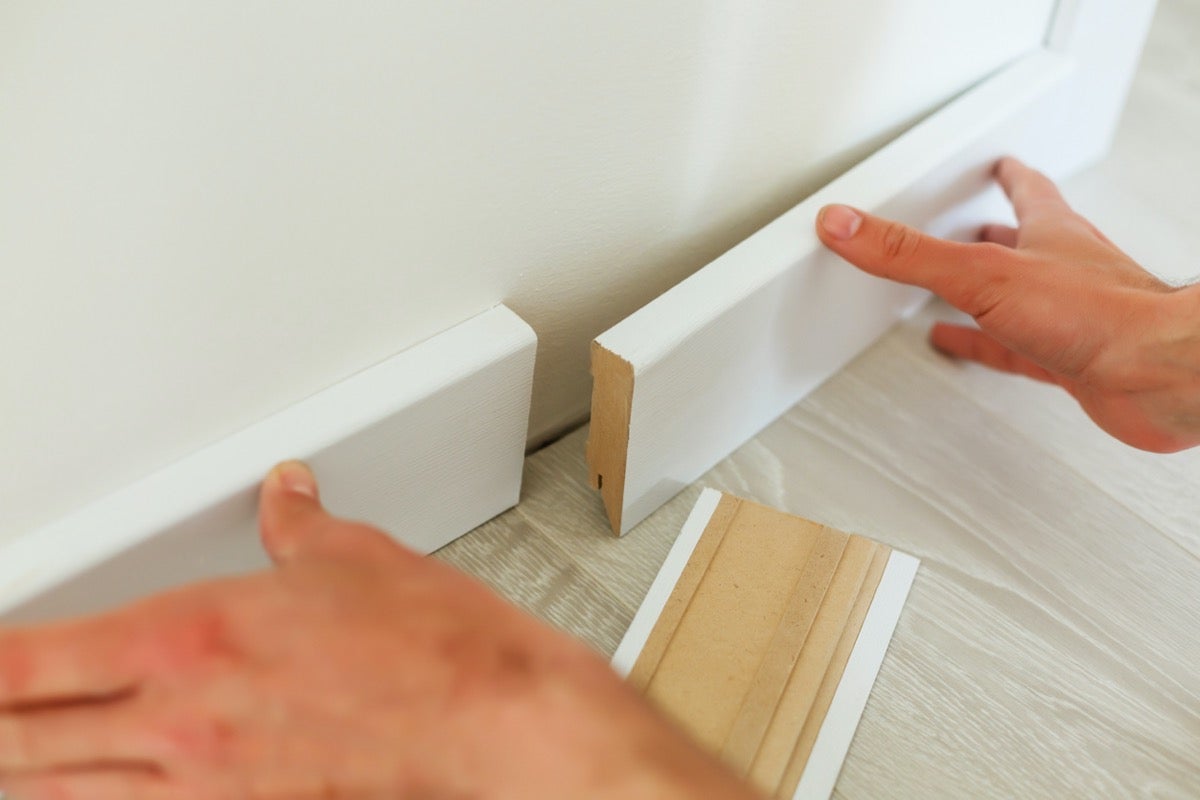
Step 3: Install the Bottom Piece of Molding
Now that you’ve prepared the door frame, it’s time to start installing the exterior door frame molding. Here’s how to install the bottom piece of molding:
- Measure and mark the placement of the bottom piece of molding on the door frame. Use a level to ensure that the molding will be installed straight.
- Apply a thin line of silicone caulk along the backside of the molding.
- Align the molding with the marked placement on the door frame and press it firmly into place.
- Secure the molding by using a nail gun or hammer and finishing nails. Place the nails evenly along the molding, making sure they penetrate the door frame.
- Check the alignment and levelness of the molding by using a level. Adjust if necessary.
With the bottom piece of molding securely installed, you can now move on to the next step: installing the side pieces of molding.
When installing exterior door frame molding, make sure to measure and cut the pieces accurately to ensure a proper fit. Use a level to ensure the molding is straight and secure it with the appropriate nails or screws. Sand and paint the molding for a finished look.
Read more: How To Install Wall Frame Molding
Step 4: Install the Side Pieces of Molding
With the bottom piece of molding in place, it’s time to move on to installing the side pieces of exterior door frame molding. Follow these steps to install the side pieces:
- Measure and mark the placement of the side pieces of molding on the door frame. Again, use a level to ensure that the molding will be installed straight.
- Apply a thin line of silicone caulk along the backside of the molding.
- Align the molding with the marked placement on the door frame and press it firmly into place.
- Secure the side pieces of molding by using a nail gun or hammer and finishing nails. Ensure that the nails penetrate both the molding and the door frame.
- Check the alignment and levelness of the side pieces by using a level. Make any necessary adjustments.
With the side pieces of molding installed, you’re ready to proceed to the next step: installing the top piece of molding.
Step 5: Install the Top Piece of Molding
Now that the side pieces of exterior door frame molding are in place, it’s time to install the top piece. Here’s how to do it:
- Measure and mark the placement of the top piece of molding on the door frame. Use a level to ensure that the molding will be installed straight.
- Apply a thin line of silicone caulk along the backside of the molding.
- Align the molding with the marked placement on the door frame and press it firmly into place.
- Secure the top piece of molding by using a nail gun or hammer and finishing nails. Ensure that the nails penetrate both the molding and the door frame.
- Check the alignment and levelness of the top piece by using a level. Make any necessary adjustments.
With the top piece of molding installed, your exterior door frame is almost complete. The next step involves securing the molding in place.
Step 6: Secure the Molding in Place
After installing all the pieces of exterior door frame molding, it’s important to secure them in place to ensure they stay stable and secure. Follow these steps to secure the molding:
- Inspect the installed molding to ensure it is aligned correctly and level. Make any necessary adjustments if needed.
- Using a nail gun or hammer and finishing nails, secure the molding to the door frame at regular intervals. This will provide additional stability and prevent any shifting or movement over time.
- Ensure that the nails penetrate both the molding and the door frame to create a secure bond.
By securing the molding in place, you can ensure its longevity and prevent any issues down the line. Once the molding is securely attached, it’s time to move on to the final step: filling any gaps or holes.
Step 7: Fill any Gaps or Holes
After securing the exterior door frame molding in place, it’s common to encounter small gaps or holes between the molding and the wall or door frame. Follow these steps to fill them:
- Inspect the installed molding and identify any gaps or holes that need to be filled. These may appear due to uneven surfaces or slight variations in the width of the molding.
- Use a caulk gun to apply silicone caulk into the gaps or holes. Ensure that the caulk fills the entire space and creates a smooth, even surface.
- Smooth the caulk using a caulk smoothing tool or your finger. This will create a seamless transition between the molding and the wall or door frame.
- Allow the caulk to dry completely according to the manufacturer’s instructions.
- Once the caulk is dry, inspect the area and make any necessary touch-ups or refinements.
Filling any gaps or holes will not only enhance the appearance of the exterior door frame molding but also provide additional insulation and prevent any drafts from seeping through.
If desired, you can also paint or stain the installed molding to match your preferred color scheme. This step is optional but can further enhance the overall look of your door frame.
With the gaps filled and any final refinements made, your exterior door frame molding installation is now complete!
Read more: How To Frame Exterior Walls
Conclusion
Installing exterior door frame molding is a wonderful way to give your home a quick and stylish update. It not only enhances the visual appeal of your entryway but also provides practical benefits such as improved insulation and added protection to the door frame.
In this article, we have walked you through the step-by-step process of installing exterior door frame molding. From measuring and cutting the molding to securing it in place and filling any gaps, each step is crucial in ensuring a successful installation.
Remember to gather all the necessary tools and materials before you begin, and take your time to ensure accurate measurements and precise cuts. Keeping your door frame clean and free from any damage or obstructions is also important for a smooth installation.
By following the steps outlined in this article and infusing your own creative touch, you can transform the look of your home’s entrance and make a lasting impression.
So, what are you waiting for? Get started on your exterior door frame molding installation project and enjoy the beautiful transformation it brings to your home.
Frequently Asked Questions about How To Install An Exterior Door Frame Molding
Was this page helpful?
At Storables.com, we guarantee accurate and reliable information. Our content, validated by Expert Board Contributors, is crafted following stringent Editorial Policies. We're committed to providing you with well-researched, expert-backed insights for all your informational needs.


0 thoughts on “How To Install An Exterior Door Frame Molding”