Articles
How To Fish Wire Through Wall With Insulation
Modified: October 20, 2024
Learn how to fish wire through a wall with insulation in this informative article. Find step-by-step instructions and expert tips for seamless wire installation.
(Many of the links in this article redirect to a specific reviewed product. Your purchase of these products through affiliate links helps to generate commission for Storables.com, at no extra cost. Learn more)
Introduction
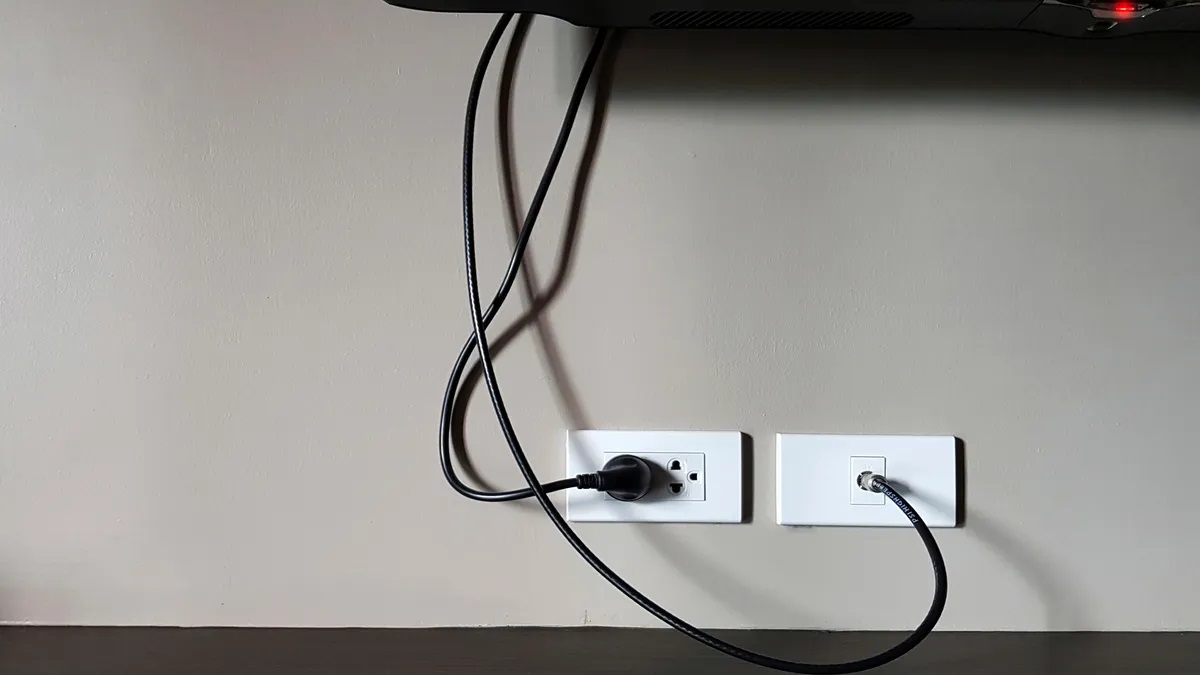
When it comes to setting up a home theater system, installing surveillance cameras, or even just adding new electrical outlets, one common challenge is fishing wires through walls with insulation. The insulation can make it difficult to navigate and thread wires through, but with the right tools and techniques, it can be accomplished easily.
In this article, we will guide you through the process of fishing wires through walls with insulation. We will cover the tools and materials you will need, as well as step-by-step instructions to help you successfully navigate the process.
Before we get started, it is important to note that safety should always be a priority when working with electrical wiring. If you are unsure or uncomfortable with any part of this process, it is best to consult a professional electrician.
Key Takeaways:
- Fishing wires through insulated walls requires careful assessment, proper tools, and patience. Choosing the right fishing method and securing the wire are crucial for a successful and safe electrical connection.
- Prioritize safety, thorough preparation, and testing when fishing wires through walls with insulation. Proper planning and execution ensure a reliable and functional electrical installation for home improvement projects.
Read more: How To Fish Electrical Wire Through Walls
Tools and Materials Needed
Before you begin fishing wires through walls with insulation, gather the following tools and materials:
- Fish tape or wire snake: This tool is essential for pulling the wire through the wall.
- Drill with a long, flexible drill bit: This will be used to create access holes in the wall.
- Drywall saw or keyhole saw: If you need to make larger holes in the wall, these tools will come in handy.
- Tape measure and pencil: These will be used for taking measurements and marking the wall.
- Protective gloves: Insulation can be irritating to the skin, so wearing gloves is important to avoid any discomfort.
- Flashlight: A bright flashlight will help you see inside the wall cavity.
- Electrical fish tape or non-conductive fiberglass rod: These are alternative options if you don’t have access to a wire snake.
- Wire cutters/strippers: These will be needed to cut and strip the wires as necessary.
- Electrical tape: Use electrical tape to secure any connections.
- Wire connectors: These will be necessary for joining wires together at connection points.
Additionally, you will need the following materials:
- Plywood or cardboard: This will be used to protect the wall when drilling access holes.
- Wire or cables: The specific type and length of wire or cable will depend on your project’s requirements.
- Drywall anchors and screws: These may be needed to secure any electrical boxes or devices to the wall.
- Patch kit: In case you need to repair any holes or damage to the wall after fishing the wires through.
Gathering all these tools and materials beforehand will ensure that you have everything you need to successfully fish wires through walls with insulation.
Step 1: Assess the Wall and Insulation
Before you begin the process of fishing wires through walls with insulation, it is essential to assess the wall and understand the type and thickness of the insulation. This will help you determine the best approach for fishing the wires through.
Start by examining the wall where you plan to run the wires. Take note of any existing electrical outlets, switches, or fixtures that may be near your desired location. This will give you an idea of the path the wires should follow.
If the wall already has an electrical box or conduit, you may be able to use these existing pathways to fish your wires through. However, if you are starting from scratch, you will need to create access holes in the wall. These holes should be strategically placed to minimize damage and facilitate easy wire fishing.
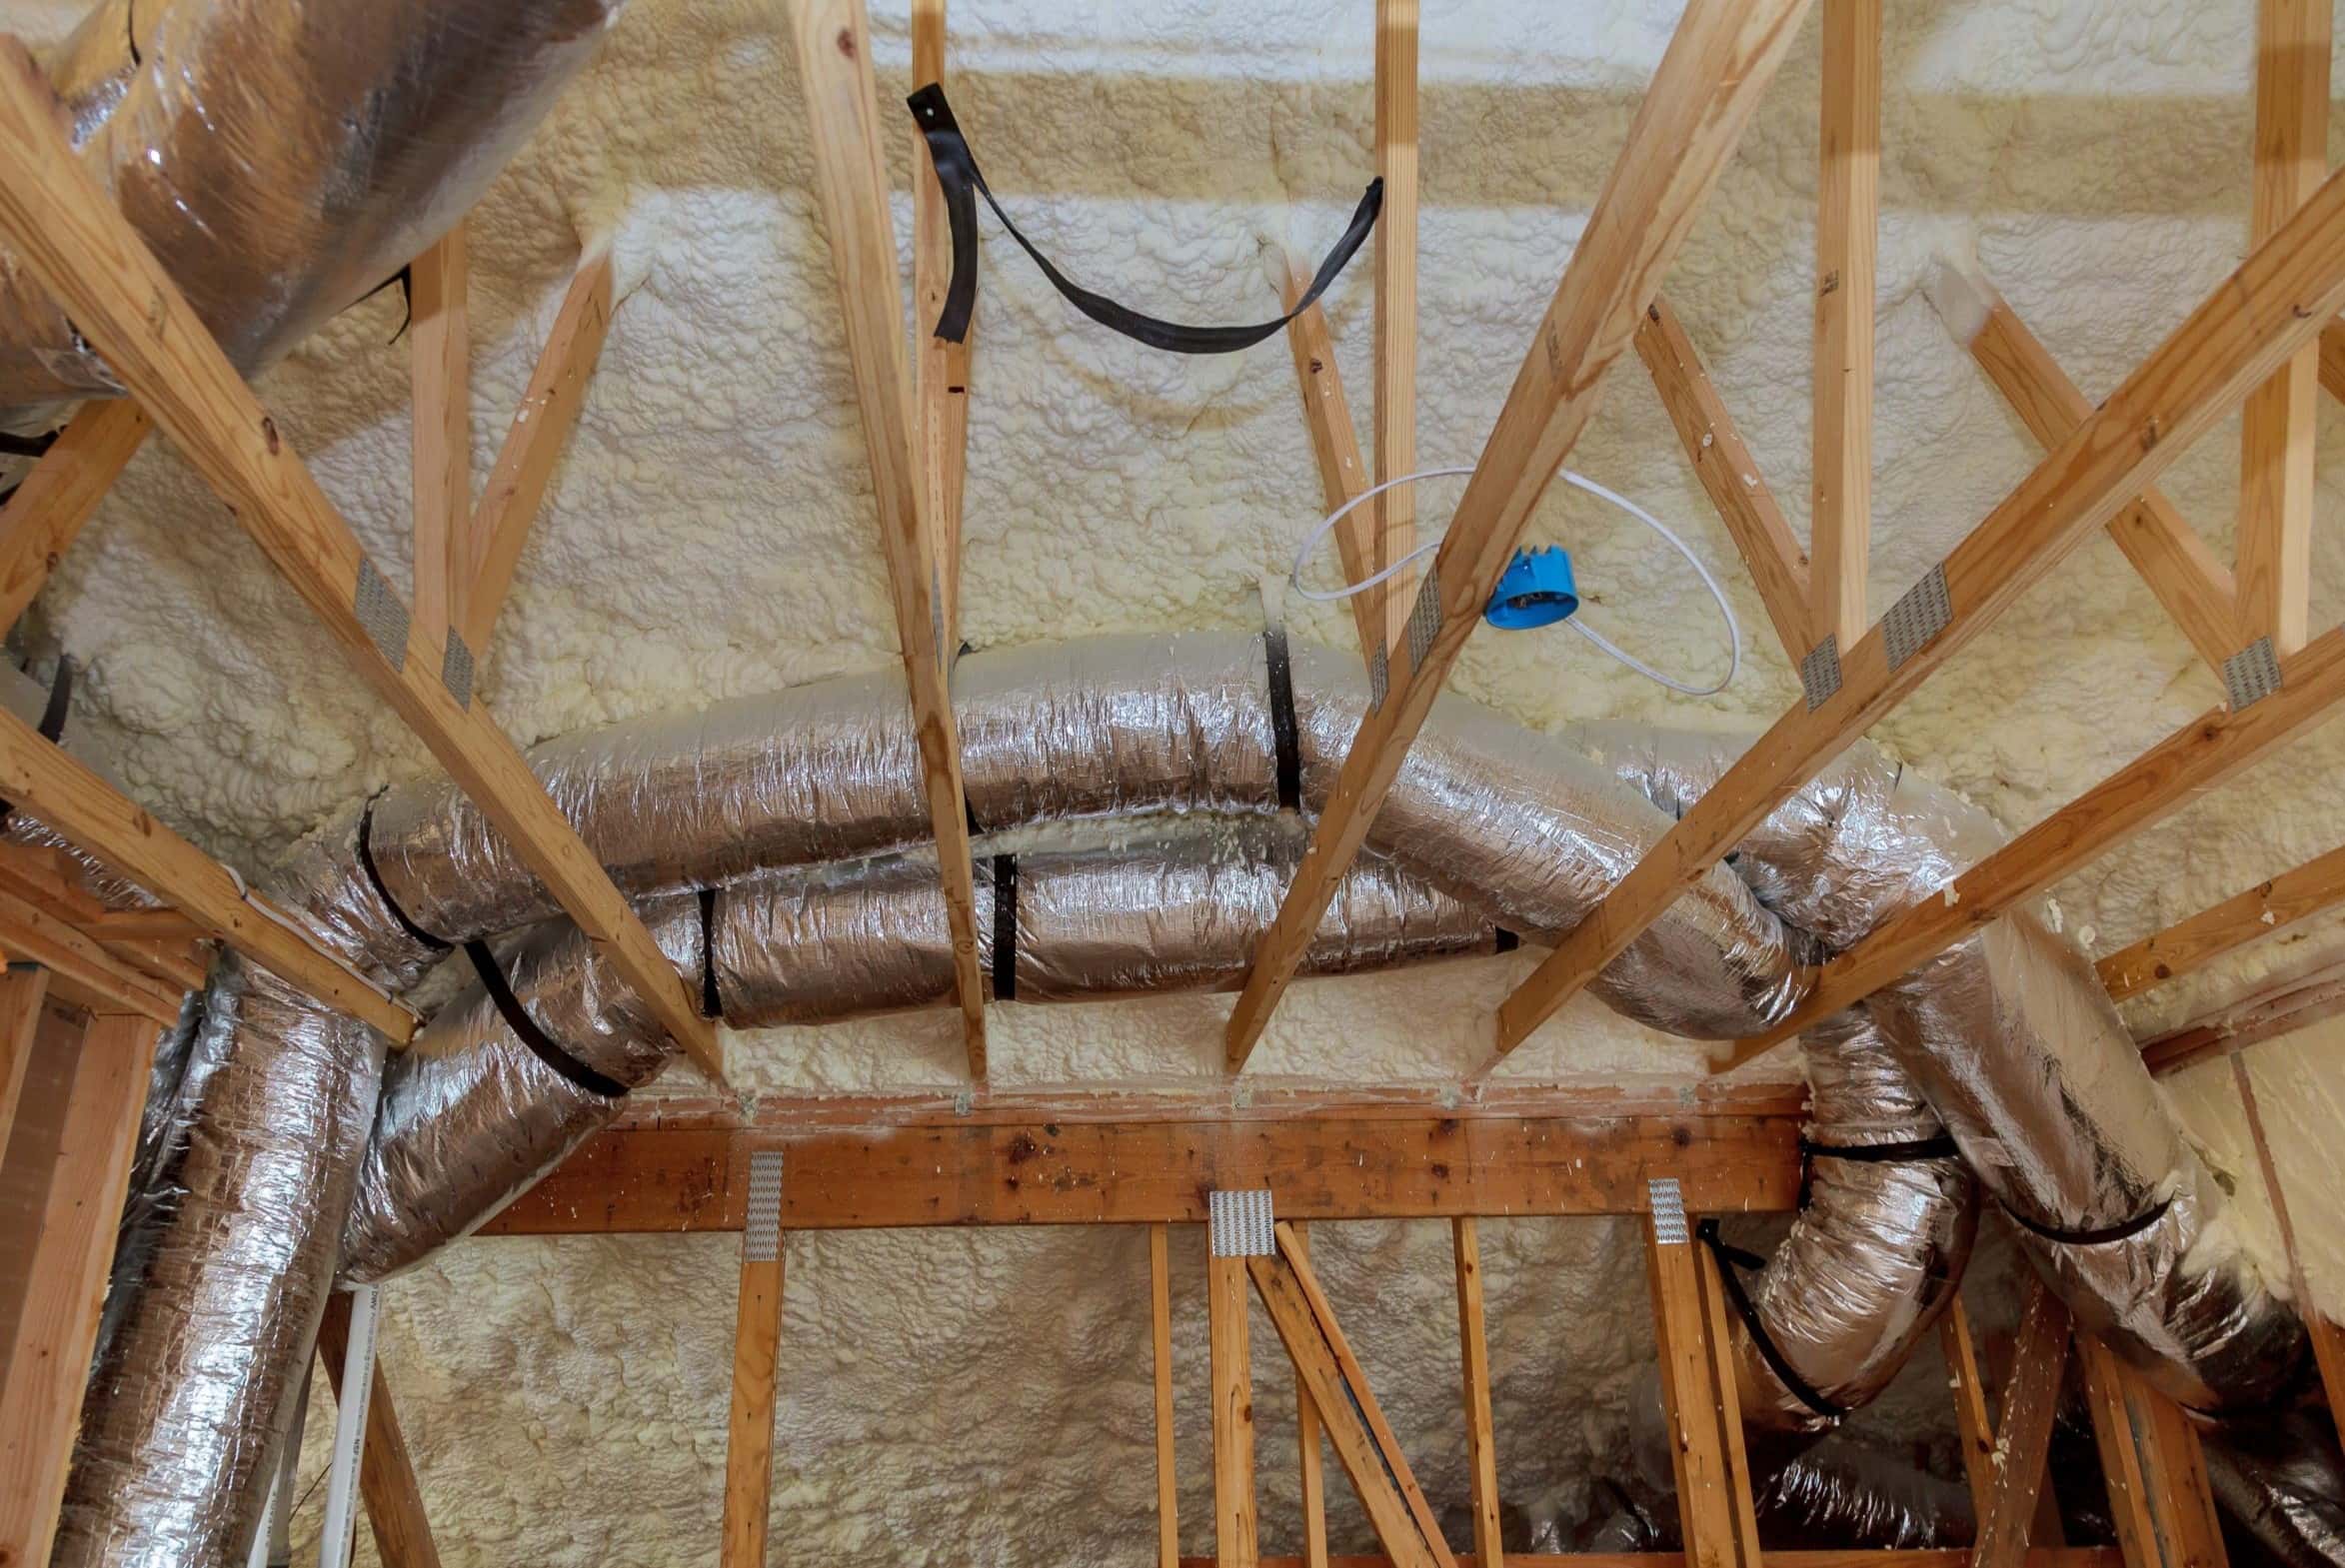
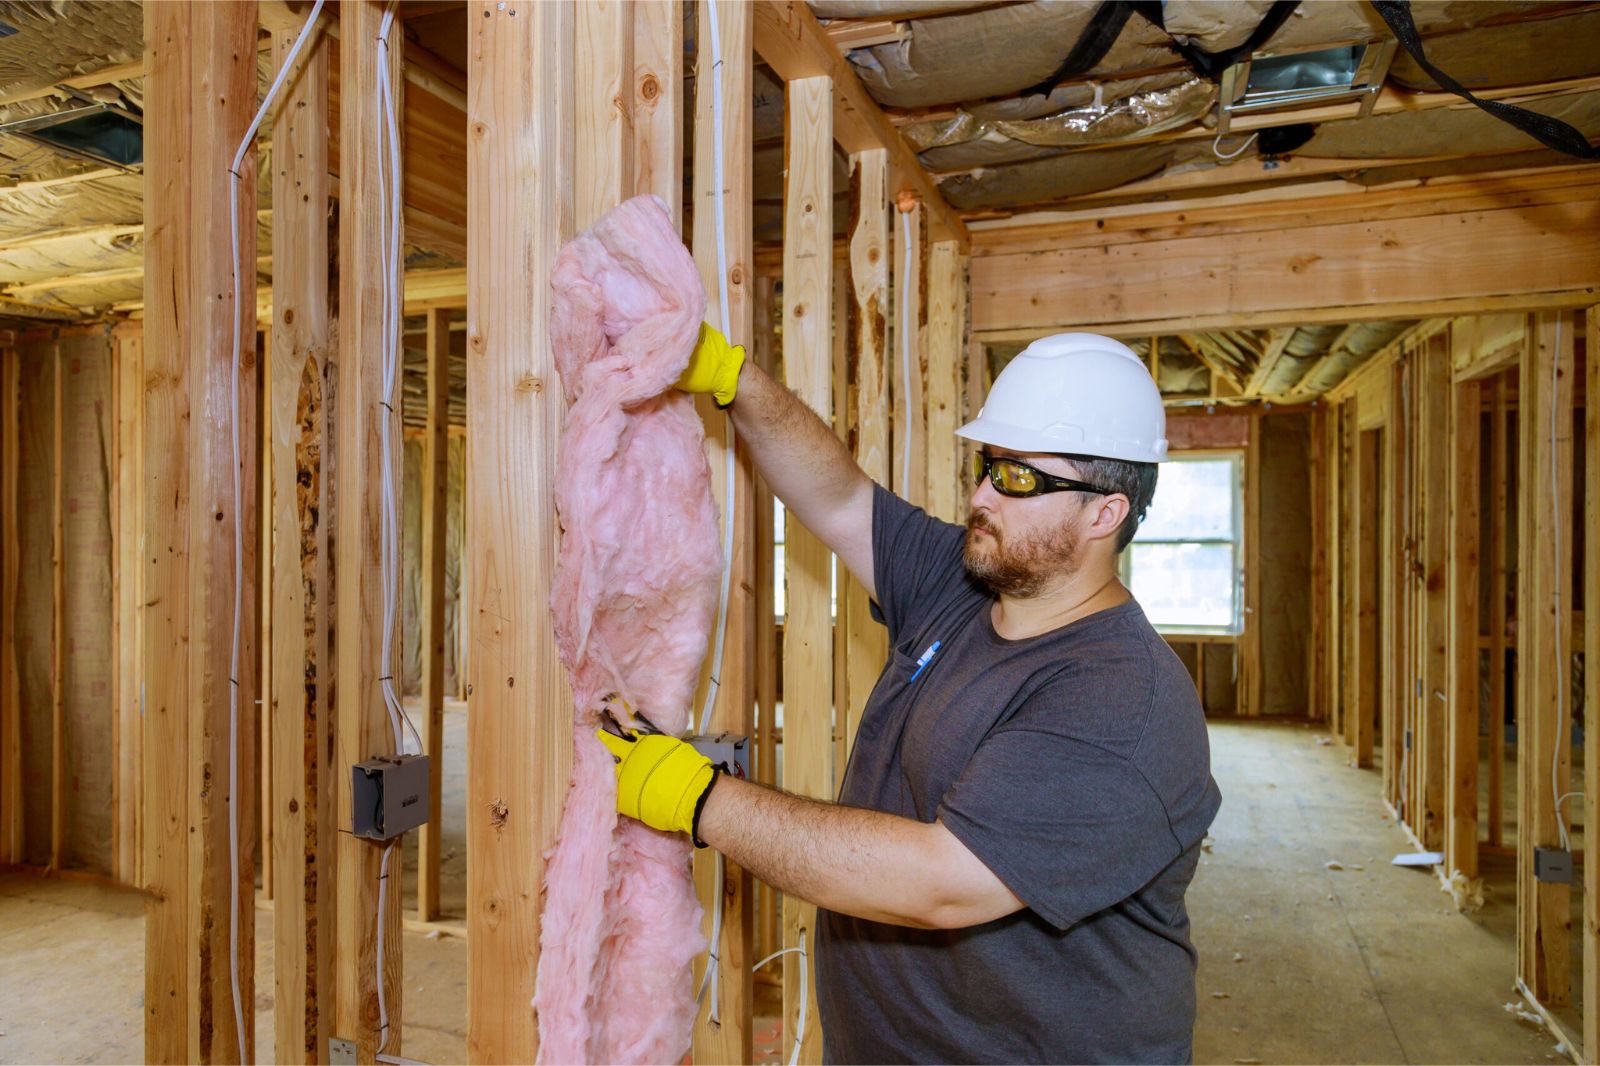
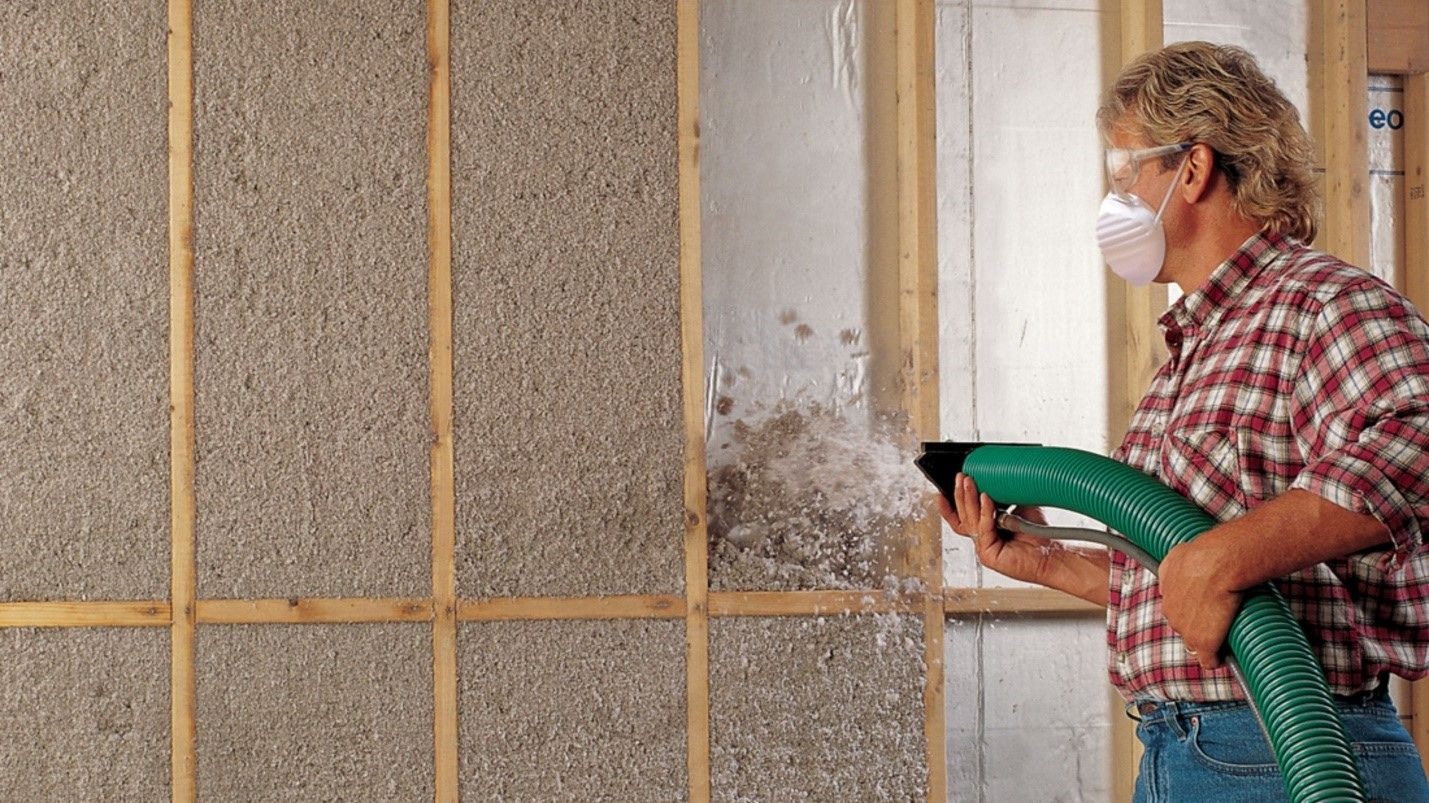
Next, determine the type of insulation used in the wall. Common types include fiberglass batts, spray foam, or blown-in insulation. Each type may present unique challenges when it comes to fishing wires through.
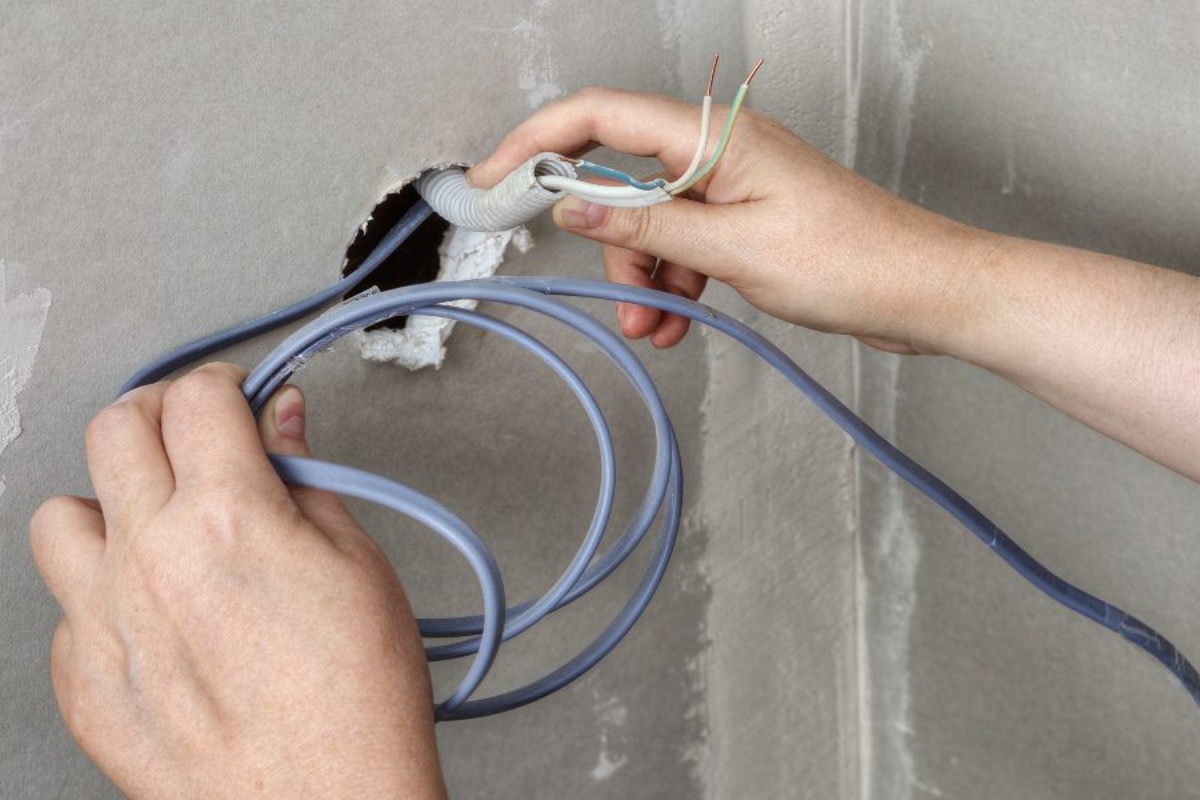
If the insulation is loose or blown-in, you will need to push it aside carefully to create a clear path for the wire. For fiberglass batts, you can either push them aside or create a small slit to thread the wire through. Take care not to compress or damage the insulation during this process.
By thoroughly assessing the wall and insulation, you will have a better understanding of the scope of the project and be better prepared to tackle the next steps.
Step 2: Choose the Right Fishing Method
When fishing wires through walls with insulation, it is important to choose the right method that suits your specific situation. The method you choose will depend on the type of wall, the presence of any existing pathways, and the accessibility of the area.
Here are some common fishing methods to consider:
- Fish Tape: Fish tape is a flexible metal tape that is commonly used for fishing wires through walls. It allows you to guide the wire through small openings and navigate around obstacles. To use fish tape, insert one end into the access hole and push or pull it through the wall, maneuvering it toward the desired location. Attach the wire to the end of the tape and carefully pull it back through the wall.
- Wire Snake: A wire snake, also known as a wire coat hanger or a steel fish tape, can be used as an alternative to fish tape. Straighten the wire snake and insert it into the access hole, carefully guiding it through the insulation and along the wall cavity. Once you reach the desired location, attach the wire to the end of the wire snake and gently pull it back through.
- Fiberglass Rod: If you don’t have access to fish tape or wire snake, a fiberglass rod can be used as an alternative. These non-conductive rods are flexible and can be easily threaded through insulation. Simply insert one end of the rod into the access hole and push it through the cavity until you reach the desired location. Attach the wire to the rod and gently pull it back through.
Consider the accessibility of the area when choosing your method. If the wall is easily accessible and the distance is short, fish tape or wire snake may be the most appropriate choice. However, if you are dealing with longer distances or tight spaces, a fiberglass rod may be a better option.
Remember, safety is crucial when using fishing methods. Be careful not to damage the insulation or any other structural elements of the wall during the process, and always use caution when working with electrical wiring.
By selecting the right fishing method, you can ensure a smooth and successful wire fishing experience.
Step 3: Preparation
Before you begin fishing the wire through the wall with insulation, it is essential to properly prepare the area and gather all necessary materials.
Here are the key steps to prepare for wire fishing:
- Turn off the power: Before starting any electrical work, it is crucial to turn off the power to the area where you will be working. Locate the appropriate circuit breaker in your electrical panel and switch it off to ensure your safety.
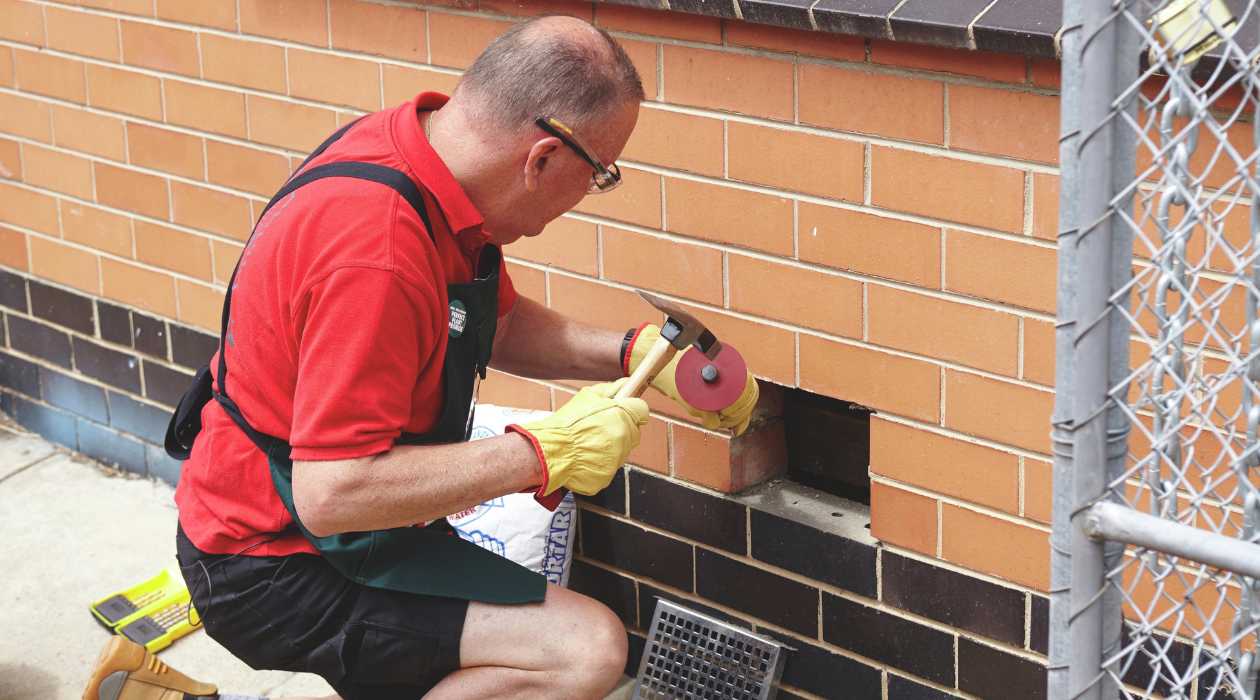
- Create access holes: If there are no existing pathways or conduits in the wall, you will need to create access holes. Measure and mark the precise locations where the holes will be drilled. Use a drill with a long, flexible drill bit to create the access holes. It’s important to drill the holes carefully to avoid damaging any existing wiring or structural elements.
- Protect the surrounding area: To prevent any mess or damage, protect the surrounding area. Place a piece of plywood or cardboard against the wall and secure it with tape. This will act as a shield and catch any debris that may be generated during the process.
- Secure the wires: Before fishing the wire through the wall, ensure that it is properly secured at the starting point. You can use electrical tape or wire connectors to attach the wire to a fish tape, wire snake, or fiberglass rod, depending on the fishing method you are using.
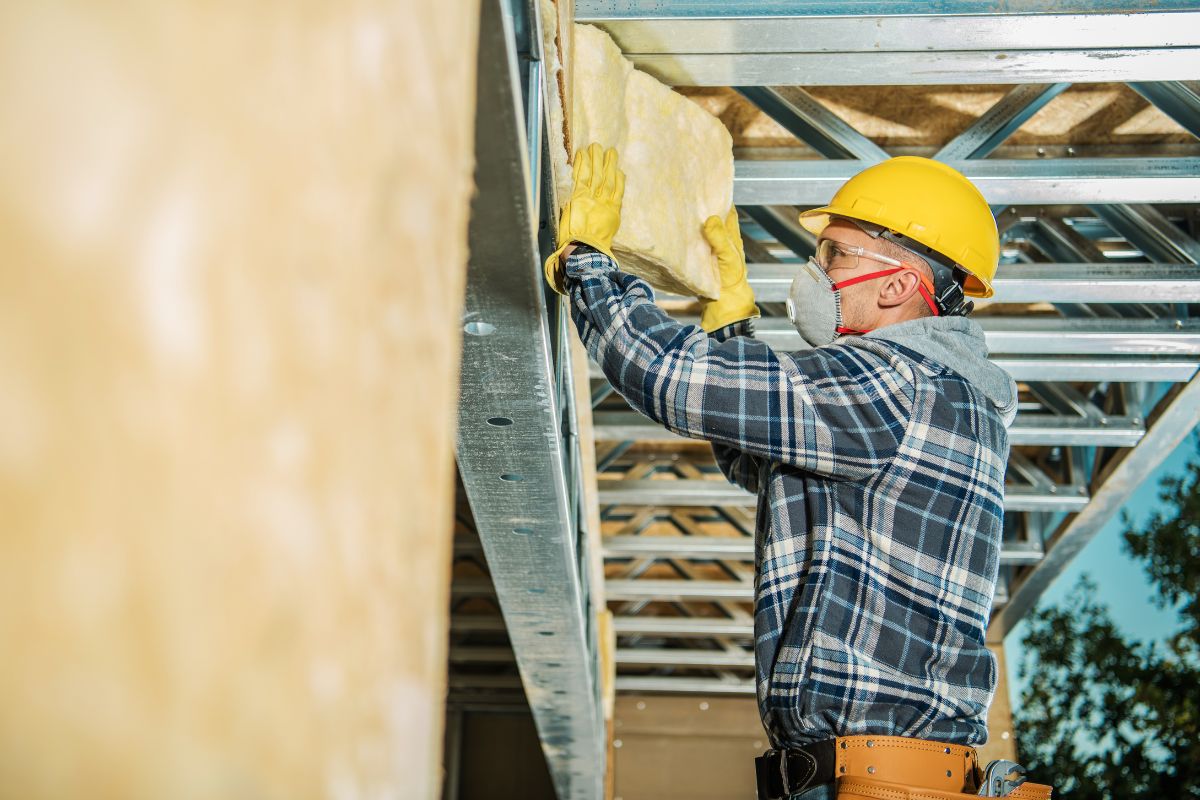
- Wear protective gear: Insulation can be a source of irritation, so it’s important to protect yourself. Wear gloves to shield your hands and consider using safety goggles and a mask to protect your eyes and lungs from any debris or dust.
Proper preparation is essential for a smooth and efficient wire fishing process. By taking the time to prepare, you can minimize the risk of accidents, ensure the integrity of the wall and insulation, and make the overall process easier.
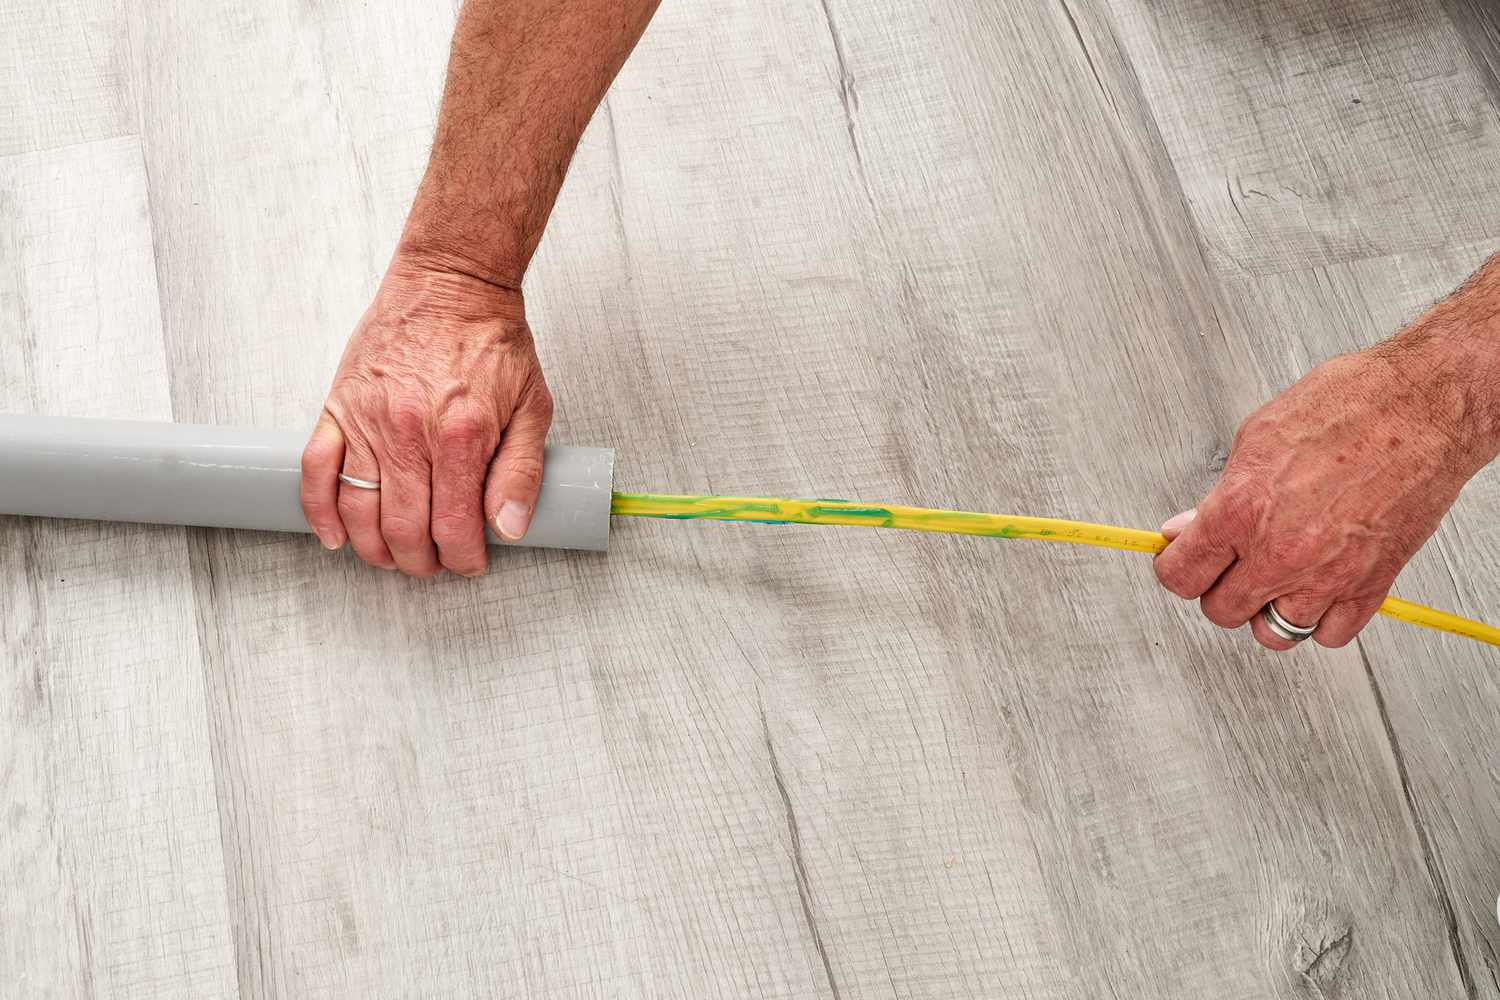
Use a fish tape or coat hanger to push through insulation. Protect the wire with a piece of PVC pipe or flexible conduit to prevent damage.
Read more: How To Run Electrical Wire Through Walls
Step 4: Begin Fishing the Wire
With the preparation work completed, it’s time to start fishing the wire through the wall with insulation. Follow these steps to effectively navigate the insulation and thread the wire through the wall:
- Insert the fishing tool: Take your chosen fishing tool, such as a fish tape, wire snake, or fiberglass rod, and carefully insert it into the access hole in the wall. Gradually push or guide it through the insulation, keeping in mind any existing pathways or obstacles.
- Navigate through the wall: Use a gentle pushing or pulling motion to maneuver the fishing tool through the wall cavity. If you encounter resistance or difficulty, try twisting or wiggling the tool to help it navigate around obstacles. Be patient and work slowly to avoid damaging the insulation or other components.
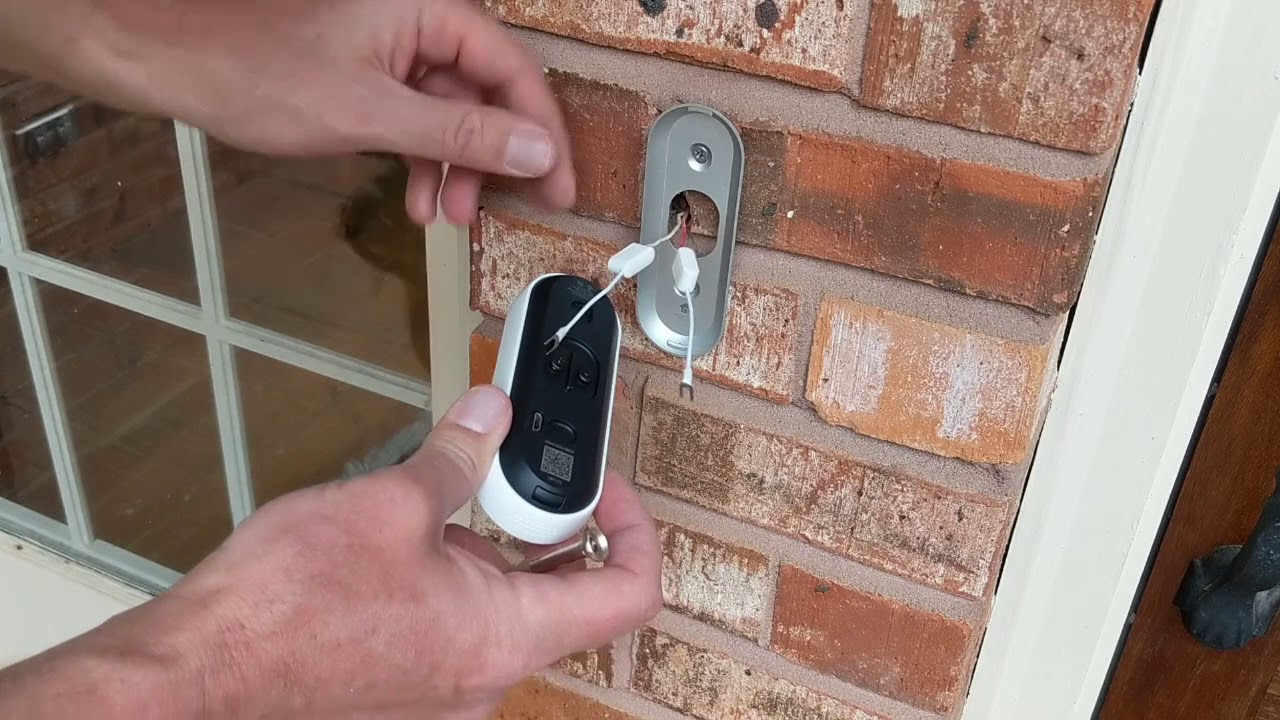
- Route the wire: As the fishing tool reaches the desired location, attach the end of the wire to it using electrical tape or wire connectors. Make sure the connection is secure to prevent the wire from detaching during the fishing process.
- Gently pull the wire through: Once the wire is securely connected, cautiously pull the fishing tool back through the wall. Gradually and carefully pull the wire along with it, guiding it through the insulation and towards the access hole.
- Monitor the wire’s movement: Keep an eye on the wire as you pull it through. Ensure it doesn’t get caught on any protrusions or snagged on sharp edges. If needed, use your other hand to guide and guide the wire to prevent any damage.
- Repeat the process: If you need to fish additional wires or cables through the same wall, you can repeat the steps above. Simply reinsert the fishing tool, attach the wire, and pull it through following the same method as before.
Remember that patience and a gentle touch are key during this step. Moving slowly and methodically will help you avoid any damage or complications and ensure a successful wire fishing experience.
Step 5: Pull the Wire Through
With the wire now threaded through the wall, it’s time to carefully and securely pull it through. Follow these steps to ensure a smooth and successful wire-pulling process:
- Inspect the wire: Before proceeding, take a moment to inspect the wire for any signs of damage or fraying. If you notice any issues, it is important to address them before moving forward.
- Apply gentle tension: Begin pulling the wire through the access hole, applying gentle tension as you do so. Avoid pulling too forcefully, as this can cause the wire to become snagged or damaged.
- Assist the wire: If you encounter any resistance during the wire-pulling process, use your other hand to guide and assist the wire. This will help it navigate through tight spots or around obstacles, minimizing the risk of damage.
- Watch for obstructions: Keep a close eye on the wire as it is pulled through. Look out for any obstructions or areas where it may become caught. If necessary, backtrack slightly and readjust the wire’s direction to avoid any potential issues.
- Protect the wire: As the wire is being pulled through, take care to protect it from any sharp edges or rough surfaces in the wall. A smooth and controlled motion will minimize the risk of the wire becoming damaged in the process.
- Have a helper: If possible, enlist the help of a second person to assist with the wire-pulling process. This can make it easier to guide the wire through the wall and prevent any unnecessary strain or stress.
- Slow and steady: Finally, take your time and maintain a slow and steady pace as you pull the wire through. Rushing the process can lead to mistakes or damage. Remember, a patient approach is key to a successful wire-pulling experience.
By following these steps and exercising caution, you can safely and effectively pull the wire through the wall with insulation. This brings you one step closer to completing your electrical or home improvement project.
Step 6: Secure the Wire
Once the wire has been successfully pulled through the wall with insulation, it is important to secure it properly to ensure a safe and lasting electrical connection. Follow these steps to securely fasten the wire:
- Trim excess wire: Start by trimming any excess wire using wire cutters. Leave a sufficient length of wire to work with, but remove any unnecessary length to prevent clutter and make the connection process easier.
- Strip the wire ends: Use wire strippers to carefully remove the insulation from the ends of the wire. Strip approximately ¾ inch of insulation to expose the copper conductor. Take care not to damage the conductor while stripping the wire.
- Twist the wire ends: After stripping the wire, twist the exposed copper strands to form a tight and secure connection point. This will help ensure a solid and reliable electrical connection.
- Use wire connectors: Depending on your specific project and the type of connection needed, select the appropriate wire connectors. Twist the wires together tightly and insert them into the wire connector, ensuring that all the strands are securely within the connector. Usepliers to crimp the connector, creating a firm and reliable bond.
- Wrap with electrical tape: To further secure the connection, wrap the wire connectors with electrical tape. This will provide insulation and protect the connection from moisture, dust, and other potential hazards. Ensure that the electrical tape covers the wire connectors thoroughly.
- Organize and route the wire: Neatly organize and route the wire to its intended destination. Use cable clips or staple wires along the wall or baseboard to keep them in place and prevent them from becoming tangled or tripped over. Avoid running the wire near sources of heat or sharp edges that could damage the insulation.
- Label the wire: If you are working with multiple wires or cables, it is beneficial to label each one for easy identification. This will come in handy during future maintenance or troubleshooting tasks.
By following these steps to securely fasten and organize the wire, you can ensure a reliable and safe electrical connection. Taking the time to properly secure the wire will minimize the risk of damage, electrical issues, and potential hazards in the future.
Step 7: Test the Connection
After securing the wire and completing the installation process, it is crucial to test the connection to ensure that everything is functioning properly. Testing the connection will verify that the wire has been correctly installed and that there are no faults or issues that could cause problems down the line. Follow these steps to test the connection:
- Restore power: If you had turned off the power during the installation process, switch it back on at the electrical panel. Ensure that the power is fully restored to the area where the wire was installed.
- Verify functionality: Test the electrical outlet, switch, or device that is connected to the wire. Plug in a device or turn on a light switch to check if it is receiving power and functioning as expected. If there are any issues, double-check the wire connections and troubleshoot accordingly.
- Check for loose connections: Examine the wire connections that you made during the installation. Ensure that all connections are tight and secure. Give them a gentle tug to make sure they are not loose or easily dislodged.
- Inspect for any visible damage: Take a close look at the entire length of the wire for any signs of damage, such as frayed insulation, exposed wires, or melted sections. If you notice any issues, address them immediately and make any necessary repairs to ensure safety.
- Test continuity: Use a multimeter or continuity tester to check for proper continuity throughout the wire. Touch the probes of the tester to the ends of the wire and verify that there is a complete electrical connection. If you encounter any breaks or interruptions in continuity, investigate and repair the wire as needed.
- Consult a professional if necessary: If you encounter any problems or uncertainties during the testing process, it is always best to consult a professional electrician. They have the expertise to identify and resolve any electrical issues, ensuring the safety and proper functioning of the connection.
By thoroughly testing the connection, you can have peace of mind knowing that the wire has been properly installed and that it is functioning as intended. Regular testing and maintenance of electrical connections are essential to ensure ongoing safety and reliability.
Read more: How To Pull Wire Through Conduit
Conclusion
Fishing wires through walls with insulation may seem like a daunting task, but with the right tools, knowledge, and techniques, it can be accomplished successfully. By following the steps outlined in this guide, you can navigate through the insulation, thread the wire, secure the connections, and test for proper functionality.
Remember to prioritize safety throughout the entire process. Turn off the power before starting any electrical work and wear protective gear such as gloves and goggles. Take your time and work carefully to avoid damaging the insulation or existing wiring. If you are unsure or uncomfortable with any part of the process, it is best to consult a professional electrician.
Proper planning and preparation are vital when fishing wires through walls with insulation. Assess the wall and insulation, choose the appropriate fishing method, and gather all the necessary tools and materials. Through patient and careful execution, you can successfully pull the wire through the wall and secure the connection confidently.
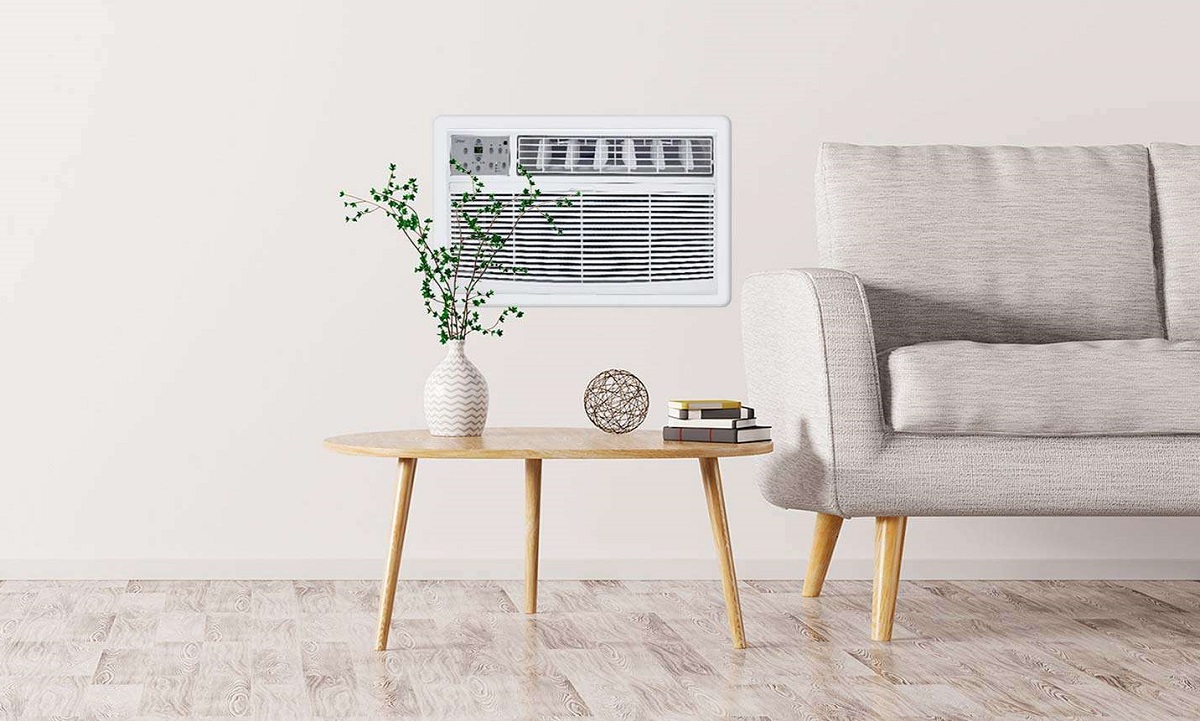
Once the wire is installed and tested, you can fully enjoy the benefits of your electrical or home improvement project. Whether it’s setting up a home theater system, installing surveillance cameras, or adding new electrical outlets, fishing wires through walls with insulation allows you to bring convenience and functionality to your living space.
Remember to always follow local building codes and regulations when working on electrical installations. Regularly inspect and maintain your wired connections to ensure their longevity and safety over time.
With the knowledge gained from this guide, you are now equipped to tackle the challenge of fishing wires through walls with insulation confidently and successfully.
Excited about mastering another home improvement skill? If you've successfully navigated through fishing wire in insulated walls, why stop there? Extend your newfound expertise to tackle bigger projects, like setting up power connections to other buildings on your property. Our next guide will walk you through how to run overhead electrical wire to your garage safely and effectively. Perfect for expanding your workspace or just enhancing convenience, this tutorial is packed with practical advice and easy-to-follow steps.
Frequently Asked Questions about How To Fish Wire Through Wall With Insulation
Was this page helpful?
At Storables.com, we guarantee accurate and reliable information. Our content, validated by Expert Board Contributors, is crafted following stringent Editorial Policies. We're committed to providing you with well-researched, expert-backed insights for all your informational needs.
0 thoughts on “How To Fish Wire Through Wall With Insulation”