
Articles
How To Hang Aerial Hammock From Ceiling
Modified: August 28, 2024
Learn how to hang an aerial hammock from the ceiling with these informative articles. Get step-by-step instructions and tips for a safe and sturdy setup.
(Many of the links in this article redirect to a specific reviewed product. Your purchase of these products through affiliate links helps to generate commission for Storables.com, at no extra cost. Learn more)
Introduction
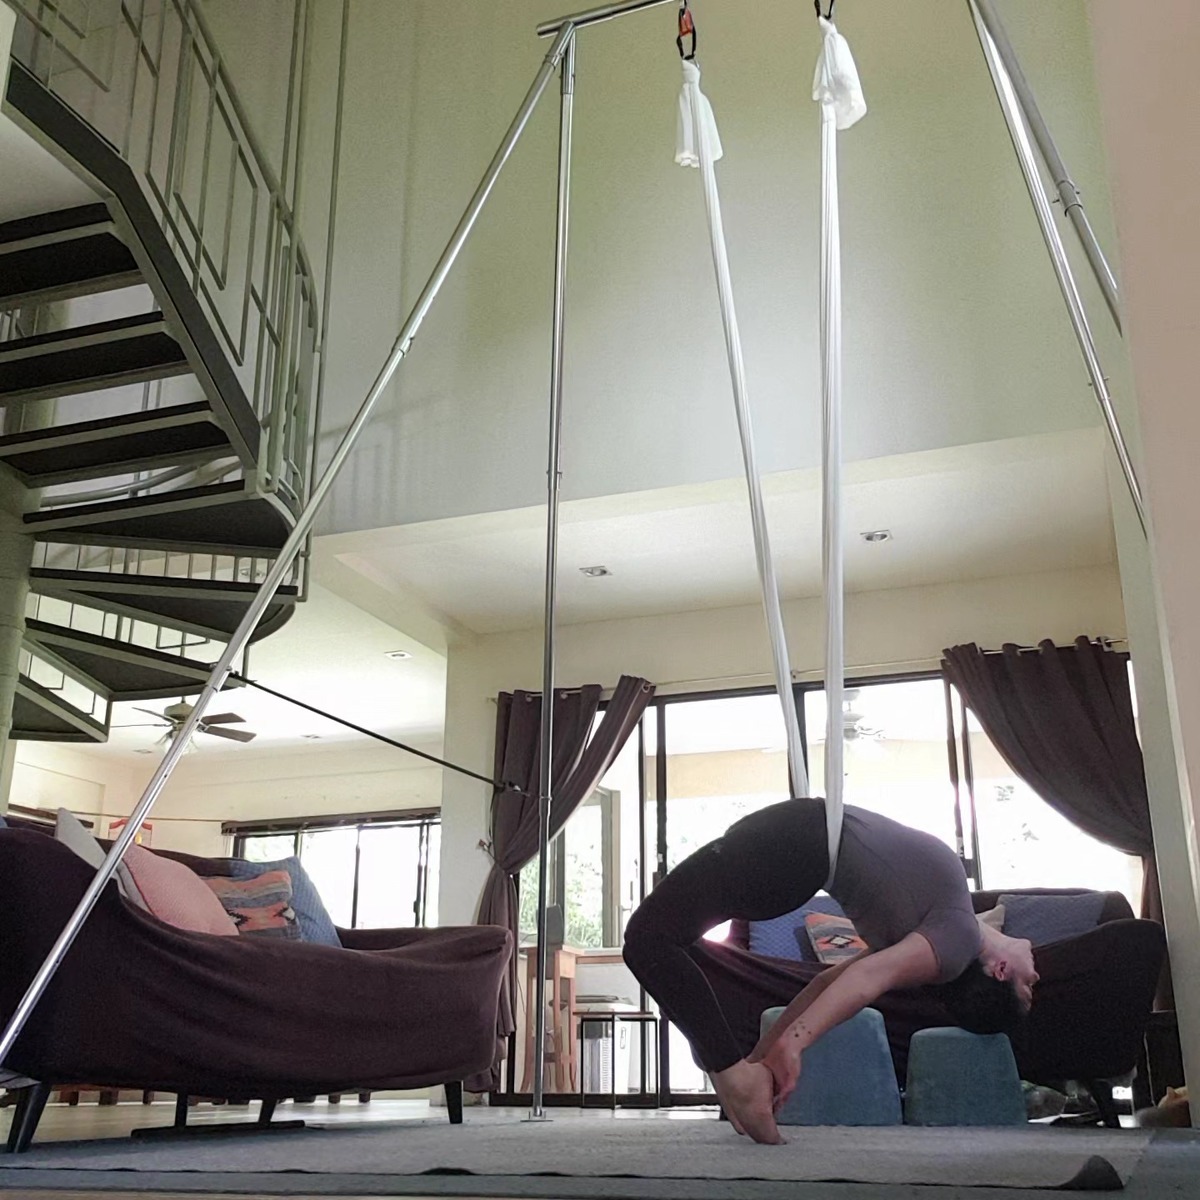
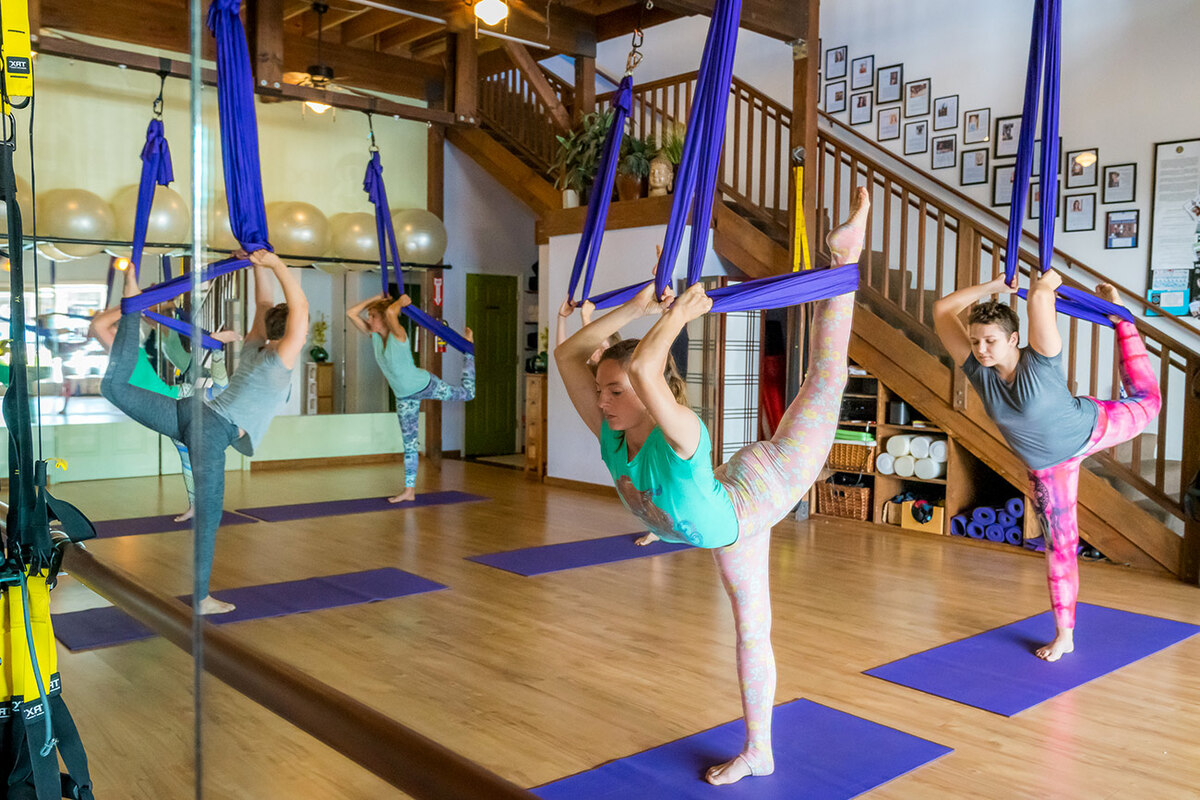
Welcome to the ultimate guide on how to hang an aerial hammock from the ceiling! Aerial hammocks, also known as aerial silks or aerial fabric, have become wildly popular in recent years as a unique and exciting way to exercise and perform acrobatic tricks. Whether you’re a beginner or an experienced aerialist, properly installing your aerial hammock is crucial for safety and stability.
In this article, we will take you through a step-by-step process to ensure that your aerial hammock is securely installed from the ceiling. We will discuss the preparation needed, finding the right anchoring point, installing the mounting hardware, attaching the hammock, and checking for stability and safety.
Before we begin, it’s important to note that installing an aerial hammock from the ceiling requires some basic handyman skills, including working with tools, measuring accurately, and following safety precautions. If you’re unsure about any part of the process or feel uncomfortable doing it yourself, we highly recommend seeking the assistance of a professional.
Now that we have that covered, let’s dive into the first step: preparing the space.
Key Takeaways:
- Safety First!
Properly installing an aerial hammock from the ceiling requires careful preparation, finding the right anchoring point, and ensuring stability and safety. Regular inspections and cautious practice are essential for a secure and enjoyable aerial experience. - Seek Professional Assistance
If you’re unsure about any part of the installation process or feel uncomfortable, it’s highly recommended to seek the assistance of a professional. Safety should always be the top priority when setting up and using an aerial hammock.
Read more: How To Hang Aerial Yoga Hammock
Step 1: Preparing the Space
Before you begin the installation process, it’s important to prepare the space where you plan to hang your aerial hammock. Here are a few things to consider:
- Clear the area: Make sure the space is free of any furniture, decorations, or obstructions that may interfere with your movements while using the hammock. You want to ensure that you have ample room to maneuver and perform your aerial tricks safely.
- Check the ceiling height: Aerial hammocks typically require a minimum ceiling height of 8 to 10 feet. Measure the distance from the floor to the ceiling to ensure that you have enough space to hang the hammock without it touching the ground.
- Examine the ceiling structure: It’s important to assess the type of ceiling structure in the room where you plan to install the hammock. Different types of ceilings (e.g., drywall, concrete, wooden beams) may require different mounting techniques. Consult with an expert or a structural engineer if you have any doubts about the ceiling’s strength or suitability for installation.
- Choose an open and well-lit area: Select a space with adequate natural or artificial lighting to ensure good visibility while using the aerial hammock. Additionally, choose an area with enough clearance around it so you can move freely without any obstacles.
- Consider floor protection: If you are practicing indoors and have hard flooring, you may want to consider using a padded mat or installing crash mats beneath the hammock to cushion any potential falls and reduce the risk of injuries.
By taking the time to prepare the space properly, you’ll create a safe and enjoyable environment for your aerial hammock practice. With a clear area and suitable ceiling structure, you’ll be ready to move on to the next step: finding the right anchoring point.
Step 2: Finding the Right Anchoring Point
Once you’ve prepared the space, the next crucial step is determining the right anchoring point for your aerial hammock. Here’s how:
- Locate a sturdy support structure: Look for a strong and secure support structure that can bear the weight of your body. This can be a ceiling joist, a beam, or a sturdy metal frame. Avoid attaching your hammock to weak or fragile structures such as drywall or suspended ceilings, as they may not be able to handle the stress.
- Use a stud finder: If you are installing the hammock from a ceiling, a stud finder can be a handy tool to locate the ceiling joists. This will help you identify the strong points in the ceiling where you can securely anchor your hammock.
- Measure and mark: Once you’ve identified the anchoring points, measure and mark the spots on the ceiling or support structure where you plan to install the mounting hardware. Use a measuring tape to ensure accuracy for a balanced and even installation.
- Consider weight distribution: To ensure stability and prevent any structural damage, it’s essential to distribute the weight of the hammock evenly across multiple anchoring points, if possible. This will help alleviate stress on a single point and provide a safer setup.
- Consult an expert: If you’re uncertain about the structural integrity of your chosen anchoring point or need advice on the best placement for your aerial hammock, consult with a professional or an experienced aerialist. They can provide guidance and ensure that your installation is both safe and secure.
Remember, the strength and stability of the anchoring point are crucial for the safety of your aerial hammock practice. Invest time and attention into finding the right support structure, and you’ll be ready to move on to the next step: installing the mounting hardware.
Step 3: Installing the Mounting Hardware
Once you have identified the right anchoring point for your aerial hammock, it’s time to install the mounting hardware. Follow these steps to ensure a secure installation:
- Gather the necessary tools and materials: Before you begin, gather all the tools and materials you’ll need, including a drill, screws, eye bolts, a wrench, and a ladder or step stool.
- Prep the installation area: Clean the area where you’ll be installing the hardware. Clear away any debris, and make sure the surface is ready for drilling.
- Drill pilot holes: Using a drill bit size recommended for your specific mounting hardware, drill pilot holes at the marked spots on the ceiling or support structure. This will help prevent the wood or metal from splitting when you install the screws or eye bolts.
- Install the eye bolts or mounting brackets: Depending on the type of mounting hardware you are using, screw in the eye bolts or attach the mounting brackets to the pilot holes. Use a wrench or screwdriver to tighten them securely.
- Test the stability: Give the installed hardware a firm tug to check its stability. If it feels loose or wobbly, double-check that the screws or eye bolts are tightened properly.
Remember to follow the manufacturer’s instructions for installing the specific mounting hardware you are using. If you are unsure about any part of the installation process, it’s always best to seek professional assistance to ensure a safe and secure setup.
Once you have successfully installed the mounting hardware, you’re ready to move on to the next step: attaching the hammock to the ceiling.
Make sure to use heavy-duty ceiling hooks or mounts that can support the weight of the aerial hammock and the person using it. It’s important to find a secure anchor point to prevent accidents. Always follow the manufacturer’s instructions for installation.
Step 4: Attaching the Hammock to the Ceiling
Now that the mounting hardware is securely installed, it’s time to attach your aerial hammock to the ceiling. Follow these steps for a proper installation:
- Inspect the hammock and attachment points: Before attaching the hammock, inspect it thoroughly to ensure that there are no tears, frayed edges, or weak spots. Also, check the attachment points on the hammock for any wear and tear.
- Thread the hammock through the attachment points: Depending on the type of aerial hammock you have, thread the hammock through the attachment points on the ceiling hardware. Follow the manufacturer’s instructions for proper threading.
- Adjust the height: Determine your desired hammock height and make adjustments accordingly. Remember to leave enough slack in the fabric for comfortable use while maintaining proper alignment.
- Double-check the stability: Once the hammock is attached, give it a gentle shake to ensure that it’s stable and secure. If it feels unstable or if the hardware is wobbly, stop and make any necessary adjustments or consult a professional.
It’s important to note that the attachment method may vary depending on the type of aerial hammock and hardware you’re using. Always refer to the manufacturer’s guidelines and recommendations for your specific equipment.
With the hammock securely attached to the ceiling, you’re almost ready to start practicing your aerial tricks. However, there’s one more crucial step to ensure your safety and stability: checking for stability and safety.
Read more: How To Hang Hammock From The Ceiling
Step 5: Checking Stability and Safety
Before you begin using your aerial hammock, it’s crucial to check for stability and ensure that you’ve taken all necessary safety precautions. Follow these steps to ensure a safe and enjoyable experience:
- Do a visual inspection: Take a close look at all the installation points, the hammock fabric, and the hardware to make sure everything is secure and in good condition. Check for any signs of wear, tear, or damage.
- Verify weight capacity: Ensure that the hardware, including the screws, eye bolts, or mounting brackets, are rated to support the weight capacity required for your aerial hammock. Exceeding the weight limit can lead to instability and potential accidents.
- Test stability: Give the hammock a gentle but firm shake to test its stability. If you notice any excessive movement, check the installation points and hardware to ensure they’re properly tightened.
- Check for proper alignment: Make sure the hammock is properly aligned and centered under the mounting hardware. This helps distribute the weight evenly and reduces the risk of strain on individual points.
- Clear the surrounding area: Double-check that there are no obstacles, furniture, or sharp objects near the hammock that could pose a safety hazard during your practice.
- Start with low impact moves: When using your aerial hammock for the first time, it’s recommended to start with low impact moves and gradually progress to more advanced tricks as you gain confidence and strength.
- Practice with a spotter: If you’re a beginner or trying out new moves, it’s safer to have a friend or experienced aerialist act as a spotter to ensure your safety and provide guidance.
- Listen to your body: Pay attention to your body’s limitations and avoid pushing yourself too hard. Take breaks when needed and listen to any discomfort or pain signals.
Remember, safety should always be the top priority when using an aerial hammock. Regularly inspect and maintain the hardware and fabric for any signs of wear or damage. If you’re unsure about any aspect of the setup or want to learn advanced techniques, it’s best to seek guidance from a qualified instructor.
Now that you’ve checked for stability and safety, you’re all set to enjoy your aerial hammock and explore the captivating world of aerial arts. Happy flying!
Conclusion
Congratulations! You have successfully learned how to hang an aerial hammock from the ceiling. By following the step-by-step process outlined in this guide, you have created a safe and secure setup for your aerial practice. Remember, safety should always be your top priority, so make sure to regularly inspect and maintain your hammock, hardware, and installation points.
Installing an aerial hammock requires some basic handyman skills and attention to detail. It’s essential to prepare the space, find the right anchoring point, install the mounting hardware correctly, attach the hammock securely, and check for stability and safety. If at any point you feel unsure or uncomfortable, it is always recommended to seek the assistance of a professional.
Once your hammock is securely installed, you can begin enjoying the countless benefits of aerial hammock practice. It’s a fantastic way to improve strength, flexibility, balance, and body awareness. You’ll also experience the joy and thrill of being suspended in the air as you explore new aerial tricks and routines.
Remember to start slow and gradually progress at your own pace. Practice with caution, listen to your body, and always warm up properly before each session. And don’t forget to have fun! Aerial hammock is not only a workout, but it’s also a form of self-expression and artistry.
So go ahead, grab your aerial hammock, and soar to new heights with confidence and grace. Happy hanging!
Frequently Asked Questions about How To Hang Aerial Hammock From Ceiling
Was this page helpful?
At Storables.com, we guarantee accurate and reliable information. Our content, validated by Expert Board Contributors, is crafted following stringent Editorial Policies. We're committed to providing you with well-researched, expert-backed insights for all your informational needs.


0 thoughts on “How To Hang Aerial Hammock From Ceiling”