
Articles
How To Hang Ceiling Medallion
Modified: January 9, 2024
Learn how to hang a ceiling medallion with our helpful articles. Find step-by-step instructions and expert tips to achieve a stunning look.
(Many of the links in this article redirect to a specific reviewed product. Your purchase of these products through affiliate links helps to generate commission for Storables.com, at no extra cost. Learn more)
Introduction
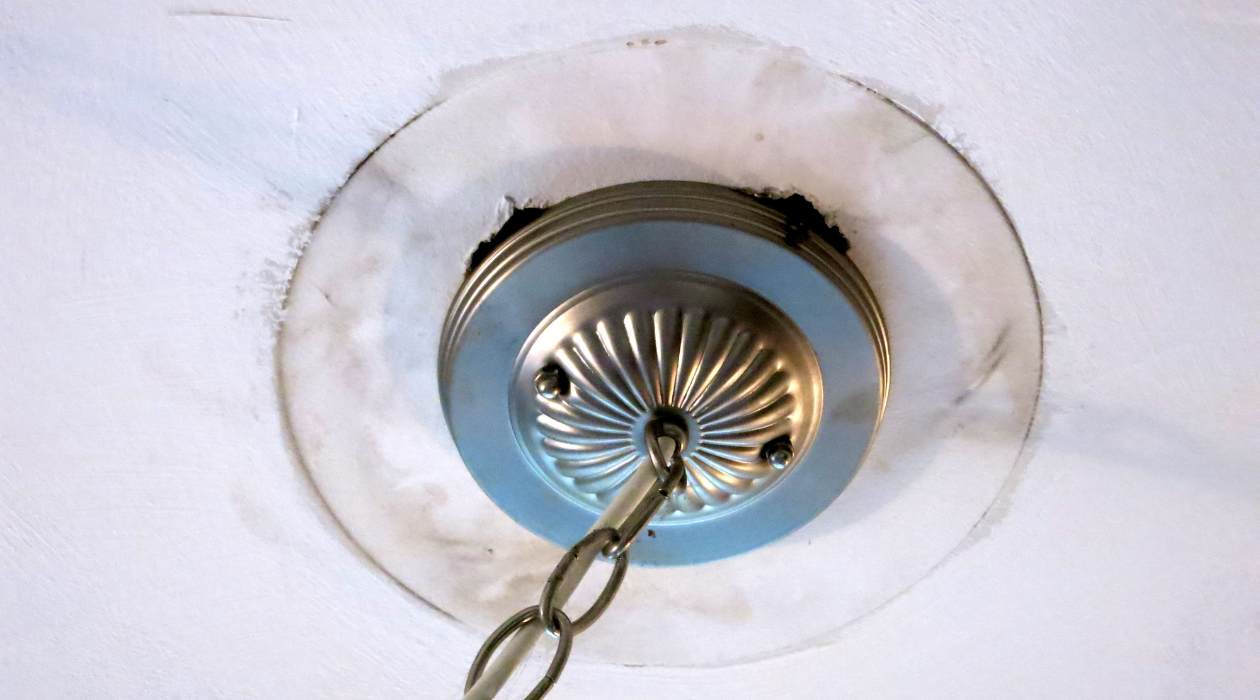
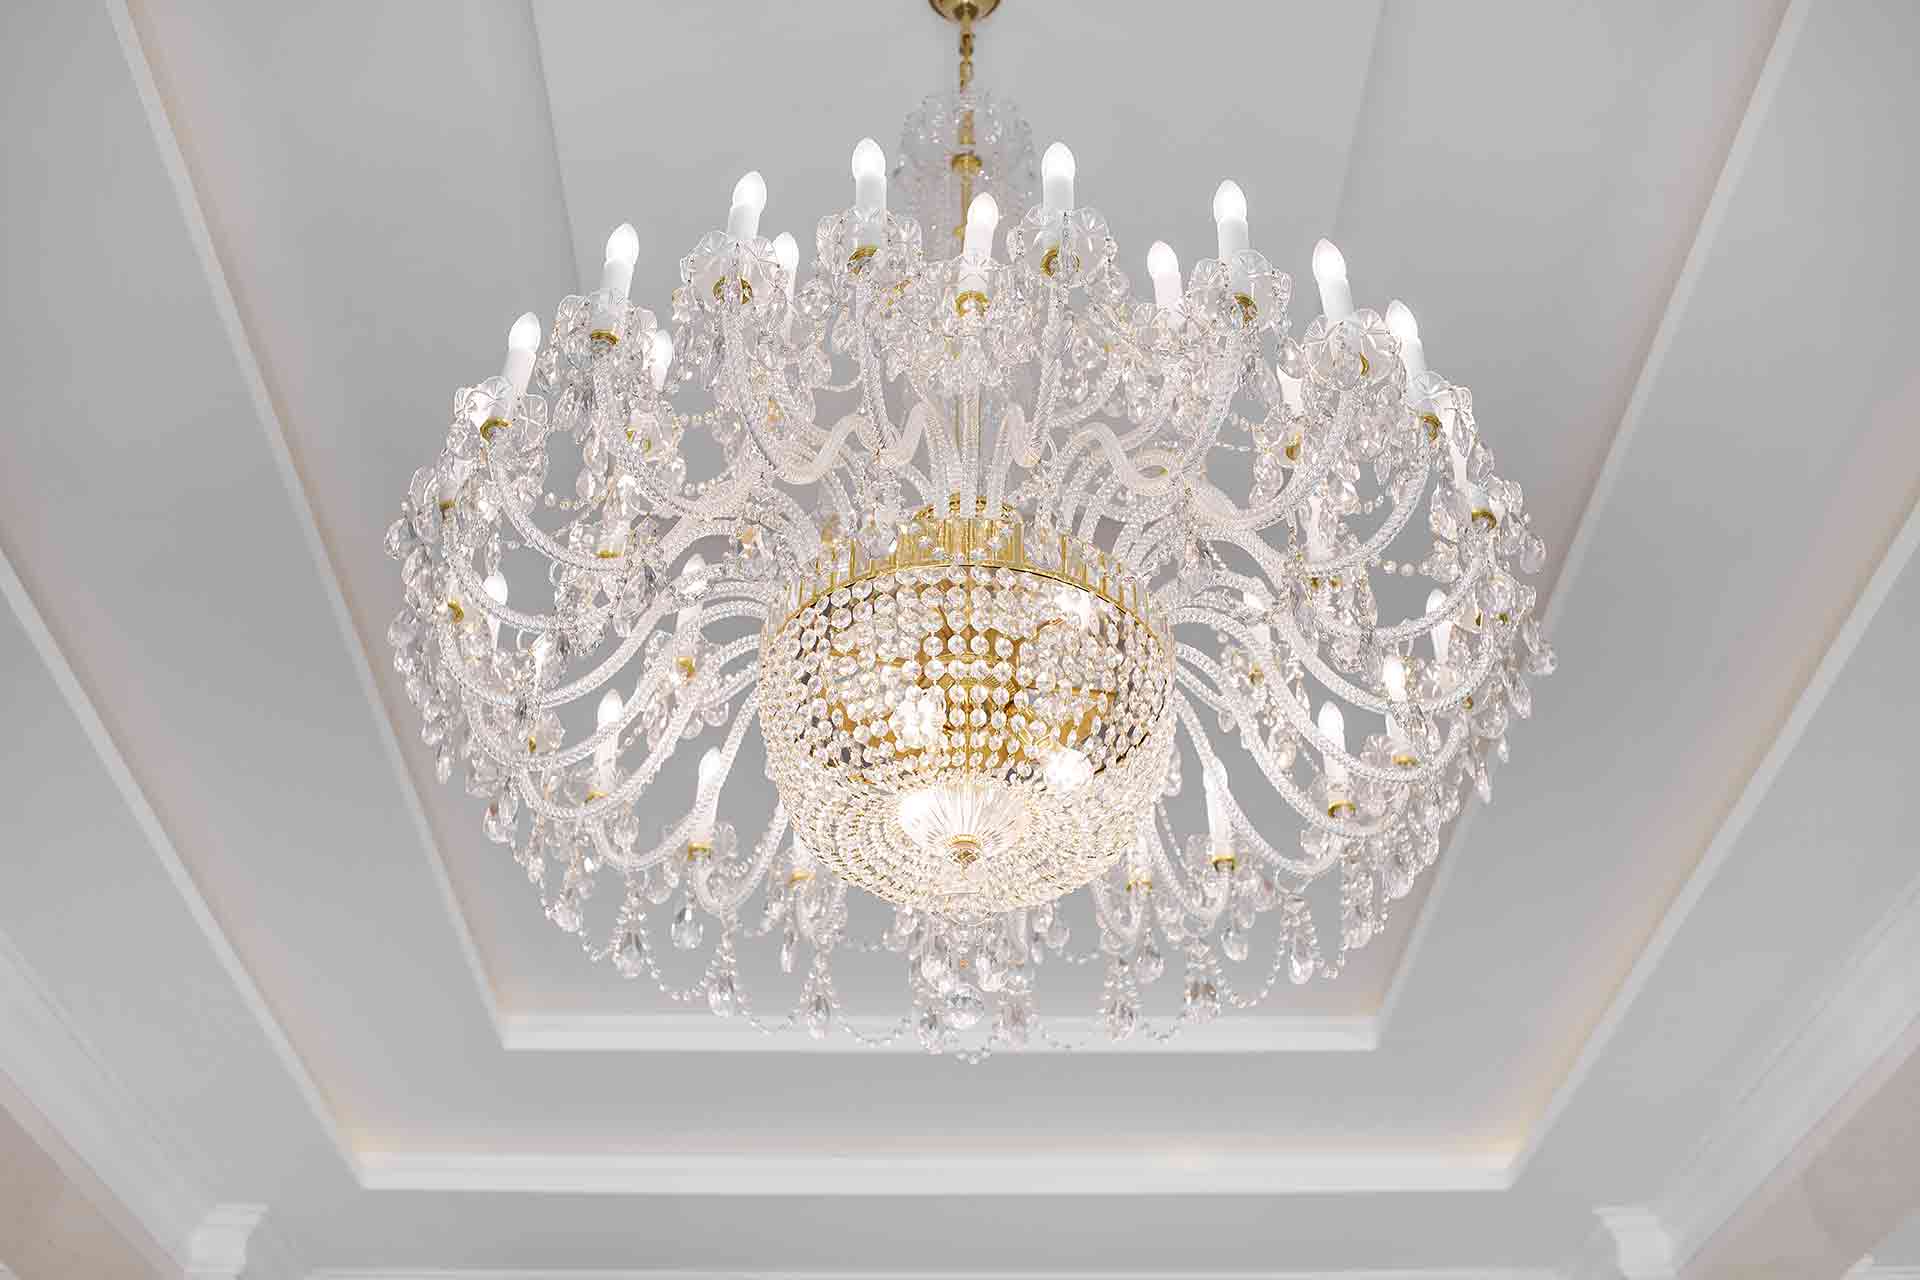
Adding a ceiling medallion is a great way to add charm and elegance to any room. Whether you want to enhance the aesthetic appeal of your dining area, living room, or bedroom, a ceiling medallion can serve as a stunning focal point. It not only adds architectural interest but also provides a decorative element that can tie the room together.
However, installing a ceiling medallion may seem like a daunting task for some. The good news is that with the right tools and a systematic approach, you can easily hang a ceiling medallion and transform the look of your space. In this article, we will guide you through the steps to hang a ceiling medallion, ensuring a smooth and successful installation process.
Before we dive into the steps, let’s first gather the required tools and materials. By having everything ready, you can save time and avoid interruptions during the installation process.
Key Takeaways:
- Elevate your space with elegance by following these steps to confidently hang a ceiling medallion. From preparation to finishing touches, create a stunning focal point that transforms your room.
- Ensure a smooth and successful installation by gathering the right tools, preparing the ceiling, measuring and marking with precision, and adding those essential finishing touches. Embrace the transformation and enjoy the ambiance it brings to your room.
Read more: How To Install A Ceiling Medallion
Step 1: Gather the Required Tools and Materials
Before you begin installing a ceiling medallion, it’s essential to have all the necessary tools and materials on hand. Here’s a list of what you’ll need:
- Ceiling medallion: Choose a medallion that suits your style and complements your room’s décor.
- Measuring tape: You’ll need a measuring tape to accurately determine placement and ensure the medallion is centered.
- Pencil: Use a pencil to mark the desired location and indicate where the screws will go.
- Level: A level will help you ensure that the medallion is straight and properly aligned.
- Construction adhesive: You’ll need a strong construction adhesive to secure the medallion to the ceiling.
- Caulk gun: A caulk gun is essential for applying the adhesive properly and efficiently.
- Panel adhesive: Depending on the medallion material, you may also need panel adhesive to fill any gaps between the medallion and the ceiling.
- Screwdriver: Use a screwdriver to drive the screws into the ceiling and secure the medallion in place.
- Screws: Choose screws that are appropriate for your ceiling type. Make sure they are long enough to go through the medallion and into the ceiling joists.
- Ladder or step stool: Depending on the height of the ceiling, you may need a ladder or step stool to reach the installation area safely.
Having all these tools and materials prepared beforehand will streamline the installation process and ensure that you can complete the project without any interruptions.
Step 2: Prepare the Ceiling
Before you start installing the ceiling medallion, it’s crucial to properly prepare the ceiling. This involves a few key steps to ensure a smooth and secure installation.
- Clean the ceiling surface: Use a clean cloth or sponge to remove any dirt, dust, or debris from the ceiling surface. This will ensure that the adhesive bonds effectively and that the medallion sits flush against the ceiling.
- Turn off electricity to the room: Safety is paramount, so before you begin any work on the ceiling, locate the circuit breaker for the room and switch off the electricity. This will prevent any accidents or damage to electrical components.
- Locate and mark the ceiling joists: Ceiling medallions need to be securely attached to the ceiling joists for stability. You can use a stud finder or knock on the ceiling to determine the location of the joists. Once you have found them, mark their positions with a pencil. This will help you when it comes time to install the screws.
By cleaning the ceiling surface, turning off the electricity, and marking the joist locations, you are creating a clean and safe foundation for the ceiling medallion installation. These steps ensure that the medallion will be properly secured and provide a long-lasting decorative feature for your room.
Step 3: Measure and Mark Placement
Once the ceiling is prepared, it’s time to measure and mark the placement of the ceiling medallion. This step is crucial to ensure that the medallion is centered and aligned properly.
- Determine the desired placement of the ceiling medallion: Take a moment to visualize how you want the medallion to enhance the room’s aesthetics. Consider the positioning in relation to other light fixtures or architectural features. Once you’ve decided on the desired placement, proceed to the next step.
- Measure and mark the center point of the medallion: Use a measuring tape to find the center of the ceiling where you want to install the medallion. Mark this point with a pencil. This will act as a reference point for the placement of the medallion.
- Measure and mark the location of the ceiling joists: Refer back to the marks you made earlier to identify the location of the ceiling joists. Measure and mark these positions around the center point of the medallion. This will help you accurately align the medallion and ensure it is securely attached.
By taking the time to measure and mark the placement of the medallion, you can ensure that it is visually balanced and centered in the room. Accurate measurements also help you align the medallion with the ceiling joists for a sturdy installation. Keeping these factors in mind will contribute to a professional and visually appealing result.
Before hanging a ceiling medallion, make sure to turn off the power to the light fixture. Use a strong adhesive to attach the medallion to the ceiling, then secure it with screws for extra support.
Step 4: Apply Adhesive and Install Medallion
With the measurements and markings in place, it’s time to apply the adhesive and install the ceiling medallion. Follow these steps to ensure a secure and professional-looking installation:
- Apply construction adhesive to the back of the medallion: Use a caulk gun to apply a generous amount of construction adhesive to the back of the medallion. This will serve as the primary bonding agent between the medallion and the ceiling. Ensure that the adhesive is evenly distributed across the back surface of the medallion.
- Align the medallion with the marked center point and press firmly: Carefully position the medallion over the marked center point on the ceiling. Take your time to align it properly and ensure it is centered. Once aligned, press the medallion firmly against the ceiling surface. Apply consistent pressure to ensure secure adhesion.
- Secure the medallion with screws into the ceiling joists: Using a screwdriver, drive screws through the medallion and into the previously marked locations of the ceiling joists. This step adds an extra layer of stability and ensures that the medallion is securely fixed to the ceiling. Be careful not to overtighten the screws, as this could damage the medallion or the ceiling.
By applying construction adhesive, properly aligning the medallion, and securing it with screws, you are creating a strong and lasting bond between the medallion and the ceiling. This step is crucial to ensure a safe and durable installation that will withstand the test of time.
Read also: 11 Incredible Ceiling Medallions For 2025
Step 5: Finishing Touches
After installing the ceiling medallion, there are a few final touches you can add to ensure a polished and professional result. Follow these steps to complete the installation:
- Fill any gaps between the medallion and ceiling using caulk or panel adhesive: Inspect the area between the medallion and the ceiling. If you notice any gaps or unevenness, use caulk or panel adhesive to fill in these spaces. This will create a seamless transition and ensure a clean finish.
- Clean up any excess adhesive: Take a damp cloth or sponge and carefully clean up any excess adhesive that may have oozed out during the installation process. Pay close attention to the edges of the medallion to ensure a neat and tidy appearance.
- Allow the adhesive to dry completely before restoring power: Give the adhesive ample time to dry and cure. Check the manufacturer’s instructions for the recommended drying time. It is crucial to allow the adhesive to fully set before restoring power to the room.
By filling any gaps, cleaning up excess adhesive, and allowing the adhesive to dry completely, you are adding those essential finishing touches to the installation of your ceiling medallion. These steps contribute to a clean, professional, and aesthetically pleasing end result.
Conclusion
Installing a ceiling medallion is a fantastic way to add elegance and character to any room. By following the steps outlined in this guide, you can confidently hang a ceiling medallion and transform the look and feel of your space.
Starting with gathering the necessary tools and materials, you’ll have everything you need at your disposal. Preparing the ceiling by cleaning the surface, turning off the electricity, and marking the joist locations ensures a smooth installation process.
Measuring and marking the placement of the medallion helps maintain balance and symmetry within the room. Applying construction adhesive, aligning the medallion with precision, and securing it with screws guarantees a secure and long-lasting installation.
Finishing touches, such as filling any gaps with caulk or panel adhesive, cleaning up excess adhesive, and allowing drying time, ensure a polished and professional result.
Remember, safety is paramount throughout the installation process. Always exercise caution when working with tools, equipment, and electrical components.
By following these steps and incorporating your own creativity, you can hang a ceiling medallion and create a stunning focal point that enhances the overall aesthetic of your room.
So, go ahead and add that touch of elegance to your space with a beautiful ceiling medallion. Embrace the transformation and enjoy the ambiance it brings to your room. Happy decorating!
Frequently Asked Questions about How To Hang Ceiling Medallion
Was this page helpful?
At Storables.com, we guarantee accurate and reliable information. Our content, validated by Expert Board Contributors, is crafted following stringent Editorial Policies. We're committed to providing you with well-researched, expert-backed insights for all your informational needs.








0 thoughts on “How To Hang Ceiling Medallion”