Home>Home Appliances>Lighting Appliances>How To Install A Hanging Ceiling Light
Lighting Appliances
How To Install A Hanging Ceiling Light
Modified: August 27, 2024
Learn how to install a hanging ceiling light with our step-by-step guide. Upgrade your lighting appliances easily and efficiently.
(Many of the links in this article redirect to a specific reviewed product. Your purchase of these products through affiliate links helps to generate commission for Storables.com, at no extra cost. Learn more)
Introduction
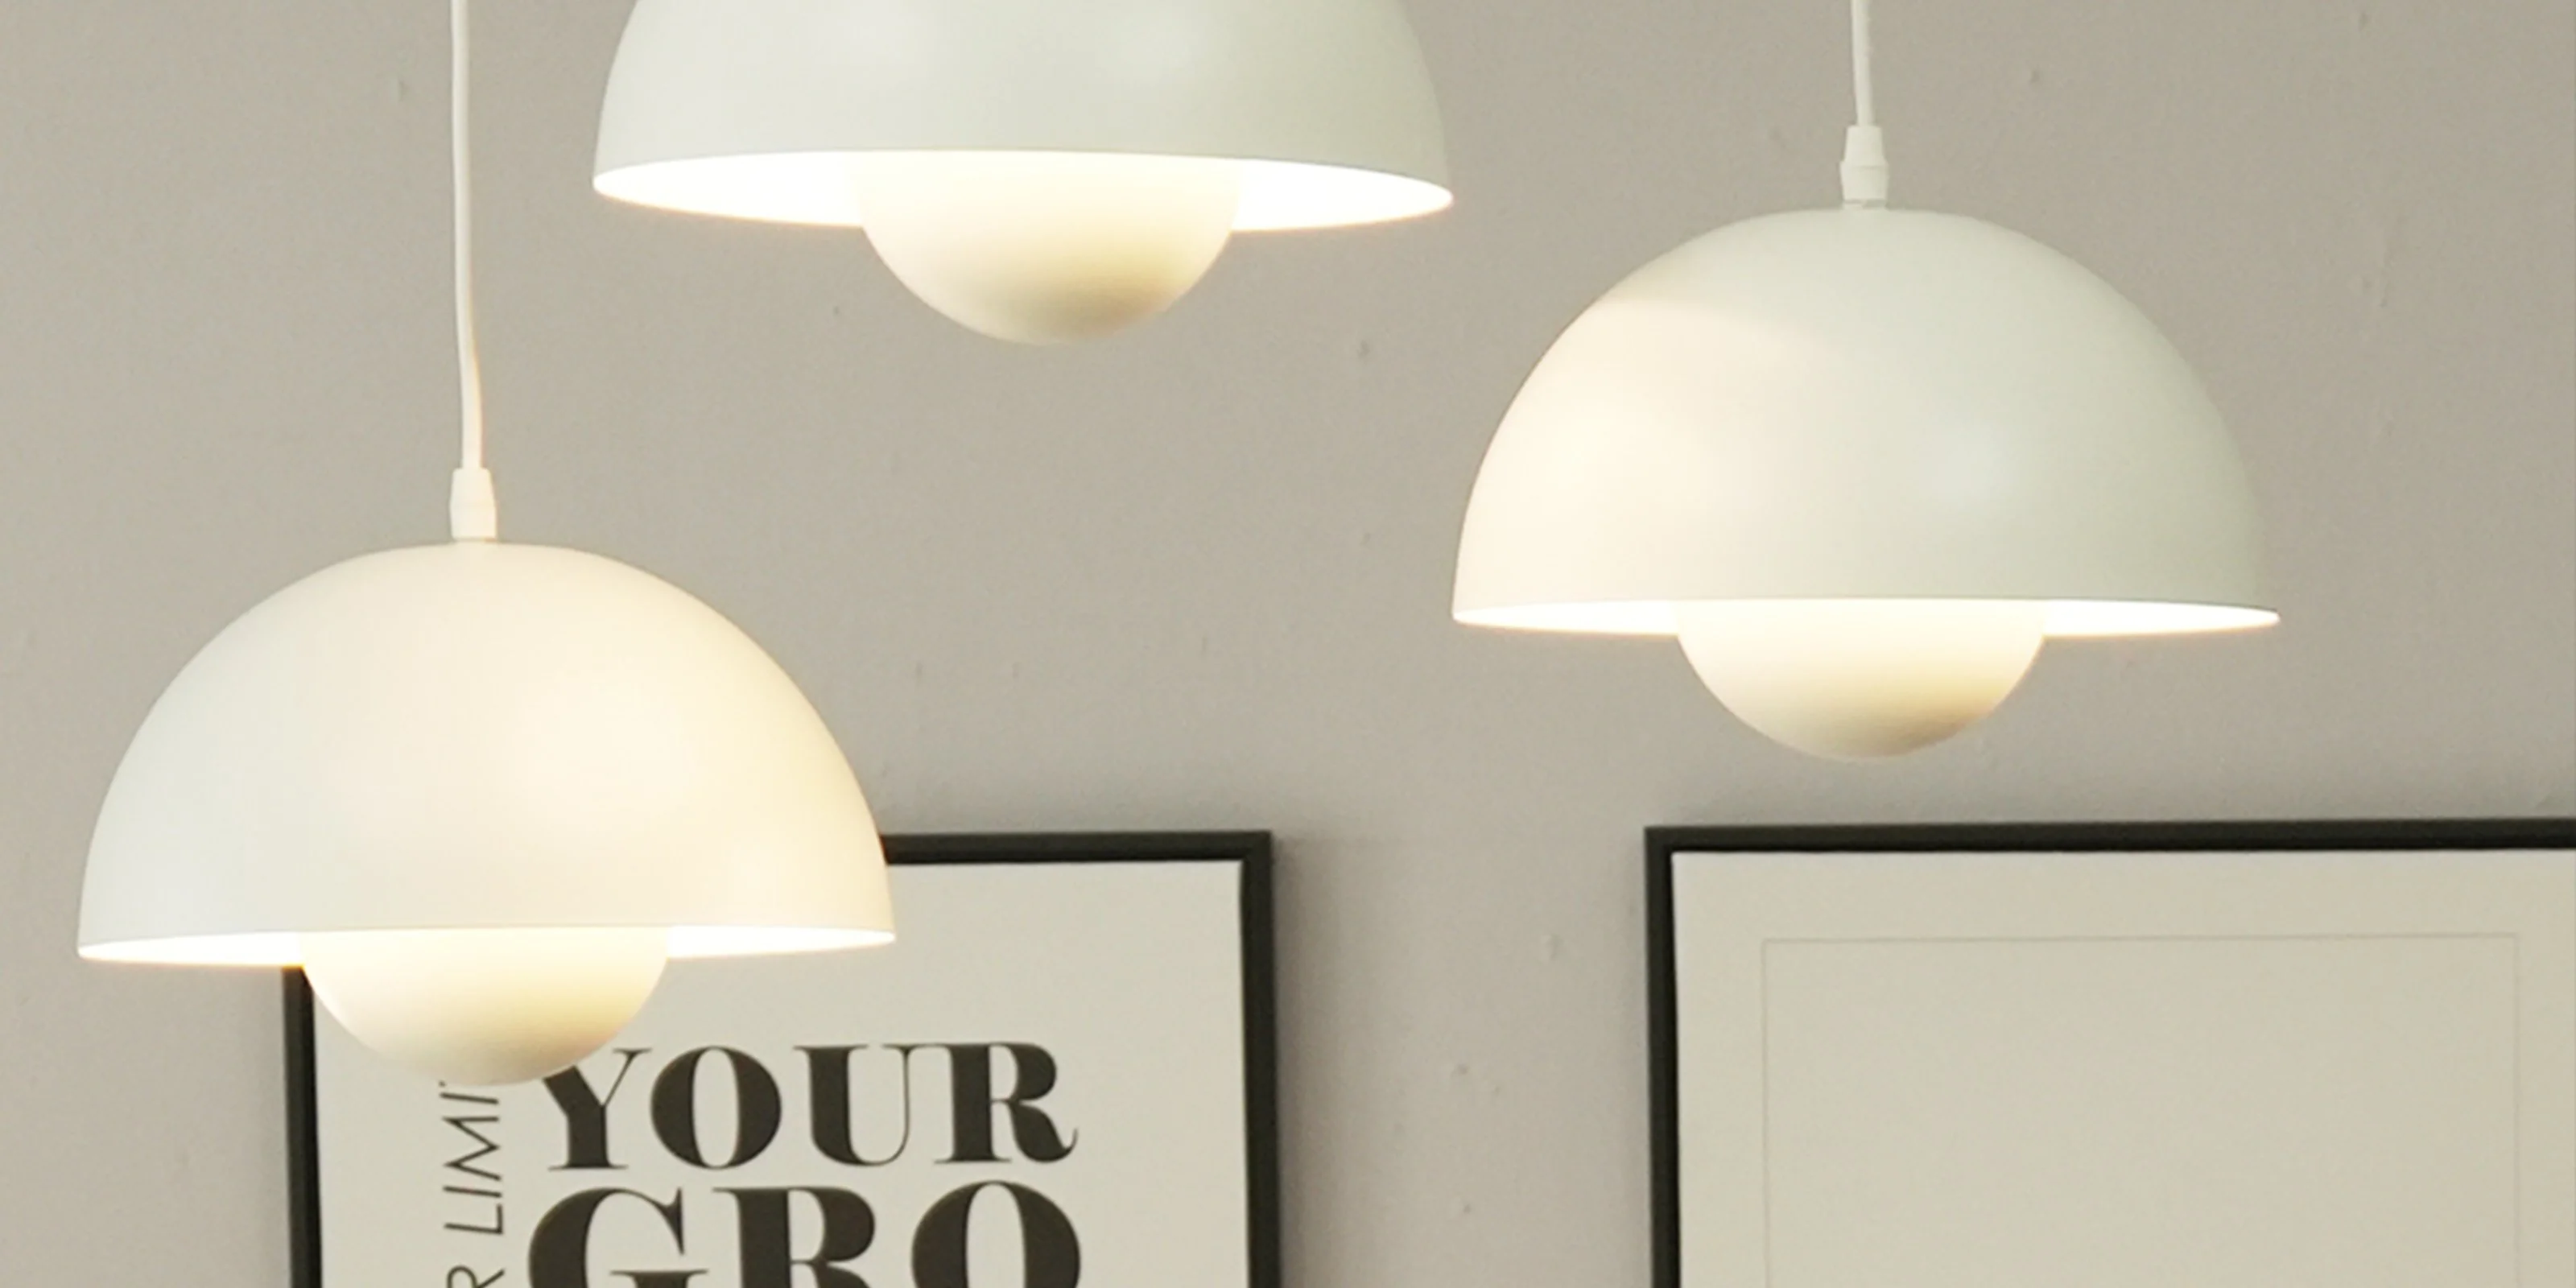
Installing a hanging ceiling light can instantly transform the ambiance of a room, adding both functionality and aesthetic appeal. Whether you're replacing an outdated fixture or adding a new lighting element to your space, this step-by-step guide will walk you through the process of installing a hanging ceiling light with ease and confidence.
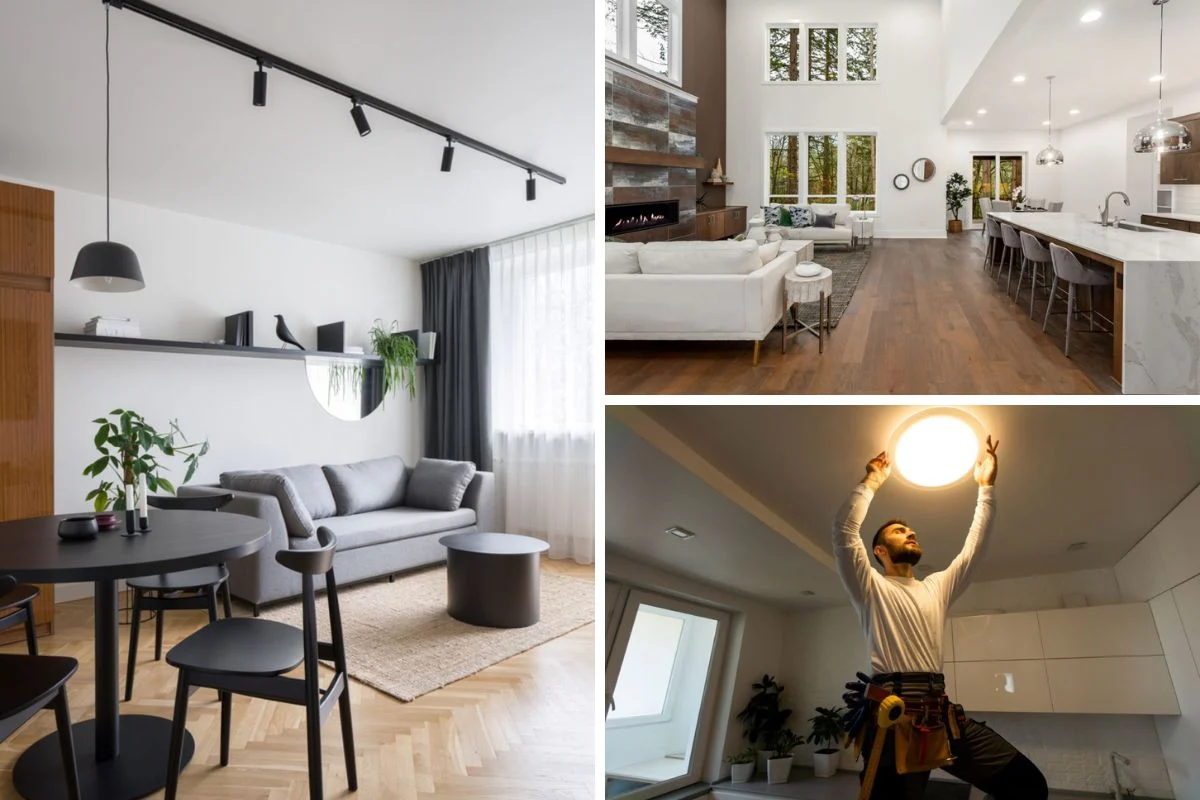
A hanging ceiling light, also known as a pendant light, is a versatile lighting option that can serve as a focal point in any room. From kitchens and dining areas to living rooms and bedrooms, pendant lights come in a variety of styles, shapes, and sizes, making them a popular choice for homeowners seeking to elevate their interior design.
By following this comprehensive guide, you'll learn how to safely and effectively install a hanging ceiling light, bringing both illumination and style to your living space. Before diving into the installation process, it's essential to gather the necessary tools and materials to ensure a smooth and successful project. From turning off the power to connecting the wires and testing the light, each step is crucial in achieving a professional and polished result.
With the right guidance and attention to detail, you can take on this rewarding DIY project and enjoy the enhanced ambiance and functionality that a hanging ceiling light brings to your home. So, let's embark on this illuminating journey and learn how to install a hanging ceiling light like a seasoned pro.
Key Takeaways:
- Transform your space with a hanging ceiling light by following these easy steps. Gather tools, turn off power, remove old fixture, install mounting bracket, connect wires, attach light, and test for a stunning result!
- Installing a hanging ceiling light is a rewarding DIY project that adds both style and functionality to your home. With the right tools and careful steps, you can achieve a professional and polished outcome.
Step 1: Gather the necessary tools and materials
Before embarking on the installation of a hanging ceiling light, it's crucial to gather all the essential tools and materials to ensure a smooth and efficient process. Here's a comprehensive list of what you'll need:
Tools:
- Screwdriver Set: A set of screwdrivers, including flathead and Phillips head, will be necessary for removing the existing fixture and securing the new one.
- Wire Strippers: These will be used to strip the insulation from the electrical wires for proper connection.
- Voltage Tester: An essential tool for ensuring that the power is turned off before beginning the installation process.
- Pliers: Both needle-nose and standard pliers will come in handy for bending and securing wires as needed.
- Ladder or Step Stool: Depending on the height of the ceiling, a stable ladder or step stool will be necessary to reach the installation area safely.
Materials:
- Hanging Ceiling Light Fixture: Choose a pendant light that complements your interior design and fits the desired space.
- Mounting Bracket and Hardware: Ensure that the new fixture comes with a compatible mounting bracket and all the necessary hardware for installation.
- Wire Nuts: These are essential for securely connecting the electrical wires.
- Electrical Tape: Use electrical tape to insulate and secure wire connections.
- Wire Connectors: These connectors will be used to join the wires from the light fixture to the electrical wiring in the ceiling.
- Owner's Manual: Always refer to the manufacturer's instructions and guidelines specific to your hanging ceiling light fixture.
By gathering these tools and materials in advance, you'll be well-prepared to proceed with the installation process smoothly and efficiently. With everything at hand, you can approach the next steps with confidence, knowing that you have everything you need to successfully install your hanging ceiling light fixture.
Step 2: Turn off the power
Before beginning any electrical work, it is absolutely crucial to ensure the power is completely turned off to the area where the new hanging ceiling light will be installed. This step is paramount for your safety and the success of the installation process. Here's a detailed guide on how to safely turn off the power:
-
Locate the Circuit Breaker: The first step is to locate the circuit breaker or fuse box in your home. This is typically found in the basement, garage, or a utility room. Once located, open the panel to reveal the breakers or fuses.
-
Identify the Correct Circuit: Next, you'll need to identify the circuit that controls the power supply to the existing light fixture or the area where the new hanging ceiling light will be installed. This may require some trial and error, so it's helpful to have a family member or friend assist you by flipping the light switch while you observe the corresponding breaker.
-
Turn Off the Circuit: Once you've identified the correct circuit, switch it to the "off" position. It's important to double-check that the power is indeed off by testing the light switch and using a voltage tester to ensure there is no electrical current running to the wires.
-
Secure the Circuit: To prevent any accidental switching of the circuit while you're working, it's advisable to lock the circuit breaker in the "off" position using a lockout tag or simply placing a piece of tape over the switch to indicate that work is being done.
By following these steps to turn off the power, you can proceed with the installation process with peace of mind, knowing that you've taken the necessary precautions to ensure your safety. Always treat electrical work with the utmost respect and caution, and never hesitate to seek professional assistance if you're unsure about any aspect of the process. With the power safely turned off, you're now ready to move on to the next steps of installing your hanging ceiling light fixture.
Read more: How To Install An LED Ceiling Light
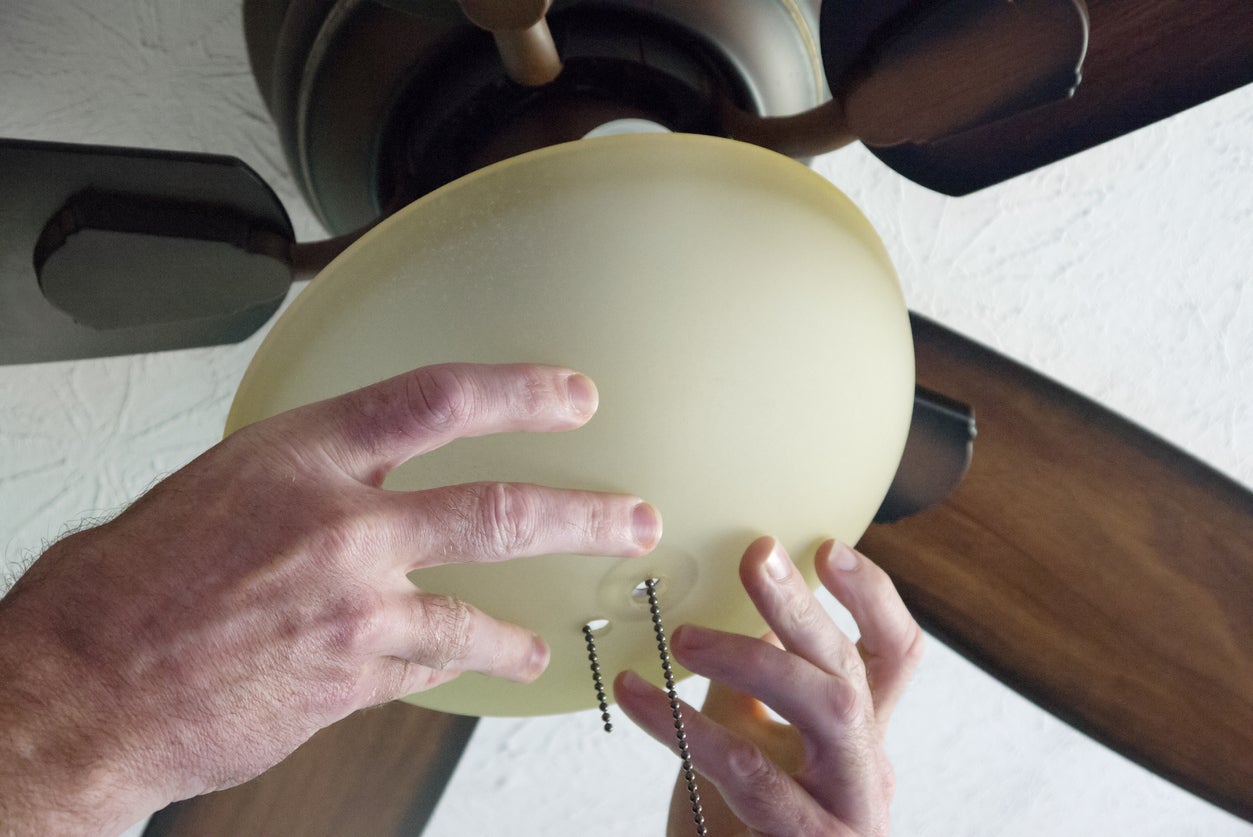
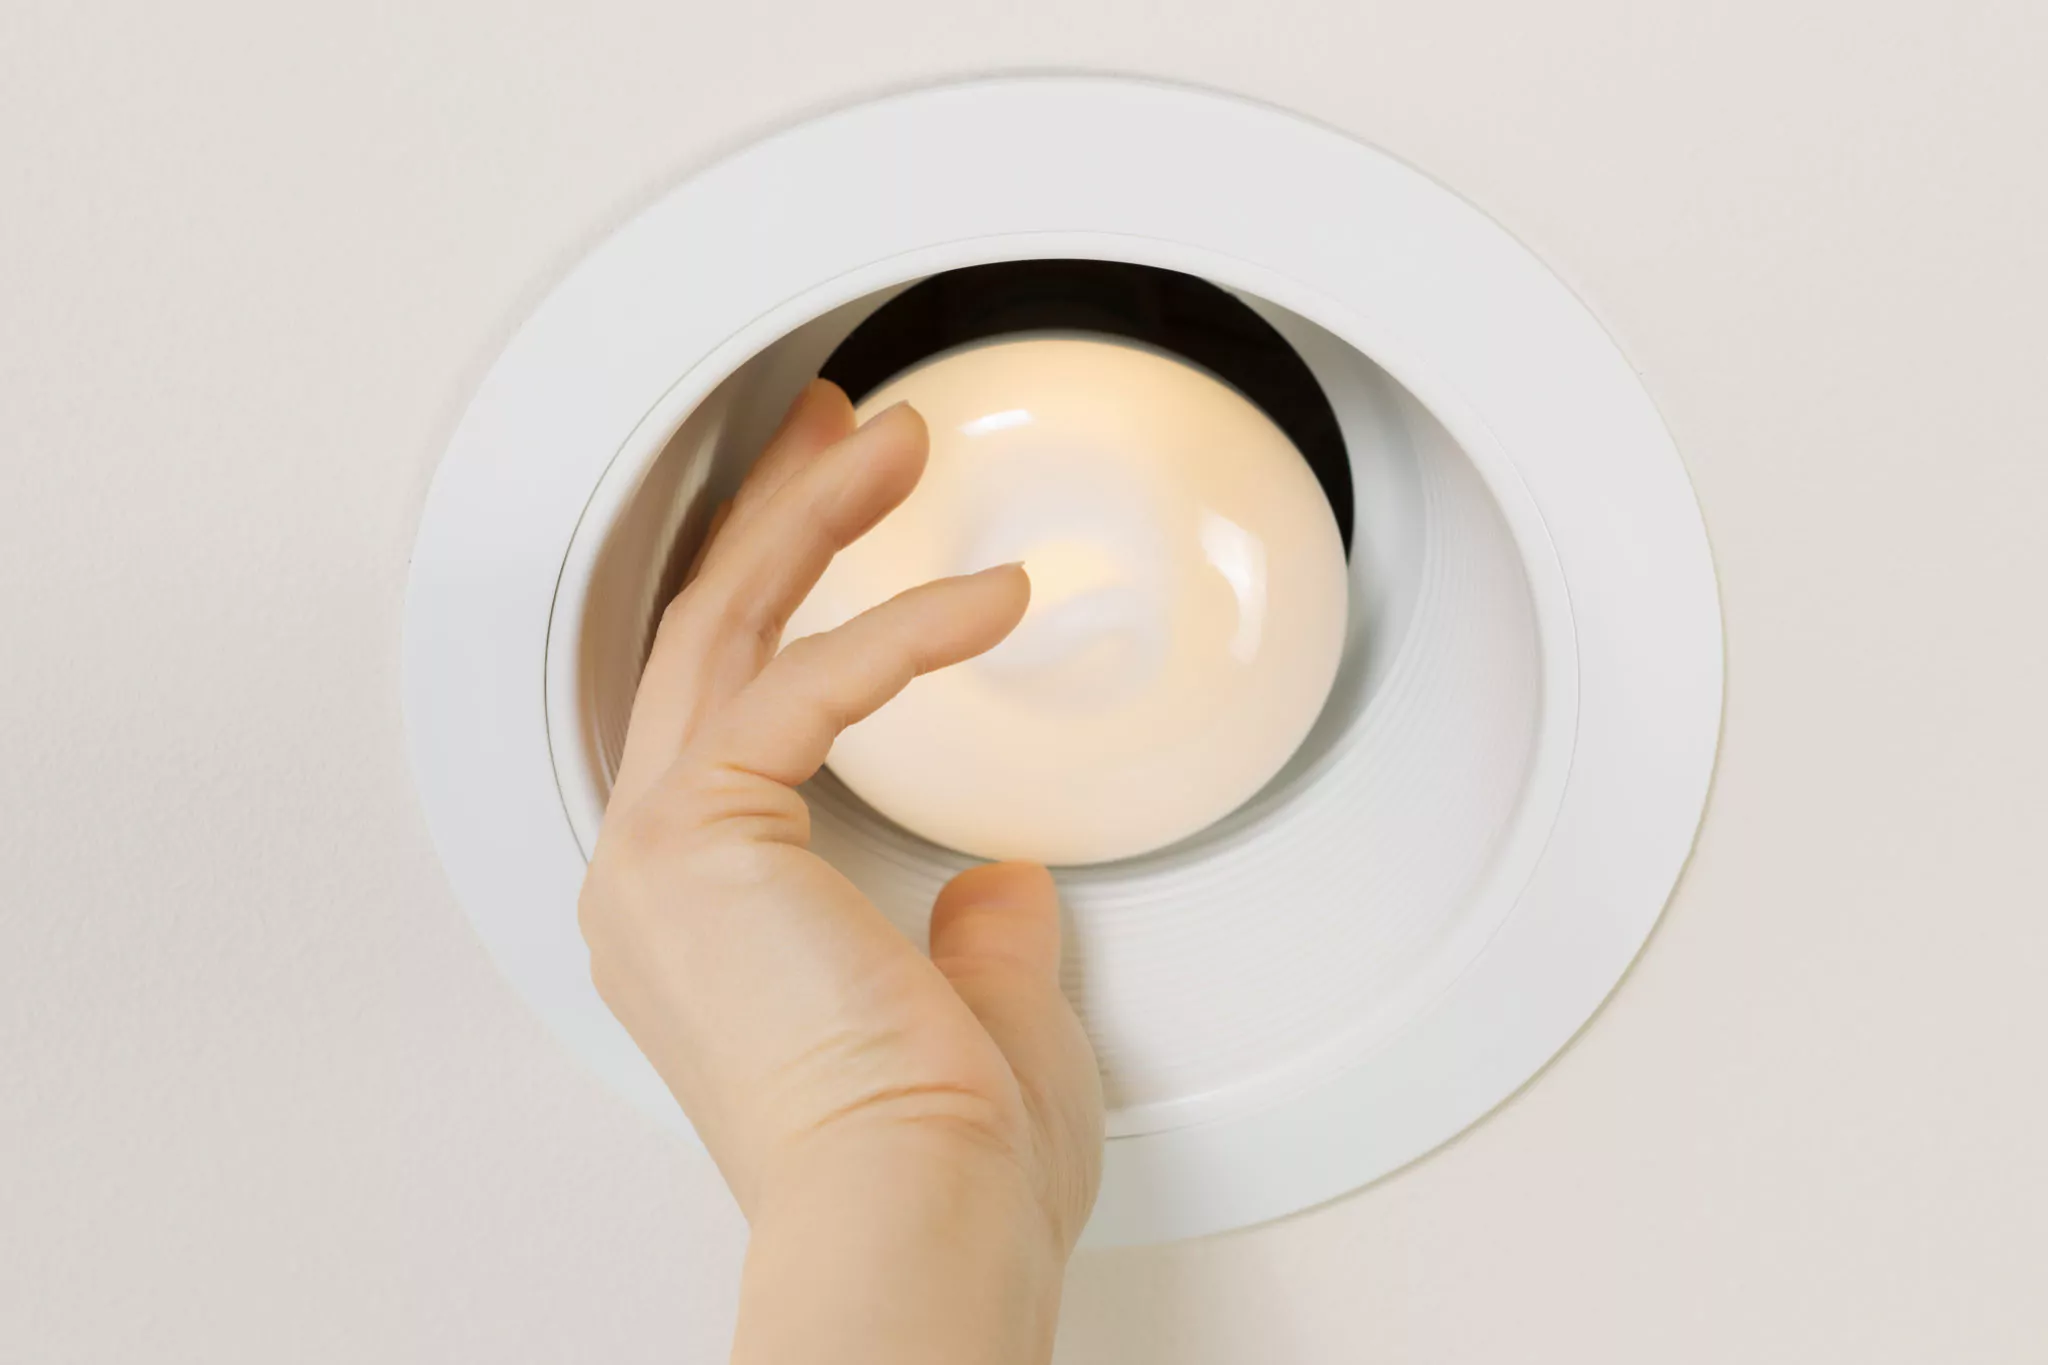
Step 3: Remove the existing light fixture
Removing the existing light fixture is a crucial step in the process of installing a hanging ceiling light. Whether you're replacing an outdated fixture or preparing the space for a new installation, careful attention to detail is essential to ensure a smooth transition. Here's a detailed guide on how to remove the existing light fixture safely and effectively:
-
Prepare the Workspace: Before starting the removal process, it's important to create a safe and organized workspace. Clear the area around the existing light fixture and place a sturdy ladder or step stool beneath it to provide easy access for the removal process.
-
Disconnect the Power: Double-check that the power to the existing light fixture is turned off by using a voltage tester to ensure there is no electrical current running to the wires. This step is crucial for your safety and should never be overlooked.
-
Remove the Cover or Canopy: Depending on the type of existing light fixture, you may need to unscrew or unclip the cover or canopy that conceals the electrical box and wiring. Use a screwdriver or the appropriate tool to carefully remove the cover, exposing the wires and mounting bracket.
-
Disconnect the Wiring: Once the wiring is exposed, carefully disconnect the wires from the existing fixture. Typically, there will be three wires to disconnect: the black (hot) wire, the white (neutral) wire, and the green or bare (ground) wire. Use wire nuts to cap the exposed wires and prevent them from coming into contact with each other or the surrounding metal.
-
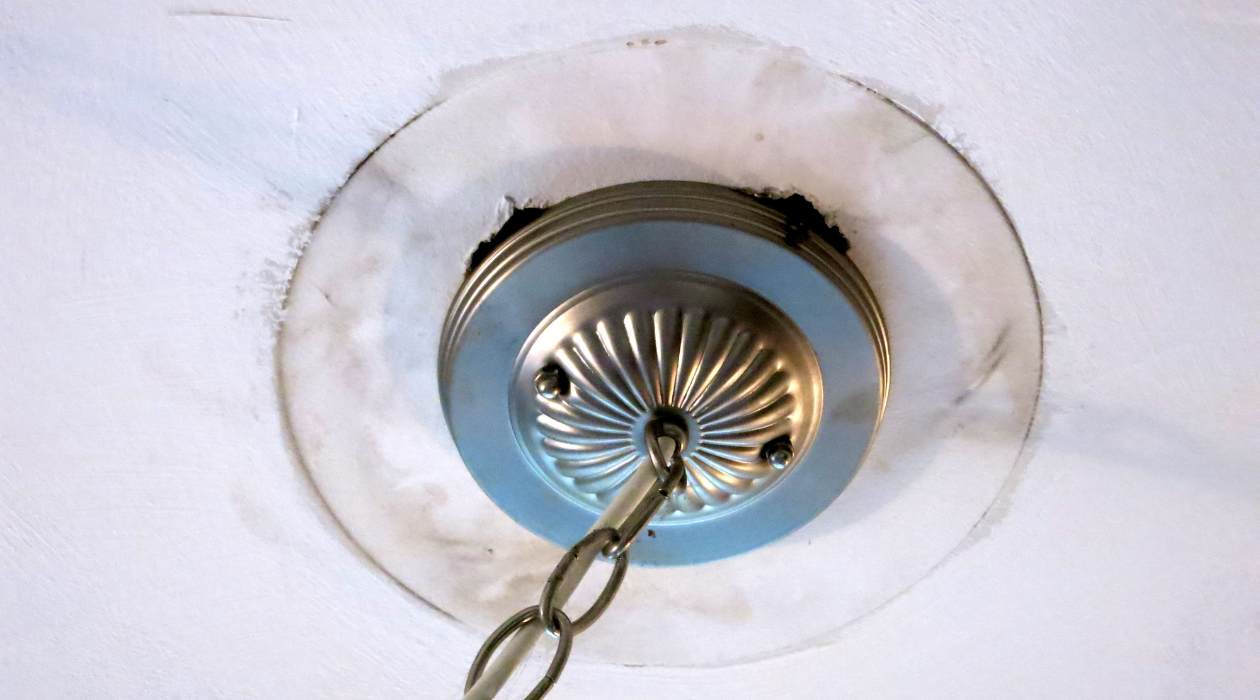
Remove the Mounting Bracket: After the wiring is disconnected, you can proceed to remove the mounting bracket that secures the existing light fixture to the ceiling. Depending on the type of fixture, this may involve unscrewing the bracket from the electrical box or releasing it from any clips or fasteners.
-
Inspect the Wiring and Electrical Box: With the existing light fixture removed, take a moment to inspect the wiring and electrical box for any signs of damage or wear. This is also a good opportunity to clean the area and ensure that it is ready for the installation of the new hanging ceiling light.
By following these steps to remove the existing light fixture, you can set the stage for a successful installation of your new hanging ceiling light. Taking the time to complete this process carefully and methodically will contribute to a seamless transition and ensure that the new fixture is installed with precision and safety in mind.
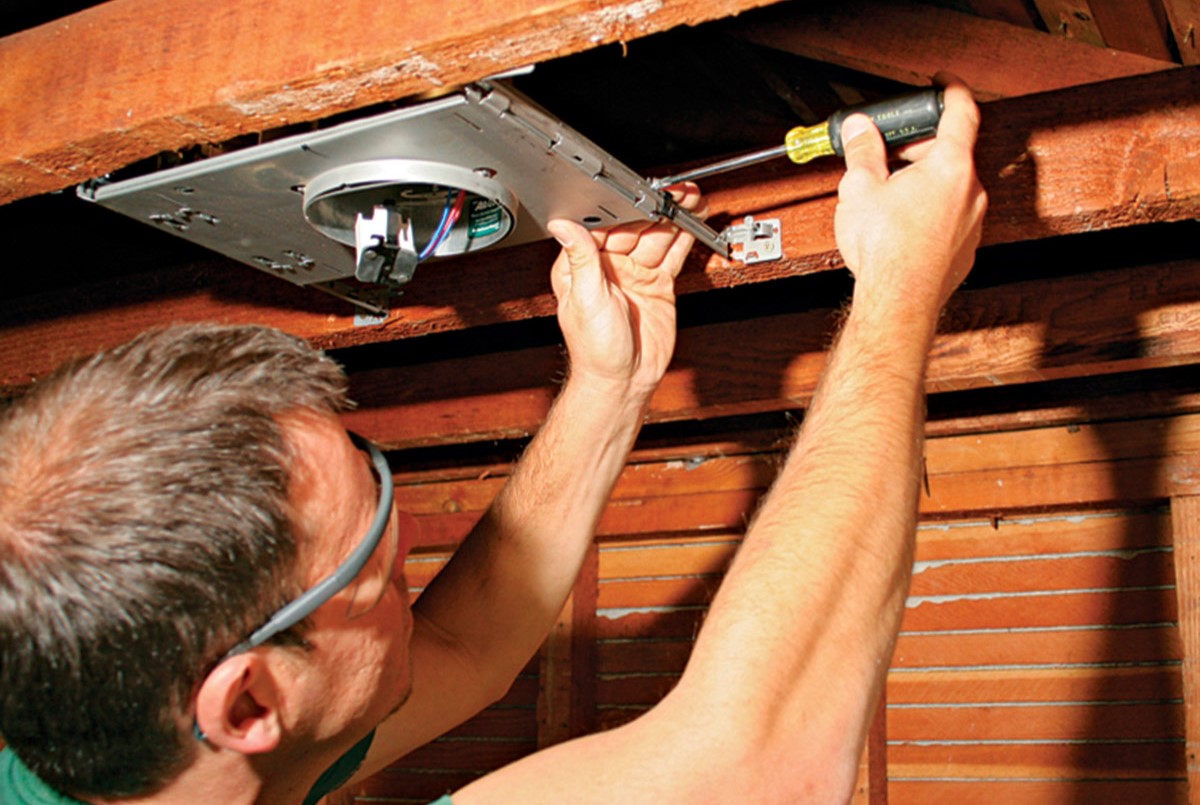
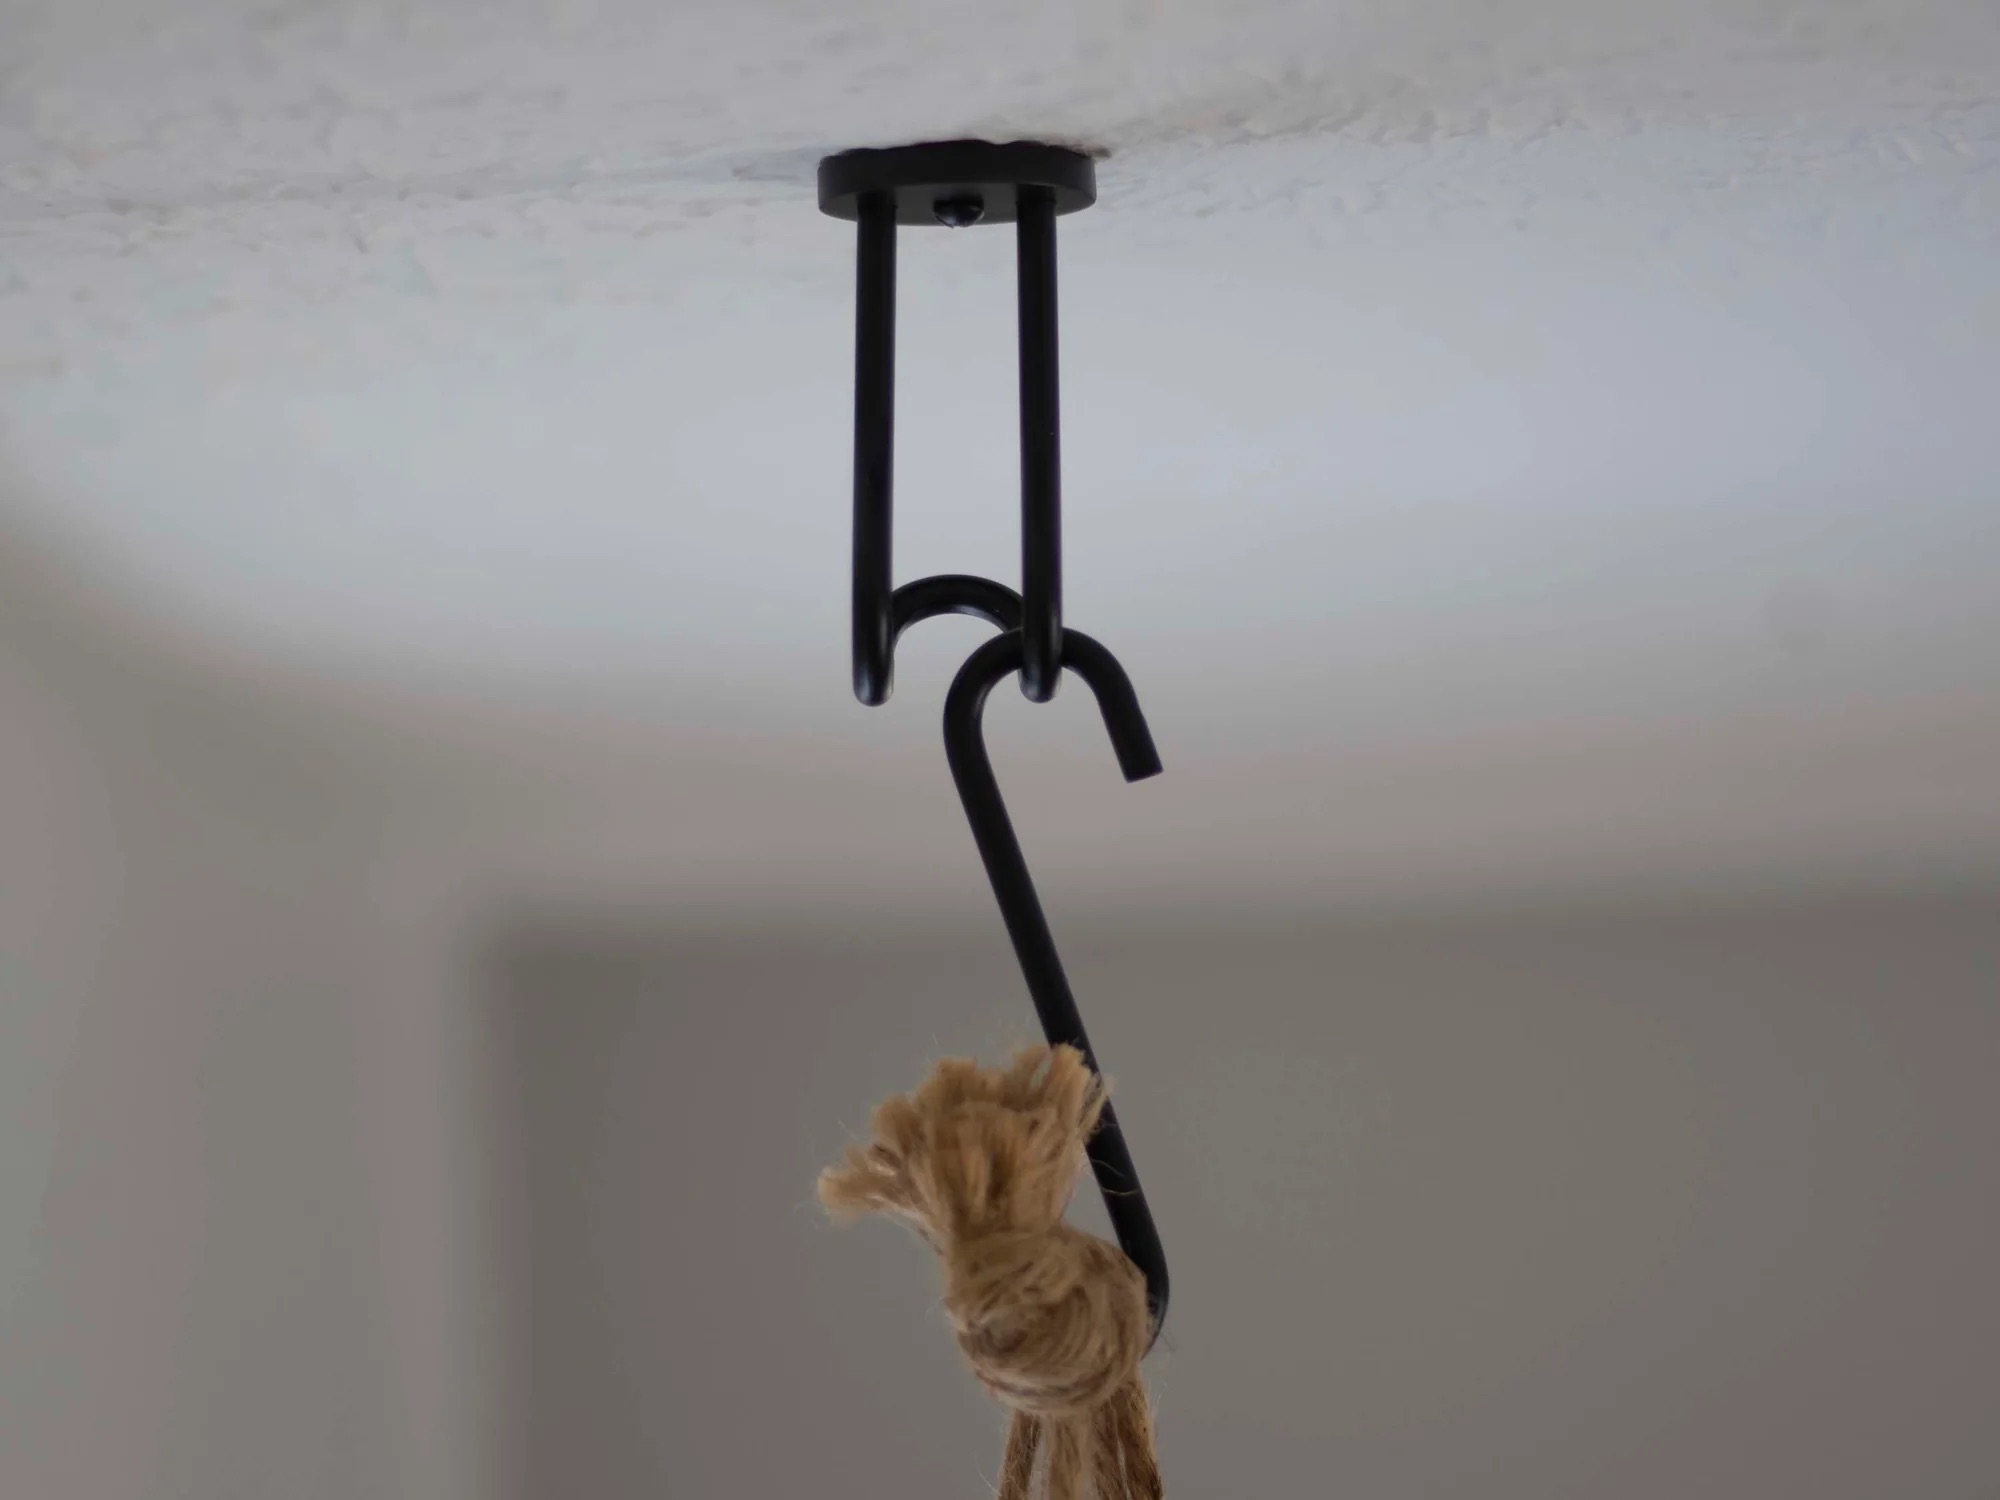
Step 4: Install the mounting bracket
With the existing light fixture removed and the workspace prepared, it's time to install the mounting bracket for the new hanging ceiling light. The mounting bracket serves as the anchor point for the light fixture, providing stability and support once it's secured to the ceiling. Here's a detailed guide on how to install the mounting bracket effectively:
-
Select the Proper Mounting Bracket: Before proceeding, ensure that the mounting bracket included with your new hanging ceiling light is compatible with the electrical box and meets the weight requirements for the fixture. If necessary, consult the manufacturer's instructions to confirm the suitability of the bracket.
-
Position the Mounting Bracket: Hold the mounting bracket against the electrical box in the ceiling, aligning it with the screw holes or slots. It's essential to position the bracket securely and level with the surrounding ceiling to ensure a stable foundation for the light fixture.
-
Secure the Mounting Bracket: Using the provided screws or fasteners, attach the mounting bracket to the electrical box. Depending on the design of the bracket, you may need to use a screwdriver or drill to secure it firmly in place. Take care to tighten the screws adequately without over-torquing them.
-
Check for Stability: Once the mounting bracket is installed, give it a gentle shake to ensure that it is securely fastened to the ceiling without any wobbling or movement. This step is crucial for verifying the stability of the bracket before proceeding to attach the hanging ceiling light fixture.
-
Verify Alignment and Clearance: Before proceeding to the next step, double-check that the mounting bracket is level and properly aligned with the surrounding space. Additionally, ensure that there is sufficient clearance and space for the wiring and connections once the light fixture is attached.
By following these steps to install the mounting bracket, you can lay a solid foundation for the hanging ceiling light fixture, setting the stage for a seamless and secure installation. Taking the time to position and secure the bracket with precision will contribute to the overall stability and professional finish of the lighting fixture. With the mounting bracket in place, you're now ready to proceed with the next steps of connecting the wires and attaching the new hanging ceiling light.
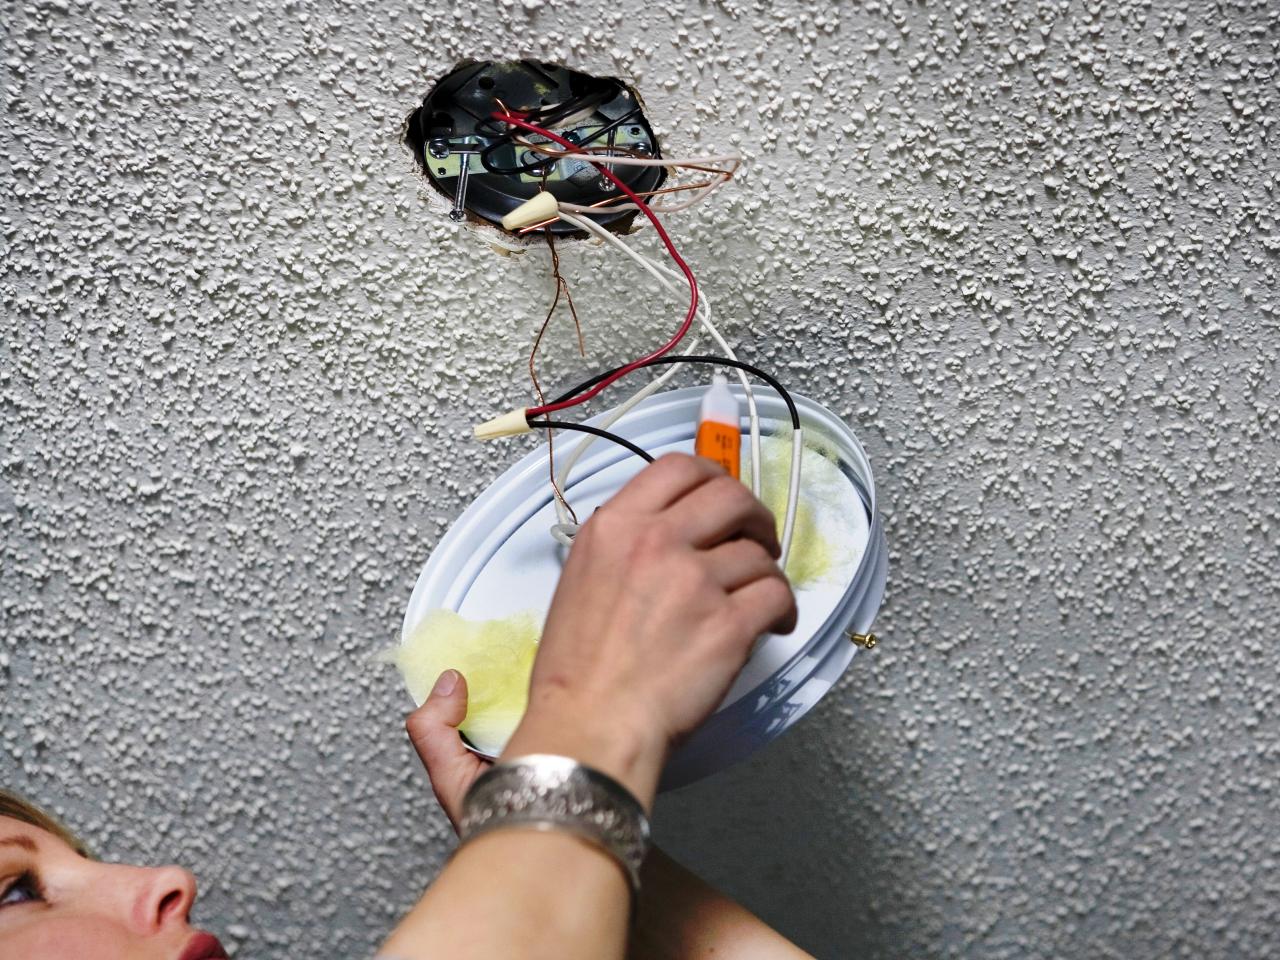
Step 5: Connect the wires
Connecting the wires is a pivotal step in the installation of a hanging ceiling light, as it ensures the safe and reliable operation of the fixture. Properly joining the electrical wires is essential for establishing the necessary power supply and enabling the light to function as intended. Here's a detailed guide on how to connect the wires effectively and securely:
-
Prepare the Wires: Begin by carefully examining the wires from the hanging ceiling light fixture and the electrical wiring in the ceiling. Ensure that the insulation on each wire is intact and free from any damage. If needed, trim the ends of the wires to remove any frayed or compromised sections, allowing for clean and secure connections.
-
Identify the Wires: The wires from the light fixture will typically include a black (hot) wire, a white (neutral) wire, and a green or bare (ground) wire. Similarly, the electrical wiring in the ceiling will consist of corresponding black, white, and green or bare wires. It's crucial to match the wires correctly to ensure proper functionality and safety.
-
Make the Connections: Using wire nuts and following the color-coding standards, connect the black wire from the light fixture to the black wire in the ceiling, the white wire from the fixture to the white wire in the ceiling, and the green or bare wire from the fixture to the green or bare wire in the ceiling. Twist the wire nuts securely onto each pair of wires, ensuring that the connections are tight and insulated.
-
Secure with Electrical Tape: After making the wire connections, wrap each wire nut and the exposed section of the connected wires with electrical tape. This additional layer of insulation provides further protection and helps to secure the wire nuts in place, preventing them from loosening over time.
-
Tuck the Wires: Once the connections are made and insulated, carefully tuck the connected wires into the electrical box in the ceiling, ensuring that they are neatly arranged and do not interfere with the mounting bracket or the installation of the light fixture.
-
Double-Check the Connections: Before proceeding to the next step, double-check the wire connections to confirm that they are secure, properly insulated, and free from any exposed conductors. This step is crucial for ensuring the safety and functionality of the hanging ceiling light.
By following these steps to connect the wires, you can establish the essential electrical connections with precision and confidence, laying the groundwork for the successful installation and operation of the hanging ceiling light. Taking the time to make secure and proper wire connections is fundamental to the safety and performance of the fixture, ensuring that it illuminates your space reliably and beautifully.
Before installing a hanging ceiling light, make sure to turn off the power at the circuit breaker to avoid any electrical accidents. Always follow the manufacturer’s instructions for installation.
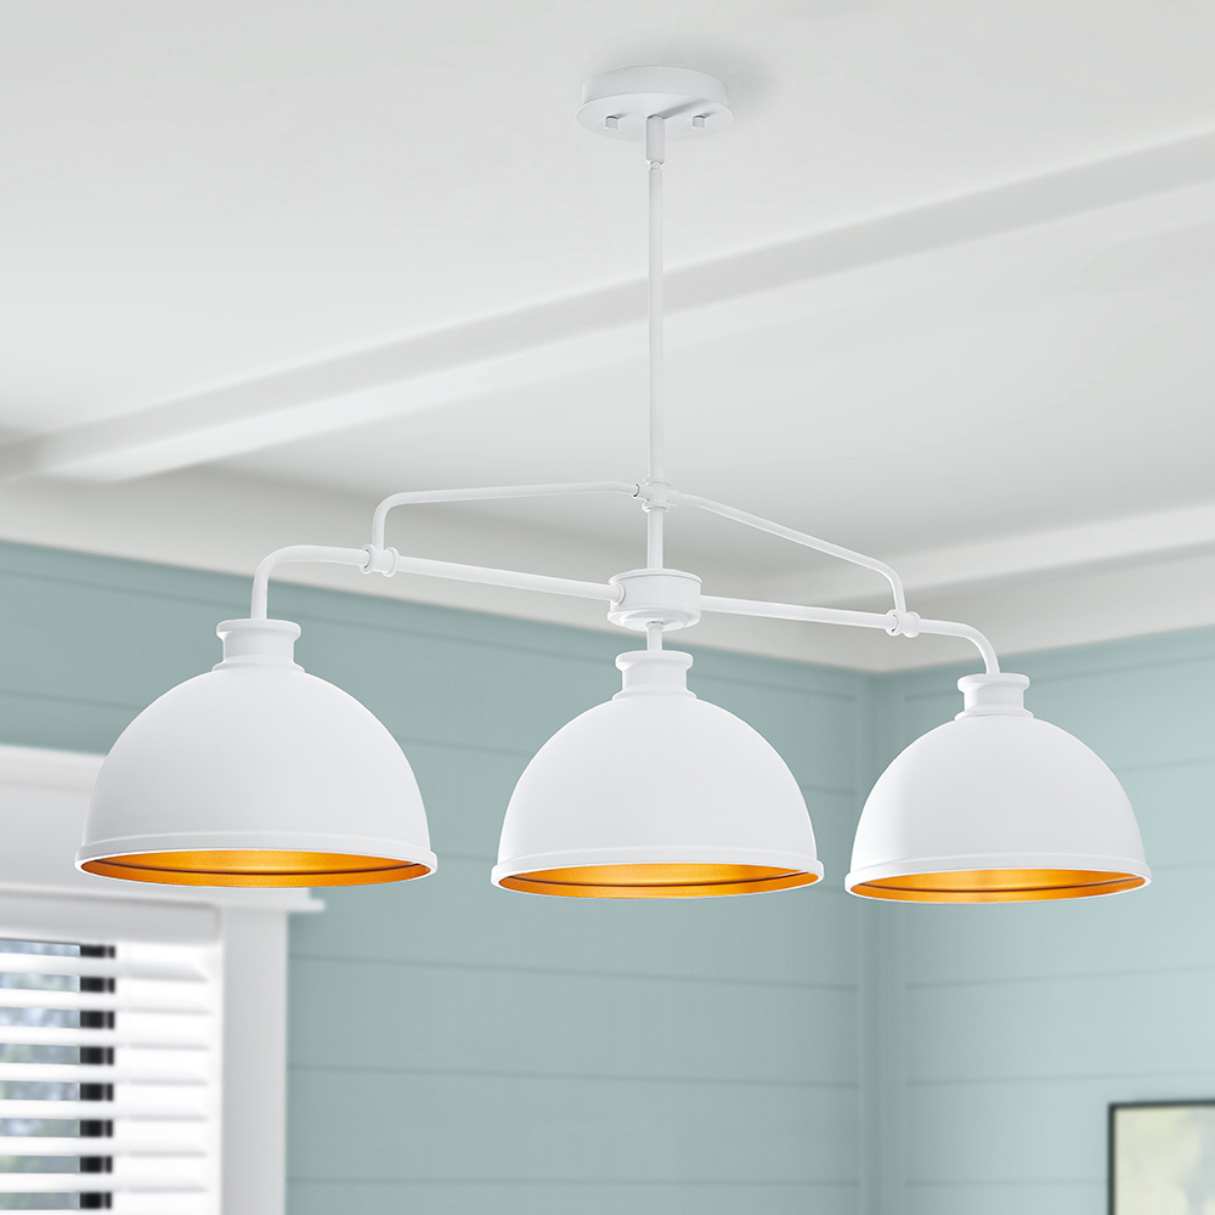
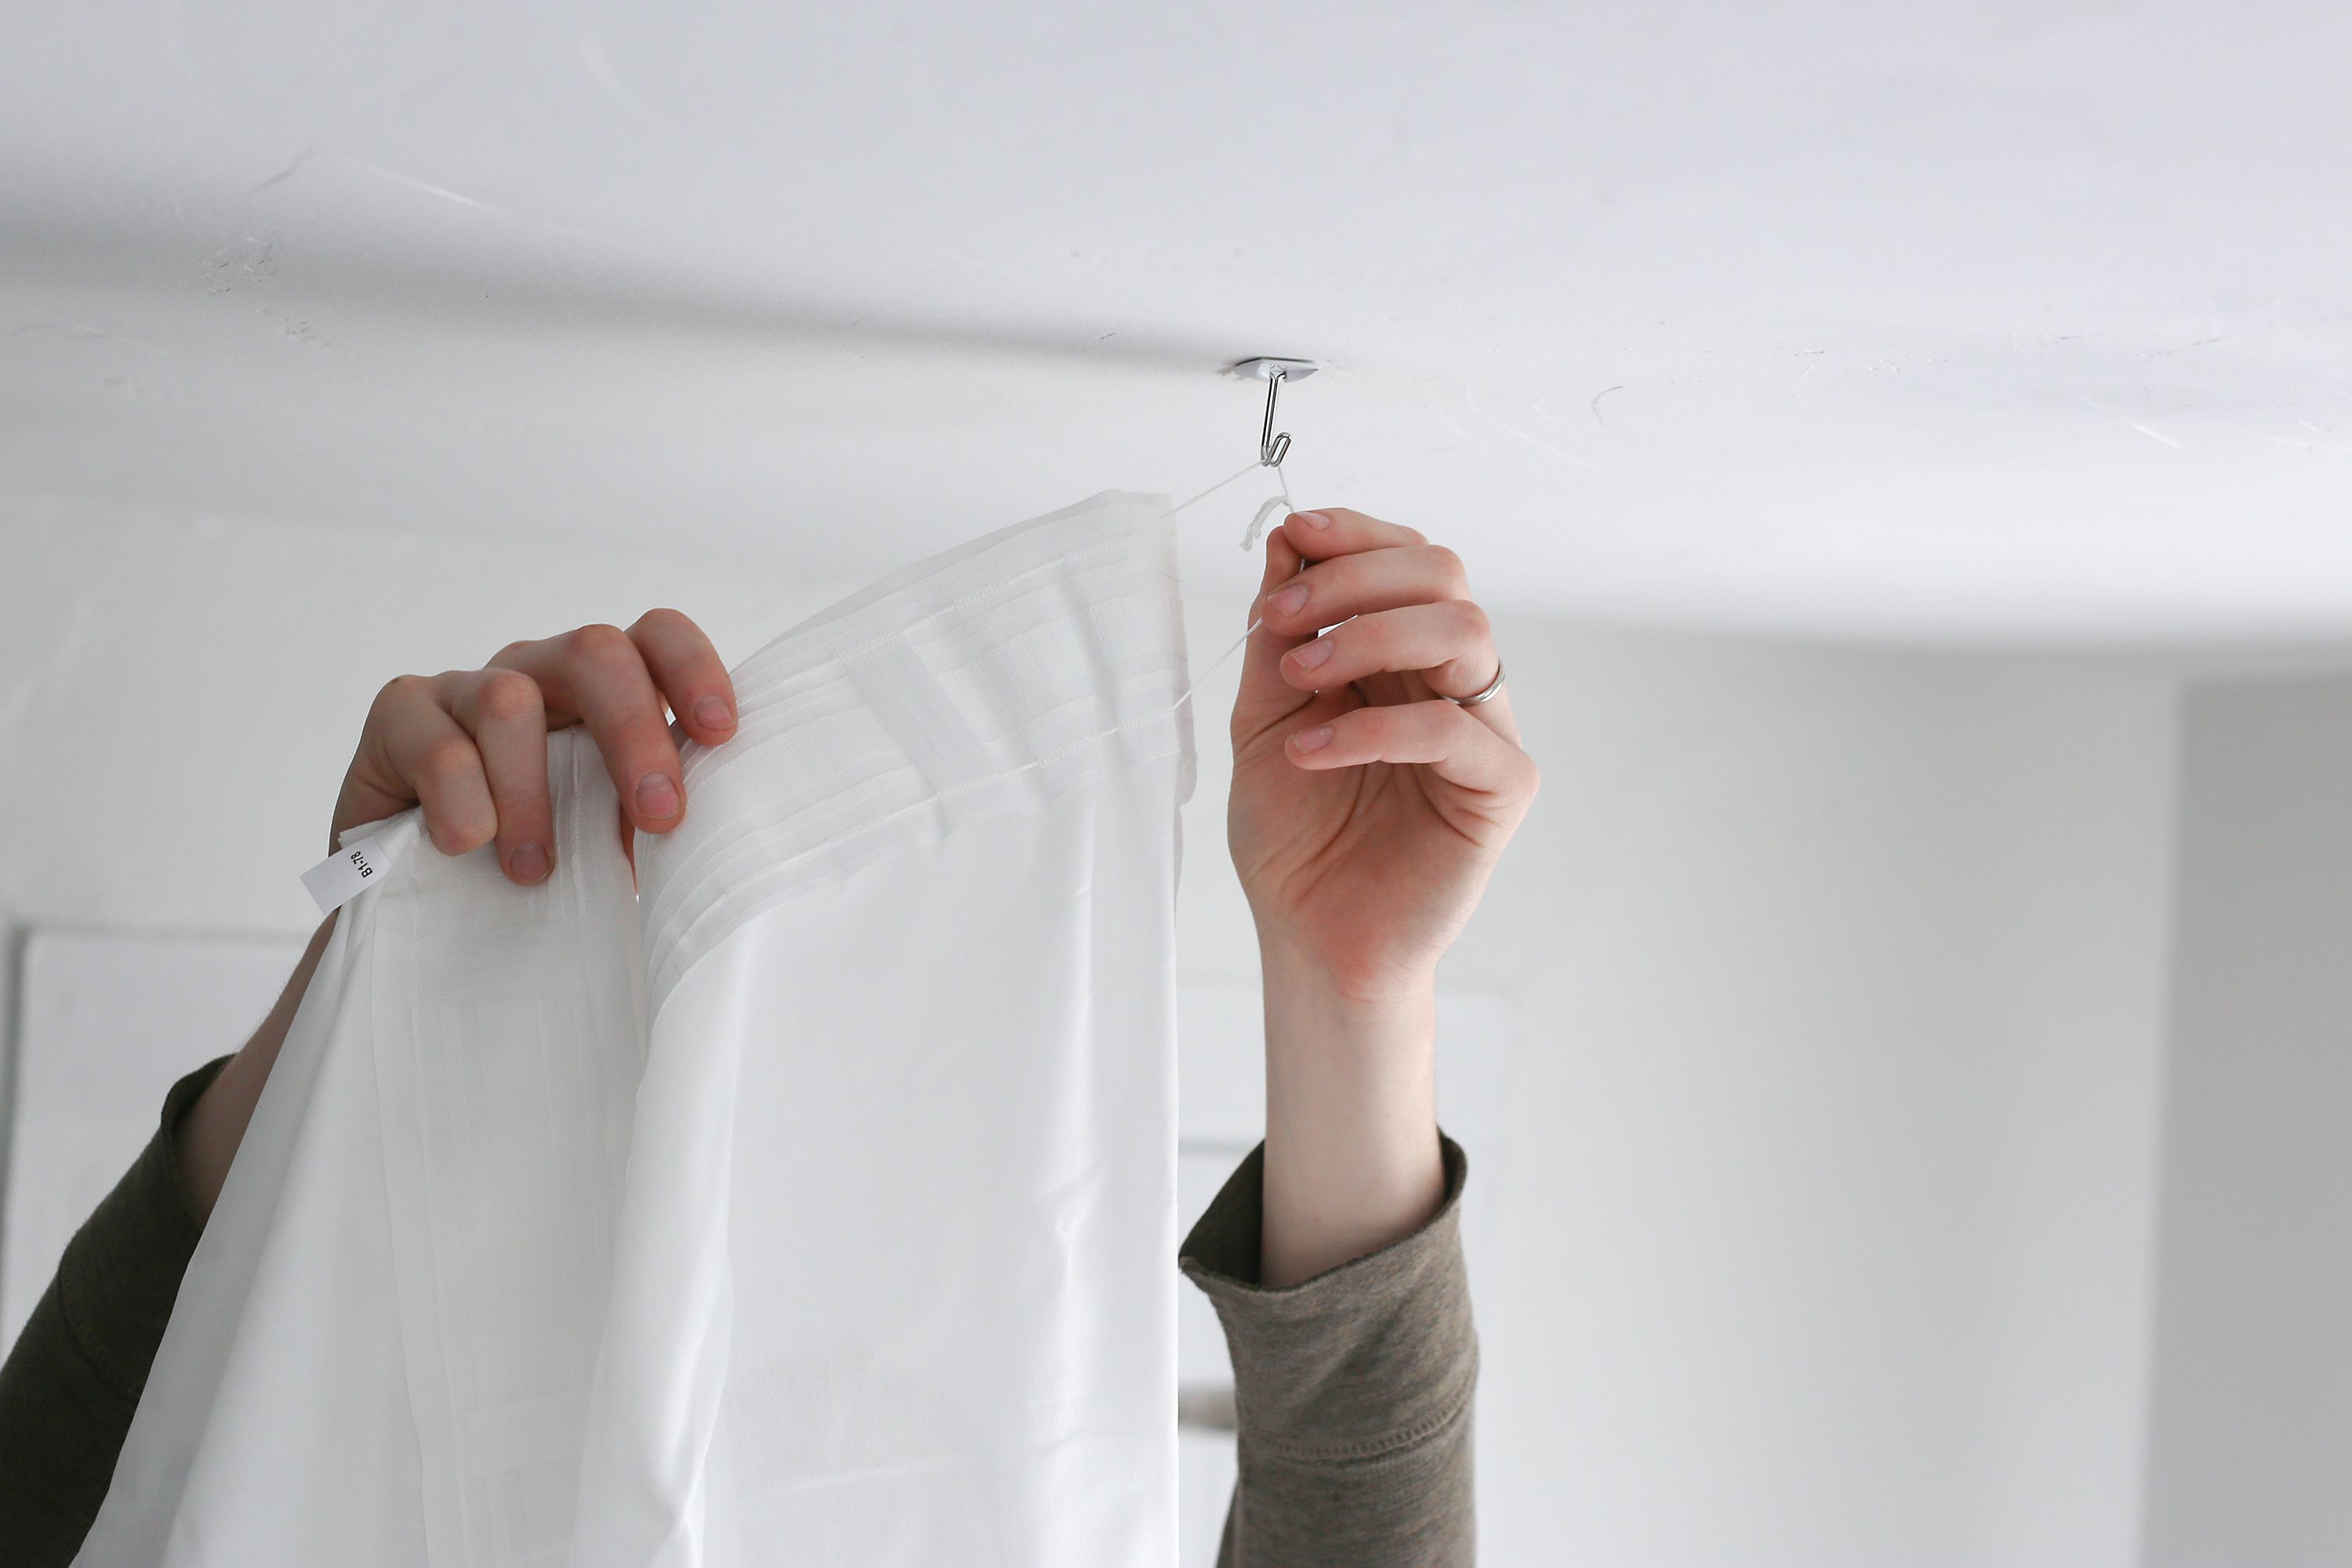
Step 6: Attach the light fixture
With the wiring securely connected and the mounting bracket in place, it's time to attach the hanging ceiling light fixture to complete the installation process. This step brings the project one step closer to illuminating your space with style and functionality. Here's a detailed guide on how to attach the light fixture effectively and ensure a polished and professional finish.
-
Position the Fixture: Carefully lift the hanging ceiling light fixture and position it beneath the mounting bracket. Align the fixture's mounting screws or hardware with the corresponding openings or slots on the bracket. It's essential to handle the fixture with care to avoid any damage or misalignment during this step.
-
Secure the Fixture: Once the fixture is aligned with the mounting bracket, use the provided screws or hardware to secure it in place. Depending on the design of the fixture, you may need to rotate or slide it into position before tightening the screws. Take care not to over-tighten the screws, as this could damage the fixture or the mounting bracket.
-
Verify Stability: After attaching the light fixture, gently test its stability by giving it a light shake. Ensure that it is securely fastened to the mounting bracket without any wobbling or movement. This step is crucial for confirming that the fixture is properly installed and ready for the final adjustments.
-
Adjust as Needed: With the fixture in place, make any necessary adjustments to ensure that it hangs level and aligns with the surrounding space. This may involve straightening the fixture, adjusting its height, or fine-tuning its position to achieve the desired aesthetic and functional outcome.
-
Follow Manufacturer's Guidelines: Always refer to the manufacturer's instructions and guidelines specific to your hanging ceiling light fixture. These instructions may include specific details on attaching the fixture, adjusting its components, and ensuring proper alignment for optimal performance.
By following these steps to attach the light fixture, you can bring the installation process to its final stages, setting the stage for the illumination and ambiance that the hanging ceiling light will bring to your space. Taking the time to position, secure, and adjust the fixture with precision will contribute to a seamless and professional finish, ensuring that it becomes a captivating focal point in your interior design. With the light fixture securely attached, you're now ready to proceed to the final step of testing the light and making any necessary adjustments for a flawless result.
Read more: How To Install Ceiling Fan Where Light Was
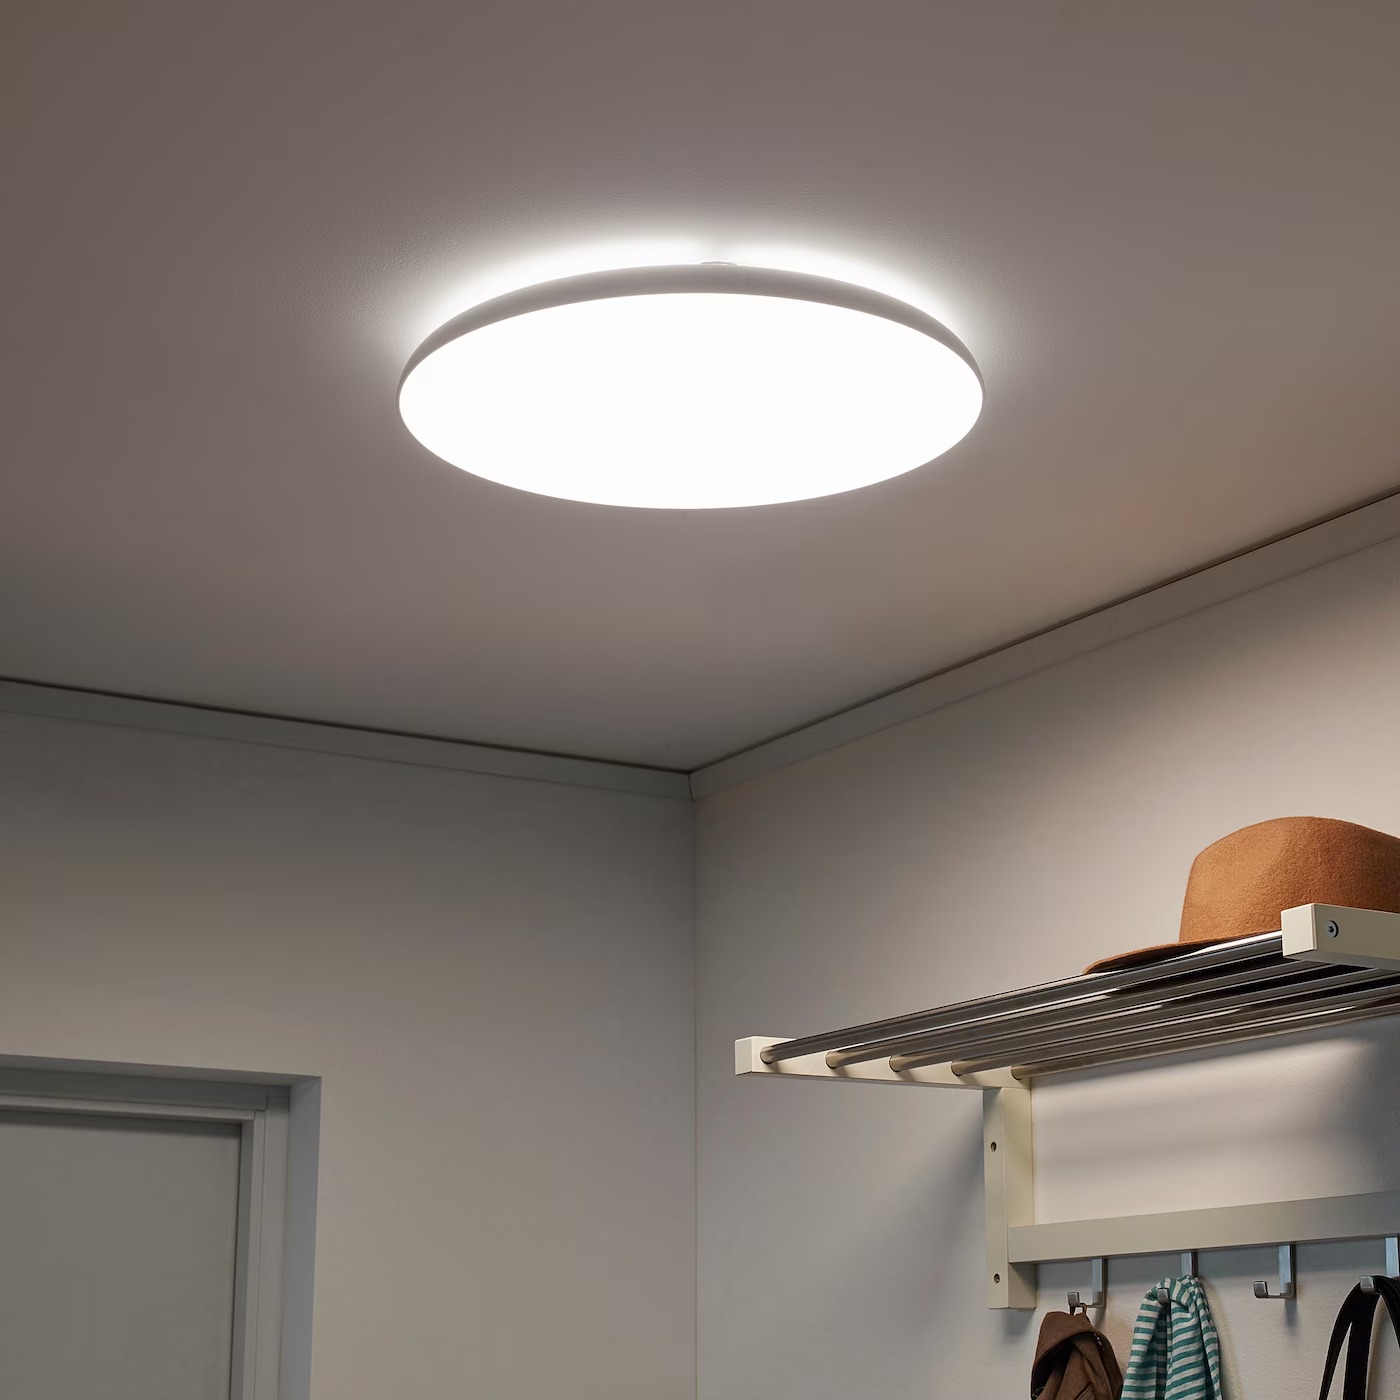
Step 7: Test the light and adjust as needed
With the hanging ceiling light fixture securely installed, the final step involves testing the light and making any necessary adjustments to ensure optimal functionality and visual appeal. This critical phase allows you to confirm that the electrical connections are sound, the fixture operates as intended, and any aesthetic adjustments are made for a polished finish.
To test the light, begin by restoring power to the area by reversing the process of turning off the circuit breaker. Once the power is restored, flip the light switch to activate the hanging ceiling light. Observe the fixture to ensure that it illuminates properly and emits the desired level of brightness. Additionally, check for any flickering or irregularities in the light, which may indicate loose connections or other issues that require attention.
As the light illuminates the space, take the opportunity to assess its positioning and alignment. Ensure that the fixture hangs level and is centered within the intended area. If adjustments are needed, carefully make any necessary changes to the fixture's position or height to achieve the desired visual impact. This may involve tightening the mounting screws, adjusting the length of the suspension rods or chains, or fine-tuning any components that affect the fixture's orientation.
Furthermore, consider the ambiance created by the light and its interaction with the surrounding decor. Take note of any shadows or glare that may detract from the overall lighting effect. If adjustments are needed to mitigate these issues, reposition the fixture or consider using diffusers or shades to achieve a more balanced and pleasing illumination.
Throughout the testing and adjustment process, it's essential to prioritize safety and attention to detail. Periodically inspect the wire connections and the stability of the fixture to ensure that everything remains secure and in proper working order. Additionally, refer to the manufacturer's guidelines for specific recommendations on testing and adjusting the hanging ceiling light fixture.
By thoroughly testing the light and making any necessary adjustments, you can ensure that the installation process culminates in a visually stunning and functional addition to your living space. With the light tested and adjusted as needed, step back and admire the transformative impact of the hanging ceiling light, knowing that your meticulous installation has brought both illumination and style to your home.
Conclusion
In conclusion, the installation of a hanging ceiling light is a rewarding endeavor that not only enhances the illumination of a space but also adds a touch of elegance and character to the room. By following the comprehensive steps outlined in this guide, you have gained the knowledge and confidence to embark on this DIY project with ease and precision.
From gathering the necessary tools and materials to safely turning off the power, removing the existing fixture, installing the mounting bracket, connecting the wires, attaching the light fixture, and testing the light, each step plays a crucial role in achieving a successful installation. By approaching the process with attention to detail and a focus on safety, you have taken the necessary measures to ensure a seamless and professional outcome.
As you stand back and admire the newly installed hanging ceiling light, take pride in the transformation you have brought to your living space. The captivating glow of the light fixture not only illuminates the room but also serves as a focal point that elevates the ambiance and style of the area. Whether it's a modern pendant light in the kitchen, a sophisticated chandelier in the dining room, or a sleek fixture in the bedroom, the impact of a well-installed hanging ceiling light is undeniable.
Furthermore, the satisfaction of completing this DIY project extends beyond the visual appeal of the fixture. You have acquired valuable skills in electrical work, fixture installation, and attention to detail, which can be applied to future home improvement endeavors. The confidence gained from successfully installing a hanging ceiling light serves as a testament to your capability and resourcefulness as a homeowner.
As you enjoy the enhanced illumination and aesthetic charm brought by the new hanging ceiling light, remember the careful consideration and precision that went into the installation process. Your dedication to creating a well-lit and inviting space has not only brightened the room but has also illuminated your proficiency in taking on rewarding DIY projects.
With the installation complete and the space transformed, you can revel in the captivating allure of your new hanging ceiling light, knowing that your efforts have contributed to a more inviting and stylish environment within your home.
Frequently Asked Questions about How To Install A Hanging Ceiling Light
Was this page helpful?
At Storables.com, we guarantee accurate and reliable information. Our content, validated by Expert Board Contributors, is crafted following stringent Editorial Policies. We're committed to providing you with well-researched, expert-backed insights for all your informational needs.

0 thoughts on “How To Install A Hanging Ceiling Light”