Articles
How To Make Ribbon Hanging Picture Frames
Modified: December 7, 2023
Learn how to create beautiful ribbon hanging picture frames with our helpful articles. Find step-by-step guides and creative ideas to display your favorite photos.
(Many of the links in this article redirect to a specific reviewed product. Your purchase of these products through affiliate links helps to generate commission for Storables.com, at no extra cost. Learn more)
Introduction
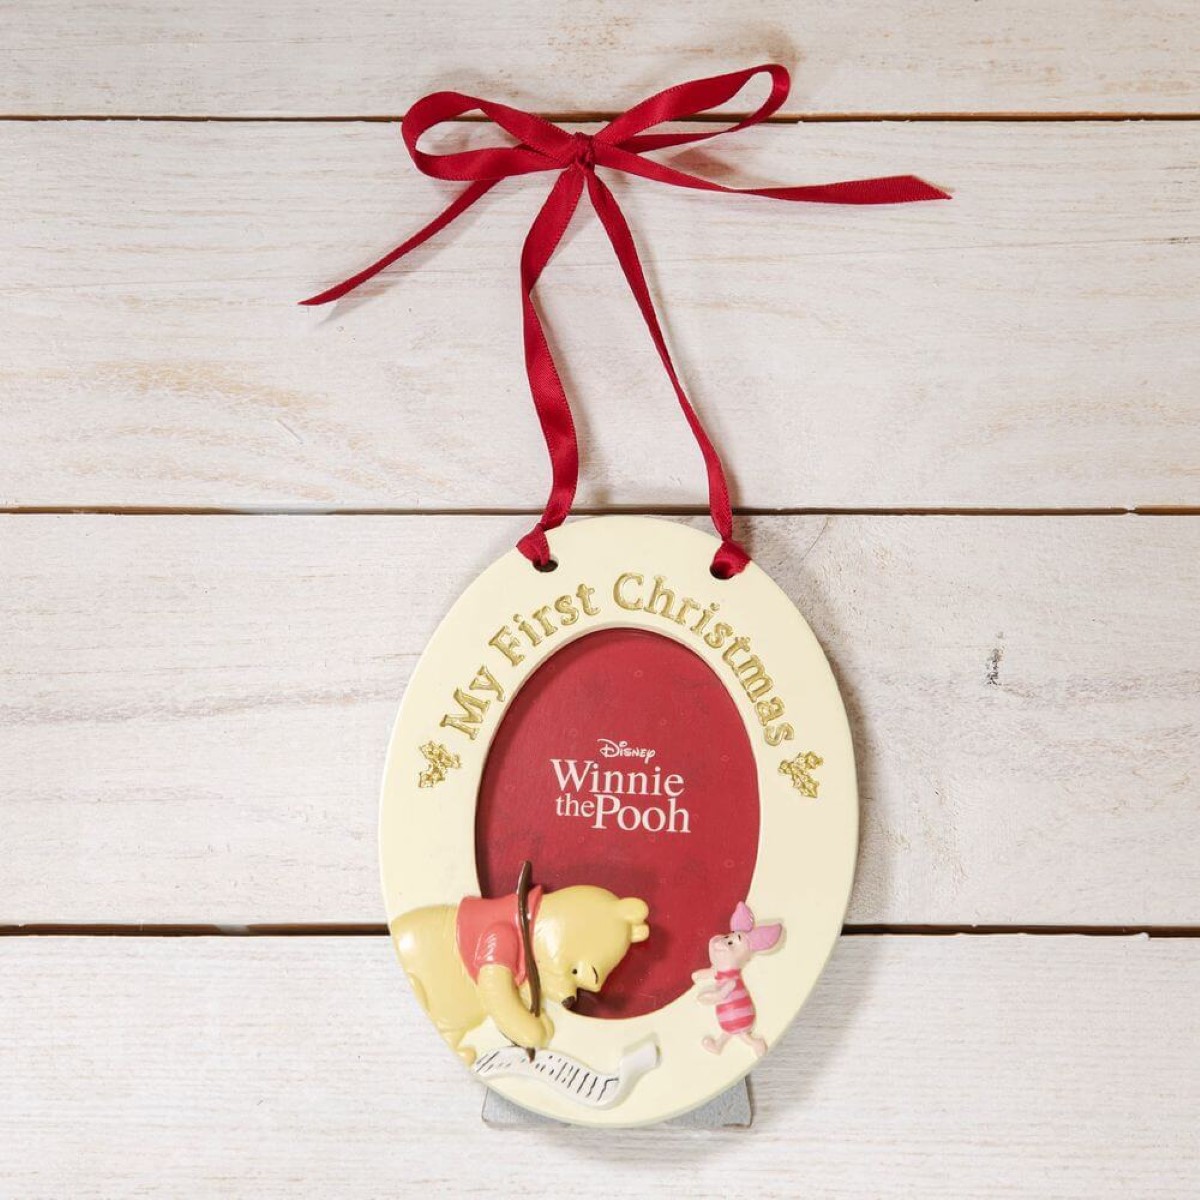
Welcome to the world of ribbon hanging picture frames! This creative and versatile DIY project allows you to showcase your favorite photos in a unique and eye-catching way. Whether you’re looking to add a personal touch to your home decor or create a thoughtful gift for a loved one, ribbon hanging picture frames are the perfect option.
In this article, we will guide you through the step-by-step process of making your own ribbon hanging picture frames. You’ll learn how to measure and cut the ribbon, attach it to the picture frame, and hang the finished product with ease. So let’s get started on this fun and rewarding project!
Before we dive into the process, let’s take a quick look at the materials you’ll need to gather to make your ribbon hanging picture frames.
Key Takeaways:
- Create personalized and elegant ribbon hanging picture frames to showcase cherished memories. Experiment with different ribbon colors and patterns for a custom look that adds a unique touch to any space.
- Easily hang and display your ribbon hanging picture frames using simple steps and materials. Keep your decor fresh by updating the photos or artwork, and enjoy the creative process of making and showcasing your personalized frames.
Read more: How To Make Picture Frames
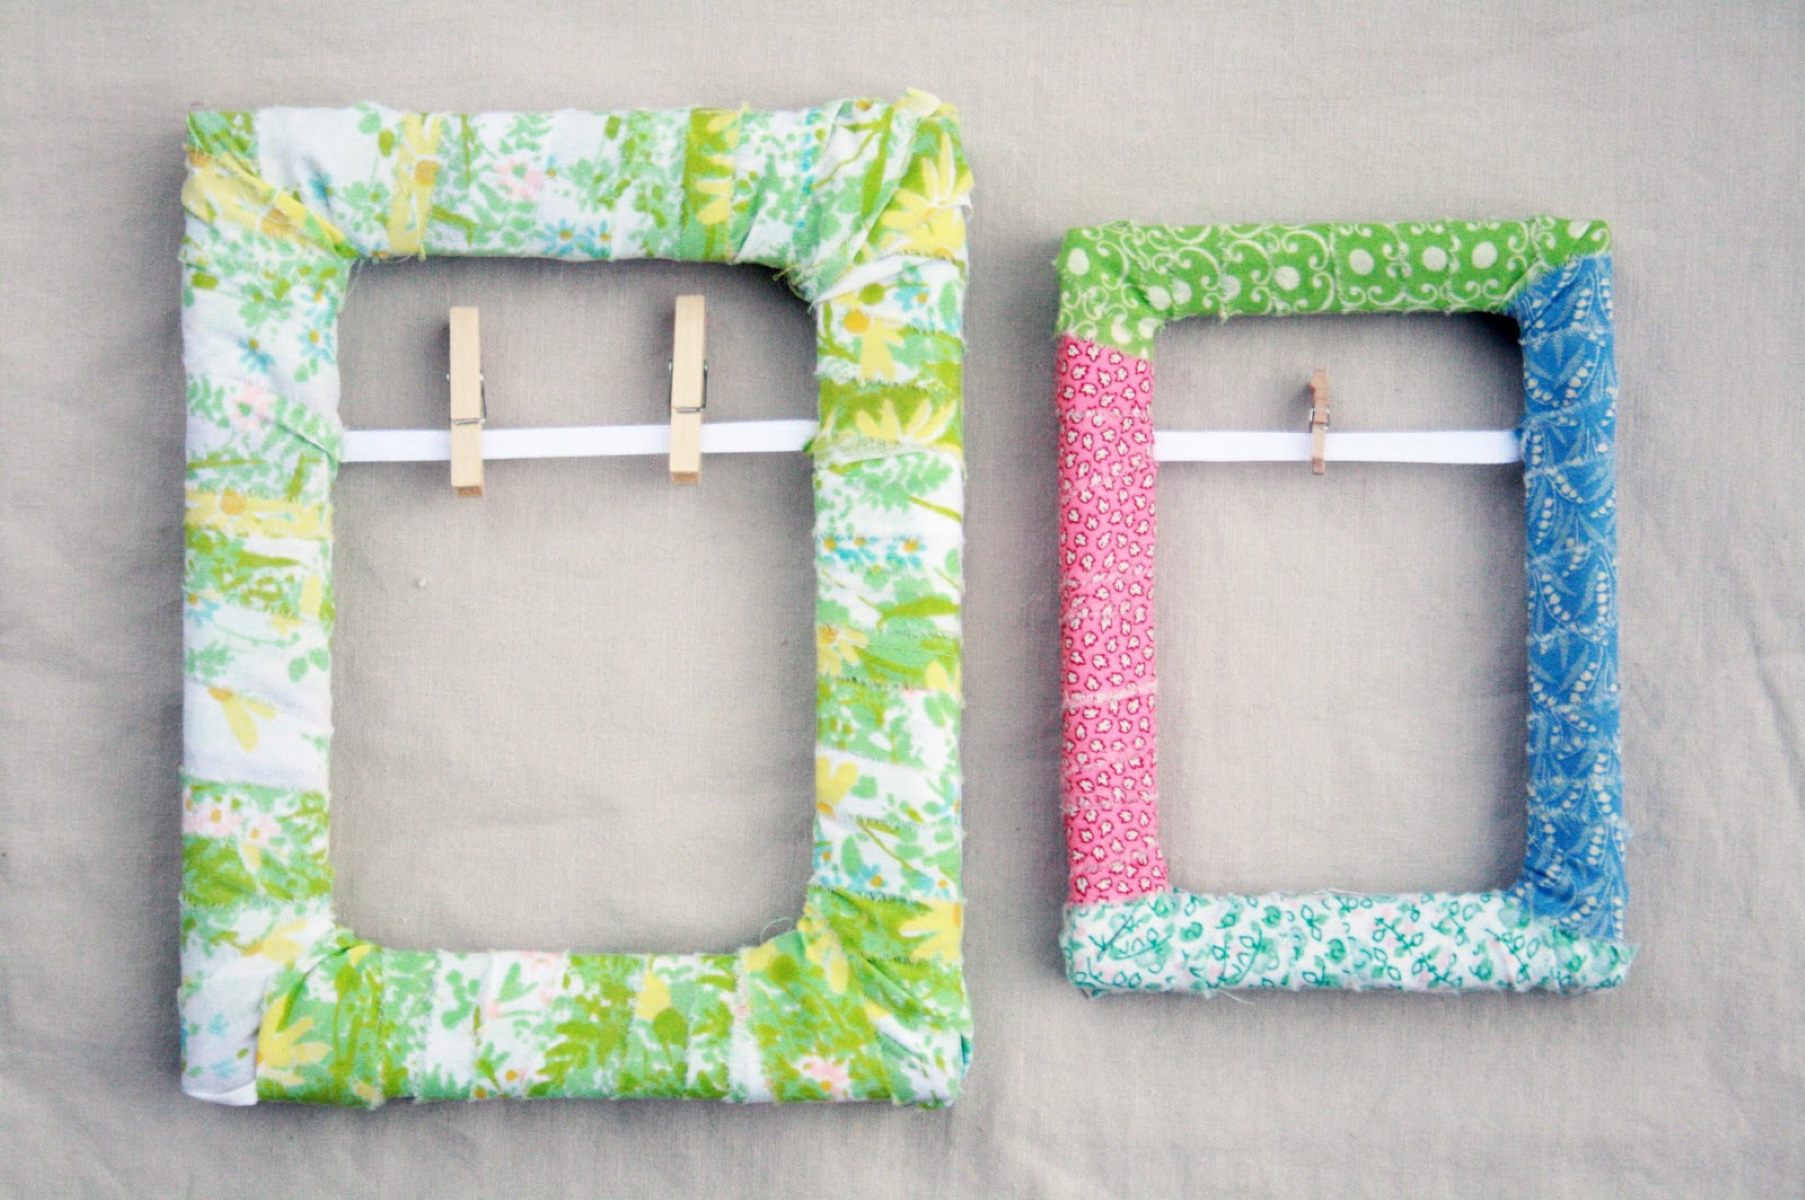
Materials Needed
Before you begin, make sure you have the following materials ready:
- A picture frame of your choice
- Ribbon (preferably a width of 1 inch)
- Scissors
- Double-sided tape or adhesive dots
- Photos or artwork to display
- Command hooks or nails for hanging
Now that you have all the necessary materials, let’s move on to the step-by-step process of creating your ribbon hanging picture frames.
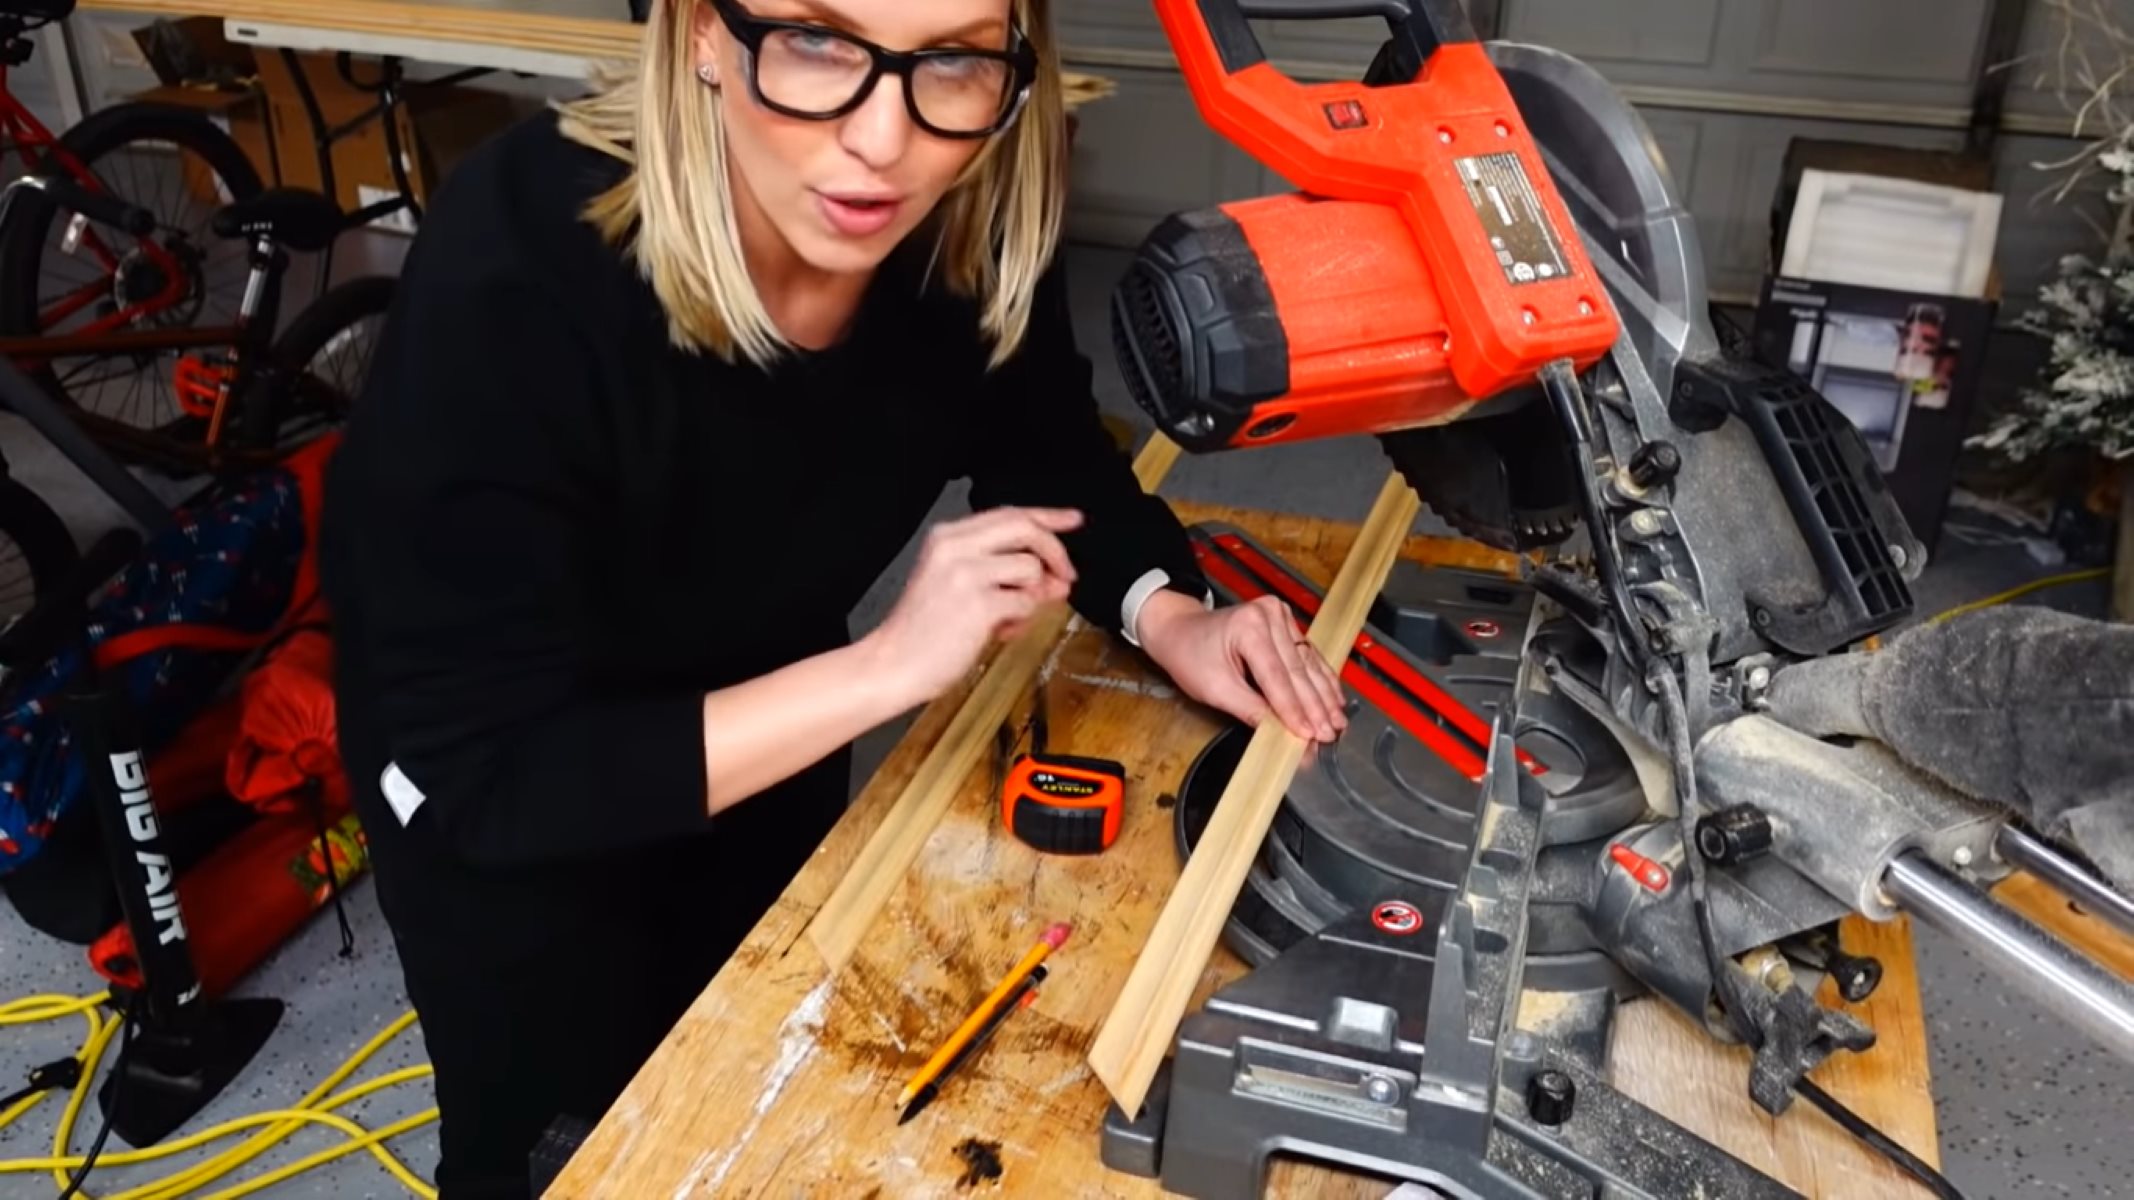
Step 1: Measure and Cut the Ribbon
The first step in making your ribbon hanging picture frames is to measure and cut the ribbon to the desired length. Here’s how to do it:
- Start by determining the desired length of the ribbon. Keep in mind that the ribbon needs to be long enough to hang your picture frame at the desired height.
- Using a scissors, carefully cut the ribbon to your desired length, making sure to have some extra length for knotting or attaching it to the frame.
- If you plan on hanging multiple frames in a row, repeat this step for each ribbon, making sure they are all the same length for a uniform look.
Once you have your ribbon cut to the desired length, you’re ready to move on to the next step of attaching it to the picture frame.
When choosing a ribbon for hanging picture frames, make sure it is strong enough to support the weight of the frame and that it complements the overall aesthetic of the room.
Step 2: Attach the Ribbon to the Picture Frame
Now that you have your ribbon cut to the desired length, it’s time to attach it to the picture frame. Follow these simple steps:
- Take one end of the ribbon and fold about an inch of it over.
- Place a small piece of double-sided tape or adhesive dot on the folded part of the ribbon.
- Press the folded part of the ribbon onto the back of the picture frame, ensuring it is centered and aligned.
- Repeat this process for the other end of the ribbon, attaching it to the opposite side of the picture frame.
- If you’re using a larger picture frame, you may want to attach additional ribbons along the top or sides for added support.
Make sure the ribbons are securely attached to the picture frame before moving on to the next step. This will ensure that your picture frame hangs properly when displayed.
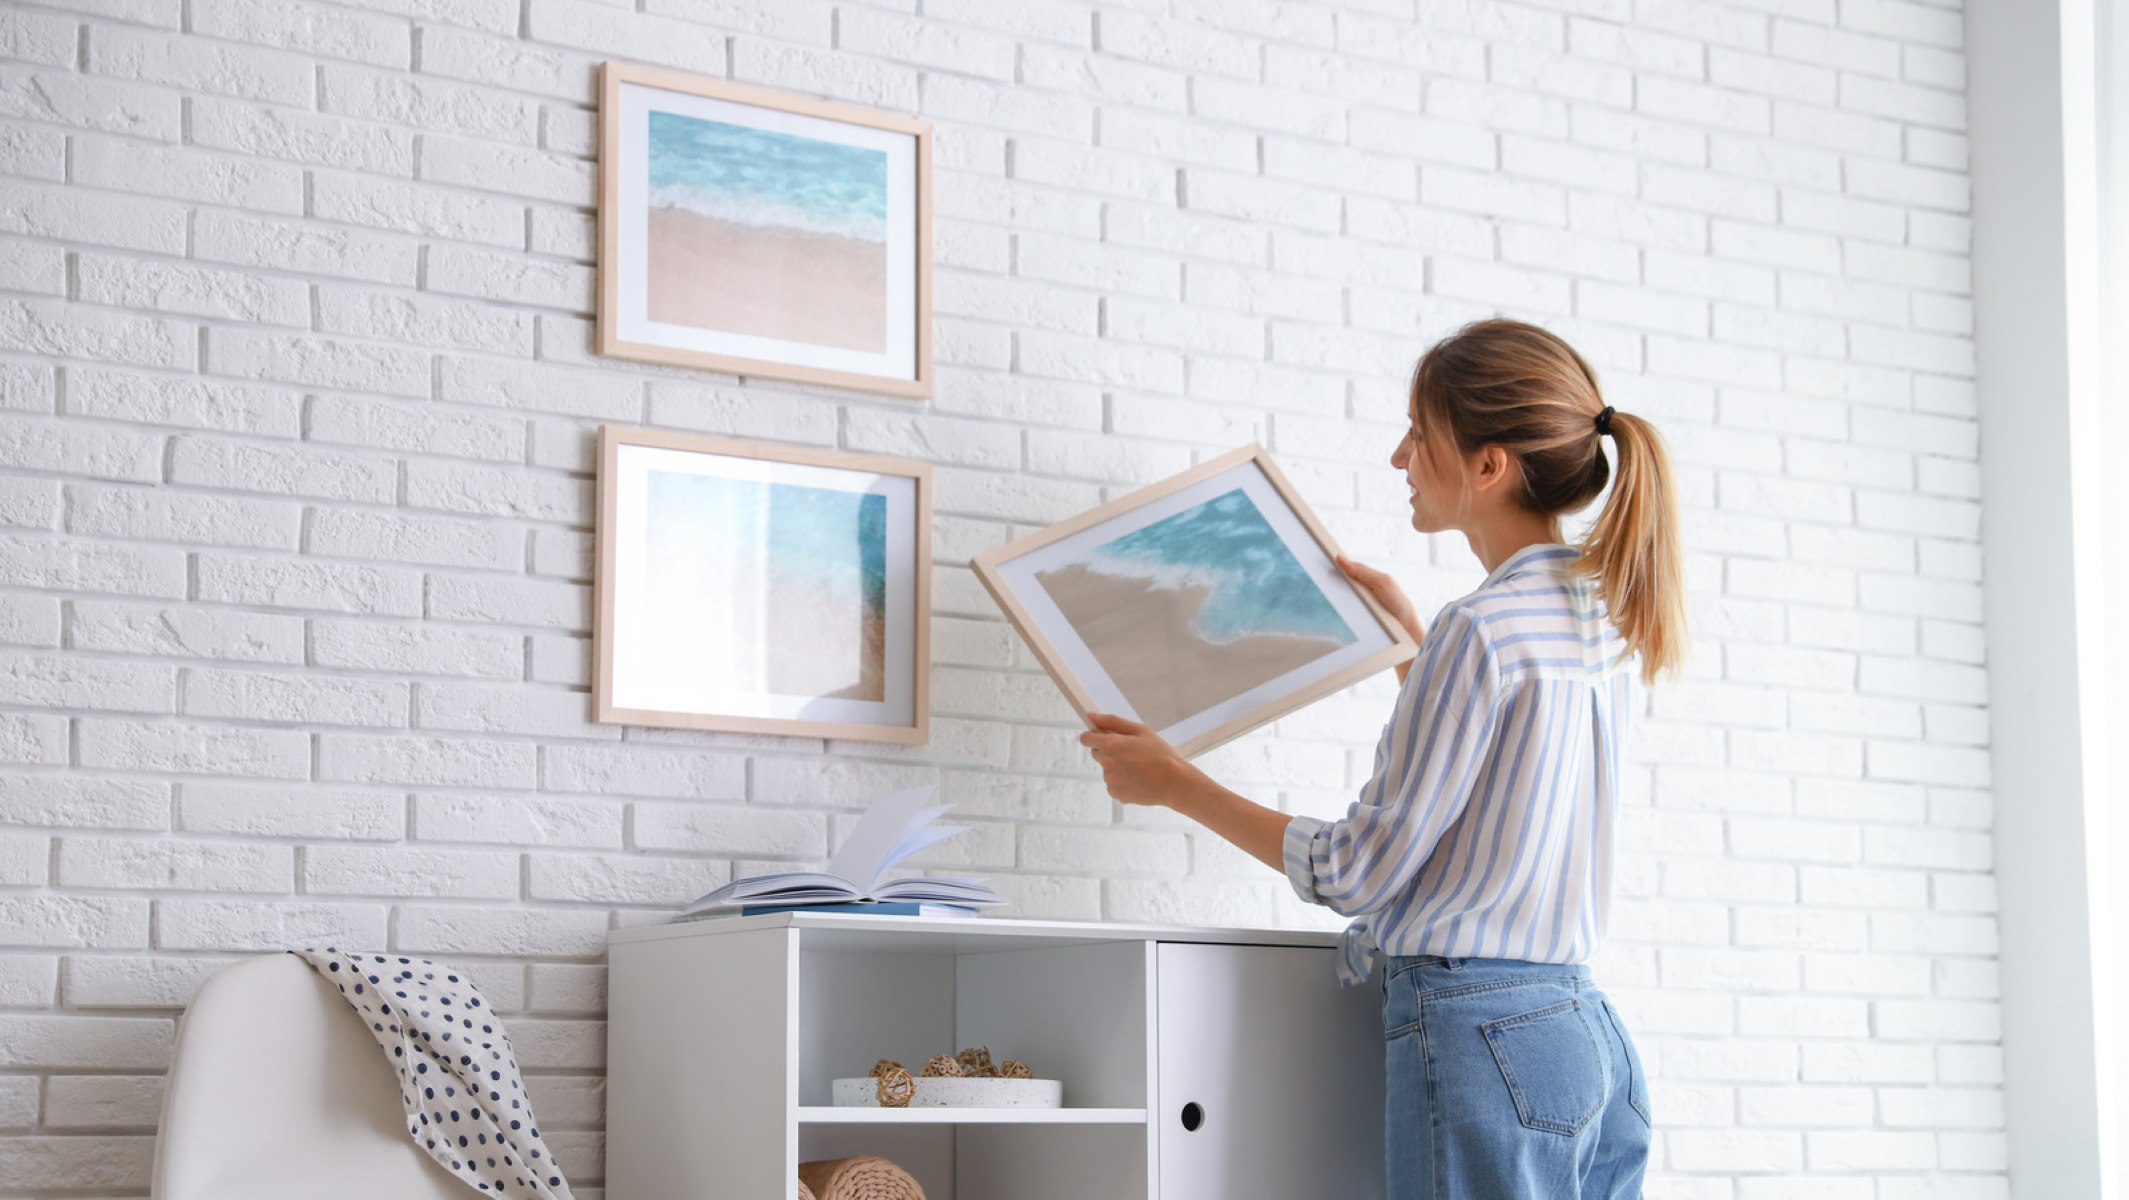
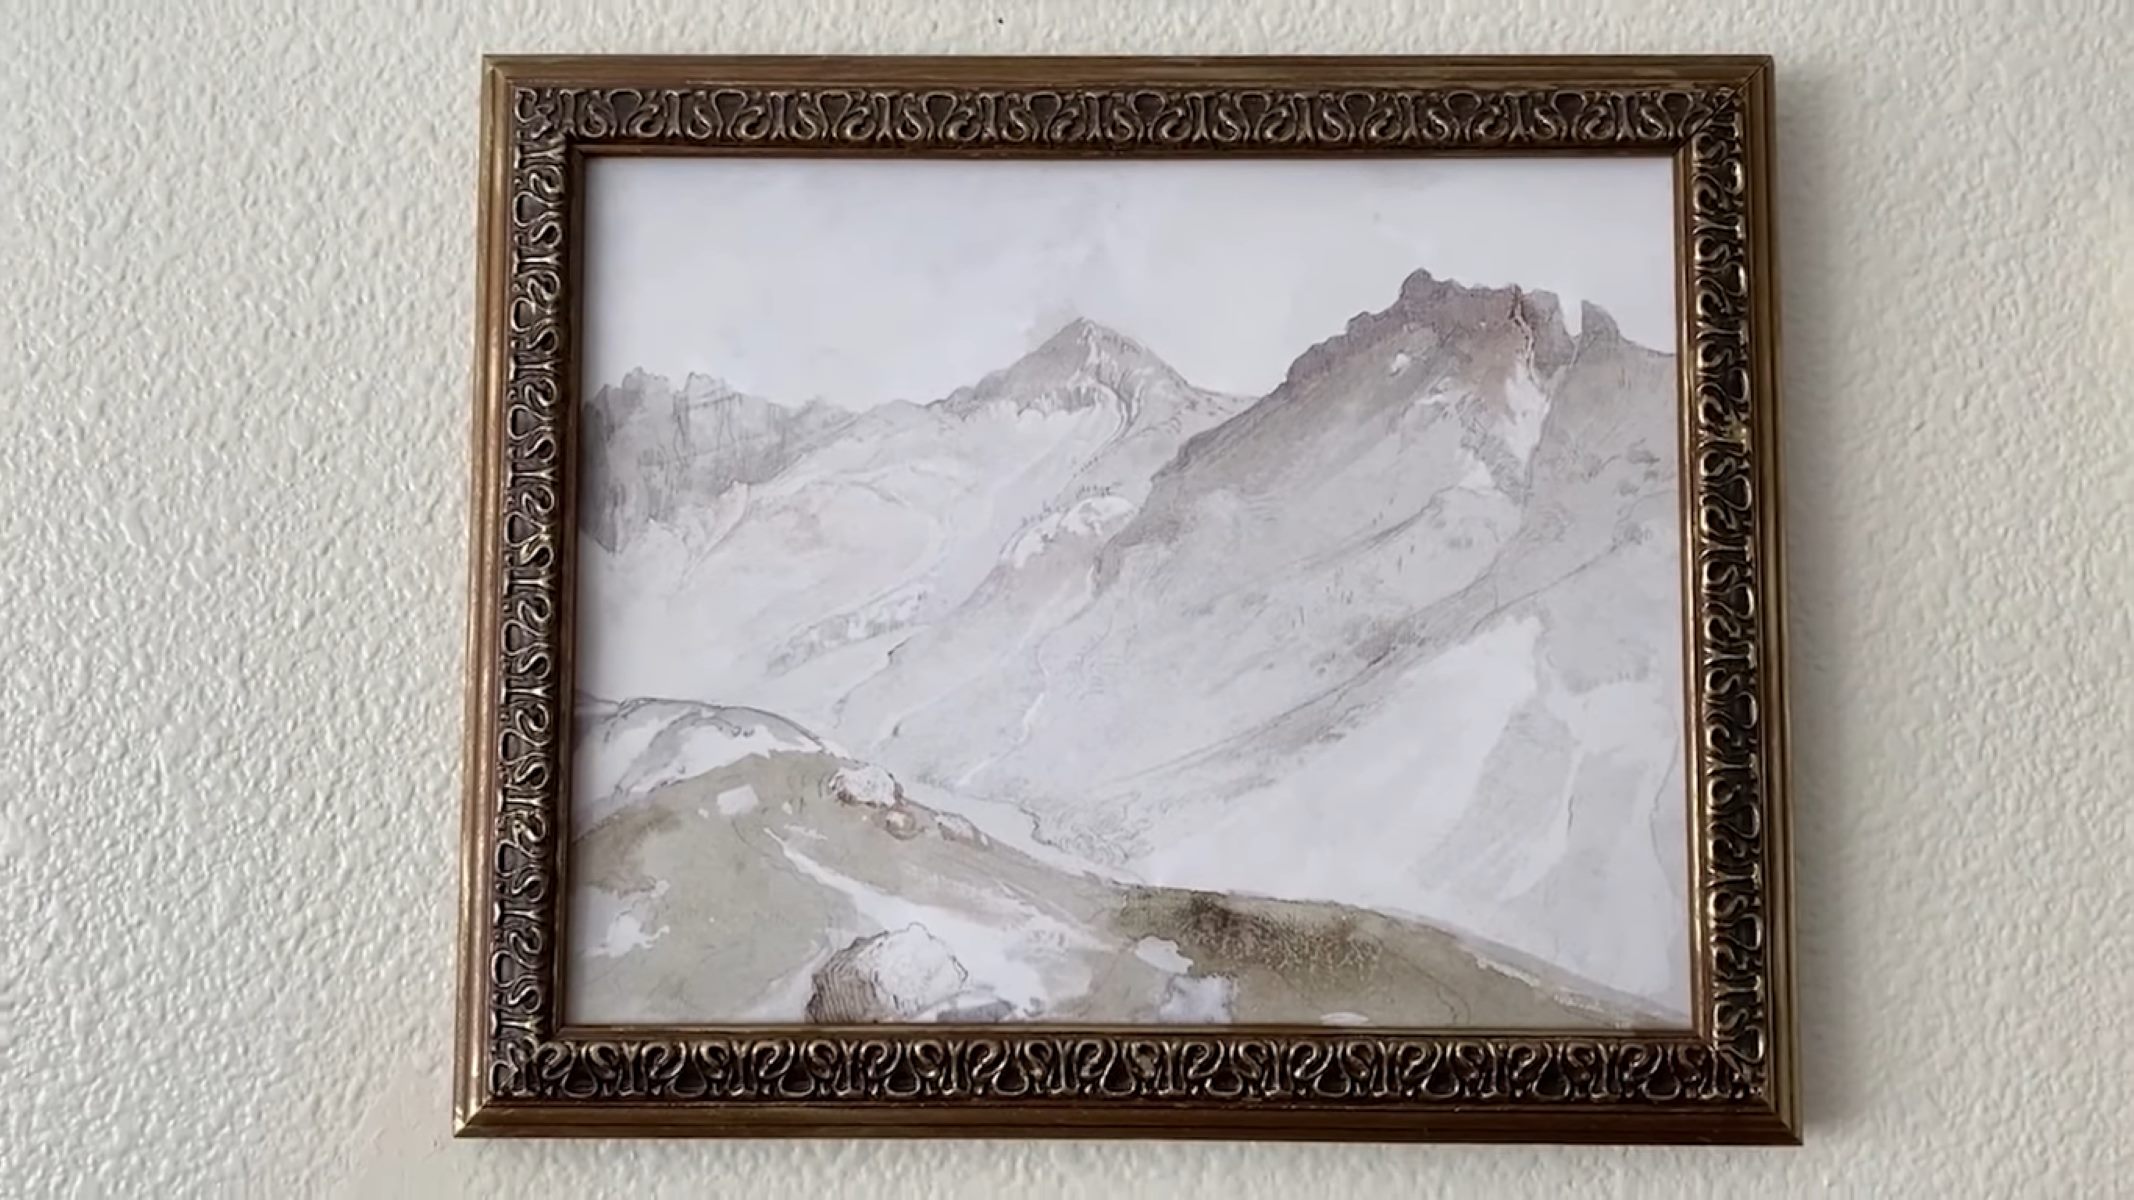
Step 3: Hang the Picture Frame
Congratulations! You’ve successfully attached the ribbon to your picture frame. Now it’s time to hang it up and display your favorite photos or artwork. Follow these steps:
- Choose the location where you want to hang your picture frame. Consider the height and placement to ensure optimal visibility.
- If you’re using command hooks, follow the instructions provided to properly install them on the wall. Make sure they are level and securely attached.
- If you prefer using nails, use a pencil to lightly mark the desired position for the nails on the wall. Ensure that they are evenly spaced and level.
- Carefully hang the picture frame by looping the ribbon onto the command hooks or by positioning the frame onto the nails.
- Step back and admire your beautifully displayed picture frame. Adjust the position or straighten the frame if necessary to achieve the desired look.
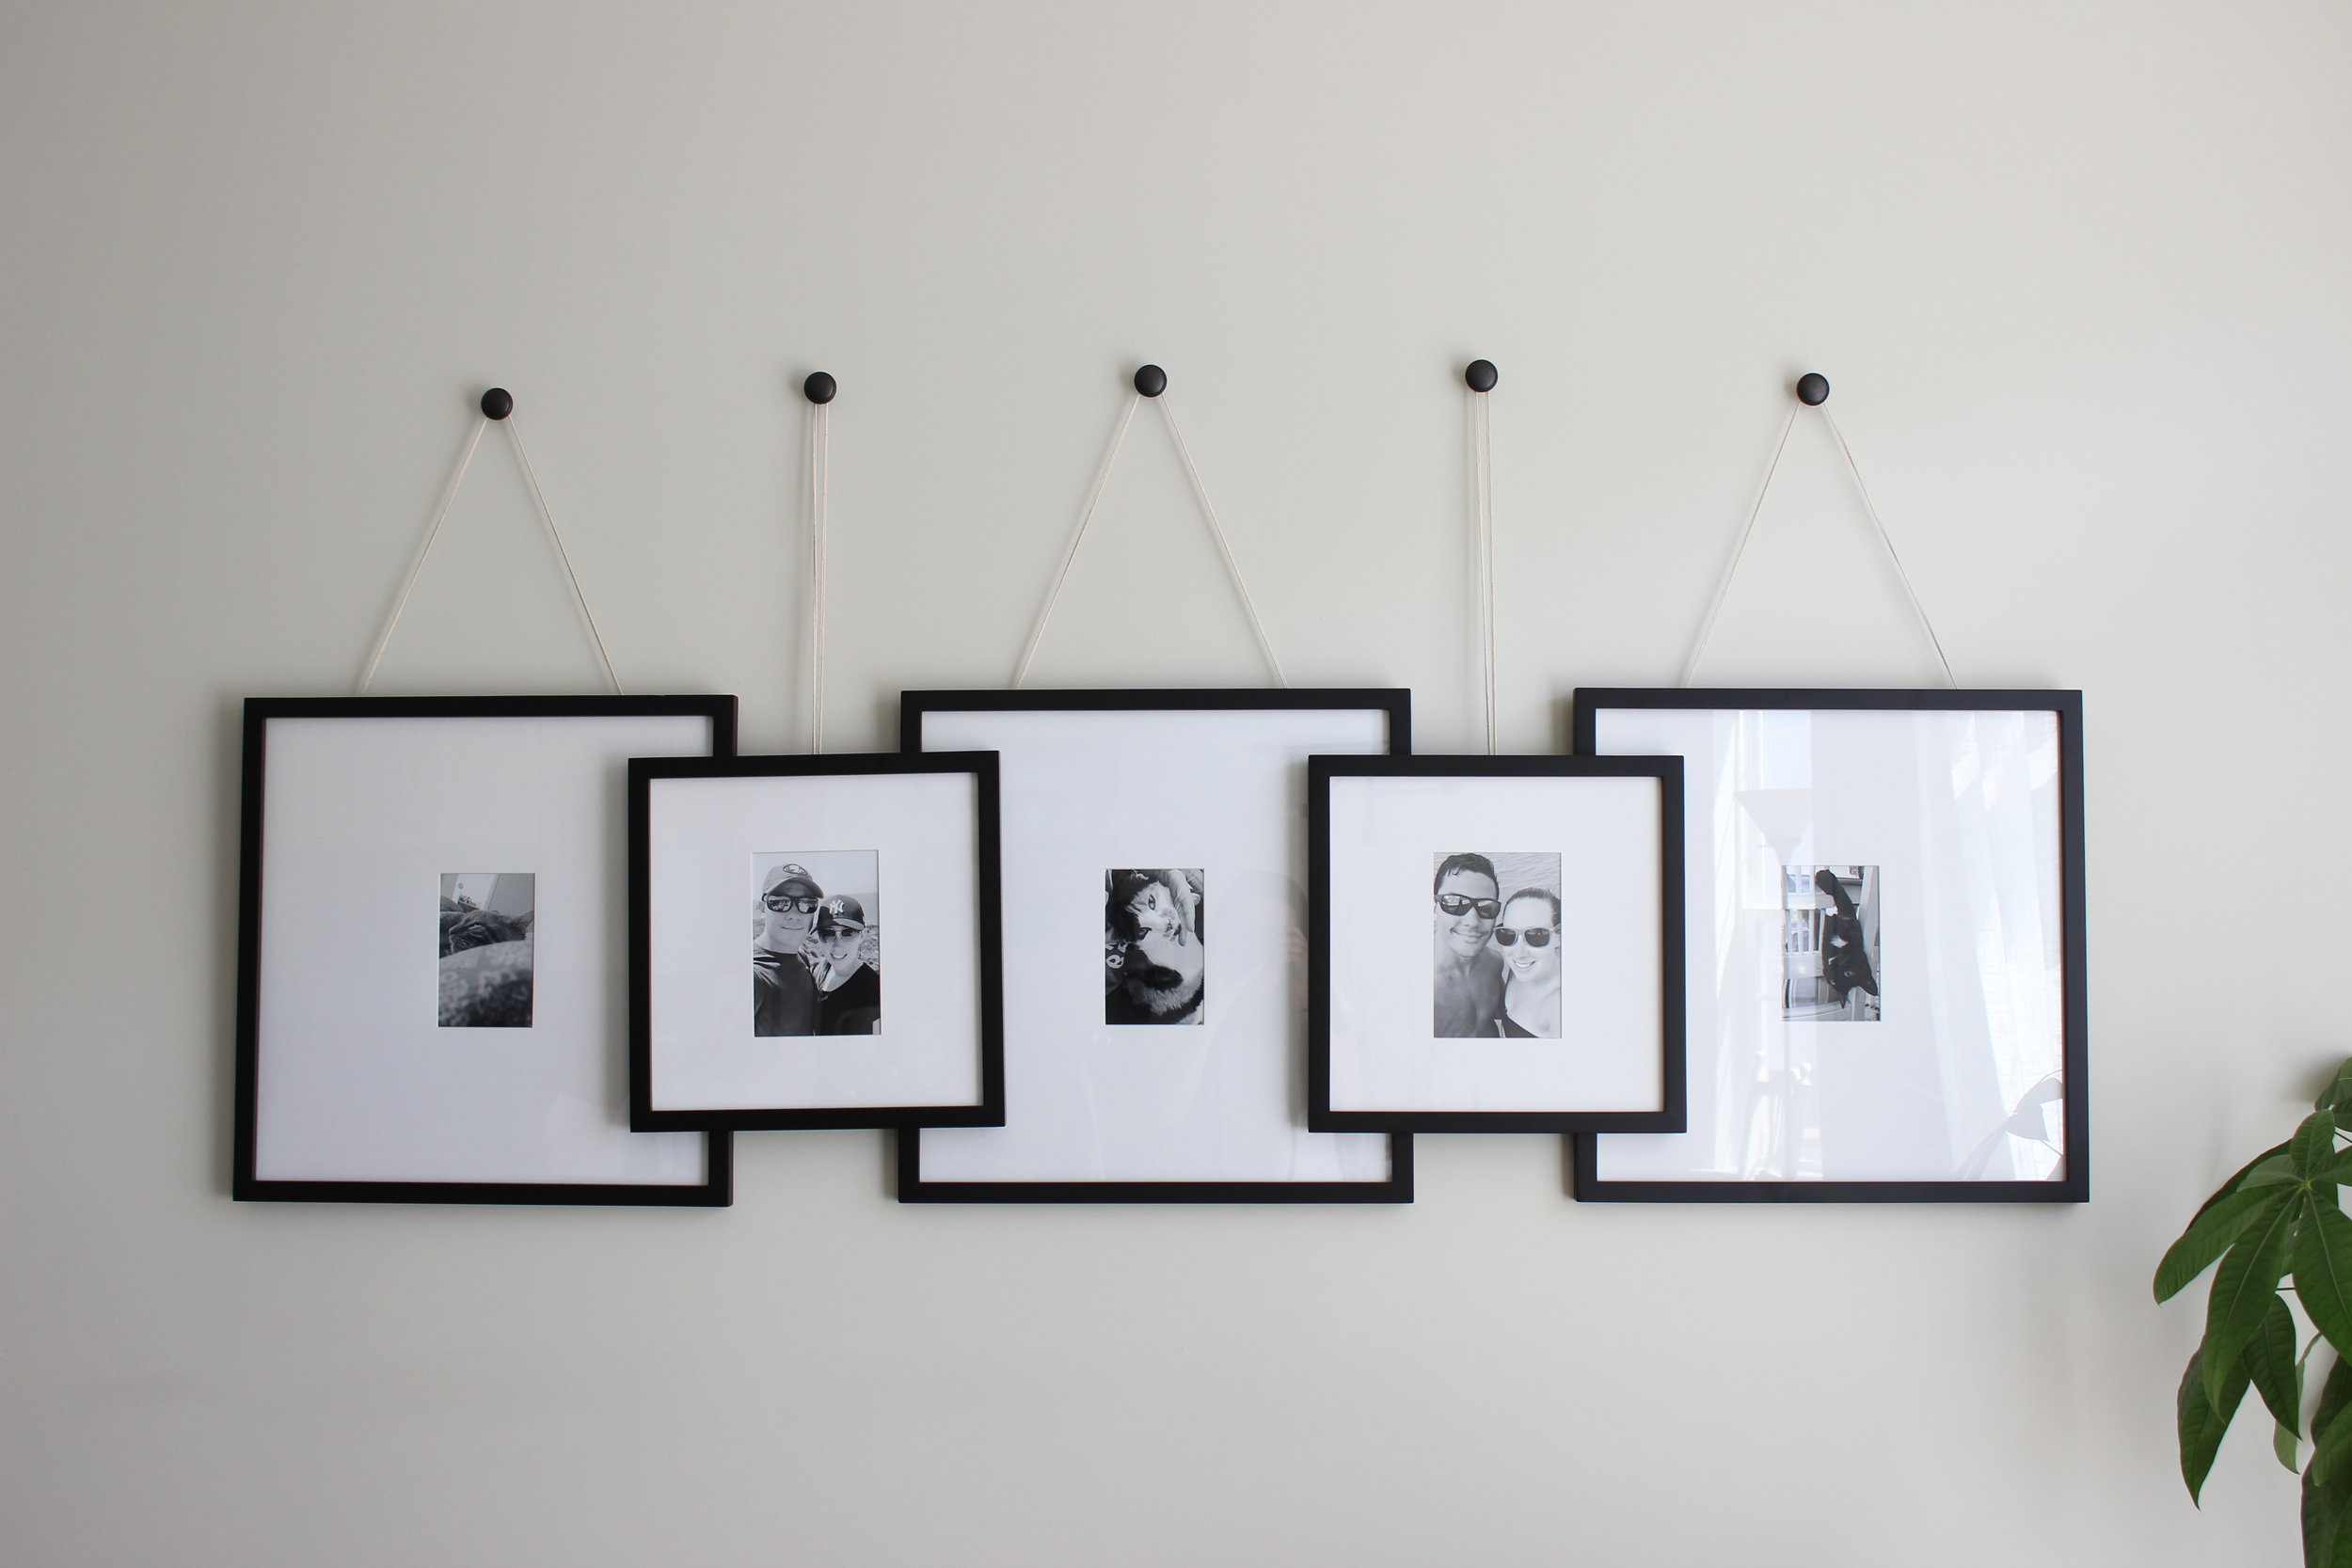
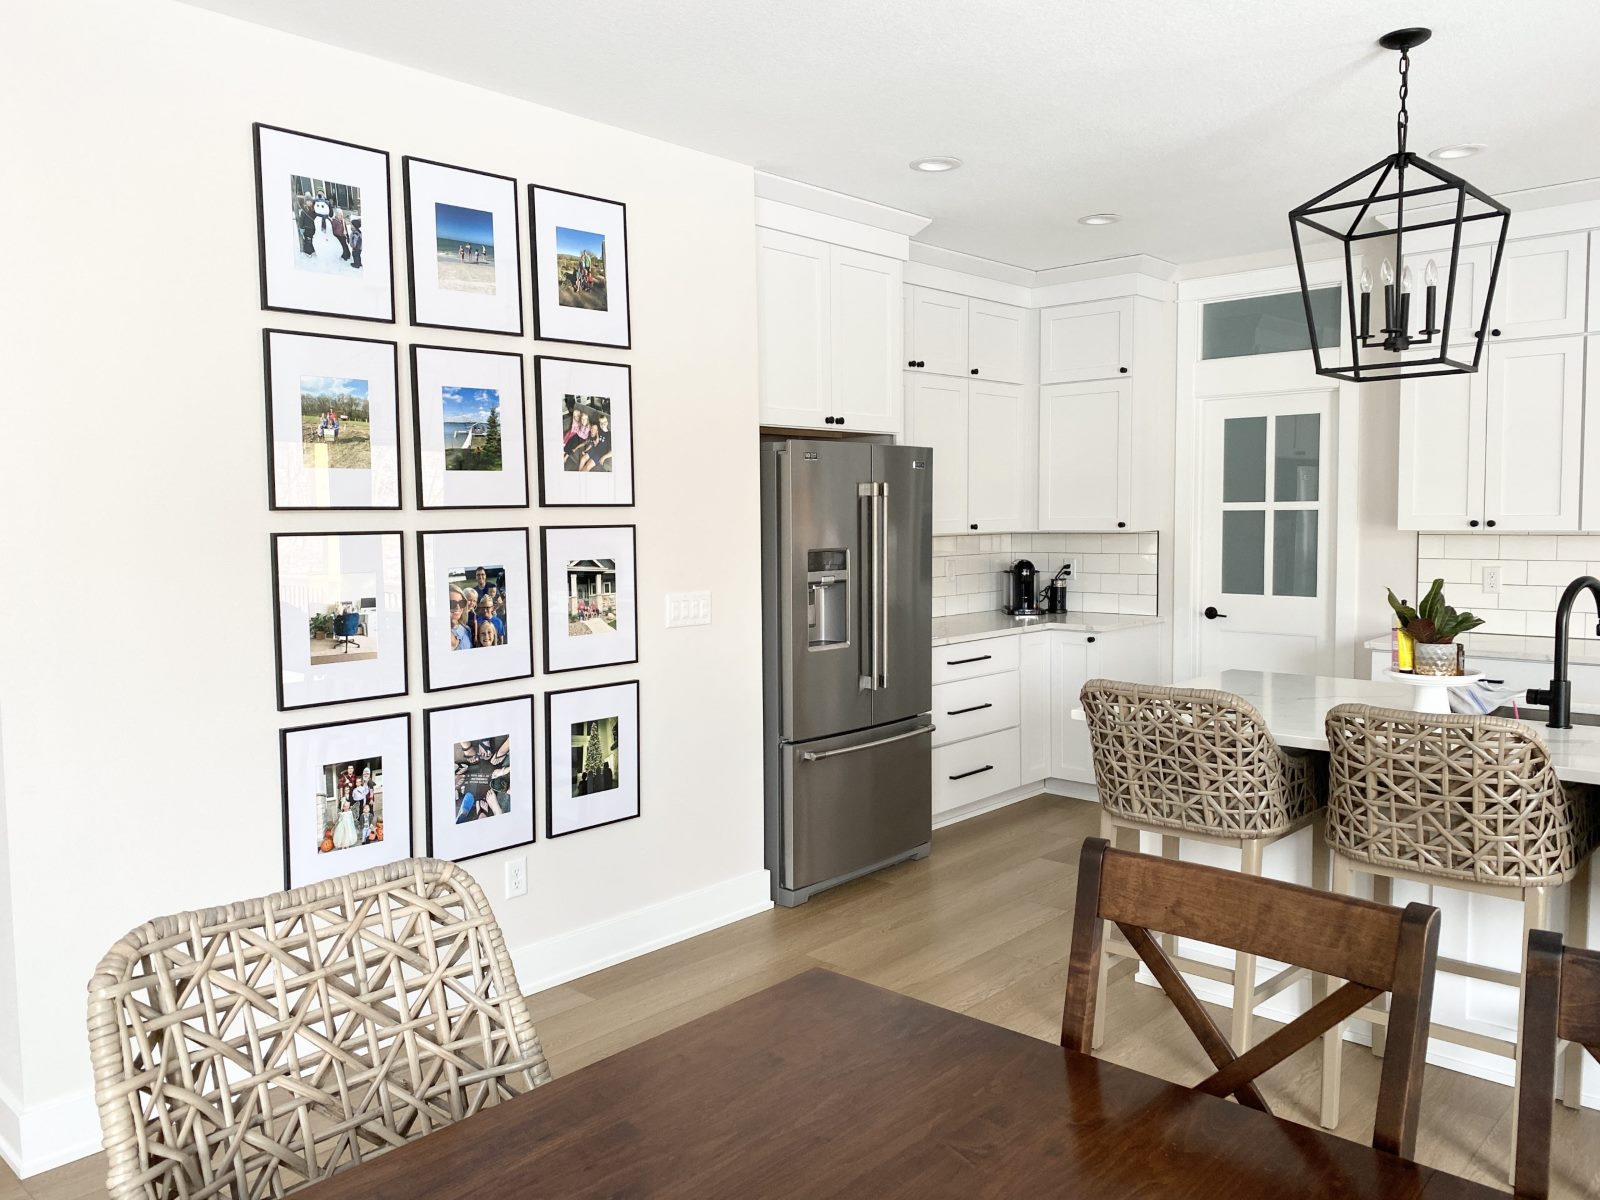
Repeat the above steps for any additional picture frames you wish to hang. You can create a delightful gallery wall by hanging multiple frames in a creative arrangement.
Remember to periodically check the stability of the picture frames and ensure the ribbons are securely attached to prevent any accidents. Enjoy showcasing your cherished memories in this unique and stylish way!
Read more: How To Hang Up Multiple Picture Frames
Conclusion
Congratulations on completing your ribbon hanging picture frames! By following the simple steps outlined in this article, you have learned how to create a beautiful and personalized way to display your favorite photos or artwork.
The use of ribbons adds a touch of elegance and charm to your picture frames, making them stand out as unique pieces of decor. Whether you hang them in your living room, bedroom, or even office, these ribbon hanging picture frames are sure to catch the attention of anyone who enters the space.
Remember, you can get creative with your ribbon choices to match your style or the theme of the room. Experiment with different colors, patterns, or even different widths of ribbon to create a truly custom look.
Don’t forget to periodically update the photos or artwork in your picture frames to keep them fresh and reflect the changing seasons or special moments in your life.
Now that you have the tools and knowledge to make your own ribbon hanging picture frames, it’s time to get started. Gather your materials, measure and cut your ribbon, attach it to the picture frames, and hang them up to proudly display your cherished memories.
We hope this article has inspired you to get creative and add a unique touch to your home decor. Enjoy the process of making and showcasing your ribbon hanging picture frames, and let your creativity shine!
Frequently Asked Questions about How To Make Ribbon Hanging Picture Frames
Was this page helpful?
At Storables.com, we guarantee accurate and reliable information. Our content, validated by Expert Board Contributors, is crafted following stringent Editorial Policies. We're committed to providing you with well-researched, expert-backed insights for all your informational needs.


0 thoughts on “How To Make Ribbon Hanging Picture Frames”