Articles
How To Hook Up An Ice Maker On A Fridge
Modified: October 27, 2024
Learn how to hook up an ice maker on your fridge with this informative article. Get step-by-step instructions and expert tips for a successful installation.
(Many of the links in this article redirect to a specific reviewed product. Your purchase of these products through affiliate links helps to generate commission for Storables.com, at no extra cost. Learn more)
Introduction
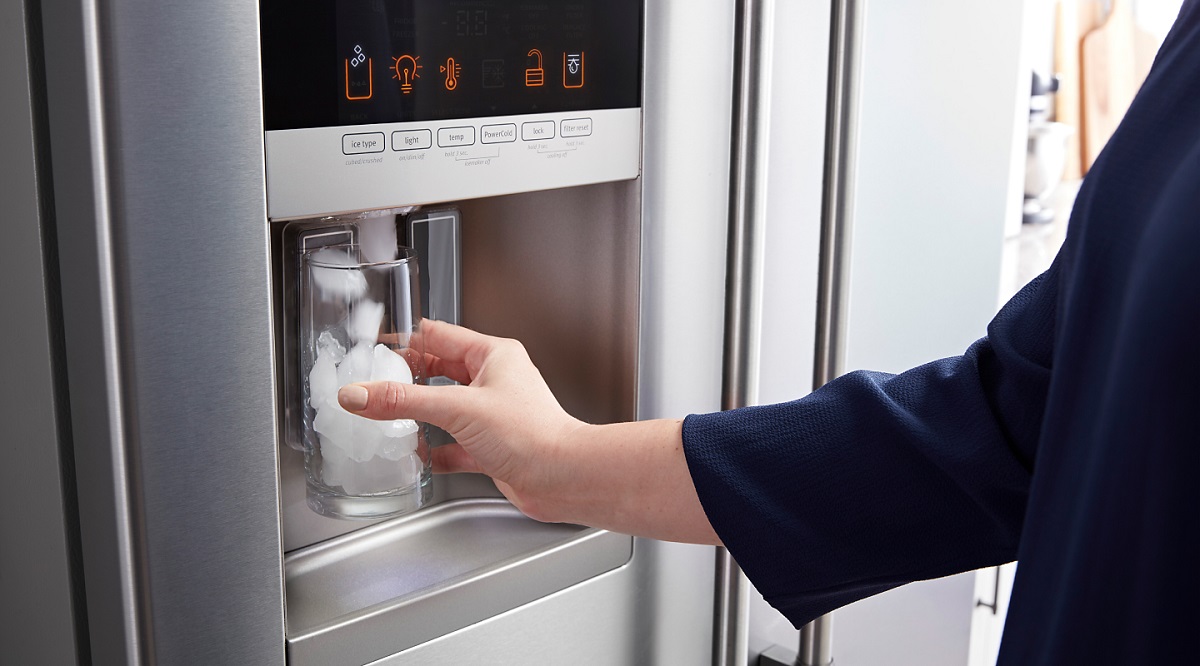
Having an ice maker installed on your refrigerator can be a game-changer, especially during hot summer months or when hosting gatherings and parties. With a reliable ice maker, you can have a steady supply of ice cubes on hand, eliminating the need to constantly refill ice trays. Whether you are looking to replace an old ice maker or install a brand new one, this article will guide you through the process of hooking up an ice maker on a fridge.
Before starting the installation process, it is important to ensure that your refrigerator is compatible with an ice maker. Some older models may not have the necessary provisions for an ice maker, so be sure to consult the manufacturer’s guidelines or user manual for confirmation. If your refrigerator is equipped for an ice maker, follow the steps outlined in this article to successfully connect and install it.
This article will provide a step-by-step guide, along with the required tools and materials needed for the installation process. By following these instructions carefully, you can have your ice maker up and running in no time.
Key Takeaways:
- Say goodbye to manual ice trays and hello to convenience with these step-by-step instructions for installing an ice maker on your fridge.
- Ensure a steady supply of ice cubes by following these simple steps to connect the water supply line, install the ice maker, and test its functionality.
Required Tools and Materials
Before you begin installing an ice maker on your refrigerator, it is essential to gather all the necessary tools and materials. Having everything prepared in advance will make the installation process smoother and more efficient. Here is a list of the tools and materials you will need:
Tools:
- Adjustable wrench
- Drill (with appropriate drill bit)
- Tape measure
- Phillips screwdriver
- Utility knife
Materials:
- Ice maker kit (includes water supply line, fittings, and valve)
- PVC pipe or copper tubing (for water supply line)
- Teflon tape
- Water shut-off valve
- Bucket or container
Ensure that you have all the tools and materials ready before you begin the installation process. This will help save time and prevent any interruptions during the installation. If any additional tools or materials are required, refer to the specific ice maker kit instructions or consult with a professional for guidance.
Step 1: Preparing the Fridge
Before you can start installing an ice maker on your fridge, you need to prepare the refrigerator accordingly. Follow these steps to get your fridge ready:
- Turn off the power: To ensure safety, unplug the refrigerator from the power source or switch off the circuit breaker that supplies power to it.
- Locate the water supply line: Look for the water supply line located at the back of the refrigerator. This is the line that will connect to the ice maker.
- Clear the area: Move any items or obstacles that could obstruct your access to the water supply line. This will make it easier to work on the installation process.
- Ensure proper ventilation: Make sure there is adequate space around the fridge to promote proper airflow. This will help prevent overheating and ensure efficient operation of the ice maker.
By completing these steps, you have successfully prepared your fridge for the installation of an ice maker. Ensuring proper preparation will contribute to a smooth and successful installation process.
Read more: How To Remove Ice Maker From Fridge?
Step 2: Assembling the Water Supply Line
Once you have prepared the fridge, the next step is to assemble the water supply line that will connect the ice maker to the water source. Follow these steps to assemble the water supply line:
- Identify the type of water supply line: Determine whether you will be using a PVC pipe or copper tubing for the water supply line. Each type has its own installation process, so refer to the specific instructions based on your choice.
- Measure and cut the water supply line: Use a tape measure to measure the distance from the ice maker connection point to the water source. Cut the water supply line to the appropriate length using a utility knife.
- Attach fittings to the water supply line: Depending on the type of water supply line you are using, attach the appropriate fittings to the ends of the line. Follow the instructions provided with the ice maker kit to ensure proper attachment.
- Apply Teflon tape: Wrap Teflon tape around the threaded ends of the fittings to create a watertight seal. This will help prevent any leaks once the water supply line is connected.
- Prepare the water shut-off valve: If you don’t have a water shut-off valve already installed, you will need to add one to the existing water line. This valve will allow you to control the flow of water to the ice maker.
By completing these steps, you have successfully assembled the water supply line for your ice maker. The next step is to connect the water supply line to the fridge, which will be covered in the following step.
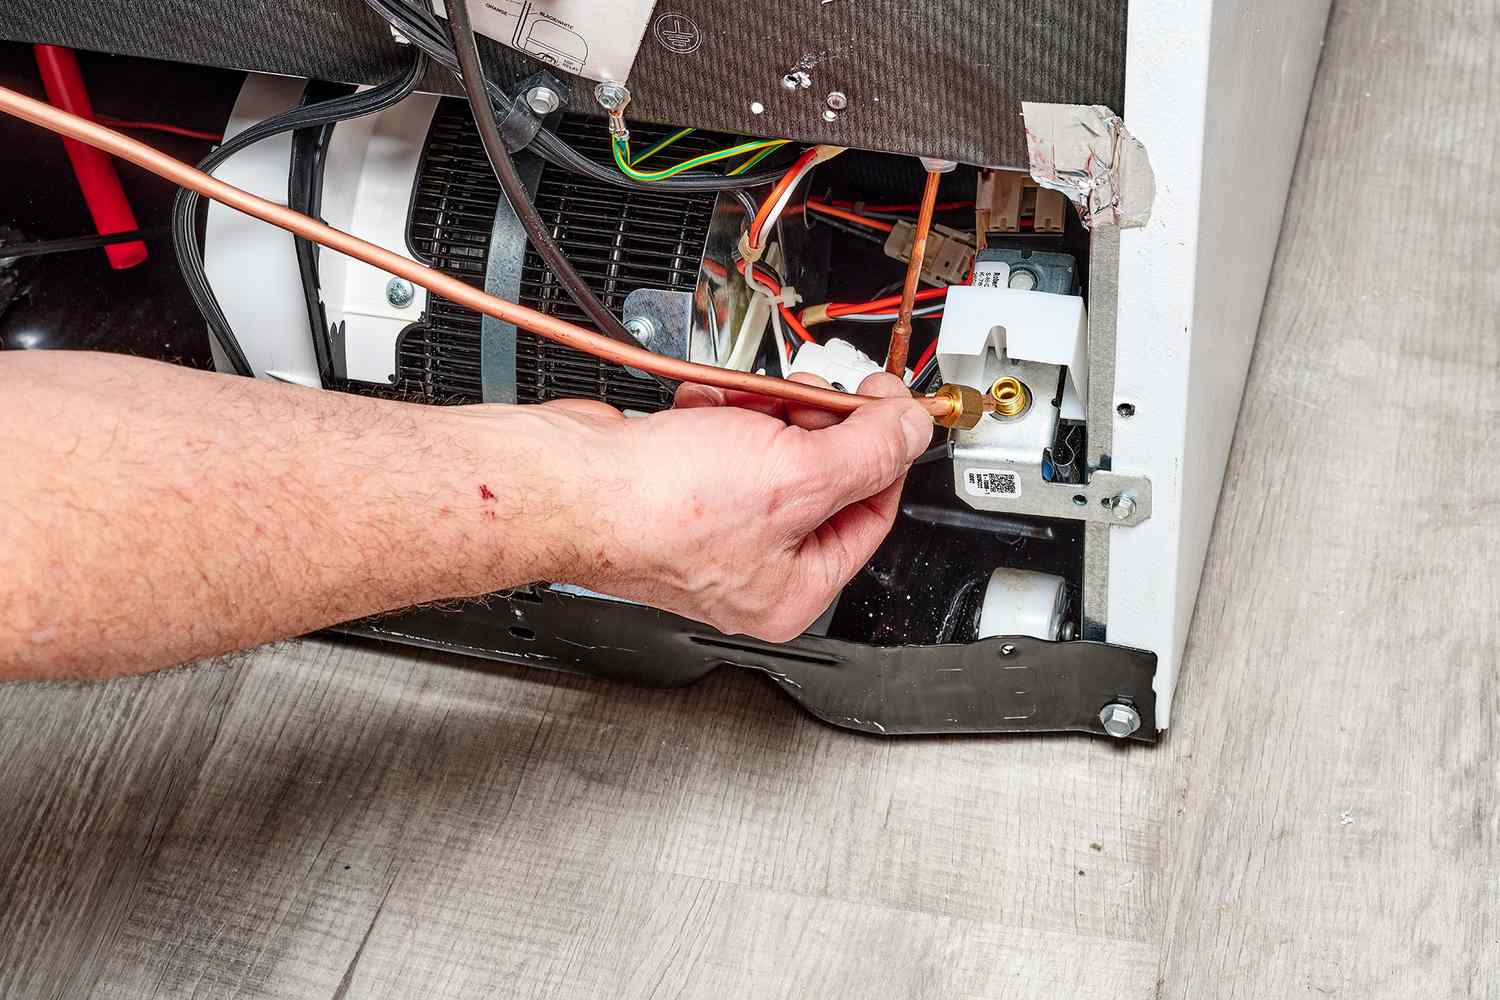
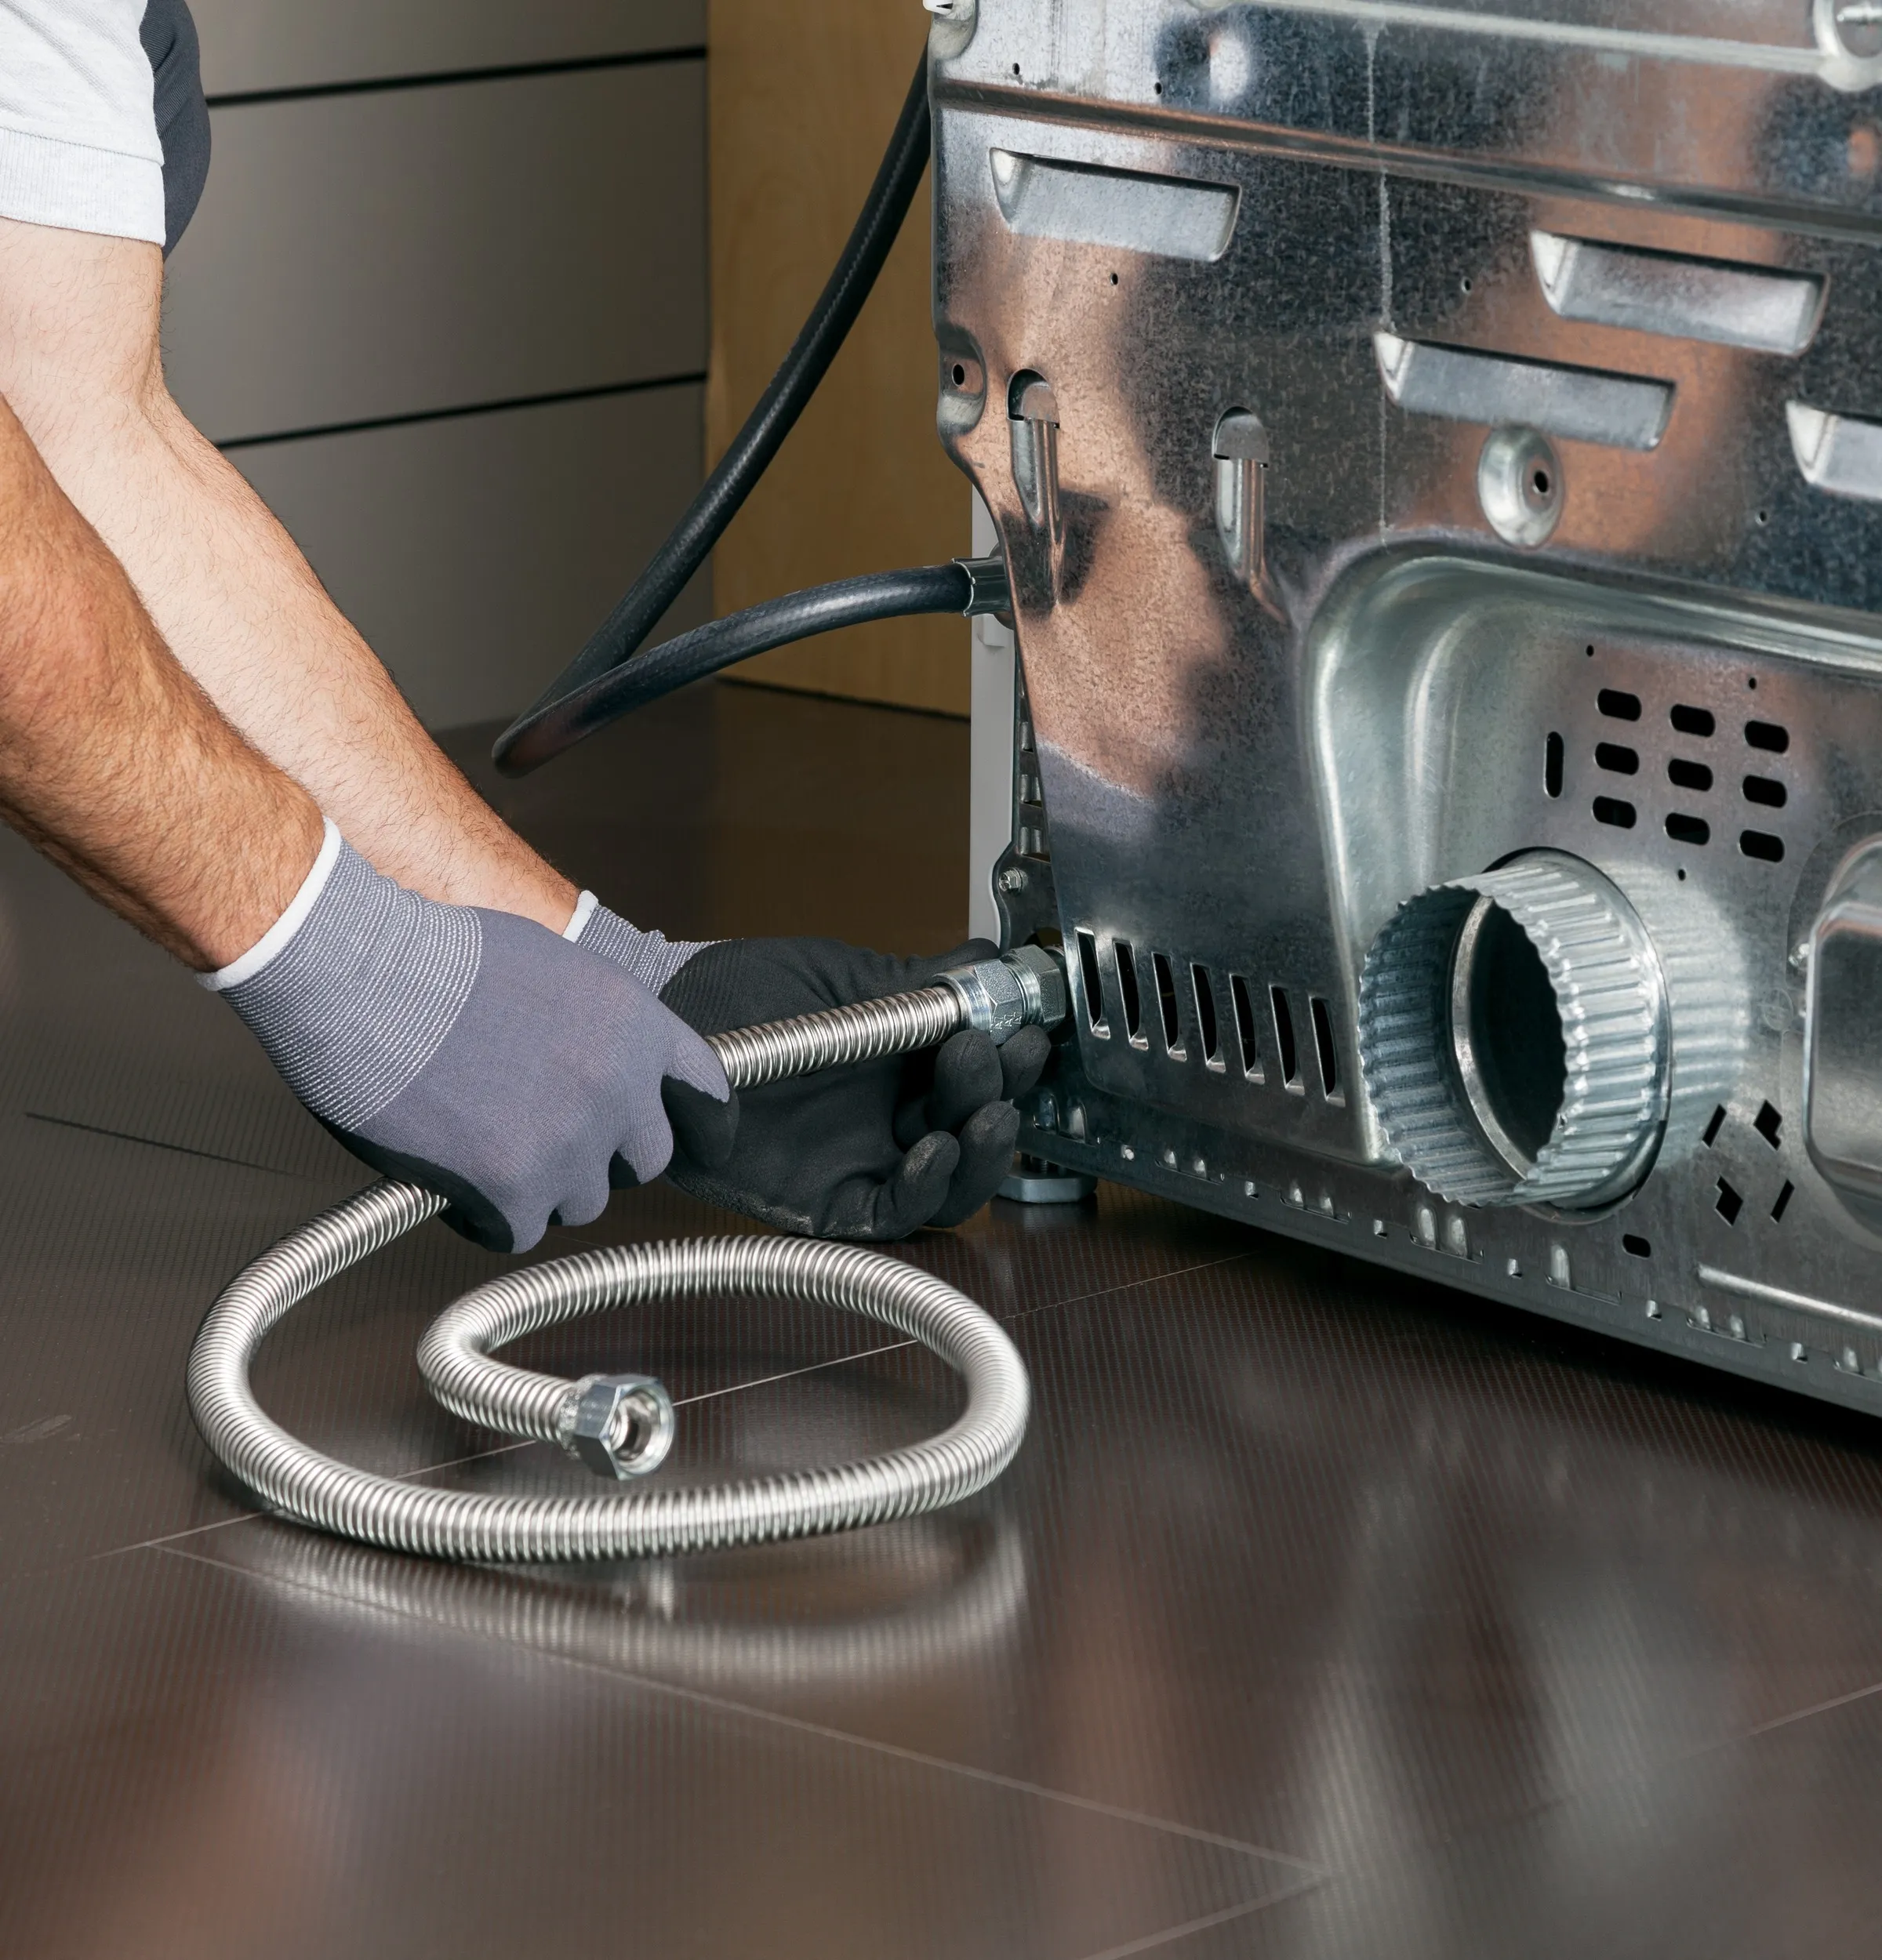
Step 3: Connecting the Water Supply Line to the Fridge
With the water supply line assembled, the next step is to connect it to the fridge. Follow these steps to connect the water supply line to the refrigerator:
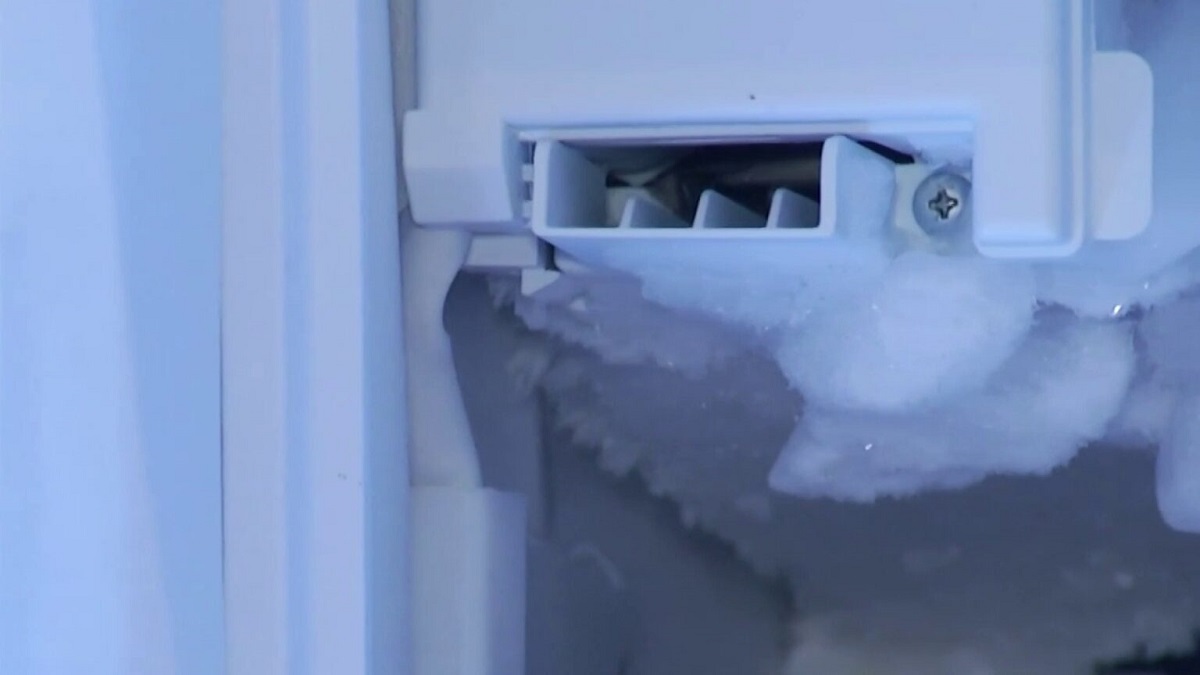
- Locate the water inlet valve: The water inlet valve is typically located at the back of the fridge, near the bottom. It may be labeled or identified in the owner’s manual.
- Turn off the water supply: Before connecting the water supply line, make sure to shut off the main water supply to your home. This will prevent any potential leaks or accidents during the installation process.
- Connect the water supply line: Attach one end of the water supply line to the water inlet valve on the fridge. Ensure a tight connection by using an adjustable wrench to securely fasten the fitting.
- Connect the other end of the water supply line: Once the water supply line is connected to the fridge, attach the other end to the fitting on the water shut-off valve. Again, use an adjustable wrench to ensure a secure connection.
- Tighten all fittings: Double-check all fittings to ensure they are tightly secured to prevent any leaks. Any loose fittings can result in water leakage and disrupt the ice maker’s operation.
- Turn on the water supply: Once all the connections are securely in place, turn on the main water supply to your home. This will allow water to flow through the water supply line and into the ice maker.
By following these steps, you have successfully connected the water supply line to your refrigerator. The next step is to test the water supply line to ensure it is functioning properly, which will be covered in the following step.
Step 4: Testing the Water Supply Line
After connecting the water supply line to the fridge, it is crucial to test the water supply line to ensure it is functioning properly. Follow these steps to test the water supply line:
- Turn on the ice maker: Check the ice maker’s power switch and ensure it is in the “On” position. This will activate the ice maker and prepare it to receive water.
- Check for any leaks: Carefully inspect all the connections and fittings of the water supply line for any signs of leaks. Look for drips or puddles around the connections. If you notice any leaks, turn off the water supply and tighten the connections further.
- Purge the water supply line: It is important to flush out any air or debris from the water supply line before fully using the ice maker. To do this, place a bucket or container under the end of the water supply line and open the water shut-off valve. Allow the water to flow for a few seconds, then close the valve.
- Inspect the flow of water: After purging the water supply line, inspect the flow of water from the end of the supply line. The water should flow smoothly and steadily. If the water flow is weak or uneven, check the connections and make any necessary adjustments.
- Replace any faulty components: If you encounter any faulty components or persisting leaks, replace them as needed. It is important to ensure all parts are in good working condition to avoid any future issues with the ice maker.
By completing these steps, you have successfully tested the water supply line connected to your fridge. Now, you can proceed to the next step of installing the ice maker itself.
Make sure to turn off the water supply before installing the ice maker. Use a saddle valve to tap into the water line and connect the water supply line to the back of the fridge. Double check all connections for leaks before turning the water back on.
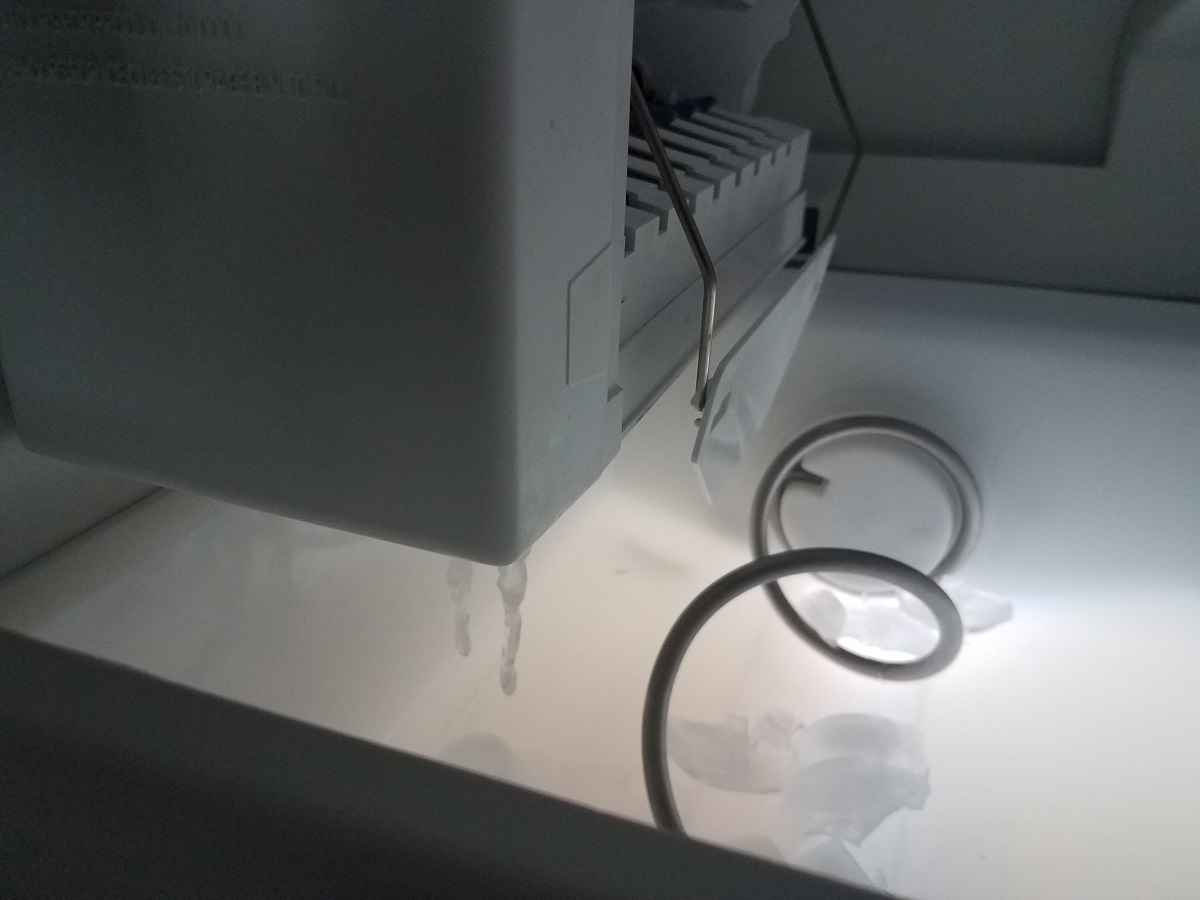
Step 5: Installing the Ice Maker
Now that the water supply line is properly connected and tested, it’s time to install the ice maker itself. Follow these steps to install the ice maker:
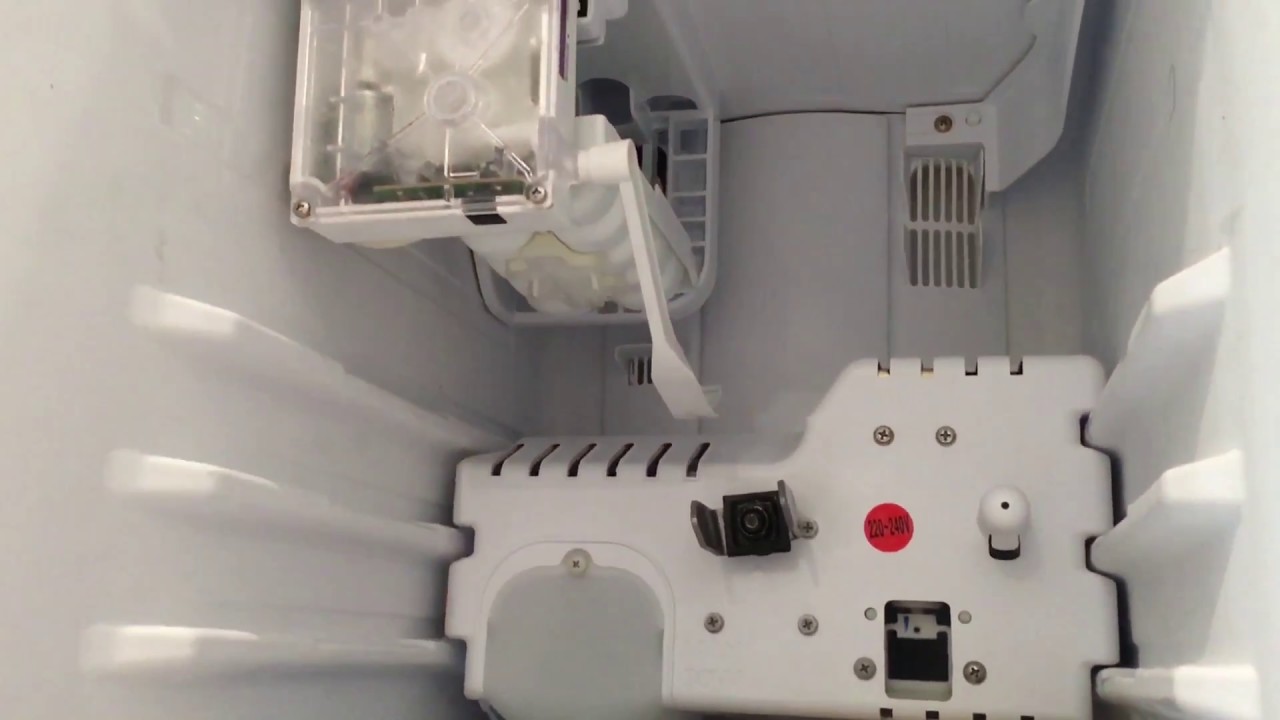
- Locate the ice maker position: Determine the designated spot for the ice maker inside the freezer compartment. This is usually marked or indicated in the user manual or by the manufacturer.
- Insert the ice maker: Gently slide the ice maker into the designated slot in the freezer compartment. Ensure that it is properly aligned and securely positioned.
- Secure the ice maker: Once the ice maker is in place, use screws or brackets provided in the ice maker kit to secure it to the freezer compartment. Follow the instructions provided with the kit for the specific securing method.
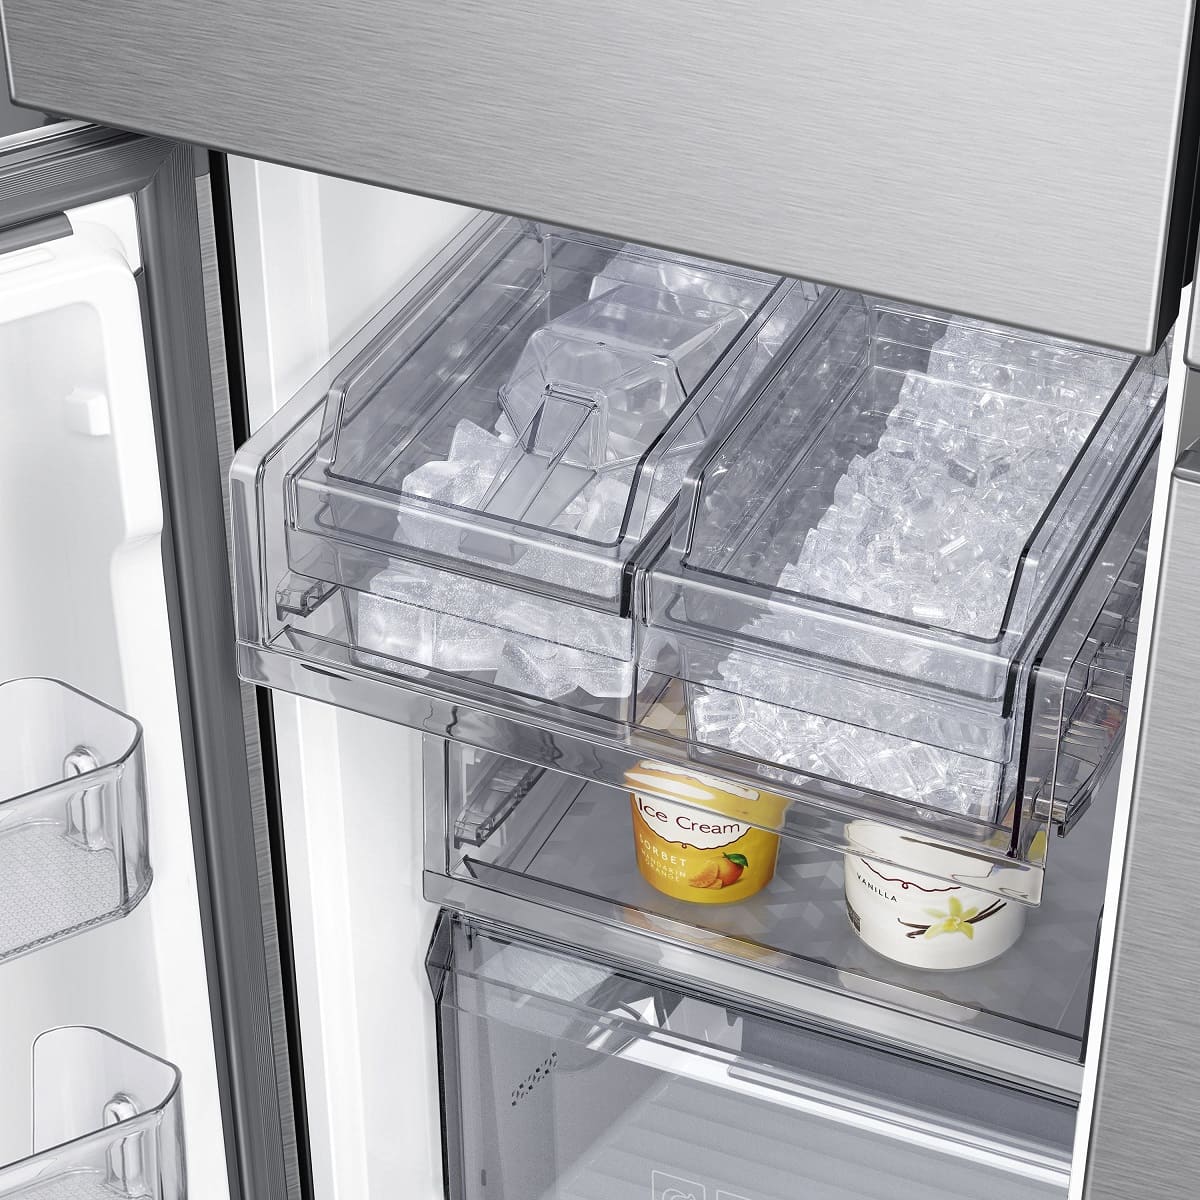
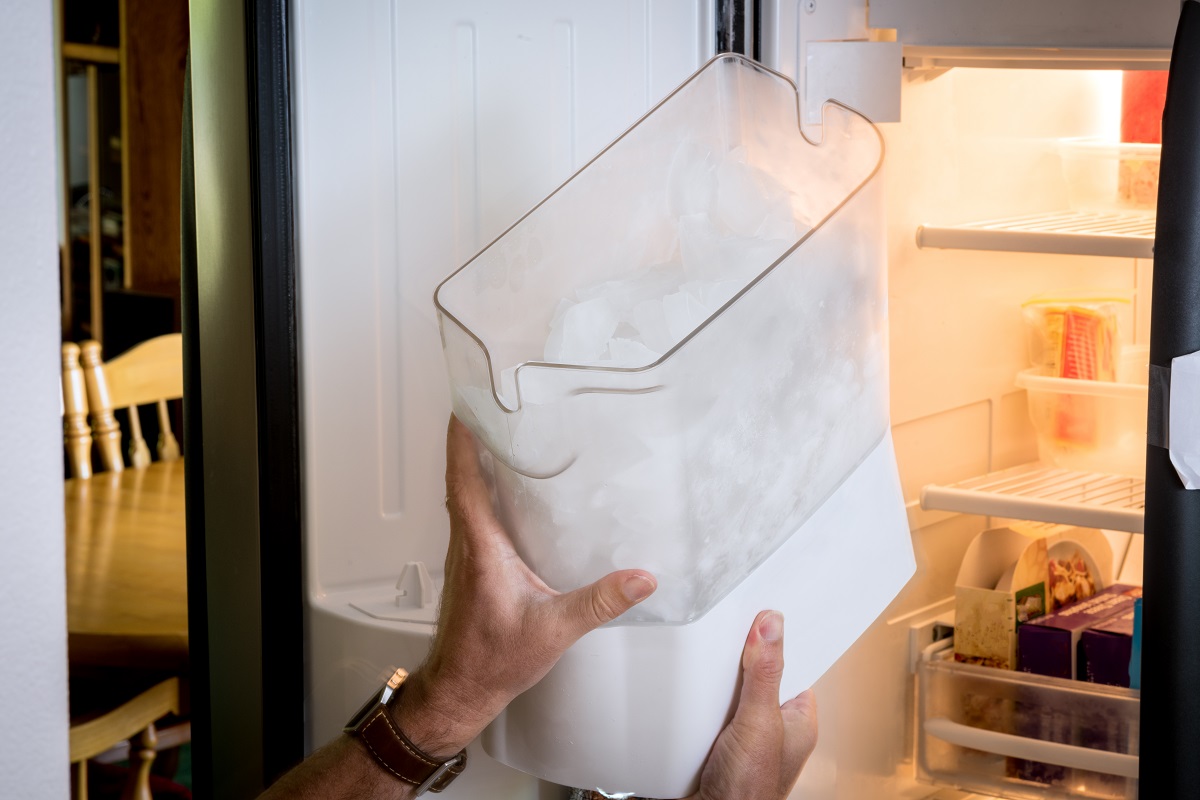
- Install the ice bin: Attach the ice bin or ice storage container to the ice maker. This is where the freshly made ice cubes will be collected and stored.
- Turn on the ice maker: Locate the ice maker’s power switch or activation button and ensure it is in the “On” position. This will activate the ice maker and initiate the ice-making process.
By following these steps, you have successfully installed the ice maker in your fridge. However, the installation process is not complete without wiring the ice maker to the fridge, which will be covered in the next step.
Read more: How To Turn Off Ice Maker on Samsung Fridge
Step 6: Wiring the Ice Maker to the Fridge
With the ice maker installed, the next step is to wire it to the fridge for proper operation. Follow these steps to properly wire the ice maker:
- Locate the wiring harness: The wiring harness for the ice maker is typically found at the back of the fridge, near the ice maker installation area. It may be labeled or identified in the user manual or by the manufacturer.
- Connect the wiring harness: Match the corresponding connectors on the ice maker and the wiring harness. Align the connectors and gently push them together until they are firmly connected.
- Secure the wiring harness: Use zip ties or clips to secure the wiring harness in place. This will prevent it from getting tangled or caught on other components inside the refrigerator.
- Organize the wiring: Ensure that the wiring is neatly organized and not obstructing any other parts or compartments in the fridge. Use zip ties or cable management clips to tidy up any excess wiring.
- Double-check the connections: Before proceeding, double-check that all the wiring connections are secure and properly connected. Loose or improperly connected wires can cause issues with the ice maker’s functionality.
By completing these steps, you have successfully wired the ice maker to your fridge. The final step is to test the ice maker to ensure it is working correctly, which will be covered in the next step.
Step 7: Testing the Ice Maker
After wiring the ice maker to the fridge, it is important to test it to ensure that it is functioning properly. Follow these steps to test the ice maker:
- Ensure the ice maker is turned on: Confirm that the ice maker’s power switch or activation button is in the “On” position.
- Allow time for ice production: It may take some time for the ice maker to produce its first batch of ice cubes. Be patient and give it a few hours to begin the ice-making process.
- Verify ice production: Check the ice maker periodically to see if it is producing ice cubes. Carefully open the freezer compartment and inspect the ice bin to see if it is filling up with ice. Depending on the model, it may take anywhere from a few hours to a day for the ice maker to reach full production capacity.
- Adjust ice maker settings (if necessary): If your ice maker has adjustable settings for ice cube size or production rate, make any necessary adjustments according to your preferences.
- Monitor ice production: Once the ice maker starts producing ice, monitor the ice production over the next few days. Ensure that the ice bin remains filled with ice as desired.
- Make any necessary adjustments: If you notice any issues with the ice maker, such as inadequate ice production or excessive ice build-up, consult the user manual or contact the manufacturer for troubleshooting tips.
By following these steps, you have successfully tested the ice maker to ensure it is working properly. Congratulations! You can now enjoy the convenience of having a steady supply of ice cubes from your fridge’s ice maker.
Conclusion
Installing an ice maker on your fridge can greatly enhance your convenience and enjoyment, as you’ll no longer have to rely on manual ice cube trays or frequent ice runs. By following the steps outlined in this guide, you have successfully hooked up an ice maker on your fridge.
Starting with the preparation of the fridge and gathering the necessary tools and materials, you have carefully connected the water supply line to the fridge, tested it for any leaks, and ensured proper water flow. You then moved on to installing the ice maker itself, securing it in place, and wiring it to the fridge. Finally, you tested the ice maker to ensure it is functioning correctly and producing ice cubes as expected.
Remember that proper maintenance and regular cleaning are essential for the efficient and trouble-free operation of your ice maker. Refer to the manufacturer’s guidelines for specific care instructions to prolong the lifespan of your ice maker.
Now, with your ice maker installed and working, you can enjoy a continuous supply of ice for your beverages, parties, and daily use. Cheers to the convenience and cool refreshment provided by your new ice maker!
Frequently Asked Questions about How To Hook Up An Ice Maker On A Fridge
Was this page helpful?
At Storables.com, we guarantee accurate and reliable information. Our content, validated by Expert Board Contributors, is crafted following stringent Editorial Policies. We're committed to providing you with well-researched, expert-backed insights for all your informational needs.

0 thoughts on “How To Hook Up An Ice Maker On A Fridge”