
Articles
How To Hook Up Ice Maker To Copper Water Line
Modified: August 16, 2024
Discover step-by-step instructions and helpful tips in our comprehensive guide on how to connect an ice maker to a copper water line. Read more in our articles section.
(Many of the links in this article redirect to a specific reviewed product. Your purchase of these products through affiliate links helps to generate commission for Storables.com, at no extra cost. Learn more)
Introduction
Installing an ice maker in your home can be a convenient and practical addition to your kitchen. Whether it’s for hosting parties, enjoying cold beverages, or filling up ice buckets for everyday use, having an ice maker at your disposal can save you time and effort.
One crucial step in setting up an ice maker is connecting it to a copper water line. This ensures a steady supply of water to your ice maker, allowing it to produce ice efficiently. While it may seem like a daunting task, with the right materials and steps, you can easily hook up your ice maker to a copper water line.
In this guide, we’ll walk you through the process of connecting your ice maker to a copper water line. We’ll discuss the materials you’ll need and provide step-by-step instructions to make the installation process as smooth as possible. By following these steps, you’ll have your ice maker up and running in no time.
So, gather your tools and let’s get started on hooking up your ice maker to a copper water line. With a little patience and attention to detail, you’ll be enjoying a continuous flow of ice in no time.
Key Takeaways:
- Connecting your ice maker to a copper water line is a manageable DIY project with the right materials and steps. By following the guide, you can ensure a steady water supply for efficient ice production, adding convenience to your kitchen.
- Thoroughly testing for leaks and monitoring the ice maker’s performance are crucial steps in the installation process. Addressing any leaks promptly will prevent water damage and ensure a reliable water supply for your ice maker.
Read more: How To Unclog Water Line To Ice Maker
Materials Needed
Before you begin the process of hooking up your ice maker to a copper water line, make sure you have the following materials on hand:
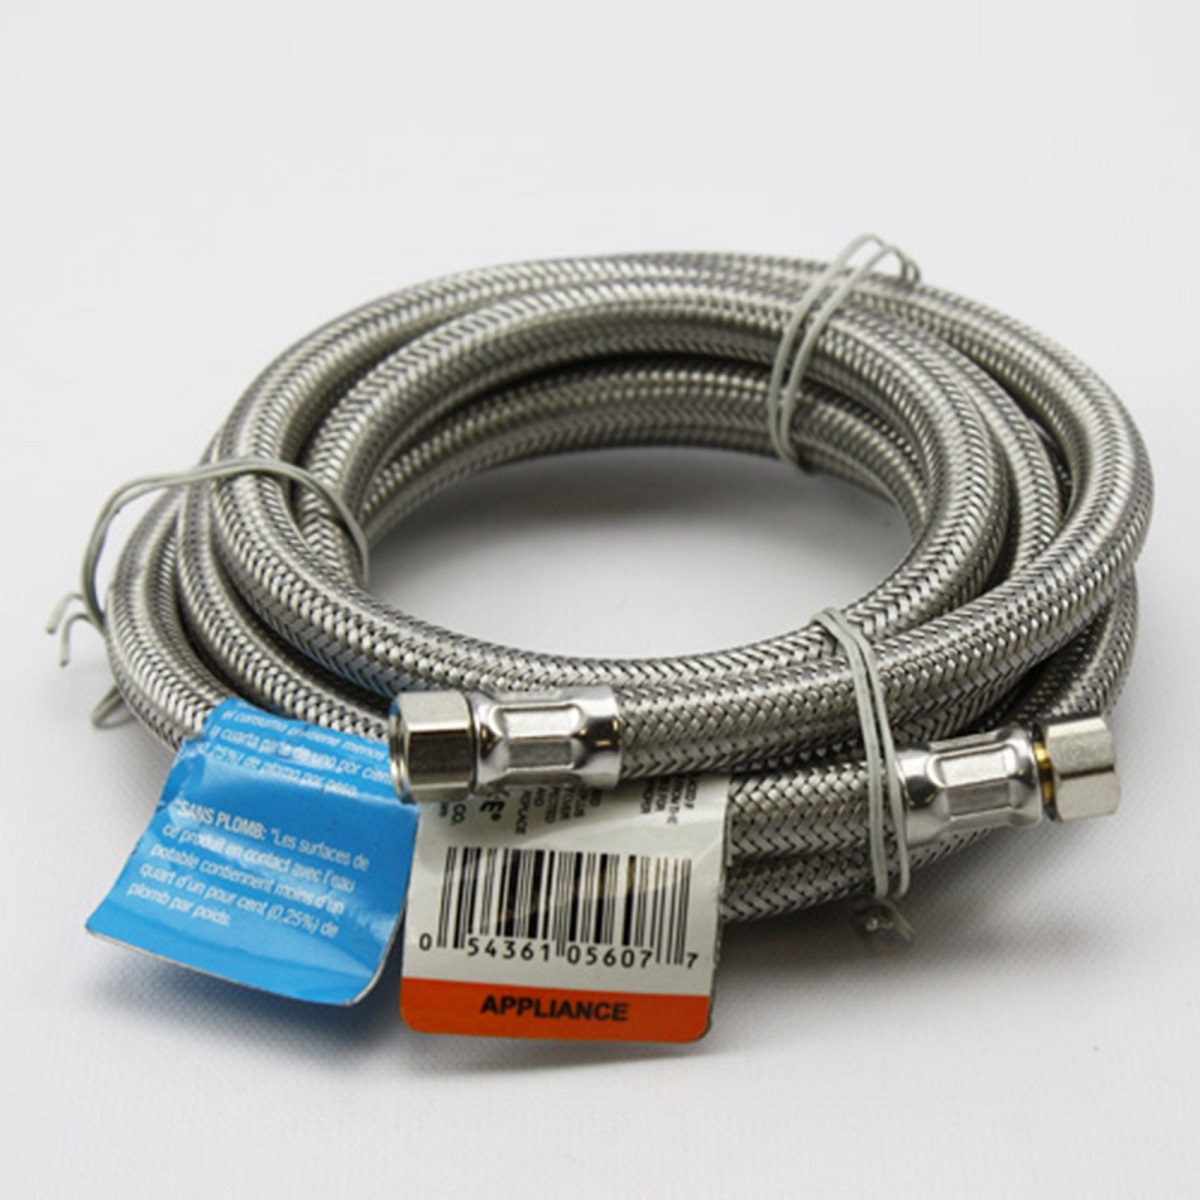
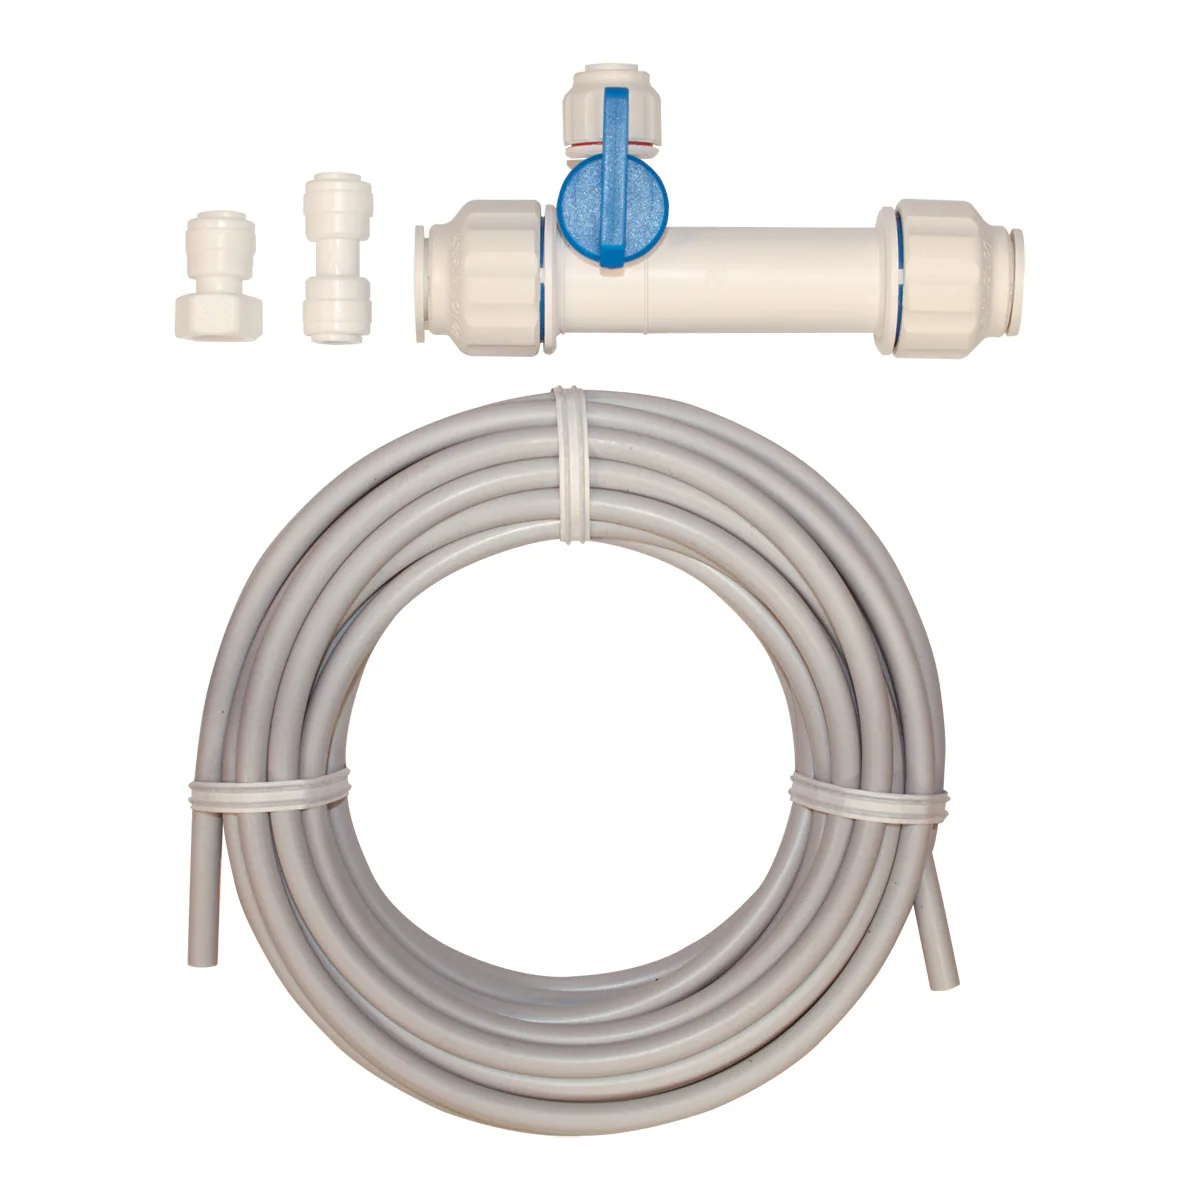
1. Ice maker kit: You can purchase an ice maker kit from your local home improvement store or online. It typically includes all the necessary components such as the saddle valve, copper tubing, and compression fittings.
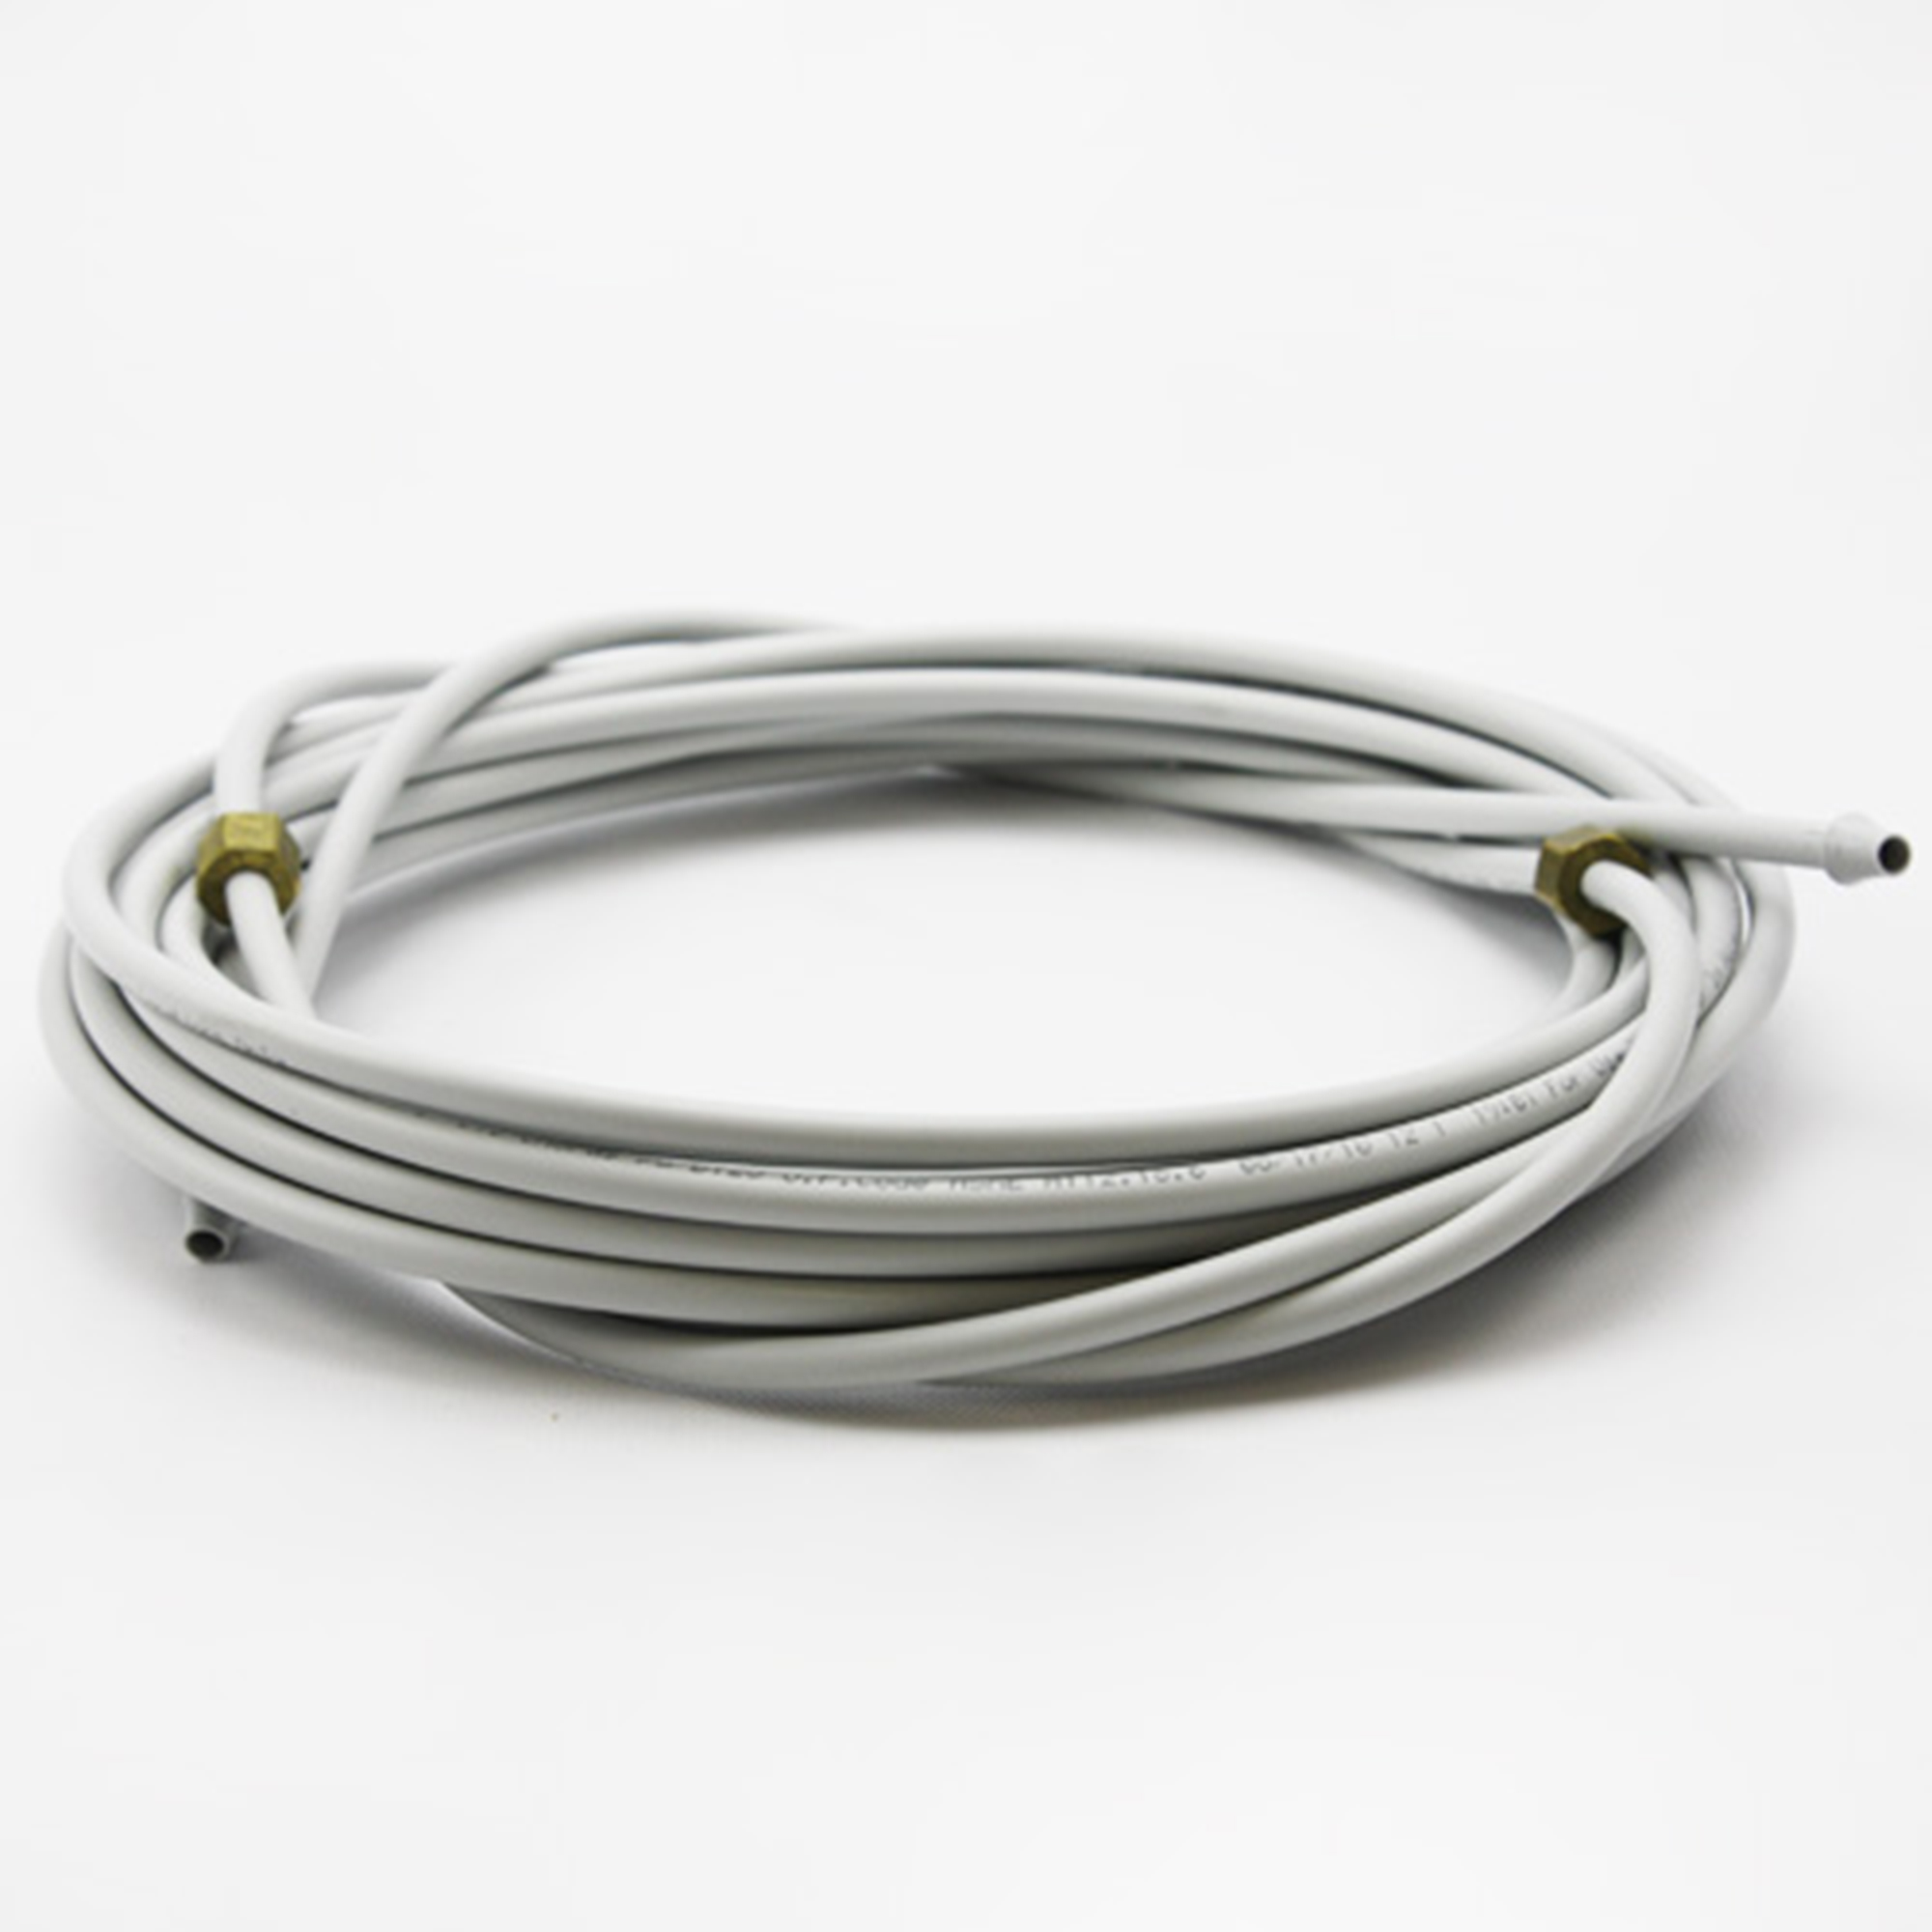
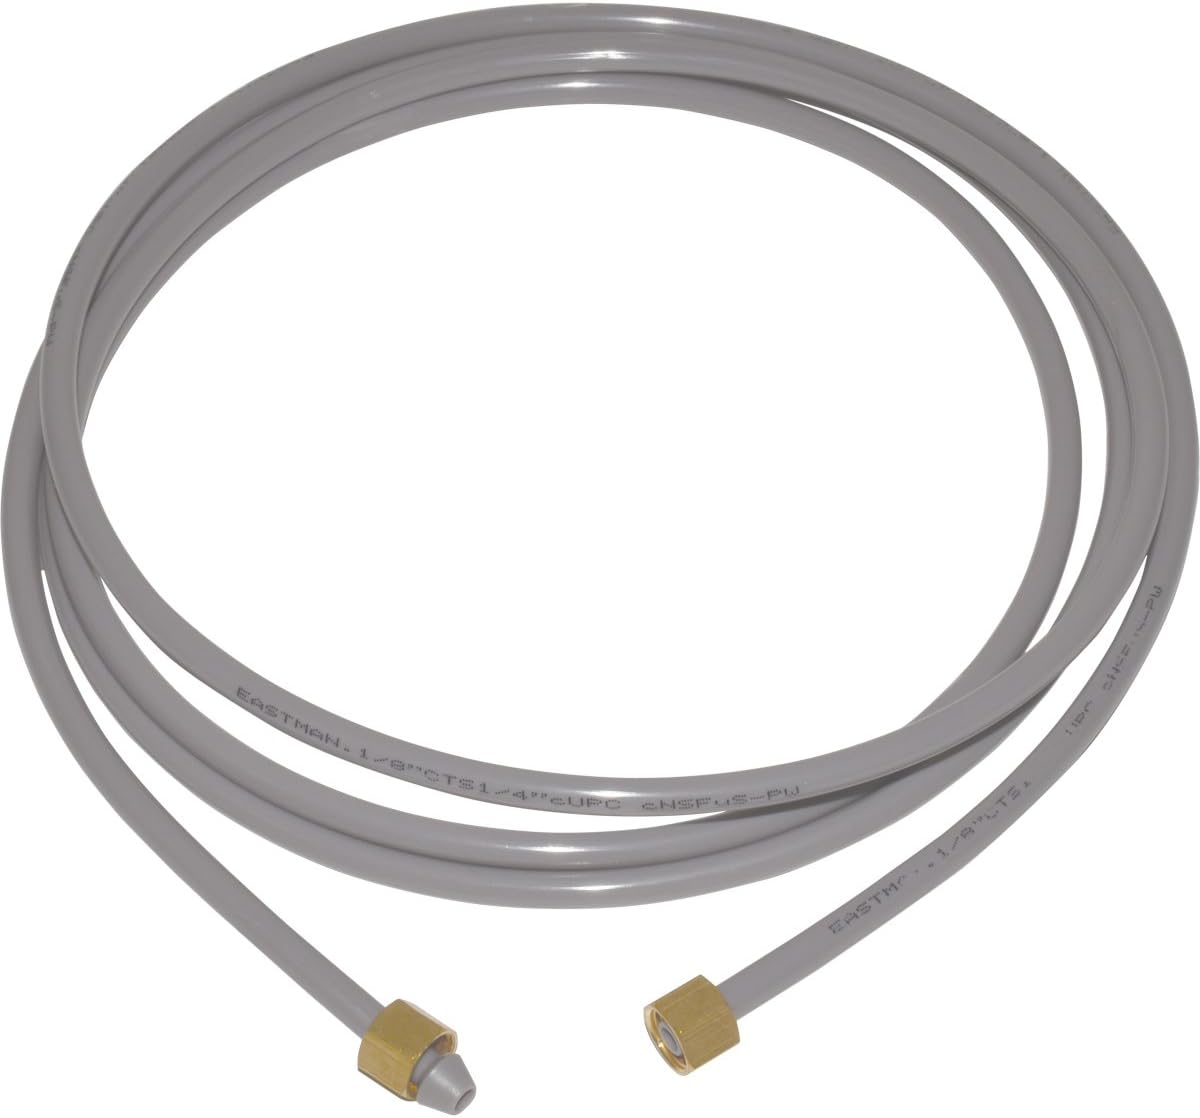
2. Copper tubing: Look for a copper tubing kit that is specifically designed for ice maker installations. The tubing should be long enough to reach from your water supply line to the location of your ice maker.
3. Saddle valve: This valve is used to tap into the existing water supply line. It attaches to the copper tubing and allows water to flow into the ice maker. Make sure the saddle valve is compatible with the size of your water line.
4. Compression fittings: You’ll need compression fittings to create a secure connection between the copper tubing and the ice maker. These fittings are typically included in the ice maker kit, but you can also purchase them separately if needed.
5. Adjustable wrench: An adjustable wrench will come in handy for tightening and loosening nuts and bolts during the installation process.
6. Pipe cutter or hacksaw: You’ll need a pipe cutter or hacksaw to cut the copper water line to the appropriate length. Ensure that the cutting tool is clean and sharp for a precise cut.
7. Teflon tape: Teflon tape, also known as plumber’s tape, is used to create a watertight seal on threaded connections. It should be applied to the threads of the fittings before installation.
8. Bucket or towel: Have a bucket or towel handy to catch any excess water that may leak during the installation process. This will help prevent any damage to your floors or cabinets.
By having these materials ready, you’ll be well-prepared to tackle the installation process and connect your ice maker to a copper water line efficiently. Remember to double-check the compatibility of the materials with your specific ice maker model to ensure a successful installation.
Step 1: Turn Off the Water Supply
Before you begin the installation process, it’s essential to turn off the water supply to ensure your safety and prevent any leaks. Follow these steps to turn off the water supply:
1. Locate the main water shut-off valve: The main water shut-off valve is usually located near your water meter or where the main water line enters your home. It can be found in the basement, utility room, or outside near the foundation.
2. Turn off the water supply: Once you’ve located the main shut-off valve, turn it clockwise (right) to close it. This action will shut off the water supply to your entire home.
3. Release the pressure: To ensure there is no remaining water pressure in the lines, open a faucet on the lowest level of your home or closest to the shut-off valve. This will drain any remaining water from the pipes.
4. Test the water supply: Once you’ve turned off the water supply, turn on a faucet to confirm that the water flow has stopped. If water continues to flow, double-check the shut-off valve and make sure it is fully closed.
By turning off the water supply, you’ll prevent any potential water damage or leaks during the installation process. It’s important to take this precautionary step to ensure a smooth and hassle-free installation of your ice maker.
Step 2: Attach the Saddle Valve
Once you have turned off the water supply, you can proceed to attach the saddle valve to the existing water supply line. The saddle valve will act as a connection point for your ice maker. Follow these steps to attach the saddle valve:
1. Choose the location: Identify a suitable location along the copper water supply line to install the saddle valve. It should be near the area where your ice maker will be located and easily accessible.
2. Clean the area: Use a soft cloth or sandpaper to remove any dirt or debris from the chosen location. This will ensure a clean and secure attachment for the saddle valve.
3. Position the saddle valve: Place the saddle valve over the chosen location on the water supply line. Make sure the valve’s saddle bracket is aligned with the pipe’s surface. The valve should be positioned with the valve handle facing upward for easy access.
4. Tighten the saddle valve: With the saddle valve in place, use an adjustable wrench to tighten the screws on the valve. Be cautious not to overtighten, as it could damage the valve or water line. Ensure a secure fit without applying excessive force.
5. Check for leaks: Once the saddle valve is securely attached, inspect the area for any signs of leakage. Turn on the water supply briefly and observe if there are any drips or leaks. If you notice any leaks, retighten the screws on the saddle valve until the leaks stop.
By attaching the saddle valve to the water supply line, you have established a connection point for your ice maker. This valve will allow water to flow into your ice maker, enabling it to produce ice efficiently. Ensure a tight and leak-free attachment to guarantee a reliable water supply for your ice maker.
Step 3: Cut the Copper Water Line
Now that you have successfully attached the saddle valve, the next step is to cut the copper water line to create a connection point for your ice maker. Follow these steps to cut the copper water line:
1. Measure and mark the cutting point: Using a measuring tape, determine the appropriate location along the copper water line to make the cut. Mark this point with a pencil or marker to ensure accuracy.
2. Prepare the cutting tool: Depending on the available tools, use a pipe cutter or hacksaw to cut the copper water line. Make sure the cutting tool is clean and sharp to create a precise cut.
3. Secure the copper water line: Before cutting, use a pipe clamp or vise to secure the copper water line in place. This prevents it from shifting or moving during the cutting process.
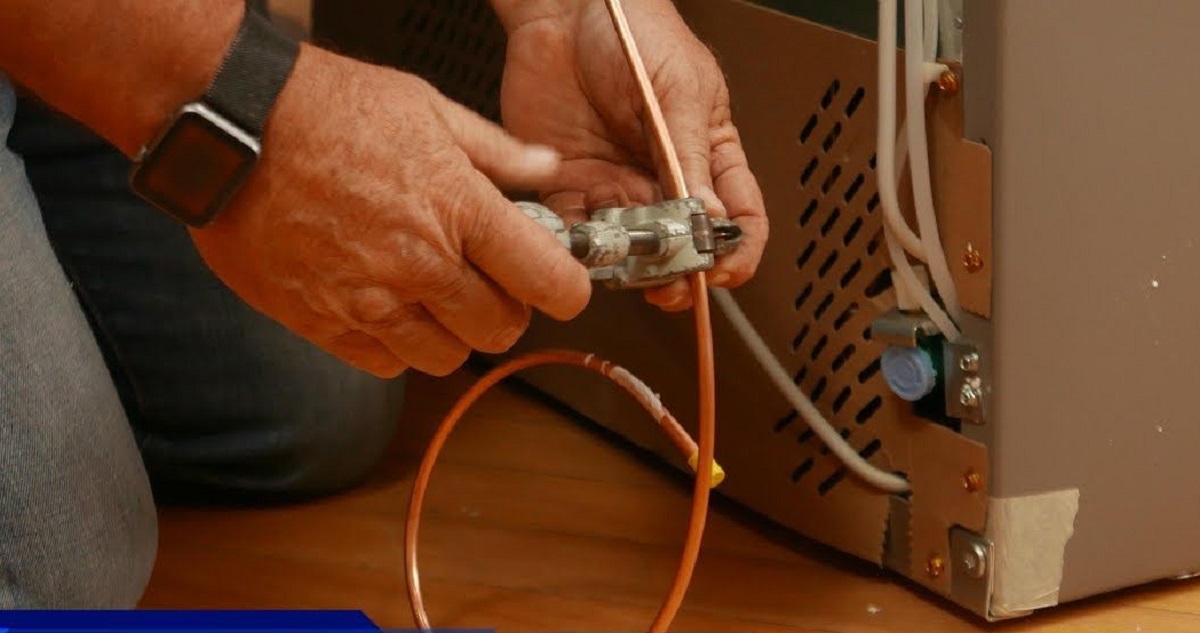
4. Cut the copper water line: If using a pipe cutter, position the cutter around the marked cutting point and tighten it. Rotate the cutter around the pipe, gradually tightening it with each rotation until the copper water line is cleanly cut. If using a hacksaw, align the blade with the marked cutting point and apply firm and steady pressure to cut through the pipe.
5. Remove burrs: After cutting the copper water line, use a file or emery cloth to remove any sharp edges or burrs from the cut ends. Smooth out the edges to ensure a clean and secure connection.
By cutting the copper water line at the designated location, you have created a point of access for your ice maker. This step prepares the water line for the installation of compression fittings, which will connect the copper tubing to the ice maker. Take your time to make a precise cut and remove any burrs to ensure a seamless installation process.
When connecting an ice maker to a copper water line, use a compression fitting to secure the connection. Make sure to use a tubing cutter to ensure a clean, straight cut on the copper pipe for a leak-free connection.
Read more: How To Replace Ice Maker Water Line
Step 4: Install the Compression Fittings
With the copper water line cut and prepared, it’s time to install the compression fittings that will connect the copper tubing to the ice maker. Follow these steps to install the compression fittings:
1. Prepare the fittings: Take the compression fittings included in your ice maker kit and familiarize yourself with their components. Each fitting typically consists of a compression nut, sleeve, and insert.
2. Slide the compression nut and sleeve: Slide the compression nut and sleeve onto the cut end of the copper water line. Ensure that the compression sleeve is placed first, followed by the compression nut.
3. Insert the fitting insert: Inside the compression fitting, there is a small brass or plastic insert. Insert this piece into the cut end of the copper water line, ensuring it is fully inserted.
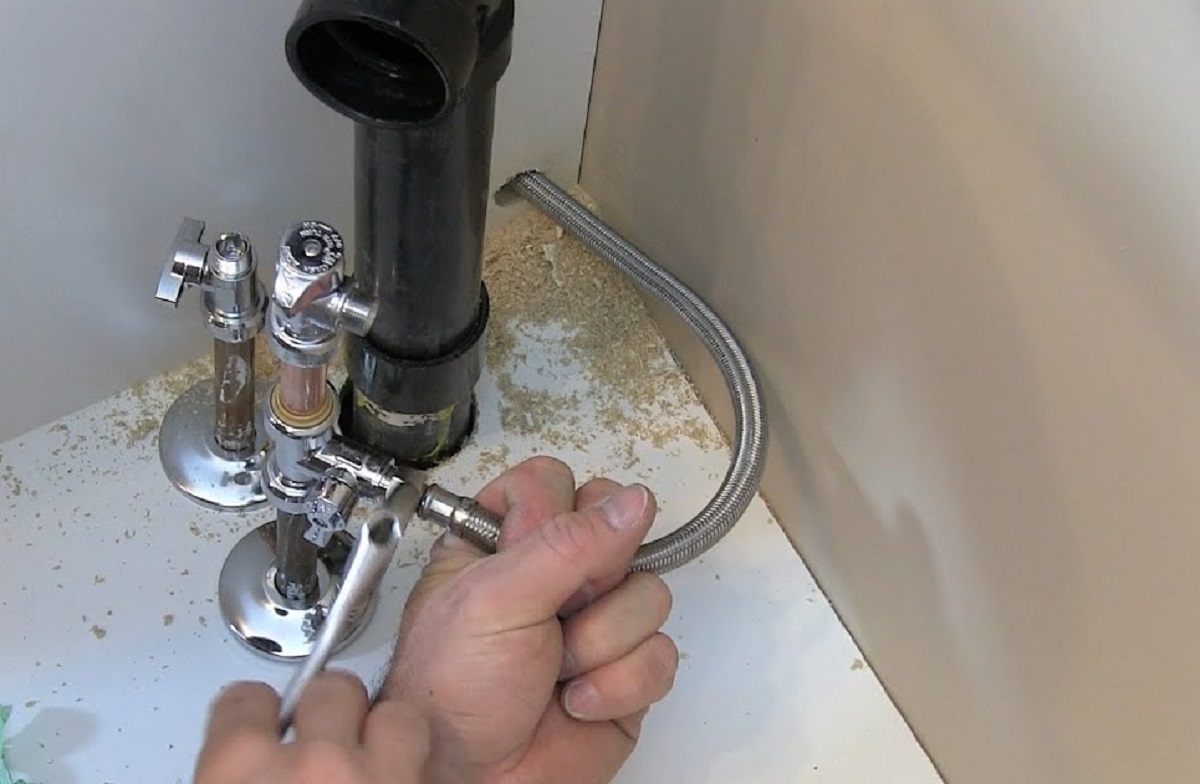
4. Tighten the compression nut: Once the compression nut and sleeve are in place, use an adjustable wrench to tighten the compression nut onto the fitting. Apply firm and even pressure to secure the fitting onto the copper water line. Be careful not to overtighten, as it can damage the fitting or water line.
5. Repeat for additional fittings: If you need to install multiple compression fittings, repeat the previous steps for each one. Ensure that each fitting is properly inserted and tightened onto the copper water line.
By installing the compression fittings, you have created a secure connection between the copper water line and the ice maker. These fittings provide a watertight seal, preventing any leaks or water loss. Take your time with this step to ensure that each compression fitting is correctly installed and tightened.
Step 5: Connect the Water Line to the Ice Maker
Now that the compression fittings are securely in place, it’s time to connect the copper tubing to the ice maker. Follow these steps to connect the water line to the ice maker:
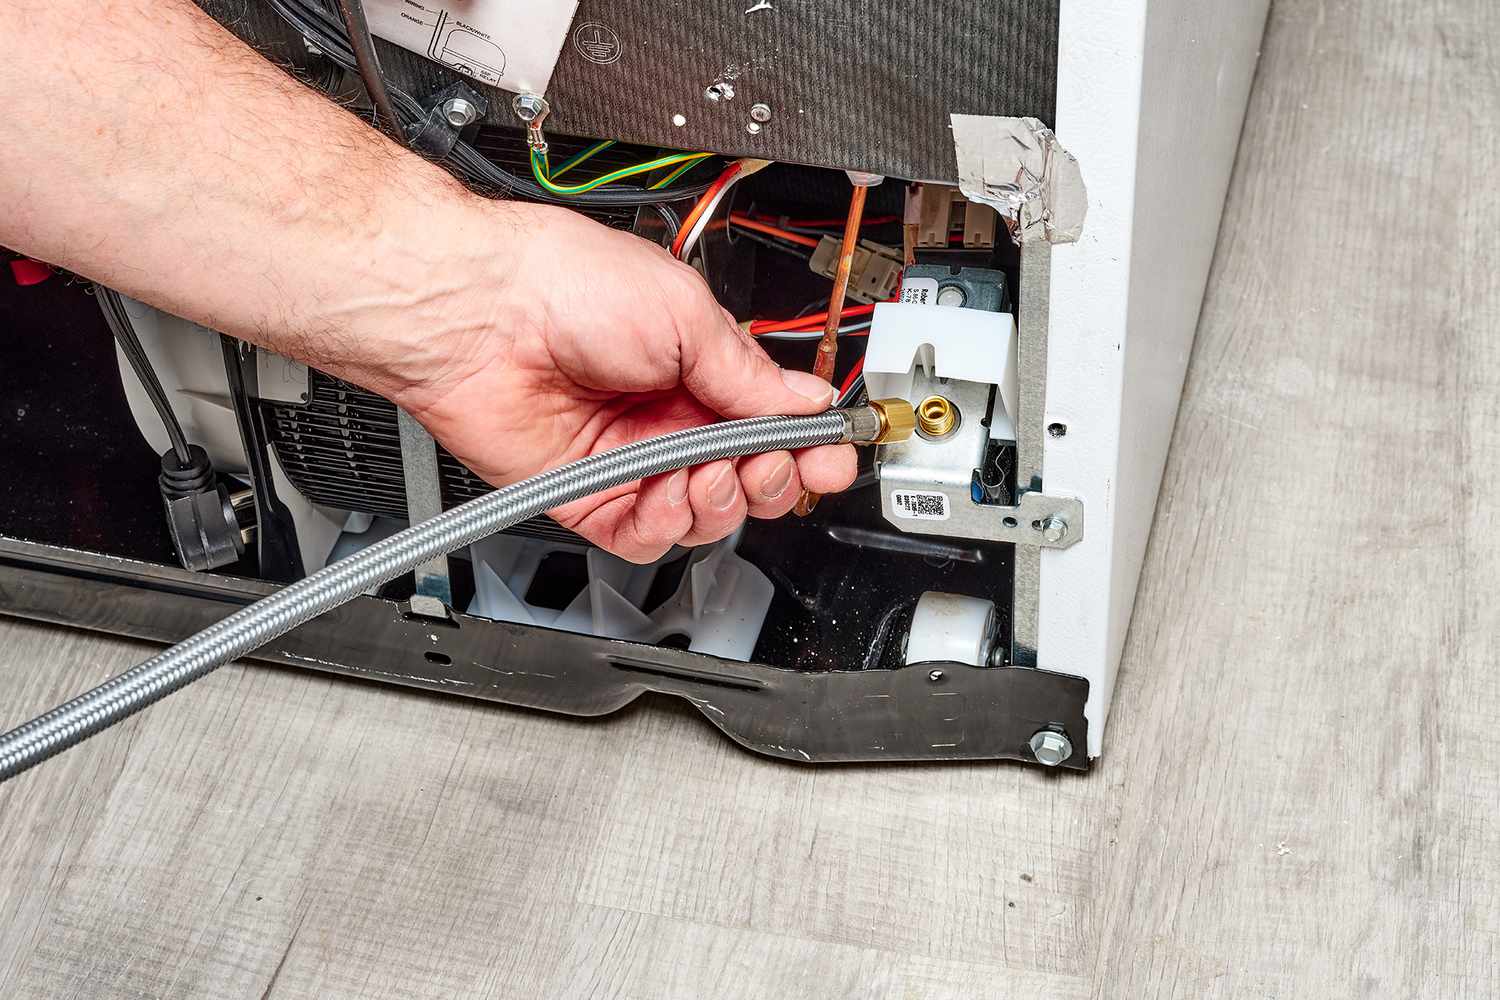
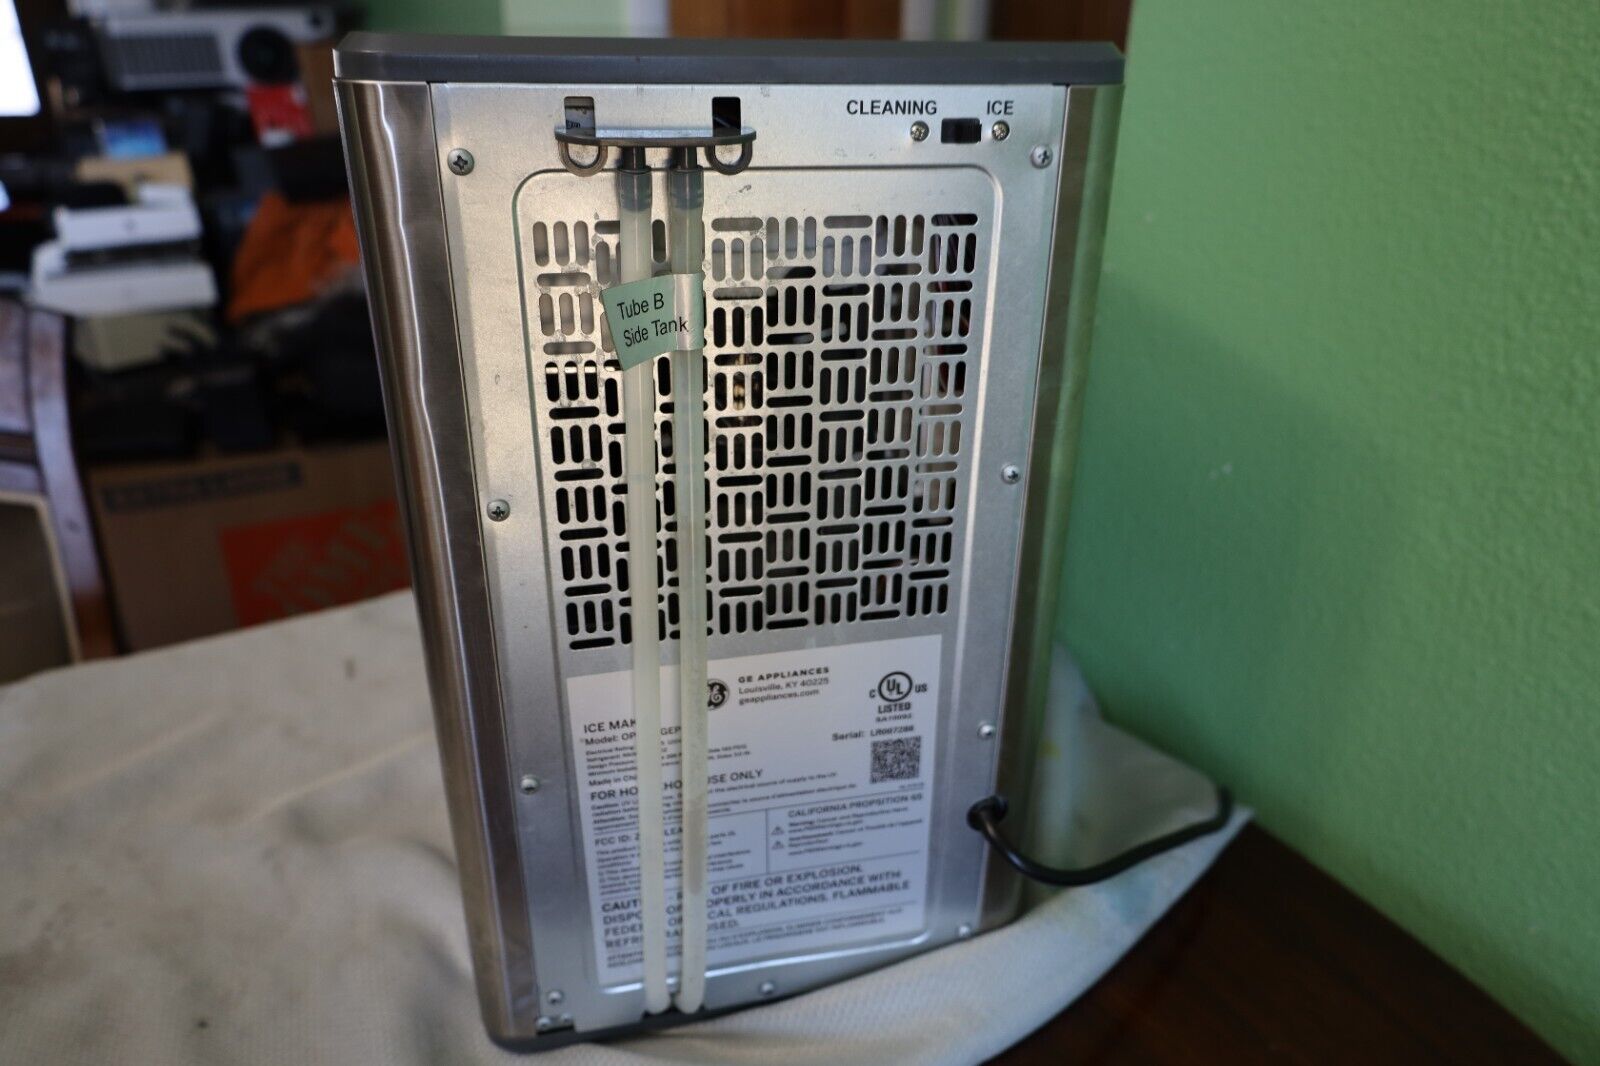
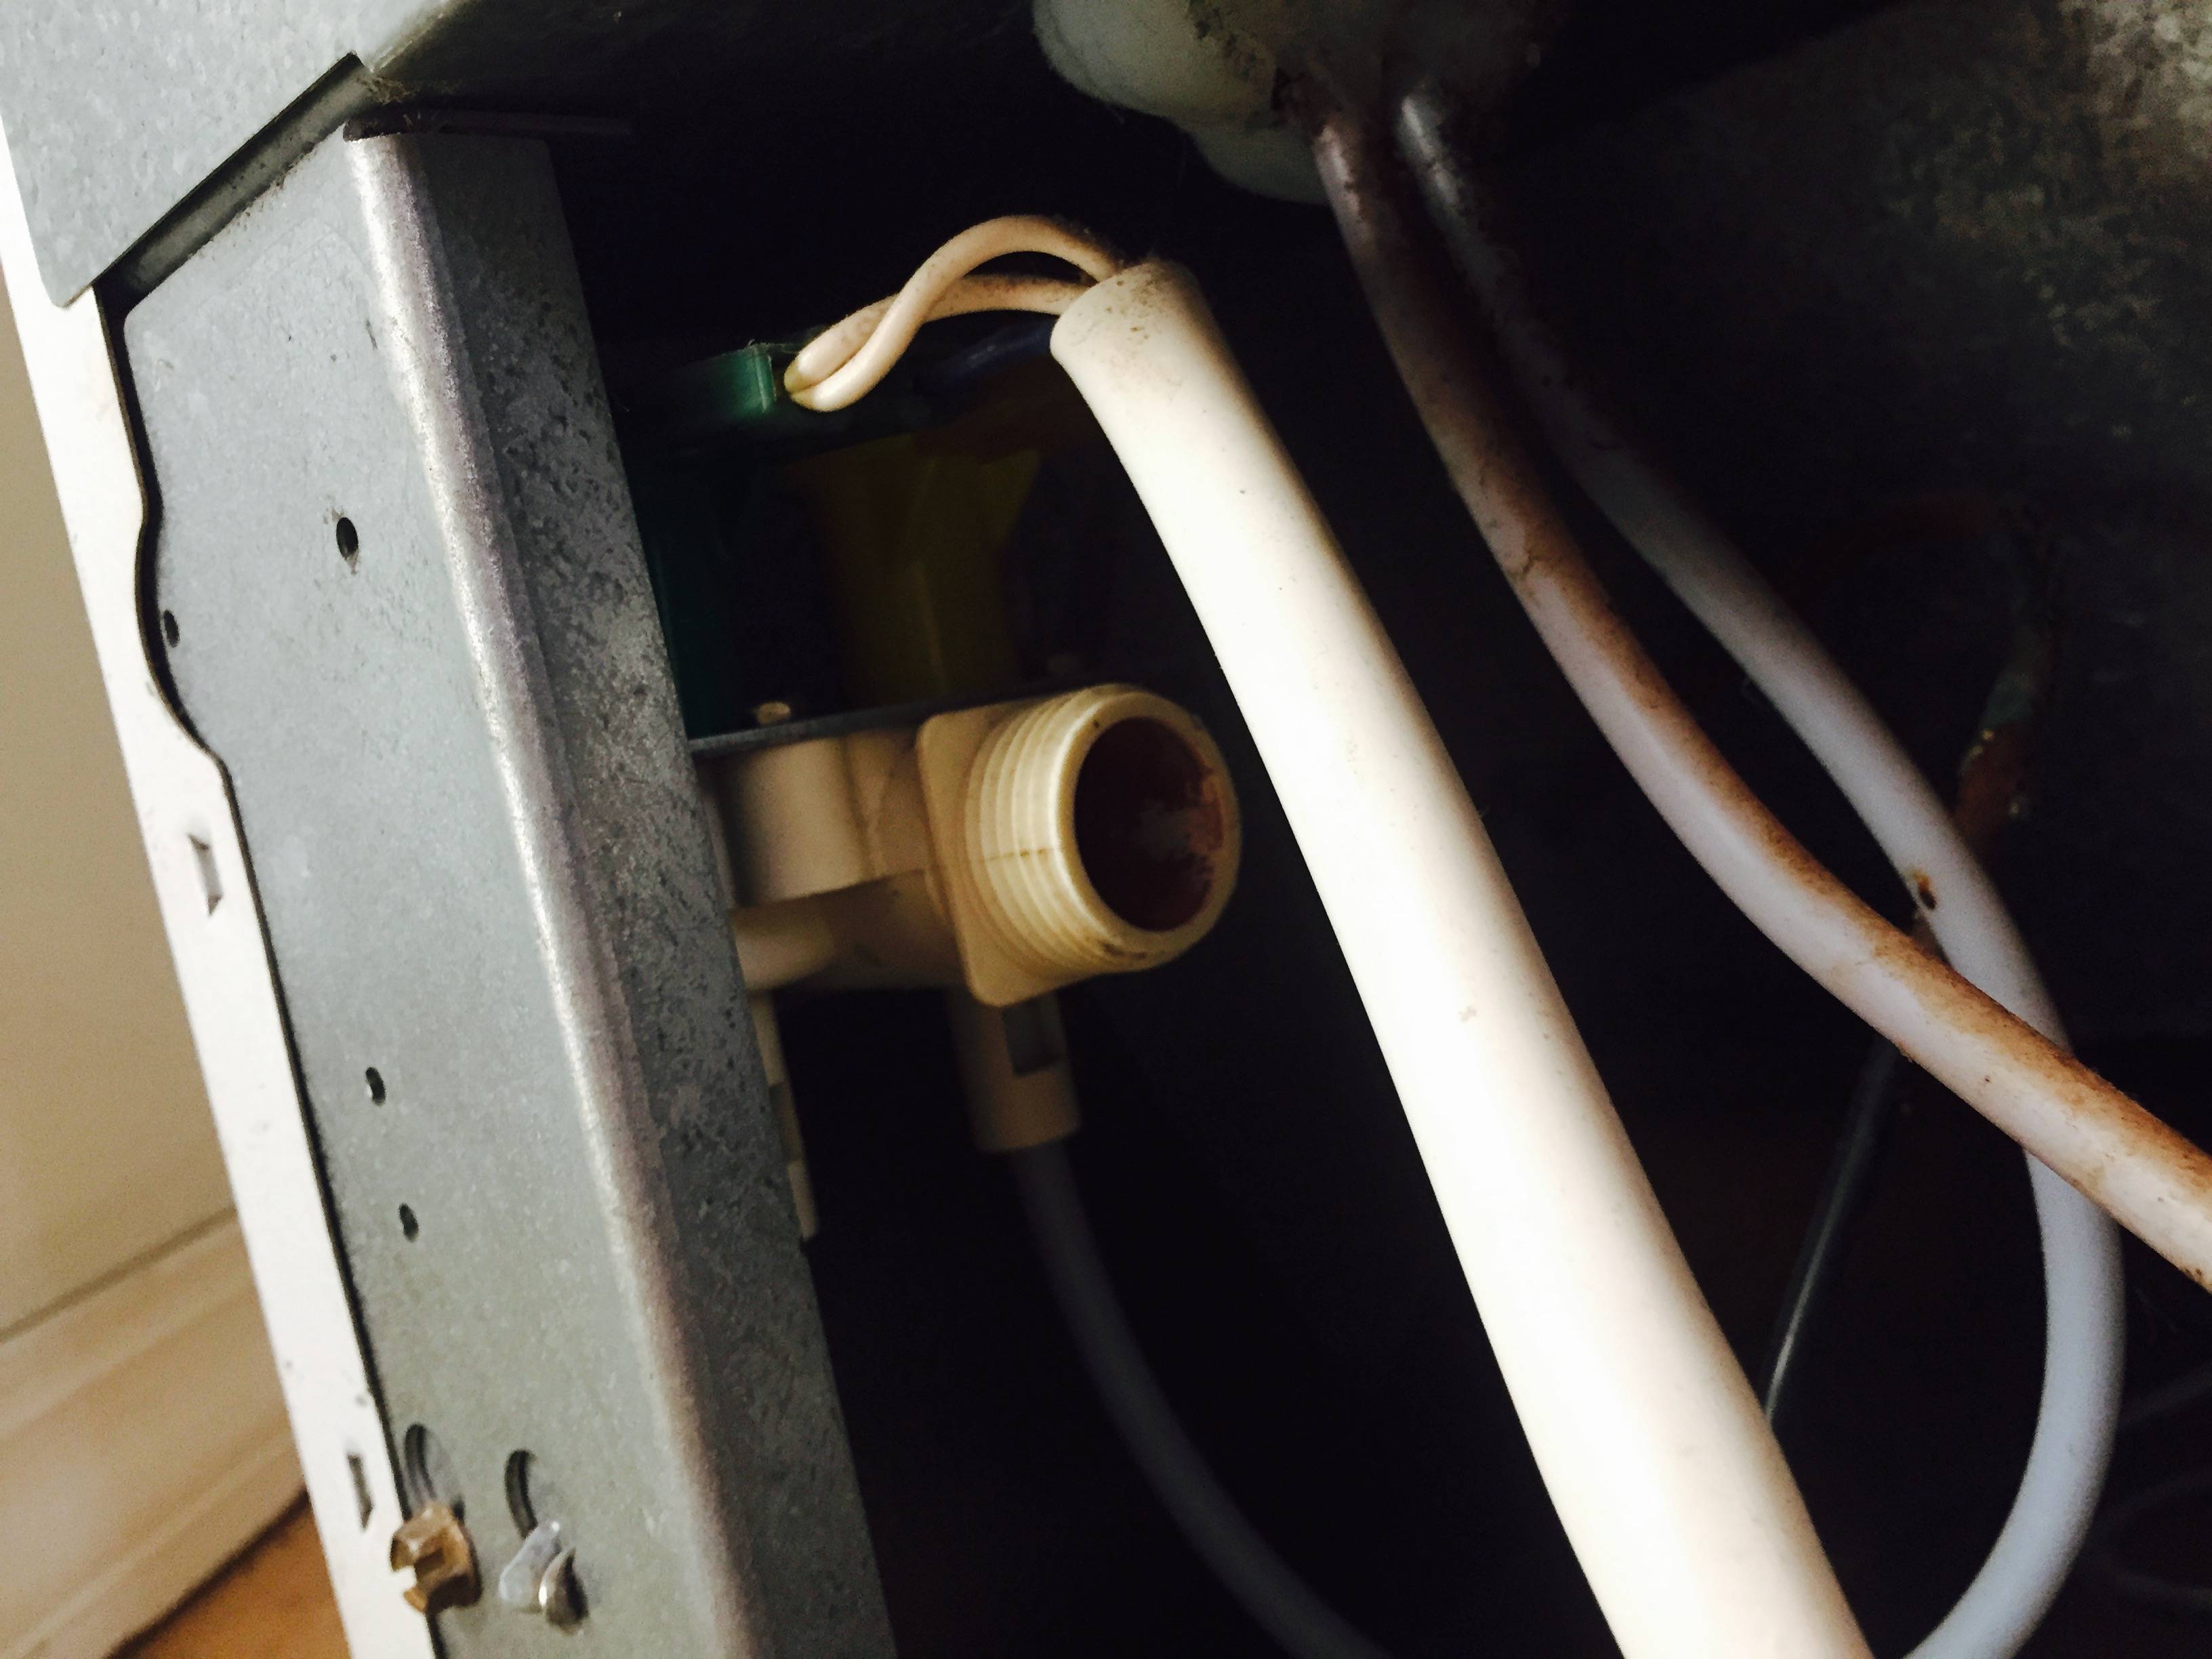
1. Identify the water inlet valve: Locate the water inlet valve on the back of the ice maker. This valve is where the water line will be connected to provide water for ice production.
2. Measure and cut the copper tubing: Using a tubing cutter, measure and cut a piece of copper tubing that will reach from the compression fitting to the water inlet valve of the ice maker. Make sure to leave a slight allowance for flexibility and movement.
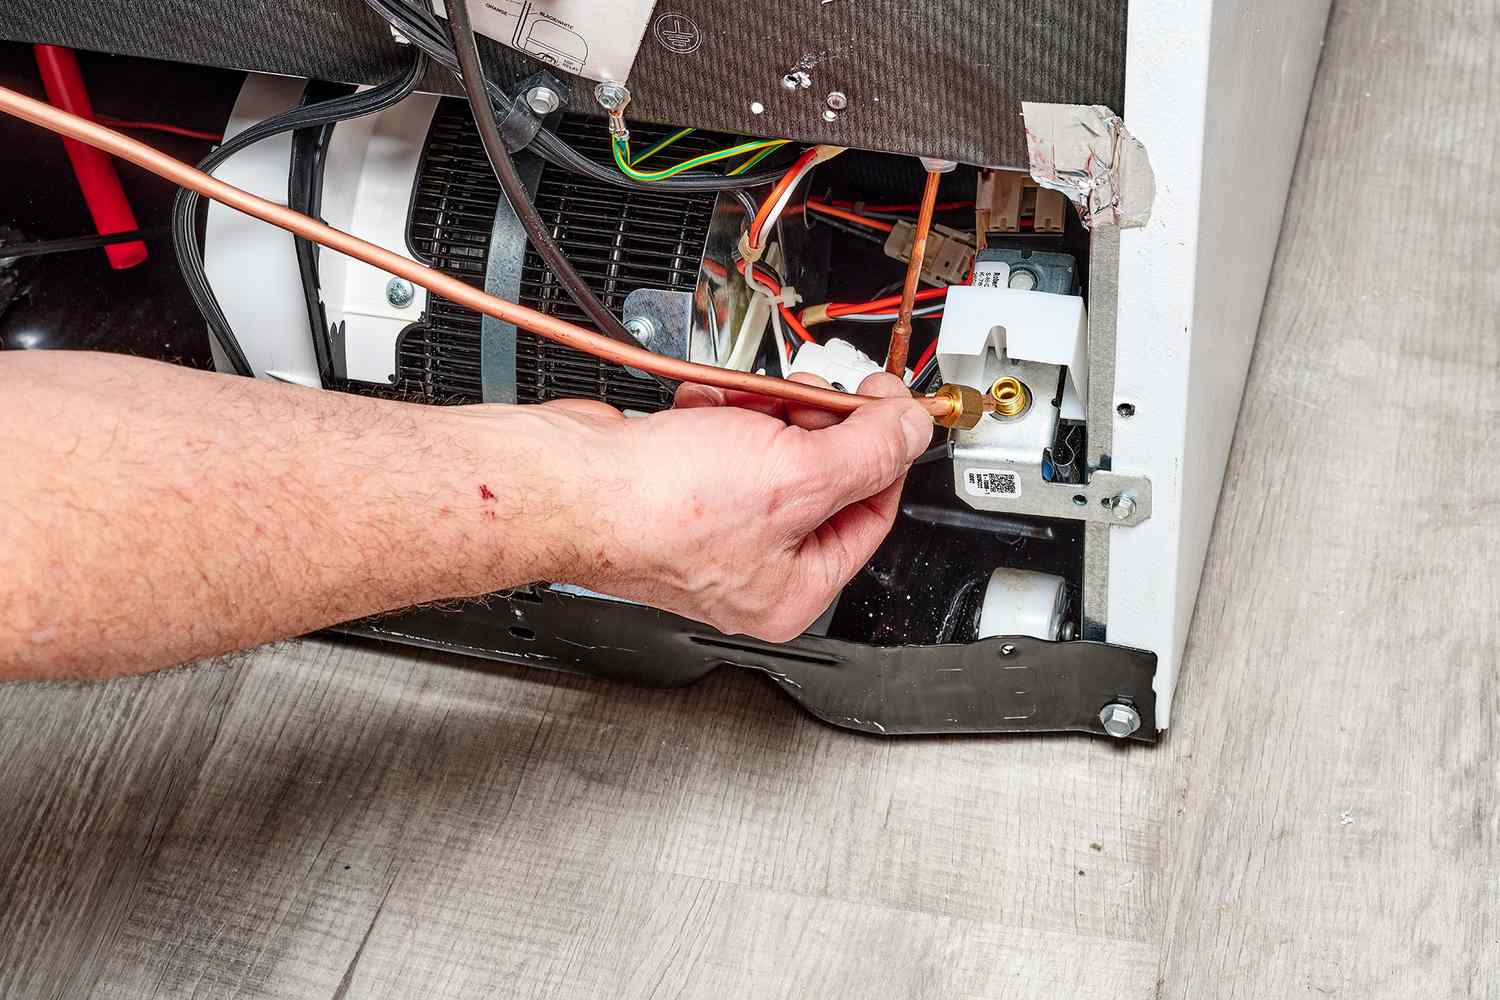
3. Insert the tubing into the compression fitting: Take the cut end of the copper tubing and insert it into the compression fitting on the copper water line. Ensure that the tubing is fully inserted and seated securely within the fitting.
4. Tighten the compression nut: With the tubing in place, use an adjustable wrench to tighten the compression nut on the fitting. Apply even pressure and ensure a secure connection between the copper tubing and the compression fitting.
5. Connect the water line to the ice maker: Once the copper tubing is securely attached to the water line, locate the water inlet valve on the back of the ice maker. Align the tubing with the inlet valve and push it firmly into place.
6. Secure the tubing: Use a clip or saddle clamp to secure the copper tubing to the back of the refrigerator or along the wall. This will prevent the tubing from moving or getting damaged.
By connecting the water line to the ice maker, you have established the final link in the water supply chain. This connection will allow water to flow from the copper water line into the ice maker, ensuring a continuous supply of water for ice production. Ensure that the tubing is inserted securely and that all connections are tight to prevent any leaks or water loss.
Step 6: Turn On the Water Supply
With the water line securely connected to the ice maker, it’s time to turn on the water supply and allow water to flow into the system. Follow these steps to turn on the water supply:
1. Locate the main water shut-off valve: Refer back to Step 1 and locate the main water shut-off valve that you previously turned off. It is typically located near the water meter or where the main water line enters your home.
2. Turn on the water supply: Using caution, slowly turn the main water shut-off valve counterclockwise (left) to gradually reopen the water supply. This will allow water to flow through the pipes and into the ice maker.
3. Observe water flow: As you turn on the water supply, keep an eye on the water line and connections to ensure that water is flowing smoothly. Look for any signs of leaks or drips. If you notice any leaks, turn off the water supply immediately and inspect the connections for any loose or poorly connected fittings.
4. Flush the water line: To remove any air or debris from the water line, allow water to run through the line for a few minutes. This will help ensure a clean water supply to the ice maker.
By turning on the water supply, you are providing a constant flow of water to the ice maker, allowing it to produce ice. Take your time during this step to check for any leaks or irregularities in the water flow. Once you have confirmed that everything is functioning smoothly, you can move on to the final step of the installation process.
Step 7: Test for Leaks
After turning on the water supply and allowing water to flow into the ice maker, it’s crucial to test for any leaks to ensure a successful installation. Follow these steps to test for leaks:
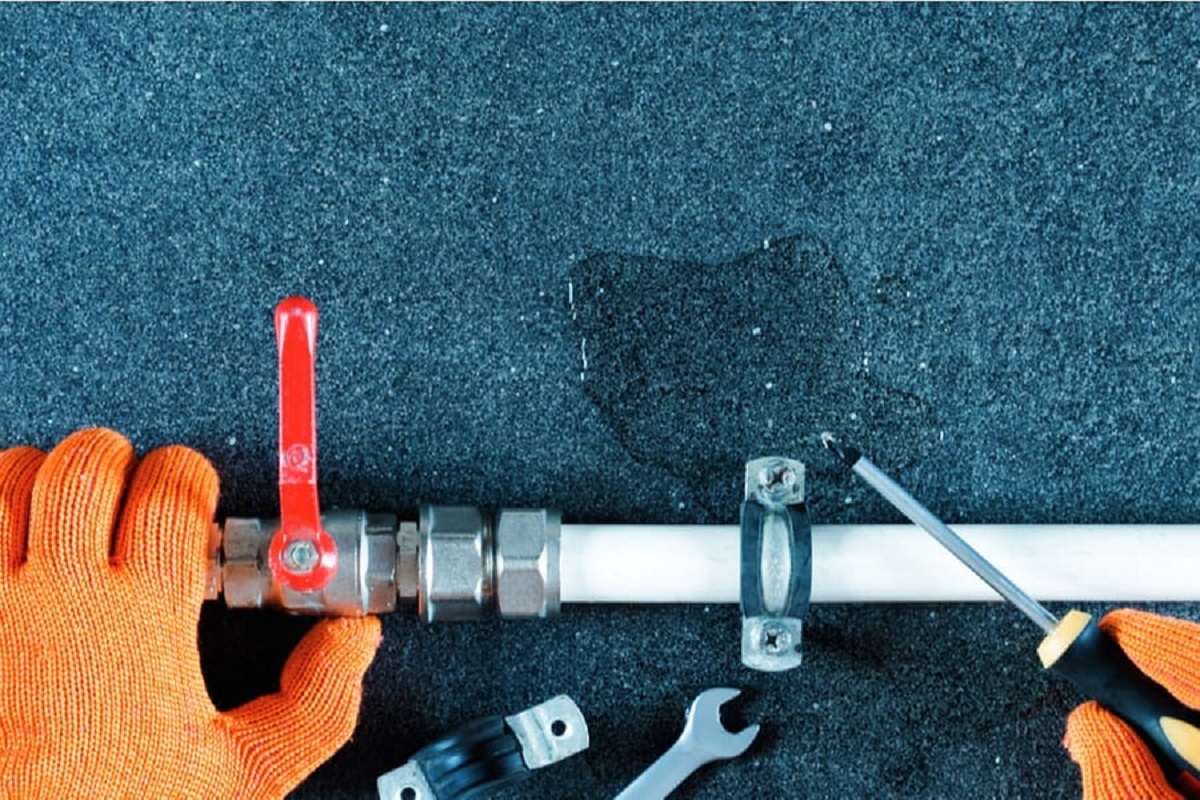
1. Inspect the connections: Carefully examine all the connection points, including the saddle valve, compression fittings, and water line connections. Look for any signs of moisture, wetness, or drips around these areas.
2. Check for water pooling: Inspect the area beneath the ice maker and along the water line for any signs of water pooling or dripping. This could indicate a leak in the system.
3. Monitor the ice maker’s performance: Keep an eye on the ice maker over the next few hours or days. Assess its functionality, check if it produces ice properly, and make sure there are no irregularities in its operation.
4. Retighten connections if necessary: If you notice any leaks or loose fittings during the testing process, carefully tighten the connections using an adjustable wrench. Be cautious not to overtighten, as it could damage the fittings or water line.
5. Repeat the inspection: After retightening any connections, repeat the inspection process to verify that the leaks have been resolved. Pay close attention to the areas where leaks were previously observed.
6. Seek professional assistance if needed: If you encounter persistent leaks or have difficulty resolving any issues, it may be necessary to consult a professional plumber for assistance. They can provide expert guidance and ensure that the installation is watertight.
It’s essential to thoroughly test for leaks before considering the installation process complete. Addressing any leaks promptly will prevent water damage and ensure a reliable water supply to your ice maker. By following these steps and conducting a thorough inspection, you can enjoy peace of mind knowing that your ice maker is properly installed and leak-free.
Read more: How To Disconnect Water Line From Ice Maker
Conclusion
Congratulations! You have successfully hooked up your ice maker to a copper water line. By following the step-by-step instructions provided in this guide, you have now ensured a steady water supply to your ice maker, allowing it to produce ice efficiently for your daily needs.
Throughout the installation process, you learned how to turn off the water supply, attach the saddle valve, cut the copper water line, install compression fittings, connect the water line to the ice maker, turn on the water supply, and test for leaks. These steps, when executed properly, result in a secure and reliable connection that will provide a continuous flow of water to your ice maker.
Remember to periodically inspect the connections and monitor the performance of your ice maker. If you notice any issues or leaks, address them promptly to prevent any further damage or complications. It is also a good idea to familiarize yourself with the manufacturer’s instructions and recommendations for your specific ice maker model.
Having an ice maker that is connected to a copper water line adds convenience and efficiency to your kitchen. You’ll always have a steady supply of ice for beverages, parties, and everyday use. No more hassle of filling ice trays or running to the store for bags of ice.
Now it’s time to sit back, relax, and enjoy the benefits of your newly installed ice maker. Cheers to refreshing drinks, chilled beverages, and the convenience of having ice readily available with just a push of a button.
Remember, if you ever need to make adjustments or modifications to your ice maker or water line, consult the manufacturer’s instructions or seek professional assistance. Enjoy your ice maker and the convenience it brings to your home!
Now that you've mastered connecting your ice maker to a copper water line, why stop there? Equip yourself with more savvy skills by diving into our detailed guide on proper ice maker setup. You'll find practical advice that ensures you handle installation smoothly, boosting your confidence as you tackle these DIY projects around your home. Don't miss out on making your appliance setup hassle-free!
Frequently Asked Questions about How To Hook Up Ice Maker To Copper Water Line
Was this page helpful?
At Storables.com, we guarantee accurate and reliable information. Our content, validated by Expert Board Contributors, is crafted following stringent Editorial Policies. We're committed to providing you with well-researched, expert-backed insights for all your informational needs.

0 thoughts on “How To Hook Up Ice Maker To Copper Water Line”