Home>Furniture & Design>Outdoor Furniture>How To Install An Outdoor Ceiling Fan
Outdoor Furniture
How To Install An Outdoor Ceiling Fan
Modified: August 29, 2024
Learn how to install an outdoor ceiling fan with our comprehensive guide. Get expert tips on choosing the right outdoor furniture and design for your space.
(Many of the links in this article redirect to a specific reviewed product. Your purchase of these products through affiliate links helps to generate commission for Storables.com, at no extra cost. Learn more)
Introduction
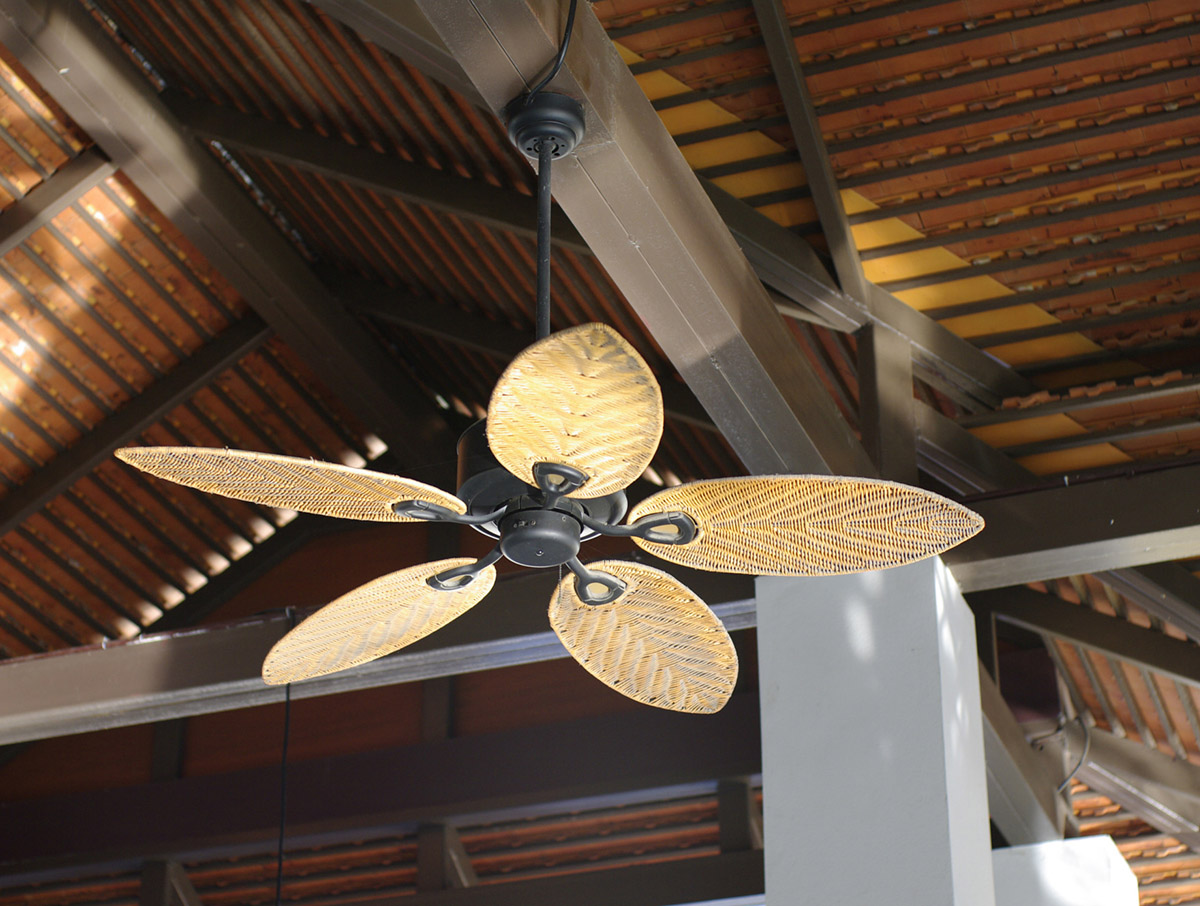
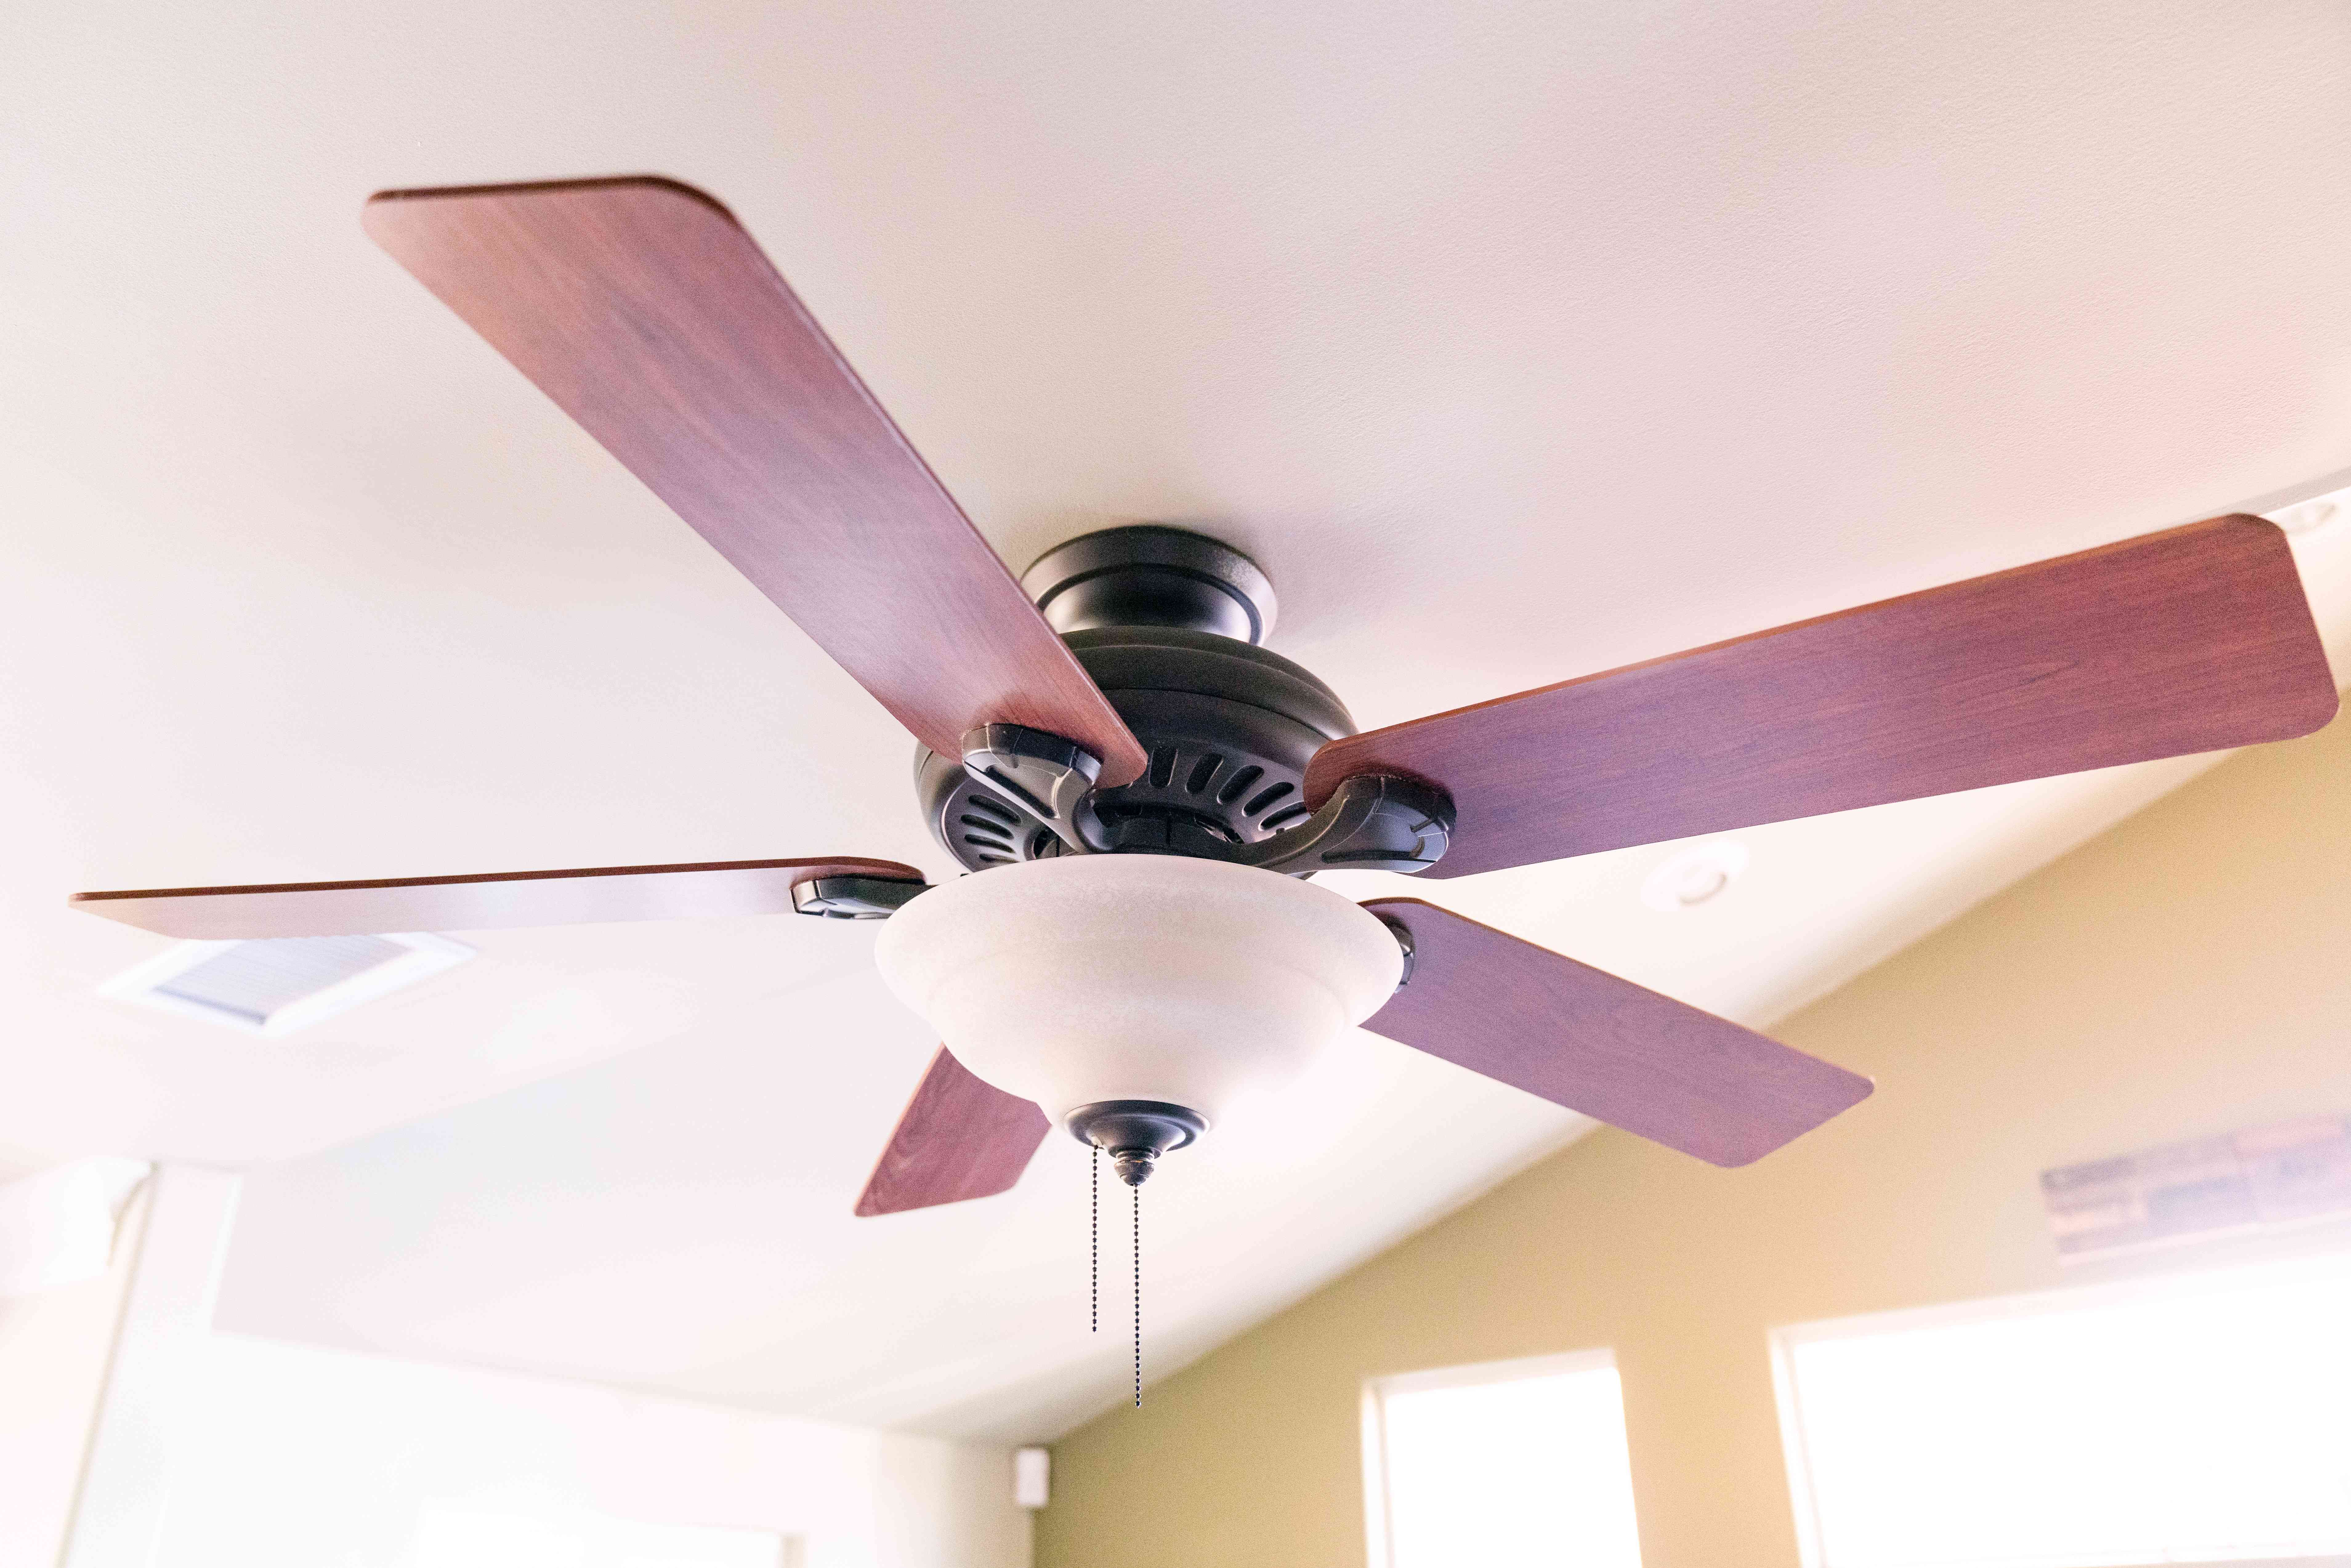
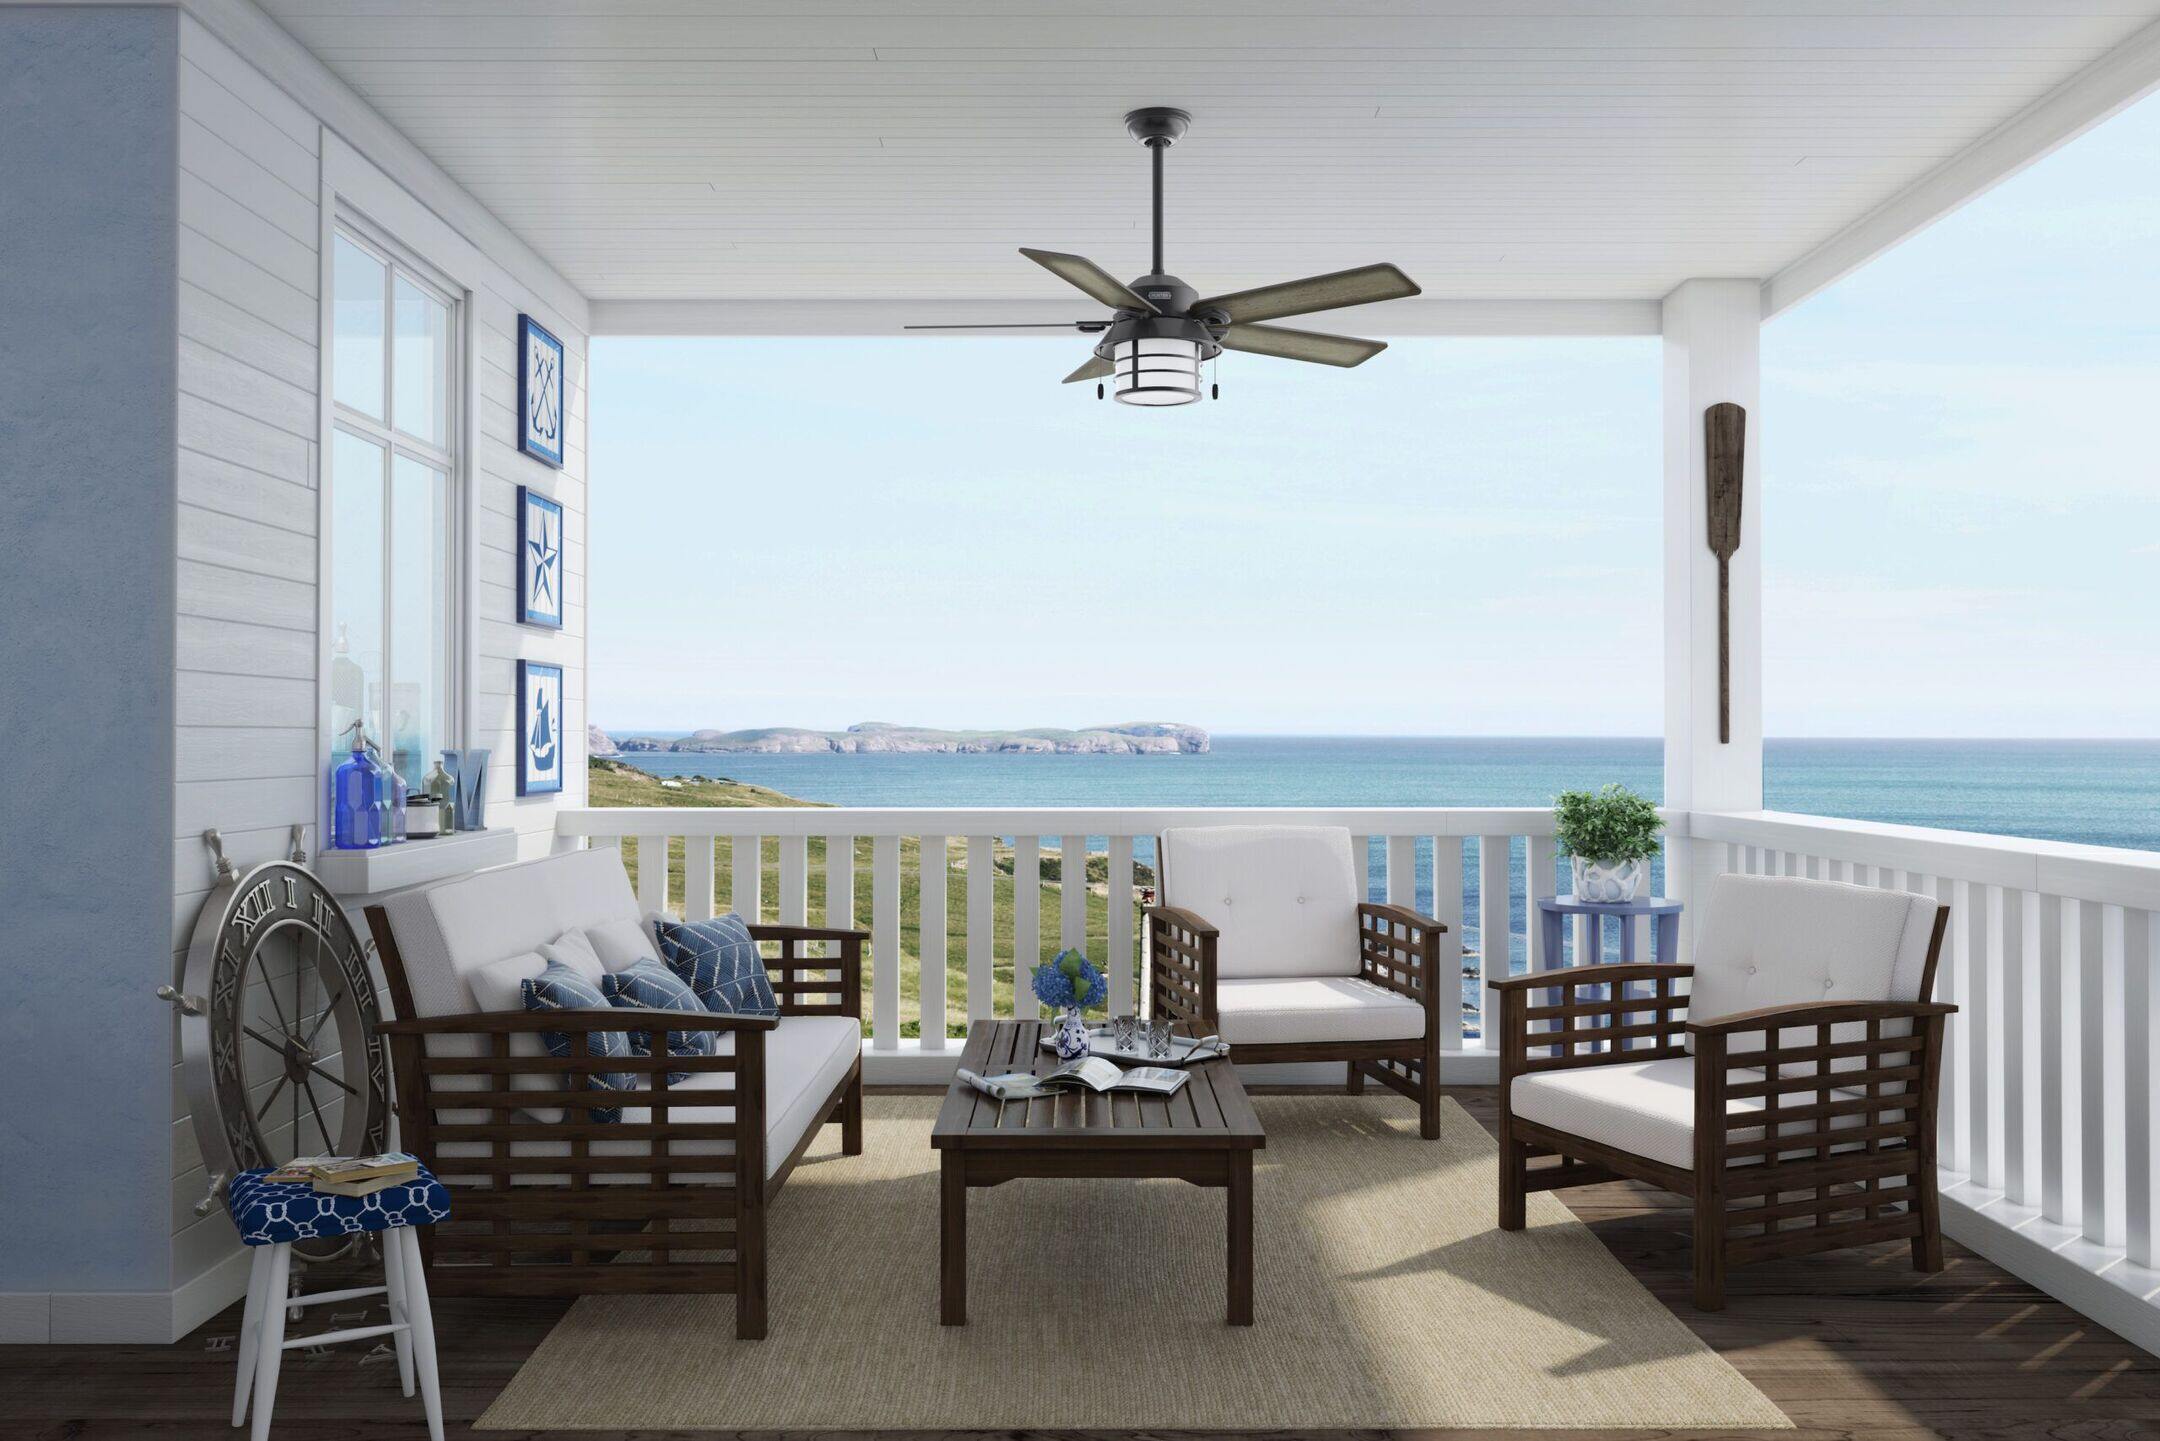
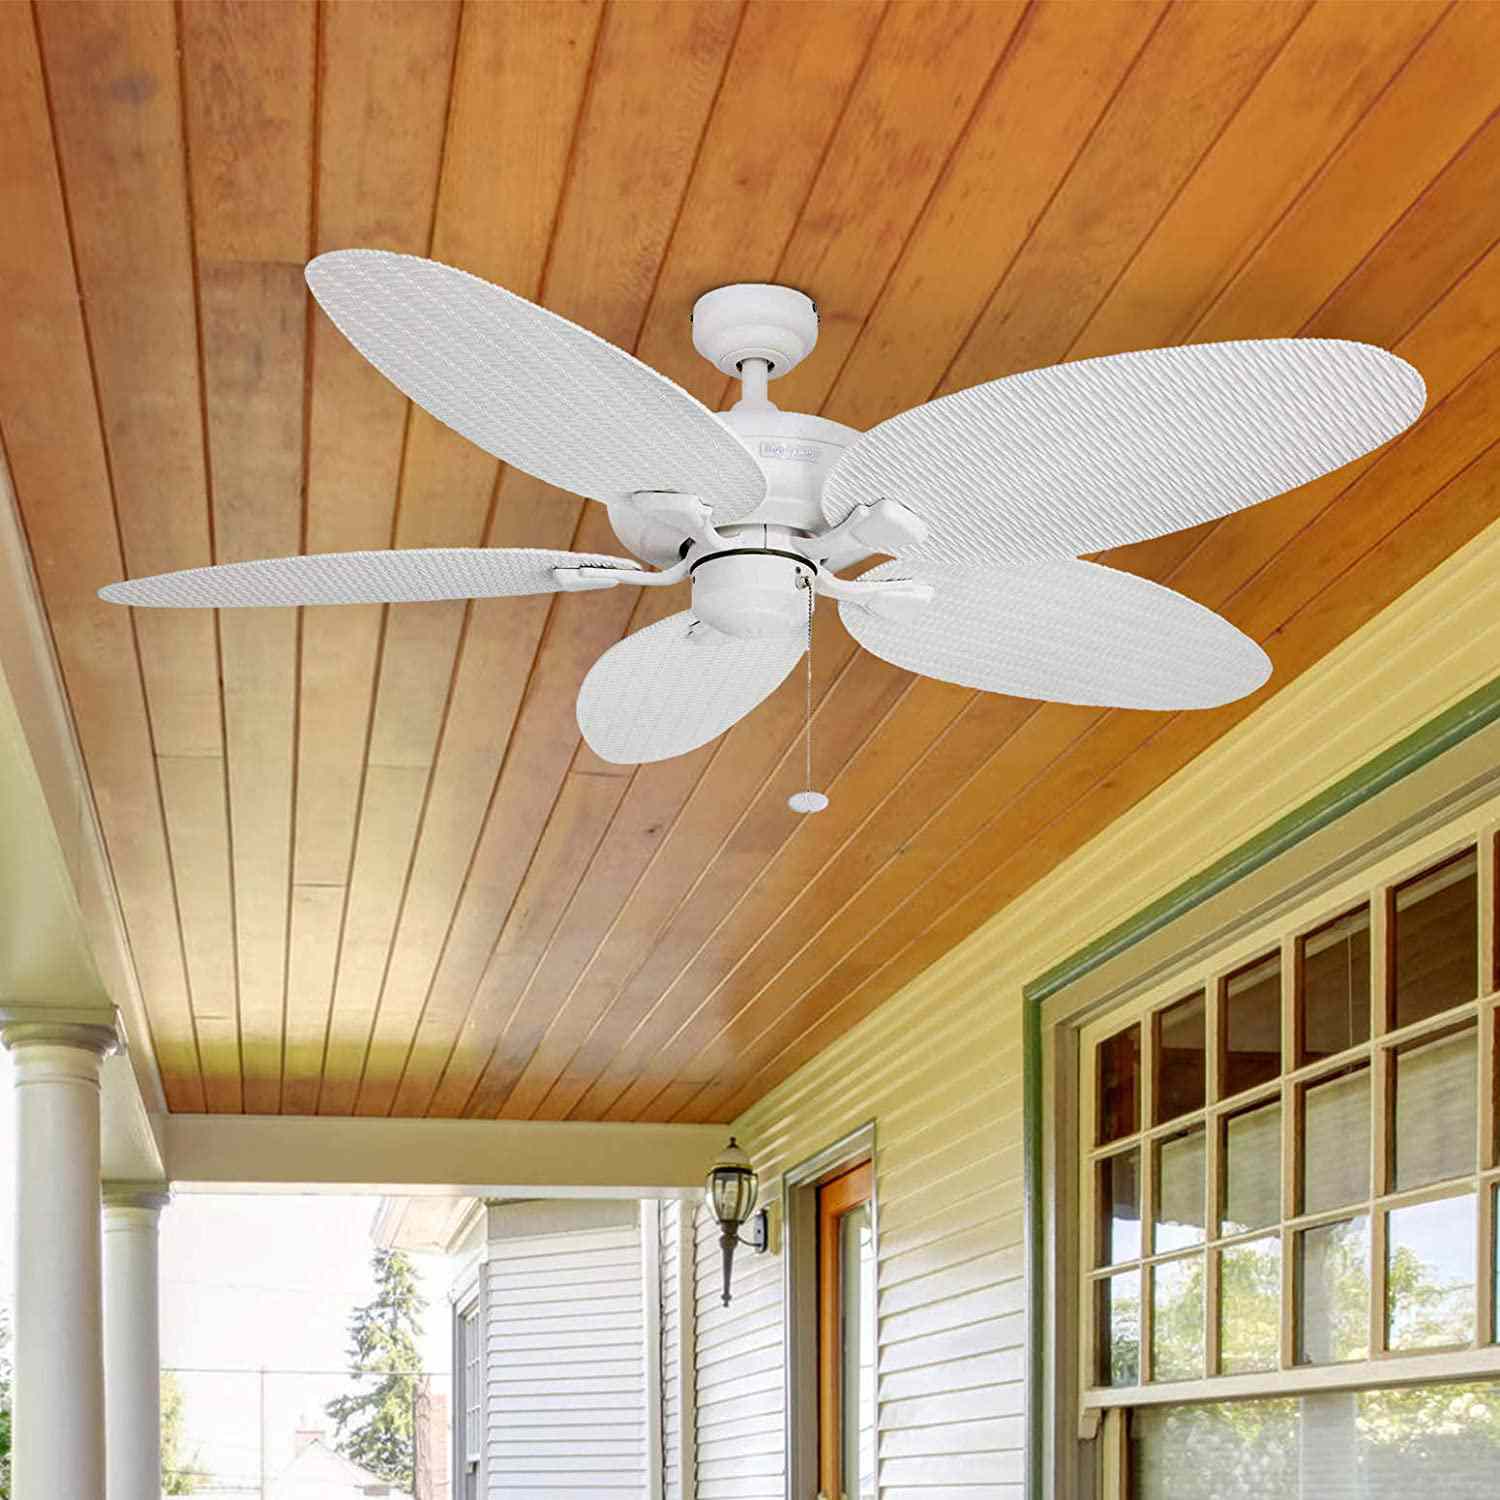
Installing an outdoor ceiling fan can significantly enhance the comfort and aesthetic appeal of your outdoor living spaces. Whether you want to create a relaxing breeze on a warm summer evening or simply add a touch of elegance to your patio or deck, a well-placed ceiling fan can be a game-changer. However, the installation process may seem daunting at first, especially if you're not familiar with electrical work or DIY projects. Fear not! With the right tools, materials, and a clear understanding of the steps involved, you can tackle this project with confidence.
In this comprehensive guide, we'll walk you through the step-by-step process of installing an outdoor ceiling fan. From gathering the necessary tools and materials to testing the fan after installation, we've got you covered. By following these instructions and safety precautions, you can enjoy the cooling breeze and stylish charm of your outdoor ceiling fan in no time.
So, roll up your sleeves, gather your tools, and let's get started on this rewarding home improvement project. With a bit of patience and attention to detail, you'll soon be basking in the gentle whir of your newly installed outdoor ceiling fan.
Key Takeaways:
- Installing an outdoor ceiling fan requires gathering tools, turning off power, assembling the fan, and testing its functionality. It’s a rewarding DIY project that enhances outdoor comfort and elegance.
- After installing an outdoor ceiling fan, enjoy the refreshing breeze and remember to maintain it for long-lasting comfort and ambiance in your outdoor living space.
Read more: How Install Ceiling Fan
Step 1: Gather the Necessary Tools and Materials
Before embarking on the installation process, it’s crucial to gather all the essential tools and materials. Having everything on hand will streamline the installation and minimize the need for last-minute runs to the hardware store. Here’s a comprehensive list of what you’ll need:
- Ceiling Fan Kit: Ensure that the fan is specifically designed for outdoor use, as it will be exposed to the elements. Look for a fan labeled “damp” or “wet” rated, depending on the location of your installation.
- Ladder: A sturdy, well-balanced ladder is essential for reaching the installation site safely.
- Screwdriver Set: Both flathead and Phillips-head screwdrivers will likely be necessary for various components of the installation.
- Adjustable Wrench: This tool will be used to secure the fan blades and other components.
- Wire Cutters and Strippers: These are essential for preparing the electrical wires for connection.
- Voltage Tester: Before beginning any work, it’s crucial to ensure that the power is turned off. A voltage tester will help you verify that the electrical supply is safely disconnected.
- Wire Nuts: These small, insulated connectors are used to secure the electrical connections, ensuring safety and reliability.
- Mounting Bracket and Hardware: The specific hardware required will depend on the type of ceiling you have. Be sure to check that the mounting bracket is suitable for outdoor use.
- Fan Blades and Screws: If not included with the fan, ensure that you have all the necessary blades and screws for attachment.
- Instruction Manual: While not a physical tool, the manufacturer’s instructions are invaluable. Familiarize yourself with the manual before beginning the installation.
By gathering these tools and materials beforehand, you’ll set the stage for a smooth and efficient installation process. With everything at your fingertips, you’ll be ready to move on to the next step with confidence.
Step 2: Turn off the Power
Before delving into the installation process, safety should always be the foremost consideration. When working with electrical components, it’s crucial to take the necessary precautions to avoid accidents and injuries. Therefore, the first step in installing an outdoor ceiling fan is to turn off the power to the area where the fan will be installed.
Here’s a step-by-step guide to safely disconnecting the power:
- Locate the Circuit Breaker: Identify the circuit breaker that controls the power supply to the area where the ceiling fan will be installed. If the area is not clearly labeled, it’s wise to shut off the main circuit breaker to ensure complete safety.
- Switch Off the Power: Once you’ve located the appropriate circuit breaker, switch it off to cut off the electrical supply to the installation area. It’s advisable to use a non-contact voltage tester to ensure that the power has been successfully disconnected.
- Test the Wires: After turning off the power, use a voltage tester to double-check that there is no electrical current running through the wires. This extra precaution can prevent accidental shocks during the installation process.
- Secure the Circuit Breaker: To prevent anyone from inadvertently turning the power back on while you’re working, consider locking the circuit breaker or using a tag to indicate that work is in progress.
By following these steps, you’ll create a safe working environment for the installation of your outdoor ceiling fan. Always proceed with caution when working with electricity, and never hesitate to seek professional assistance if you’re unsure about any aspect of the process.
Step 3: Assemble the Fan
With the power safely turned off, it’s time to assemble the components of your outdoor ceiling fan. Most ceiling fan kits come with detailed instructions for assembly, making this step relatively straightforward. Here’s a general outline of the assembly process:
- Unpack the Components: Carefully unpack the contents of the ceiling fan kit, ensuring that all the necessary parts are present. Check for any damage or missing pieces before proceeding with the assembly.
- Attach the Fan Blades: Depending on the specific design of your ceiling fan, you’ll need to attach the fan blades to the motor housing. Follow the manufacturer’s instructions for securing the blades, typically using screws and washers provided in the kit.
- Install the Downrod (if applicable): If your ceiling fan includes a downrod for mounting, this is the time to attach it to the motor housing. The downrod will extend the fan to the desired distance from the ceiling, allowing for optimal air circulation.
- Connect the Wires: Inside the motor housing, you’ll find wires that need to be connected according to the manufacturer’s instructions. Typically, these connections involve matching the colored wires and securing them with wire nuts.
- Secure the Canopy: Once the wiring is in place, the canopy, which conceals the electrical components, is attached to the motor housing. This step may require a few additional screws to ensure a secure fit.
- Test the Assembly: Before proceeding with the installation, it’s a good idea to briefly test the fan to ensure that the assembly is functioning properly. This can be done by briefly turning the power back on and activating the fan’s settings.
By carefully following the manufacturer’s instructions and taking your time with the assembly process, you’ll ensure that the fan is ready for installation. With the fan components assembled and tested, you’re now prepared to move on to mounting the fan in its designated outdoor location.
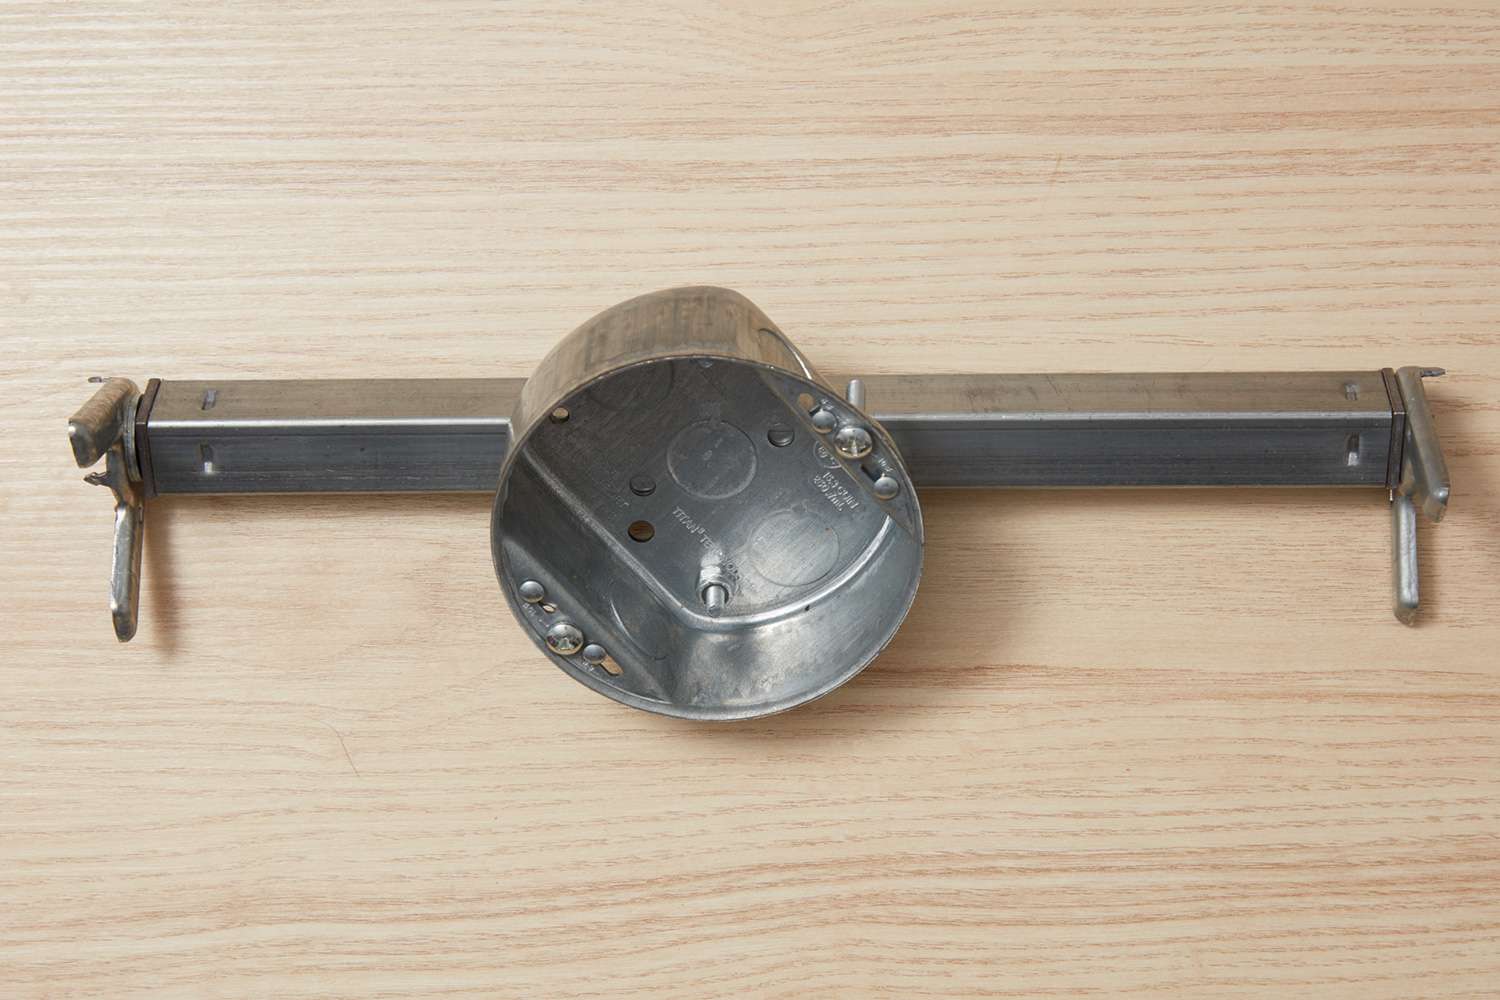
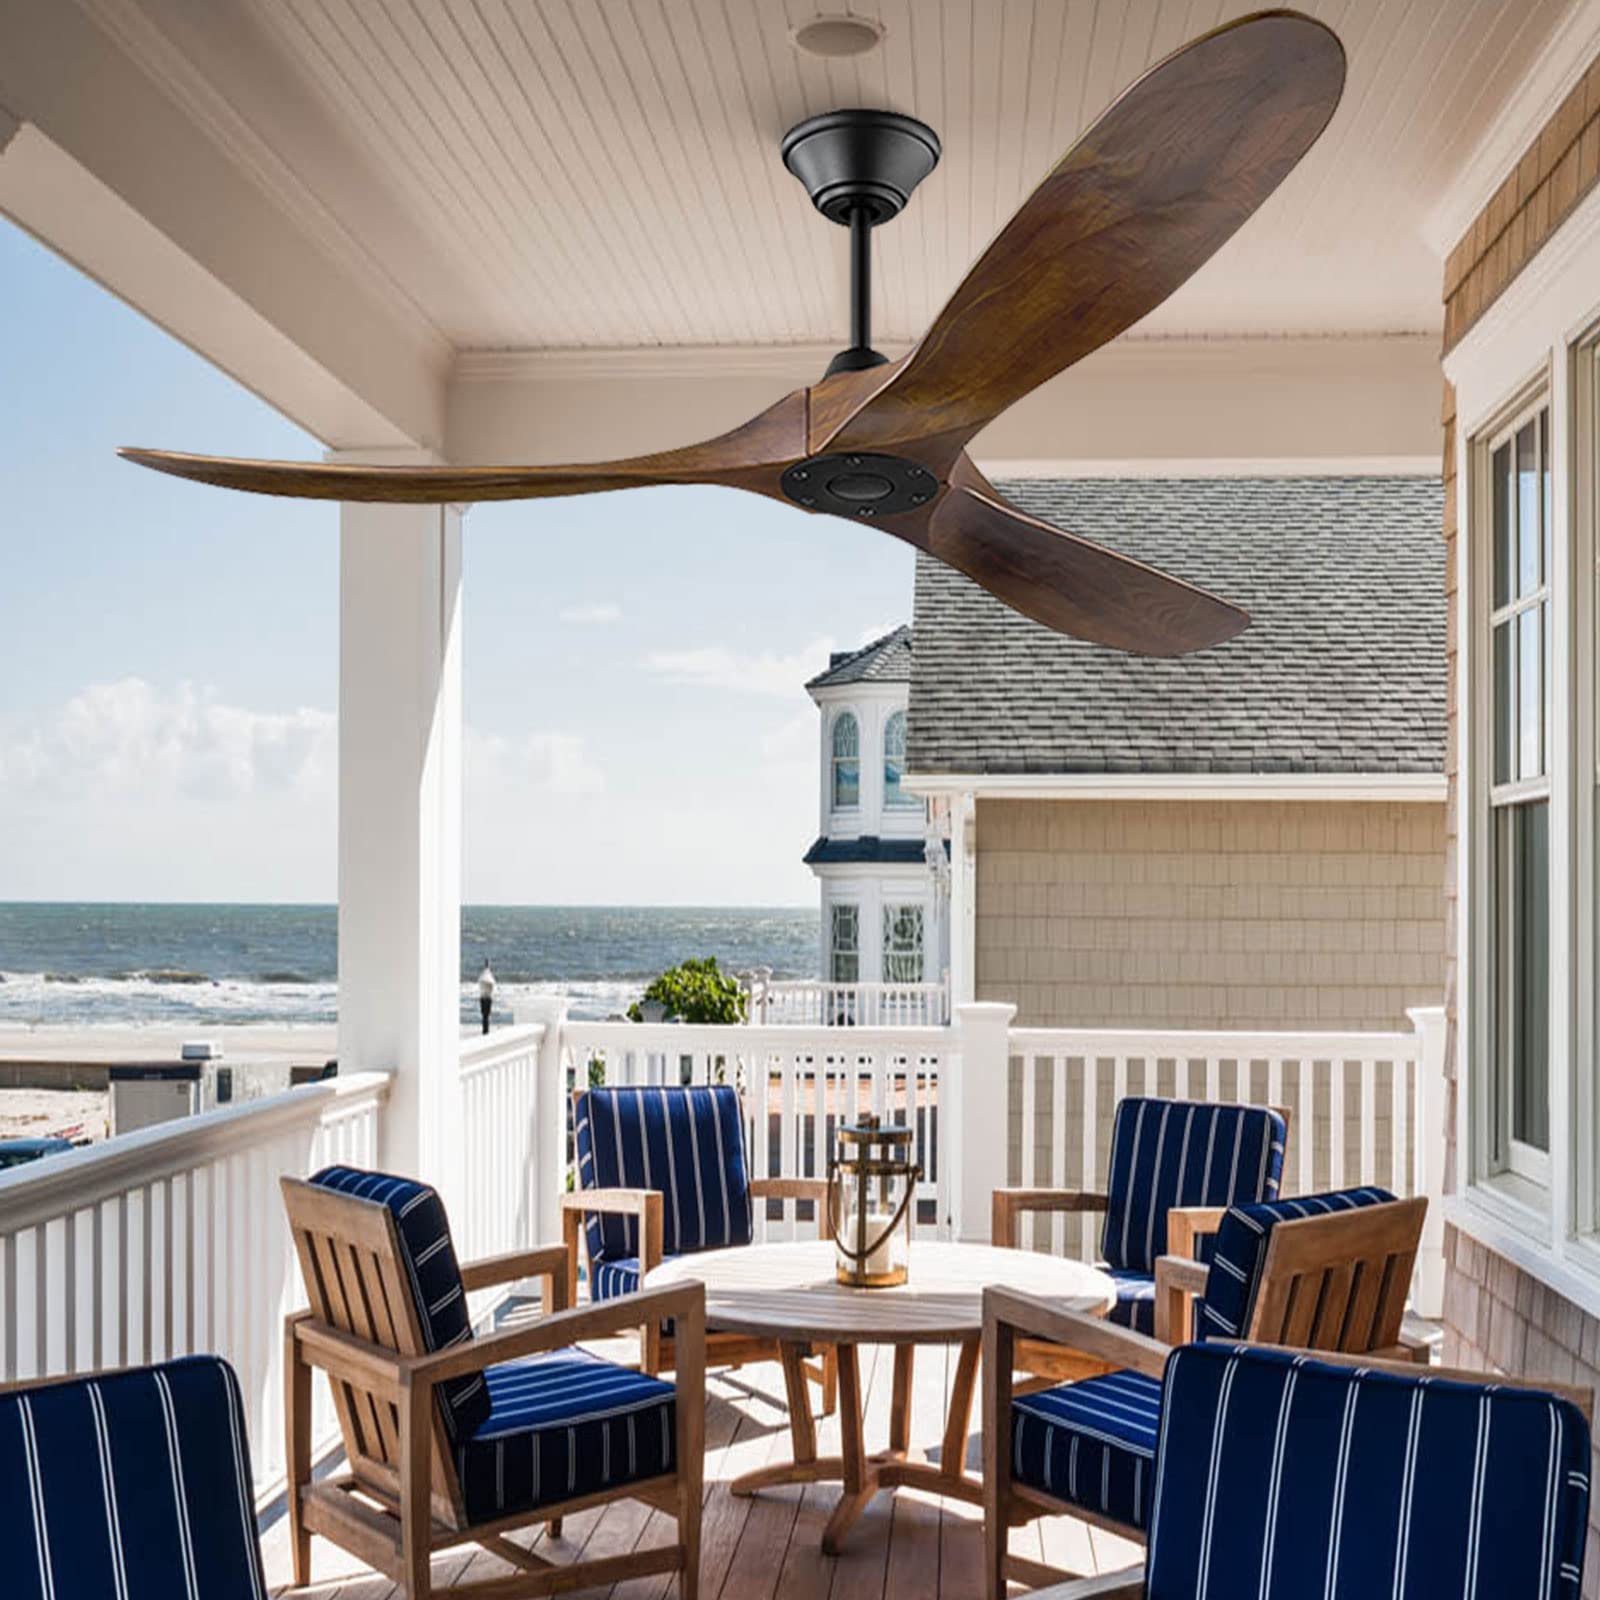
Step 4: Mount the Ceiling Fan Bracket
Mounting the ceiling fan bracket is a crucial step in the installation process, as it provides the foundation for securely attaching the fan to the ceiling. The specific method for mounting the bracket may vary depending on the type of ceiling you have, whether it’s standard, sloped, or angled. Here’s a general guide to mounting the bracket:
- Locate the Mounting Point: Identify the ideal location for installing the fan, ensuring that it is centered in the room or outdoor area. Use a stud finder to locate the ceiling joists or rafters, as the fan bracket must be anchored securely to these structural components.
- Position the Bracket: Hold the ceiling fan bracket against the ceiling, aligning it with the previously identified mounting point. Mark the positions of the screw holes on the ceiling, using a pencil or marker, to guide the installation process.
- Secure the Bracket: Using the appropriate screws and a power drill, attach the fan bracket to the ceiling, ensuring that it is firmly anchored to the ceiling joists or rafters. It’s essential to follow the manufacturer’s instructions for the specific type of ceiling and bracket being used.
- Attach the Mounting Ball: If your ceiling fan includes a mounting ball, it should be attached to the bracket at this stage. This component allows the fan to be suspended from the bracket, providing stability and support.
- Check for Stability: Once the bracket and mounting ball are in place, give the fan assembly a gentle shake to ensure that it is securely attached to the ceiling. Any wobbling or instability should be addressed before proceeding further.
By following these steps, you’ll establish a solid and secure foundation for mounting your outdoor ceiling fan. With the bracket firmly in place, you’re now ready to proceed with attaching the fan blades and wiring, bringing you one step closer to enjoying the cooling breeze of your newly installed fan.
Read more: Who Installs Ceiling Fans
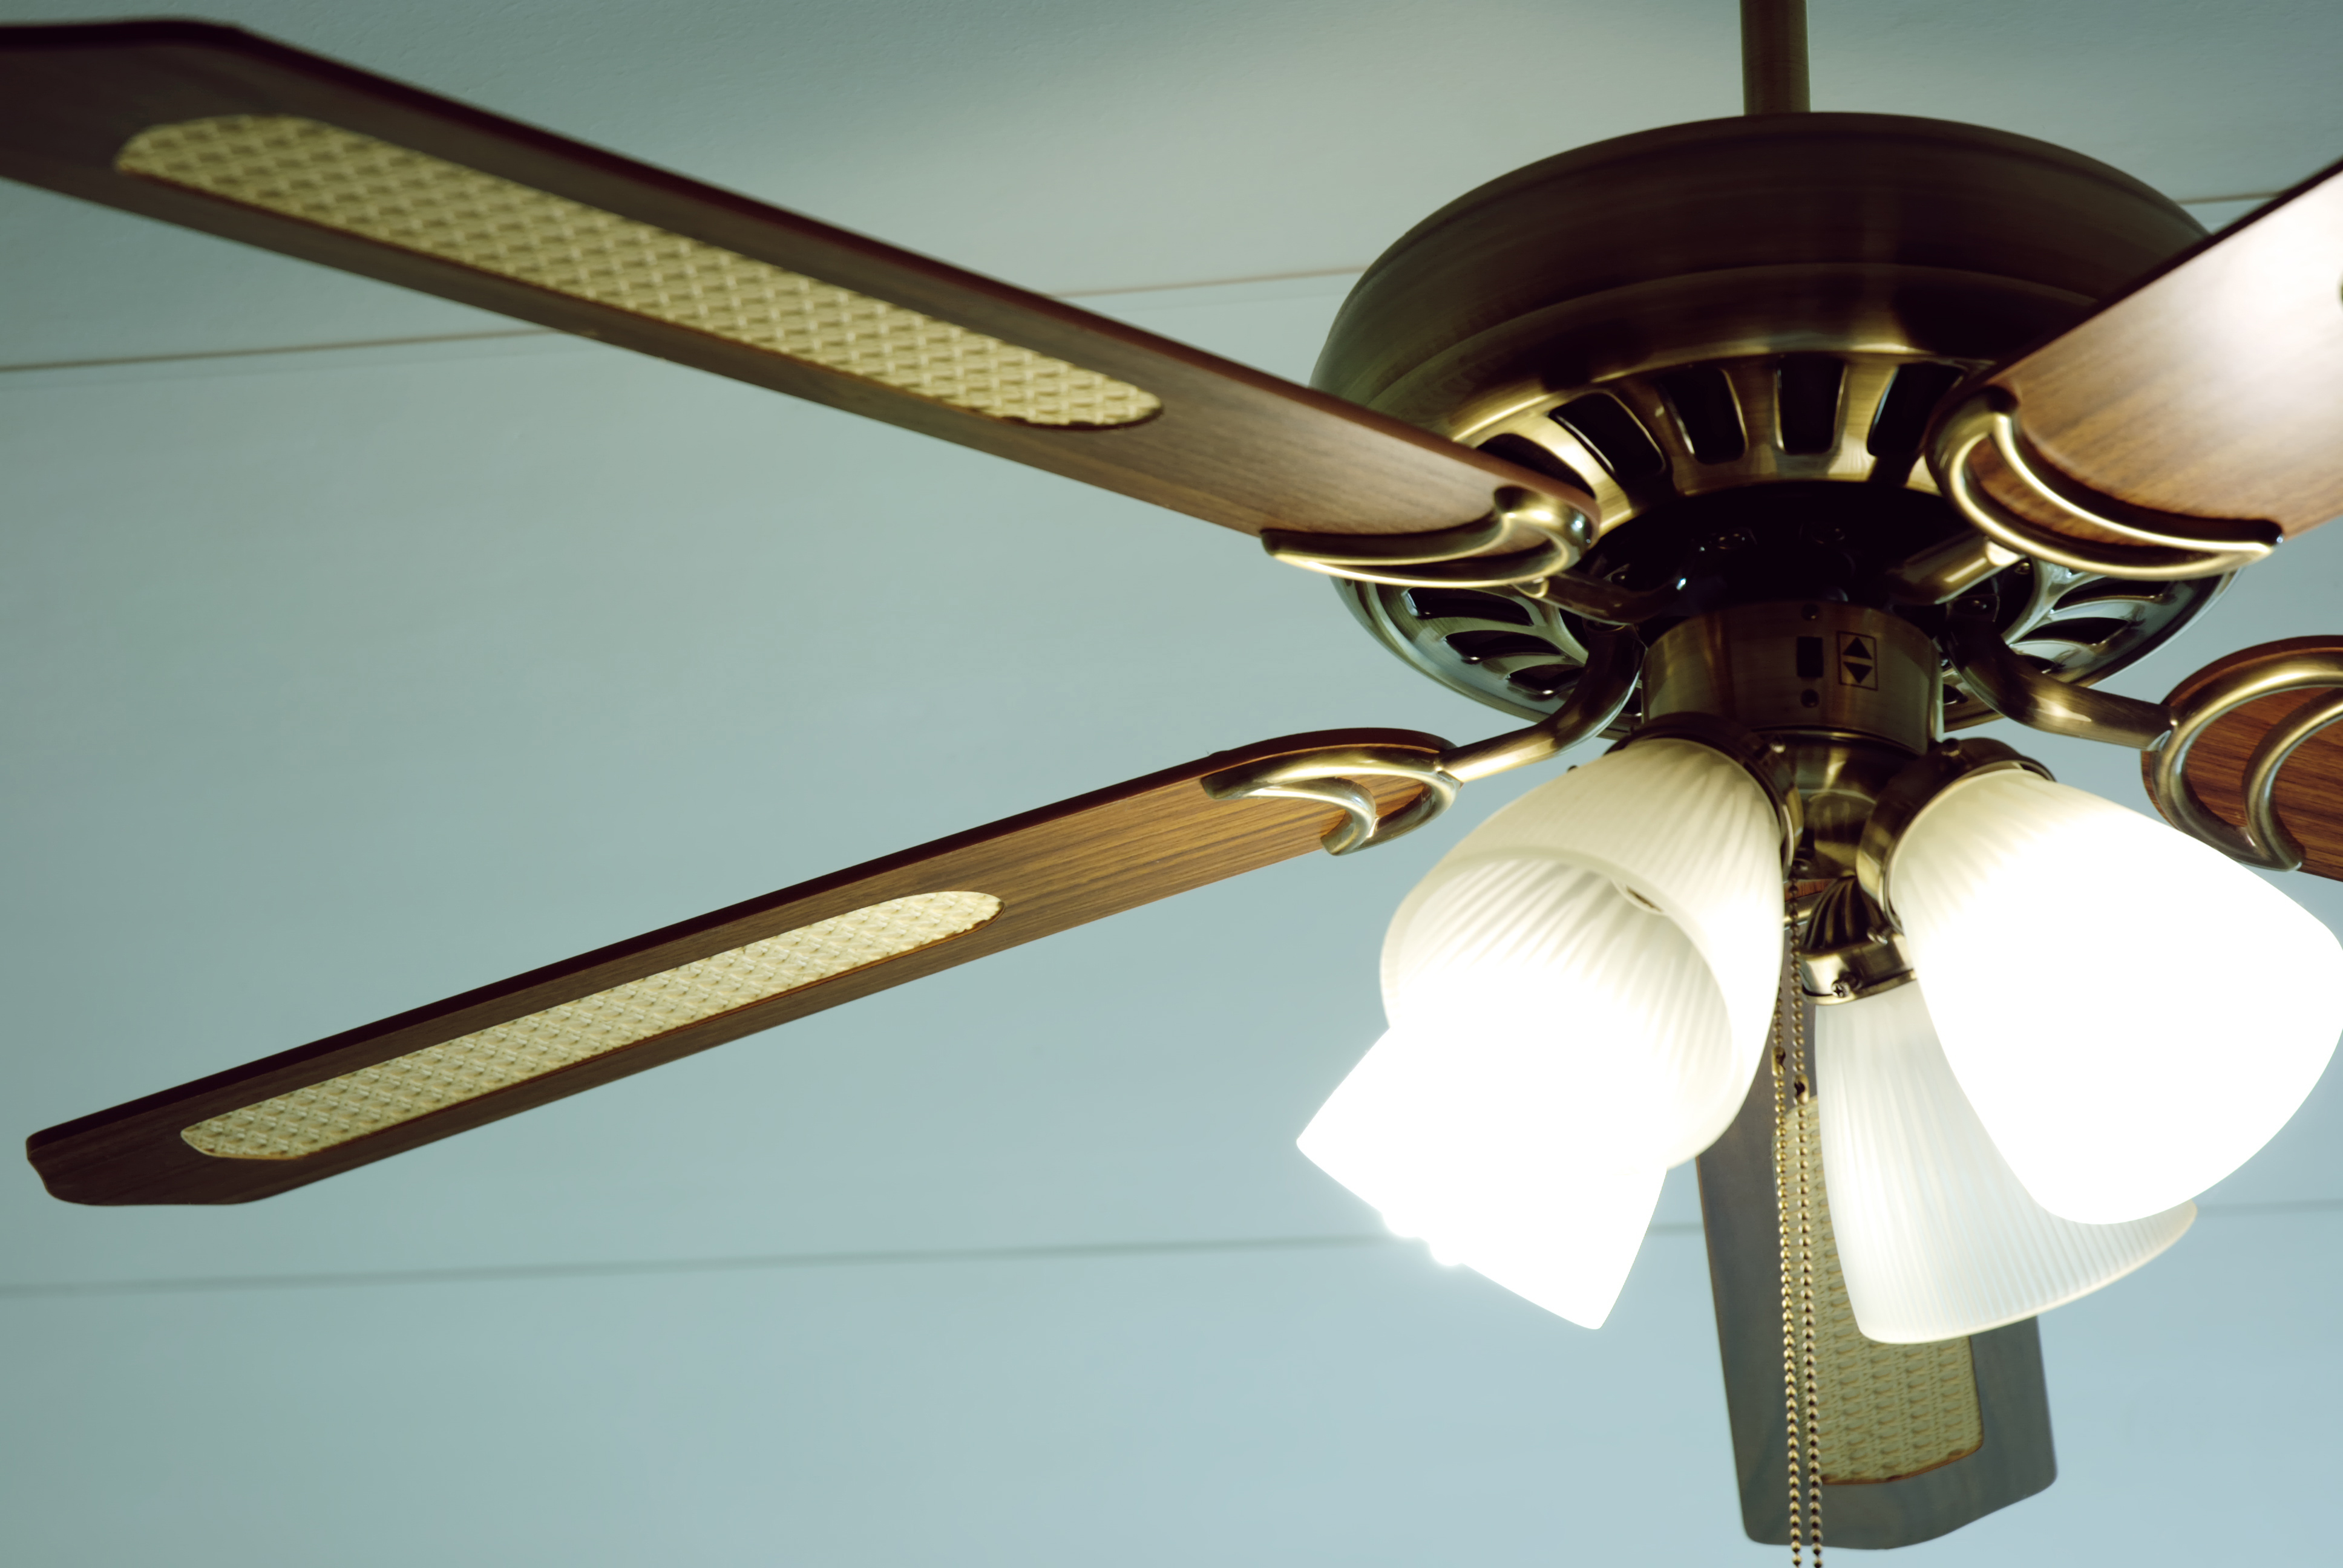
Step 5: Attach the Fan Blades
Attaching the fan blades is a pivotal stage in the installation process, as it directly impacts the functionality and aesthetic appeal of your outdoor ceiling fan. Properly securing the fan blades ensures balanced air circulation and minimizes operational noise. Here’s a step-by-step guide to attaching the fan blades:
- Position the Blades: Lay out the fan blades in the desired configuration, ensuring that each blade is oriented correctly according to the manufacturer’s instructions. Most fan blades are designed to be interchangeable, but it’s essential to confirm the proper alignment.
- Secure the Blades: Using the screws provided in the fan kit, attach each blade to the fan motor housing. It’s crucial to tighten the screws securely to prevent any wobbling or imbalance during operation.
- Balance the Blades (if necessary): Some ceiling fan kits include a balancing kit for fine-tuning the alignment of the fan blades. If the blades appear uneven or the fan wobbles during the initial test run, use the balancing kit to adjust and optimize the blade alignment.
- Check for Clearance: Before completing the installation, ensure that the fan blades have adequate clearance from the ceiling and surrounding walls. Proper clearance is essential for efficient air circulation and safe operation of the fan.
- Test the Blades: With the fan blades securely attached, briefly test the fan to ensure that the blades operate smoothly and quietly. This step allows you to detect any potential issues before proceeding with the wiring and final installation.
By carefully following these steps and paying attention to the alignment and security of the fan blades, you’ll ensure that your outdoor ceiling fan is poised for optimal performance. With the blades in place, you’re ready to move on to the next stage of the installation process, bringing you closer to enjoying the refreshing breeze of your newly installed fan.
Make sure to turn off the power to the existing light fixture before starting the installation process. This will help prevent any accidents or electrical shocks while working on the ceiling fan.
Step 6: Connect the Wiring
Connecting the wiring is a critical phase of installing an outdoor ceiling fan, as it involves integrating the electrical components to ensure safe and efficient operation. Properly connecting the wiring is essential for the fan to function reliably and securely. Here’s a comprehensive guide to connecting the wiring:
- Prepare the Wires: Begin by carefully preparing the electrical wires, ensuring that the insulation is intact and that the wires are free from any damage or fraying. Use wire cutters and strippers to trim the wires as needed, exposing the necessary length for connection.
- Match the Wires: Inside the fan’s mounting bracket, you’ll find a set of wires extending from the fan motor. These wires must be connected to the corresponding wires in the ceiling electrical box. Typically, the wires are color-coded for easy identification, with black or red wires representing the fan’s motor, white wires for neutral connections, and green or bare copper wires for grounding.
- Secure the Connections: Using wire nuts, connect the matching wires from the fan to the corresponding wires in the ceiling electrical box. Twist the wire nuts securely to create a tight connection, ensuring that the wires are joined effectively. It’s crucial to tug gently on each wire to confirm that the connections are secure and reliable.
- Tuck the Wires: Once the connections are made, carefully tuck the connected wires into the ceiling electrical box, ensuring that they are neatly arranged and do not interfere with the fan’s operation. Excess wire length can be coiled and tucked into the box to maintain a tidy appearance.
- Secure the Wire Nuts: To prevent the wire nuts from loosening over time, it’s advisable to use electrical tape to secure them in place. This additional measure provides extra protection and stability for the electrical connections.
By following these steps and taking care to make secure and reliable electrical connections, you’ll ensure that your outdoor ceiling fan operates safely and efficiently. With the wiring successfully connected, you’re now ready to proceed with the final stages of the installation, bringing you closer to enjoying the cooling comfort of your newly installed fan.
Step 7: Install the Fan Canopy
Installing the fan canopy is a crucial step in the process of mounting an outdoor ceiling fan, as it conceals the electrical components and provides a finished look to the installation. The fan canopy plays a dual role, enhancing both the functionality and aesthetics of the ceiling fan. Here’s a comprehensive guide to installing the fan canopy:
- Position the Canopy: With the fan motor and wiring in place, position the canopy over the mounting bracket, ensuring that it aligns with the screw holes on the bracket. The canopy serves as a cover for the wiring and electrical components, so it should fit snugly against the ceiling.
- Secure the Canopy: Using the screws provided in the fan kit, attach the canopy to the mounting bracket. It’s essential to tighten the screws securely to ensure that the canopy is firmly anchored to the bracket and ceiling. This step provides stability and support for the fan assembly.
- Conceal the Wiring: As you secure the canopy, carefully tuck the exposed wiring into the space between the canopy and the ceiling. The goal is to ensure that the wiring is neatly tucked away and does not protrude from the canopy, maintaining a clean and polished appearance.
- Check for Alignment: Once the canopy is in place, take a moment to inspect the alignment and fit. The canopy should sit flush against the ceiling, with no visible gaps or misalignment. This attention to detail ensures a professional and seamless installation.
- Test the Canopy: With the canopy securely attached, briefly test the fan to ensure that the canopy does not interfere with the operation of the fan blades. This step allows you to confirm that the canopy is properly installed and does not impede the fan’s functionality.
By following these steps and ensuring that the fan canopy is securely installed, you’ll complete a pivotal stage in the installation process. With the canopy in place, you’re now ready to proceed with the final touches, bringing you closer to enjoying the cooling breeze and stylish charm of your newly installed outdoor ceiling fan.
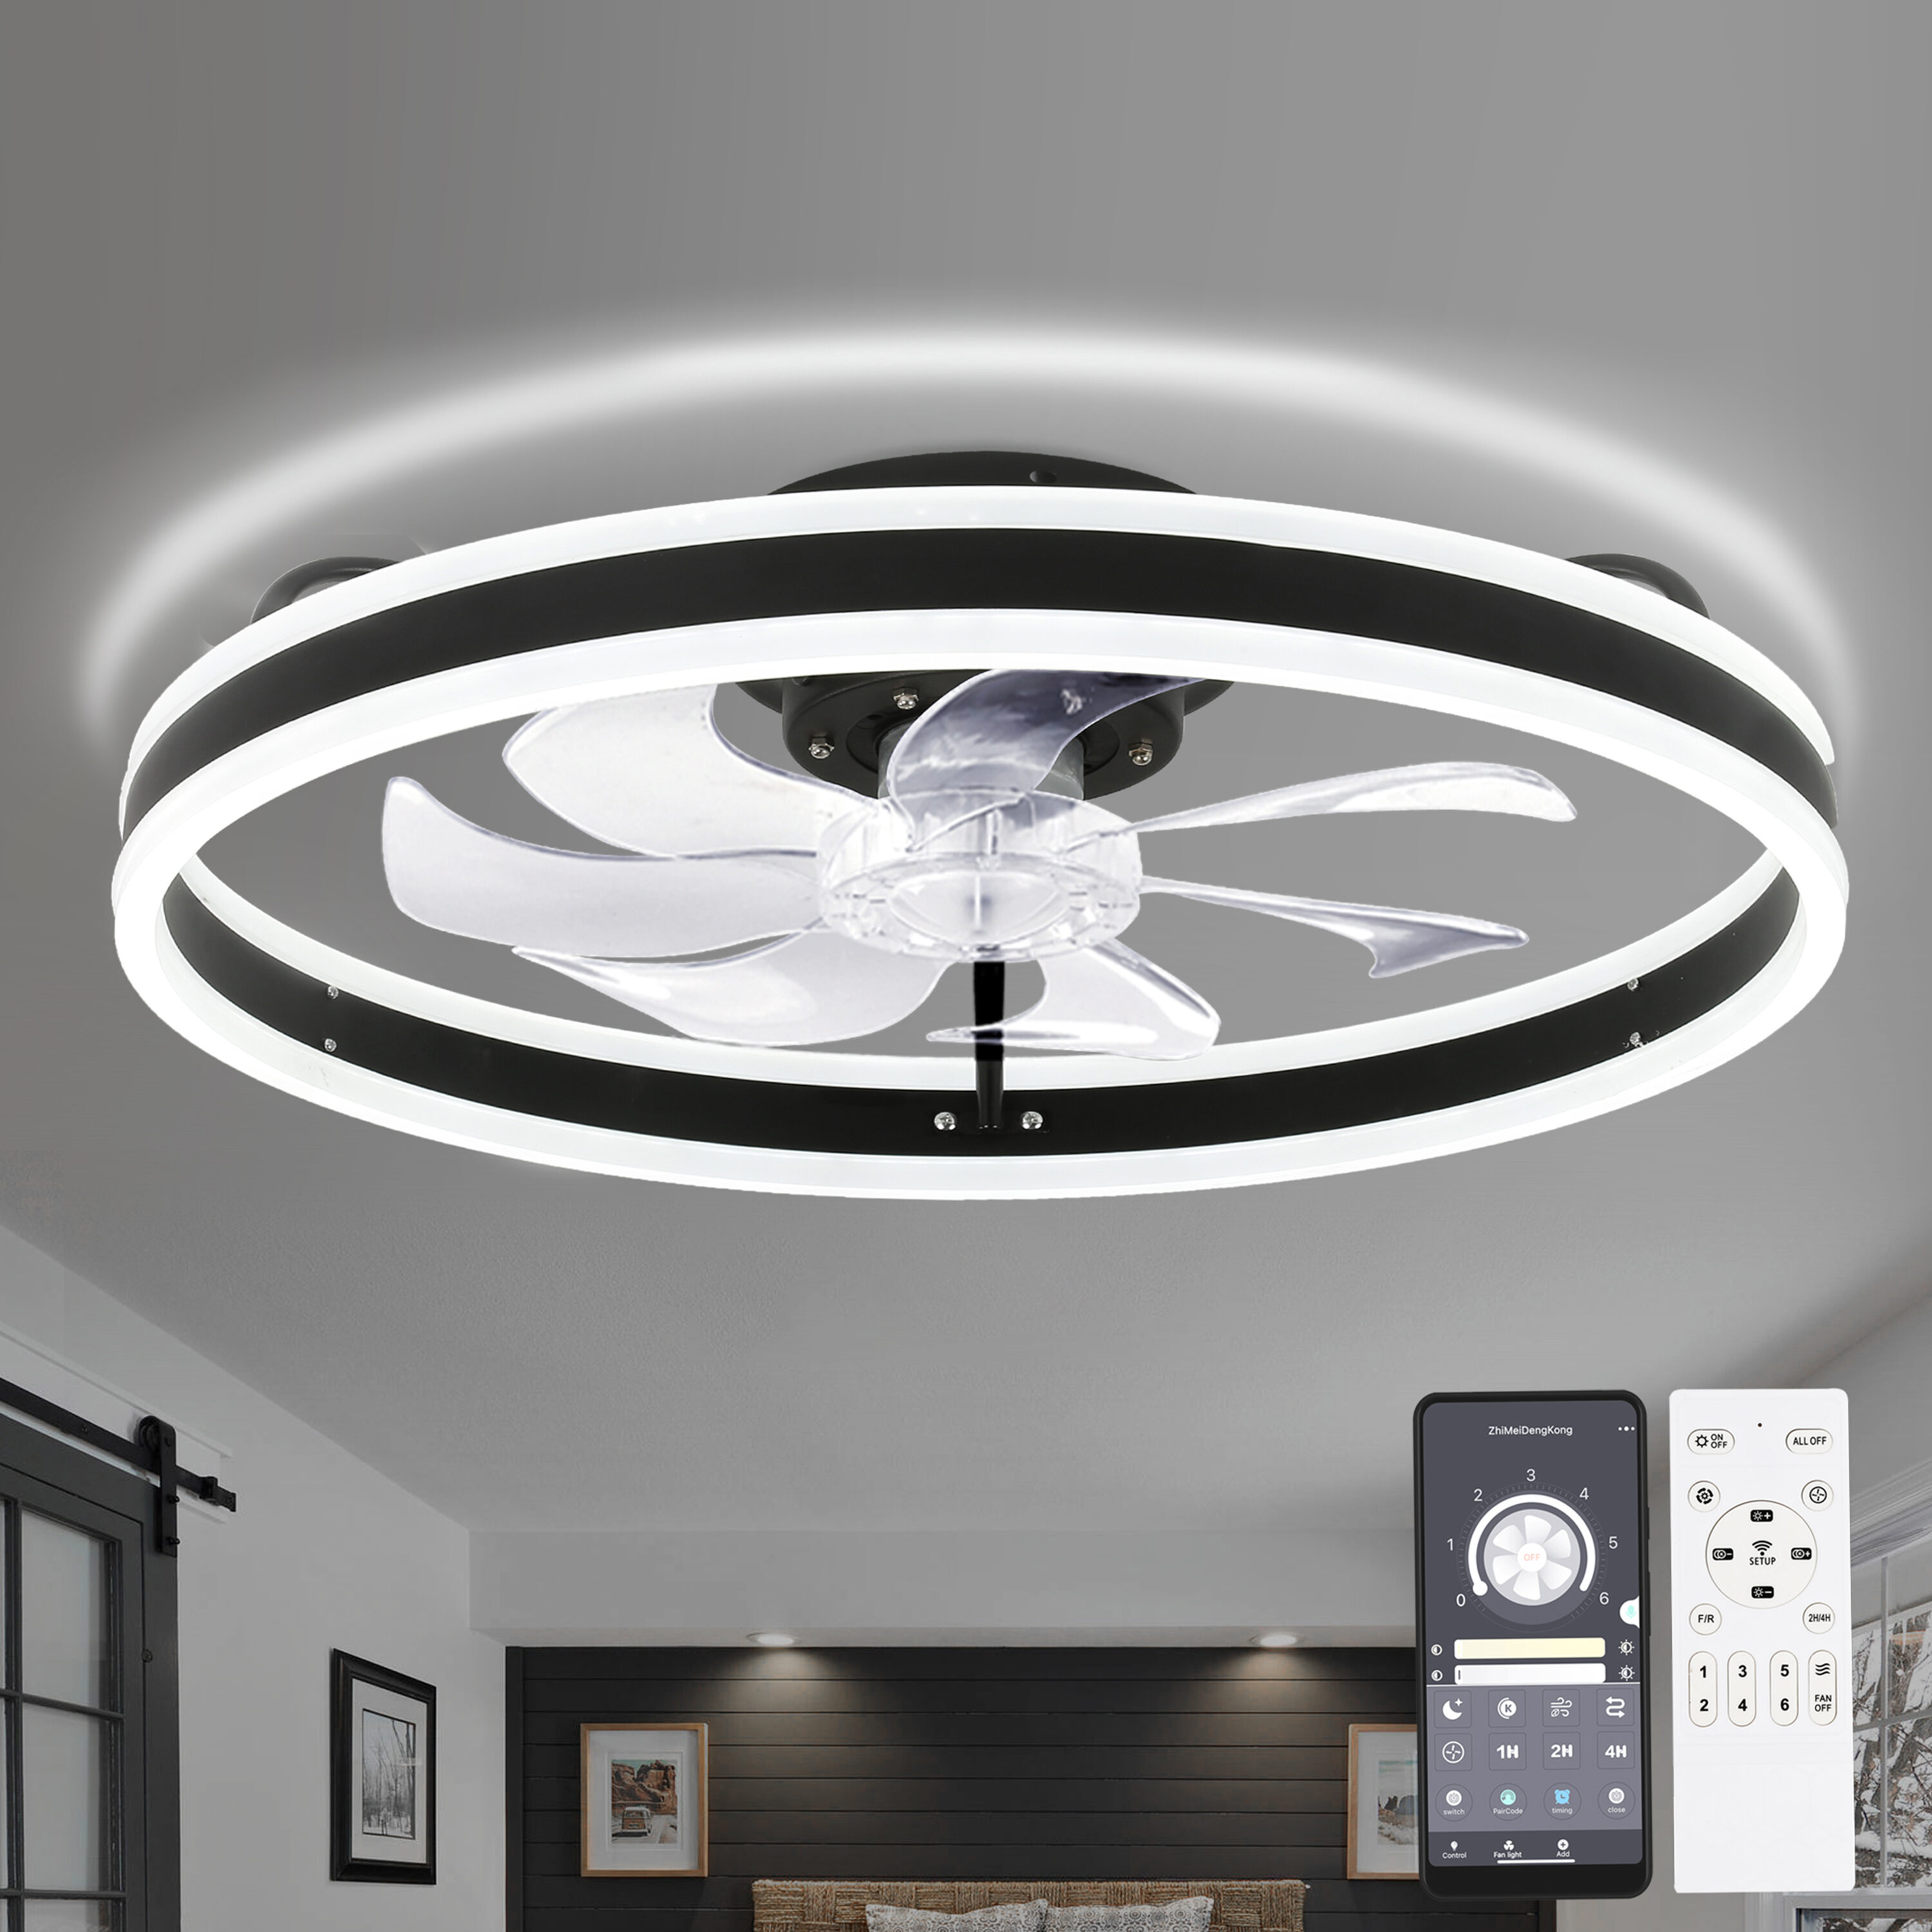
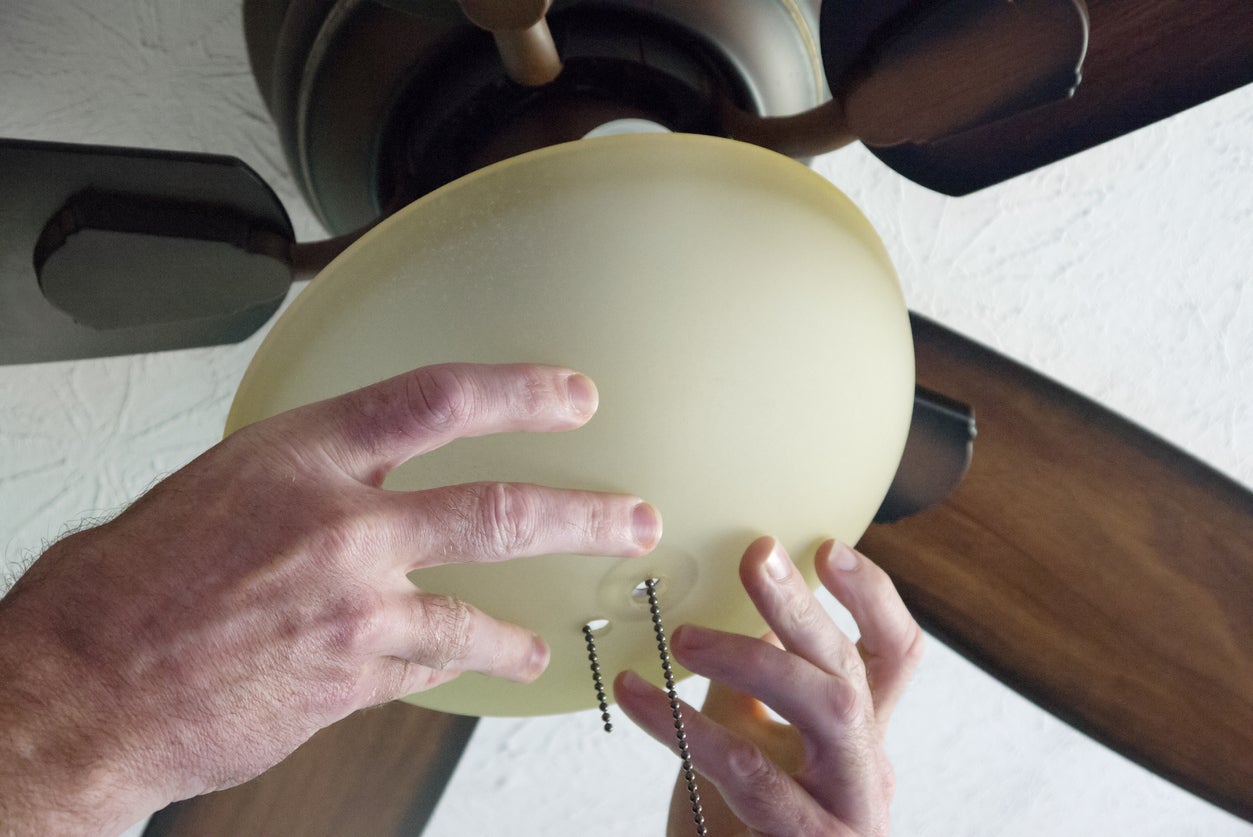
Step 8: Attach the Pull Chains and Light Kit (if applicable)
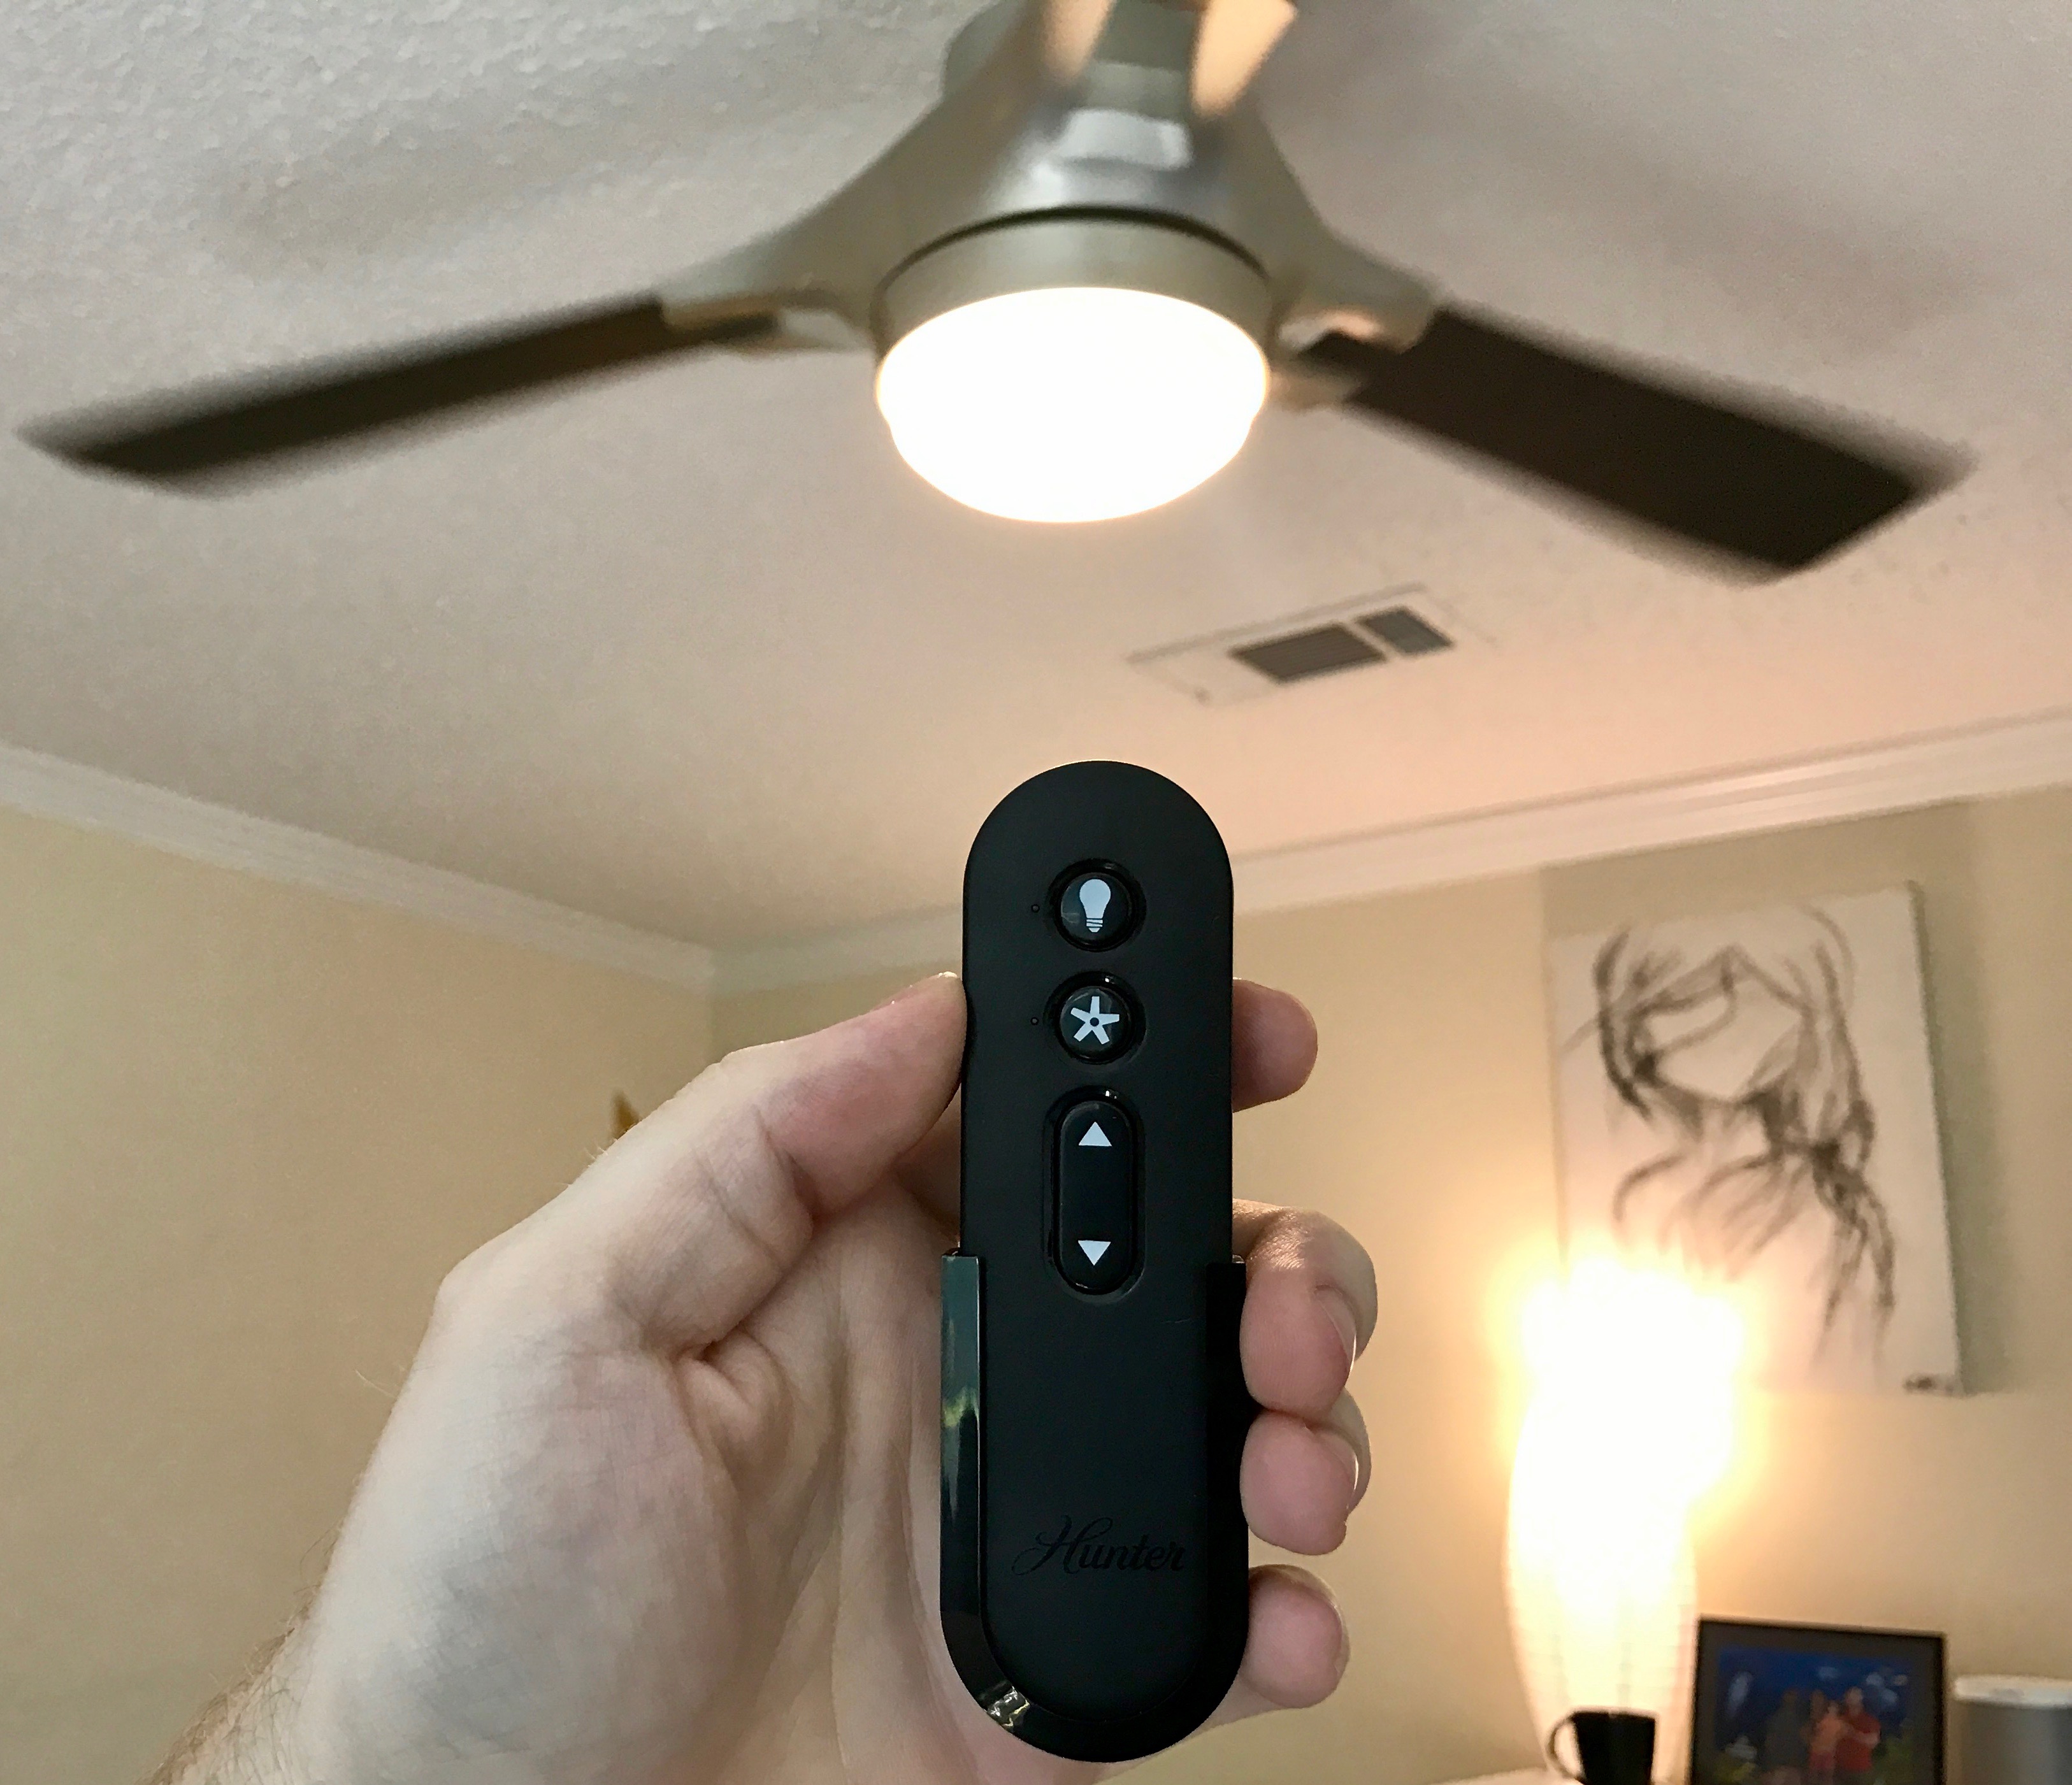
If your outdoor ceiling fan includes pull chains for fan speed and a light kit, this step involves attaching these components to complete the installation. The pull chains provide convenient control over the fan’s speed and lighting, while the light kit adds illumination to your outdoor space. Here’s a detailed guide to attaching the pull chains and light kit:
- Attach the Pull Chains: If your fan includes pull chains for adjusting the fan speed and turning the light on and off, secure these to the designated locations on the fan. The pull chains are typically attached to the fan’s motor housing and allow for easy adjustment of the fan’s settings.
- Connect the Light Kit (if applicable): If your outdoor ceiling fan includes a light kit, carefully attach this component to the fan assembly according to the manufacturer’s instructions. The light kit typically attaches to the underside of the fan’s motor housing and requires wiring connections for power.
- Secure the Components: Once the pull chains and light kit are in place, ensure that they are securely attached to the fan assembly. Tighten any screws or fasteners to prevent the components from loosening over time, ensuring their stability and reliability.
- Test the Functionality: After attaching the pull chains and light kit, test each component to ensure that they operate as intended. Activate the pull chains to adjust the fan speed and turn the light on and off, confirming that they respond smoothly and efficiently.
- Check for Clearance: If the fan includes a light kit, ensure that the blades have adequate clearance from the light fixture. Proper clearance is essential to prevent interference with the fan’s operation and maintain safe and effective air circulation.
By following these steps and ensuring that the pull chains and light kit, if applicable, are securely attached and functioning properly, you’ll complete the final touches of the installation process. With these components in place, your outdoor ceiling fan is now ready for the ultimate step: testing the fan to ensure its optimal performance.
Read more: How To Choose An Outdoor Ceiling Fan
Step 9: Turn on the Power and Test the Fan
With the installation process nearing completion, it’s time to turn on the power and test the functionality of your newly installed outdoor ceiling fan. This critical step allows you to ensure that the fan operates smoothly, the pull chains and light kit (if applicable) function as intended, and that the fan provides the desired cooling breeze. Here’s a comprehensive guide to turning on the power and testing the fan:
- Restore the Power: Carefully return to the circuit breaker or electrical panel and switch on the power to the area where the outdoor ceiling fan is installed. It’s advisable to have a helper assist you during this step to provide feedback as you test the fan’s settings.
- Activate the Fan: Using the pull chains, adjust the fan speed to low, medium, and high settings, observing the fan’s operation at each speed. Listen for any unusual noises or vibrations, which may indicate an imbalance or issue with the fan’s assembly.
- Test the Light Kit (if applicable): If your fan includes a light kit, turn on the light using the pull chain or switch, ensuring that it illuminates the desired area effectively. Confirm that the light functions smoothly and that the fan’s operation is not impacted when the light is in use.
- Check for Wobbling or Imbalance: Observe the fan blades as the fan operates at different speeds, checking for any wobbling or imbalance. If the fan exhibits excessive wobbling, it may indicate a need for blade adjustment or balancing to ensure smooth and quiet operation.
- Confirm Air Circulation: Stand beneath the fan and feel the airflow to confirm that the fan is providing the desired cooling breeze. Adjust the fan speed as needed to achieve the optimal level of air circulation for your outdoor space.
By following these steps and thoroughly testing the fan’s operation, you’ll ensure that your outdoor ceiling fan is functioning reliably and efficiently. Any issues or concerns identified during the testing phase can be addressed promptly, allowing you to enjoy the cooling comfort and stylish appeal of your newly installed fan with confidence.
Conclusion
Congratulations! You’ve successfully navigated the installation process and brought the refreshing breeze and stylish charm of an outdoor ceiling fan to your outdoor living space. By following the step-by-step guide outlined in this comprehensive installation tutorial, you’ve not only enhanced the comfort of your outdoor area but also added a touch of elegance and functionality to your home. As you bask in the gentle whir of your newly installed fan, take a moment to appreciate the rewarding outcome of your efforts.
Throughout the installation journey, you’ve demonstrated a commitment to safety, attention to detail, and a willingness to tackle a rewarding DIY project. By gathering the necessary tools and materials, turning off the power, assembling the fan, mounting the ceiling fan bracket, attaching the fan blades, connecting the wiring, installing the fan canopy, and testing the fan’s functionality, you’ve successfully navigated each step with confidence and precision.
As you revel in the cooling comfort and aesthetic appeal of your outdoor ceiling fan, remember the valuable skills and knowledge you’ve gained throughout this process. Your ability to take on a home improvement project of this nature reflects your resourcefulness and determination to enhance your living space.
With your newly installed outdoor ceiling fan, you’re poised to create memorable moments with family and friends in a space that’s not only inviting but also comfortable, even on the warmest of days. Whether you’re lounging on the patio, enjoying a meal on the deck, or simply unwinding in the fresh air, your outdoor ceiling fan will be a welcome addition to your home.
As you continue to enjoy the benefits of your outdoor ceiling fan, remember that proper maintenance and occasional cleaning will help preserve its functionality and appearance. With routine care, your fan will continue to provide cooling comfort and enhance the ambiance of your outdoor living space for years to come.
Thank you for embarking on this installation journey with us. We hope that your outdoor ceiling fan brings you many moments of relaxation, enjoyment, and comfort in the great outdoors.
Frequently Asked Questions about How To Install An Outdoor Ceiling Fan
Was this page helpful?
At Storables.com, we guarantee accurate and reliable information. Our content, validated by Expert Board Contributors, is crafted following stringent Editorial Policies. We're committed to providing you with well-researched, expert-backed insights for all your informational needs.

0 thoughts on “How To Install An Outdoor Ceiling Fan”