
Articles
How To Install A Moen Kitchen Faucet
Modified: October 20, 2024
Learn how to install a Moen kitchen faucet with step-by-step instructions and helpful tips in this informative article. Discover the easy way to upgrade your kitchen.
(Many of the links in this article redirect to a specific reviewed product. Your purchase of these products through affiliate links helps to generate commission for Storables.com, at no extra cost. Learn more)
Introduction
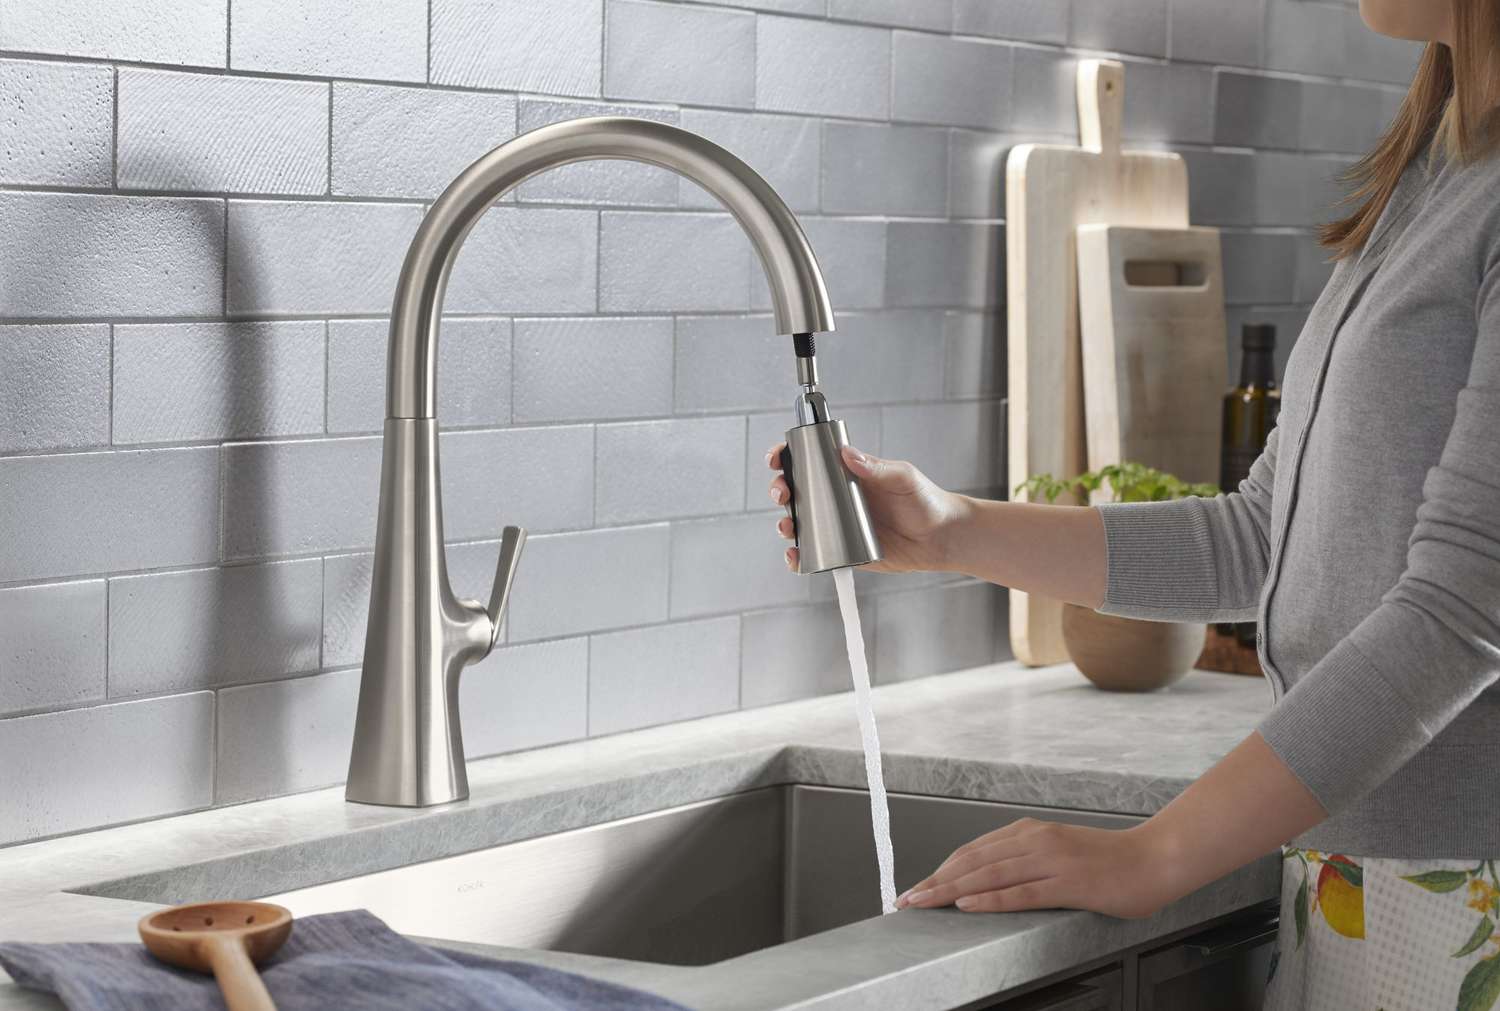
Installing a new kitchen faucet can bring a fresh look and improved functionality to your kitchen space. Moen, a trusted name in plumbing fixtures, offers a wide range of kitchen faucets with innovative features and stylish designs. Whether you’re upgrading an outdated faucet or simply looking for a change, installing a Moen kitchen faucet is a relatively straightforward process that can be tackled with a few basic tools and some careful steps.
In this article, we will guide you through the step-by-step process of installing a Moen kitchen faucet. From gathering the necessary tools and materials to testing for leaks, we will cover all the essential steps to ensure a successful installation.
Before we begin, it’s important to note that while this installation guide provides general instructions, it’s always recommended to consult the specific instructions provided by Moen for your particular model. With that said, let’s dive into the process of installing your new Moen kitchen faucet!
Key Takeaways:
- Upgrade your kitchen with a stylish Moen faucet using basic tools and careful steps. Enjoy improved functionality and a fresh look with this straightforward installation process.
- Ensure a successful installation by gathering the right tools, shutting off the water supply, and testing for leaks. Follow Moen’s specific instructions for your model and enjoy your new faucet!
Read more: How To Install A Moen Bathroom Faucet
Step 1: Gather the necessary tools and materials
Before starting the installation process, it’s important to gather all the necessary tools and materials. This will ensure that you have everything you need within reach and prevent any unnecessary delays during the installation.
Here’s a list of the tools and materials you’ll need:
- Adjustable wrench
- Plumber’s tape
- Screwdriver
- Bucket or container
- Old towels or rags
- New Moen kitchen faucet
An adjustable wrench will be essential for loosening and tightening nuts during the installation process. Plumber’s tape is used to create a watertight seal on threaded connections, ensuring that there are no leaks. A screwdriver may be needed to remove any screws holding the old faucet in place.
Having a bucket or container nearby is important to catch any water that may spill during the removal of the old faucet. This will help keep your work area clean and prevent any water damage.
It’s also a good idea to have old towels or rags on hand to absorb any excess water and protect your countertop or sink from potential scratches or damage.
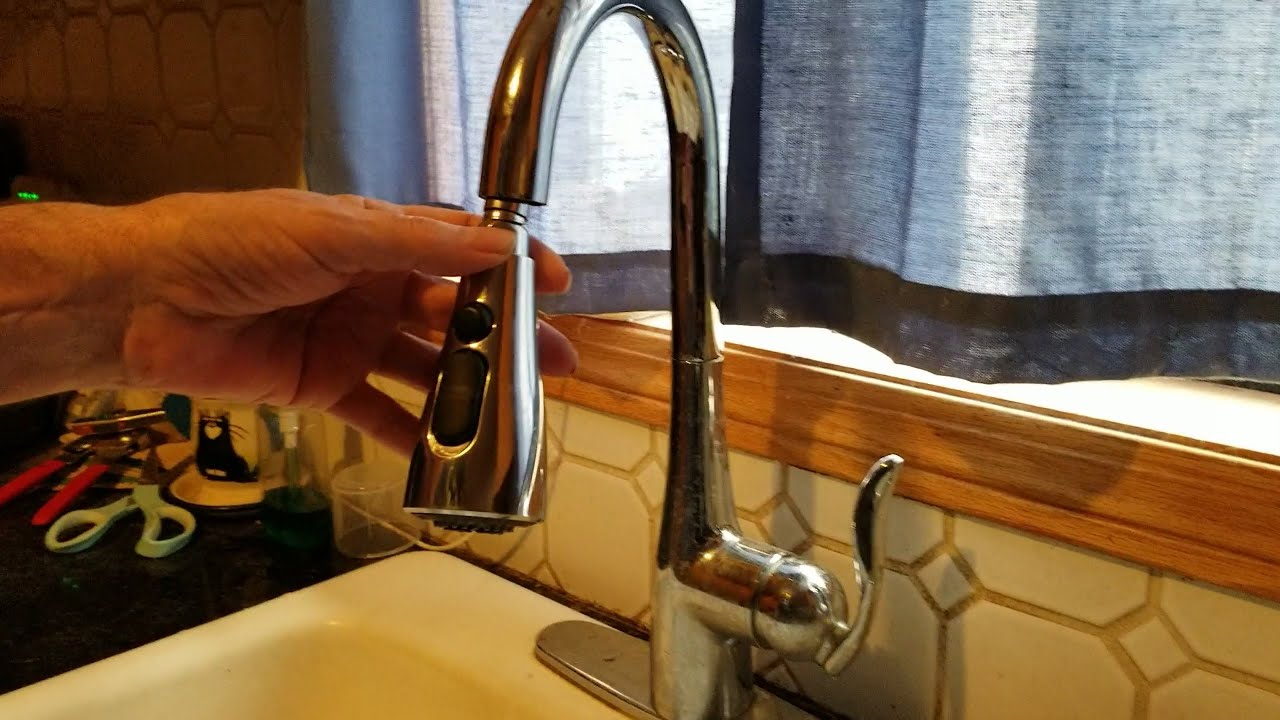
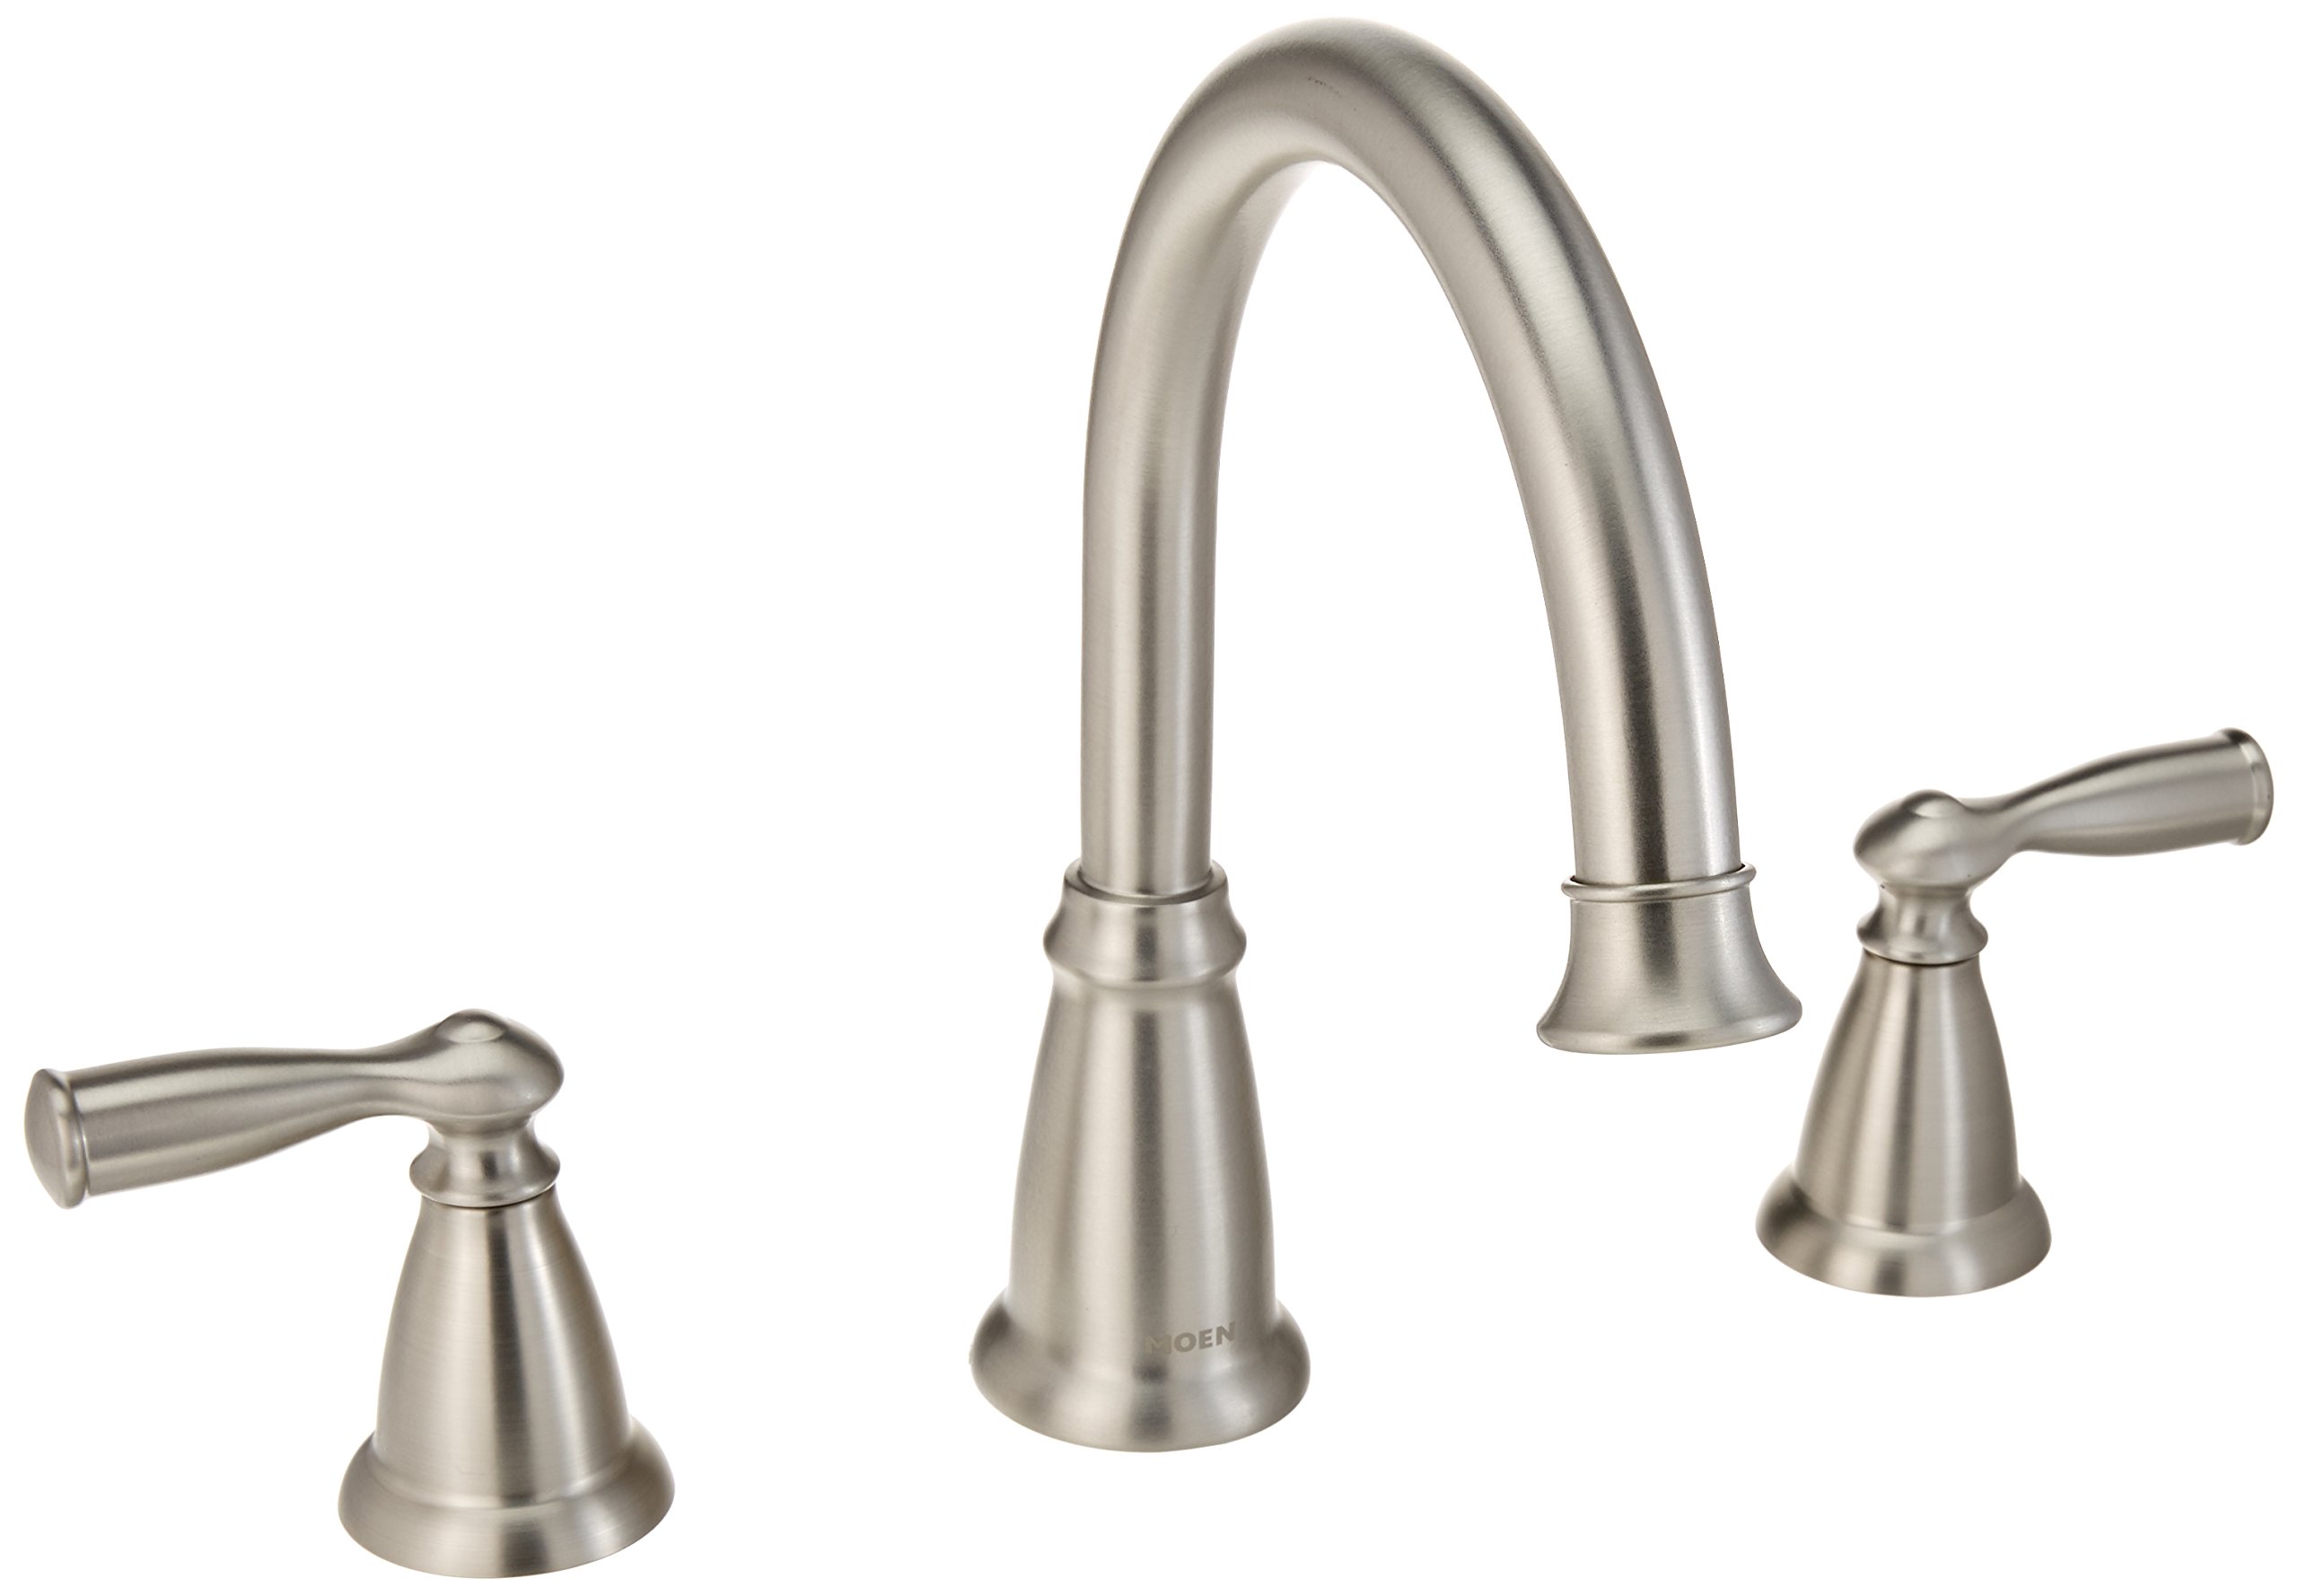
Lastly, ensure that you have purchased the Moen kitchen faucet that best fits your needs and style preferences. Moen offers a wide range of models, including single-handle faucets, pull-down faucets, and touchless faucets, so choose the one that suits your requirements.
Once you have gathered all the necessary tools and materials, you’re ready to move on to the next step: shutting off the water supply.
Step 2: Shut off the water supply
Before you begin removing the old faucet, it’s crucial to shut off the water supply to prevent any water leaks or accidents. Here’s how you can do it:
- Locate the water shut-off valves typically located under the sink. These valves control the water flow to the faucet.
- Turn off both the hot and cold water supply by turning the valves clockwise until they are fully closed.
- Once the water supply is shut off, open the old faucet to release any remaining water pressure. This will help prevent any water from spraying when you start removing the faucet.
It’s important to note that some sinks may not have individual shut-off valves. In such cases, you may need to shut off the entire water supply to your house by locating the main shut-off valve.
Before moving on to the next step, it’s a good idea to test the water supply by turning on the old faucet handles. If no water flows out, you have successfully shut off the water supply. If water still comes out, double-check the shut-off valves and try closing them more securely.
With the water supply shut off, you can proceed to the next step: removing the old faucet.
Step 3: Remove the old faucet
Now that the water supply is shut off, it’s time to remove the old faucet. Follow these steps:
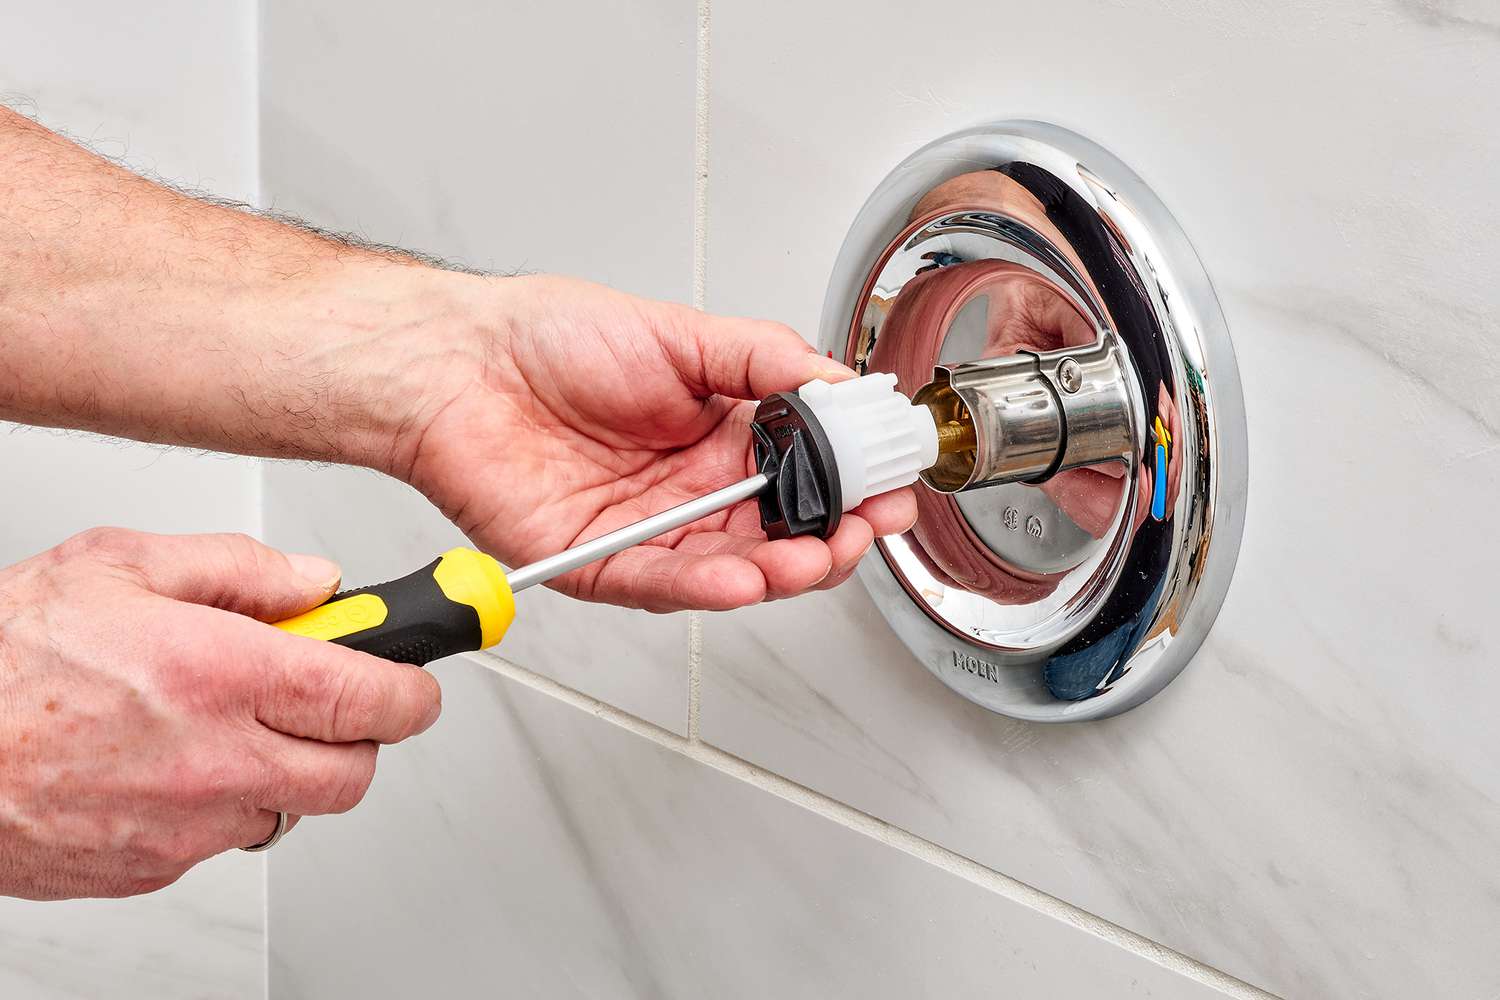
- Using a screwdriver, remove any screws or mounting hardware that are holding the old faucet in place. Set these aside for later use.
- Disconnect any water supply lines connected to the faucet. This can typically be done by unscrewing the nuts or compression fittings with an adjustable wrench.
- Once the supply lines are disconnected, you can now remove the old faucet from the sink or countertop. Apply light pressure and wiggle it around to loosen it.
- Remove any remaining caulk or sealant around the base of the faucet with a putty knife or a similar tool.
As you remove the old faucet, be careful not to damage the sink or countertop. If you encounter any resistance or stubborn parts, refer to the manufacturer’s instructions for guidance on how to properly remove the specific model.
Once the old faucet is completely removed, inspect the area for any signs of damage or wear. Clean the surface thoroughly to ensure a smooth and clean installation for the new Moen faucet.
With the old faucet out of the way, we can now move on to the next step: preparing the new Moen kitchen faucet for installation.
Step 4: Prepare the new Moen kitchen faucet for installation
Before installing the new Moen kitchen faucet, it’s important to prepare it properly to ensure a smooth and secure installation. Follow these steps:
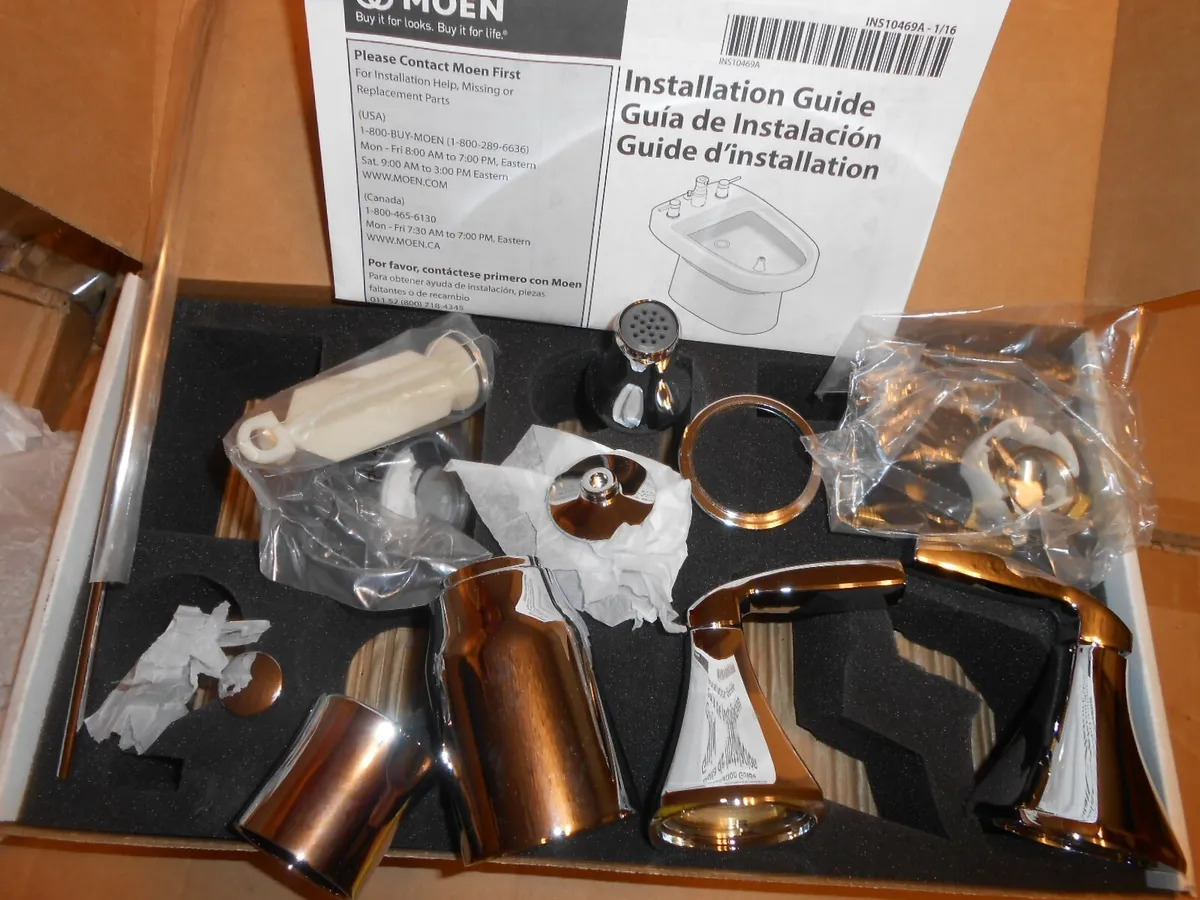
- Remove the new faucet from its packaging and gather all the components and parts.
- Read the manufacturer’s instructions carefully to familiarize yourself with the specific requirements and recommendations for your Moen faucet model.
- Inspect the faucet for any visible defects or damage. It’s essential to address these issues before proceeding with the installation. Contact the manufacturer if you notice any concerns.
- Apply plumber’s tape to the threaded connections of the faucet. This will help create a tight and leak-free seal when connecting the supply lines.
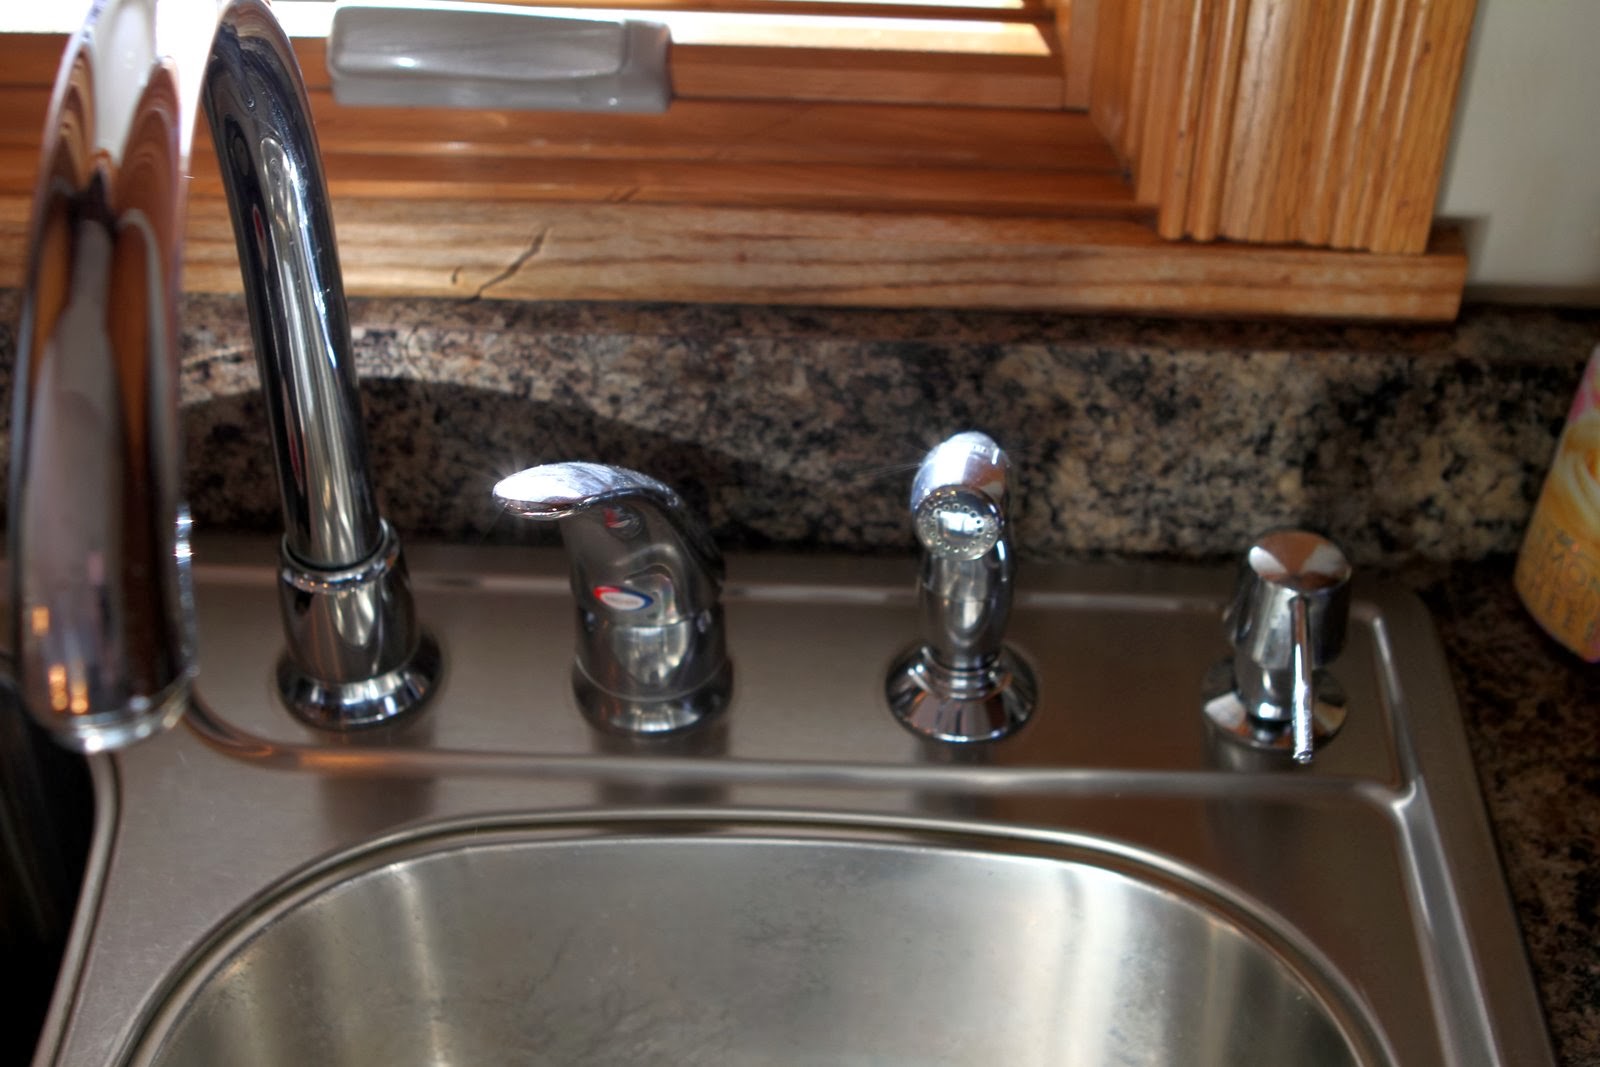
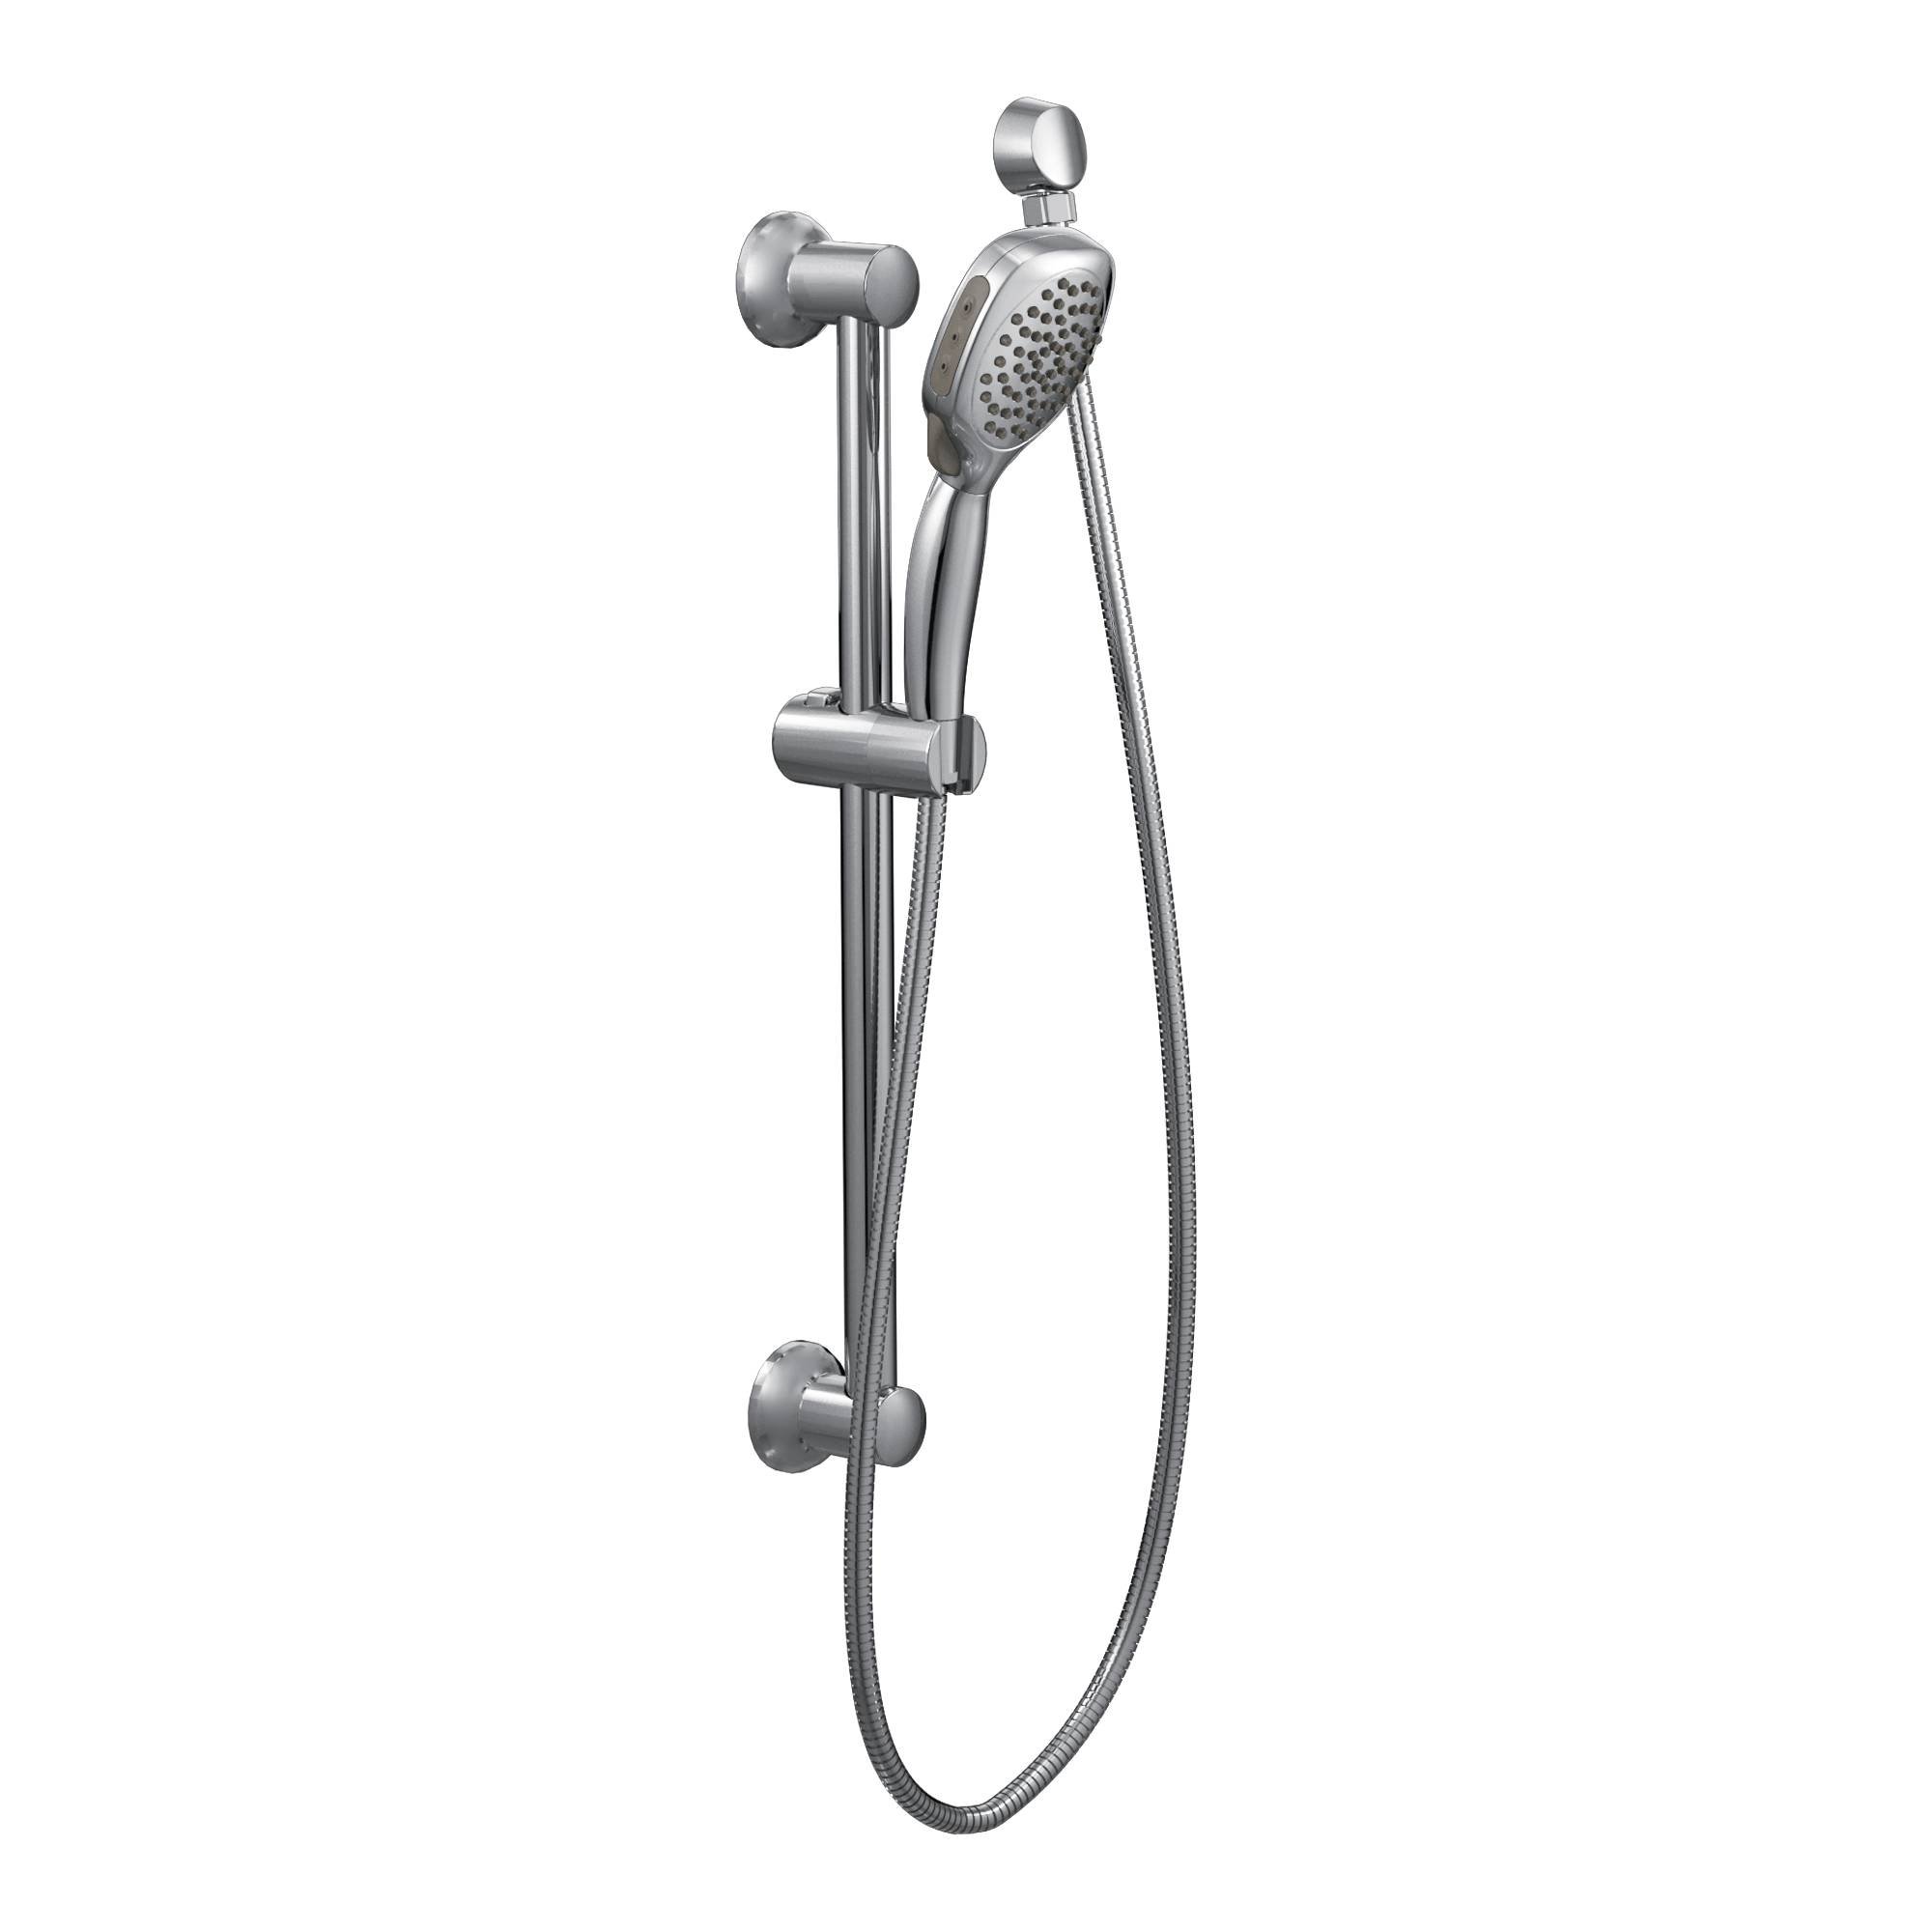
- If provided, install any additional components or accessories that come with the new faucet, such as a soap dispenser or side spray. Follow the manufacturer’s instructions for proper installation.
Take your time to ensure that the faucet is in good condition and that you have all the necessary components and accessories before proceeding. This will help avoid any interruptions or delays during the installation process.
With the new Moen kitchen faucet prepared for installation, we can now move on to the next step: installing the faucet.
Before installing a Moen kitchen faucet, make sure to shut off the water supply to the sink. This will prevent any water from leaking while you are working on the installation.
Read more: How To Install A Moen Towel Bar
Step 5: Install the new faucet
Now that the new Moen kitchen faucet is prepared, it’s time to install it. Follow these steps for a successful installation:
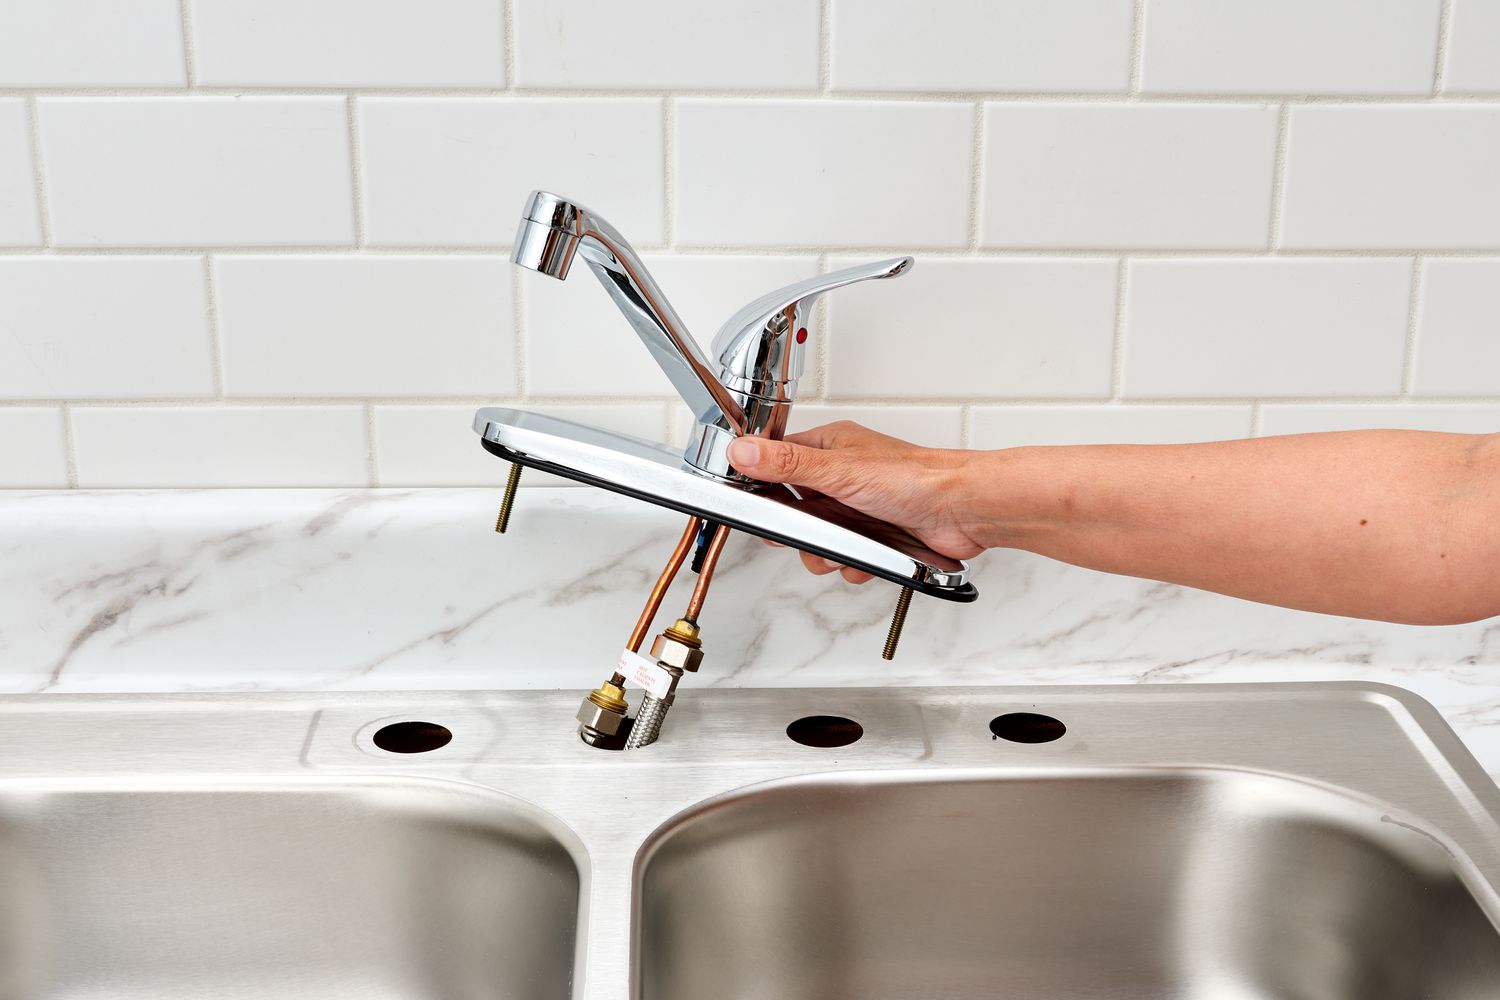
- Place the new faucet into the mounting holes on the sink or countertop. Ensure that it is aligned properly and sits flush.
- If provided, secure the faucet in place using the mounting hardware or nuts. Tighten them with an adjustable wrench, but be careful not to overtighten and damage the faucet or the sink.
- Double-check the alignment and levelness of the faucet. Make any necessary adjustments to ensure a straight and balanced installation.
- If your faucet has a separate handle, spout, or other components, follow the manufacturer’s instructions to attach and secure them properly.
During the installation process, it’s important to follow the specific instructions provided by Moen for your particular faucet model. These instructions may vary depending on the design and features.
Once the faucet is securely installed, give it a gentle jiggle to ensure it is stable and firmly in place. Any loose parts or wobbling may indicate an improper installation.
With the new Moen kitchen faucet successfully installed, we can move on to the next step: connecting the water supply lines.
Step 6: Connect the water supply lines
After the new Moen kitchen faucet is installed, the next step is to connect the water supply lines. Here’s how to do it:
- Locate the hot and cold water supply valves under the sink. Ensure they are fully closed.
- Connect the hot water supply line to the corresponding connection on the faucet. Hand-tighten the nut and then use an adjustable wrench to give it a final snug fit. Do the same for the cold water supply line.
- Ensure that the supply lines are securely connected, but avoid overtightening, as this may cause damage or leaks.
- If your faucet has additional components or features that require water supply connections, such as a side spray or soap dispenser, follow the manufacturer’s instructions to connect them properly.
When connecting the supply lines, it is essential to use plumber’s tape on the threaded connections for a watertight seal. This helps prevent leaks and ensures a reliable connection.
After the supply lines are properly connected, carefully open the shut-off valves by turning them counterclockwise. This will allow the water to flow into the faucet.
Check the connections for any signs of leaks. If you notice any leaks, tighten the connections slightly. If the leaks persist, turn off the water supply again and double-check the connections and the plumber’s tape.
With the water supply lines properly connected and any leaks addressed, we can move on to the next step: testing the faucet for leaks.
Step 7: Test the faucet for leaks
Once the water supply lines are connected, it’s crucial to test the new Moen kitchen faucet for any potential leaks. Here’s how to do it:
- Turn on the hot and cold water handles of the faucet.
- Inspect the connections and areas around the faucet for any signs of leaks, such as dripping or pooling water.
- If you notice any leaks, turn off the water supply immediately and check the connections for tightness. If needed, use an adjustable wrench to tighten the fittings carefully.
- Once you have addressed any leaks, turn on the water supply again and retest the faucet.
It’s a good idea to let the water run for a few minutes to ensure that there are no hidden leaks or issues. Pay close attention to the base of the faucet, the connections, and the surrounding area.
If you notice any persistent leaks or other problems that cannot be easily resolved, it may be necessary to contact a professional plumber or reach out to Moen customer support for assistance.
Once you have confirmed that the faucet is free from leaks, we can proceed to the final step: finishing the installation and cleaning up.
Step 8: Finish the installation and clean up
With the new Moen kitchen faucet successfully installed and tested for leaks, it’s time to finish the installation and clean up the work area. Follow these final steps:
- Tighten any remaining mounting hardware or nuts to ensure the faucet is securely in place.
- Wipe down the faucet and surrounding area with a clean cloth to remove any fingerprints, smudges, or dirt accumulated during the installation process.
- If there are any leftover parts or packaging, dispose of them properly.
- Inspect the sink or countertop for any water damage or spills. Use a dry cloth or towel to wipe away any moisture.
- If needed, reapply caulk or sealant around the base of the faucet to create a watertight seal.
Take a moment to admire your new Moen kitchen faucet and appreciate the improved functionality and aesthetic it brings to your kitchen.
Lastly, turn on the hot and cold water handles again and check for any signs of leaks once more. If all looks good, congratulations! You have successfully completed the installation of your new Moen kitchen faucet.
Remember to keep the manufacturer’s instructions and warranty information in a safe place for future reference.
By following these steps and ensuring a proper installation, you can enjoy the benefits of your new Moen kitchen faucet for years to come.
Thank you for choosing Moen and happy cooking!
Read more: How To Remove A Moen Kitchen Faucet
Conclusion
Installing a new Moen kitchen faucet can bring a fresh and functional upgrade to your kitchen. With the right tools, materials, and careful steps, you can successfully complete the installation process. Following the guidelines provided in this article, you can confidently tackle the installation yourself and enjoy the benefits of a new, stylish faucet.
From gathering the necessary tools and materials to shutting off the water supply, removing the old faucet, preparing the new Moen kitchen faucet, and connecting the water supply lines, each step is important to ensure a proper installation.
Remember to test the faucet for leaks and address any issues that may arise. It’s always better to take the time to ensure a watertight connection than to risk potential water damage or further issues down the line.
Once the installation is complete, take the time to clean up any debris and give your new Moen kitchen faucet a final inspection for a flawless finish. Admire the enhanced functionality and beautiful design, and feel proud of your accomplishment.
As a leader in plumbing fixtures, trusted by homeowners and professionals alike, Moen offers a wide range of kitchen faucets to suit your style and preferences. Whether you choose a single-handle faucet, a pull-down model, or a touchless option, Moen’s commitment to quality and innovation ensures a reliable and enjoyable experience.
Remember to keep the manufacturer’s instructions and warranty information in case you need them in the future. Should you encounter any difficulties or have questions during the installation process, feel free to consult Moen’s customer support or seek assistance from a professional plumber.
Thank you for choosing Moen, and we hope that your new kitchen faucet brings you years of satisfaction and convenience. Happy cooking!
Frequently Asked Questions about How To Install A Moen Kitchen Faucet
Was this page helpful?
At Storables.com, we guarantee accurate and reliable information. Our content, validated by Expert Board Contributors, is crafted following stringent Editorial Policies. We're committed to providing you with well-researched, expert-backed insights for all your informational needs.


0 thoughts on “How To Install A Moen Kitchen Faucet”