Articles
How To Install A SimpliSafe Doorbell
Modified: October 20, 2024
Learn how to install a Simplisafe doorbell with this informative step-by-step guide. Our detailed articles provide expert tips and instructions to help you successfully complete the installation process.
(Many of the links in this article redirect to a specific reviewed product. Your purchase of these products through affiliate links helps to generate commission for Storables.com, at no extra cost. Learn more)
Introduction
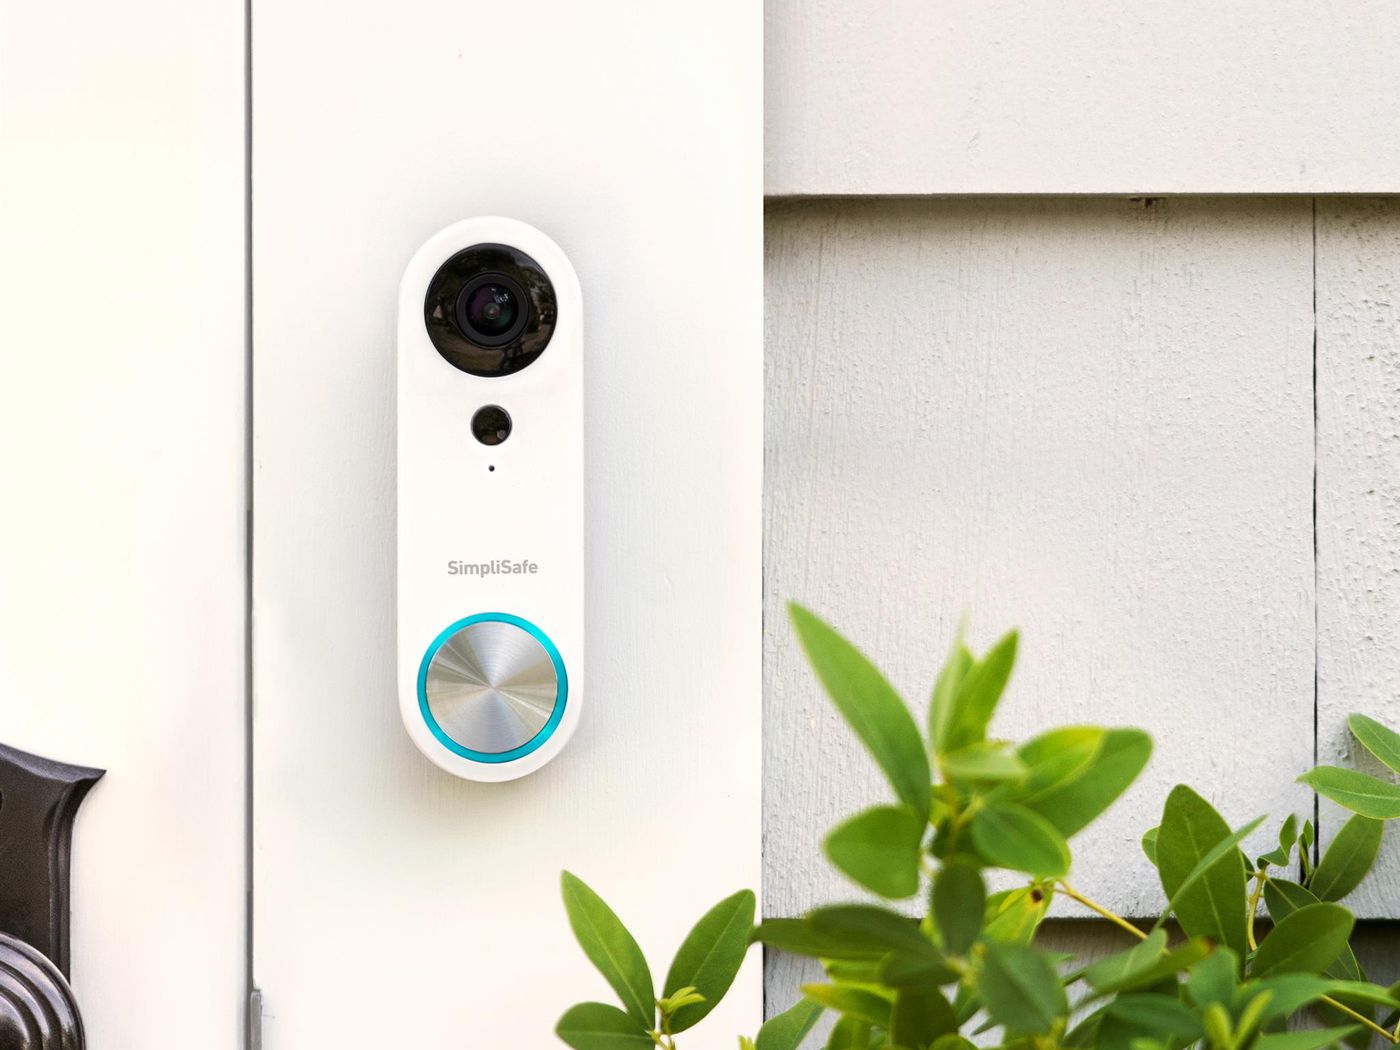
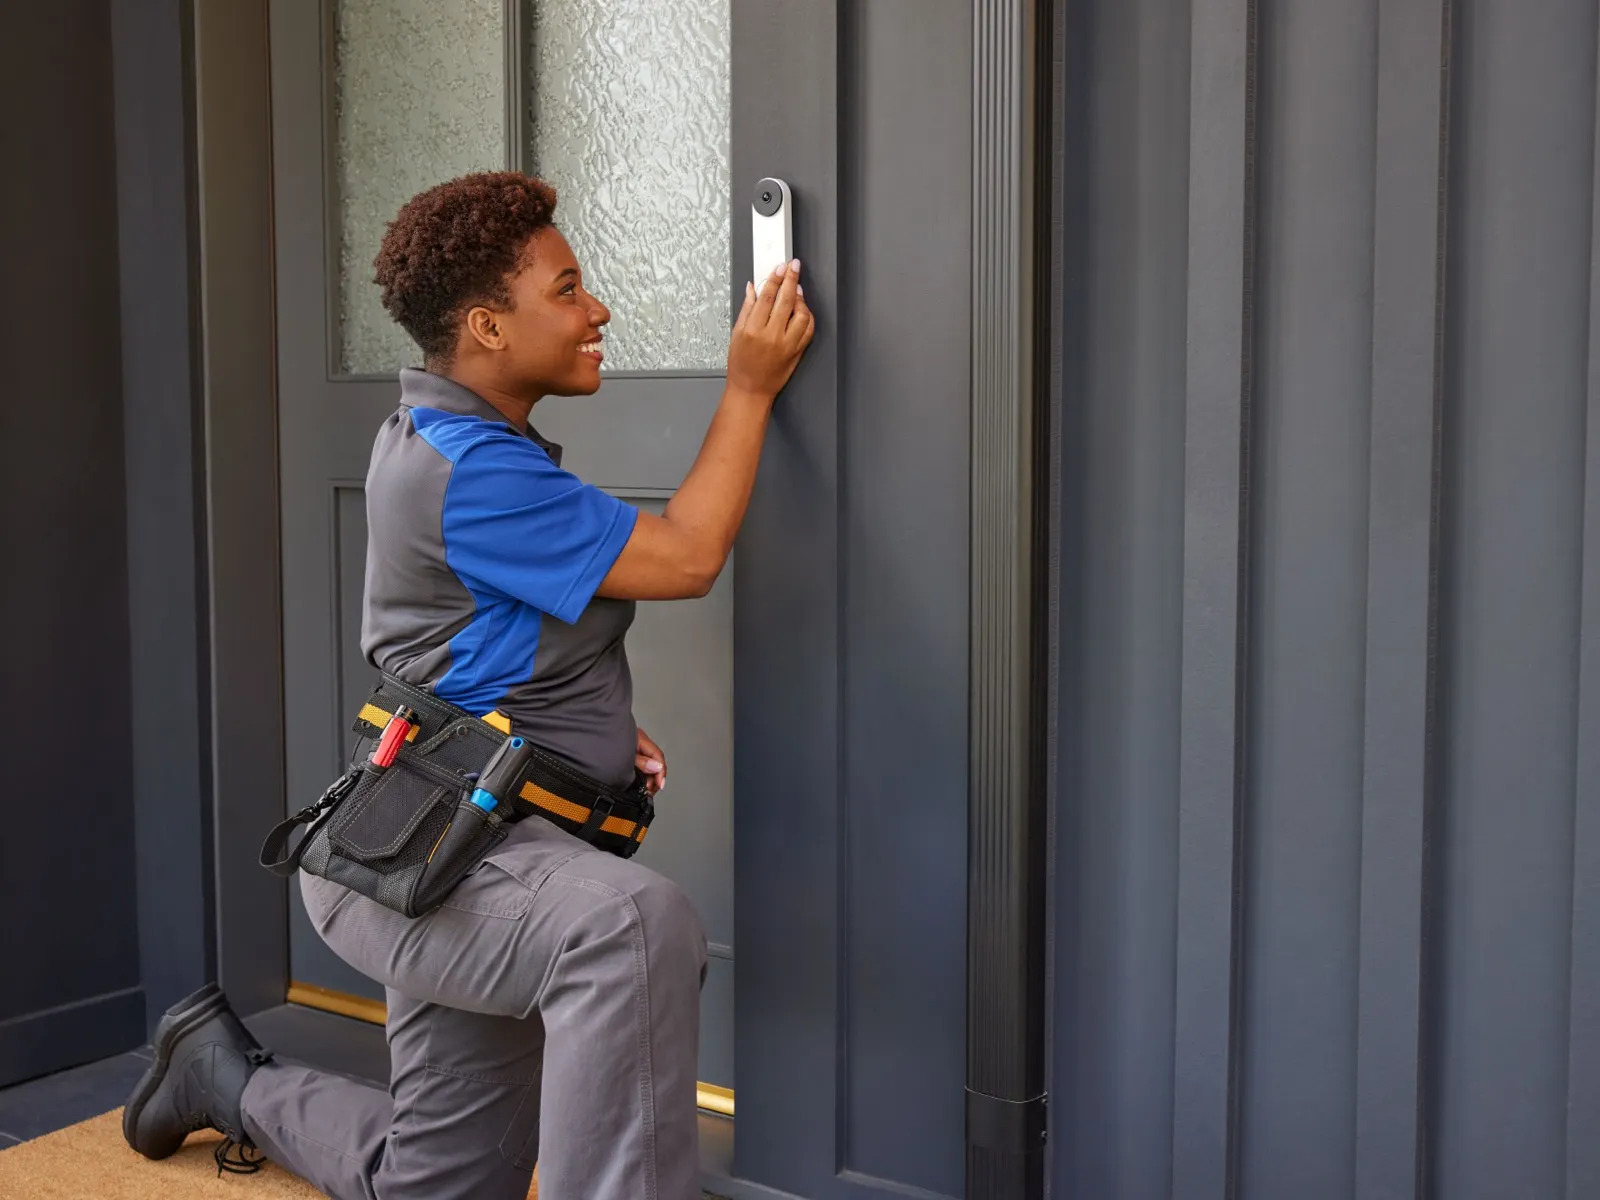
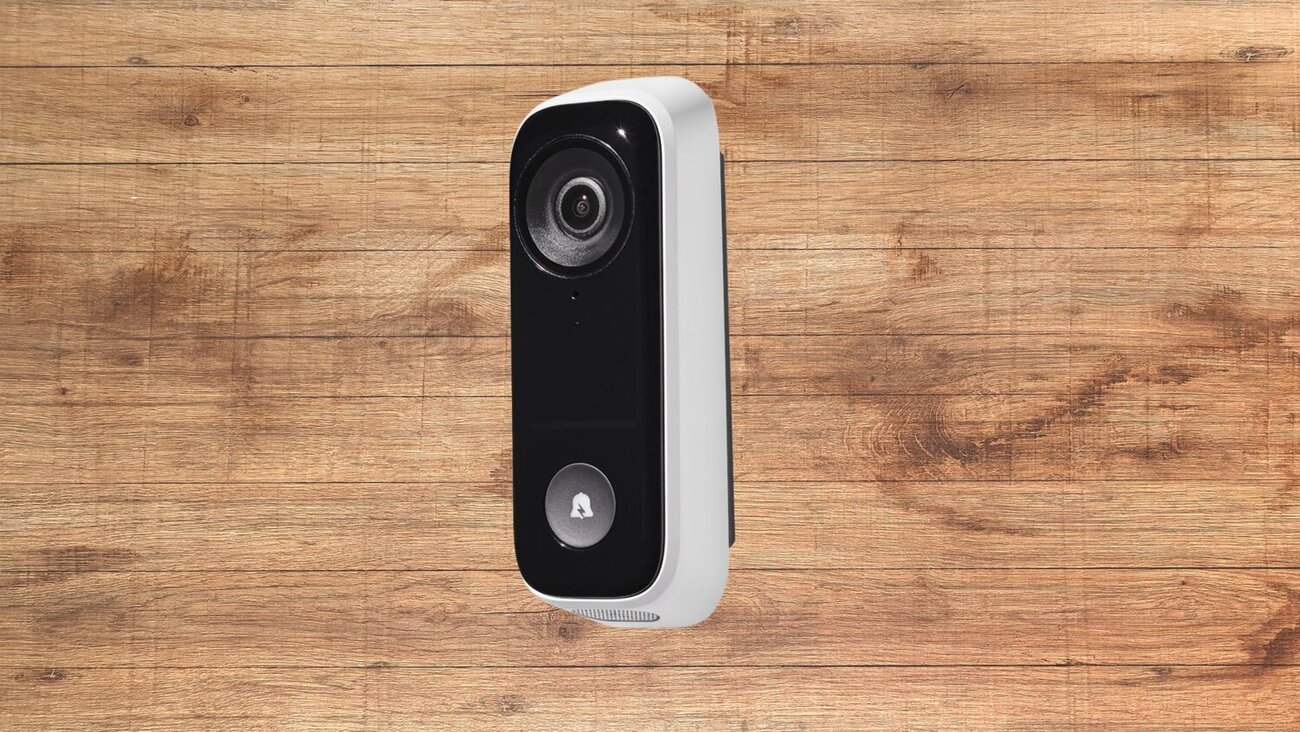
Welcome to this comprehensive guide on how to install a Simplisafe doorbell. The Simplisafe doorbell is not only a stylish and modern addition to your home, but it also provides an extra layer of security by allowing you to see and communicate with visitors at your front door, even when you’re not home. This article will walk you through the step-by-step process of installing a Simplisafe doorbell, ensuring that you can enjoy the benefits of this innovative device with ease.
Before we dive into the installation process, let’s take a moment to familiarize ourselves with some key information. The Simplisafe doorbell is a wireless device that requires a Wi-Fi connection to function. It features a high-definition camera, two-way audio, and motion detection capabilities, making it a robust and reliable choice for home security.
In terms of compatibility, the Simplisafe doorbell is designed to work with existing doorbell wiring. If your home doesn’t already have doorbell wiring, don’t worry – Simplisafe offers additional accessories that allow for wireless installations.
Now that you have a better understanding of what the Simplisafe doorbell offers, let’s move on to the first step of the installation process.
Key Takeaways:
- Simplisafe doorbell installation is a DIY-friendly process, requiring basic tools and careful preparation. The step-by-step guide ensures a smooth installation, enhancing home security and convenience.
- Troubleshooting common installation issues and configuring the doorbell through the app are essential for optimizing performance. Regular updates and familiarity with app settings enhance the overall user experience.
Step 1: Gather the necessary tools and equipment
Before you begin installing your Simplisafe doorbell, it’s important to gather all the necessary tools and equipment. Having everything on hand will help speed up the installation process and ensure a smooth experience. Here’s a list of what you’ll need:
- Phillips screwdriver: You’ll need this to remove any existing doorbell cover and to secure the mounting bracket.
- Drill and drill bits: Depending on your specific installation needs, you may need a drill to create holes for mounting the doorbell.
- Level: To ensure that your doorbell is installed straight and level, a small level tool will come in handy.
- Wire stripper: If you’re connecting your Simplisafe doorbell to existing doorbell wiring, a wire stripper will help you remove the insulation from the wires.
- Tape measure: This will help you determine the distance between the doorbell and the mounting bracket.
- Mounting screws and anchors: These will be used to securely attach the mounting bracket to your wall or doorframe.
Once you have gathered all the necessary tools and equipment, double-check to make sure you have everything you need before proceeding. It can be frustrating to start the installation process and realize you’re missing a crucial tool.
It’s also worth noting that the Simplisafe doorbell typically comes with an installation kit that includes all the necessary hardware. If you purchased a standalone doorbell without the kit, make sure to have the appropriate screws, anchors, and other hardware on hand.
With all your tools and equipment ready, you’re prepared to move on to the next step: choosing the installation location for your Simplisafe doorbell.
Step 2: Choose the installation location for the Simplisafe doorbell
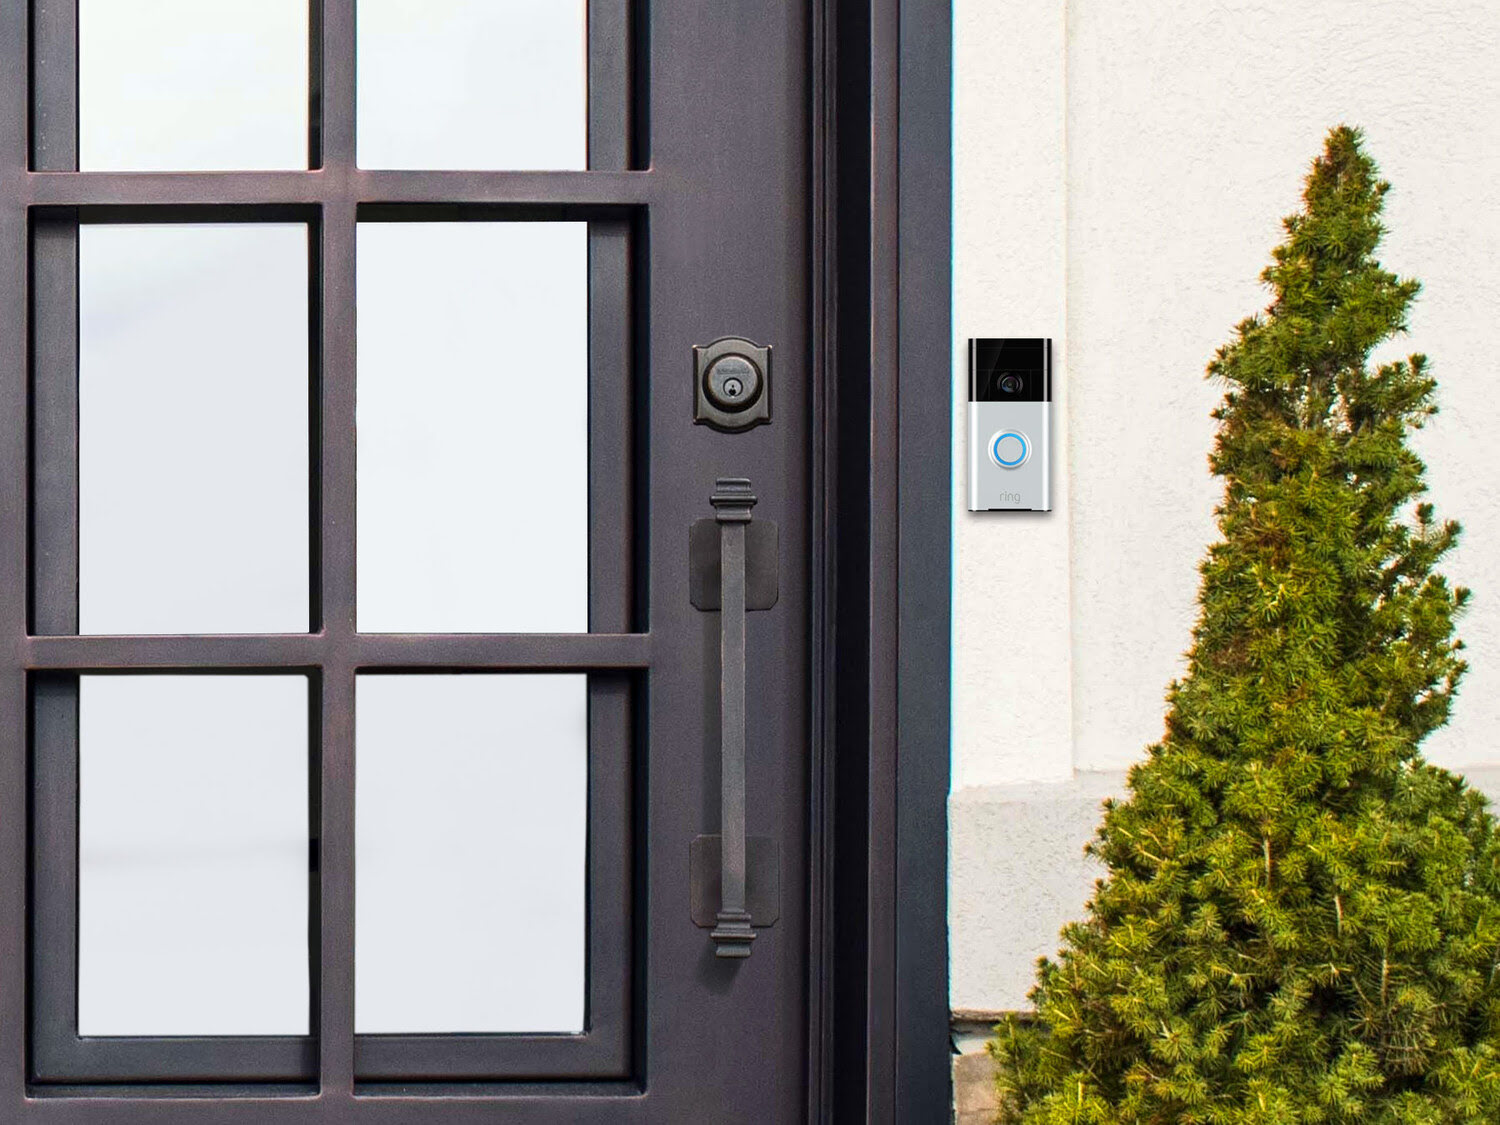
Choosing the right location for your Simplisafe doorbell is crucial for optimal performance and functionality. You’ll want to select a spot that provides a clear view of your front door and any approaching visitors. Here are some factors to consider when choosing the installation location:
- Height: The ideal height for your doorbell is around 48-56 inches from the ground. This ensures that the camera captures a clear view of people’s faces and minimizes the risk of tampering.
- Visibility: Ensure that the doorbell is easily visible to visitors. Placing it near your front door or entrance area will ensure that visitors can easily locate and use the doorbell.
- Obstructions: Avoid installing the doorbell in areas with obstructions such as trees, bushes, or other objects that could block the camera’s view or interfere with the motion detection capabilities.
Additionally, it’s important to consider the availability of existing doorbell wiring. If your home already has doorbell wiring, choosing a location near that wiring can simplify the installation process. However, if you don’t have doorbell wiring, you have the flexibility to choose a wireless installation location.
Once you have chosen the appropriate installation location, take a moment to ensure that the surface is clean and free from any debris. This will help with the mounting process later on.
Now that you have chosen the installation location for your Simplisafe doorbell, let’s proceed to the next step: preparing the doorbell mounting location.
Step 3: Prepare the doorbell mounting location
Before mounting your Simplisafe doorbell, it’s important to prepare the installation location to ensure a secure and stable attachment. Follow these steps to prepare the doorbell mounting location:
- Remove the existing doorbell: If you have an existing doorbell, you’ll need to remove it before proceeding with the installation. This typically involves unscrewing the mounting screws and disconnecting the wires. Be sure to turn off the power at the circuit breaker before working with any wires.
- Check the compatibility of the mounting bracket: Depending on whether you have doorbell wiring or not, Simplisafe provides a different mounting bracket. Ensure that you have the correct mounting bracket for your installation.
- Align the mounting bracket: Hold the mounting bracket up against the wall or doorframe in the chosen installation location. Use a level to make sure it is straight and aligned.
- Mark the screw hole locations: Once the mounting bracket is aligned, use a pencil or marker to mark the screw hole locations on the wall or doorframe. This will serve as a guide when drilling pilot holes.
- Drill pilot holes: Using an appropriate drill bit, carefully drill pilot holes at the marked locations. Ensure that the drill bit is slightly smaller than the diameter of the mounting screws.
- Secure the mounting bracket: Line up the mounting bracket with the pilot holes and insert the mounting screws through the bracket into the wall or doorframe. Use a Phillips screwdriver to secure the screws tightly.
By following these steps, you’ll have a secure and sturdy mounting bracket in place, ready to attach your Simplisafe doorbell. With the mounting location prepared, we can now move on to the next step: connecting the doorbell to your existing wiring.
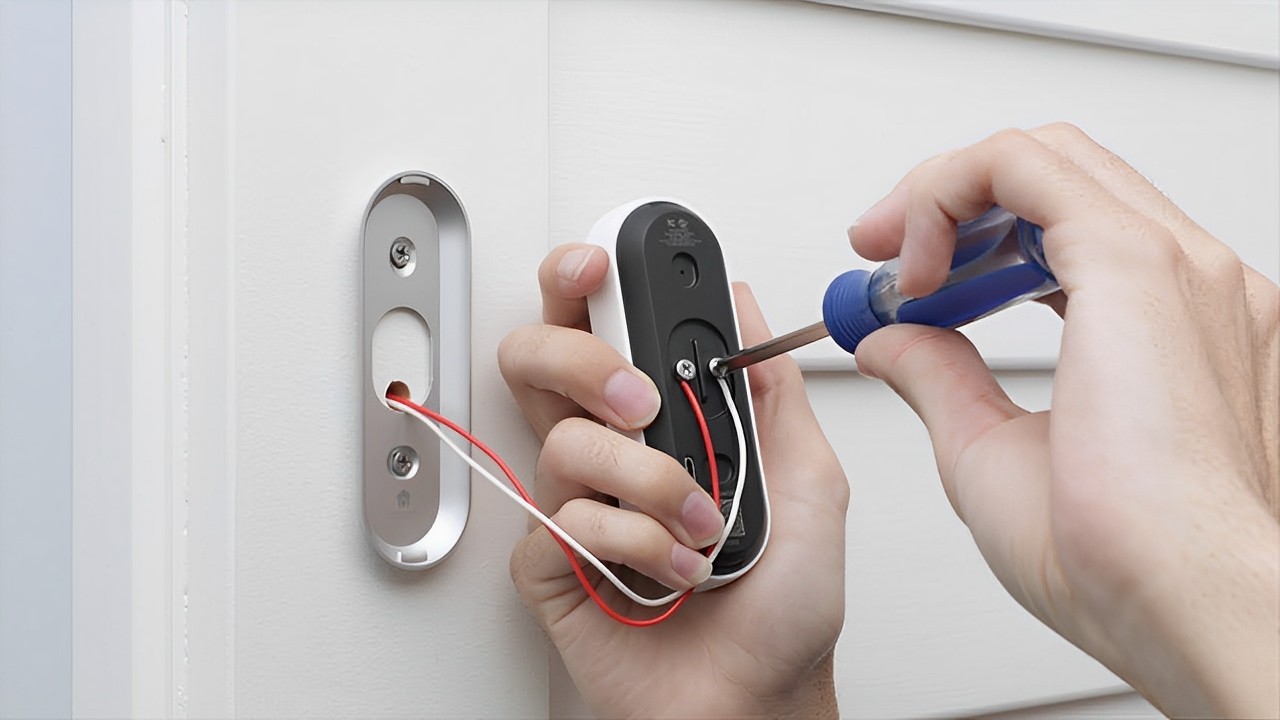
Step 4: Connect the Simplisafe doorbell to your existing doorbell wiring
If your home already has doorbell wiring, you can connect your Simplisafe doorbell to the existing wiring for a streamlined installation process. Follow these steps to connect the doorbell to your existing wiring:
- Ensure power is turned off: Before working with any electrical wiring, ensure that the power to your doorbell circuit is switched off at the circuit breaker.
- Remove the cover: Locate the cover of your existing doorbell and remove it by unscrewing the mounting screws. Carefully disconnect the wiring from the doorbell and set it aside.
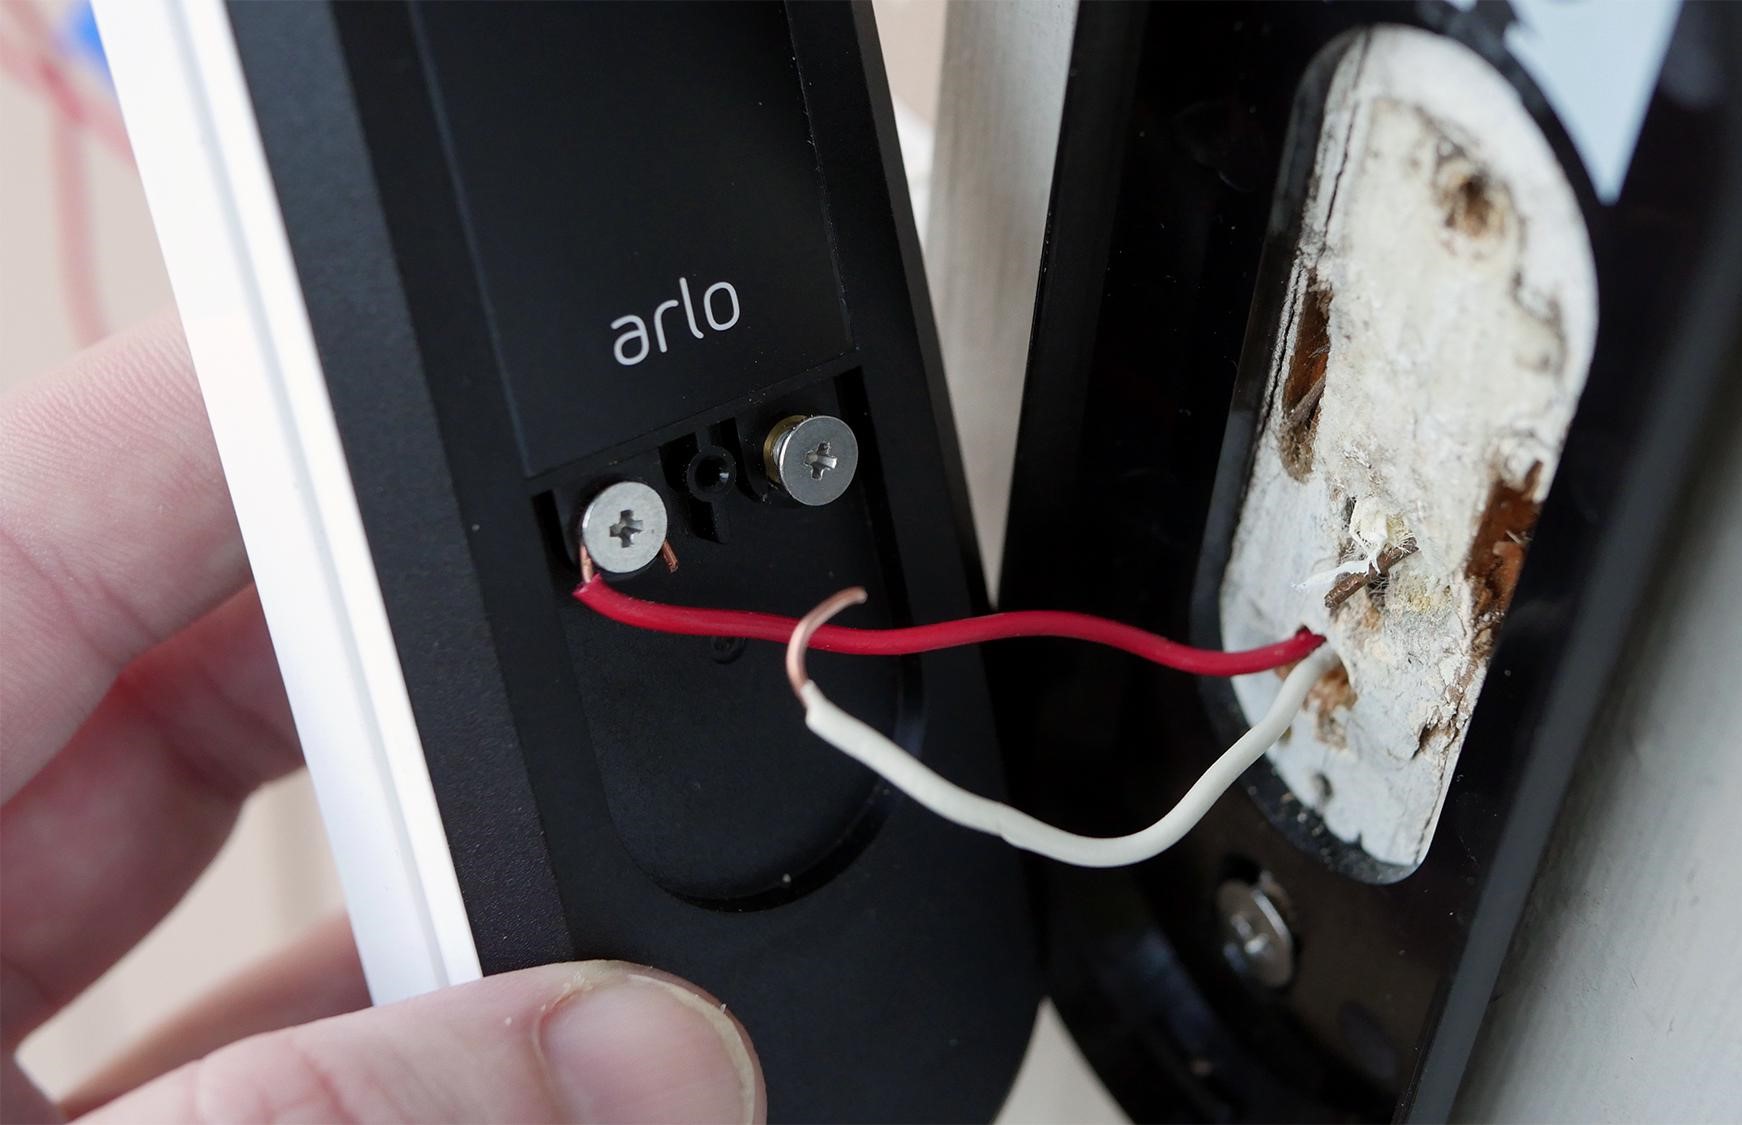
- Identify the doorbell wires: Take a moment to identify the doorbell wires. You should have two wires – one labeled “front” or “trans” for the transformer wire, and another labeled “rear” or “bell” for the doorbell wire.
- Strip the wires: Use a wire stripper to remove the insulation from the ends of both the transformer and doorbell wires, exposing the bare copper ends.
- Connect the wires: Depending on the Simplisafe doorbell model you have, you will find either screw terminals or wire leads for connection. Twist the bare ends of the transformer wire around the corresponding terminal or lead, and tighten the screw. Repeat this process for the doorbell wire.
- Secure the connections: Once the wires are securely connected, use electrical tape or wire nuts to cover the exposed ends and ensure a safe and reliable connection.
- Mount the Simplisafe doorbell: With the wiring connected, carefully mount the Simplisafe doorbell onto the previously installed mounting bracket. Align the doorbell with the bracket and slide it into place until it locks securely.
- Restore power: Once the doorbell is mounted, restore power to the doorbell circuit by switching on the circuit breaker.
By following these steps, you should have successfully connected your Simplisafe doorbell to the existing doorbell wiring. With the doorbell wired and securely mounted, we can now proceed to the next step: installing the doorbell mounting bracket.
Read also: 10 Best Simplisafe Doorbell for 2025
Step 5: Install the Simplisafe doorbell mounting bracket
Now that you have connected your Simplisafe doorbell to your existing doorbell wiring, it’s time to install the mounting bracket. The mounting bracket serves as the anchor for your doorbell, providing a secure and stable attachment. Follow these steps to install the Simplisafe doorbell mounting bracket:
- Ensure the doorbell is detached: Before installing the mounting bracket, make sure that the Simplisafe doorbell is detached from the bracket. This will make the installation process easier.
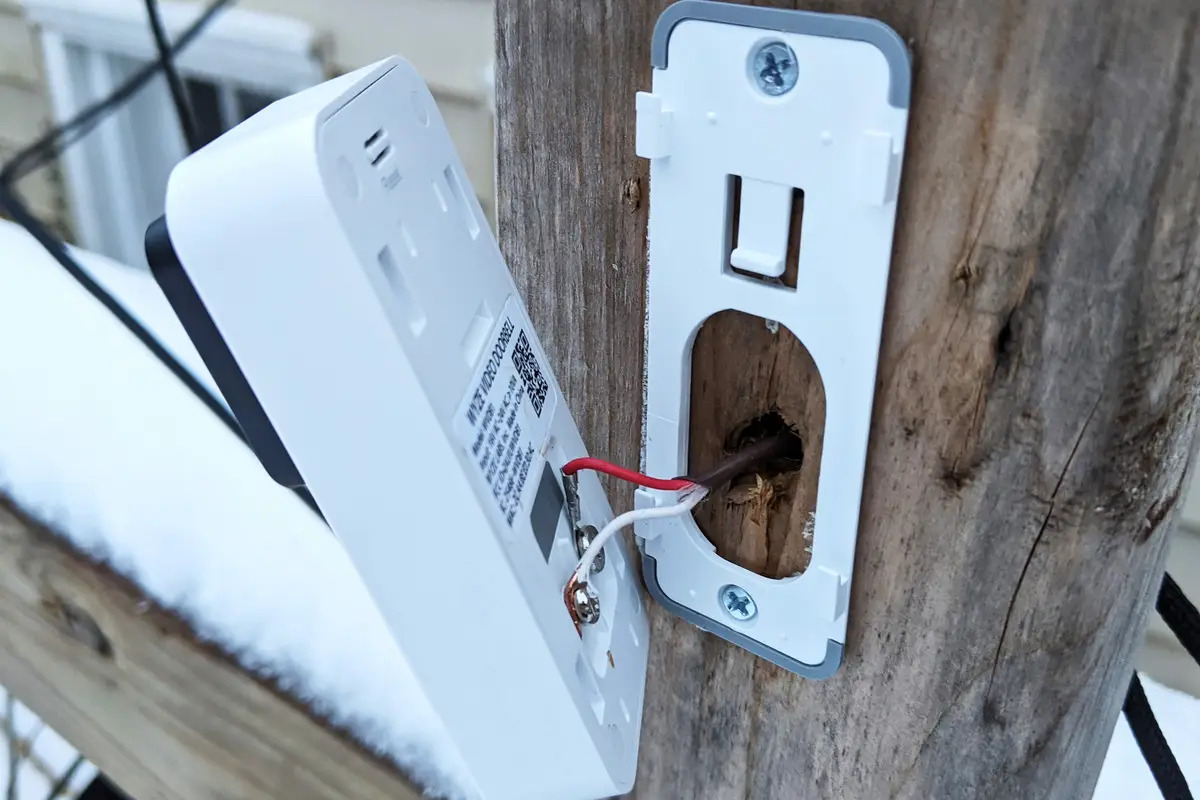
- Align the mounting bracket: Hold the mounting bracket up to the previously installed bracket on the wall or doorframe. Ensure that the screw holes on the mounting bracket align with the pilot holes in the wall or doorframe.
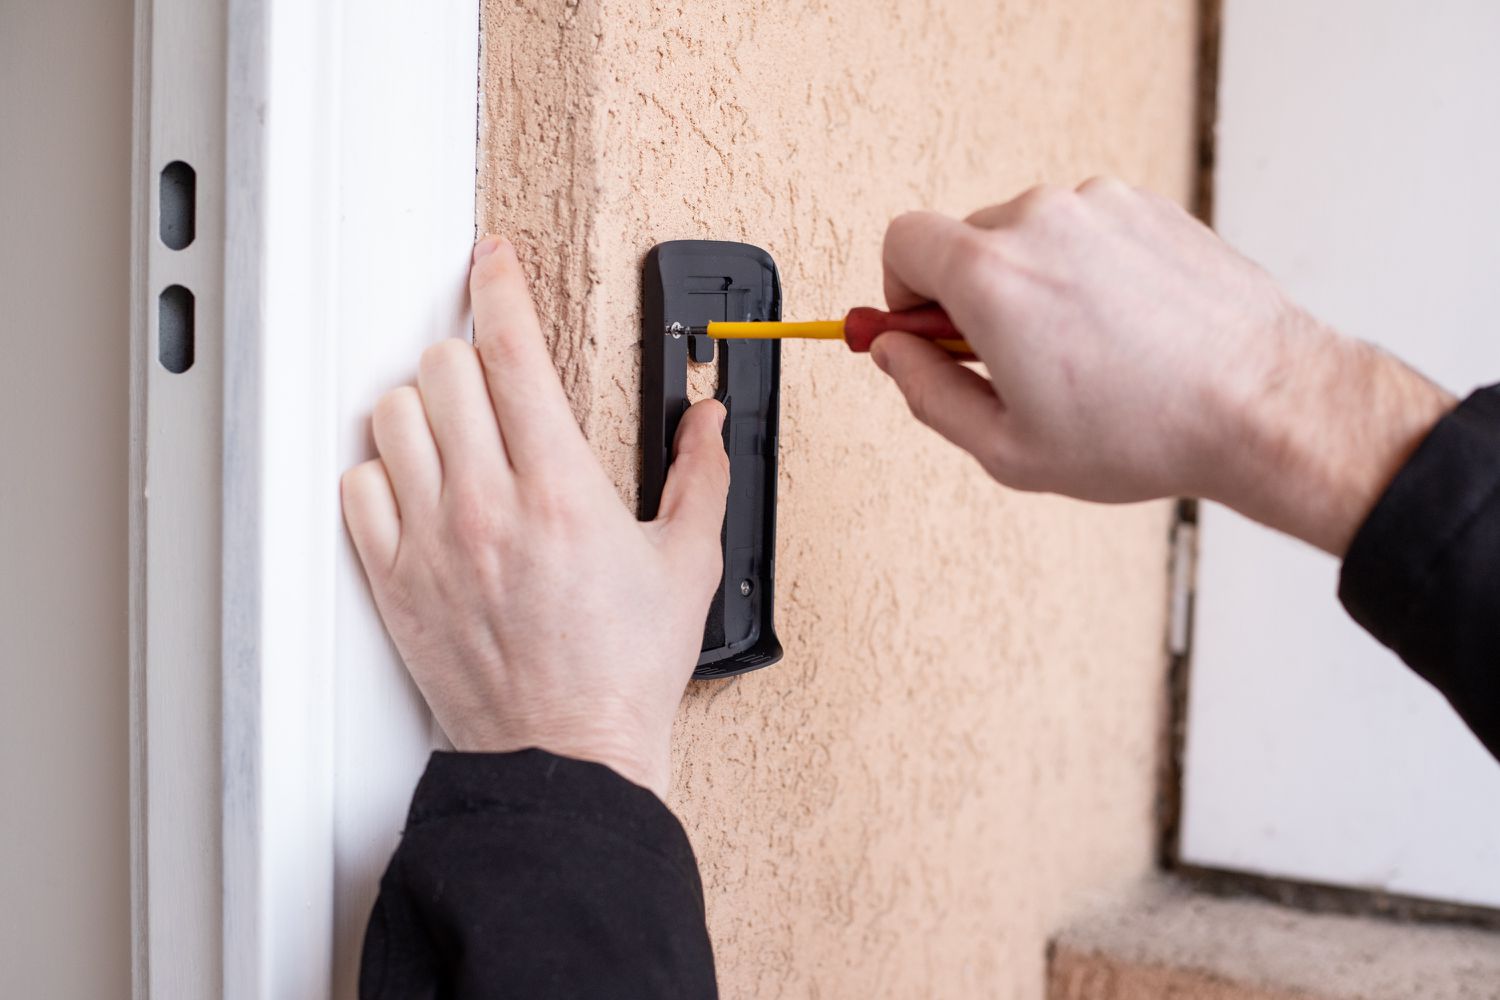
- Insert the mounting screws: Carefully insert the mounting screws through the holes in the mounting bracket and into the pilot holes. Use a Phillips screwdriver to tighten the screws securely, ensuring that the bracket is stable and flush against the wall or doorframe.
- Check for levelness: Use a level to ensure that the mounting bracket is straight and level. Adjust as needed by loosening the screws and repositioning the bracket.
- Attach the doorbell to the mounting bracket: With the mounting bracket securely in place, align the Simplisafe doorbell with the bracket and attach it by sliding it into place until it locks into position. Ensure that the doorbell is oriented correctly, with the camera and button facing outward.
- Test the doorbell attachment: Gently tug on the doorbell to ensure that it is securely attached to the mounting bracket. It should not move or come loose.
With the Simplisafe doorbell mounting bracket installed, you are well on your way to completing the installation process. Next, we will move on to Step 6: attaching the Simplisafe doorbell to the mounting bracket.
When installing a Simplisafe doorbell, make sure to follow the manufacturer’s instructions carefully and use the provided mounting hardware for a secure and reliable installation.
Step 6: Attach the Simplisafe doorbell to the mounting bracket
Now that the mounting bracket is securely installed, it’s time to attach the Simplisafe doorbell to the bracket. By following these steps, you’ll ensure a proper and secure attachment:
- Ensure the doorbell is detached: Before attaching the doorbell, make sure it is detached from the mounting bracket. This will make it easier to handle and align.
- Align the doorbell: Hold the doorbell in a position that aligns with the mounting bracket. The camera and button should face outward for optimal performance.
- Slide the doorbell into place: Carefully slide the Simplisafe doorbell into the mounting bracket until it locks into position. You may hear a click or feel it snap into place.
- Test the attachment: Gently tug on the doorbell to ensure it is securely attached to the mounting bracket. It should not move or come loose.
By following these steps, you have successfully attached the Simplisafe doorbell to the mounting bracket. This step completes the physical installation process, and now we can move on to Step 7: testing the Simplisafe doorbell installation.
Step 7: Test the Simplisafe doorbell installation
After completing the installation of your Simplisafe doorbell, it’s important to test its functionality to ensure that everything is working properly. Follow these steps to test the Simplisafe doorbell installation:
- Power on the doorbell: If you haven’t done so already, turn on the power to your doorbell circuit by switching on the circuit breaker.
- Check the Wi-Fi connection: Make sure that your Simplisafe doorbell is properly connected to your Wi-Fi network. You can do this by checking the Wi-Fi settings in the Simplisafe app or referring to the manufacturer’s instructions.
- Trigger the motion detection: Wave your hand or walk in front of the Simplisafe doorbell to trigger the motion detection feature. Check if the doorbell captures and records the movement accurately.
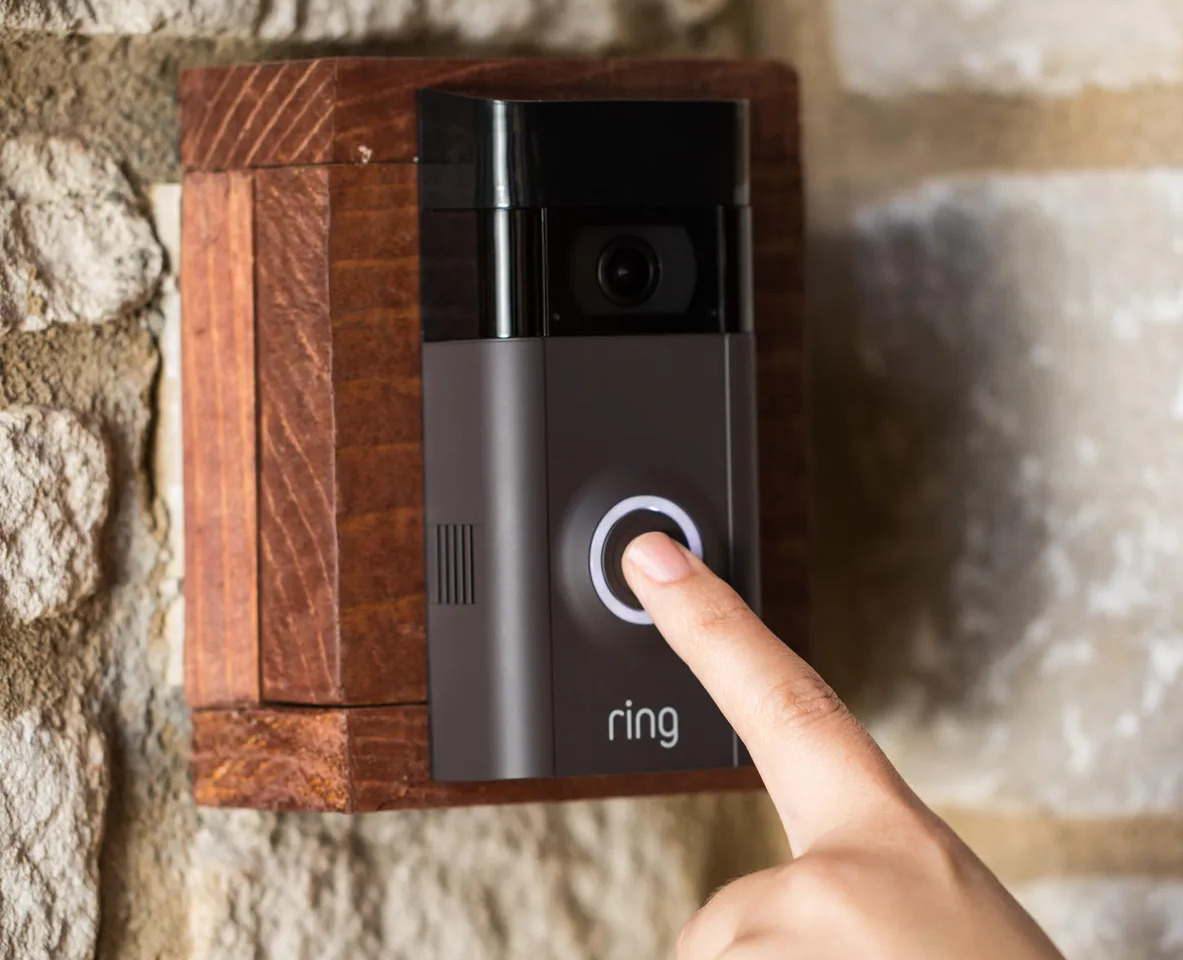
- Ring the doorbell: Press the doorbell button to see if the Simplisafe doorbell chimes and sends a notification to your smartphone or device. Test the two-way audio feature by speaking through the app and verifying if the sound is clear on both ends.
- Review the footage: Use the Simplisafe app or the designated platform to review the recorded footage and ensure that it is of high quality and captures the desired field of view.
- Adjust settings if necessary: If the test reveals any issues or if you want to customize the settings further, use the Simplisafe app to adjust motion sensitivity, notification preferences, and other relevant configurations.
- Make any necessary modifications: If you encounter any issues during the testing phase, such as poor connection or positioning, make the needed adjustments. This may include relocating the doorbell, checking the Wi-Fi signal strength, or troubleshooting any technical problems.
By following these steps and conducting a thorough test, you can ensure that your Simplisafe doorbell is installed correctly and functioning as intended. Testing the installation not only provides peace of mind but also allows you to fine-tune the settings for optimal performance.
With your Simplisafe doorbell successfully installed and tested, we can move on to the next step: setting up and configuring the doorbell through the app.
Step 8: Set up and configure the Simplisafe doorbell through the app
The Simplisafe doorbell is designed to work seamlessly with the Simplisafe app, allowing you to access and control your doorbell from your smartphone or device. Follow these steps to set up and configure your Simplisafe doorbell through the app:
- Download and install the Simplisafe app: Start by downloading the Simplisafe app from the App Store or Google Play Store, depending on your device’s operating system. Install the app and create a new account if you don’t already have one.
- Add the doorbell to your Simplisafe account: Open the Simplisafe app and navigate to the Devices or Add Device section. Follow the on-screen instructions to add your Simplisafe doorbell to your account. This typically involves scanning a QR code or entering a unique identification number provided with your doorbell.
- Connect the doorbell to your Wi-Fi network: Once the doorbell is added to your account, the app will guide you through the process of connecting it to your Wi-Fi network. Make sure you have your Wi-Fi network name and password handy, as you may need to enter them during this step.
- Configure doorbell settings: Once your doorbell is connected to Wi-Fi, you can customize its settings through the Simplisafe app. This includes adjusting motion detection sensitivity, enabling or disabling features like night vision or two-way audio, and setting up notifications for motion or doorbell events. Take some time to explore the different options and fine-tune the settings according to your preferences.
- Test the app functionality: With the doorbell successfully set up and configured, test the app’s functionality to ensure that you can receive notifications, view live video feeds, and control the doorbell remotely. Familiarize yourself with the different features and controls offered by the app.
- Update the app and firmware: Periodically check for app updates and firmware updates for your Simplisafe doorbell. Keeping the app and firmware up to date ensures that you have access to the latest features, enhancements, and security patches.
By following these steps, you can set up and configure your Simplisafe doorbell through the app, allowing you to fully utilize its features and functionalities. The app provides a convenient and user-friendly interface for managing your doorbell settings and accessing its capabilities remotely.
With your Simplisafe doorbell successfully set up and configured through the app, you’re ready to enjoy the added security and convenience it brings to your home.
Now that we’ve covered the app configuration, we can move on to Step 9: troubleshooting common installation issues.
Read more: How To Install A SimpliSafe Outdoor Camera
Step 9: Troubleshooting common installation issues
While installing a Simplisafe doorbell is generally straightforward, occasionally you may encounter some common issues. Here are a few troubleshooting tips to help resolve common installation problems:
- Wi-Fi connectivity problems: If you’re experiencing connectivity issues with your Simplisafe doorbell, make sure that your Wi-Fi network is functioning properly. Check the signal strength in the installation location, and if necessary, try moving the router closer or installing a Wi-Fi range extender.
- Interference with other devices: If the doorbell’s performance is affected by interference from other nearby devices, such as cordless phones or baby monitors, try adjusting the placement of these devices or changing their frequencies to minimize the interference.
- Camera or motion detection issues: If the camera or motion detection seems unreliable, ensure that the doorbell is installed at the recommended height and angle. Keep the lens clean and free from any obstructions, such as spider webs or dirt. Adjust the motion detection sensitivity settings in the app to optimize performance.
- Audio or notification problems: If you’re experiencing issues with the two-way audio or receiving notifications, double-check that your smartphone or device has the necessary permissions enabled for the Simplisafe app. Ensure that the volume on your device is turned up and that it is not set to “Do Not Disturb” mode.
- Power or battery-related issues: If you’re using battery power for your Simplisafe doorbell, make sure the batteries are fully charged or try replacing them with new ones. If you’re using existing doorbell wiring, verify that the power source is properly connected and that there are no loose wires or blown fuses.
- App or firmware updates: Regularly check for updates to the Simplisafe app and the doorbell’s firmware. Keeping them up to date ensures that you have access to the latest features, improvements, and bug fixes.
If you’re still encountering issues after troubleshooting, consult the Simplisafe support resources, including their website and customer support channels. They have a wealth of troubleshooting information and trained staff who can assist you in resolving any technical problems you may encounter.
Remember, installation issues can sometimes be specific to the unique circumstances of your home or network. Don’t hesitate to seek professional assistance if needed, especially for resolving electrical or wiring-related issues.
By following these troubleshooting tips and seeking appropriate help when necessary, you can resolve common installation issues and ensure that your Simplisafe doorbell is functioning optimally.
With the troubleshooting steps complete, you have successfully installed and configured your Simplisafe doorbell. Enjoy the enhanced security and convenience it provides for your home!
If you have any additional questions or concerns, consult Simplisafe’s documentation or contact their support team for further assistance.
Conclusion
Congratulations on successfully installing your Simplisafe doorbell! You have taken an important step in enhancing the security and convenience of your home. By following the step-by-step guide in this article, you have learned how to gather the necessary tools, choose the installation location, prepare the mounting location, connect the doorbell to existing wiring (if applicable), install the mounting bracket, attach the doorbell, and configure it through the app. Additionally, we provided troubleshooting tips to address common installation issues.
The Simplisafe doorbell not only adds an extra layer of security but also allows you to remotely monitor and communicate with visitors at your front door. With motion detection, high-definition video, and two-way audio, you can have peace of mind knowing who is at your door, whether you’re at home or away.
Remember to regularly check for app and firmware updates, as these ensure that your Simplisafe doorbell has the latest features and enhancements. Additionally, familiarize yourself with the various settings and customization options offered by the Simplisafe app to personalize your doorbell experience based on your preferences.
If you encounter any issues during the installation process or while using your Simplisafe doorbell, don’t hesitate to consult Simplisafe’s support resources or reach out to their customer support team. They are there to assist you and provide the necessary guidance to resolve any technical difficulties.
Enjoy the added security, convenience, and peace of mind that your Simplisafe doorbell brings to your home. Stay vigilant, and may your doorbell serve as a reliable guardian for your front door!
Frequently Asked Questions about How To Install A SimpliSafe Doorbell
Was this page helpful?
At Storables.com, we guarantee accurate and reliable information. Our content, validated by Expert Board Contributors, is crafted following stringent Editorial Policies. We're committed to providing you with well-researched, expert-backed insights for all your informational needs.
0 thoughts on “How To Install A SimpliSafe Doorbell”