Home>Articles>How To Install A Toilet Paper Holder In Drywall Without Studs
Articles
How To Install A Toilet Paper Holder In Drywall Without Studs
Modified: August 28, 2024
Learn how to easily install a toilet paper holder in drywall without studs with this step-by-step guide. Find more helpful articles on home improvement projects.
(Many of the links in this article redirect to a specific reviewed product. Your purchase of these products through affiliate links helps to generate commission for Storables.com, at no extra cost. Learn more)
Introduction
When it comes to home improvement projects, one task that many people overlook is installing a toilet paper holder. While it may seem like a minor detail, having a functional and secure toilet paper holder is essential for any bathroom. However, if you are dealing with drywall and do not have studs to anchor the holder, the installation process might seem challenging.
But fear not! In this article, we will guide you through the steps on how to install a toilet paper holder in drywall without studs. By following these instructions and using the right tools and materials, you’ll be able to securely mount the holder, ensuring it stays in place for years to come.
Before we dive into the installation process, let’s go over the tools and materials you will need:
- Measuring tape
- Pencil
- Screwdriver
- Level
- Wall anchors
- Mounting screws
- Toilet paper holder
Now that you have everything you need, let’s get started!
Key Takeaways:
- Securely install a toilet paper holder in drywall without studs using toggle bolts or plastic wall anchors. Ensure proper preparation, stable mounting, and functional testing for a convenient and long-lasting bathroom accessory.
- Choose the ideal location, appropriate mounting method, and ensure stable installation of a toilet paper holder in drywall without studs. Test and adjust for smooth functionality, bringing convenience and organization to your bathroom.
Tools and Materials Needed
To install a toilet paper holder in drywall without studs, you will need the following tools and materials:
- Measuring tape: This will be used to determine the proper placement for the holder on the wall.
- Pencil: You’ll need a pencil to mark the position of the holder on the drywall.
- Screwdriver: A screwdriver is necessary to attach the mounting hardware and secure the holder in place.
- Level: A level will ensure that the holder is installed straight and level on the wall.
- Wall anchors: Since there are no studs to anchor the holder, wall anchors are essential to provide stability and prevent the screws from pulling out of the drywall.
- Mounting screws: These screws will be used to attach the mounting hardware to the drywall.
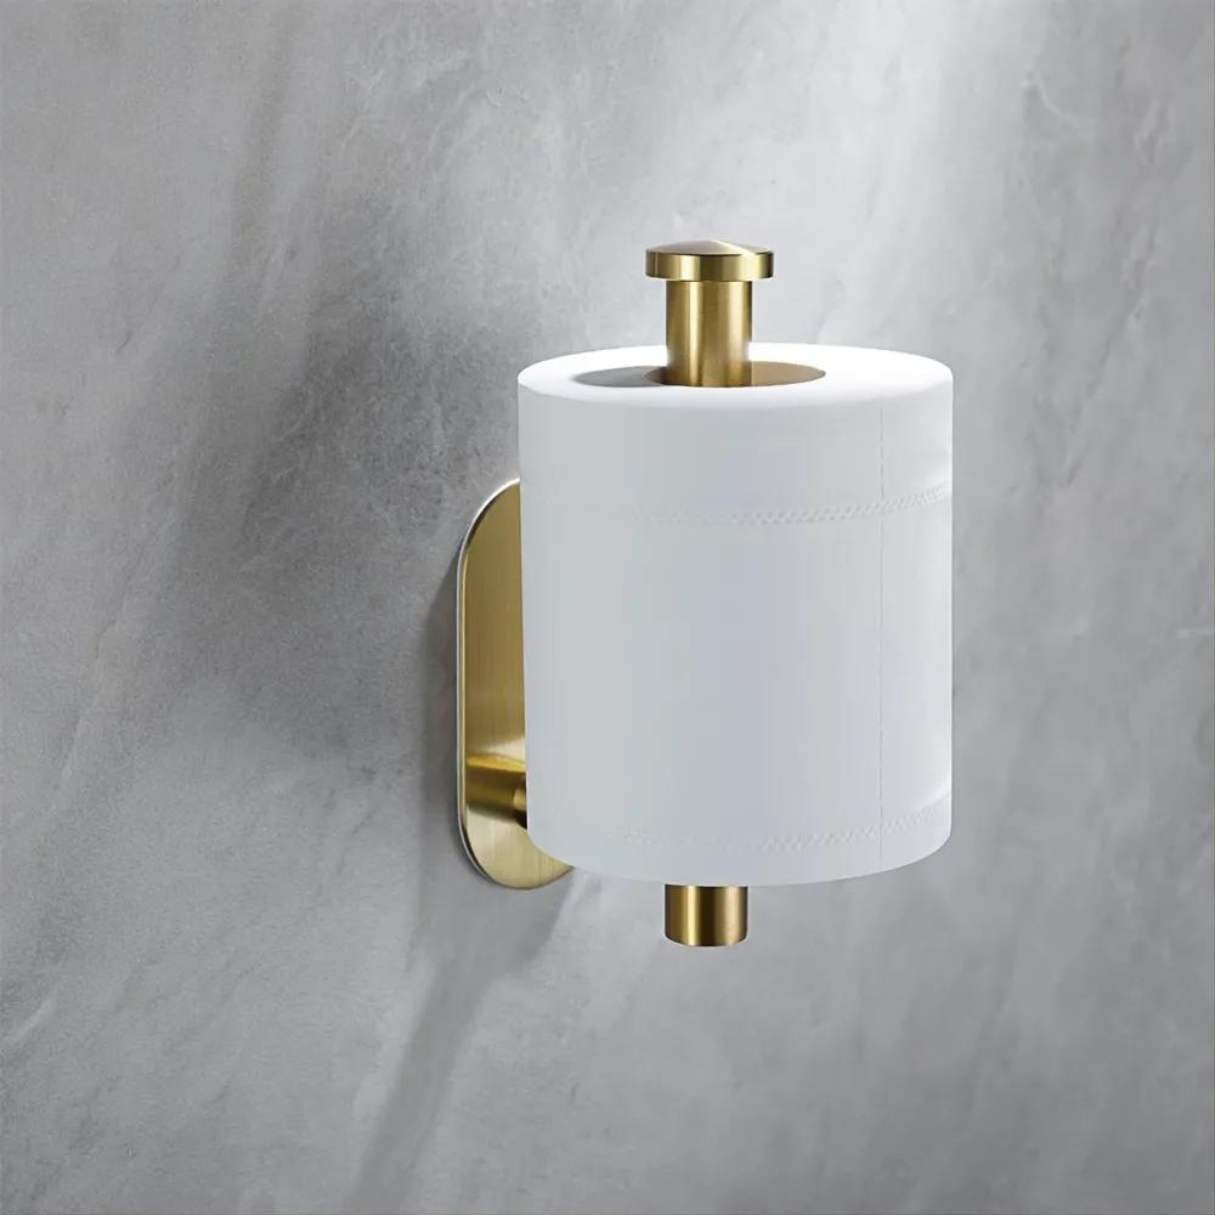
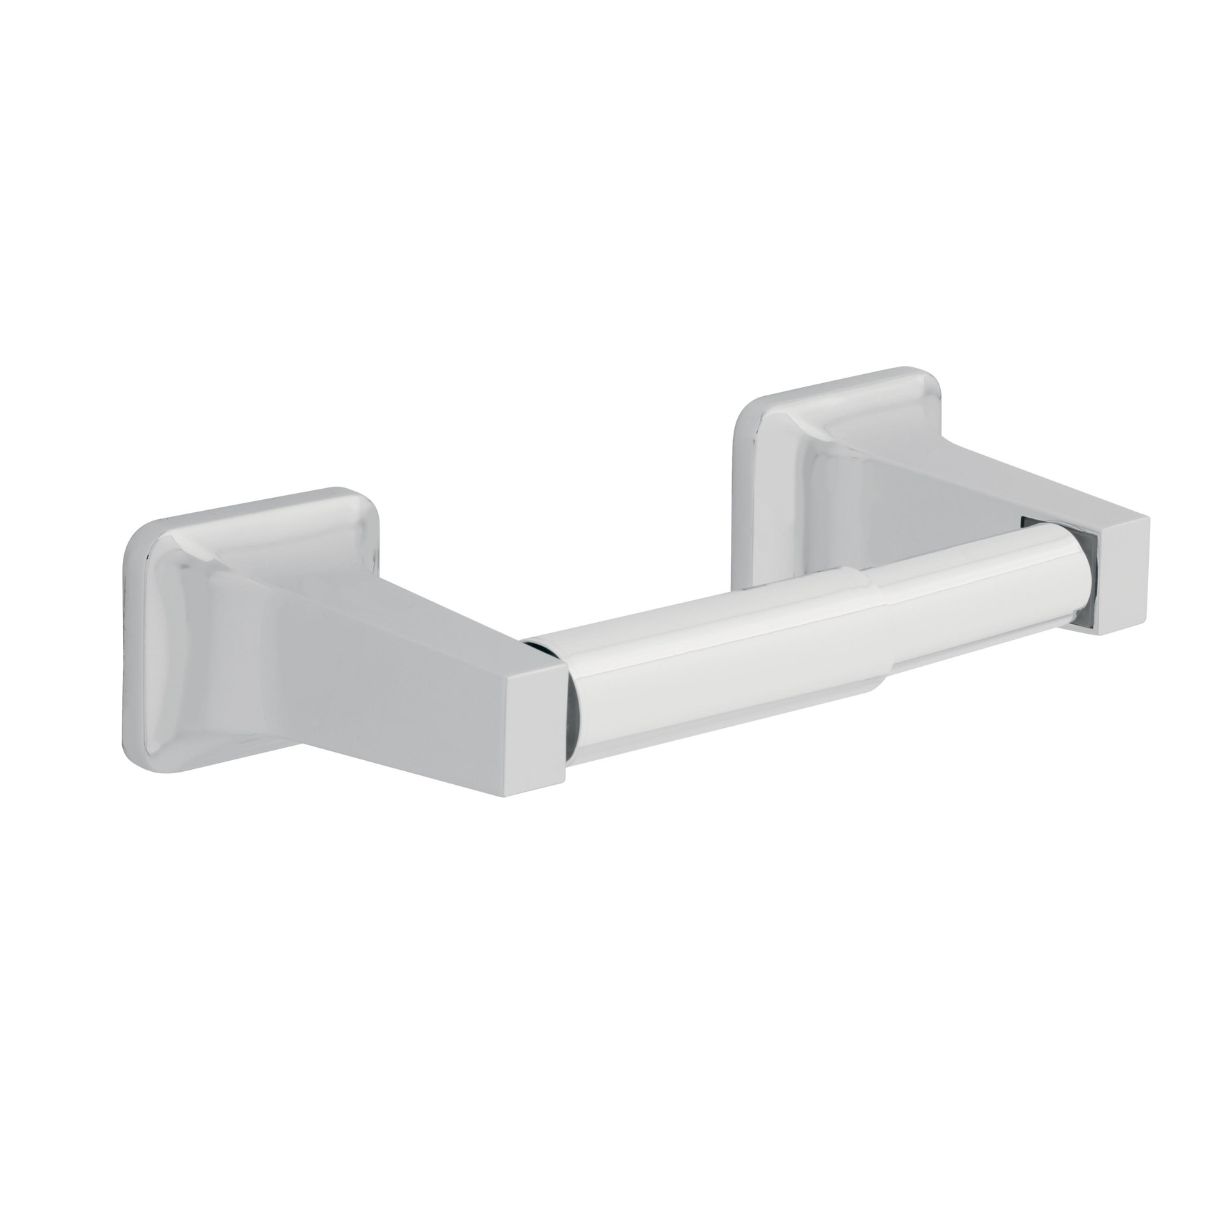
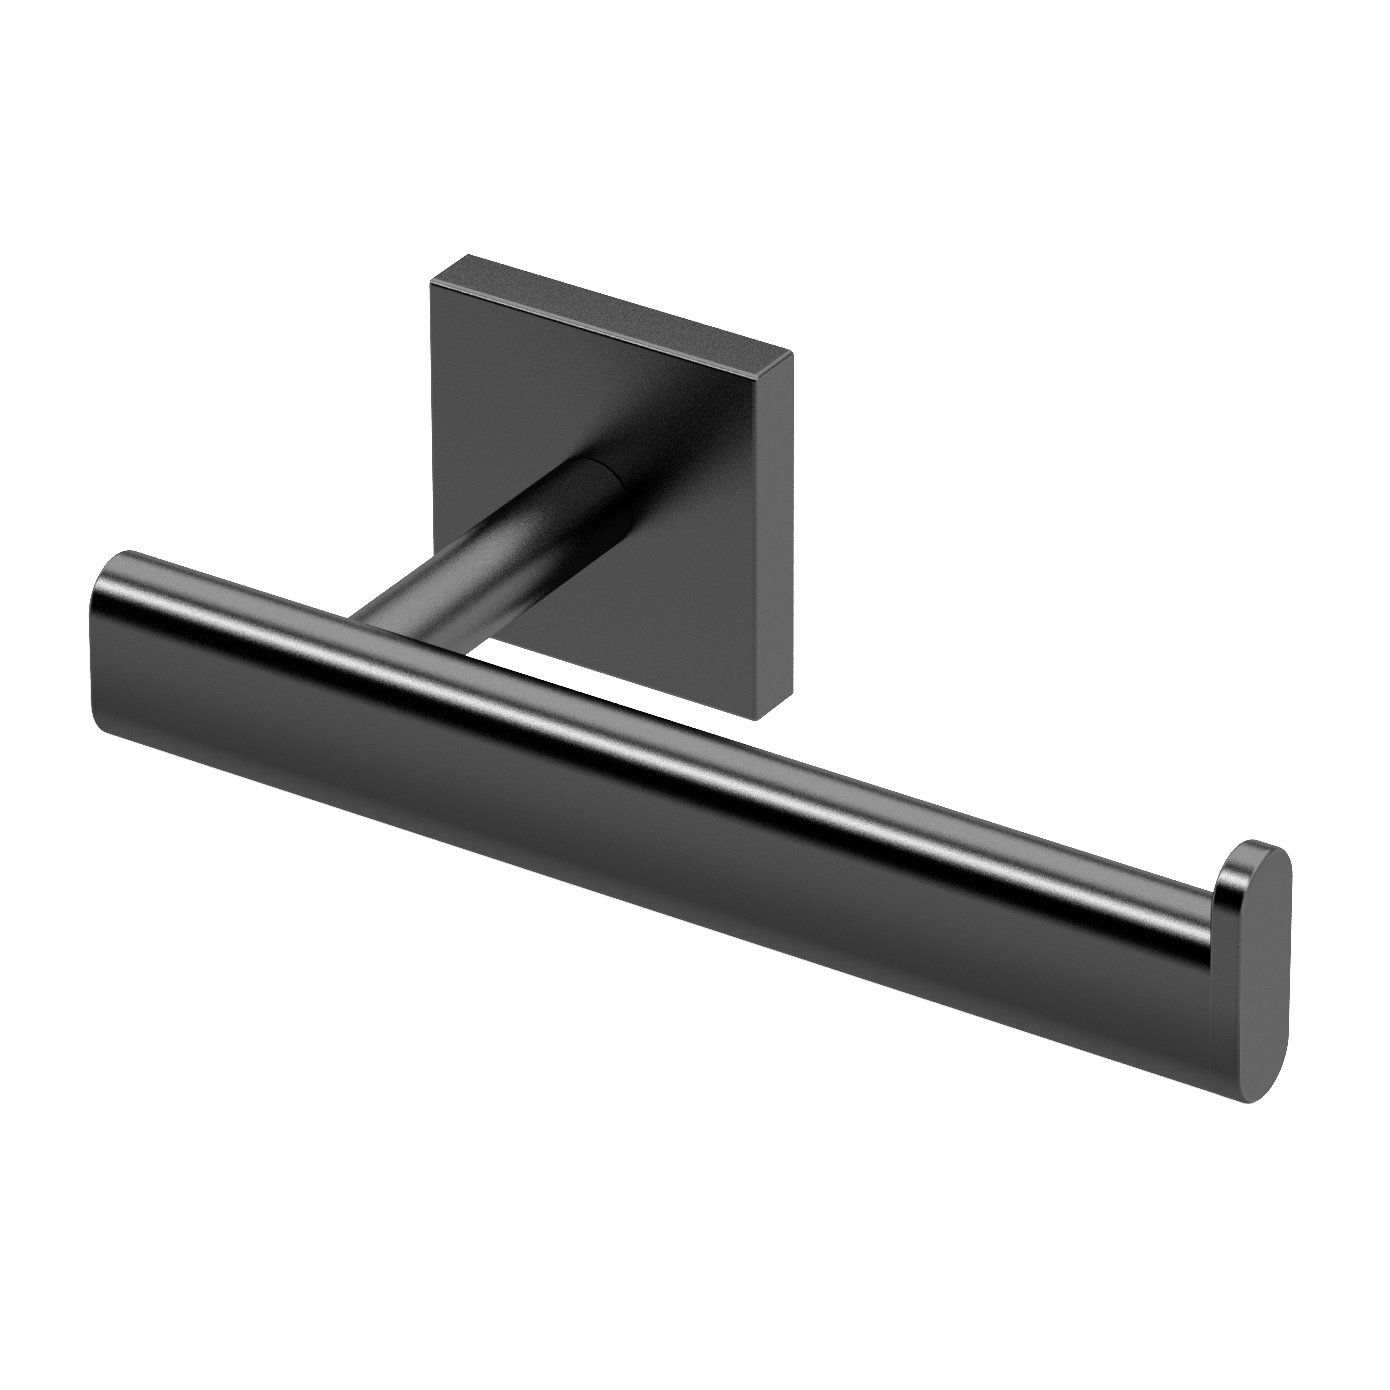
- Toilet paper holder: Of course, you will need a toilet paper holder of your choice to install on the wall.
It’s important to gather all the necessary tools and materials before starting the installation process. This will ensure that you have everything you need and can complete the task without any interruptions.
Now that you have your tools and materials ready, let’s move on to the step-by-step installation process.
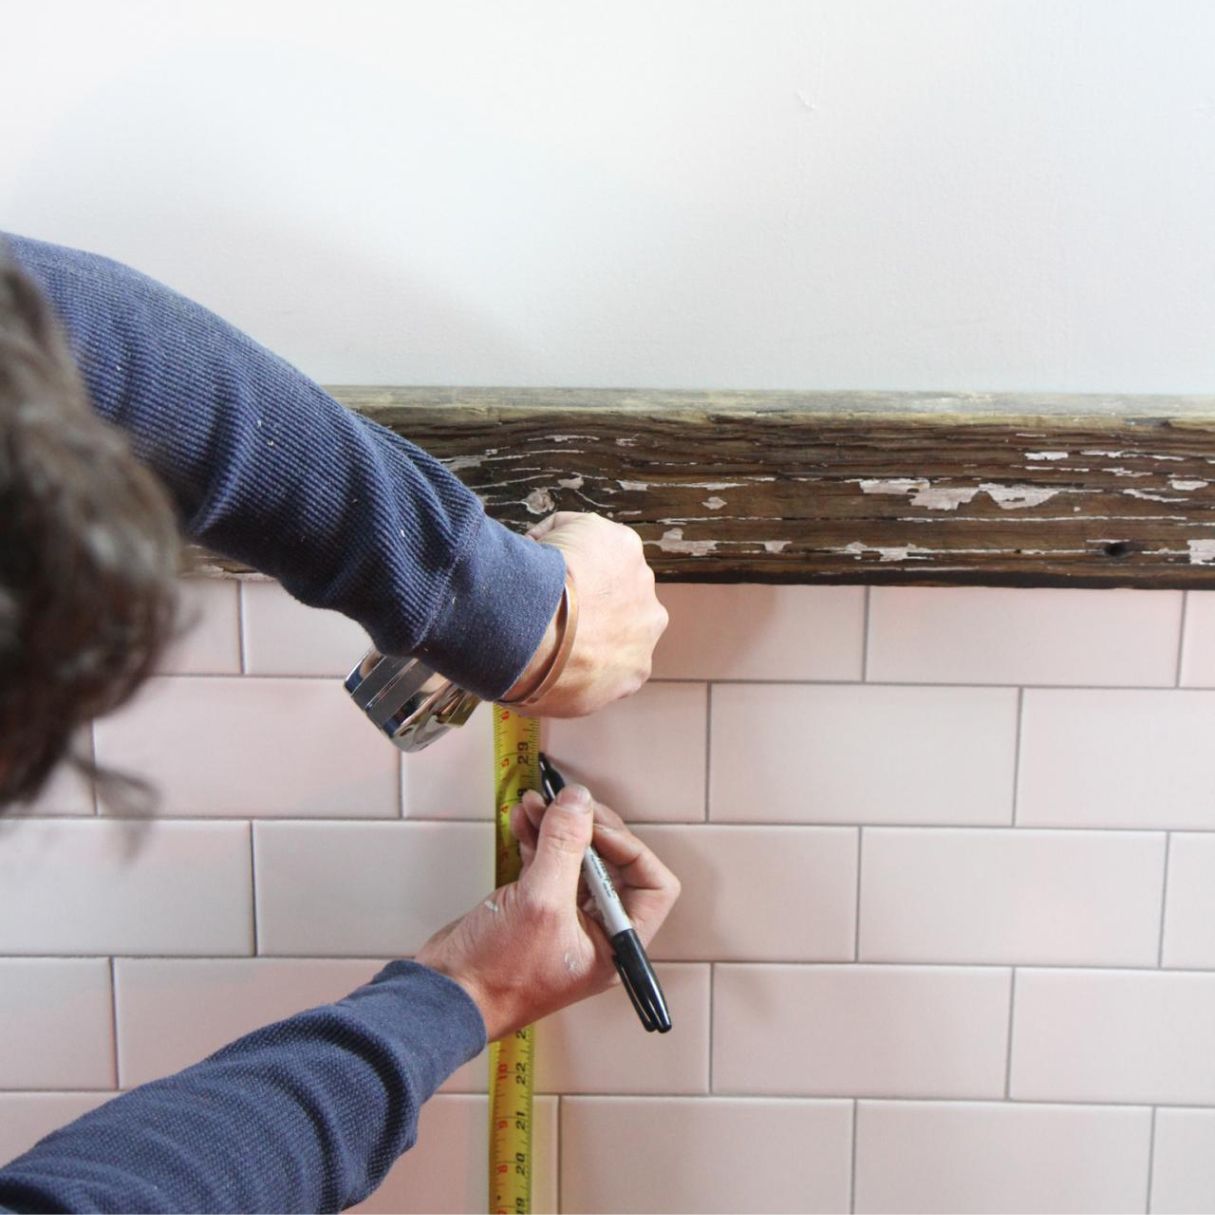
Step 1: Determine the Location
The first step in installing a toilet paper holder in drywall without studs is to determine the ideal location for the holder. Consider the height, accessibility, and proximity to the toilet when choosing a spot on the wall.
Take a moment to visualize where the holder will be most convenient for users and ensure it won’t interfere with other fixtures or wall-mounted accessories. It’s generally recommended to install the holder within arm’s reach of the toilet, at a comfortable height for easy access.
Additionally, use a measuring tape to ensure there is enough space for the toilet paper roll to rotate freely without hitting any obstacles. Consider the location of the wall studs, electrical wiring, and plumbing pipes behind the drywall. Avoid installing the holder near these areas to prevent any damage.
Once you have identified the desired location, use a pencil to mark the spot on the wall. Start by holding the holder against the wall at the desired height and position, making sure it is level and centered. Trace around the base or marking template of the holder to outline the exact spot where it will be installed. This guideline will ensure accurate placement during the installation process.
After marking the position on the wall, you’re now ready to move on to the next step: choosing an appropriate mounting method.
Step 2: Mark the Position on the Wall
Now that you have determined the ideal location for your toilet paper holder, it’s time to mark the position on the wall. This step will ensure precise placement during the installation process.
Start by holding the toilet paper holder against the wall at the desired height and position. Make sure it is level and centered with the help of a level. Once you are satisfied with the placement, use a pencil to mark the edges or corners of the mounting plate or bracket onto the wall.
It’s important to be accurate and deliberate when marking the position. Take your time to ensure that the markings align with the desired location and are level and centered. You can also use a measuring tape to double-check the distances and ensure symmetry if you are installing multiple holders.
When marking the position, keep in mind the size and shape of the toilet paper holder. Consider the clearance space needed for the toilet paper roll to rotate freely without any obstructions. Make sure there is enough room for comfortable usage and that the holder does not interfere with other fixtures or wall-mounted accessories.
Once you have marked the position, step back and take a moment to review the markings to ensure they are accurate and in line with your desired placement. This will help you proceed with confidence in the next steps of the installation process.
With the position marked on the wall, you are now ready to move on to the next step: choosing an appropriate mounting method.
Step 3: Choose an Appropriate Mounting Method
Choosing the right mounting method is crucial when installing a toilet paper holder in drywall without studs. Since there are no studs to provide structural support, you will need to use alternative methods to ensure the holder remains securely attached to the wall.
Here are a few popular mounting methods to consider:
- Toggle bolts: Toggle bolts are a common choice for mounting heavy objects on drywall. They consist of a screw and a spring-loaded anchor that expands behind the drywall for secure attachment. Toggle bolts provide a strong and reliable hold, making them suitable for heavier or more frequently used toilet paper holders.
- Plastic wall anchors: Plastic wall anchors are lightweight and easy to install. They are ideal for lightweight or decorative toilet paper holders. Simply insert the anchor into a pre-drilled hole in the drywall, and then screw the mounting hardware into the anchor.
- Molly bolts: Molly bolts, also known as hollow wall anchors, are another option for mounting in drywall. They feature a metal sleeve that expands behind the drywall for added stability. Molly bolts can provide a strong hold and are suitable for medium to heavy-duty toilet paper holders.
Consider the weight and size of your toilet paper holder when choosing the mounting method. If you have a lightweight holder, plastic wall anchors may be sufficient. However, for larger or heavier holders, toggle bolts or molly bolts are recommended to ensure a secure installation.
It’s important to follow the manufacturer’s instructions when using these mounting methods. They will provide specific guidelines on drilling the appropriate size of holes and installing the anchors correctly. Make sure to select anchors and screws that are compatible with your chosen mounting method and the dimensions of your toilet paper holder.
By choosing the right mounting method, you can ensure that your toilet paper holder remains securely attached to the drywall. Now that you have selected your mounting method, you are ready to prepare the drywall surface in the next step.
Use drywall anchors to secure the toilet paper holder to the wall. Make sure to choose anchors that can support the weight of the holder and the toilet paper. Follow the manufacturer’s instructions for proper installation.
Step 4: Prepare the Drywall Surface
Before installing your toilet paper holder, it’s essential to prepare the drywall surface to ensure a secure and long-lasting installation. Proper preparation will provide a strong foundation for the mounting hardware and help prevent any damage to the drywall.
Follow these steps to prepare the drywall surface:
- Clear the area: Remove any existing objects, such as towel bars or old mounting hardware, from the wall to create a clean workspace.
- Inspect the drywall: Check the condition of the drywall for any cracks, holes, or loose sections. If you notice any damage, repair it before proceeding with the installation. Use drywall patching compound or joint compound to fill in any cracks or holes, and sand the surface smooth once the compound is dry.
- Clean the surface: Wipe down the area where the toilet paper holder will be installed to remove any dust, dirt, or debris. A clean surface will ensure proper adhesion of the mounting hardware.
It’s important to note that if you plan to paint or wallpaper the bathroom walls, it’s best to complete these tasks before installing the toilet paper holder. This will prevent any potential damage to the holder or the need to remove it later.
By preparing the drywall surface, you are creating a stable and clean foundation for the installation. This will help ensure the longevity and stability of your toilet paper holder. Now that the surface is ready, you can proceed to the next step: installing the mounting hardware.
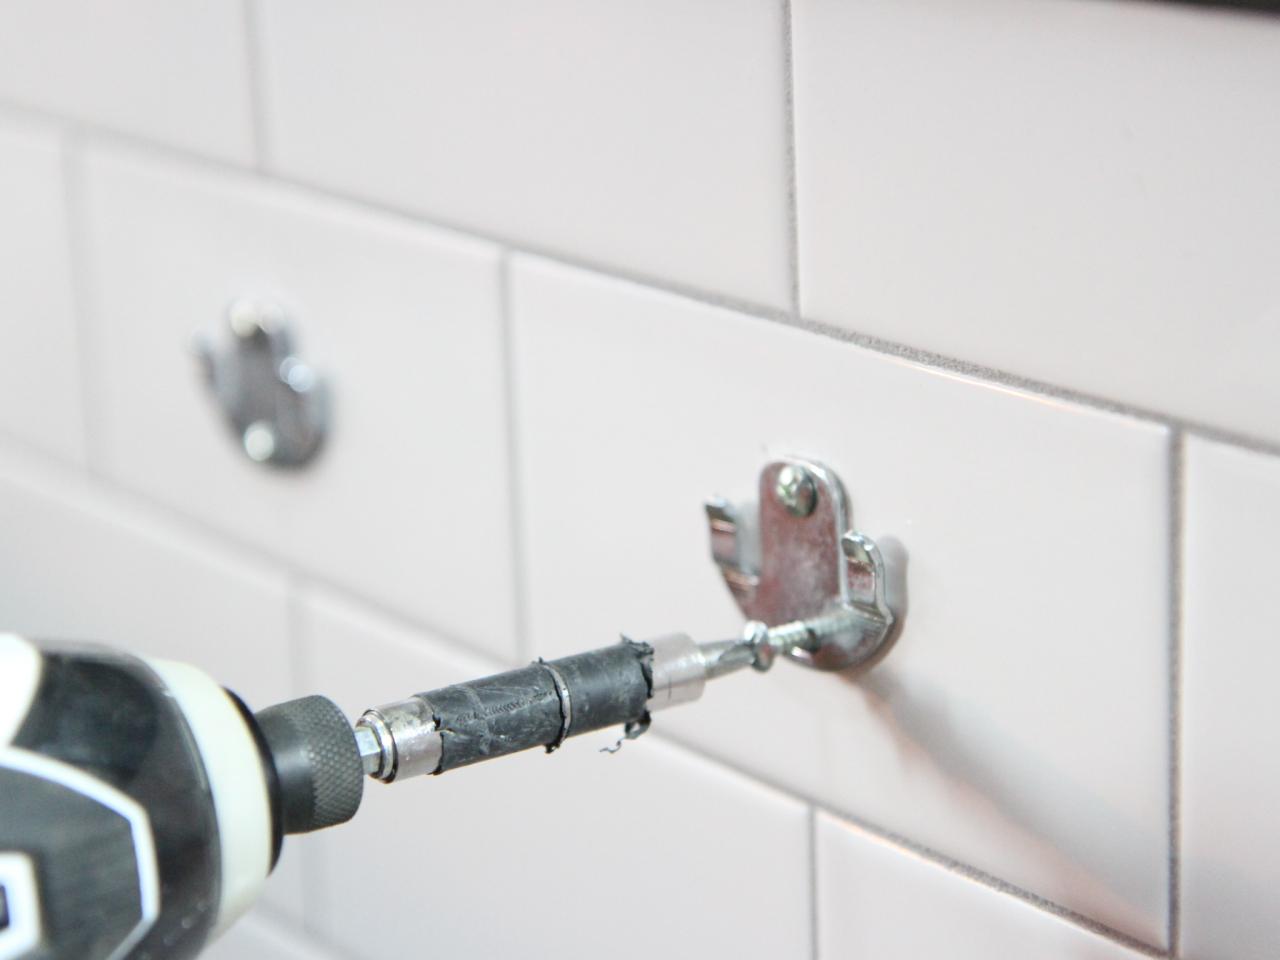
Step 5: Install the Mounting Hardware
With the drywall surface prepared, it’s time to install the mounting hardware for your toilet paper holder. The mounting hardware provides the anchor points for attaching the holder to the wall securely.
- Position the mounting hardware: Hold the mounting bracket or plate against the marked position on the wall. Ensure it is level and aligned with the markings. If using toggle bolts or molly bolts, position them through the pre-drilled holes in the bracket.
- Mark the screw holes: Using a pencil or a small awl, make a mark through each pre-drilled hole in the mounting hardware onto the drywall. These marks will guide you where to place the screws or anchors.
- Install the wall anchors: If using plastic wall anchors, insert them into the pre-drilled holes, tapping them gently with a hammer until they are flush with the wall surface.
- Attach the mounting hardware: Align the mounting hardware over the marked screw holes and secure it to the drywall using screws or toggle bolts. Make sure not to overtighten the screws or bolts to prevent damage to the drywall.
When installing the mounting hardware, refer to the instructions provided by the manufacturer. They may have specific guidelines or recommendations for your particular toilet paper holder and mounting method.
Double-check the stability and levelness of the mounting hardware once it is attached to the wall. If needed, make any necessary adjustments before proceeding to the next step.
With the mounting hardware securely installed, you’re ready to move on to the next step: attaching the toilet paper holder itself.
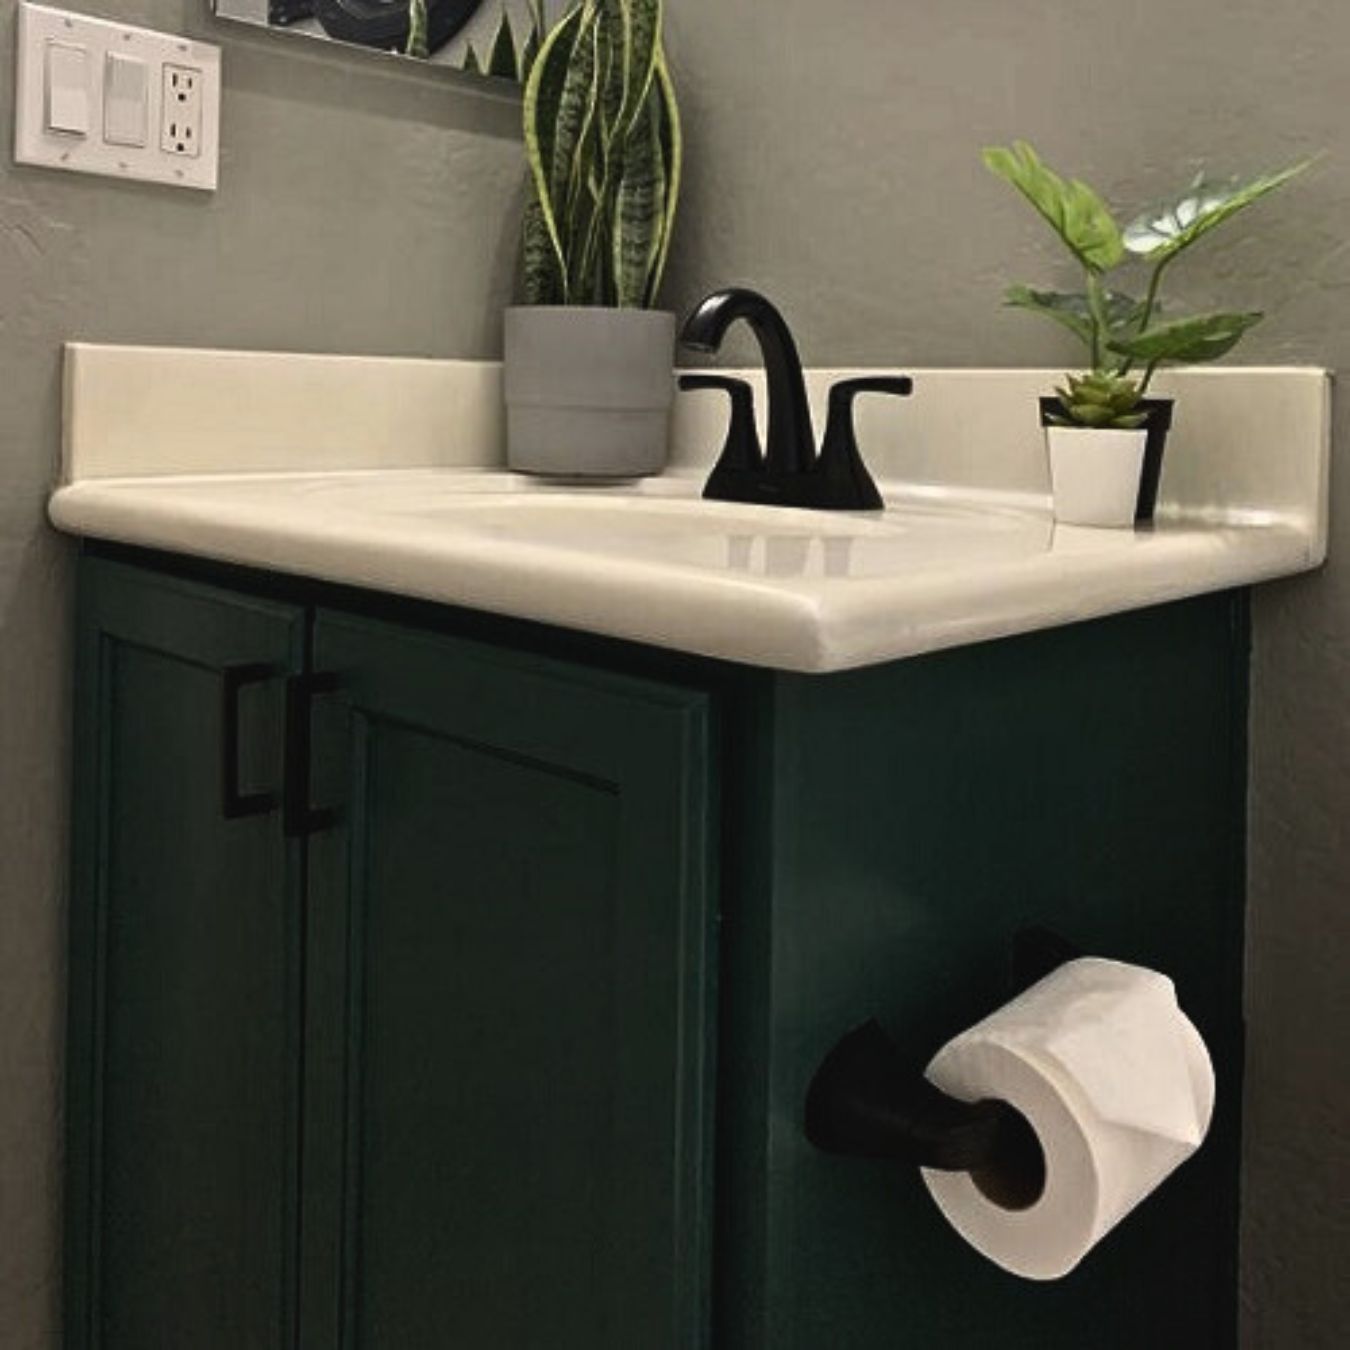
Step 6: Attach the Toilet Paper Holder
Now that the mounting hardware is securely in place, it’s time to attach the toilet paper holder to the wall. This step will complete the installation process and allow you to start using the holder.
- Align the holder: Hold the toilet paper holder up to the mounting hardware. Align the holes or slots on the back of the holder with the screws or mounting brackets on the wall.
- Attach the holder: Insert the screws or mounting pins through the holes or slots on the holder and into the corresponding mounting hardware on the wall. Use a screwdriver or the provided tool to tighten the screws or secure the pins.
- Ensure stability: Once the holder is attached, give it a gentle tug to ensure it is securely fastened to the wall. The holder should not wobble or feel loose. If it does, double-check the mounting hardware and tighten any screws or nuts as needed.
Take a step back and admire your newly installed toilet paper holder. Ensure it is level and aligned with the markings you made on the wall. If the holder includes a spring-loaded bar or spindle to hold the toilet paper roll, test it to make sure it spins smoothly and holds the roll securely in place.
If you are installing multiple toilet paper holders in the same bathroom, repeat the process for each holder, making sure to align them consistently and maintain uniform spacing.
With the toilet paper holder attached and stable, you’re ready to move on to the final step: testing and adjusting the holder.
Step 7: Test and Adjust the Holder
Congratulations on successfully installing your toilet paper holder! The final step is to test and adjust the holder to ensure it functions properly and meets your needs.
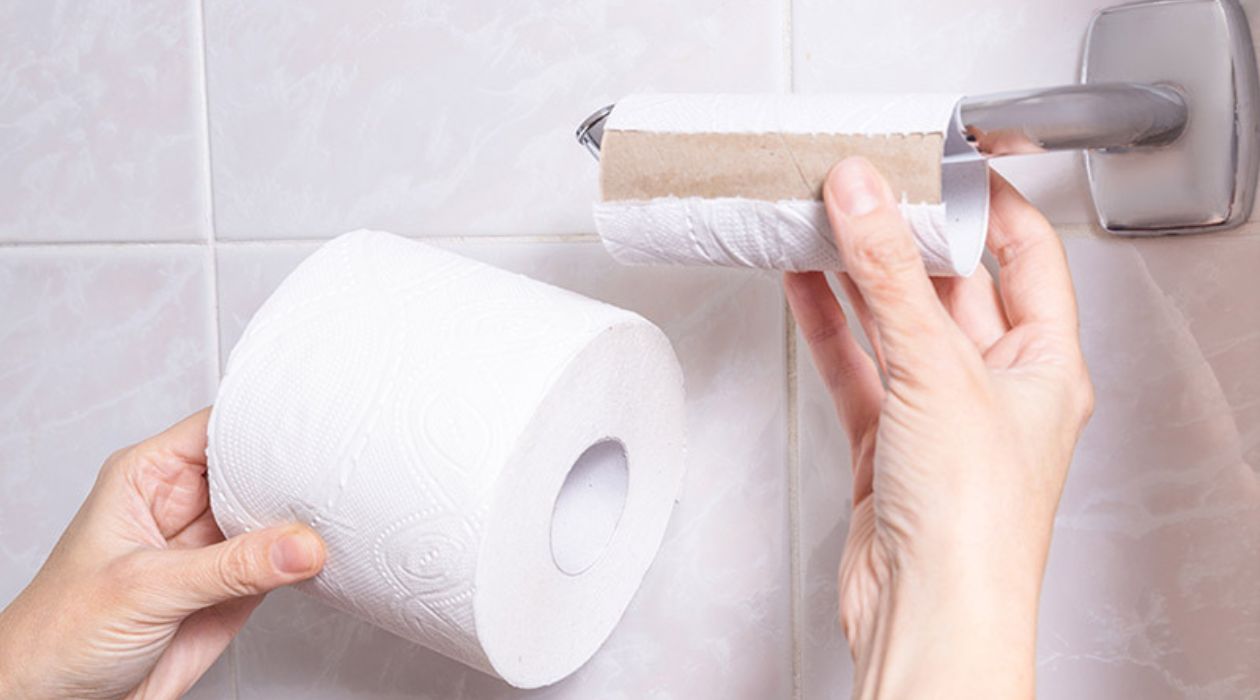
- Test the roll insertion: Take a toilet paper roll and insert it into the holder. Ensure that it fits securely and can rotate freely without any obstructions. The roll should be held in place by the holder’s bar or spindle.
- Check for stability: Gently tug on the toilet paper holder to check its stability. It should remain firmly attached to the wall without any movement or wobbling. If you notice any instability, carefully tighten the mounting screws or brackets to secure the holder in place.
- Make adjustments if necessary: If the holder is not level or aligned as desired, you can make adjustments. Loosen the mounting screws or brackets slightly and carefully reposition the holder. Use a level to ensure it is straight, and then retighten the screws or brackets.
- Ensure ease of use: Test the functionality of the toilet paper holder by removing and replacing the roll. Make sure it can be done smoothly and effortlessly. If there are any difficulties or obstructions, adjust the holder as needed until it operates seamlessly.
Take a step back and visually inspect the installed toilet paper holder. Check for any cosmetic issues or misalignments that may need adjustments. It’s important to be satisfied with the appearance and functionality of the holder before considering the installation complete.
Once you are happy with the position, stability, and functionality of the toilet paper holder, you can consider the installation process finished.
Remember, proper care and maintenance of your toilet paper holder will help prolong its lifespan. Regularly clean the holder and ensure it remains securely attached to the wall over time.
With your new toilet paper holder installed and tested, you can now enjoy the convenience and functionality it brings to your bathroom!
Thank you for following this installation guide. We hope it has been helpful and that you have found success in your DIY project!
Conclusion
Installing a toilet paper holder in drywall without studs may seem like a challenging task, but with the right tools and techniques, it can be accomplished easily. By following the steps outlined in this guide, you can securely mount a toilet paper holder that will withstand daily use and provide convenience in your bathroom.
Begin by determining the ideal location for the holder and marking the position on the wall. Choose an appropriate mounting method based on the weight and size of your holder, such as toggle bolts or plastic wall anchors. Prepare the drywall surface by clearing the area and ensuring it is clean and free of any damage. Install the mounting hardware and attach the toilet paper holder, making sure it is level and stable.
After completing the installation, test the holder’s functionality by inserting a toilet paper roll and checking for stability. Make any necessary adjustments to ensure the holder is aligned and operates smoothly. Remember to care for and maintain your toilet paper holder regularly to maximize its lifespan.
We hope this guide has provided you with the knowledge and confidence to install a toilet paper holder in drywall without studs. Now, you can enjoy the convenience and organization that a properly installed and secure holder brings to your bathroom.
Remember, if you are uncertain or uncomfortable with any step of the installation process, it’s always best to consult a professional. They can provide expertise and ensure the job is done correctly.
Thank you for taking the time to read this guide. We wish you success in your DIY project and hope your new toilet paper holder brings functionality and style to your bathroom!
Frequently Asked Questions about How To Install A Toilet Paper Holder In Drywall Without Studs
Was this page helpful?
At Storables.com, we guarantee accurate and reliable information. Our content, validated by Expert Board Contributors, is crafted following stringent Editorial Policies. We're committed to providing you with well-researched, expert-backed insights for all your informational needs.


0 thoughts on “How To Install A Toilet Paper Holder In Drywall Without Studs”