
Articles
How To Install Ceiling Fan Box
Modified: January 20, 2024
Learn how to install a ceiling fan box with our informative articles. Ensure a safe and secure installation for your new ceiling fan.
(Many of the links in this article redirect to a specific reviewed product. Your purchase of these products through affiliate links helps to generate commission for Storables.com, at no extra cost. Learn more)
Introduction
Installing a ceiling fan in your home can provide a refreshing breeze and add style to any room. Whether you’re looking to beat the heat during the summer months or simply want to enhance the airflow in your living space, learning how to install a ceiling fan box is an essential skill for any homeowner.
Having the right materials and tools, along with some basic electrical knowledge, will help you successfully complete this DIY project. In this article, we’ll guide you through the step-by-step process of installing a ceiling fan box, ensuring a safe and secure installation.
Before starting, it’s important to note that if you’re not comfortable working with electrical wiring, it’s always best to hire a professional electrician. Safety should be your number one priority when dealing with electricity.
Now, let’s gather the materials and tools you’ll need to get started.
Key Takeaways:
- Proper installation of a ceiling fan box and fan involves choosing the right location, turning off the power, securely mounting the fan box, connecting the wiring, and testing the fan’s functionality for safe and efficient operation.
- Attention to detail, adherence to safety measures, and following manufacturer’s instructions are crucial for a successful ceiling fan installation. If unsure, it’s best to seek professional assistance to ensure a proper and secure installation.
Read more: How To Install A Ceiling Fan Electrical Box
Materials and Tools Needed
Before diving into the installation process, make sure you have the following materials and tools on hand:
Materials:
- Ceiling fan box
- Ceiling fan
- Ceiling fan mounting hardware
- Electrical wiring
- Wire connectors
- Electrical tape
- Mounting bracket
- Fan blades
- Light kit (optional)
- Mounting screws
- Mounting bracket screws
- Wood screws
Tools:
- Drill
- Hole saw
- Screwdriver
- Pliers
- Wire strippers
- Voltage tester
- Stud finder
- Tape measure
- Stepladder
- Safety glasses
Having these materials and tools readily available will make the installation process smoother and more efficient. It’s important to use high-quality materials and tools to ensure a secure and long-lasting installation.
Now that you’re equipped with everything you need, let’s move on to the first step: choosing the location for the ceiling fan.
Step 1: Choose the Location for the Ceiling Fan
The first step in installing a ceiling fan is to choose the perfect location for it. Consider the layout of the room and the optimal placement for airflow and aesthetic appeal.
Here are some factors to consider when selecting the location:
- Proximity to electrical wiring: Make sure there is an existing electrical box and wiring nearby. If not, you may need to hire an electrician to install one.
- Clearance: Ensure that the ceiling has enough space to accommodate the fan and that it won’t interfere with any lights, beams, or other fixtures.
- Room size: Consider the size of the room and the fan’s blade span. For larger rooms, you may need a fan with a larger blade span to effectively circulate the air.
- Ceiling height: Check the height of the ceiling to determine the appropriate downrod length for the fan. The fan should be installed at least 7 feet above the floor for safety.
- Style and aesthetics: Take into account the overall style and décor of the room. Choose a fan that complements the existing design and enhances the aesthetic appeal.
Once you’ve selected the perfect location, you’re ready to move on to the next step: turning off the power.
Step 2: Turn off the Power
Before you begin any electrical work, it’s crucial to prioritize safety by turning off the power to the area where you’ll be installing the ceiling fan. This will help prevent any potential accidents or electric shocks.
Here’s how to turn off the power:
- Locate the electrical panel: Find the electrical panel in your home. It is usually located in the basement, garage, or utility room.
- Identify the circuit: Look for the circuit breaker that controls the power to the room where you’ll be working. Most circuit breakers are labeled, making it easier to identify the correct one.
- Switch off the circuit: Flip the corresponding switch to turn off the power. Some circuit breakers may have a lever that needs to be pulled down to switch off the power.
- Test the power: Use a voltage tester to verify that the power is indeed off. Insert the tester into an electrical outlet or light switch in the room to ensure that there is no electrical current present.
Remember, safety should always be your top priority. If you’re unsure or uncomfortable working with electrical systems, it’s best to hire a professional electrician.
Now that the power is switched off, you can move on to the next step: marking the position of the fan box.
Step 3: Mark the Position of the Fan Box
Once you have chosen the location for your ceiling fan and turned off the power, it’s time to mark the position of the fan box on the ceiling. This will serve as a guide for the installation process.
Follow these steps to accurately mark the position:
- Use a stud finder: Utilize a stud finder to locate the ceiling joists. The fan box should be attached to a ceiling joist for maximum stability.
- Measure and mark: Measure the distance from the nearest walls to ensure that the fan is centered in the room. Use a pencil or marker to mark the position of the fan box on the ceiling.
- Double-check: Check that the marked position aligns with the ceiling joist. Adjust if necessary to ensure a secure installation.
It’s important to note that the fan box should be securely mounted to a ceiling joist for stability and support. If the marked position does not align with a joist, you may need to install a brace between the joists to provide a solid mounting point.
Once you have successfully marked the position of the fan box, you’re ready to move on to the next step: cutting the opening for the fan box.
Read more: How To Install Ceiling Fans
Step 4: Cut the Opening for the Fan Box
With the position of the fan box marked on the ceiling, it’s time to cut the opening that will accommodate the box. This will allow for proper installation and secure mounting of the fan.
Follow these steps to cut the opening:
- Gather the necessary tools: You will need a drill and a hole saw attachment of the appropriate size. The hole saw should match the diameter of the fan box.
- Secure the ceiling: Use a stepladder to reach the ceiling safely. Ensure that the ladder is stable and placed on a flat surface.
- Position the hole saw: Attach the hole saw to the drill, aligning it with the marked position on the ceiling.
- Begin cutting: Start the drill and apply gentle pressure to cut through the ceiling material. Keep the drill straight and steady to ensure a clean and accurate cut.
- Work slowly and steadily: Continue cutting until the hole saw has penetrated through the ceiling material. Be mindful of any electrical wiring or plumbing that may be hidden in the ceiling.
- Remove the cut piece: Once the hole has been fully cut, carefully remove the cut piece from the hole saw. Set it aside safely.
It’s important to exercise caution while cutting the opening for the fan box. Take your time and work carefully to avoid damage or injury.
With the opening cut and prepared, you’re now ready to proceed to the next step: installing the fan box.
Step 5: Install the Fan Box
Now that you have cut the opening for the fan box, it’s time to securely install the box in the ceiling. The fan box serves as the anchor for the ceiling fan and provides a stable base for mounting.
Follow these steps to properly install the fan box:
- Prepare the fan box: Remove any covers or packaging from the fan box. Ensure that the box is clean and free of debris.
- Position the fan box: Insert the fan box into the cut opening in the ceiling. Align the box with the marked position and ensure that it sits flush against the ceiling surface.
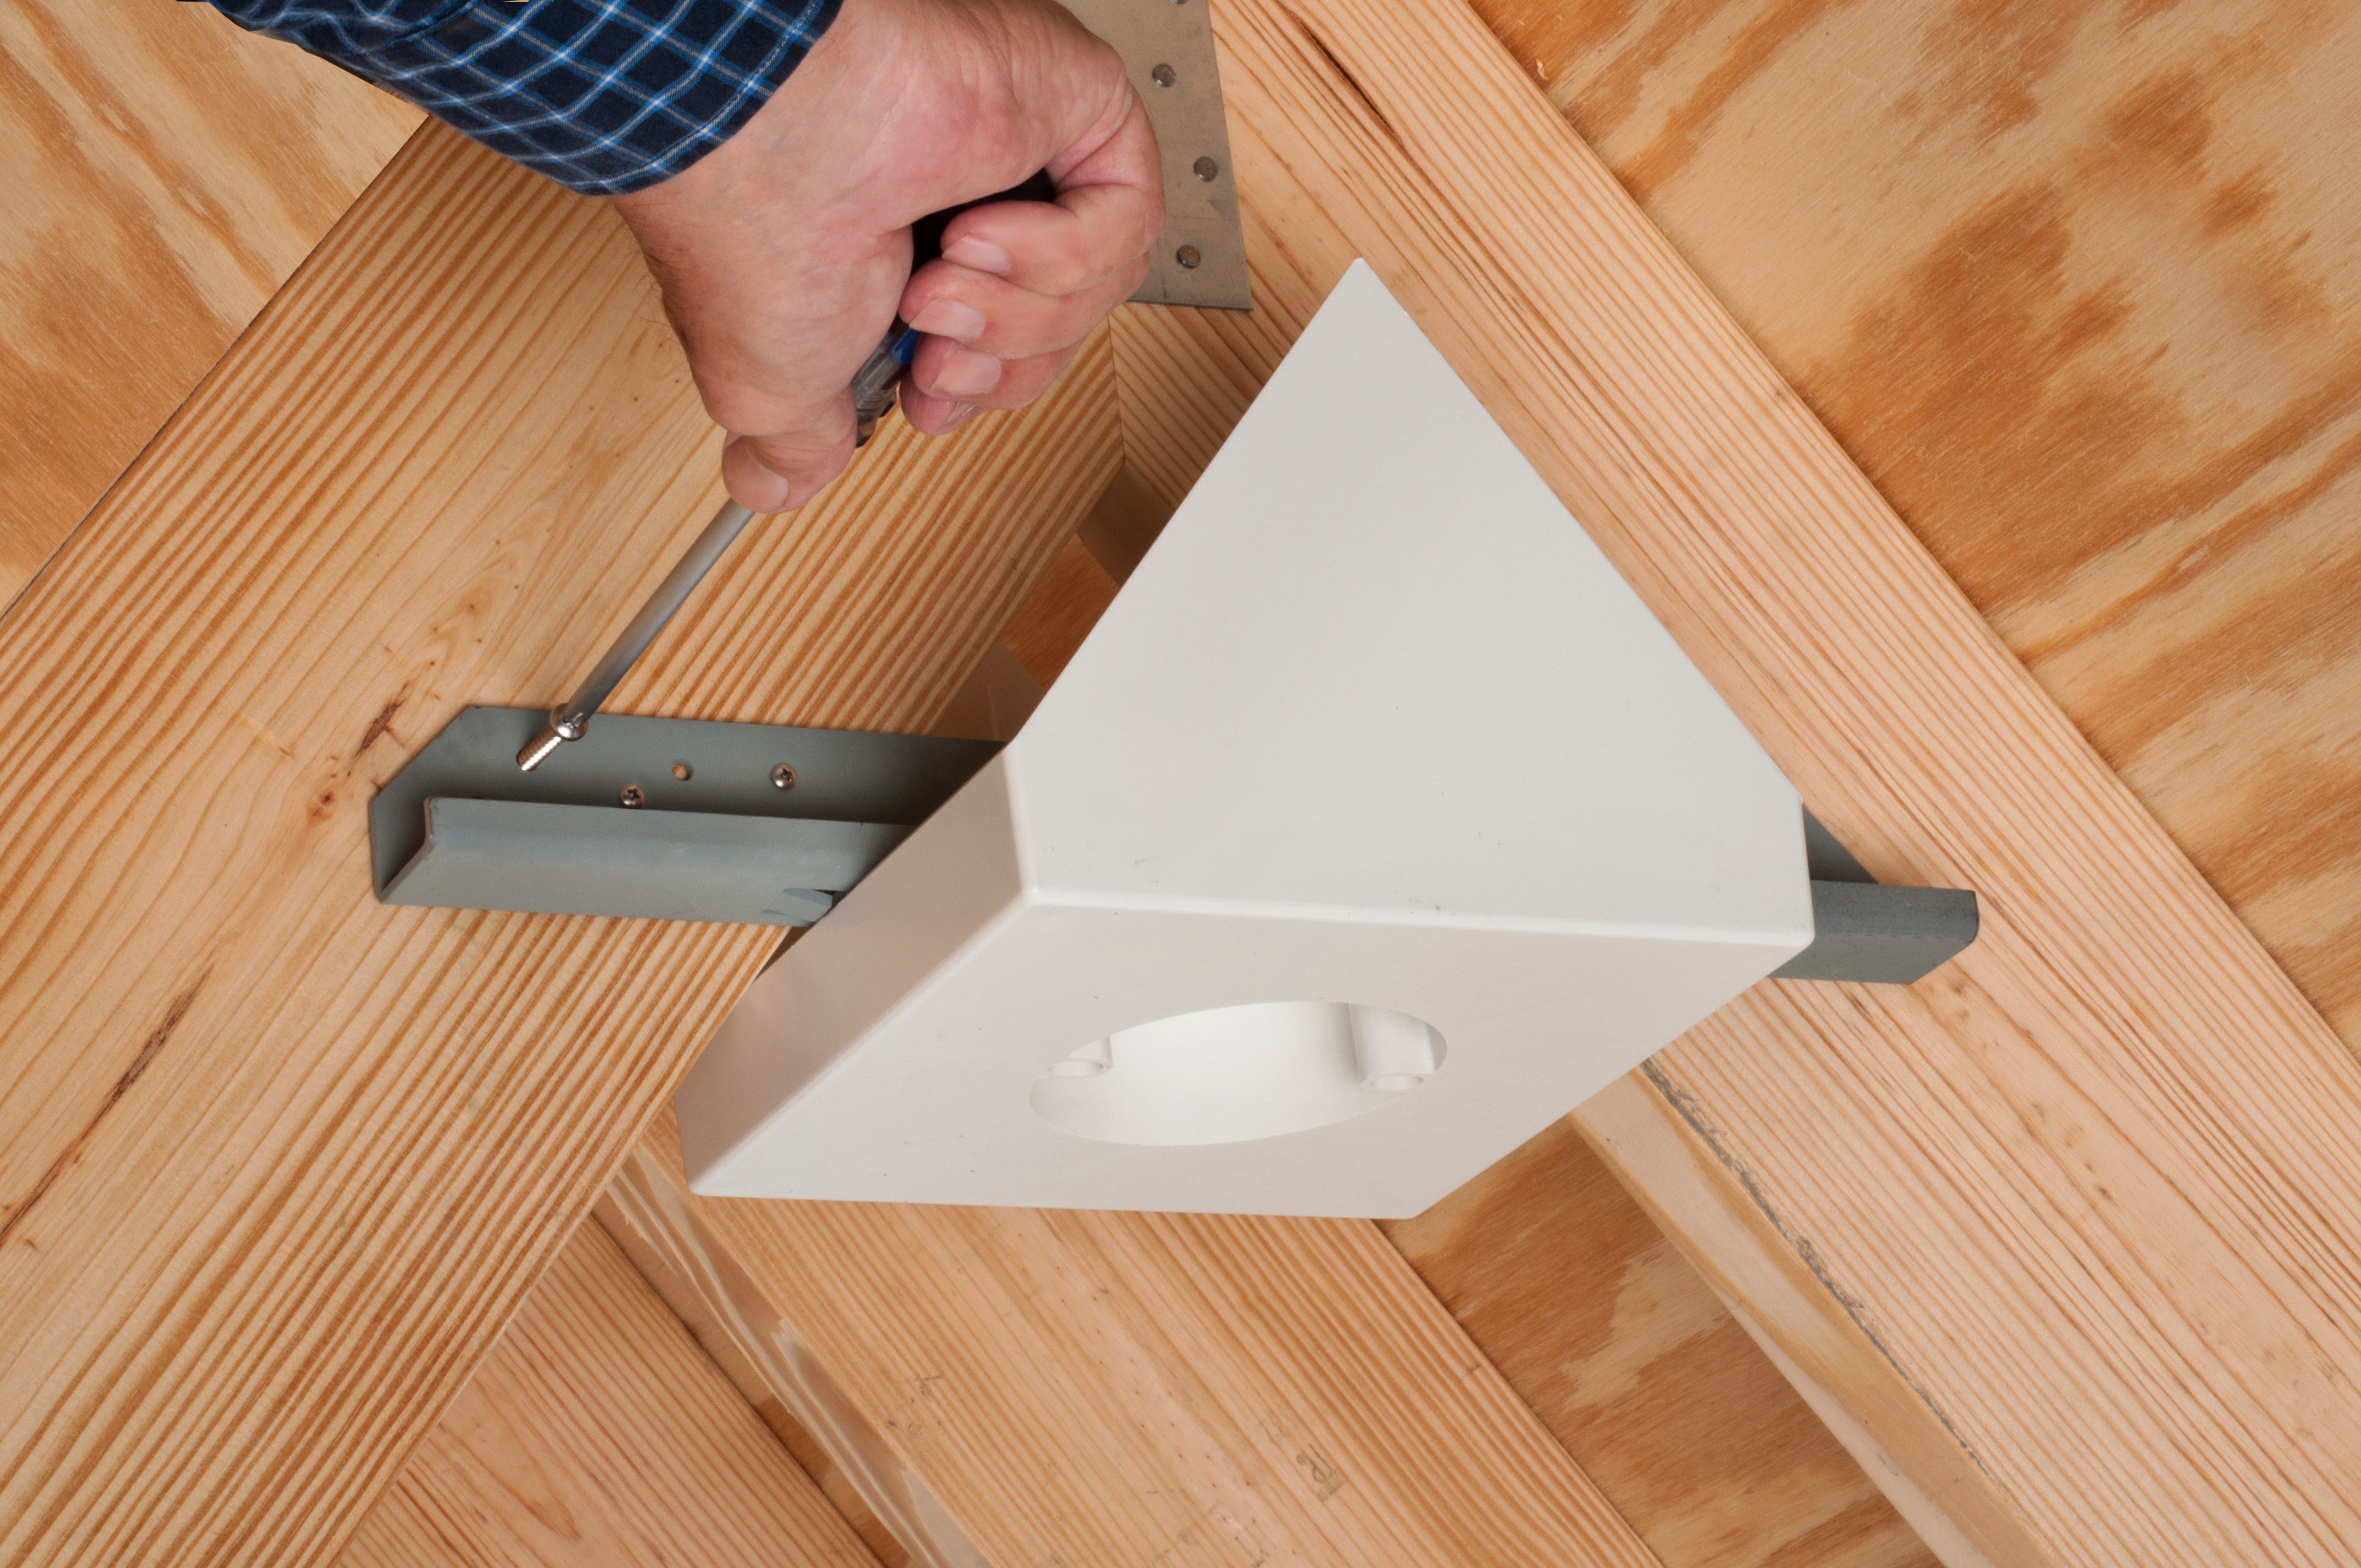
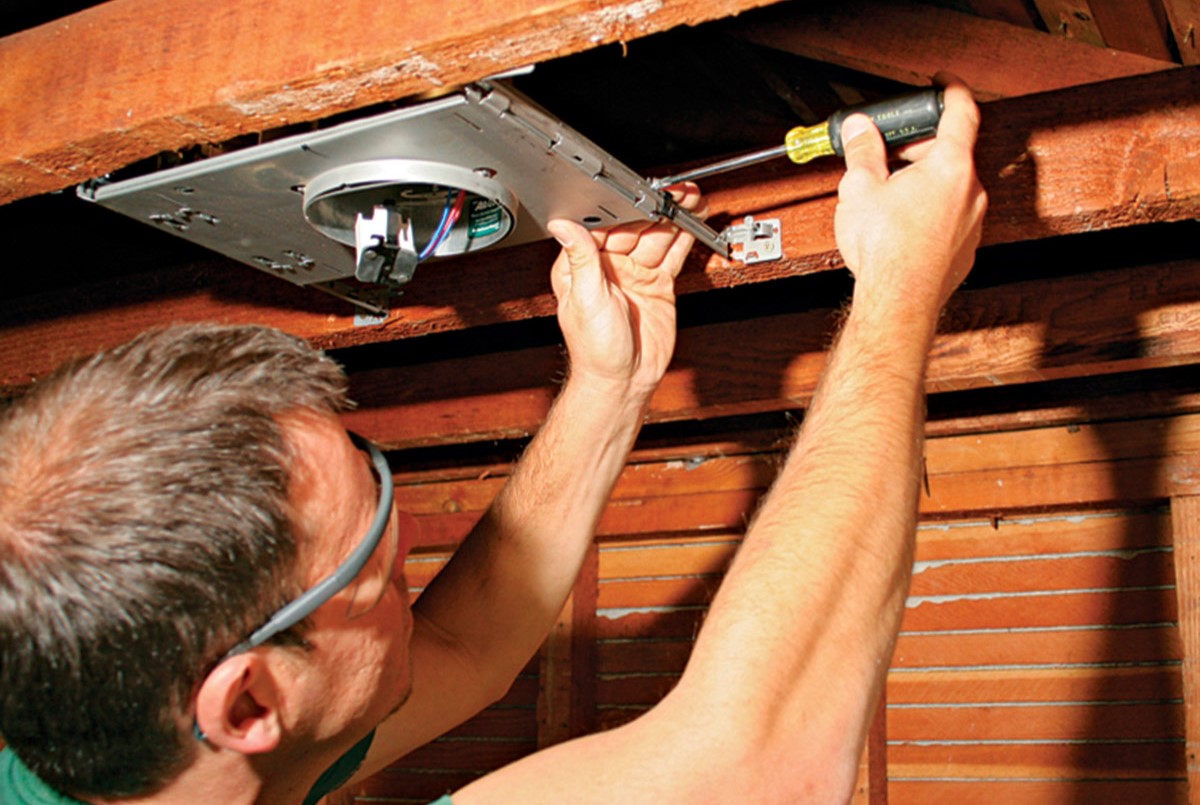
- Secure the fan box: Use the provided screws or mounting hardware to attach the fan box to the ceiling joist. This will ensure a secure and stable installation. Use a screwdriver to tighten the screws firmly.
- Check for stability: Give the fan box a gentle tug to ensure that it is securely attached and does not move. If it feels loose, adjust the screws or mounting hardware as needed.
It’s essential to properly install the fan box to ensure the safety and stability of the ceiling fan. A secure fan box will prevent the fan from falling or causing damage in the future.
With the fan box securely installed, you’re now ready to move on to the next step: mounting the ceiling fan.
When installing a ceiling fan box, make sure to turn off the power to the circuit before beginning. Use a fan-rated box and follow the manufacturer’s instructions for proper installation. Always consult a professional if you are unsure about any part of the installation process.
Step 6: Mount the Ceiling Fan
With the fan box in place, it’s time to mount the ceiling fan onto it. Properly mounting the fan ensures that it is securely attached and will operate safely and effectively.
Follow these steps to mount the ceiling fan:
- Prepare the fan: Remove any packaging and protective covers from the fan. Lay out the fan components and ensure that you have all the necessary parts.
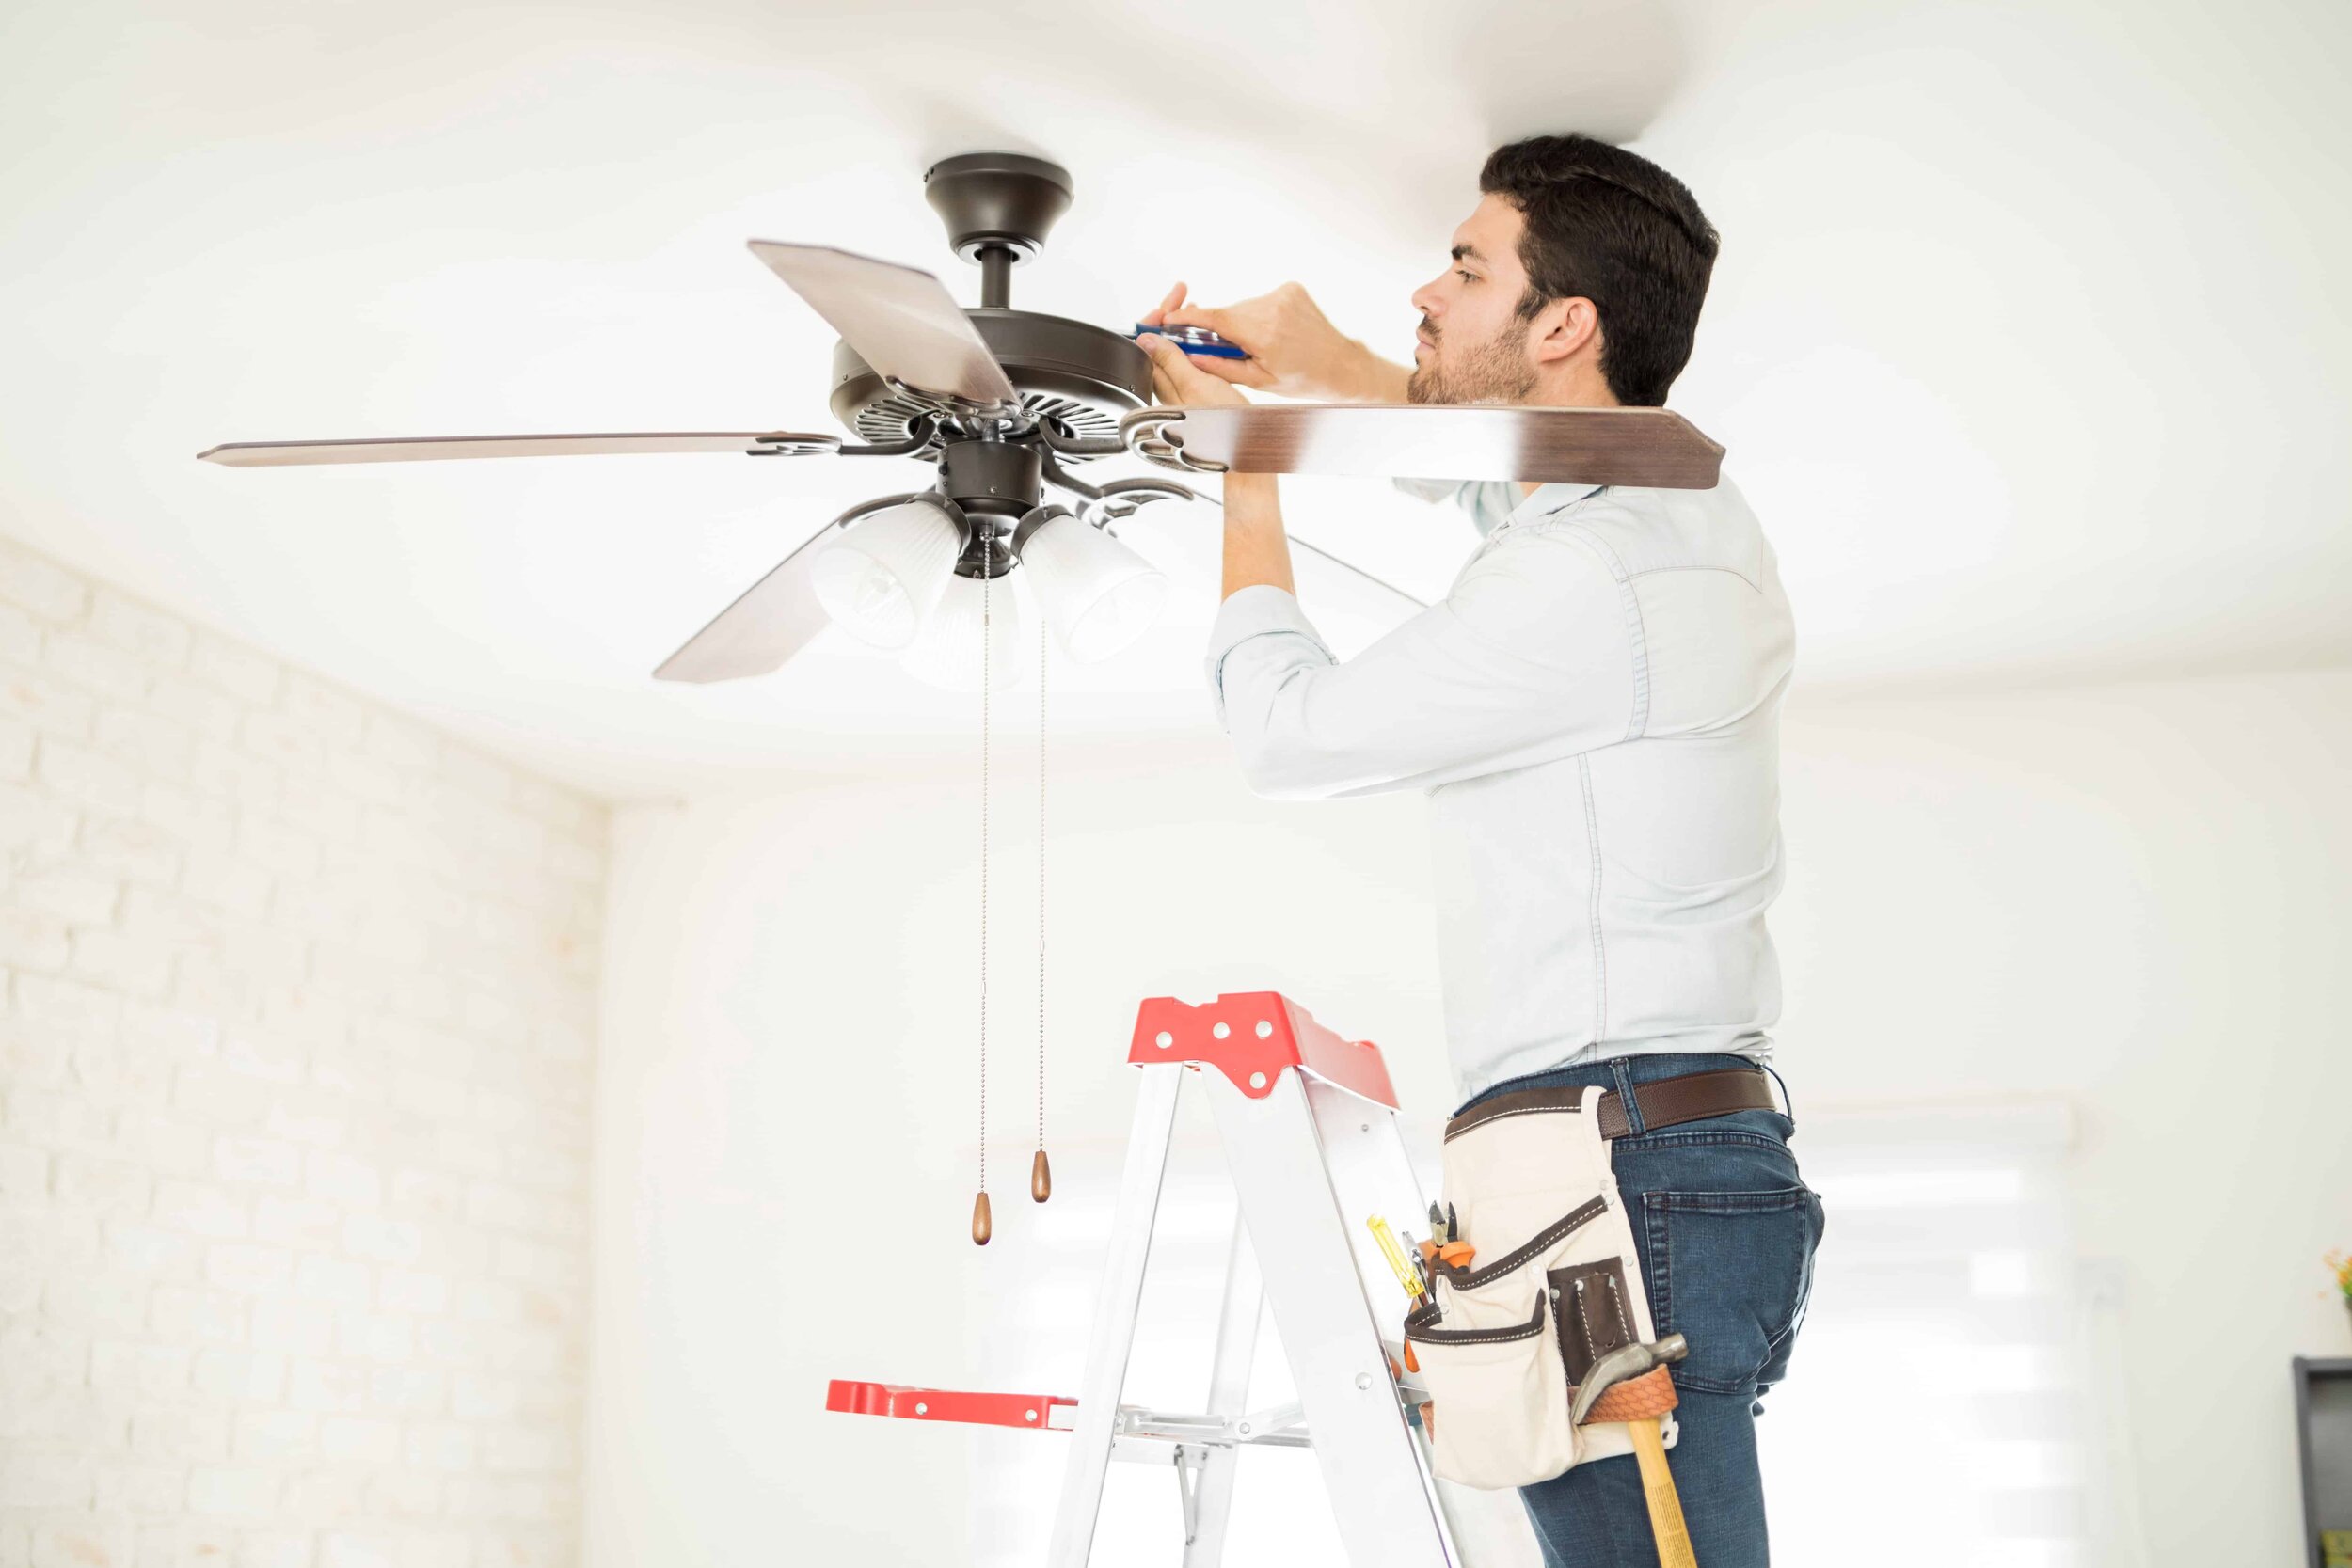
- Attach the mounting bracket: Locate the mounting bracket that came with the fan. Align it with the pre-drilled holes on the fan box and use the provided screws to attach it securely.
- Lift the fan: Lift the fan and carefully hang it onto the mounting bracket. Ensure that all the wires are safely tucked into the fan canopy.
- Secure the fan: Once the fan is properly positioned, use the provided screws to secure it to the mounting bracket. Tighten the screws securely, but be careful not to over-tighten and damage the fan or the bracket.
- Check for stability: Gently give the fan a slight shake to ensure that it is securely mounted and does not wobble. If it feels unstable, double-check the screws and mounting bracket.
Proper mounting of the ceiling fan is crucial for its safe and efficient operation. Ensure that all screws are securely tightened, but be cautious not to apply excessive force that could damage the fan or the mounting bracket.
With the ceiling fan mounted securely, you’re ready to proceed to the next step: connecting the wiring.
Step 7: Connect the Wiring
Now that the ceiling fan is securely mounted, it’s time to connect the wiring. This step involves connecting the electrical wires from the fan to the corresponding wires in your electrical system.
Follow these steps to connect the wiring:
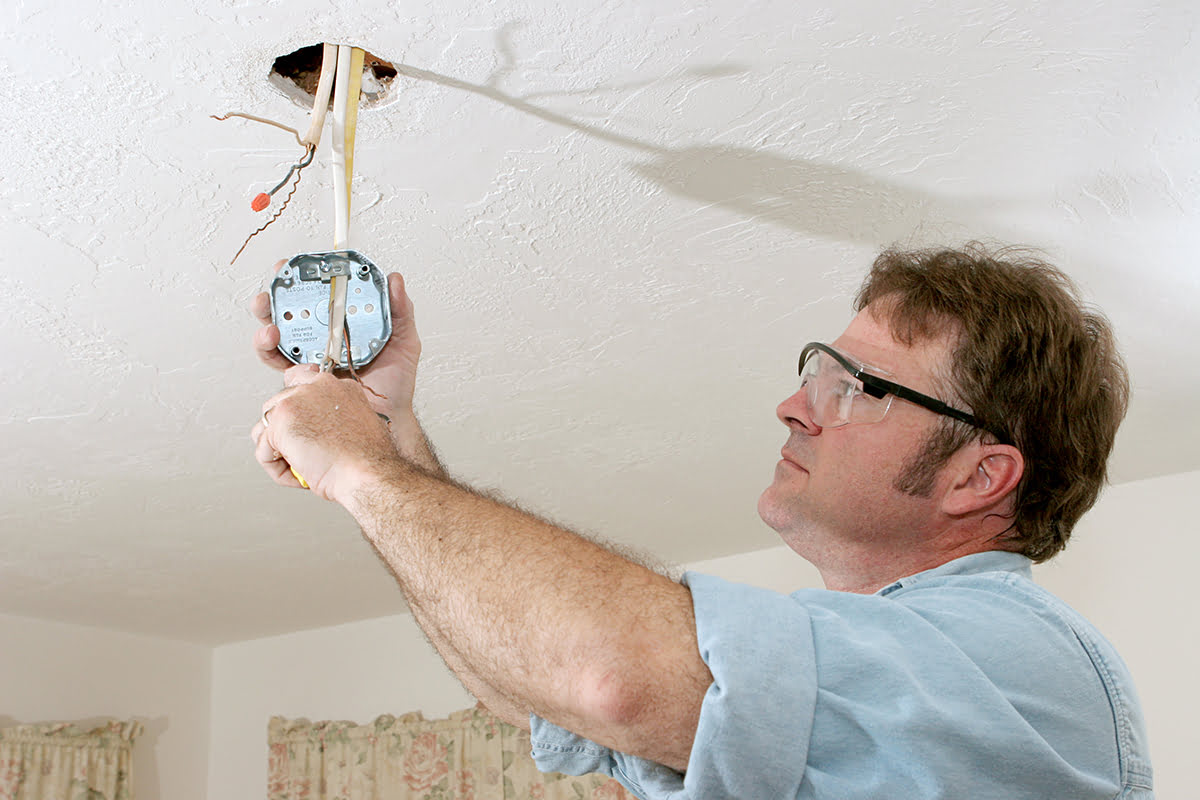
- Turn off the power: Ensure that the power to the area is still turned off at the electrical panel. Verify this by using a voltage tester to confirm there is no electrical current present.
- Expose the wires: Carefully strip about half an inch of insulation from the ends of the fan wires and the corresponding wires in your electrical system. Use wire strippers or a utility knife to do this.
- Match the wires: Match the colors of the wires – black to black, white to white, and green (or bare copper) to the grounding wire. Double-check the manufacturer’s instructions to ensure proper wire connections.
- Secure the connections: Twist the exposed ends of the wires together tightly, clockwise, and secure each connection with a wire connector. Wrap electrical tape around the connectors for added protection.
- Position the wires: Carefully tuck the connected wires into the fan canopy, ensuring they are not pinched or in contact with any moving parts of the fan.
It’s crucial to follow proper wiring practices to ensure a safe and functional installation. If you’re unsure about any electrical connections, consult a licensed electrician for assistance.
With the wiring securely connected, you’re ready to move on to the next step: attaching the fan blades.
Read more: How Install Ceiling Fan
Step 8: Attach the Fan Blades
With the wiring connected, it’s time to attach the fan blades to the ceiling fan. The fan blades not only contribute to the functionality of the fan but also add style and aesthetic appeal to the room.
Follow these steps to attach the fan blades:
- Prepare the blades: Remove any packaging or protective covers from the fan blades. Lay them out in the desired order, ensuring they match the instructions provided by the manufacturer.
- Locate the blade brackets: Find the blade brackets that were included in the fan package. Each bracket should have pre-drilled holes for attaching the blades.
- Attach the blades: Align the pre-drilled holes on the blades with the holes on the blade brackets. Use the provided screws to secure each blade to its corresponding bracket. Tighten the screws firmly, taking care not to overtighten and damage the blades.
- Double-check the positioning: Ensure that all the blades are properly aligned and evenly spaced. Make any necessary adjustments to ensure a balanced appearance.
It’s important to follow the manufacturer’s instructions when attaching the fan blades. Each fan may have a specific blade alignment and attachment method, so referring to the provided documentation is crucial for a proper installation.
With the fan blades securely attached, your ceiling fan is almost complete. In the next step, we’ll cover the installation of a light kit (optional) for added functionality and illumination.
Step 9: Install the Light Kit (Optional)
If you wish to add an extra illumination source to your ceiling fan, you can install a light kit. Not all ceiling fans come with a light kit, so make sure you have one that is compatible with your fan model.
Follow these steps to install the light kit:
- Prepare the light kit: Remove any packaging or protective covers from the light kit. Make sure all the necessary components are included.
- Check for wiring compatibility: Verify if your ceiling fan is pre-wired for a light kit. If it is, there should be wires inside the fan canopy labeled for light installation.
- Attach the light kit: Connect the wires from the light kit to the corresponding wires in the fan canopy. Usually, this involves connecting the black wire to black, white to white, and green (or bare copper) to the grounding wire.
- Secure the connections: Twist the exposed ends of the wires together tightly, clockwise, and secure each connection with a wire connector. Wrap electrical tape around the connectors for added protection.
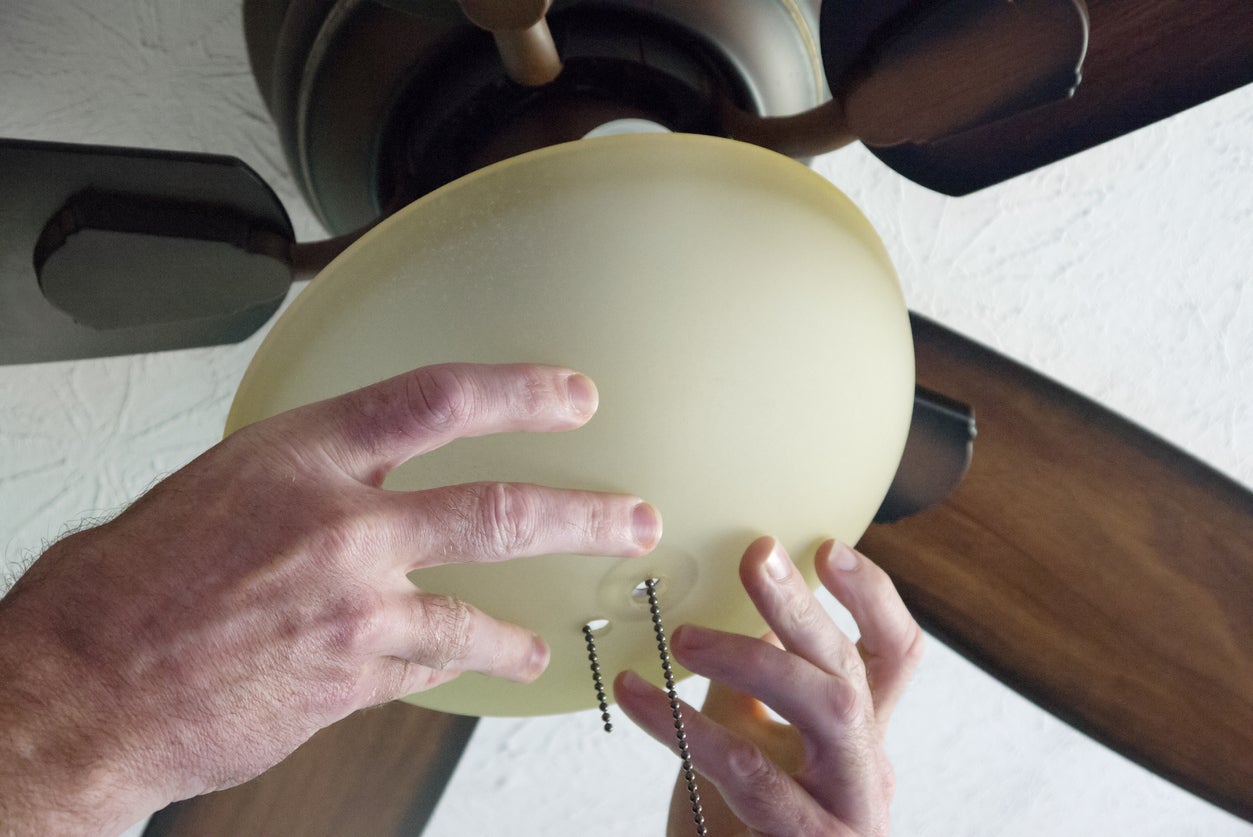
- Mount the light kit: Position the light kit onto the designated area in the ceiling fan. Use the provided screws or mounting hardware to secure it in place. Tighten the screws securely but avoid over-tightening.
- Install light bulbs: Screw in the appropriate light bulbs into the light kit sockets, following the manufacturer’s recommendations for bulb type and wattage.
Always consult the manufacturer’s instructions for specific details on installing the light kit for your particular ceiling fan model. Remember, the installation of a light kit is optional and may not be applicable to all fan models.
With the light kit installed (if applicable), your ceiling fan is now almost ready for operation. The final step is to turn on the power and test the fan’s functionality.
Step 10: Turn on the Power and Test the Fan
Now that you have completed the installation of your ceiling fan, it’s time to turn on the power and test its functionality. This step is crucial to ensure that the fan is operating correctly and all connections are secure.
Follow these steps to turn on the power and test the fan:
- Double-check the wiring: Before turning on the power, visually inspect the wiring connections to ensure they are secure and properly connected.
- Turn on the power: Go to the electrical panel and switch on the circuit breaker or the corresponding switch that controls the power to the fan.
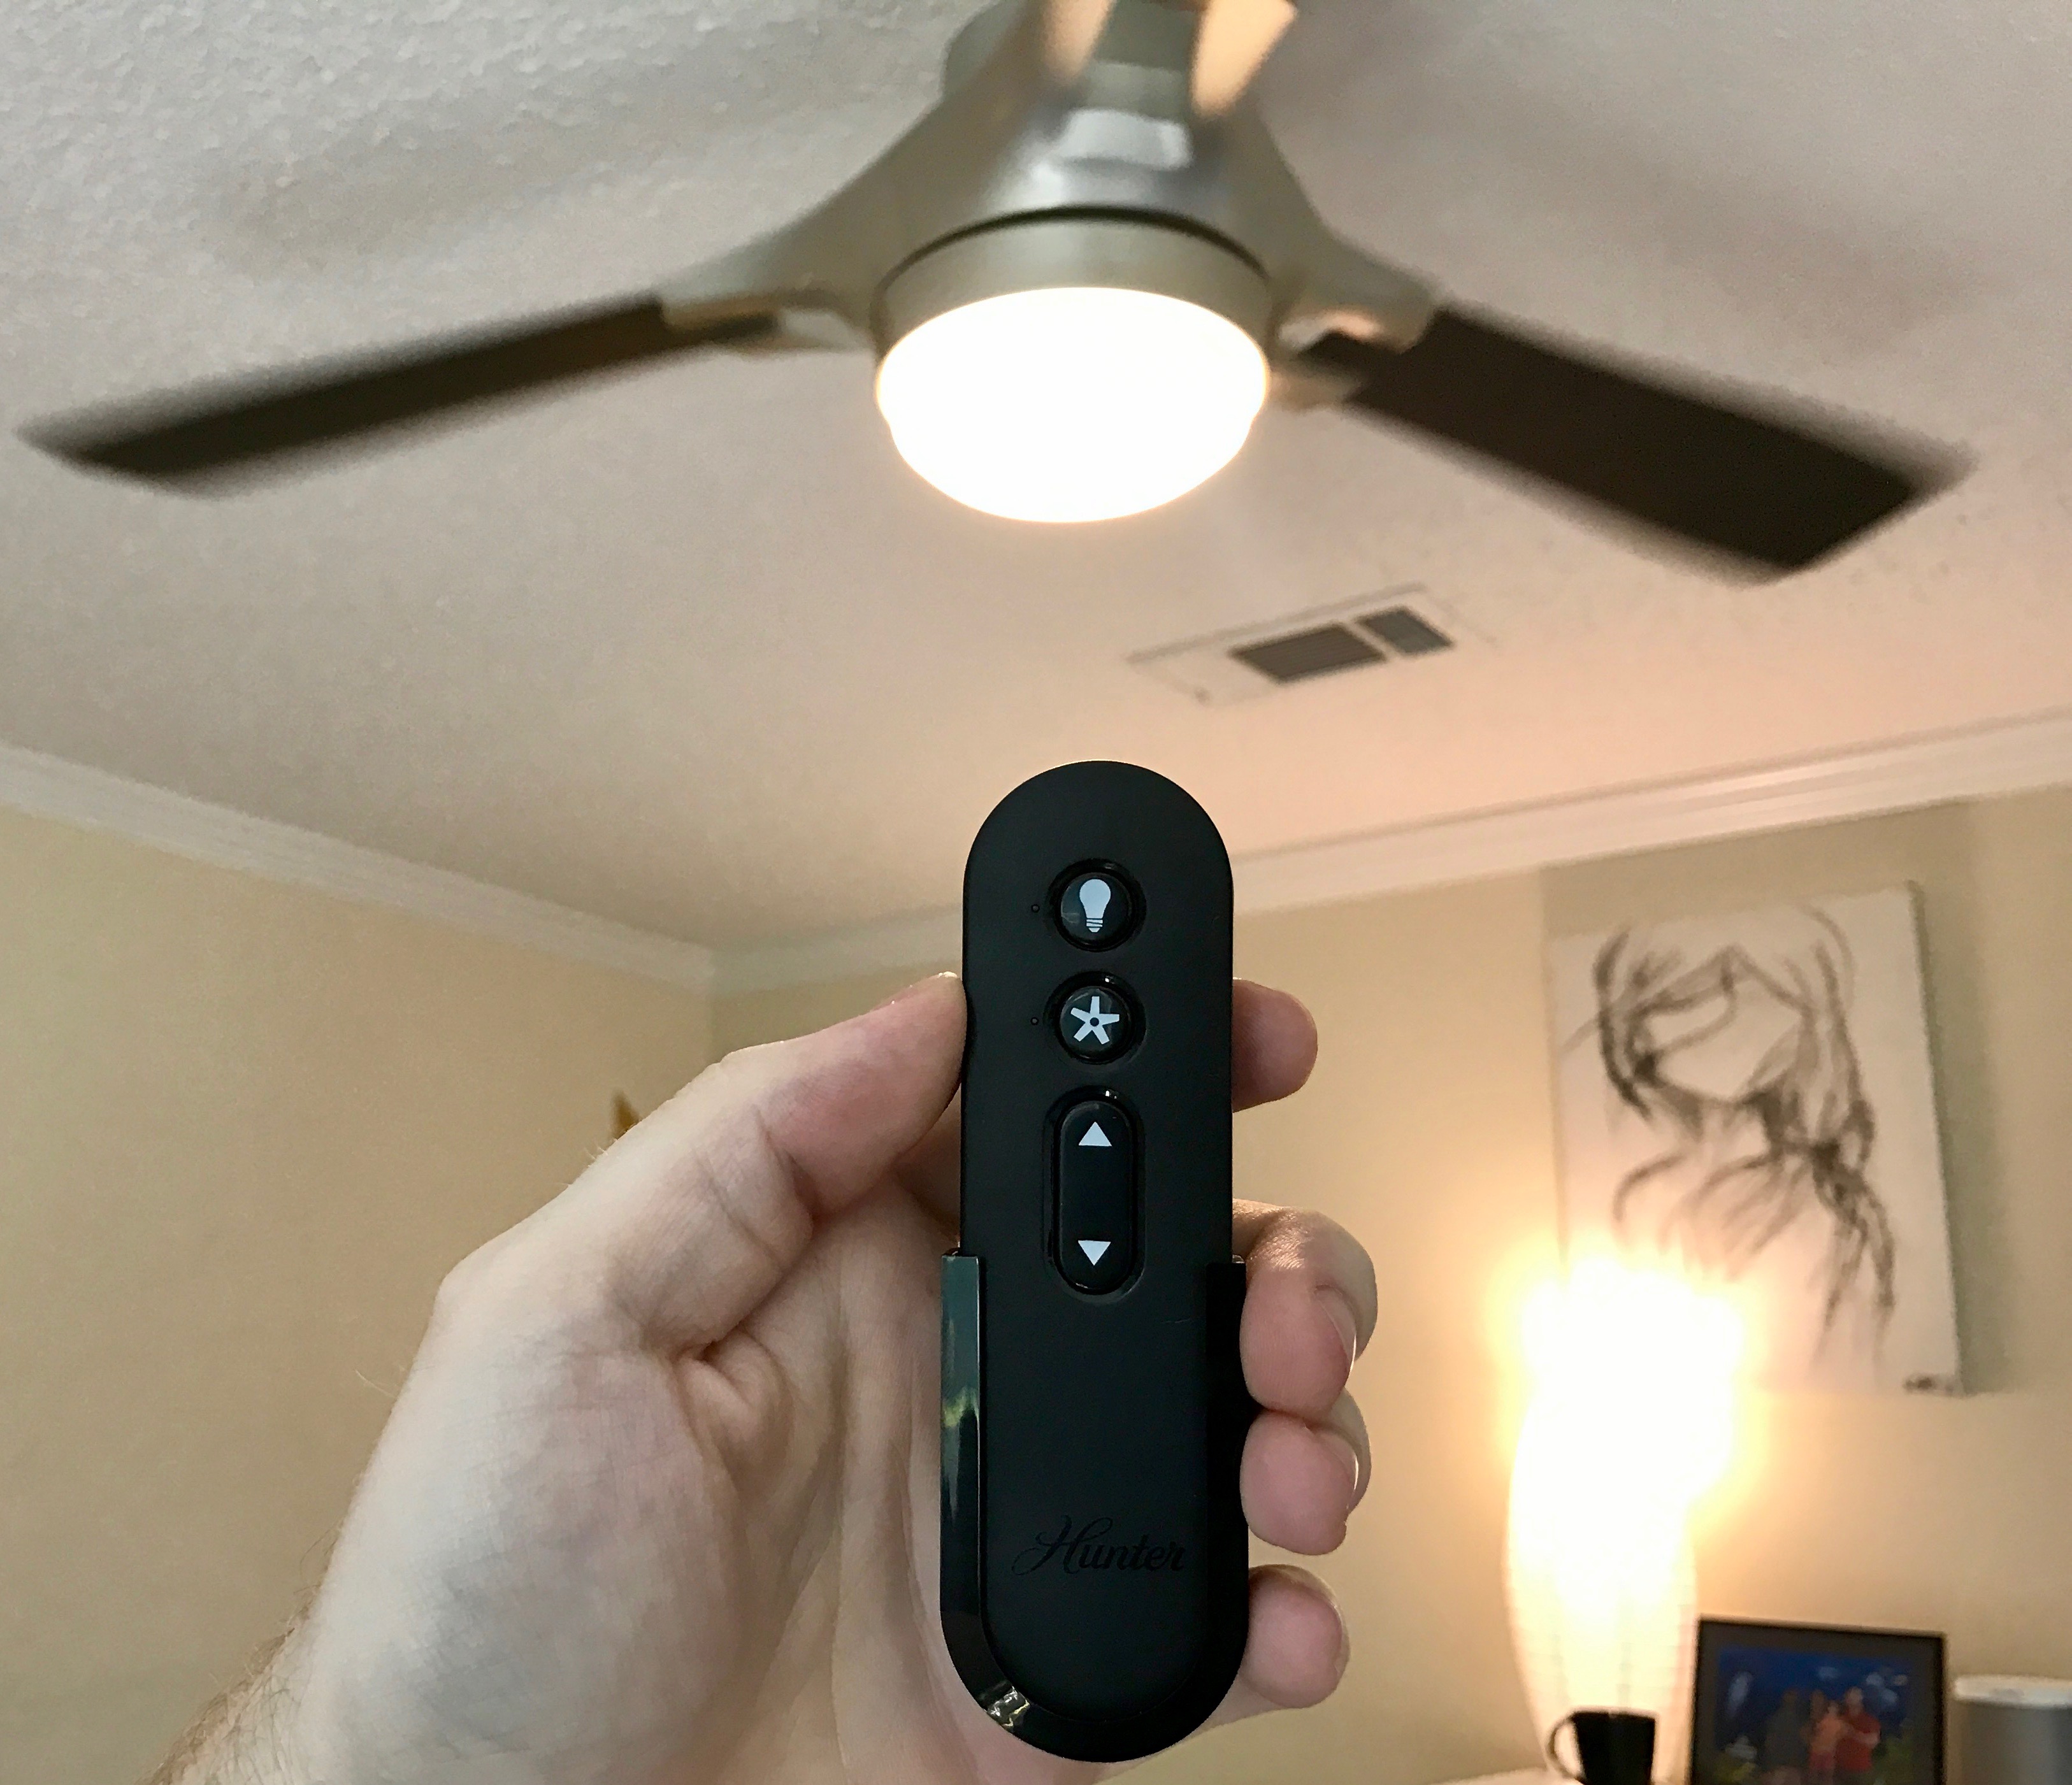
- Test the fan: Use the fan’s remote control or wall switch to turn on the fan. Start with the lowest speed setting and observe the fan’s rotation. Ensure that it is moving smoothly and there are no unusual sounds or vibrations.
- Test the lights (if applicable): If your fan has a light kit installed, turn on the light switch to verify that the lights are functioning correctly. Check for any issues such as flickering or dimming lights.
- Observe for proper airflow: Stand beneath the fan and feel the airflow to ensure that it is circulating properly and providing the desired cooling effect.
- Make any necessary adjustments: If you notice any issues during the testing phase, such as wobbling or unstable operation, refer to the manufacturer’s instructions for troubleshooting steps. Make any necessary adjustments or contact a professional for assistance.
By testing the fan and lights (if applicable), you can ensure a successful installation and enjoy the benefits of a properly functioning ceiling fan in your home.
Congratulations! You have completed the installation process of your ceiling fan. Now you can sit back, relax, and enjoy the comfort and style that your new fan brings to your living space.
If you encounter any difficulties or if you’re not confident in your ability to complete the installation safely, it’s always best to seek the assistance of a professional electrician to ensure a proper and secure installation.
Conclusion
Installing a ceiling fan box and mounting a ceiling fan can be a rewarding and beneficial project for any homeowner. Not only does it provide a refreshing breeze and improve air circulation, but it also adds style and functionality to a room.
Throughout this guide, we have covered the step-by-step process of installing a ceiling fan box, from choosing the right location to testing the fan’s functionality. By following these steps and taking the necessary precautions, you can successfully install a ceiling fan and enjoy its benefits for years to come.
Remember, safety should always be a priority when working with electricity. If you are not confident in your electrical skills, it is advisable to hire a professional electrician to ensure a safe and proper installation.
Before you start your installation, gather all the necessary materials and tools, such as the fan box, ceiling fan, wiring, and mounting hardware. Carefully mark the position of the fan box on the ceiling, cut the opening, and securely install the fan box.
Next, mount the ceiling fan onto the fan box, ensuring stability and balance. Connect the electrical wiring, following proper wiring practices and using wire connectors for secure connections. If desired, install a light kit to provide additional illumination.
Once the installation is complete, turn on the power and test the fan’s functionality. Check for proper operation, smooth airflow, and the functionality of any installed lights. Make any necessary adjustments or seek professional assistance if any issues are encountered.
By following these steps and guidelines, you can confidently install a ceiling fan and enjoy its benefits in your home. Stay safe, pay attention to details, and enjoy the comfort and beauty that a ceiling fan brings to your living space.
Frequently Asked Questions about How To Install Ceiling Fan Box
Was this page helpful?
At Storables.com, we guarantee accurate and reliable information. Our content, validated by Expert Board Contributors, is crafted following stringent Editorial Policies. We're committed to providing you with well-researched, expert-backed insights for all your informational needs.

0 thoughts on “How To Install Ceiling Fan Box”